My Favorite Tools & Supplies for Making (Gorgeous) Labels
There is no “right” or “wrong” way to label something. Pictures or words, tags or stickers, color or black-and-white…the options are seriously endless. And there is no reason to commit to just one type or style of label around your home either. Each basket…each area…each container…each system…can often require its own unique labeling solution or design, so don’t hesitate to get creative in order to make your labels function AND look just right. Although I am constantly dreaming up fun, new, and creative ways to make labels for our home, there are certain tools and supplies I rely on time and time again. Today I’m breaking down my tried-and-true labeling favorites and sharing lots of great ideas for using them too!

Favorite Tools for Making Labels
Label Maker
Let’s start with the easiest option of all: a label maker! Of all the tools I’ll share today, this one is definitely is the quickest and easiest to use and fits into most budgets. I primarily like to use my label maker when I want small, precise, clean text labels that don’t need to be overly decorative (e.g., filing cabinets, inside drawers, etc).
My best tip in making your basic text labels look amazing is to print them onto clear label tape with black, white, or metallic letters. The clear tape will blend in nicely with the label’s surface (no matter what color it is!), so you aren’t visually distracted by differences in label sizes and or an unsightly contrast (e.g., a white label on a wood cabinet). Using clear label tape also allows you to customize the background of your labels, which can really come in handy if you want a very specific color scheme!
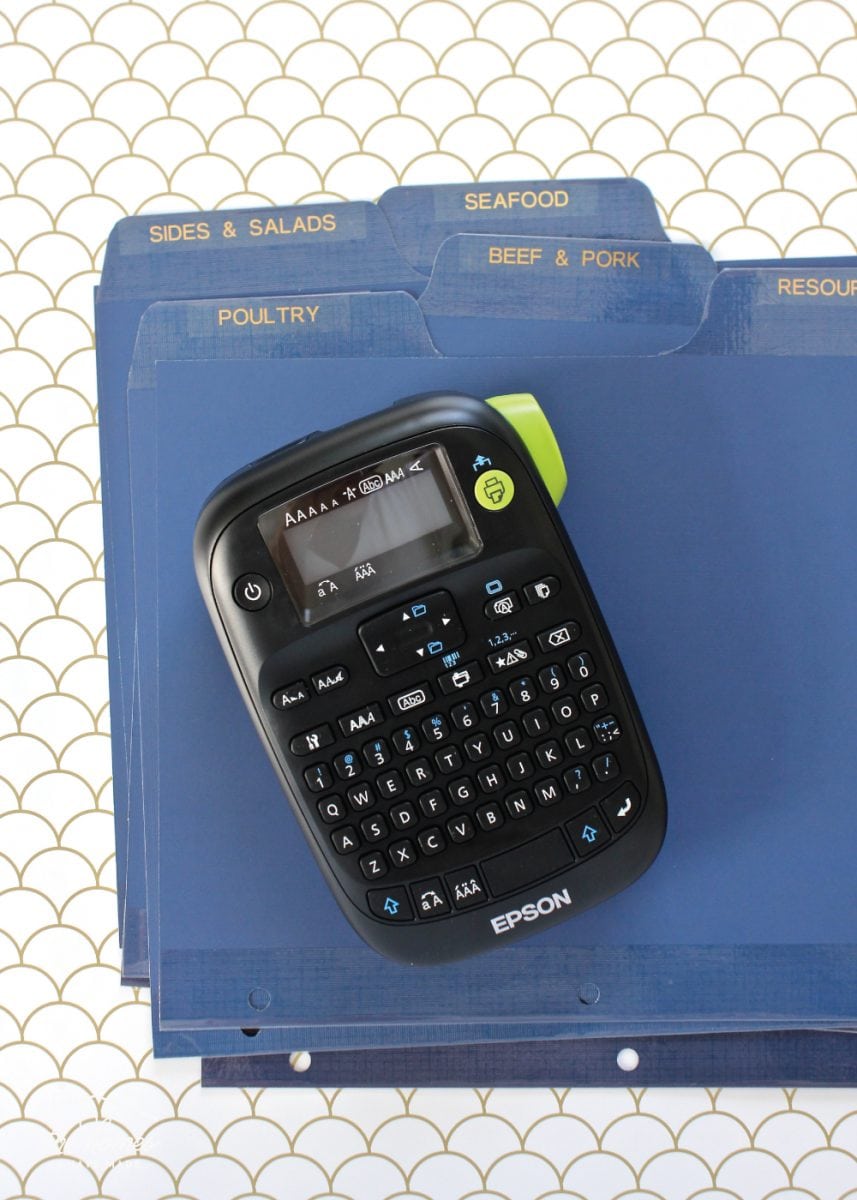
I use the Epson Labelworks 400, which I LOVE because it prints onto a wide array of clear tapes (gold letters, black letters, white letters, etc). However, it can be difficult to track down. In doing some reasearch, THIS label maker seems to be a great alternatives since it also works with a collection of clear tapes and is a bit more affordable!
DIY Tabbed Binder Dividers | Labels made with gold letters on clear tape
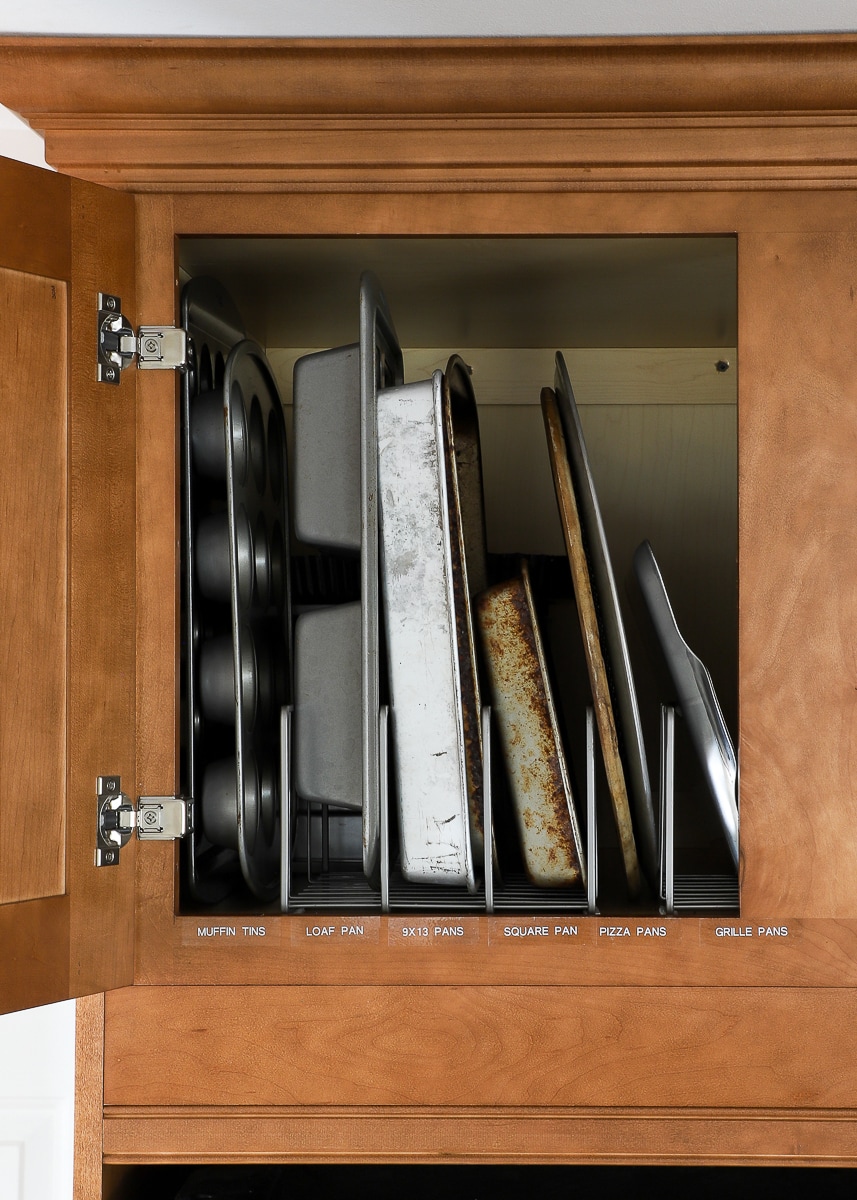
Organizing Above the Kitchen Cabinet | Labels made with white letters on clear tape
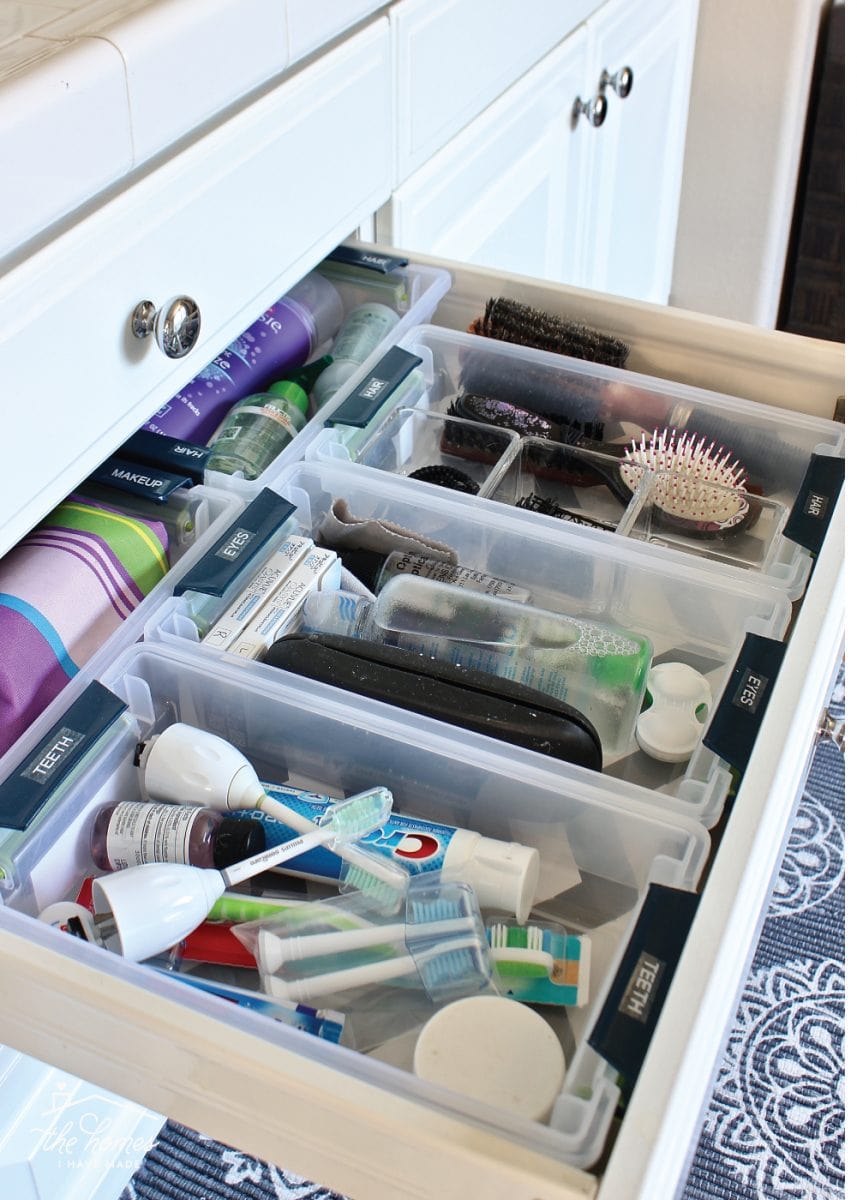
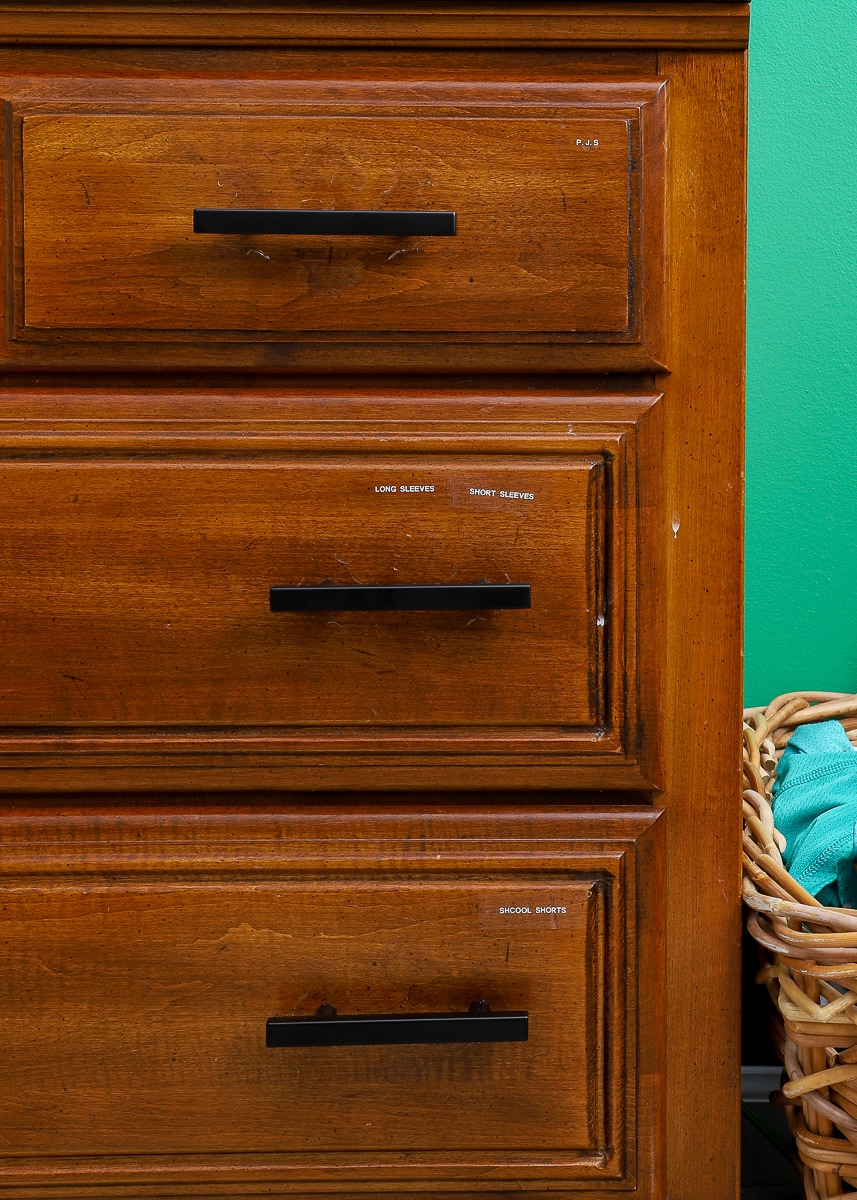
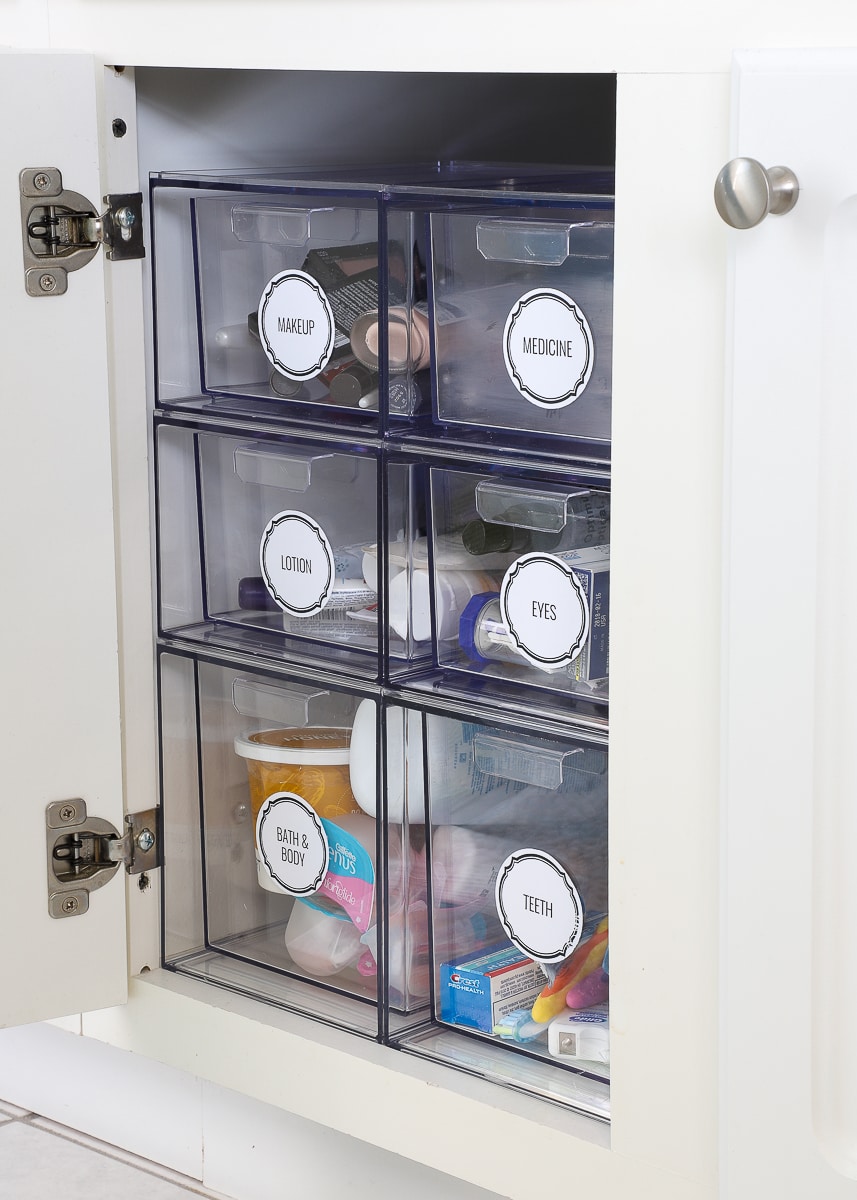
Organizing Bathroom Drawers | Labels made with white letters on clear tape
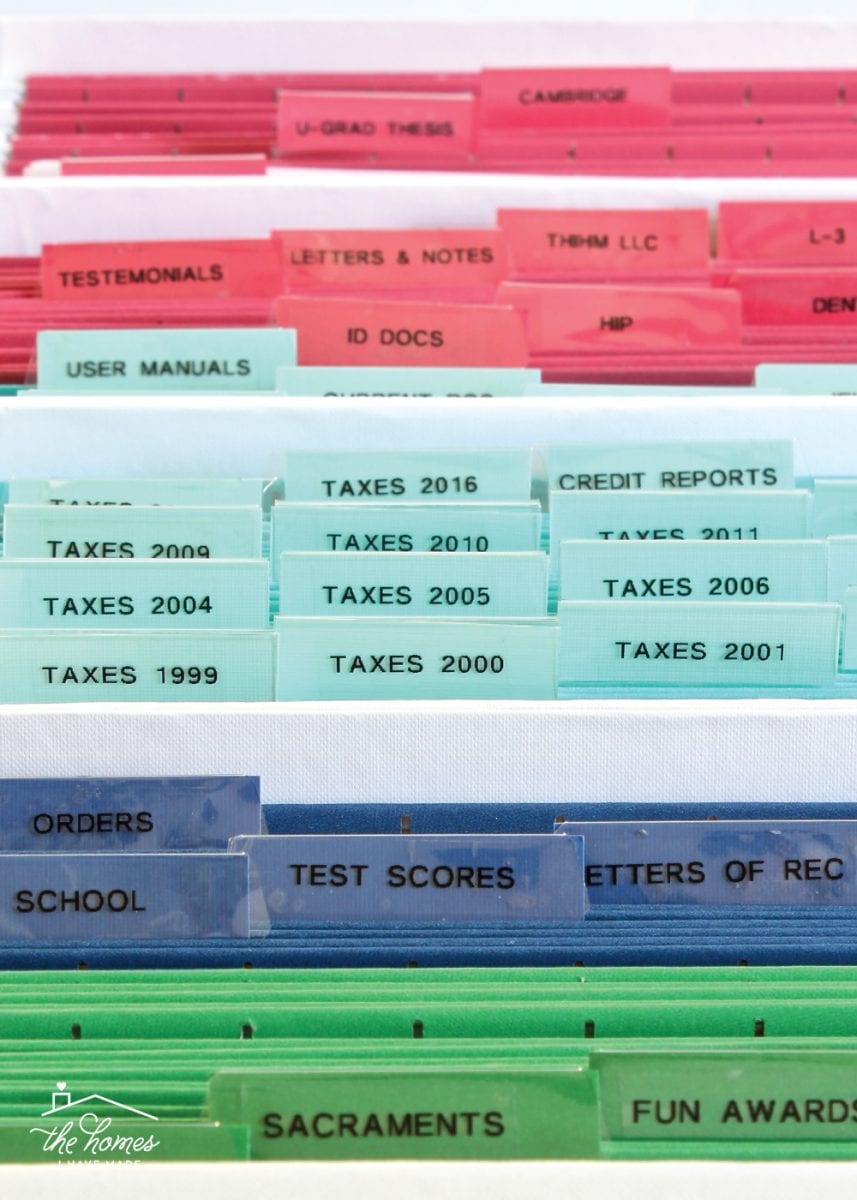
Filing Strategies | Labels made with black letters on clear tape
Home Printer
Another one of my favorite tools for making labels is to print them with my home printer onto sticker paper, cardstock, or printable labels. This is usually my solution when I still want something quick-and-easy but need labels that are a little more decorative, larger than what I can make with a label maker, and/or use special fonts or images.
There are lots of ready-to-print labels available on the web (including inside The Organization Toolbox!), but the benefit to this method is that you can literally make labels any size, shape, and design using simple programs like Canva or Microsoft Word.
Because I do a lot of printing, I invested in a color laser printer, which provides really nice, saturated color. I realize that isn’t the best solution for most households, so another option to consider for your labels is to send them out to FedEx or Staples for professional printing. Even at $0.30/page for color printing, you can whip up gorgeous labels really affordably!
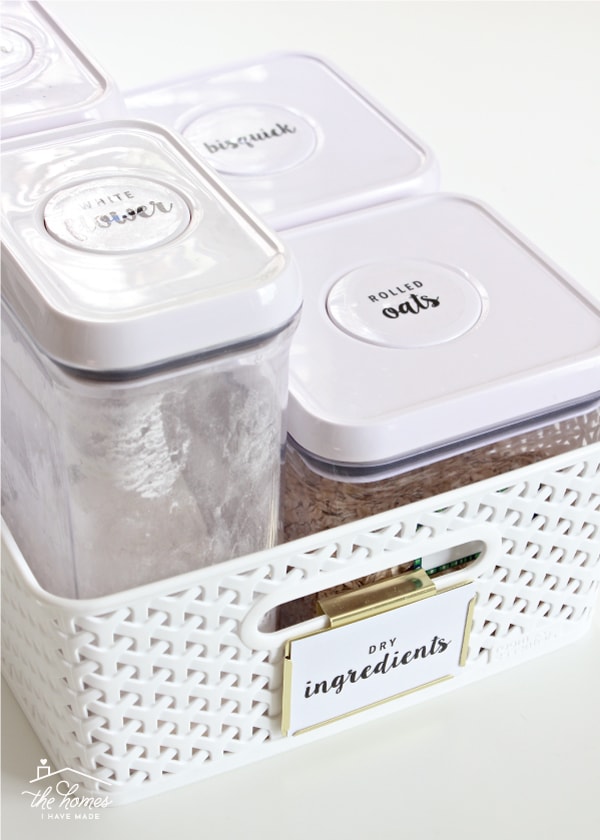
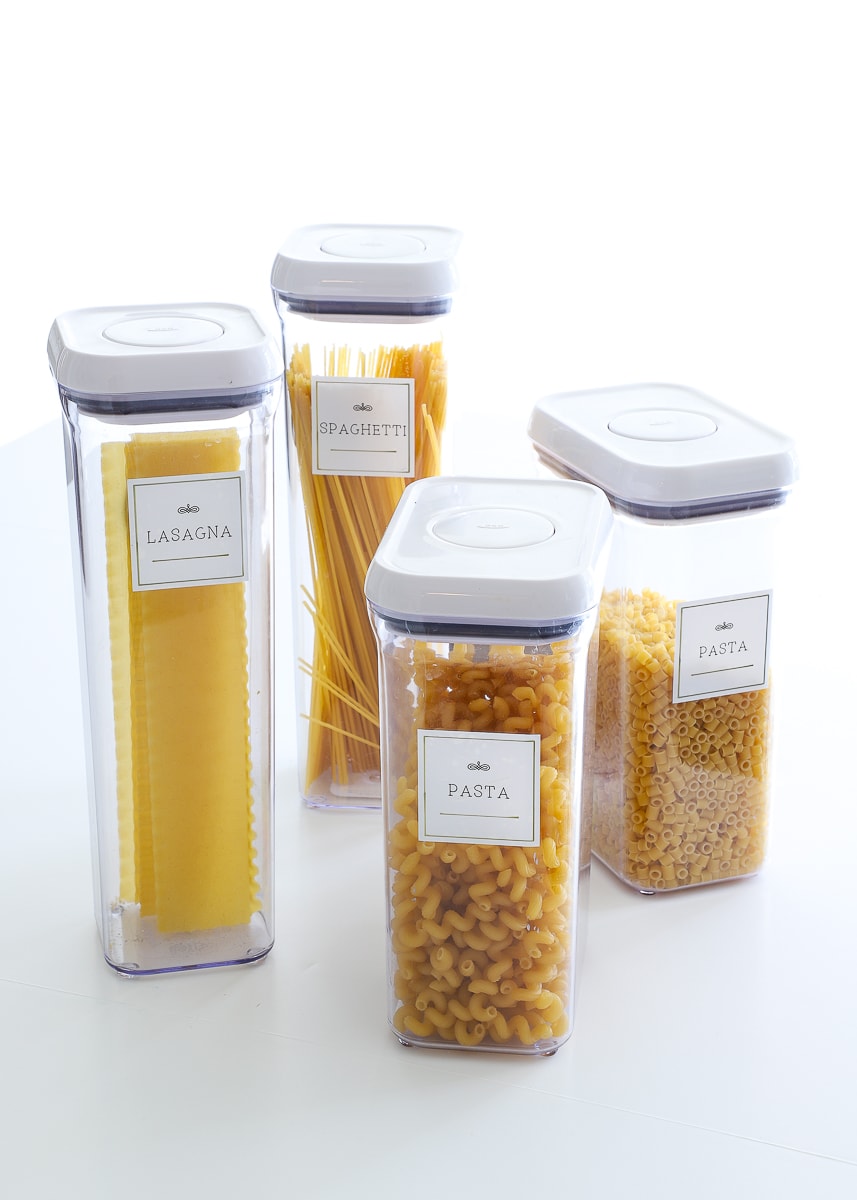
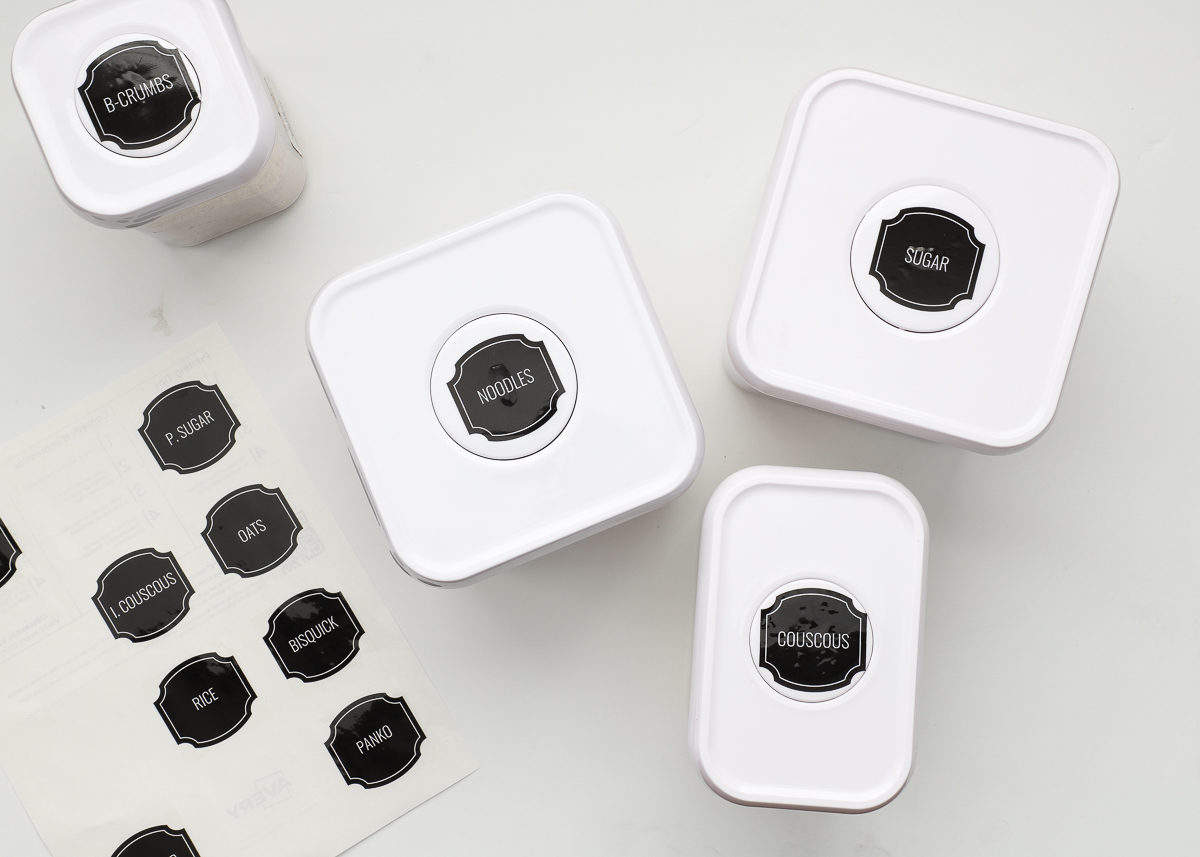
Printable Pantry Labels | Labels printed onto Avery clear sticker paper
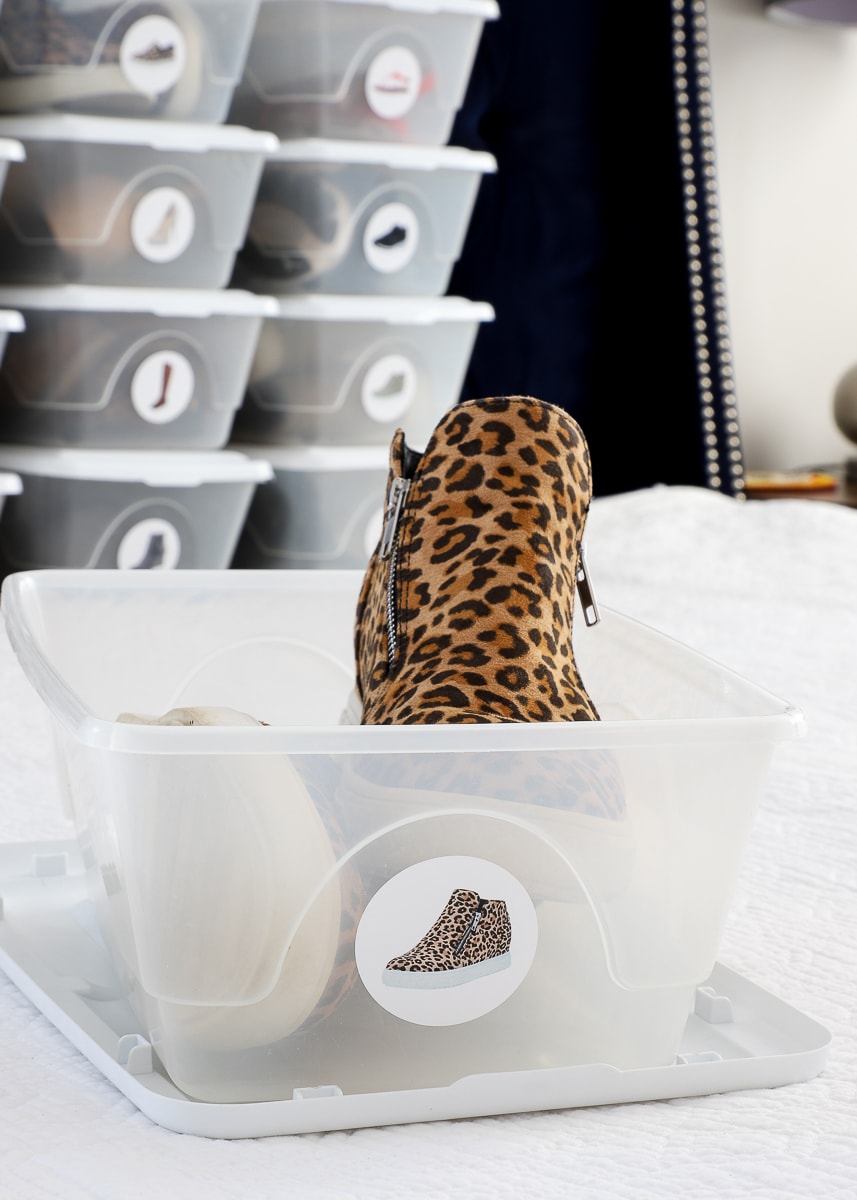
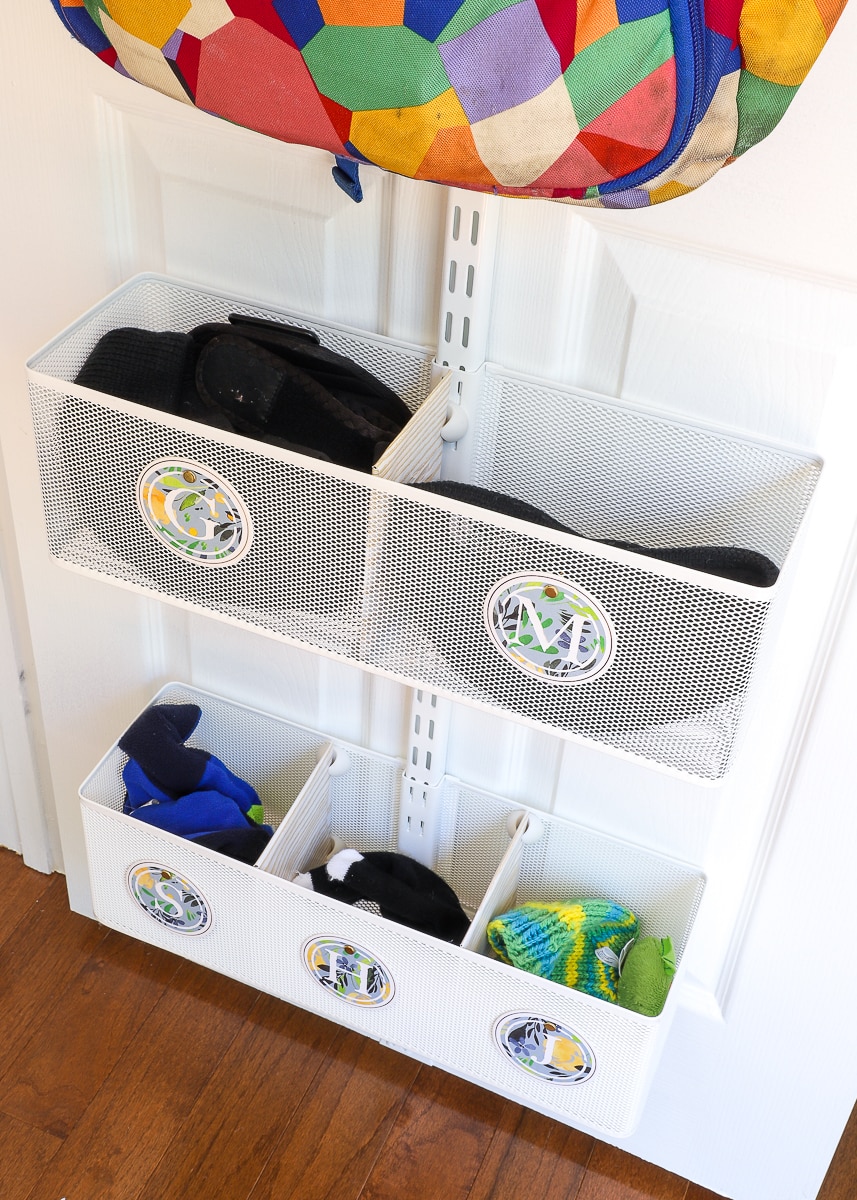
Printable Shoebox Labels | Labels printed onto Avery 2.5″ circle labels
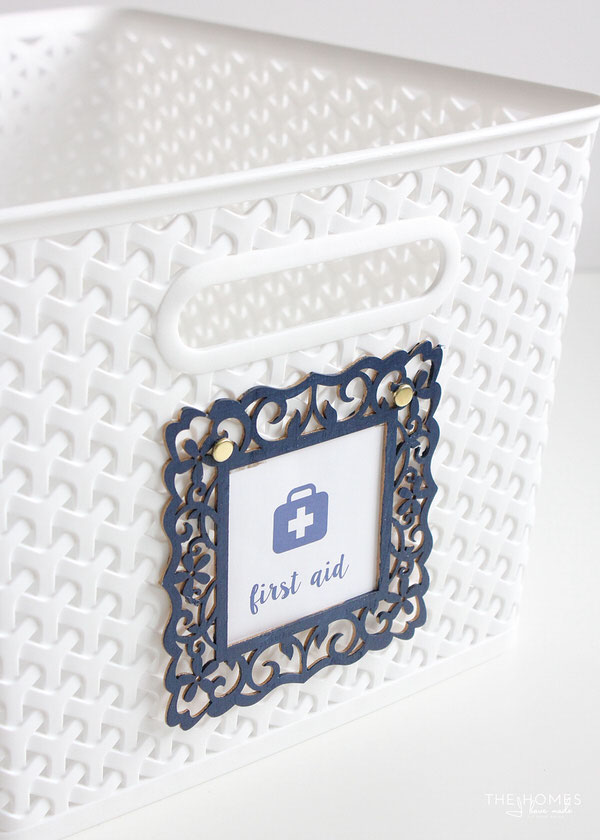
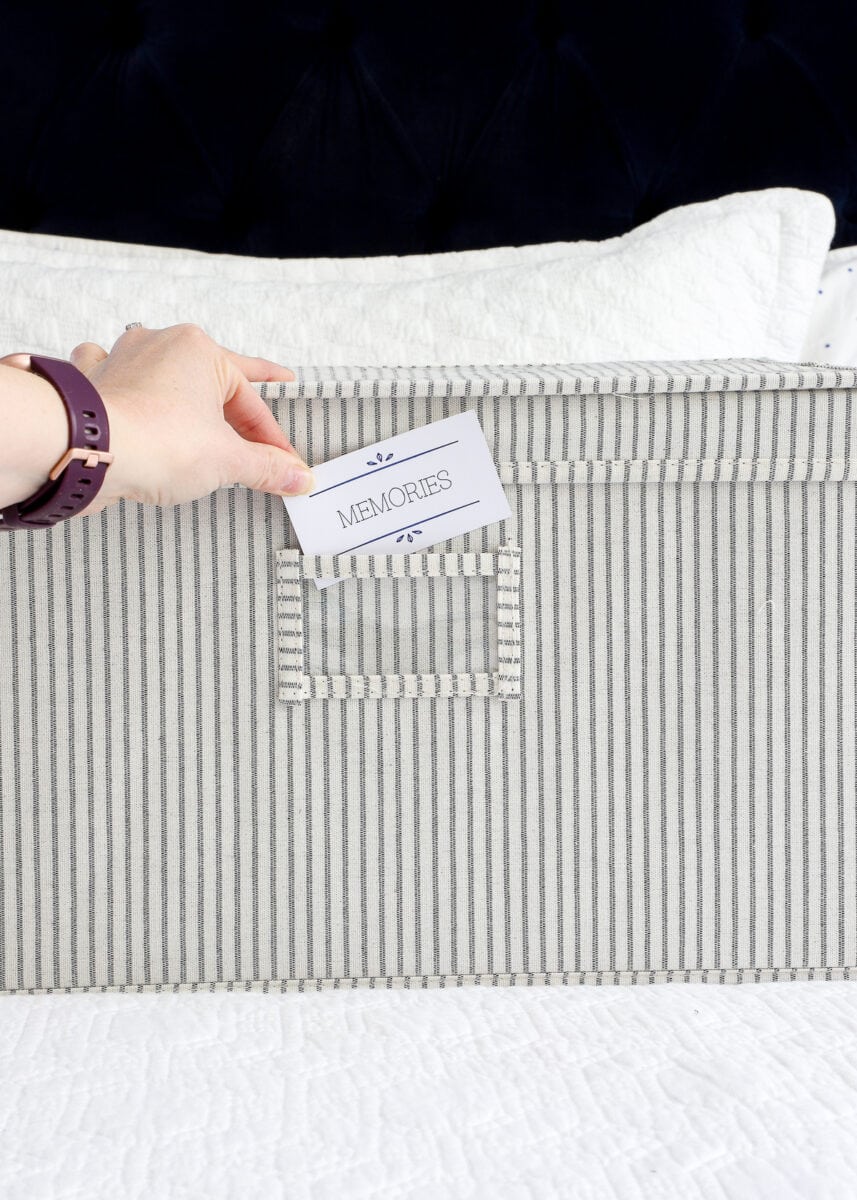
Printable Household Labels | Labels printed onto white cardstock
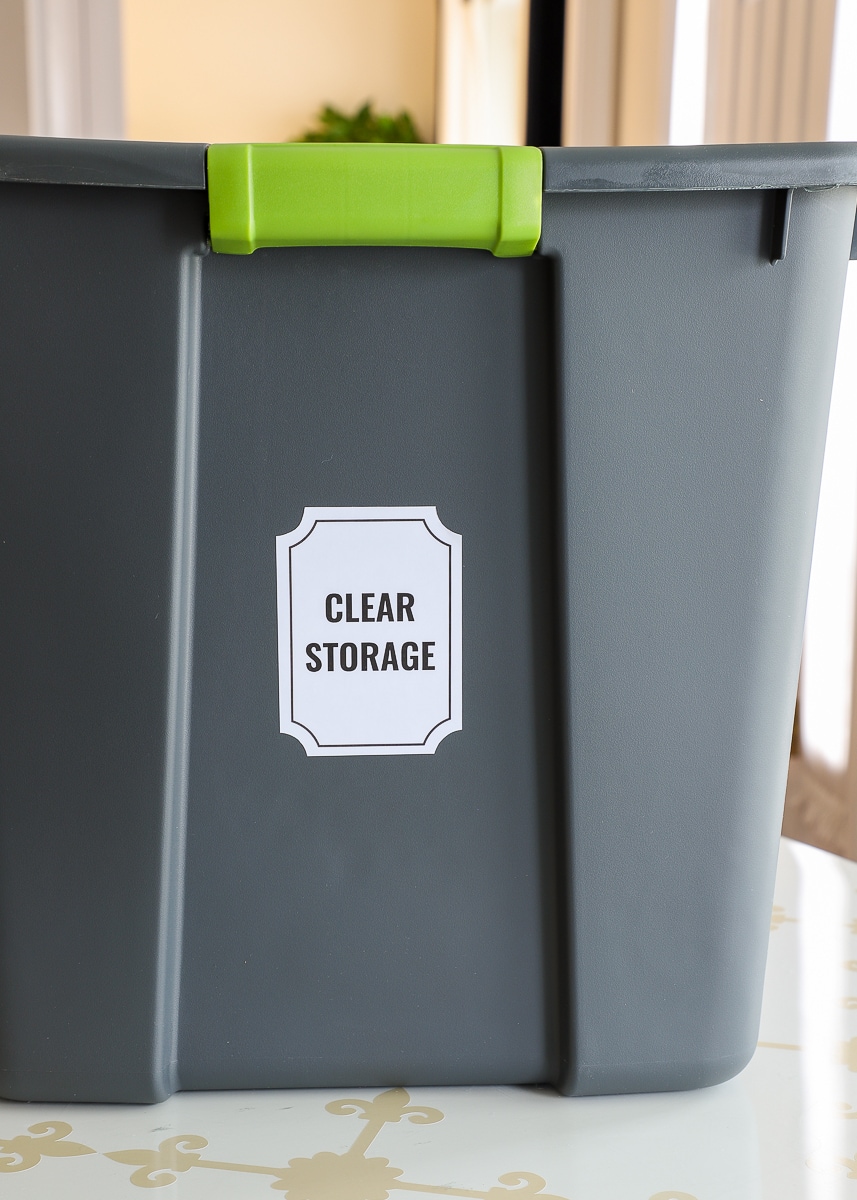
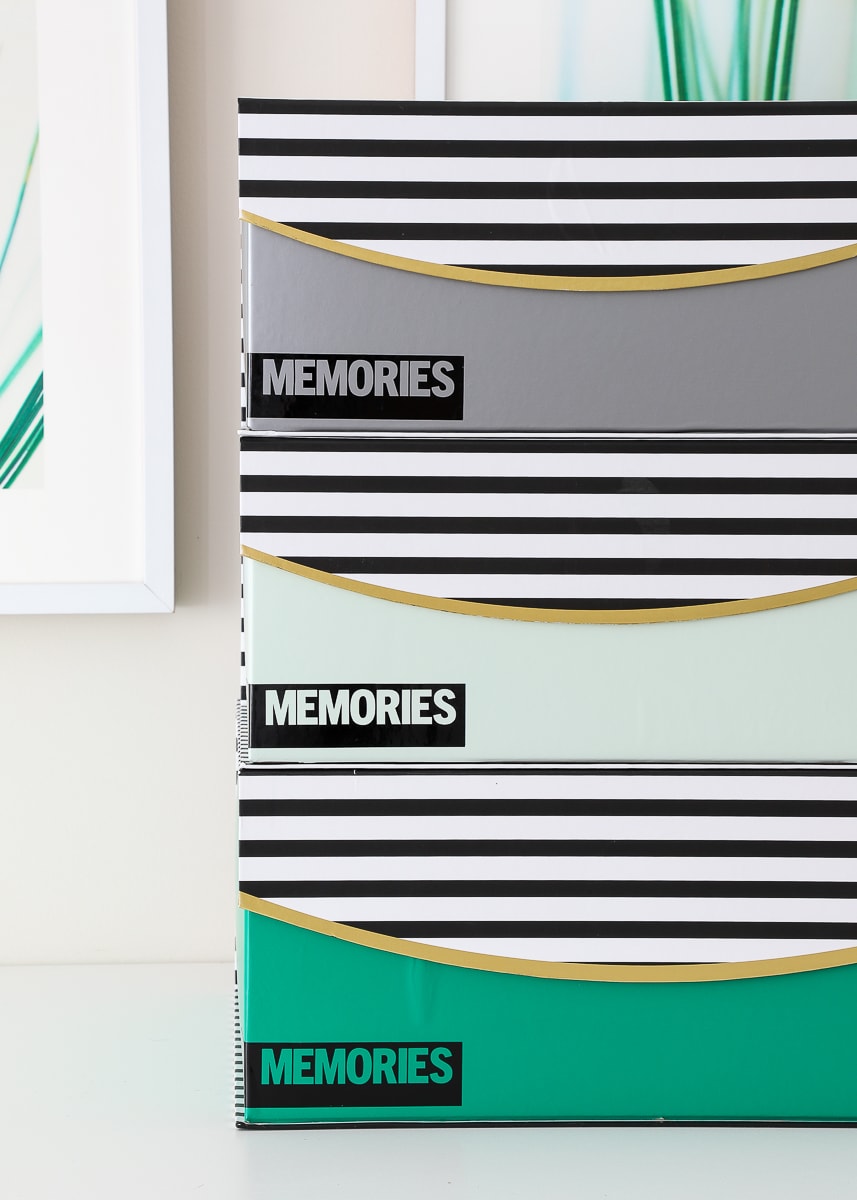
Printable Storage Box Labels | Labels printed onto glossy white sticker paper
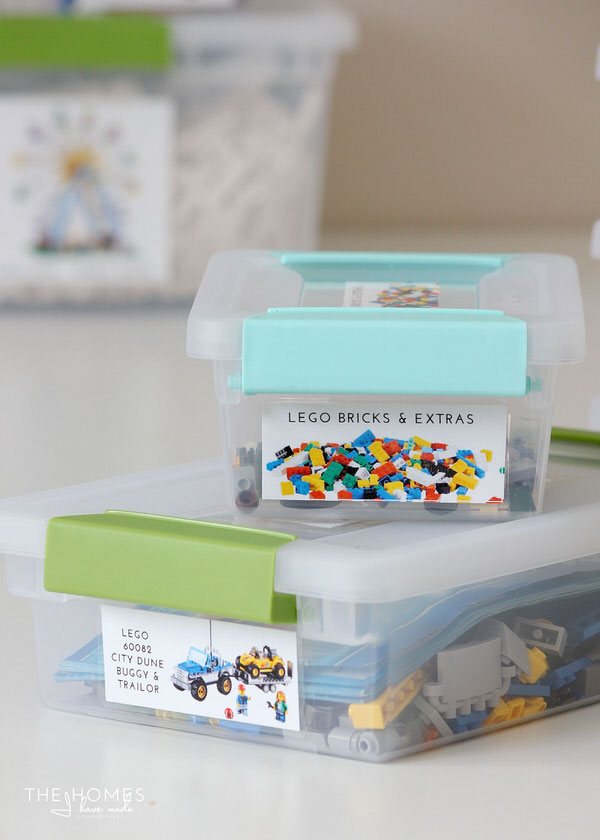
Lego Storage Ideas | Labels printed onto photo paper
Cricut Machines
I obviously can’t do a “labeling” post without mentioning Cricut machines, since they give you the ultimate flexibility and customization when it comes to making gorgeous labels. However, Cricut machines are also the most expensive and hardest to learn of everything I’m sharing today, and also require an investment of both time and materials.
Cricut Joy
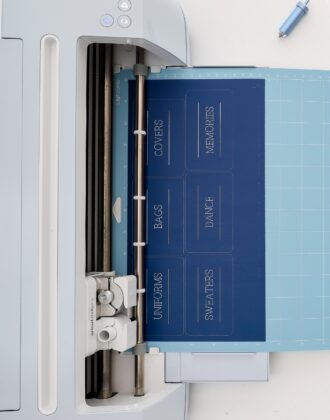
My favorite way to make custom labels with a Cricut machine is using my Cricut Joy. Its compact size and compatibility with Smart Materials take away a lot of the “hassle” associated with the bigger machines. You can use Cricut Joy to cut vinyl or iron-on into any word or shape; and you can use the pens to make detailed text labels.
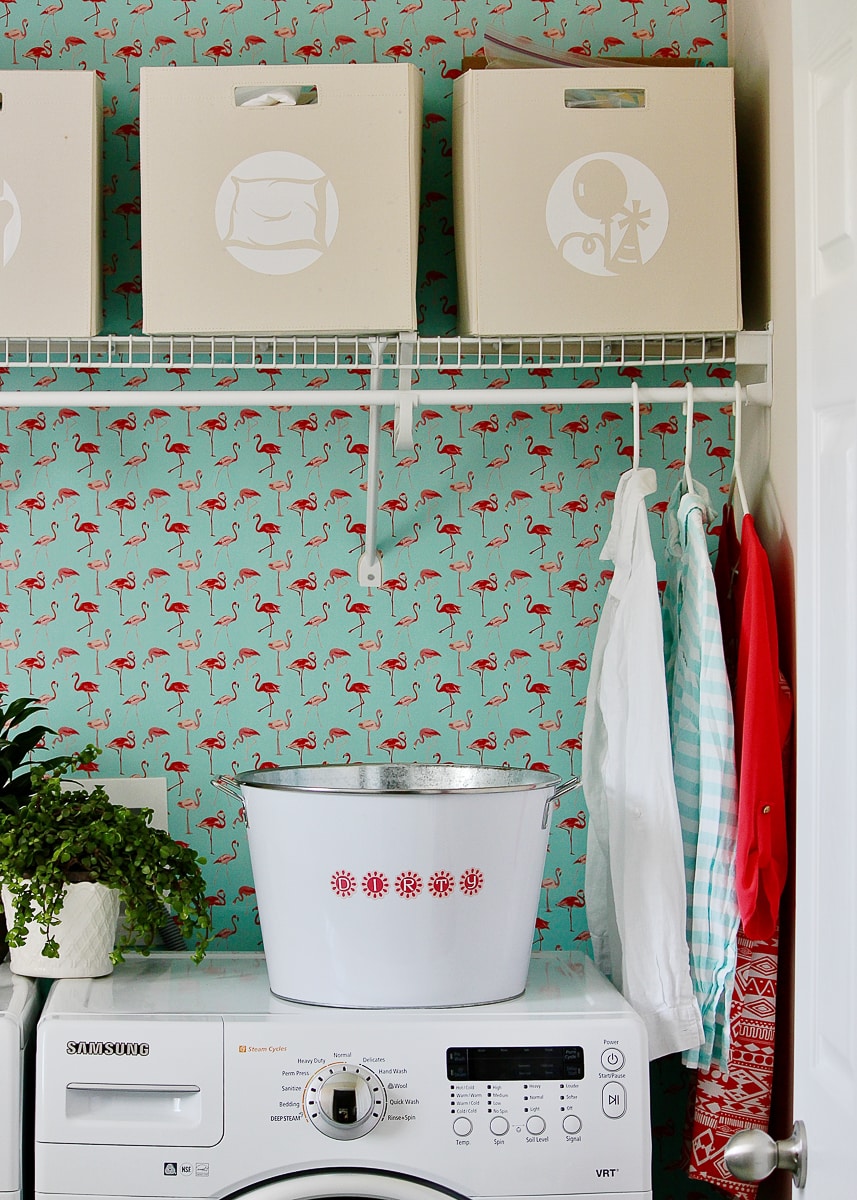
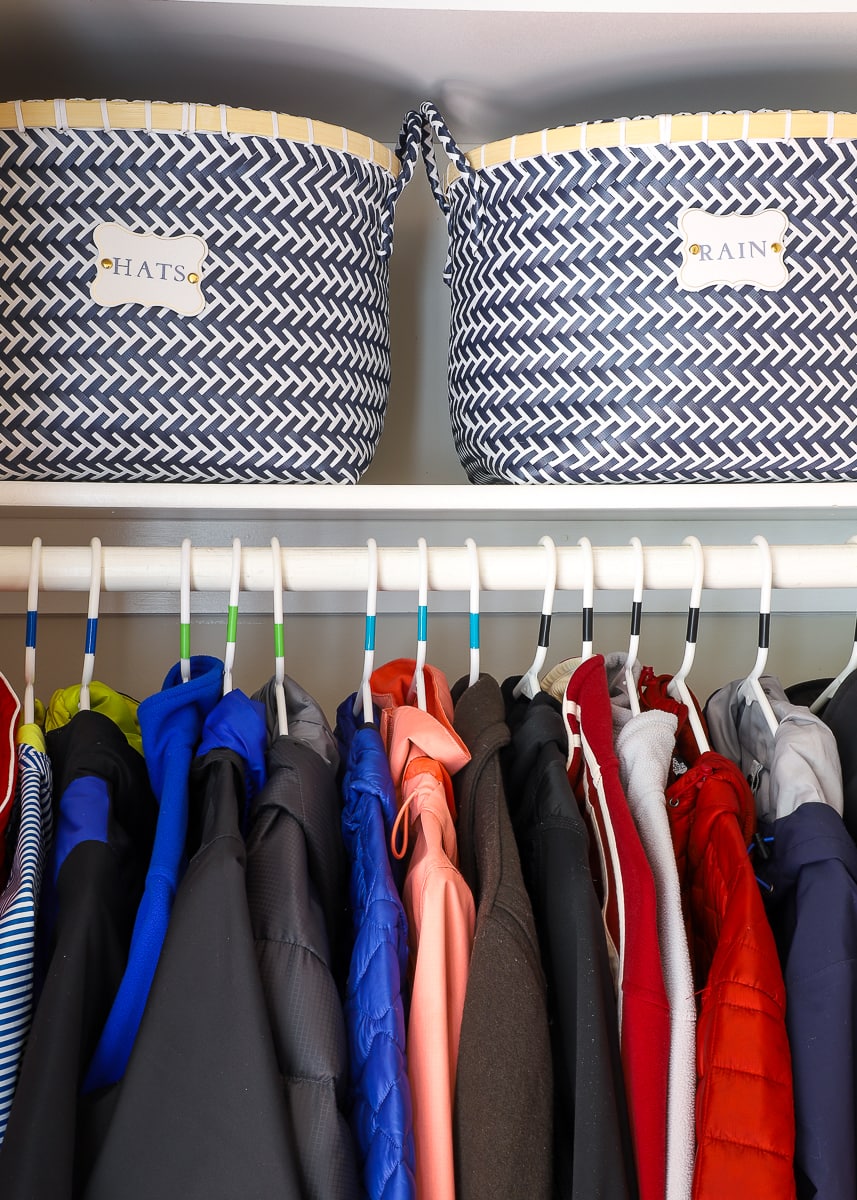
Closet Labels | Labels made with Smart Paper on Cricut Joy
Using the Cricut Joy App | Labels made with Smart Vinyl on Cricut Joy
Pantry Labels with Cricut Joy | Labels made with Smart Label and Pens on Cricut Joy
Cricut Maker/Explore
You can also use the Cricut Maker or Cricut Explore to make labels with pens, vinyl, iron-on, etc. One main advantage to using these larger machines is that you can make really large labels. Additionally, the Explore and Maker models provide the ability to use the Print Then Cut feature. In this instance, you can make a label look any way you want (e.g., size, borders, images, colors, fonts, etc). But instead of cutting these labels out from vinyl or writing them with pens, you print them off your home printer and then the Cricut cuts the final shapes out. This is a great way to get suuuper custom printed labels!
How to Make Vinyl Labels with a Cricut | Labels made with vinyl on a Cricut Explore
DIY Happy Planner Inserts | Labels made via Print then Cut with a Cricut on clear glossy sticker paper
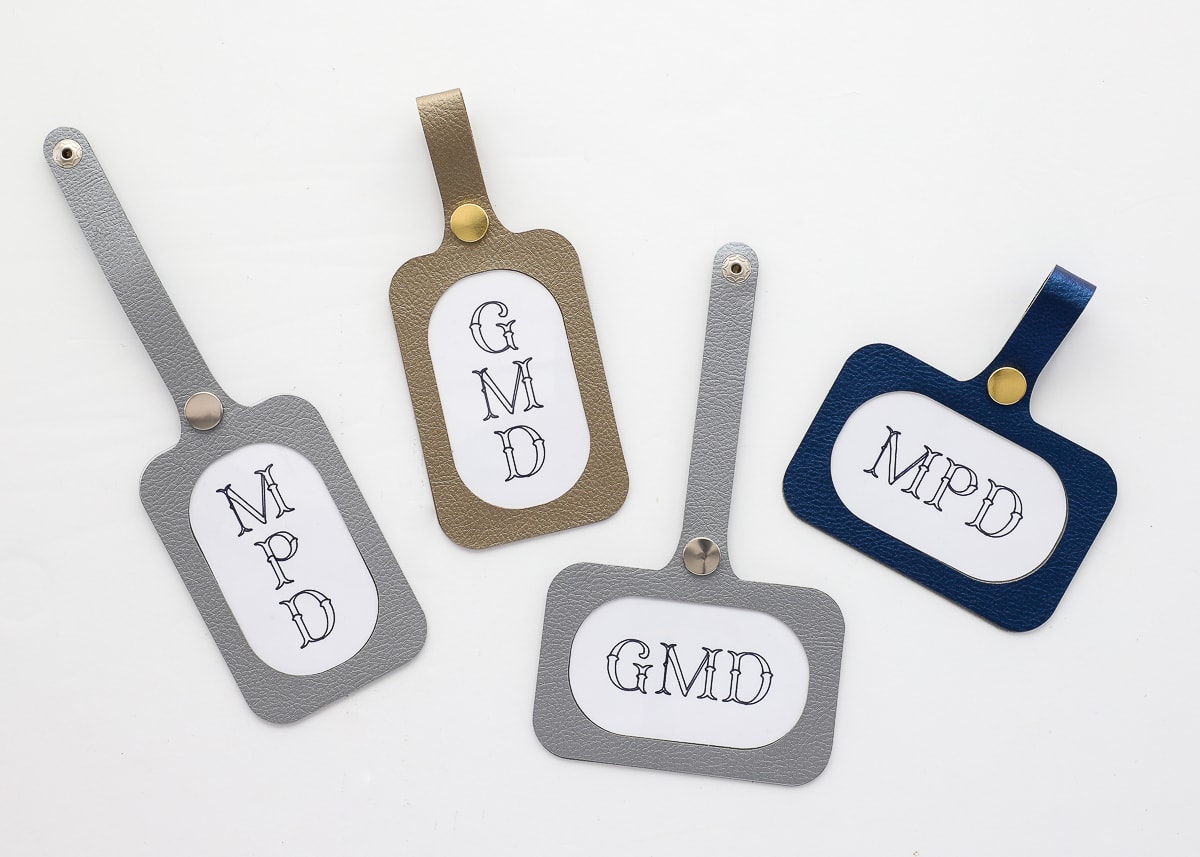
Monogram Luggage Tags | Labels made via Print Then Cut on a Cricut Maker onto white cardstock
Not sure which Cricut machine is right for you? Check out my comprehensive guide: Which Cricut Machine Is Best for Making Labels?
Favorite Supplies for Making Labels
While the label maker, my home printer, and my Cricut machines are the main tools I use to create labels for our homes, I pair them with a wide variety of materials to get all sorts of different looks and functionalities. Below are my very favorites!
Clear Label Tape
I mentioned this above, but it’s worth quickly mentioning again. Creating labels on clear tape provides a cleaner overall look whether you’re applying labels directly to shelves and cabinets or onto paper products like files and tabs. If you’re worried about the text not being visible enough, contrast the letters with the background surface. So use black letters on light surfaces, and white letters on darker surfaces. Many label makers now include clear tape options, so give it a try if you haven’t already!
Sewing Machine Feet Organizer | Labels made with white letters on clear tape
Teaching Kids to Be More Organized | Labels made with white letters on clear tape
Printable Labels
I use a wide variety of off-the-shelf Avery labels and stickers for my organization projects. Not only do these labels now come in so many different shapes (e.g., circles, rectangles, squares) and finishes (e.g., clear, kraft paper, glossy, foil) but they are super easy to format with pictures, text, borders, and more. When I want gorgeous labels quickly, printing onto Avery labels is usually my preferred method since you can literally just design, print, and stick. The white glossy and clear glossy versions are my favorite for their vibrant finishes.
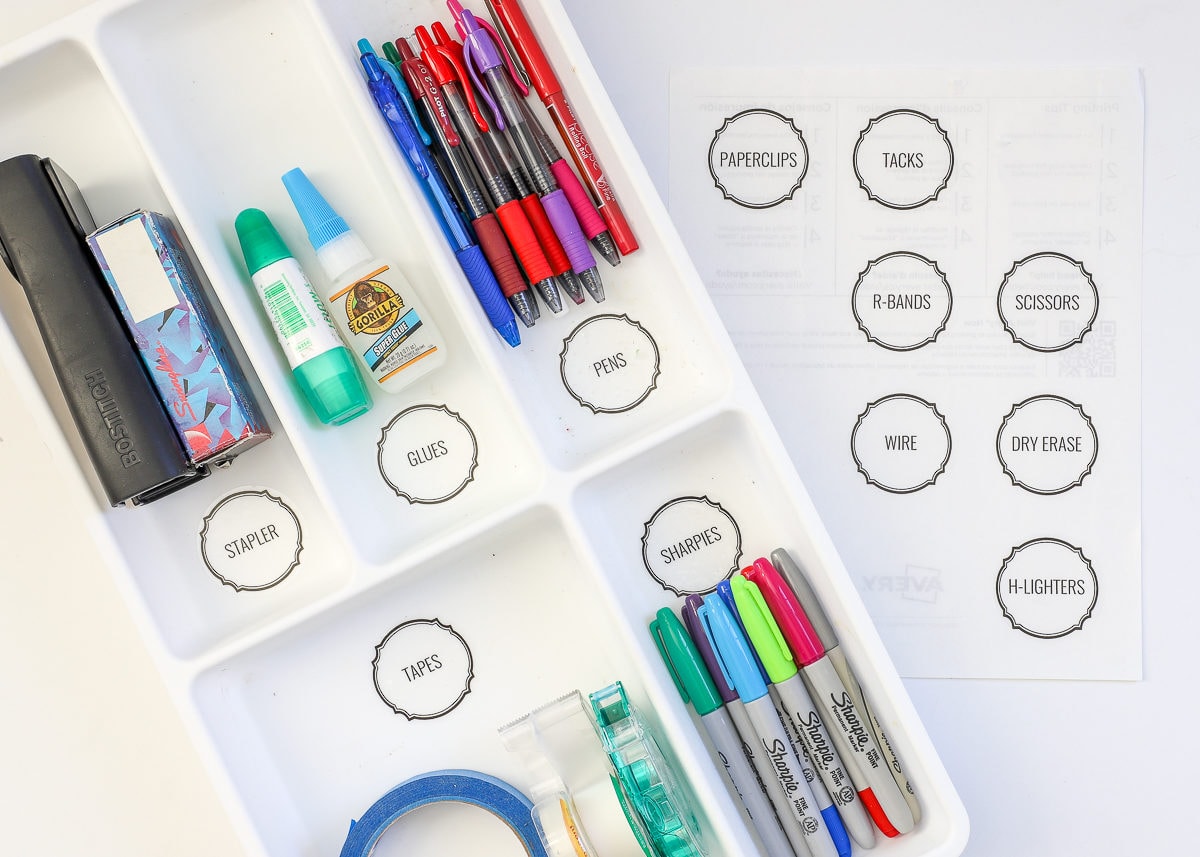
Printable Labels | Labels printed onto Avery 22825 labels
Printable Labels | Labels printed onto Avery 22825 labels
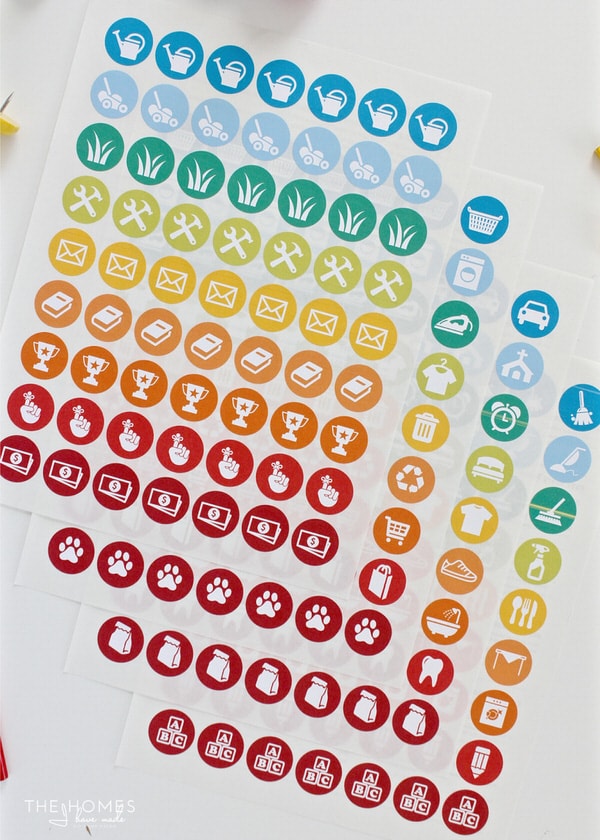
Chore Chart Labels | Labels printed onto Avery 6450 labels
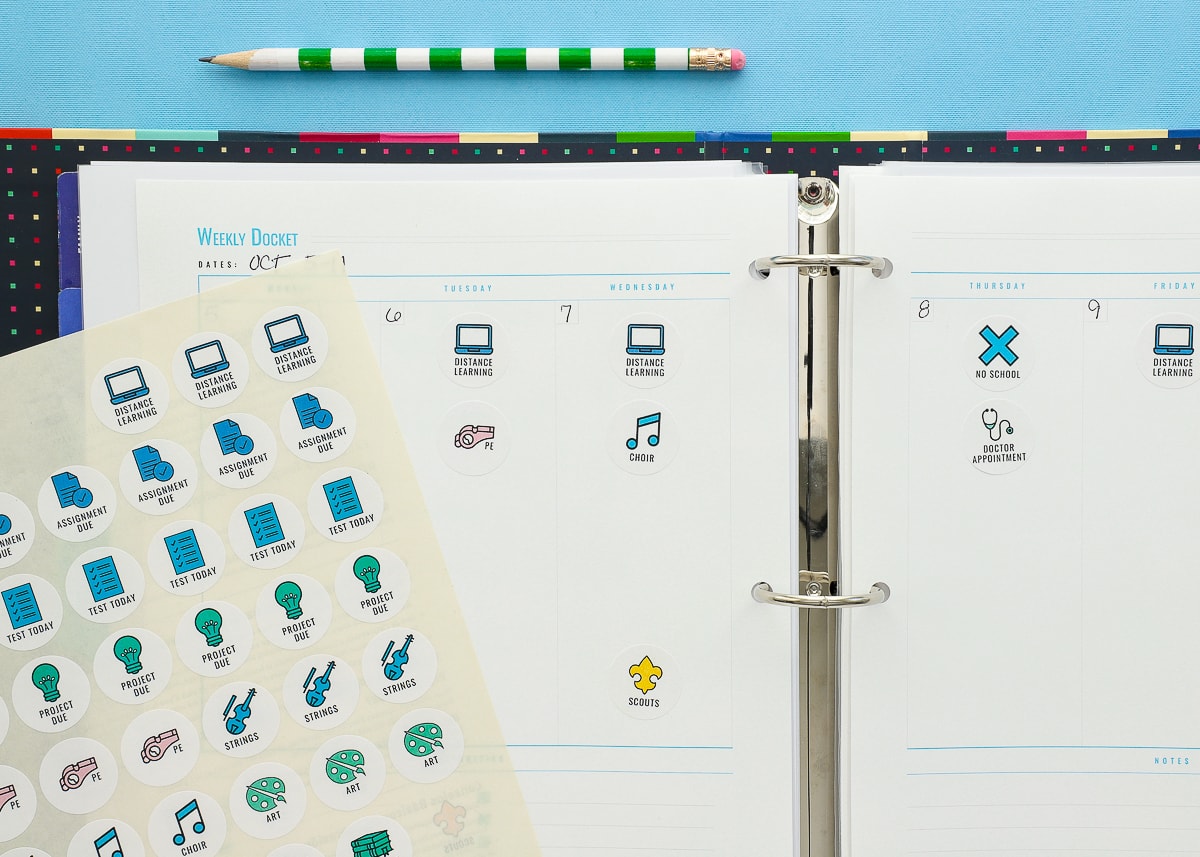
Student Planner Stickers | Labels printed onto Avery 6450 labels
Bathroom Storage Solutions | Labels printed onto Avery 22807 labels
Speciality Papers
If I’m creating labels with my Cricut or even just trimming basic printed labels down to a very specific size by hand, I will often rely on specialty papers that I can still run through my printer but cut down any way I need. Full sheets of glossy white sticker paper, clear sticker paper (this one and this one), magnetic paper, and photo paper are my usual go-tos…again, for that brighter, saturated print quality.
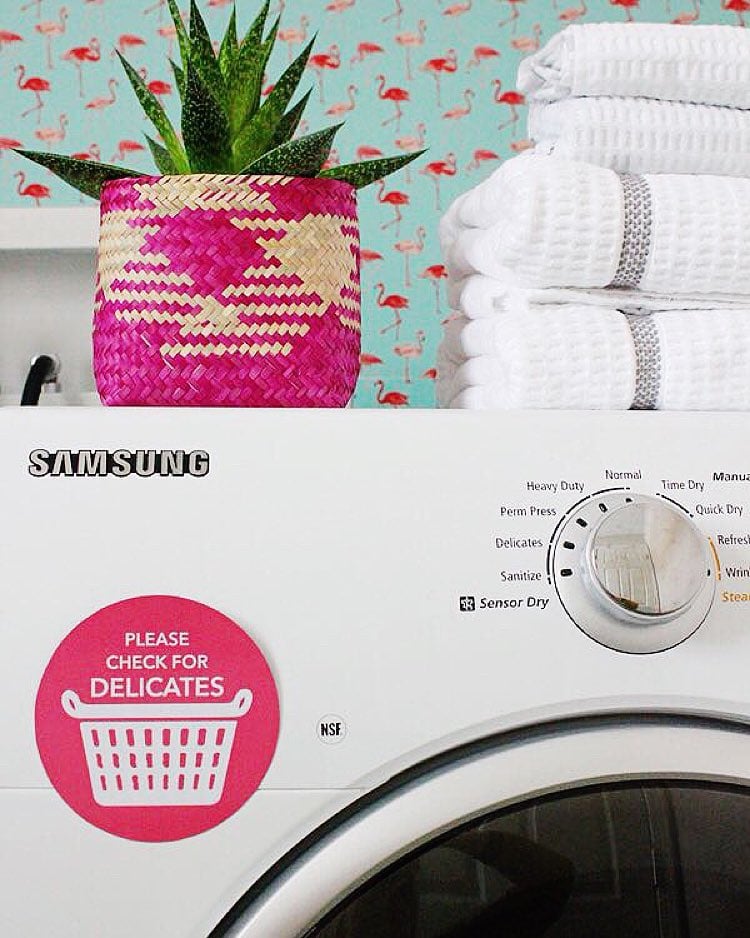
Magnetic Laundry Signs | Label printed onto magnetic paper
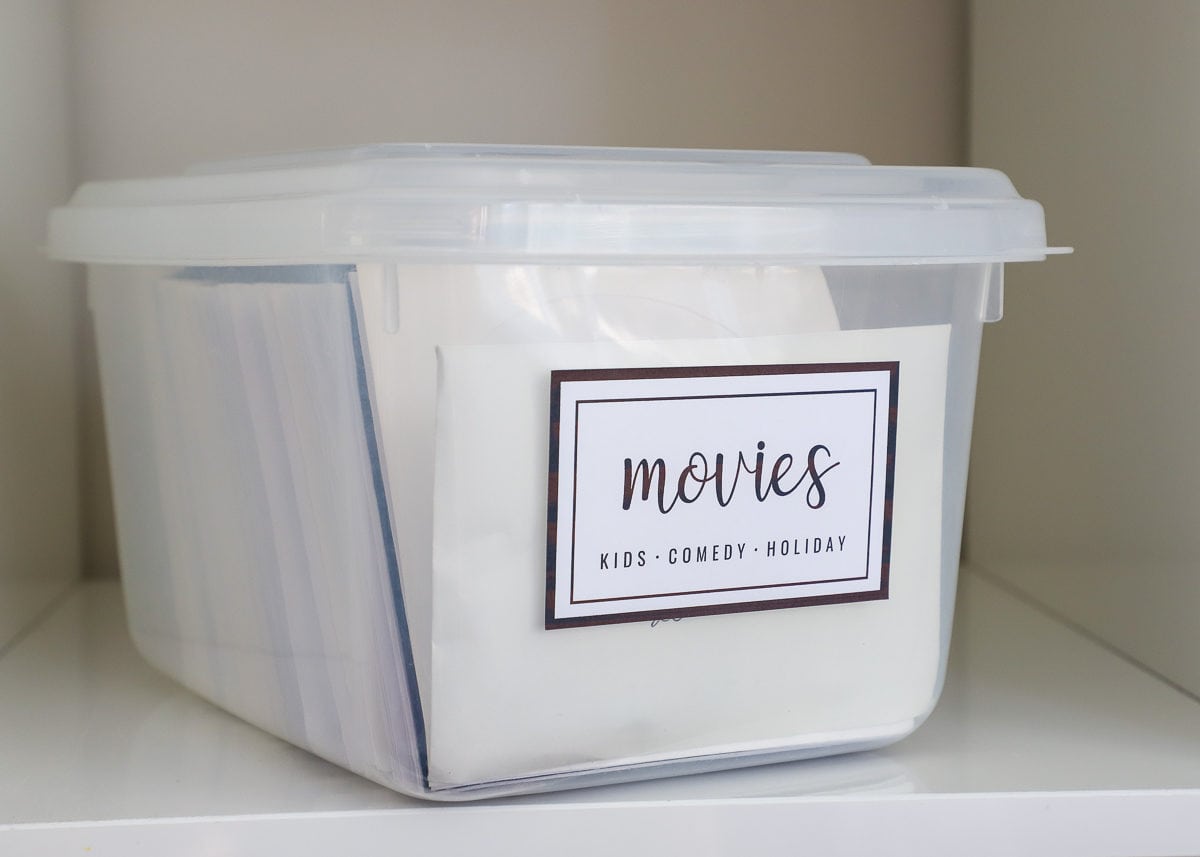
DVD Storage Boxes | Label printed onto white sticker paper
Tags
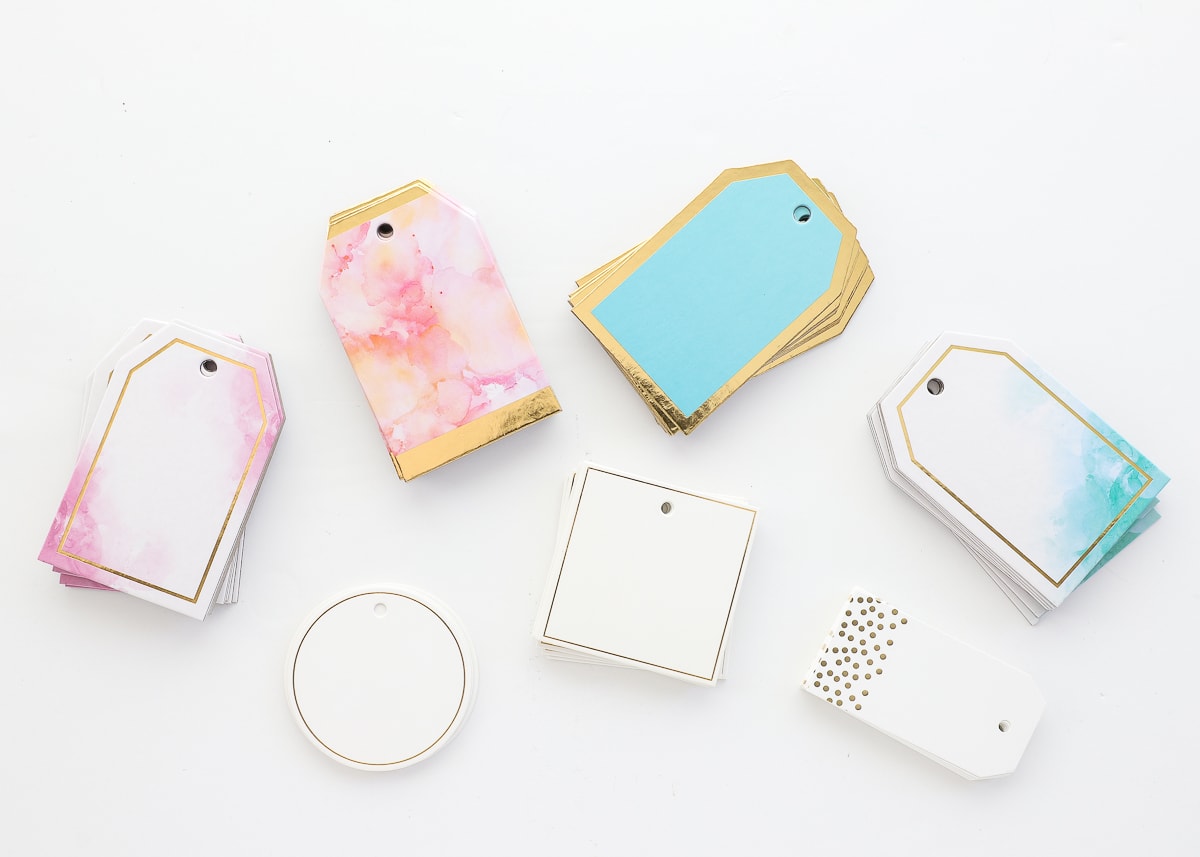
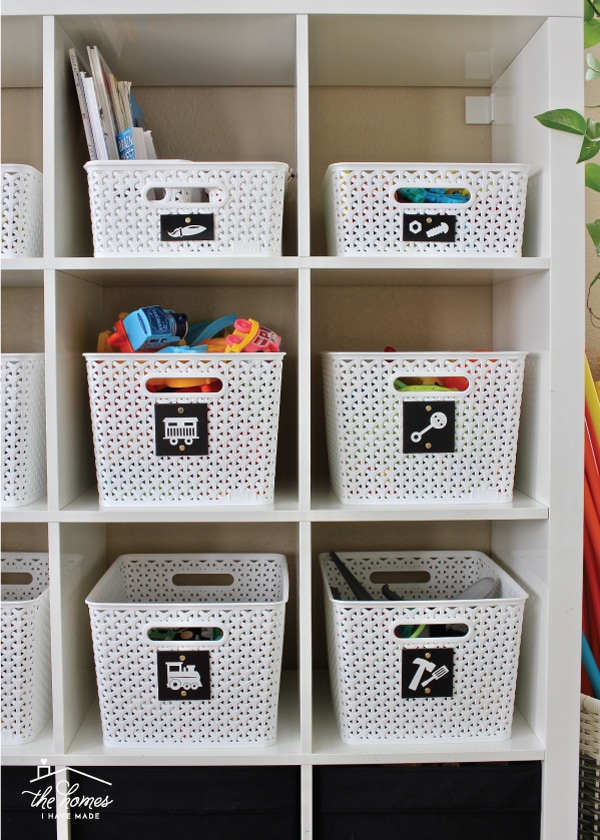
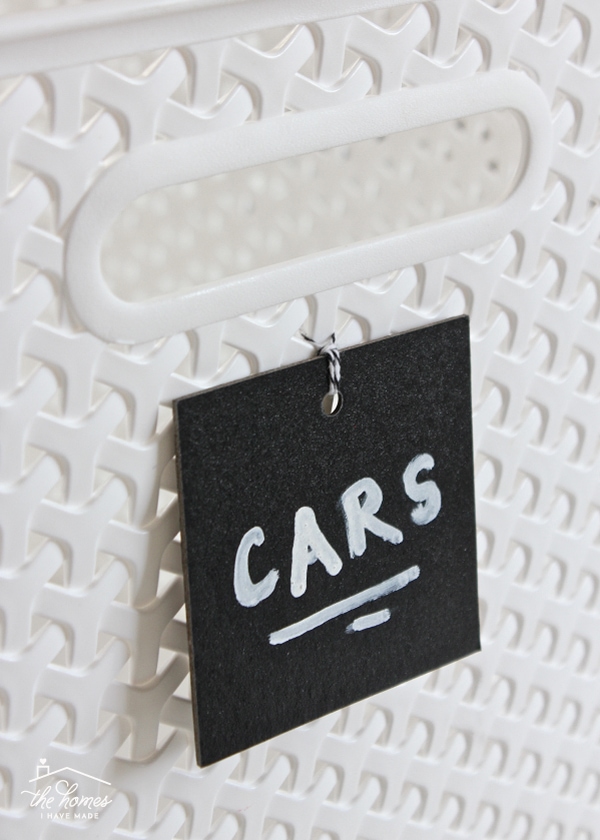
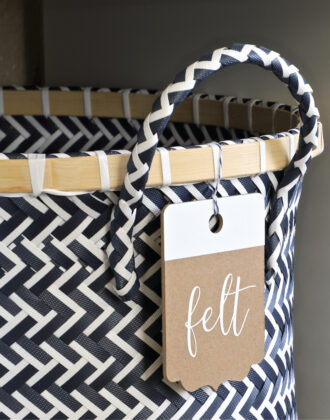
Whenever I am in any craft store (particularly, Michaels since they have a good rotating selection) or the Target Dollar Spot, I always keep my eyes peeled for chipboard tags or labels. Now available in so many different finishes, shapes, and sizes (e.g., chalkboard, foil designs, water color, etc), these are my absolute favorite products for securing to the front of large baskets for a decorative AND functional detail.
“Chalkboard” Labels | Labels made from vinyl on chipboard tags
How to Write On Tags with Cricut Pens | Labels written with Cricut pens onto chipboard tags
Ideas for Organizing the Front Hall Closet | Monograms cut from patterned sticker paper and adhered to chipboard tags
Tapes
Patterned washi tapes are another product I like to use to make labels…especially in combination with my label maker. They are a great way to add a colored or patterned background to a label (this is where that clear tape comes in handy!), and are often easier to pull off than other labels or sticker papers.
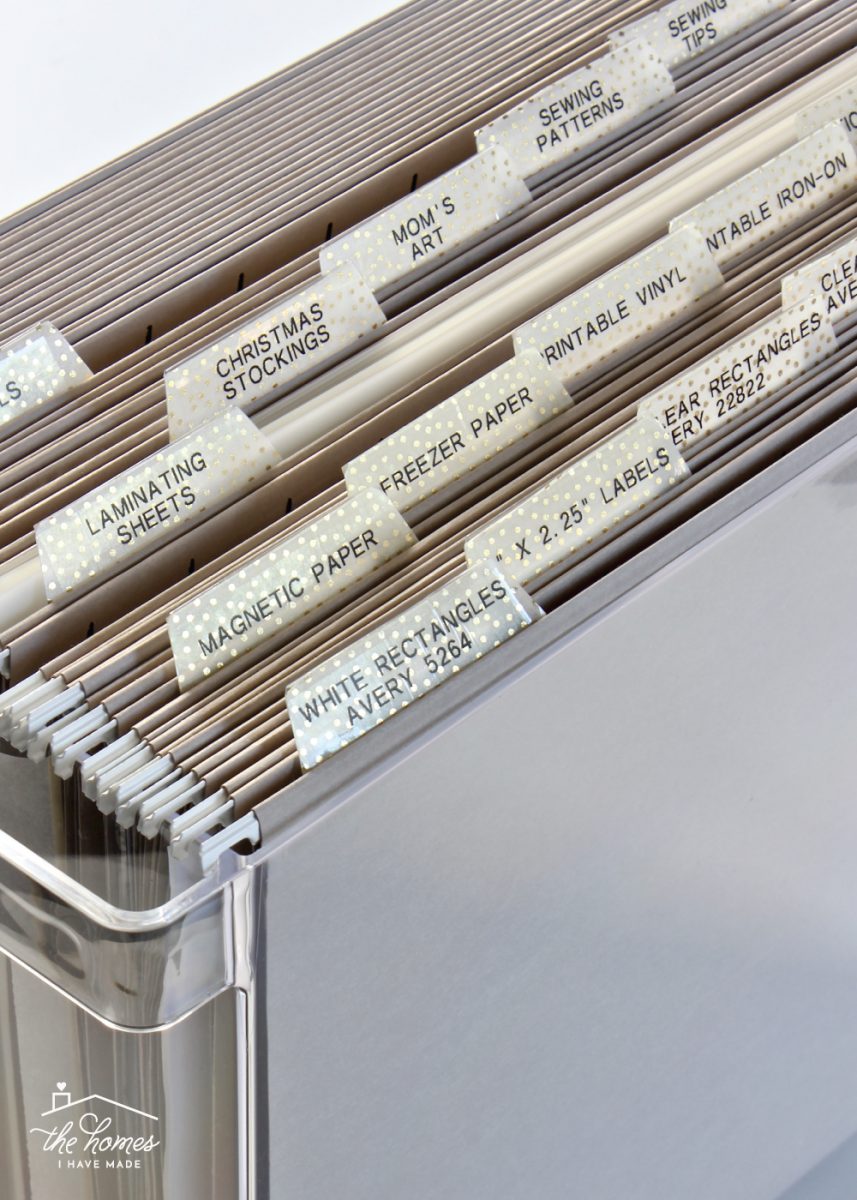
Craft Paper Storage | Labels printed with a label maker and laid over gold polka-dot washi tape
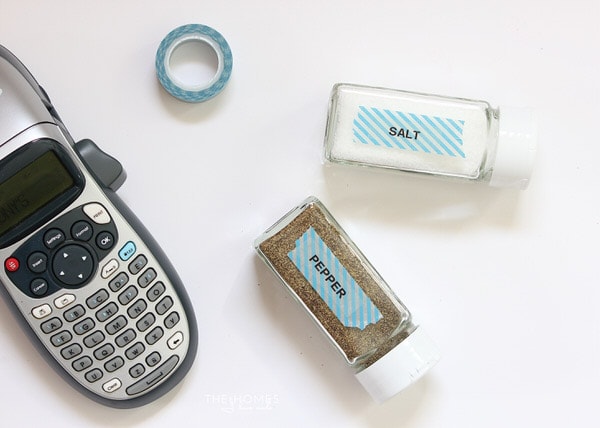
Magnet Jar Labels | Labels printed with a label maker and laid over blue striped washi tape
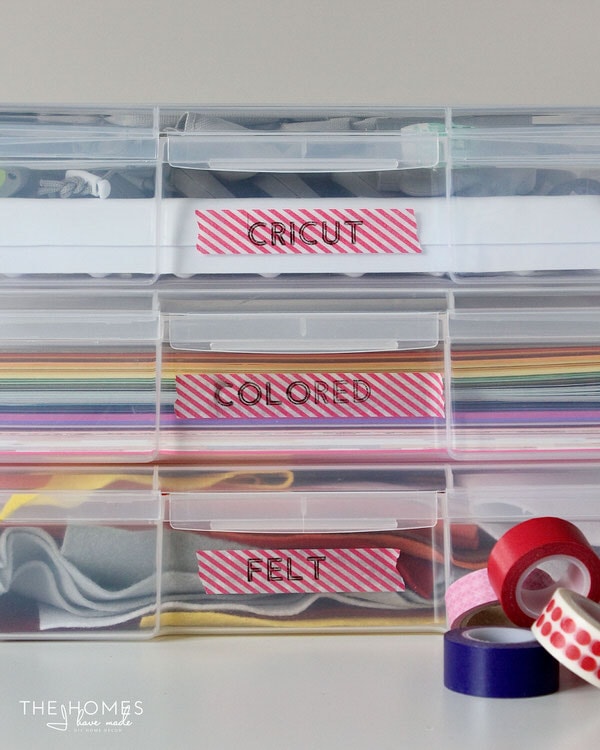
Washi Tape Labels with a Cricut| Labels drawn with Cricut pens directly onto pink striped washi tape
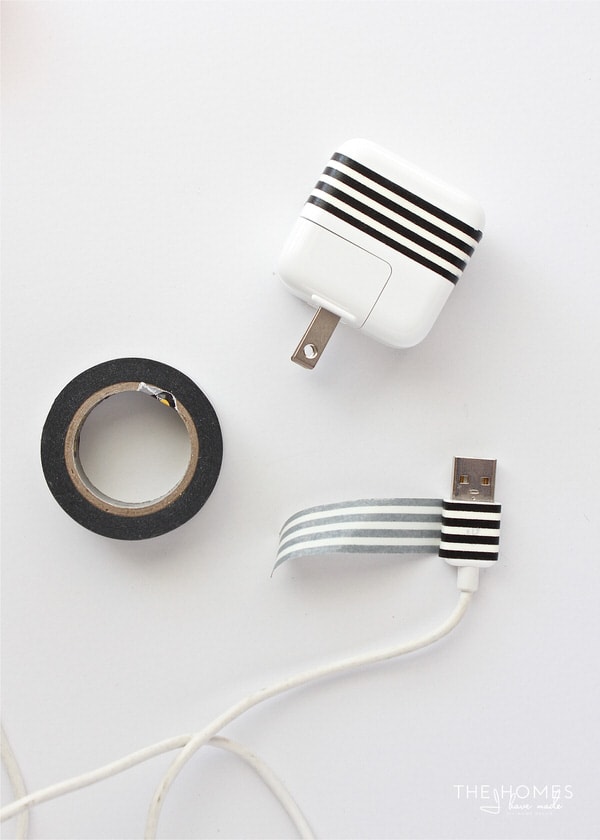
Tapes themselves also make for great labels, especially when you need to color-code cords, cables, hangers, or other small items!
Cord Labels with Washi Tape | Labels made with wrapped washi tape
Front Hall Closet Organization Ideas | Hangers labeled with strips of colored tape
Label Holders
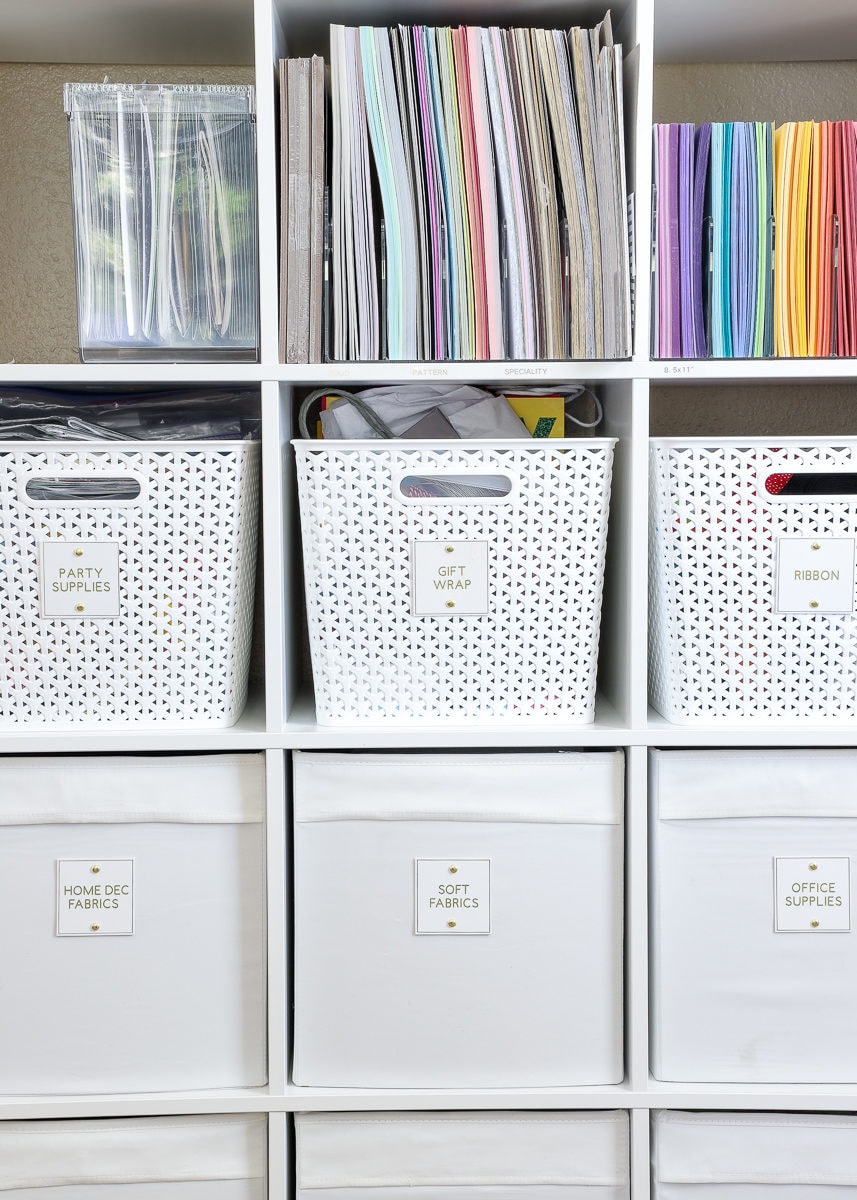
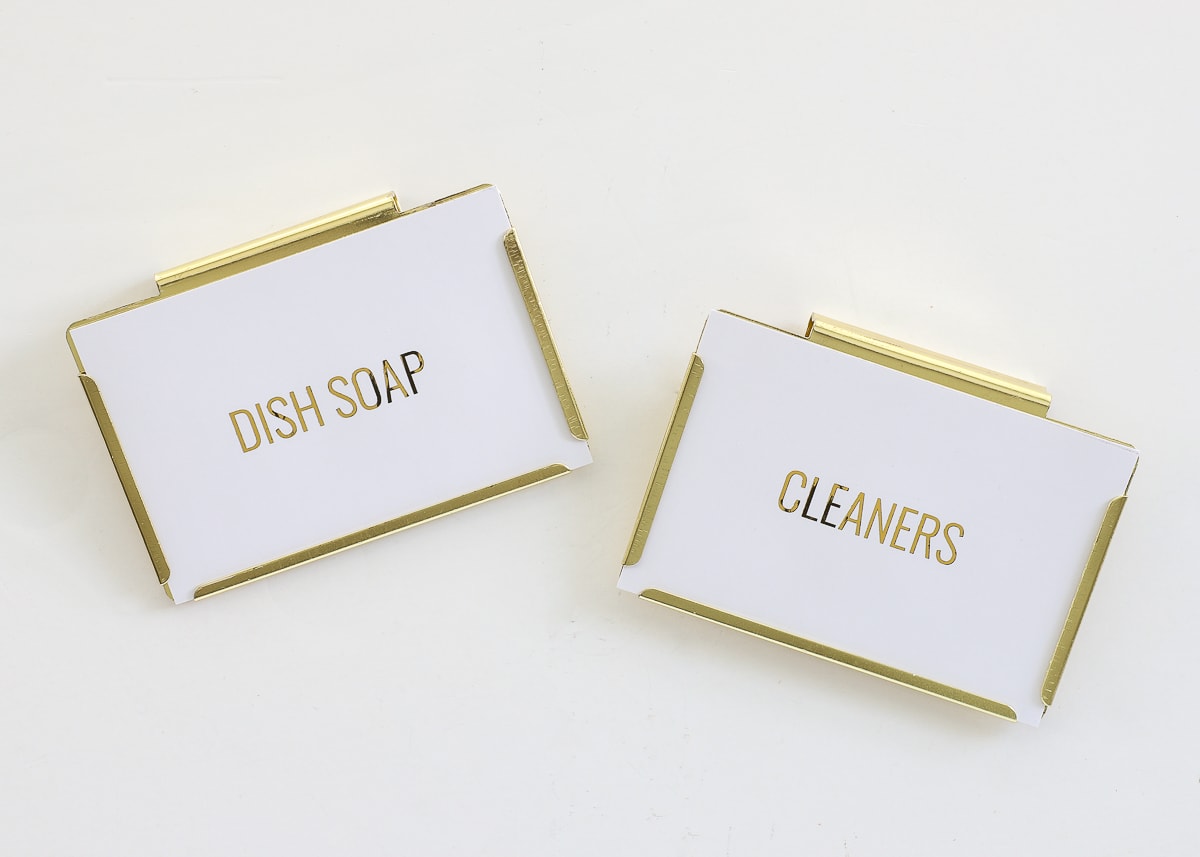
If I’m not using chipboard tags with fasteners on baskets, then I am almost always using my favorite gold bin clips to hold labels. I love that these holders can clip on to almost any basket, completely damage-free. They look super chic, are available in a wide variety of colors (I’m dying to use these acrylic ones!), and can be paired with labels you print with a printer, cut with a Cricut, or write by hand!
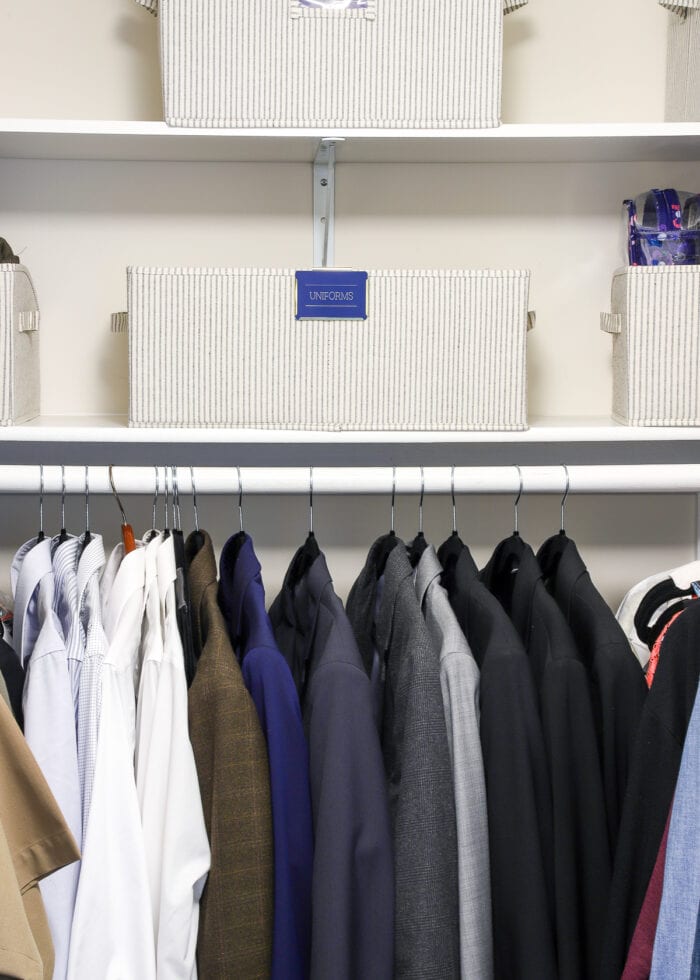
Master Closet Organization | Labels made with paper on a Cricut machine and loaded into bin clips
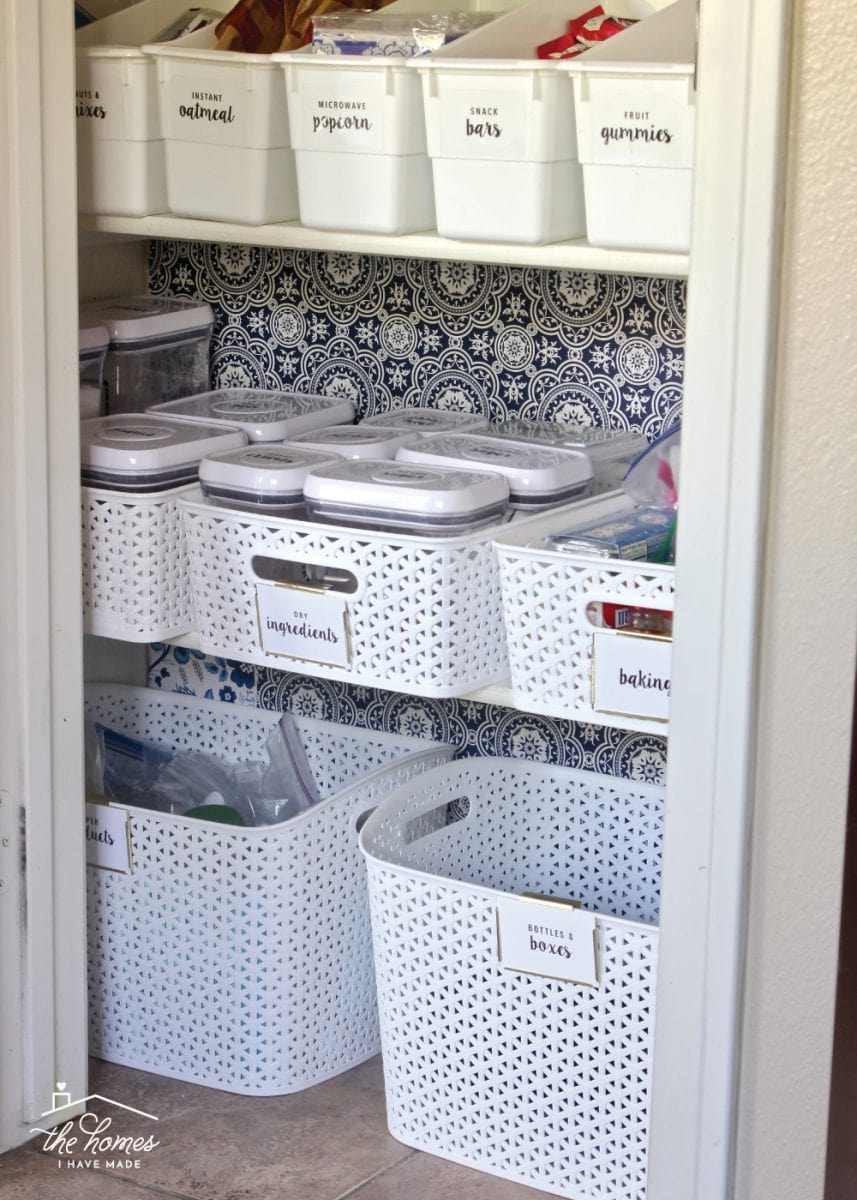
Pantry Organization | Labels printed onto cardstock and loaded into bin clips
Nursery Closet Organization | Labels printed onto scrapbook paper and loaded into bin clips
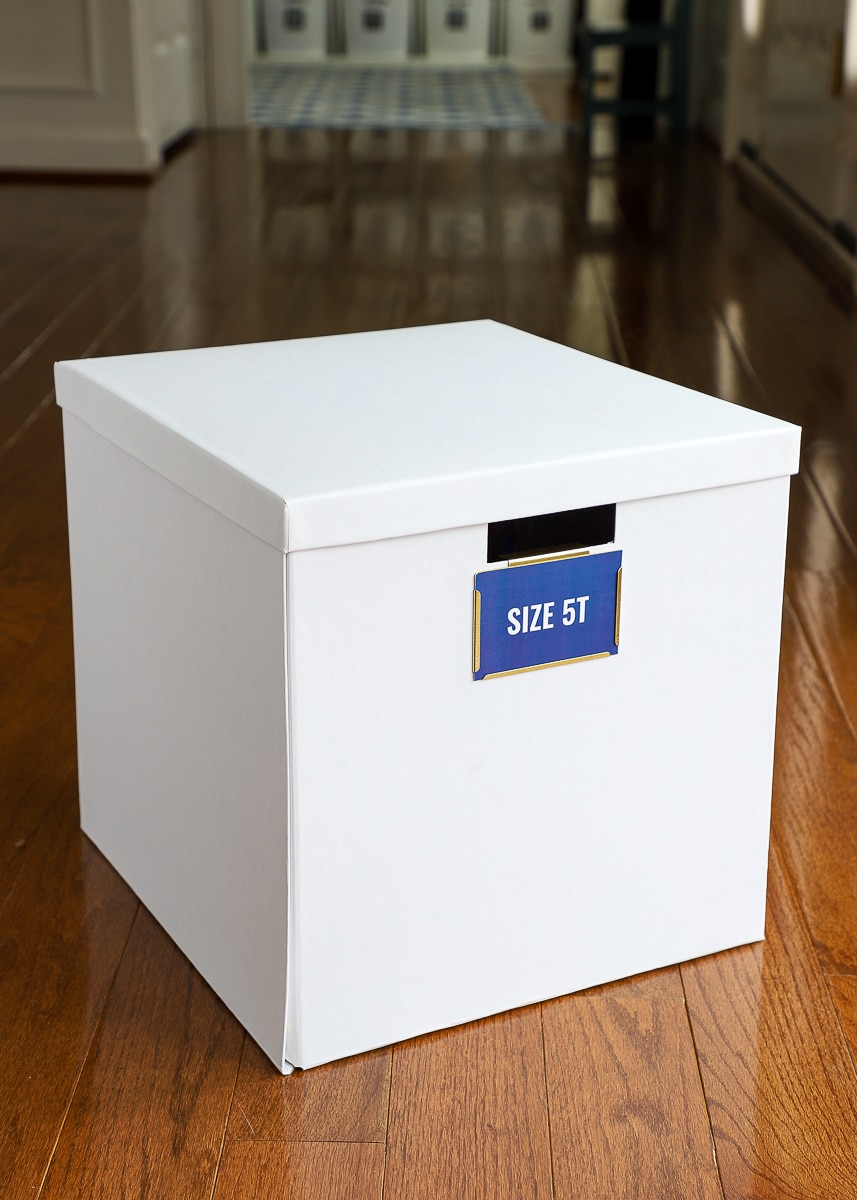
Printable Storage Box Labels | Labels printed onto cardstock and loaded into bin clip
Chalkboard Markers
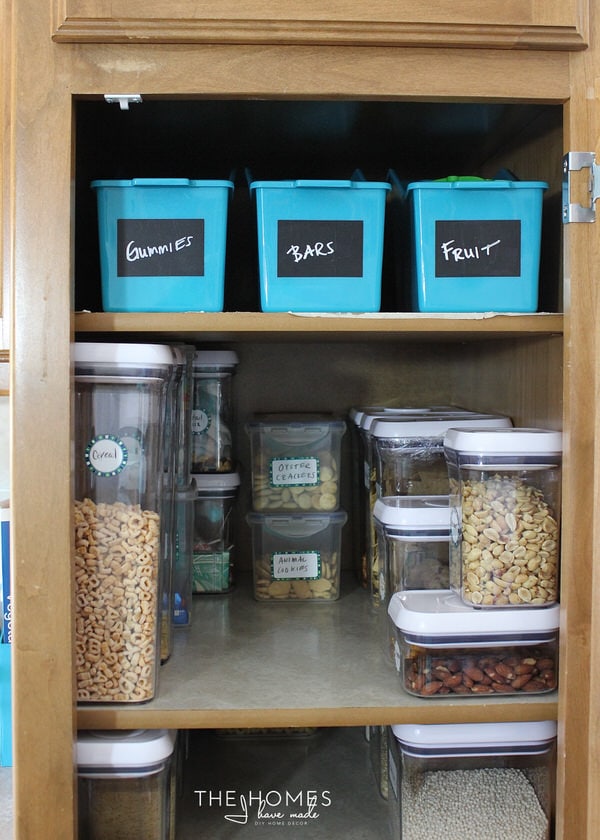
Time and time again, I’ve found myself reaching for chalkboard markers to quickly write helpful labels onto faux chalkboard surfaces. Unlike chalk, the markers leave a more durable finish that can’t easily be wiped away (but does come off with some water or wipes).
“Chalkboard” Labels | Labels written onto chalkboard tags with chalk marker
Skinny Pantry Organization| Labels written onto chalkboard tags with chalk marker
Foil Supplies
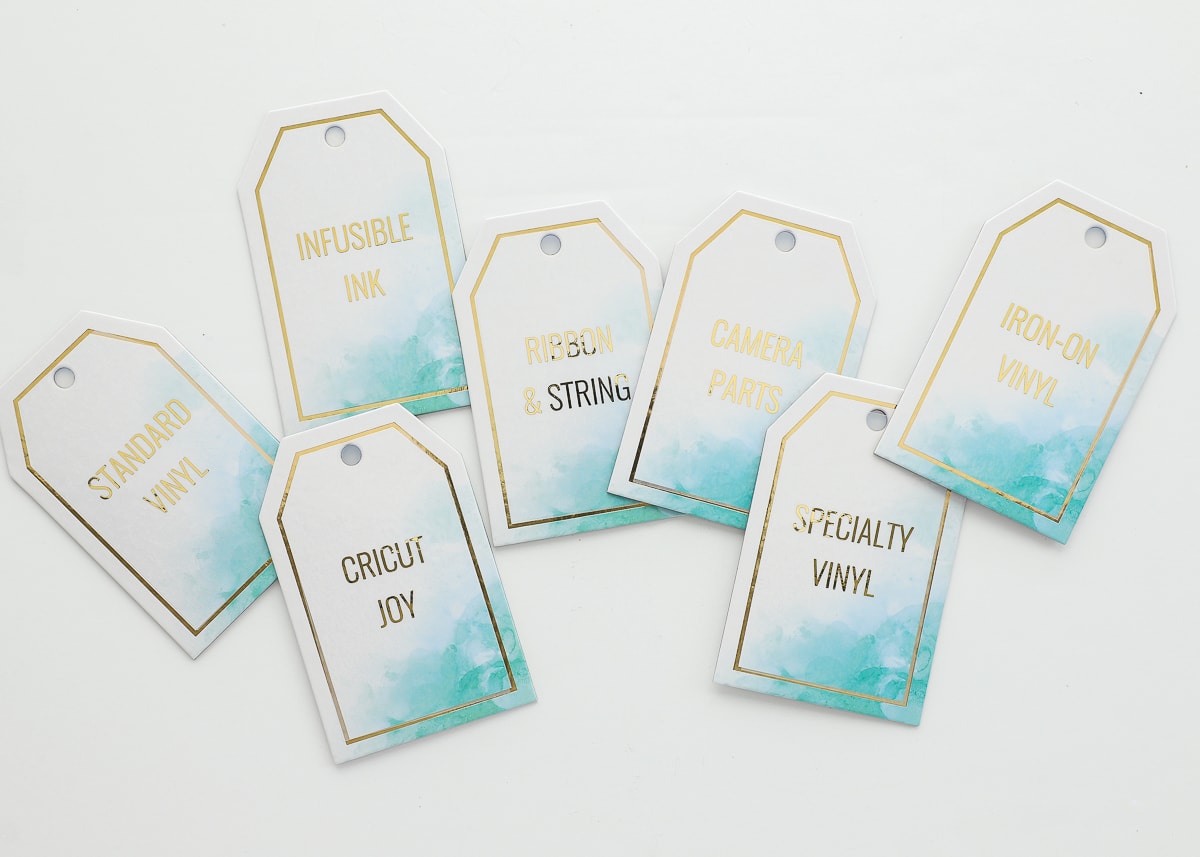
For some reason, my favorite labels always tend to be the ones with a little shine. Metallic letters and other design elements are definitely a little “extra” when it comes to labels, but sometimes I just can’t help myself (especially if the labels are in plain view and serving a decorative purpose). I have yet to find a metallic pen that gives me the sheen I like, so I prefer foiling labels myself with foil sheets or using the new Cricut Foil Transfer tool (of which I have a tutorial coming up soon!).
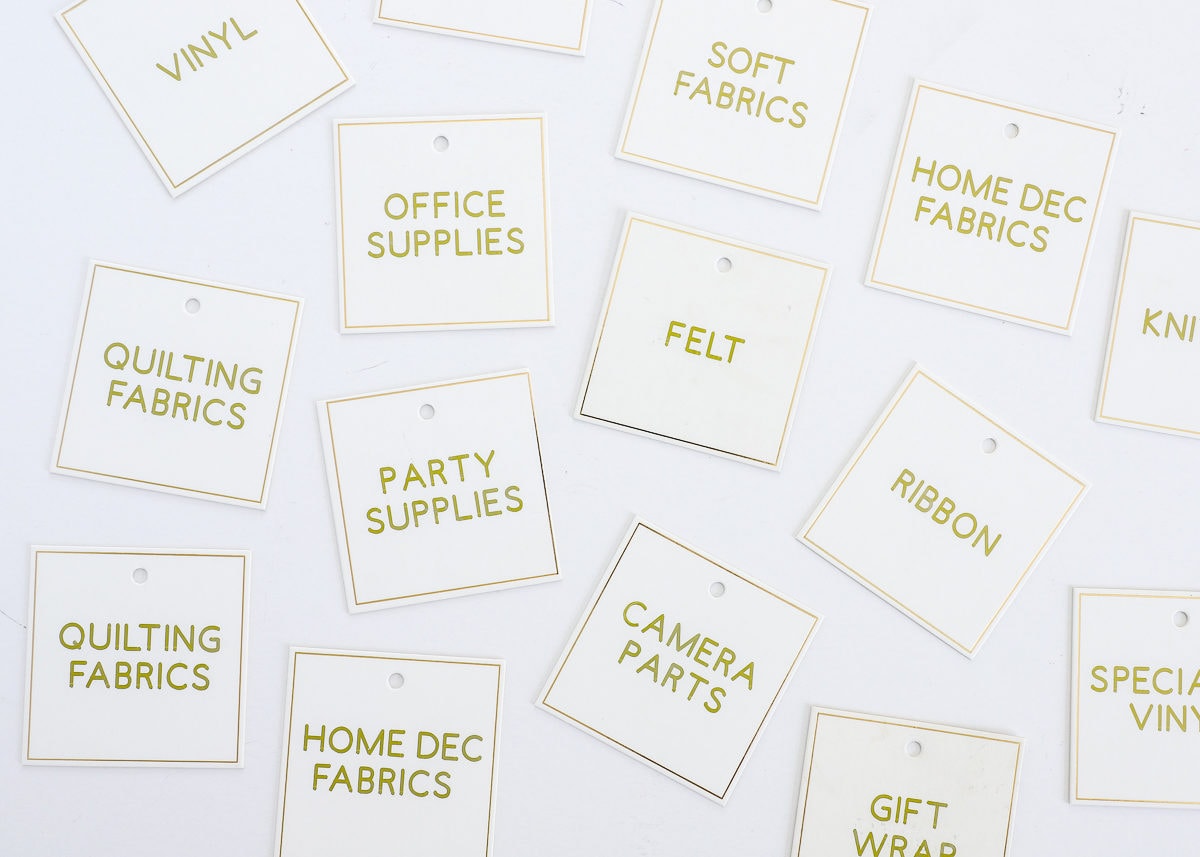
DIY Gold Foil Labels | Labels made via clear sticker paper + foil sheets + chipboard tags
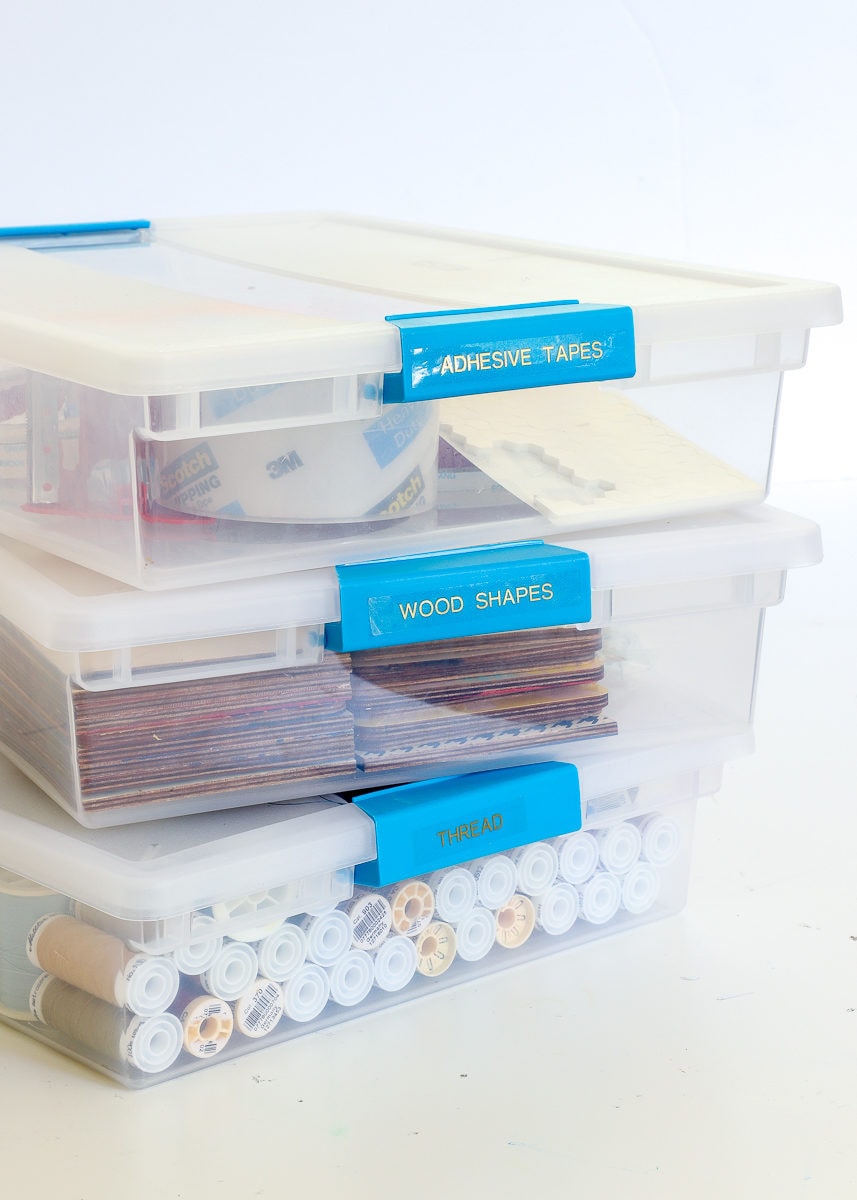
Craft Room Organization Ideas | Labels printed onto clear label tape with gold letters via a label maker
Vinyl
I’d obviously be remiss to leave out vinyl, since it’s the main way I make labels with my Cricut machines. Since vinyl comes in pretty much any color and sheen and can be cut into pretty much any word or shape, it really is one of the best mediums for making labels.
How to Make Vinyl Labels with a Cricut | Labels made with beige and black vinyl on a Cricut Maker
Iron-On
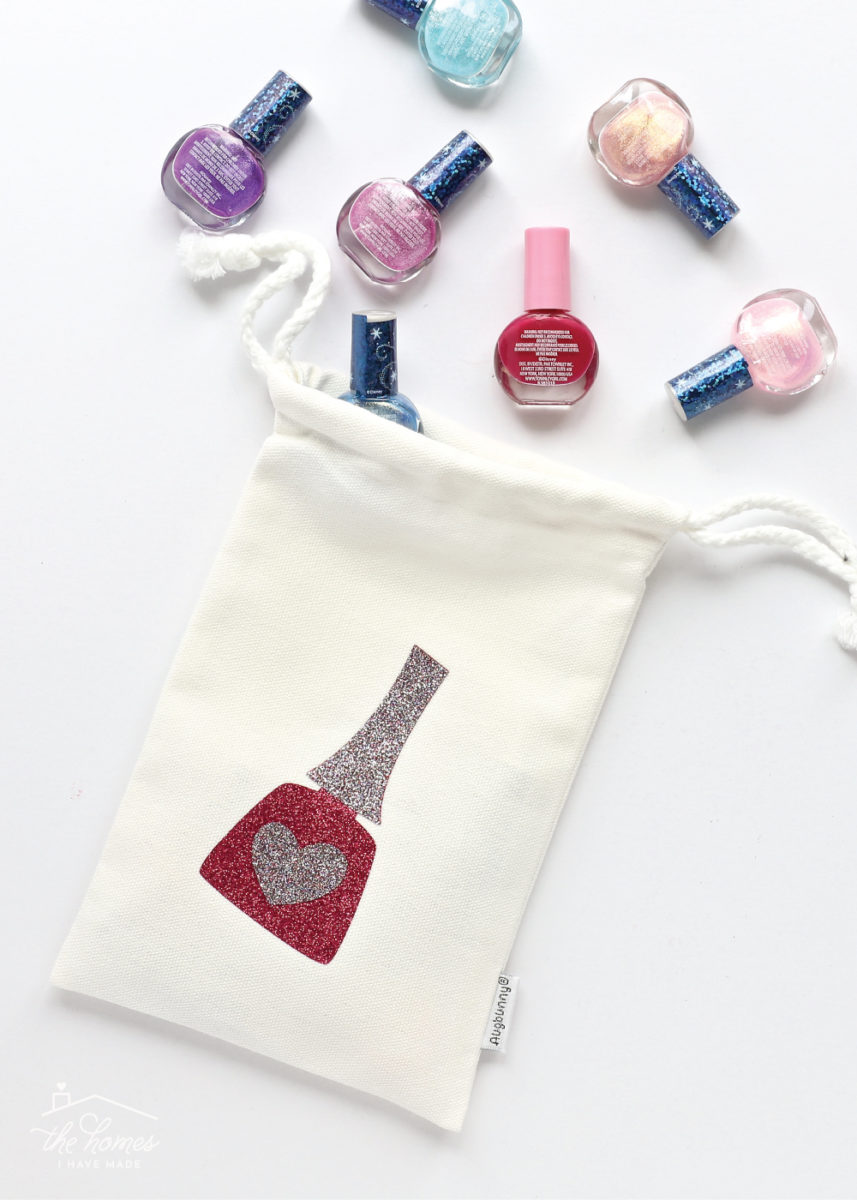
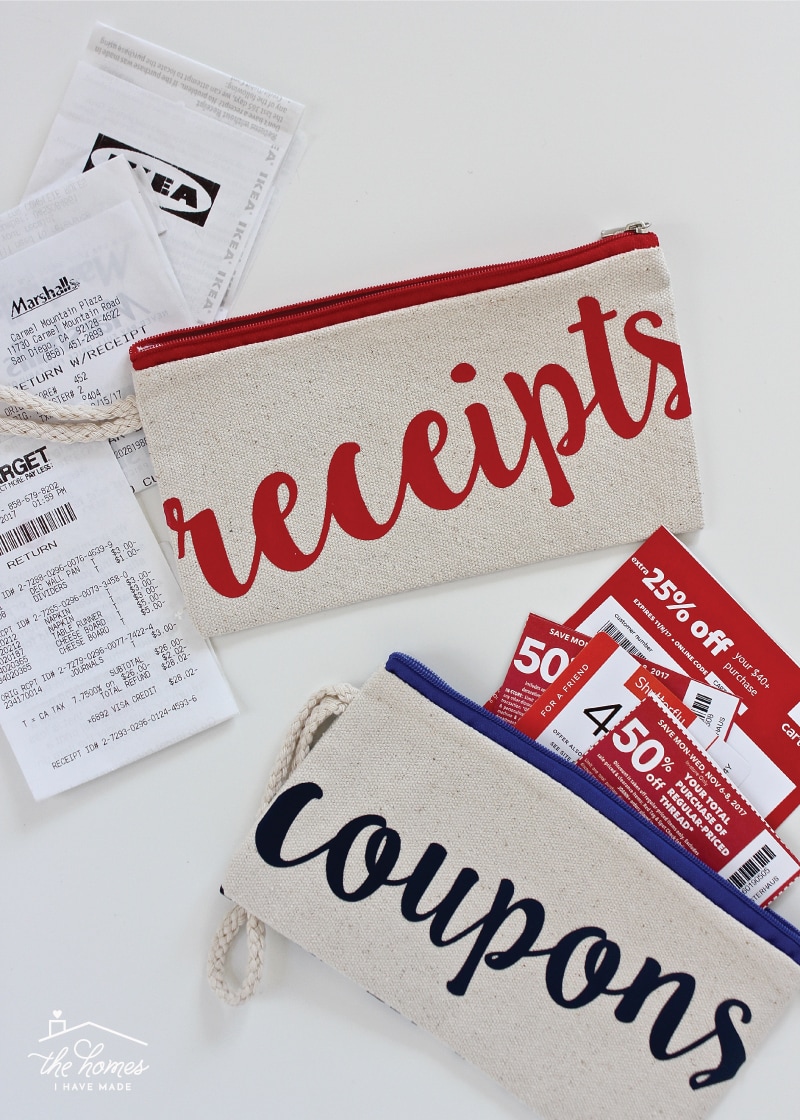
Iron-on is the material I use when I am labeling fabric items such as tote bags, zipper pouches, towels, etc. Like vinyl, it comes in countless colors and sheens and can be cut into any shape, providing lots of options for labeling fabrics!
Tiny Toy Storage Bags | Labels made with glitter iron-on and a Cricut Maker
Coupon & Receipt Pouches | Labels made with iron-on on a Cricut Explore Air 2
Punches & Dies
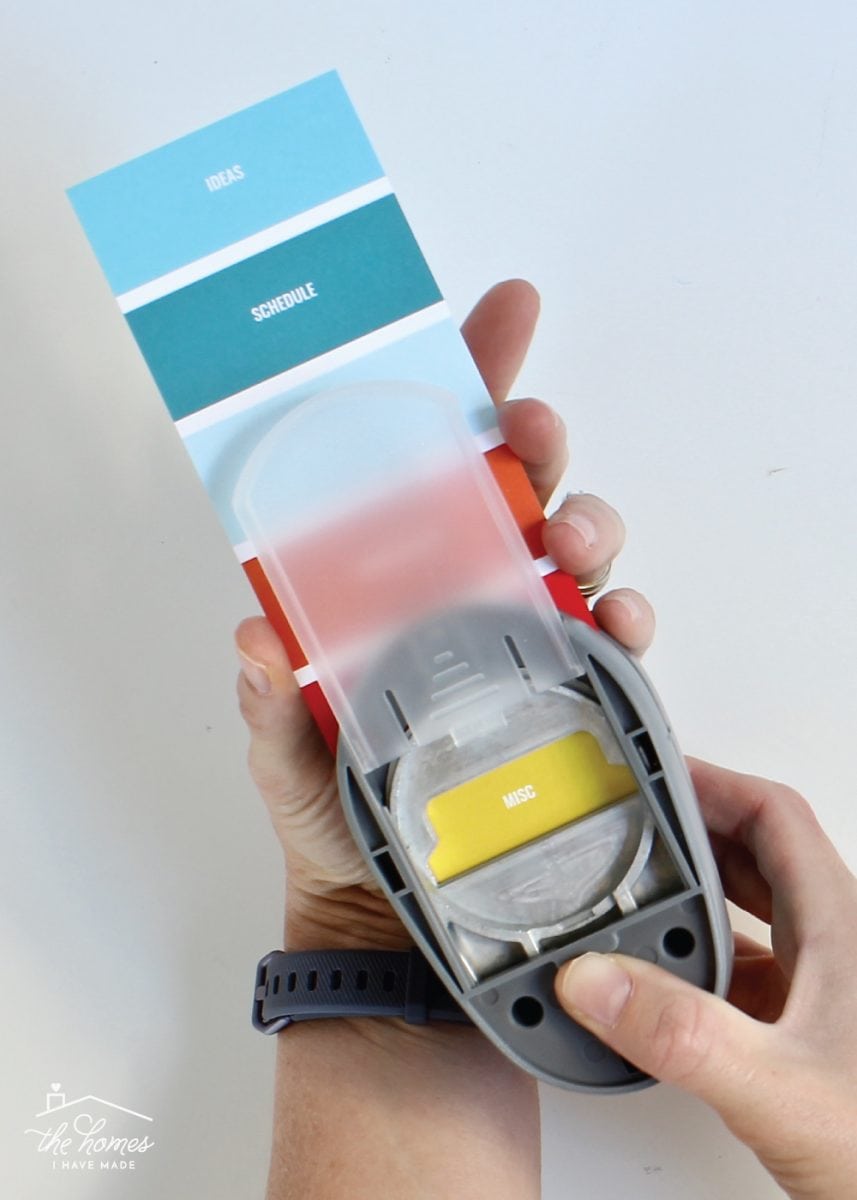
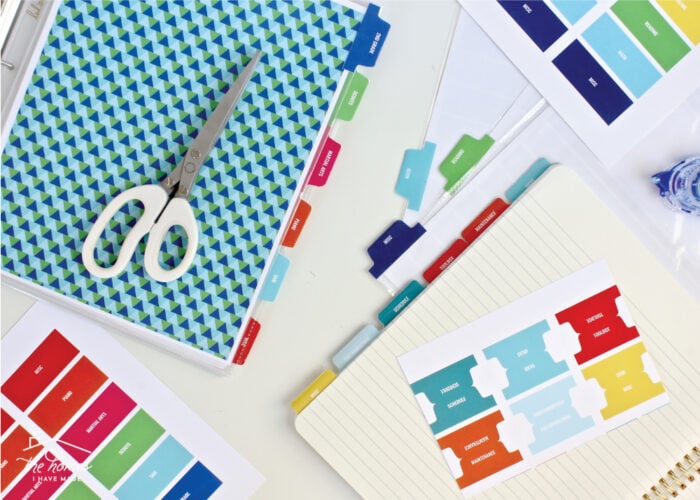
One last supply I want to mention is punches/dies. Although I do rely heavily on pre-cut labels (i.e., Avery templates) and my Cricut machine, there are still times when it’s just easier to print out a sheet of labels onto sticker paper or cardstock and manually punch them out in the precise shape or size I want. I do this most often when I’m making tabs for binders or notebooks, but still pull out my circle dies when I quickly need a label centered in a simple circle.
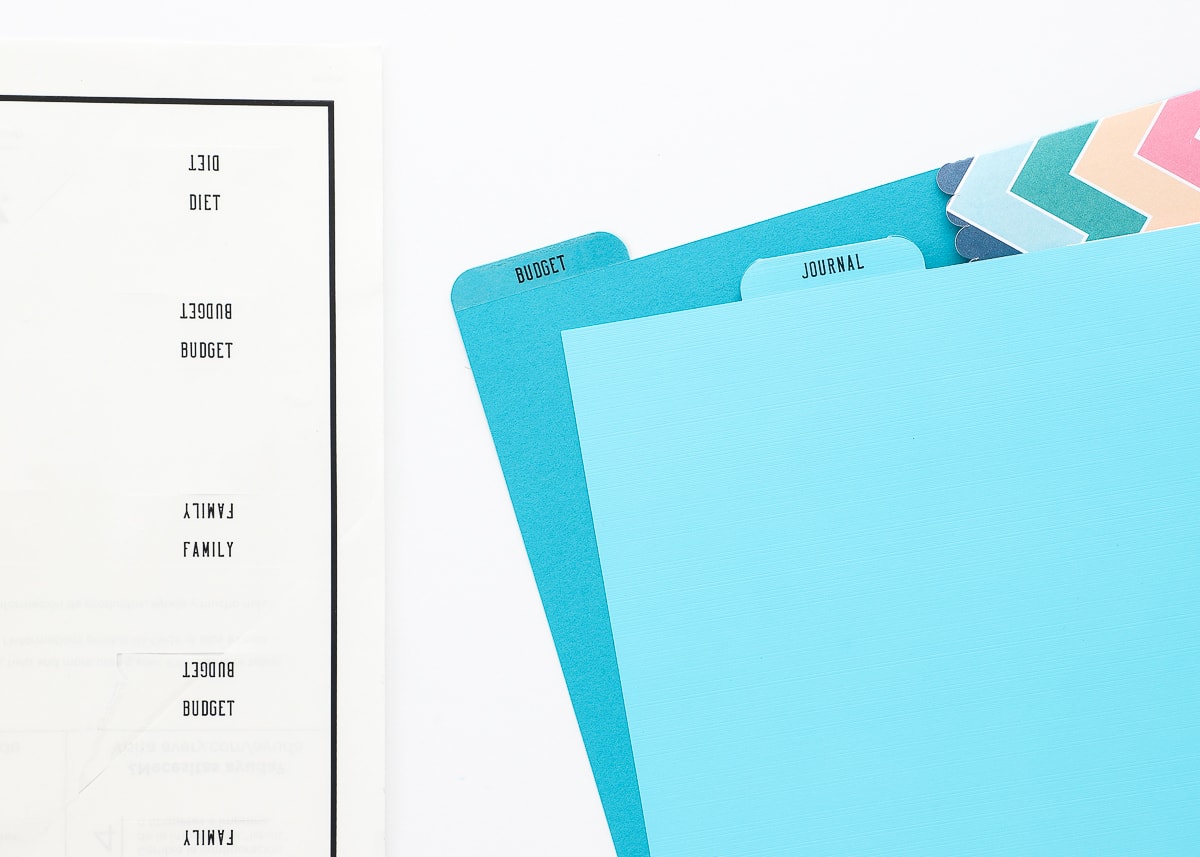
DIY Binder Dividers & Tabs | Labeled tabs punched from printed paper using the Tab Punch and Tab Stickers
Phew…that’s a lot of labels! I hope this post gives you some fun and creative ideas for making labels for all around your home. If you have a favorite label maker, supply, or other tool that you rely on, I’d love to hear about it in the comments. Because…really…I’m always looking for new labeling toys to try out!
Megan





One Comment on “My Favorite Tools & Supplies for Making (Gorgeous) Labels”
Great, thorough, post! It’s got my wheels turning on how I can label EVERYTHING…that is, once it’s all organized! 🙂