A Fun and Functional Nursery Closet
Today, I want to invite you inside Jack’s nursery closet…an oh-so-fun corner of our home that came together quite unexpectedly! Don’t get me wrong, I always had intentions of implementing a ton of smart storage solutions in this little closet, but the final aesthetic wasn’t exactly what I had planned. Nonetheless, it turned out so incredibly charming and is definitely one of my favorite spots in the house so far. Let me walk you through the really easy yet super effective storage solutions we used in this space, as well as some inexpensive details that make this both a fun AND functional nursery closet!
If you’ve been reading my blog for any length of time, you know I kind of have a thing for making over closets. Not only do I like to implement creative solutions to make them work really hard for us, but I LOVE to outfit them with surprising details like wallpaper, built-ins, etc. The process of transforming Jack’s closet into something special began with some $6 rolls of peel-and-stick wallpaper that I didn’t even buy for this space. Then one thing lead to another and this closet turned out to be quite the little jewel box of the nursery!
The layout of the nursery is a bit awkward. With a big set of windows on one wall and a large pocket door on another, we were left with few options for placing the crib, a bookshelf and the dresser/changing table. Once I realized the dresser fit into the closet and we could free up a good bit of floor space around the room, my wheels started turning on how I could really outfit the closet with all the storage we needed. Let me walk you through all the awesome functionality in this little nook first, then I’ll dive into some of the decorative details that make this closet just plain fun!
Function First
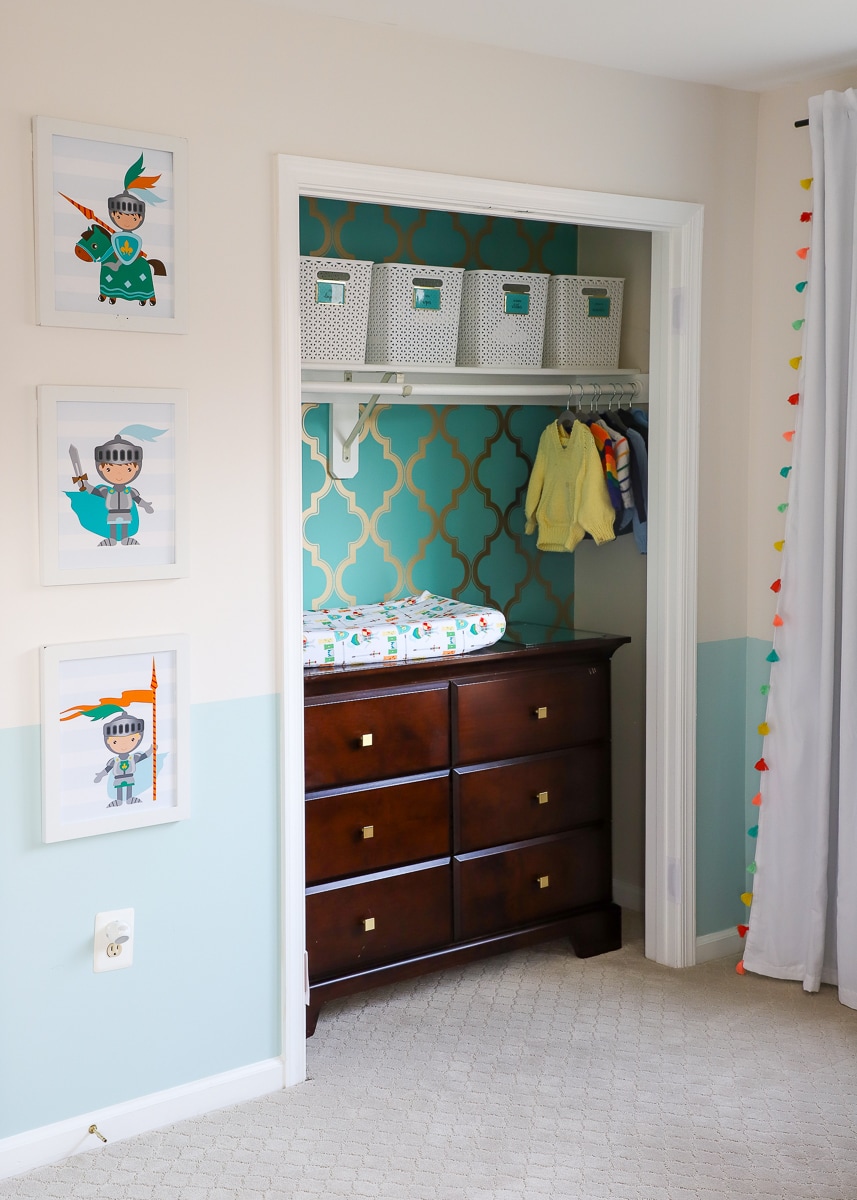
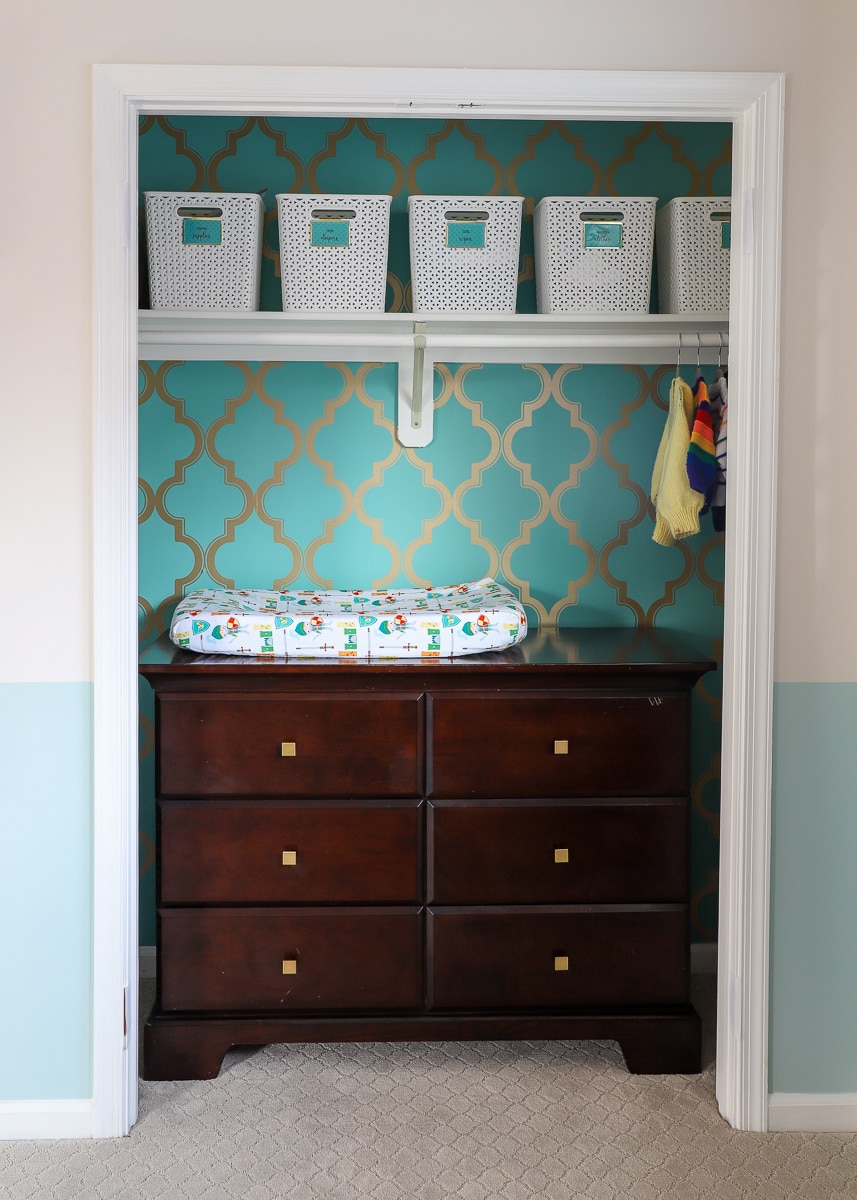
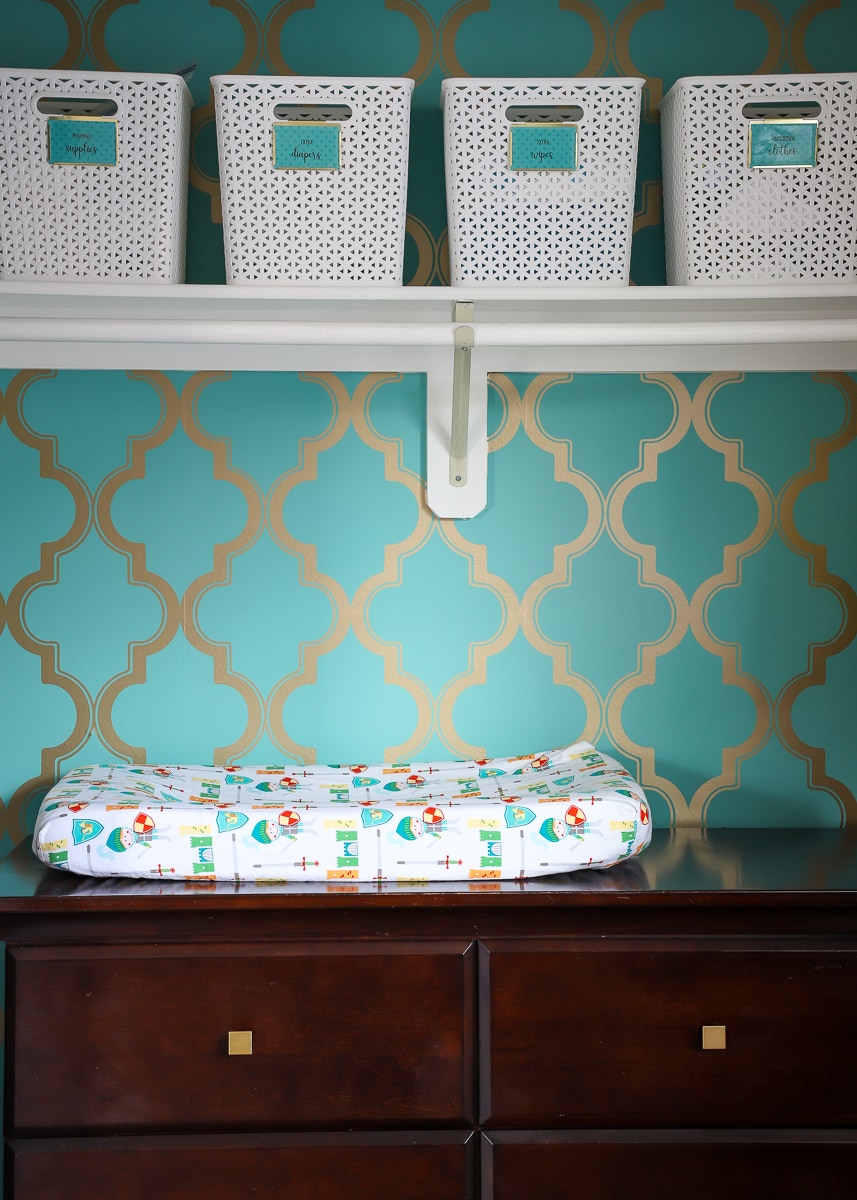
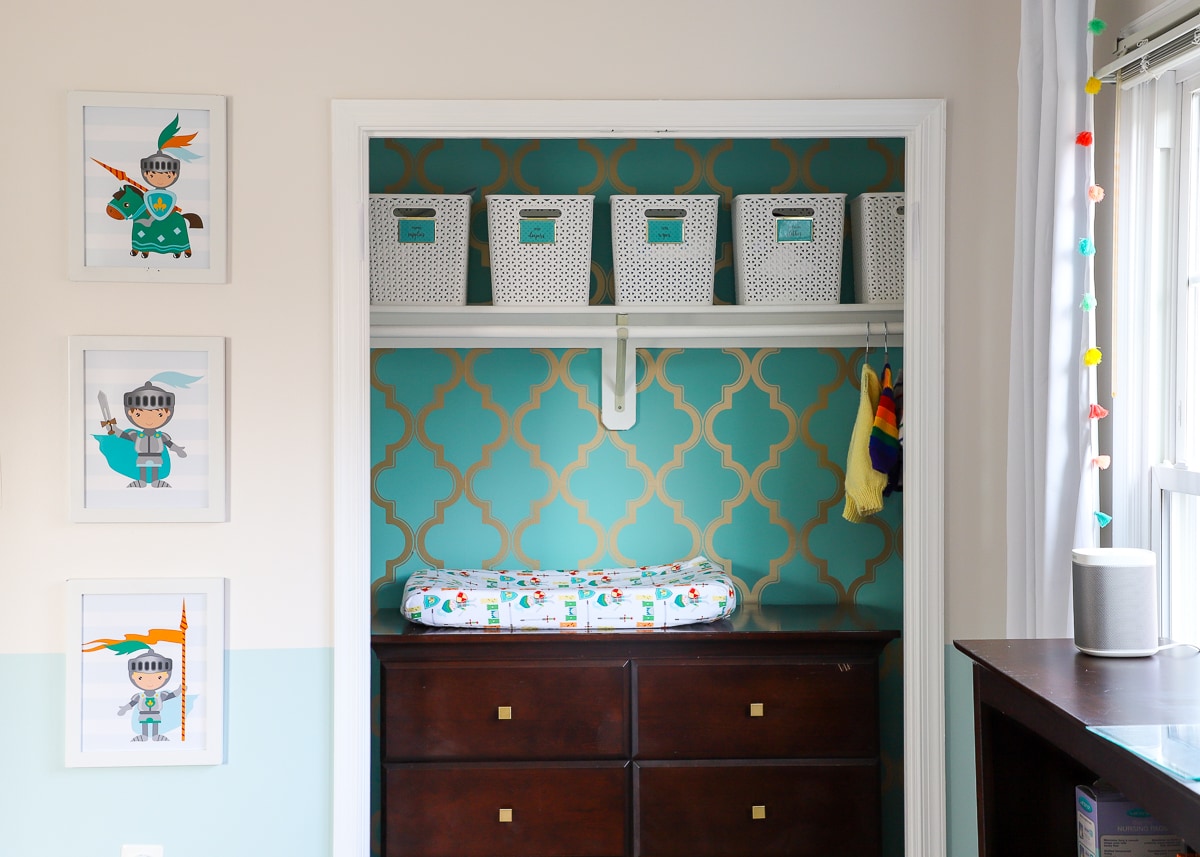
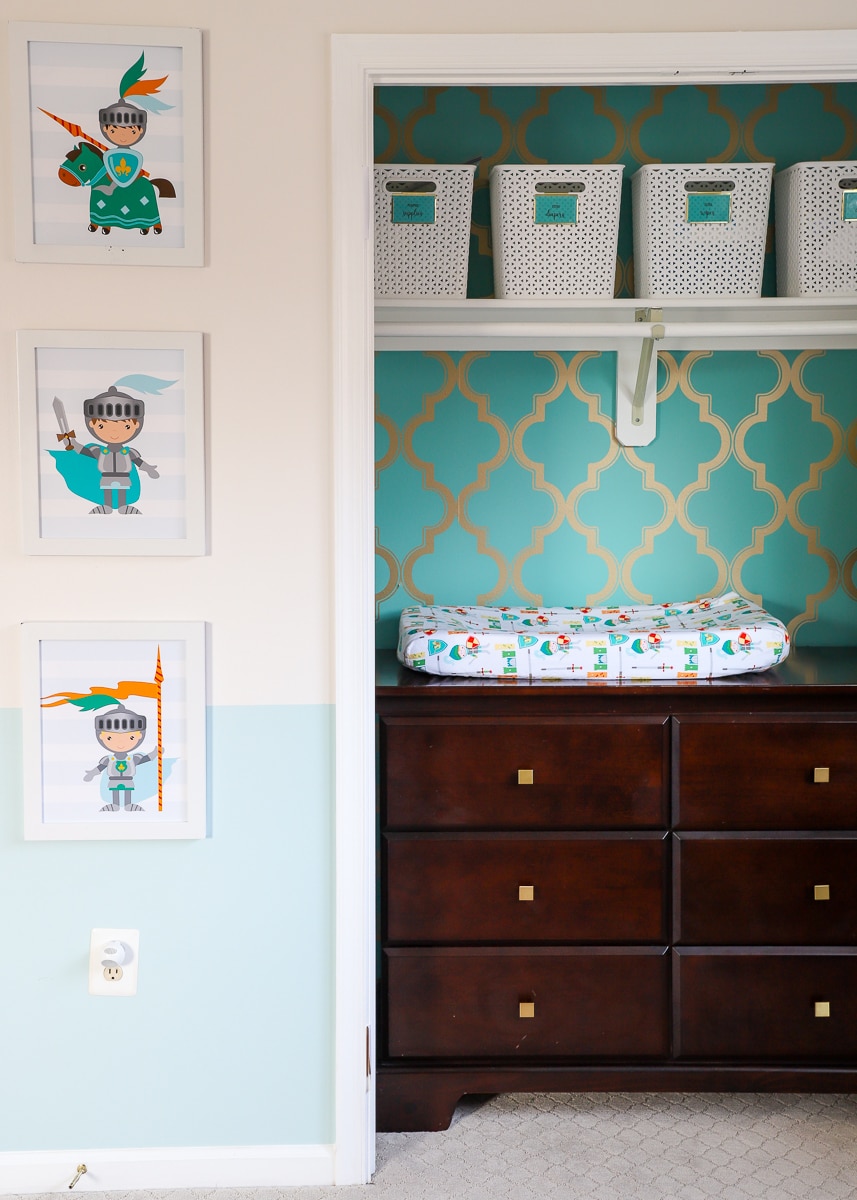
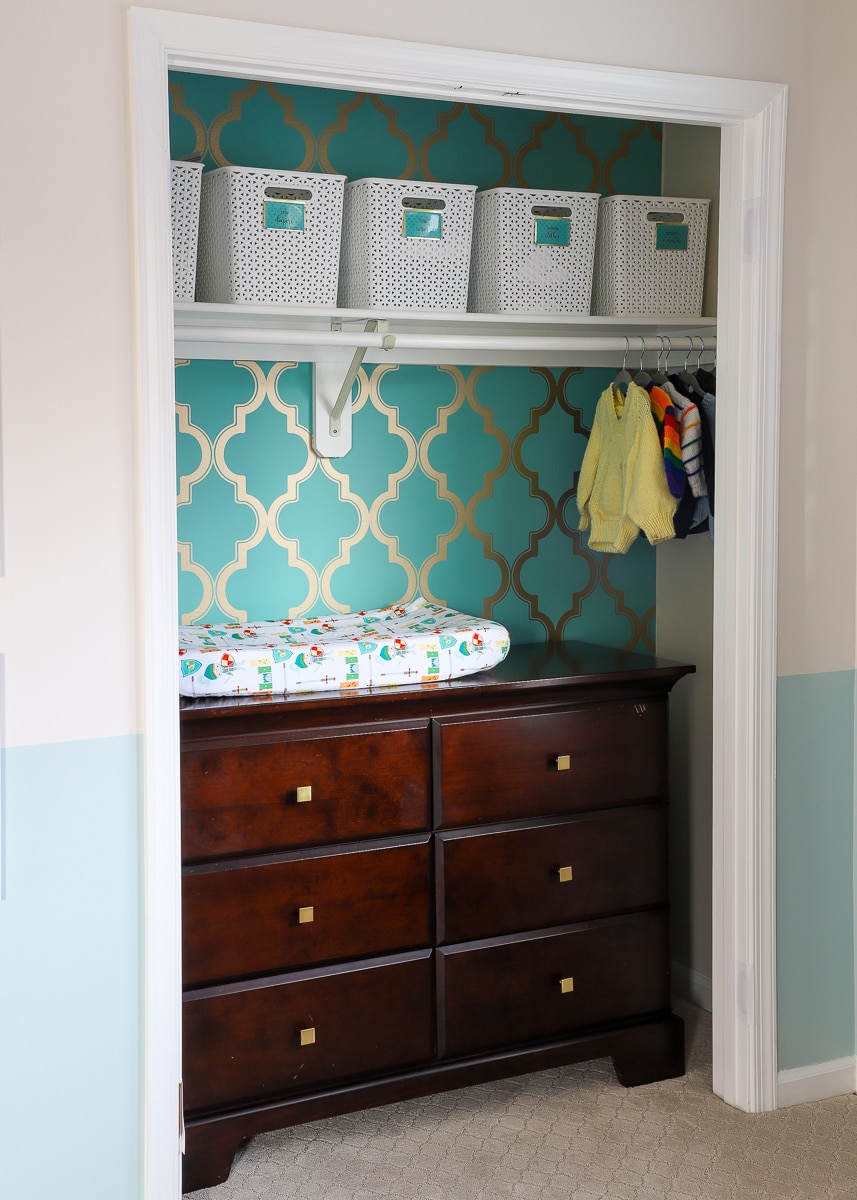
As I said before, moving the dresser/changing table into the closet really freed up some floor space in a room that has few solid walls. The fit really couldn’t be more perfect, with both the depth and the width being juuuuust right.
TIP! The dresser drawers slid all the way out only when the closet doors were fully open. Since the doors were pretty much open all the time, we decided to go ahead and remove them. Not only did this eliminate an inconvenience of having to open/close the doors, but it really gave the closet an almost built-in appearance. If you have a safe place to store your closet doors (basements, garages, and under beds are our favorite spots), consider removing them. You’ll be amazed at how much bigger your room feels!
Another great benefit of moving a piece of furniture into a closet is that you use up a ton of wasted space along the floor…especially in a kid’s room where you don’t need much hanging space. Since I prefer to fold (rather than hang) most of our baby clothes, I have plenty of clearance between the dresser and upper shelf for changing diapers and getting Jack dressed.
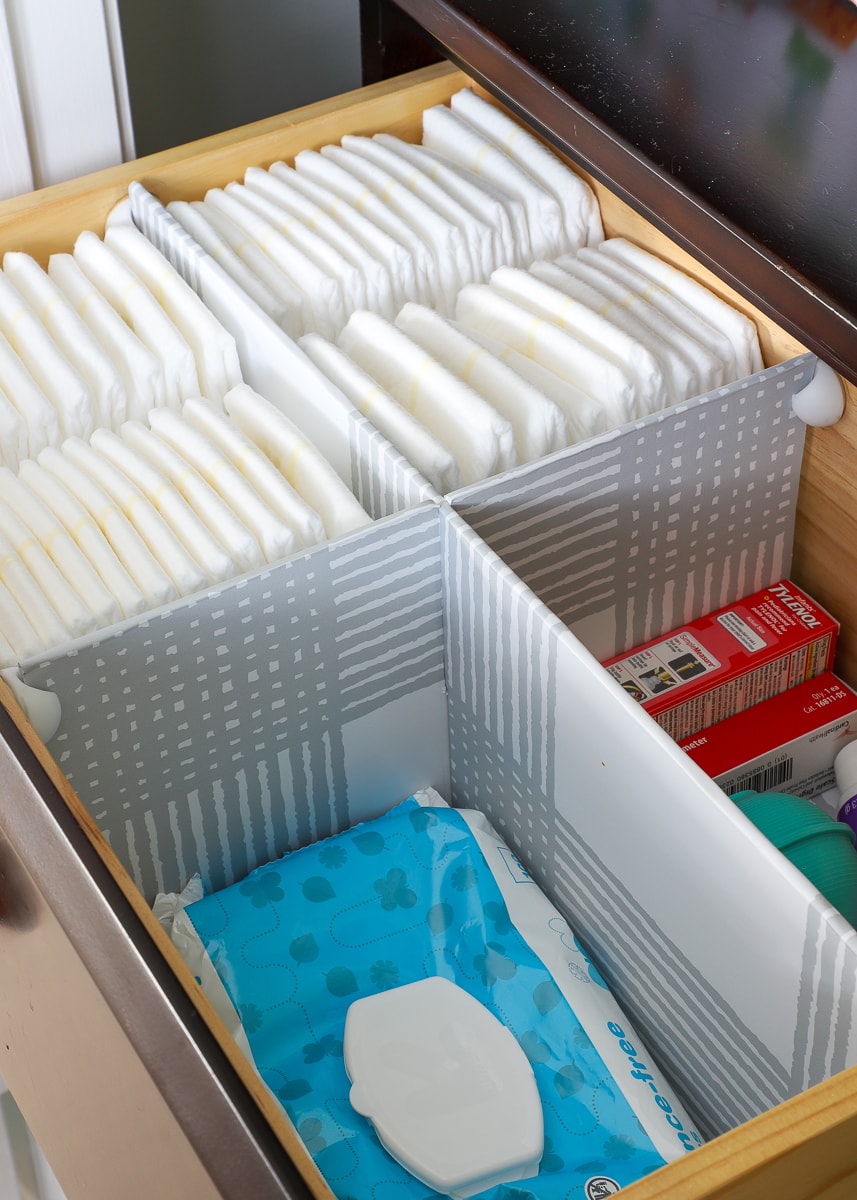
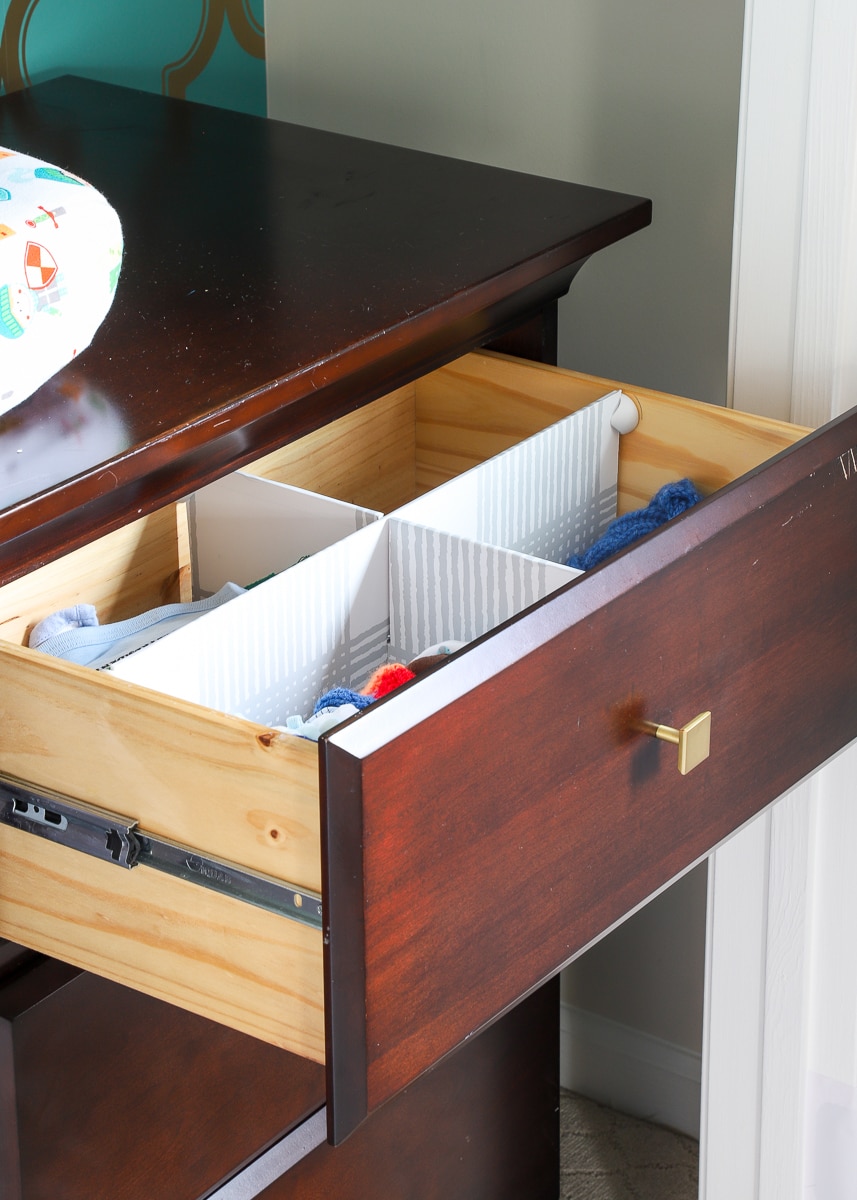
To make this space as efficient as possible, all of the diaper changing supplies, as well as all of Jack’s clothes, are in the dresser drawers beneath the changing pad. Literally everything I need to clean and change him are right here!
Pssst – I already shared how I organized these drawers – you can read the tutorial here!
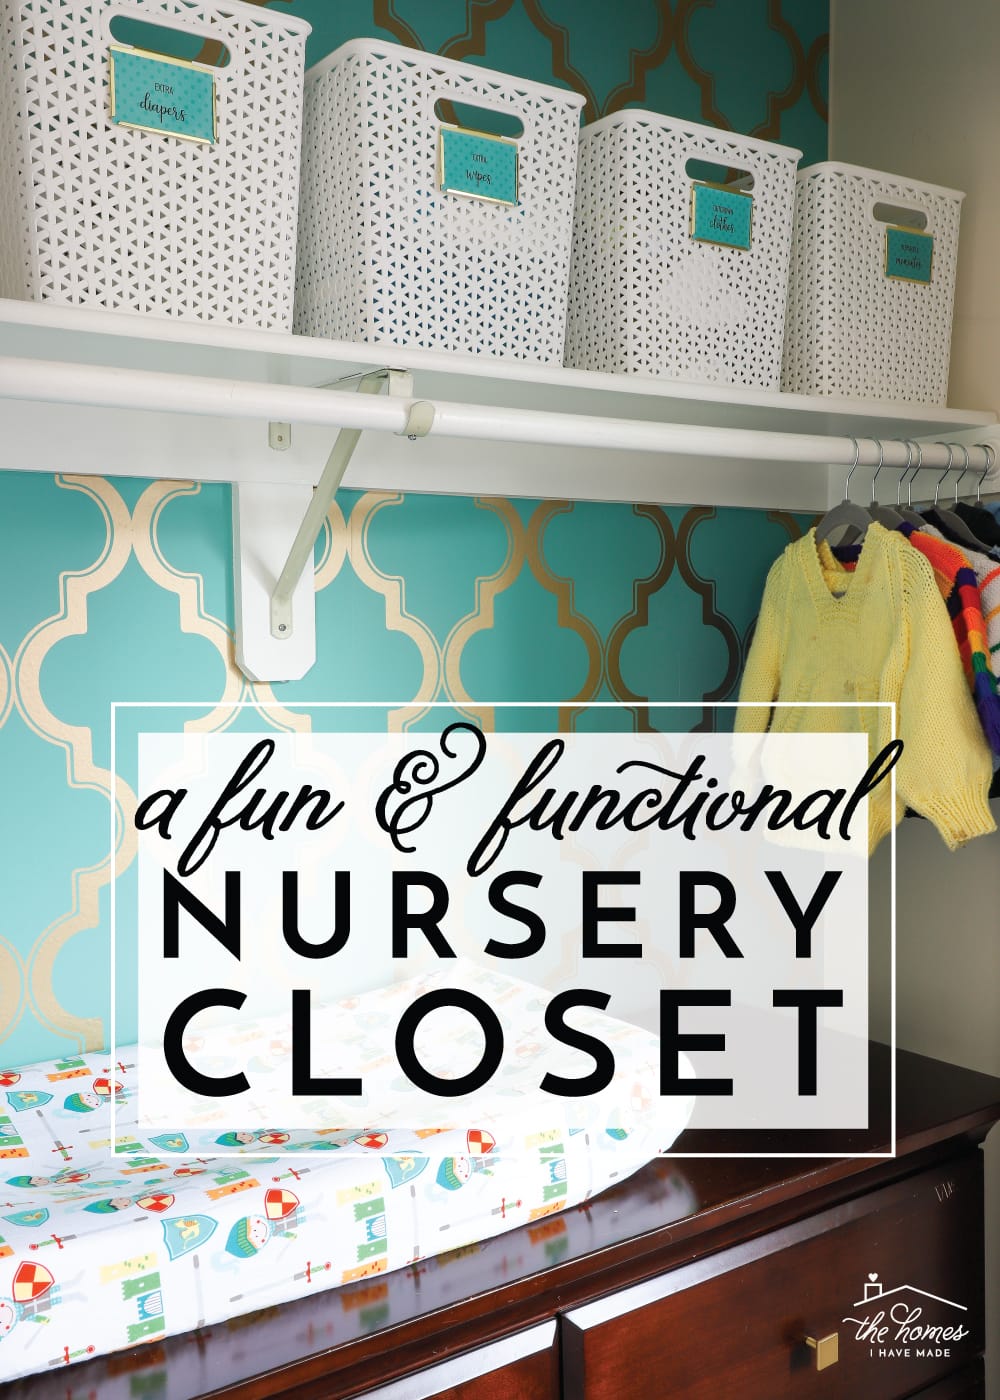
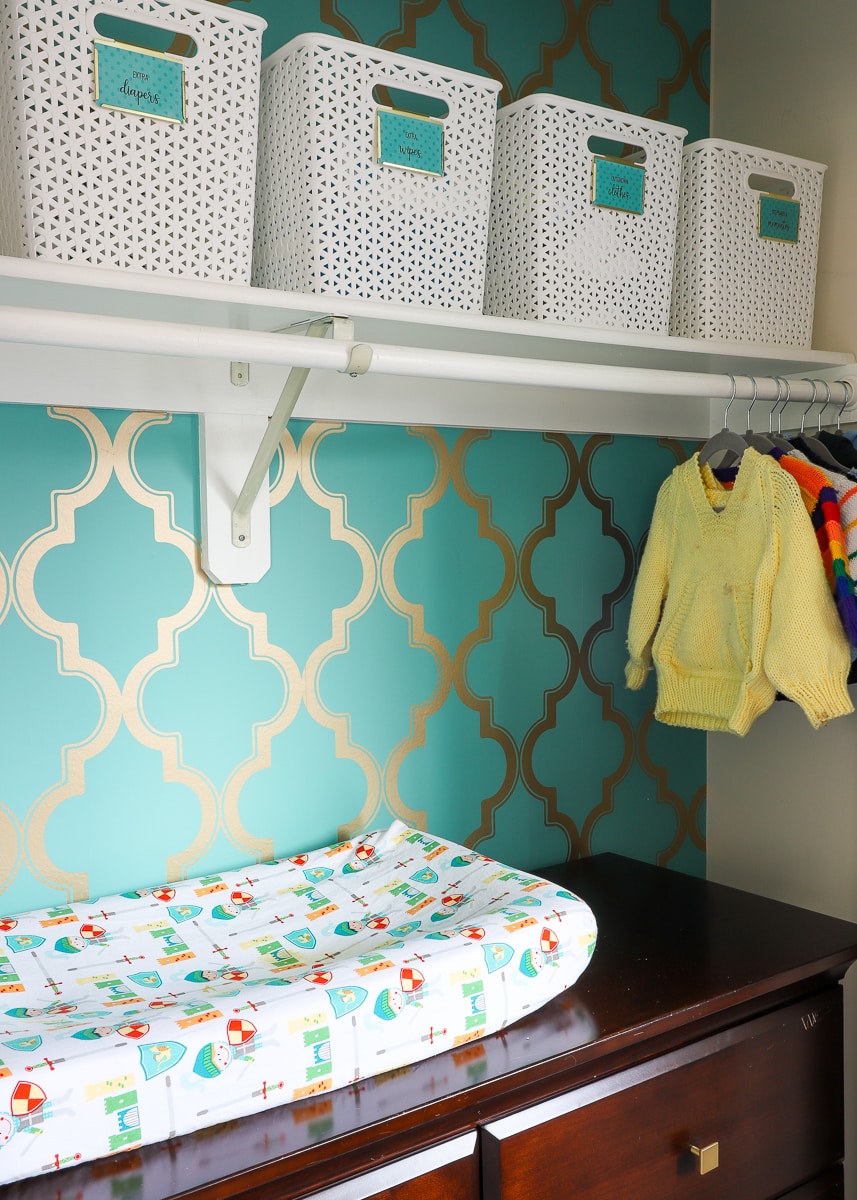
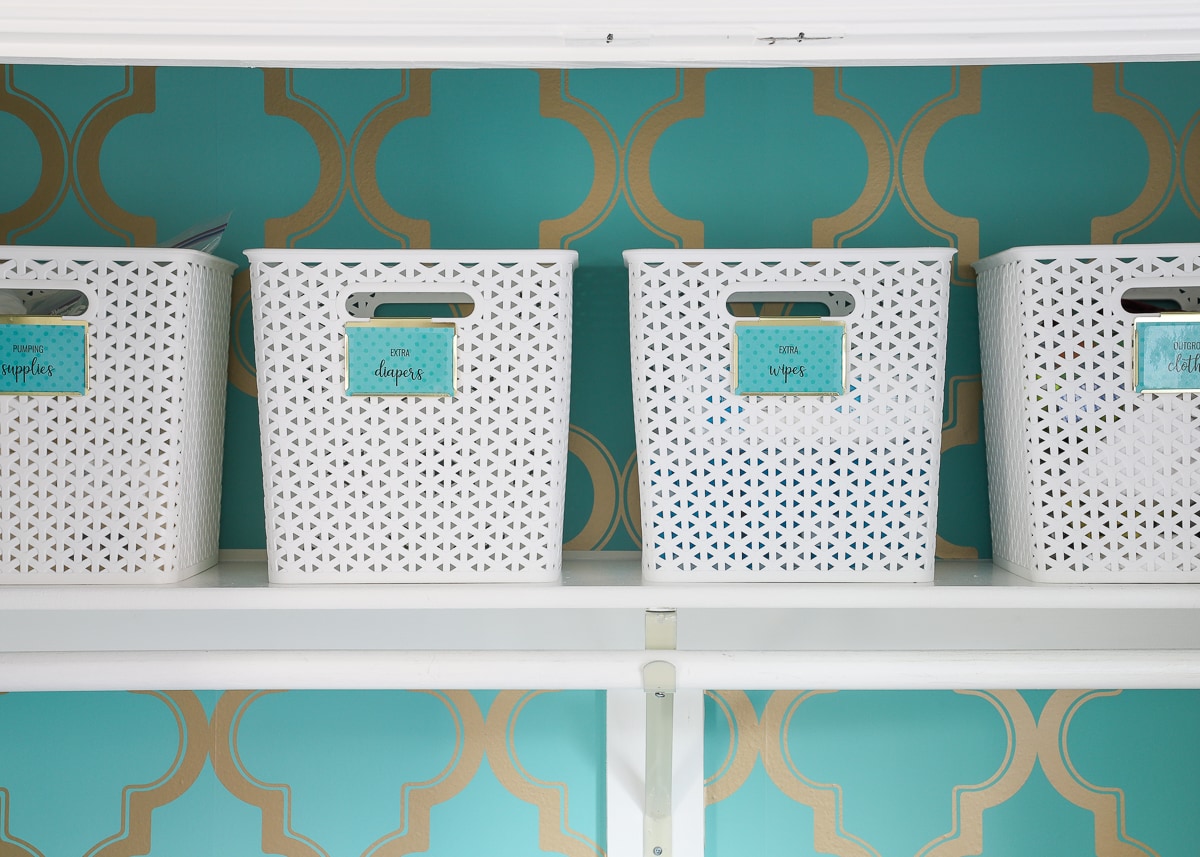
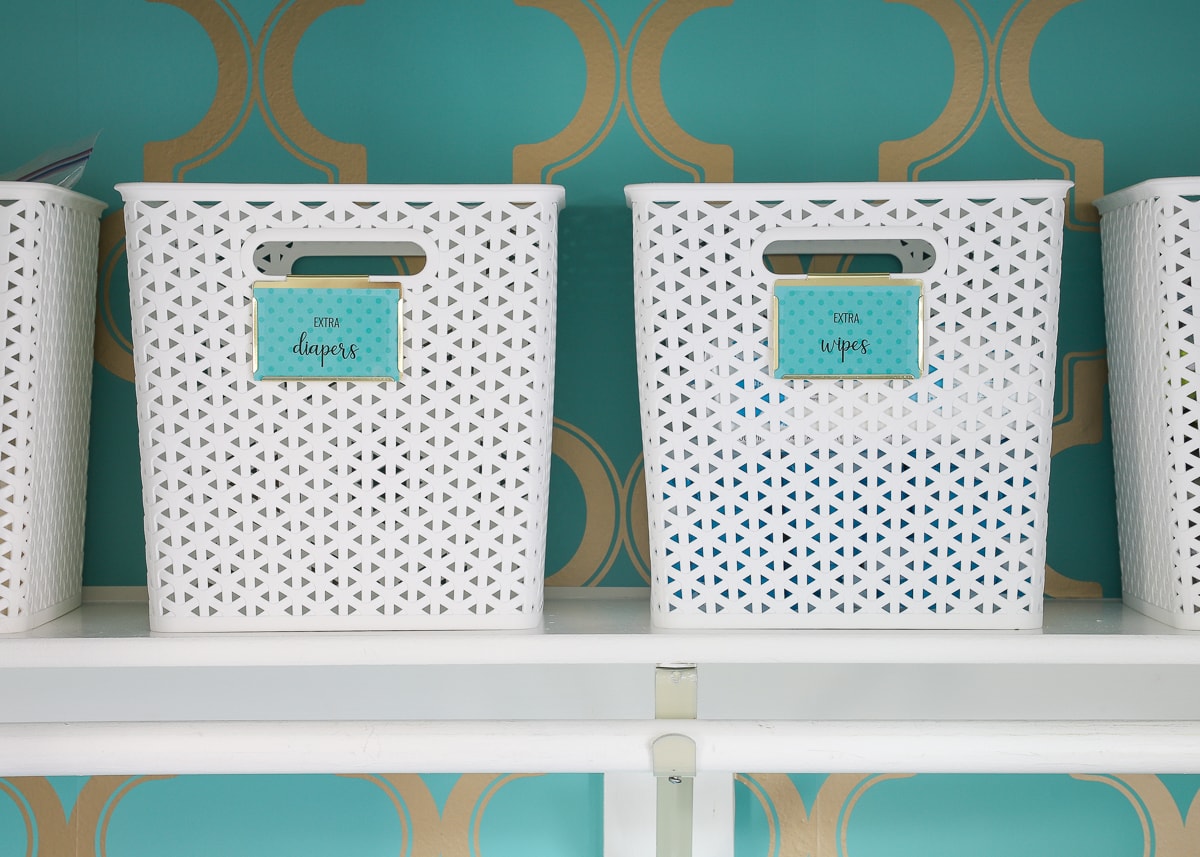
I outfitted the shelf above the changing table with some perfectly-fitting Y-weave baskets. (Wondering where they came from? I repurposed them from our old Laundry Room!)
Baskets on top of shelves are a great way to corral (and conceal!) clutter. I use these baskets to hold things that we need fairly regular access to, namely Pumping Supplies, Extra Diapers, Extra Wipes, Outgrown Clothes, and Mementos. The baskets allow me to get rid of the bulky (and unsightly) packaging that diapers and wipes come in, yet it’s still quick and easy to re-stock the drawers as needed. I’ve also found that instead of letting too-small clothes clutter up drawers or stack in a corner, a dedicated basket is a simple place to throw them until it’s time to box up a particular size.
Love my labels? You can see how I made them here!
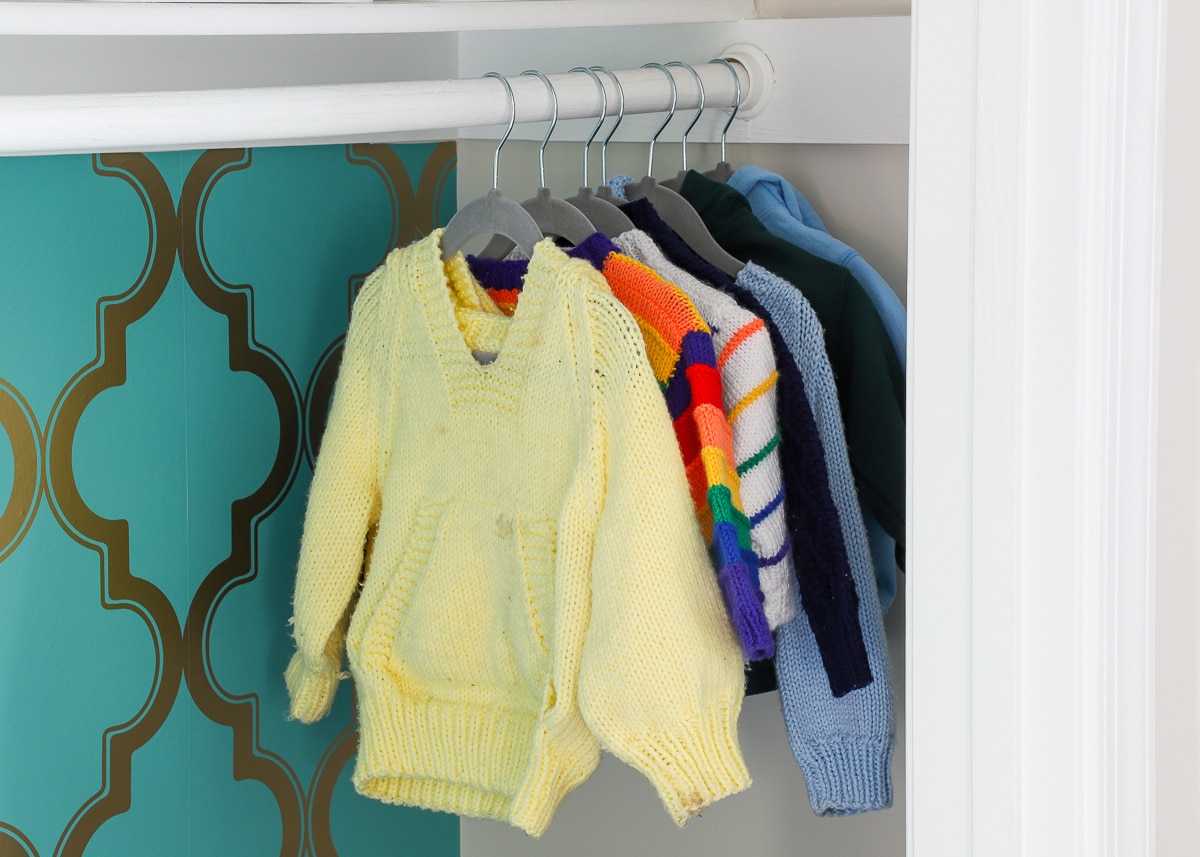
Even with the changing pad setup, I still have some hanging room along the sides, perfect for bulky sweaters that would easily eat up space in the small dresser drawers.
There are two more small yet really helpful additions tucked behind the walls of the closet on either side of the dresser. Although I couldn’t photograph them, they are worth mentioning!
The first is a skinny hamper we tuck along the side of the dresser. Although it’s a little tricky to get it in and out, it’s so helpful to have a hamper right where we change clothes.
Second, since the changing table is tucked into a closet, it can be pretty dark in the middle-of-the-night. So I can see what I’m doing and make sure baby Jack gets fully clean during diaper changes, we installed really inexpensive motion-sensor puck lights on the lowers walls on either side of the dresser. They are battery-operated and attach via peel-and-stick tabs, making them ideal for a closet with no outlet!
The combination of organized drawers, handy baskets, and some hanging space really allows this little closet to work mighty hard for us. Now let me show you some of the decorative details that make this a super fun corner of the room!
Every Room Needs a Little Fun!
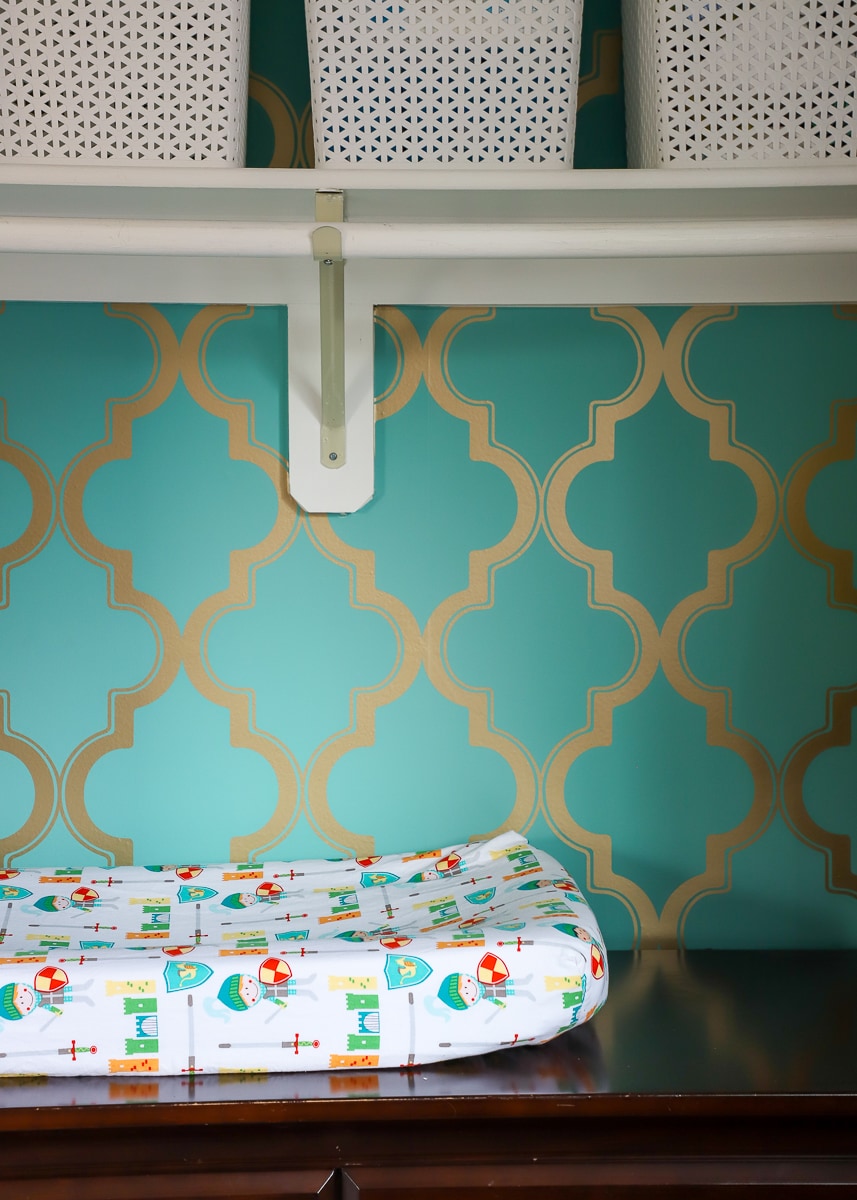
The most obvious decorative element that really helps this closet nook pop is the turquoise trellis wallpaper along the back. This wallpaper has a funny little story. I came across three rolls of it for $6 each on a Target endcap months ago, long before I selected the theme and fabric for the nursery. Although turquoise isn’t a color I use in our house much these days, I am never one to pass up REALLY cheap peel-and-stick wallpaper. So I bought it, knowing the perfect project would eventually come along.
(I can’t find the turquoise, but here is the wallpaper in purple and brown.)
As I was pulling various nursery elements together after we moved in, I couldn’t help but notice how well the wallpaper matched the main theme fabric. On a total whim, I decided to use two rolls along the back of the closet for an easy $12 update. Once the wallpaper was hung, I couldn’t get over how much the trellis pattern also nodded to the whole “Knight” theme, making it feel like a little castle! Even though this wallpaper is not something I’d use on a big wall, it sure is fun in this little closet!
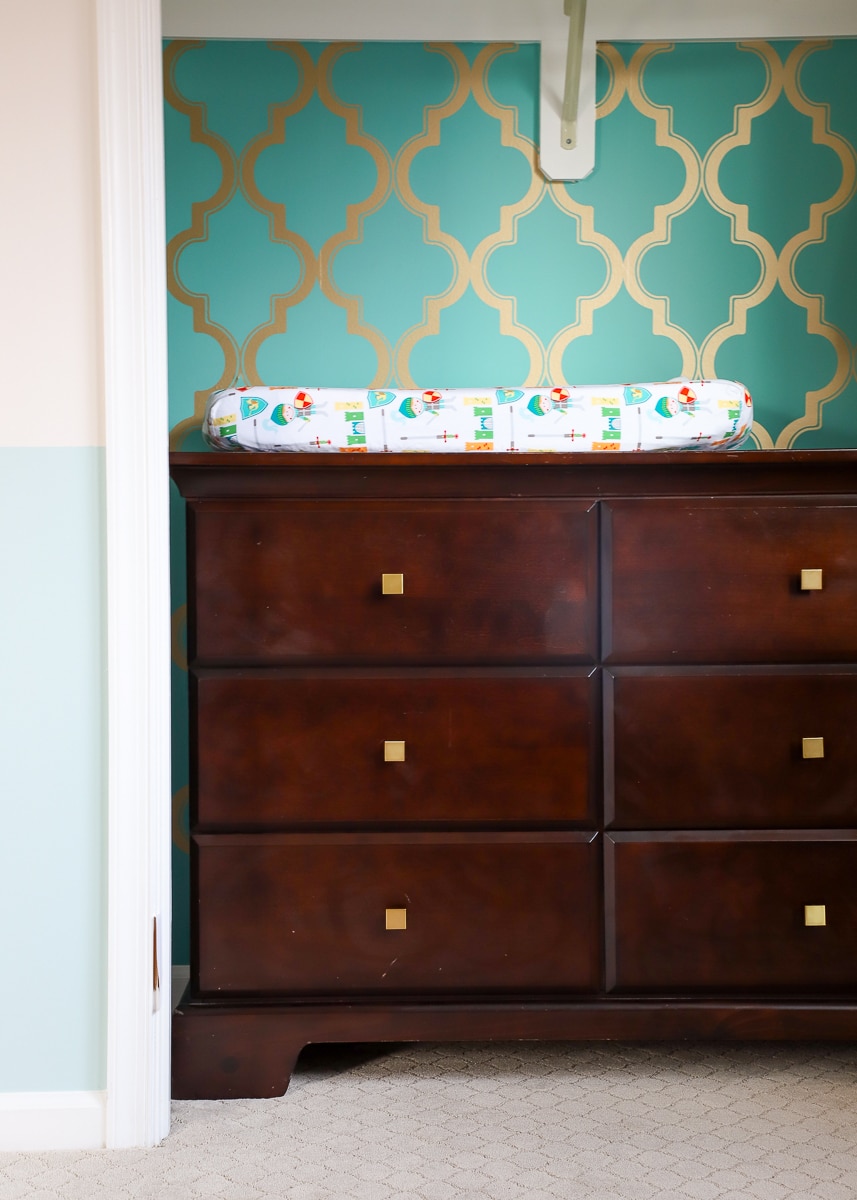
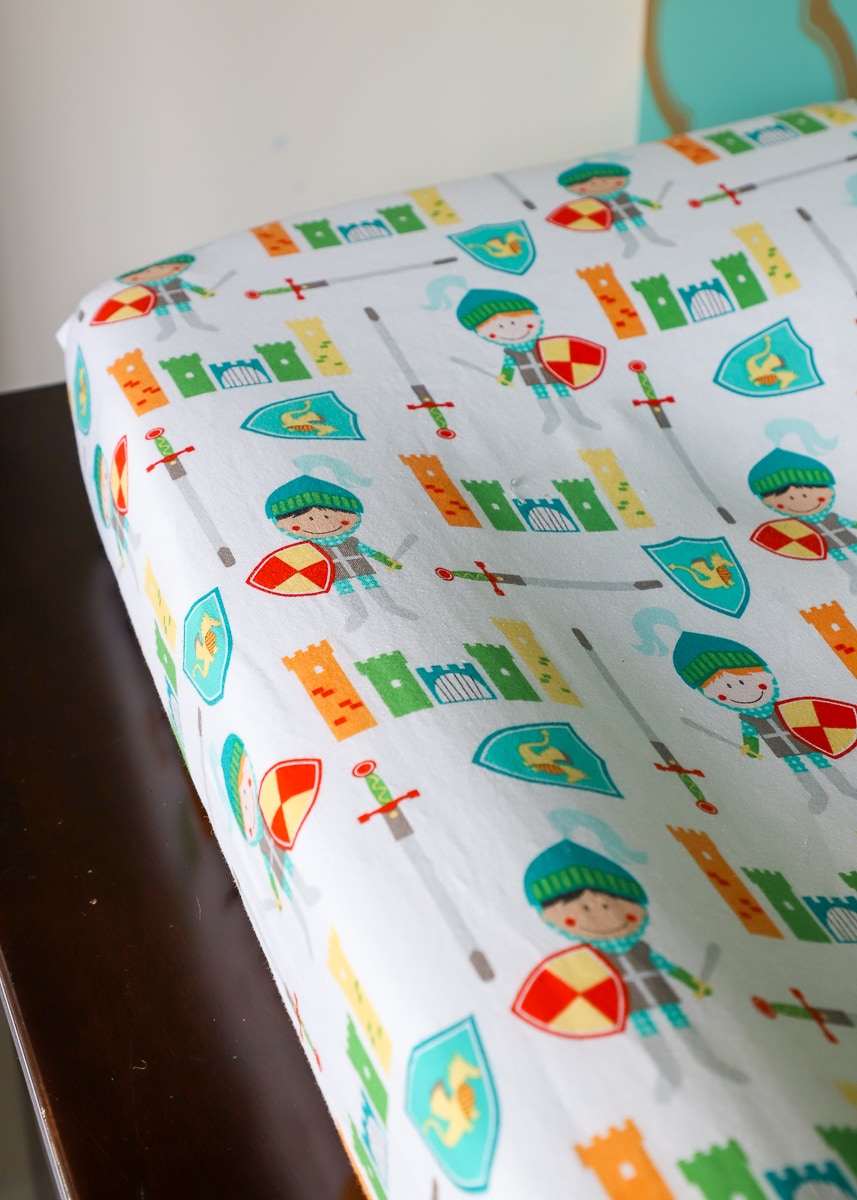
Speaking of the “Knight” theme, I only had enough of the fabric to make a few things: a crib sheet, a changing pad cover, and hooded towel. The multi-colored fabric inside the closet really stands out, and I love how it nods to the knight artwork hanging alongside the closet!
Pssst – Finding Knight artwork was much harder than I expected, so I made my own! I’ll be sharing the super easy way I pulled them together in a future post!
As I was trying to figure out how to label the nursery baskets, it occurred to me that my beloved gold basket labels (that used to be in our pantry) would not only stand out against the bright white baskets, but would also tie into the wallpaper. Some turquoise scrapbook paper give the labels a little something extra!
The final detail I added was new pulls for the drawers. The dresser felt so dark and heavy in the bright closet. I really had no interest (or time!) in painting the dresser, so new pulls were my next best bet. For less than $20, the new pulls tie into the other gold elements in the closet (and throughout the rest of the room) and were the perfect finishing touch to the whole display!
I think what was so fun about this closet was how it came together. I knew I wanted to do something with the closet, but I didn’t really hash out a plan. Once we hung the wallpaper, I just grabbed things from around the house and experimented until it all “clicked” together. I really couldn’t love it more; and since my nursing chair is directly across from the closet, it sure is nice to have a lovely spot to gaze at for hours a day!
This isn’t the first time I’ve gone a little wild in a nursery closet (check out Sam’s nursery closet here!) But at least this makeover didn’t involve any crazy built-in installations or construction! By moving the changing table into the closet and outfitting it with some really fun yet so simple details, it’s a spot that is super high on function but also really great on the eyes! I can’t wait to hear what you think of this fun yet functional nursery closet!
Megan



11 Comments on “A Fun and Functional Nursery Closet”
This closet is completely darling Megan! I love the wall paper and the impact it has on tying the whole room together. Great job!
Nice job!
Before you even mentioned Sam’s closet, I was wondering–how did it all come apart? Was it as easy as you hoped/planned to remove the built-in? Just curious!
OH! And my thanks to Greg for his service to our country, and to you for the sacrifices you have had to make for our safety as well.
Thanks so much, Heather!
And yes – the closet actually came apart better than I even expected. Greg had it pulled apart fairly easy, then we just had some holes to fill. Since we had the bedroom re-painted, we went ahead and had the closet re-painted too, so it looked good as new! The only funny thing was that potential rental families would come through and ask if it could stay…of course, our landlords wouldn’t let us…plus we needed to get our chest out from under it!
Hope you’re having a great week!Megan
It turned out super cute! 🙂
I found beautiful knight prints on etsy. That was the theme I was going for until we lost our twin boys. It’s such a cute theme
Love the sweet touches – and thanks for the puck lights recommendation! I always like the motion-sensing table lamps (from Amazon) for closets and hallways without outlets (the curse of older rental homes!), but these pucks are a much better option for our hallway! We, too, always take down the doors of at least one closet in our rentals. In our current house we took down the master closet doors (and replaced them with a breezy white curtain) and my preschooler’s closet doors (and tucked a dresser inside). It really does go a long way in making a room functional and personalized. Such a cute, special spot for your little guy!
Hi! I just found your blog and noticed how you used the Y-weave baskets in different rooms. I am considering these for toy storage in a cube bookshelf. However, I’m concerned that they will scratch paint. What has your experience been? Thanks!
Hi Melanie!
As you can likely tell from my site, the Y-weave baskets are my #1 go-to organizing solution for pretty much EVERY room! That said, I’ve never used them on painted bookshelves. I did use them in my pantry, which I guess technically had painted shelves, and I didn’t notice ANY scratching. I’ve had zero issue with them on our IKEA Kallax bookshelf and other shelves around our home!
Hope that helps a bit!Megan
I like the wallpaper a lot! I live in a log cabin and would like to do something similar in my bathroom where I store towels on an open shelf. Don’t want to put wallpaper directly onto logs. I can’t figure out how to do it. I though maybe putting the wallpaper on a spongy-type board you can buy at Wallmart and using that as a backboard against the logs. I haven’t tried it yet, but you gave me inspiration to try it. I love your simple solutions. Good reasoning and thrift. What could be better? Thanks.
Hi Janet!
I am sorry for the delay in getting back to you, but yes…your gut with a foam board is exactly right! You can see how I did something similar (using cardboard) in my pantry makeover here: https://thehomesihavemade.com/2018/02/add-pattern-to-your-pantry-with-wrapping-paper/
Hope that helps!Megan