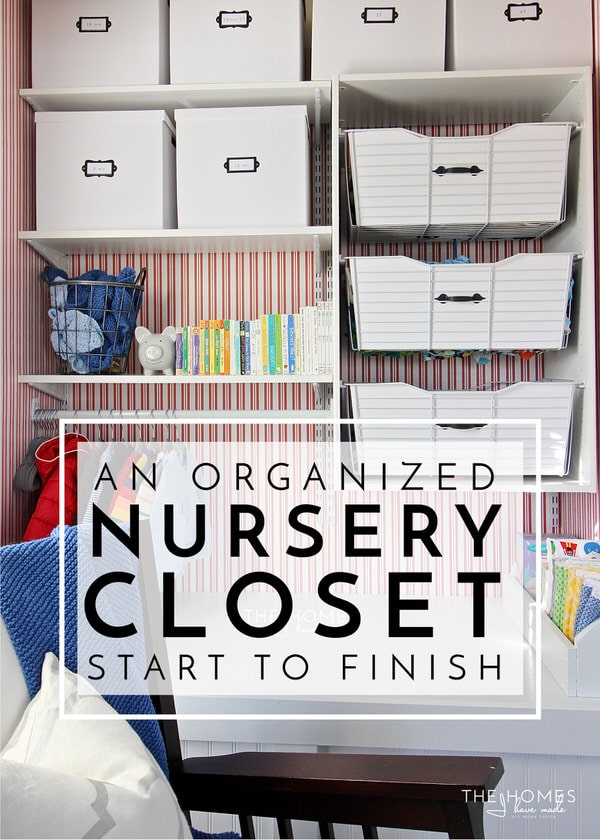
An Organized Nursery Closet Start to Finish
When we were working on Sam’s nursery last Fall as part of the One Room Challenge, I revealed our progress in “real time” so to speak. Although I think it was fun for you guys to see the zig-zag way a room often comes together, it also meant that there were certain aspects of the room you didn’t get to see evolve from start-to-finish in a more linear fashion (which is how I usually present projects and makeovers here on the blog!). The closet project was one that stretched the full 5 weeks of the ORC; but because I was covering progress on various projects in each update post, I was never able to fully explain how we got from our awful before to stunning after, as well as show you lots of the little and clever details I inserted along the way. Today, I want to hit the rewind button and show you exactly how we transformed a tiny and impractical bedroom closet into the ultimate organized nursery closet using some relatively easy DIYs and a bunch of affordable, off-the-shelf solutions!
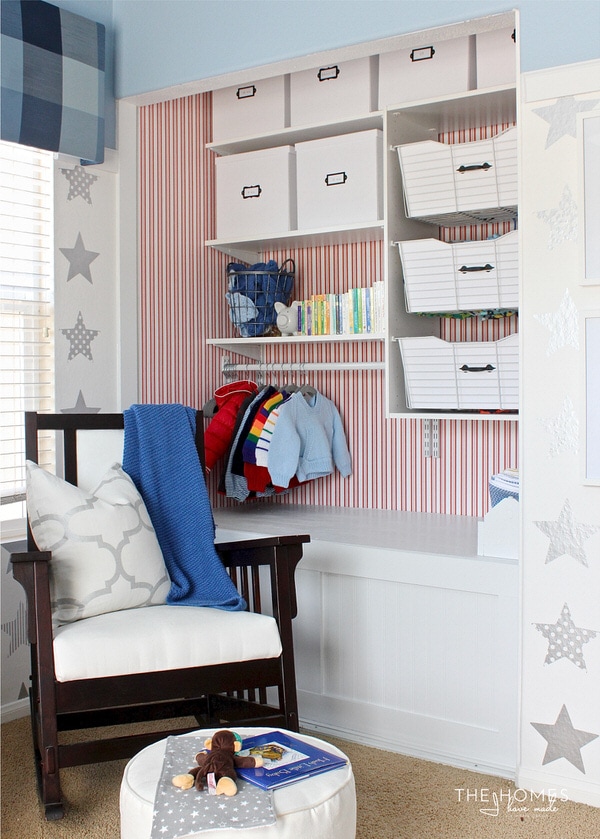
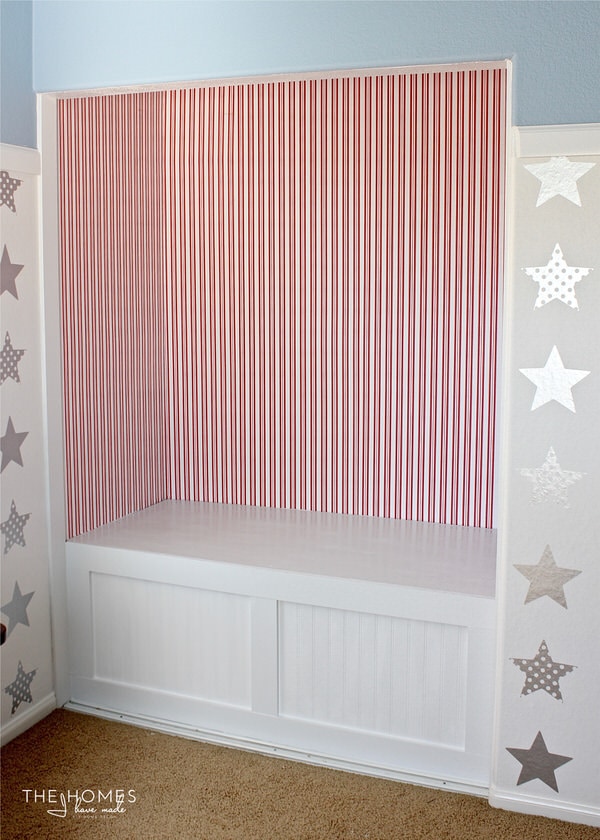
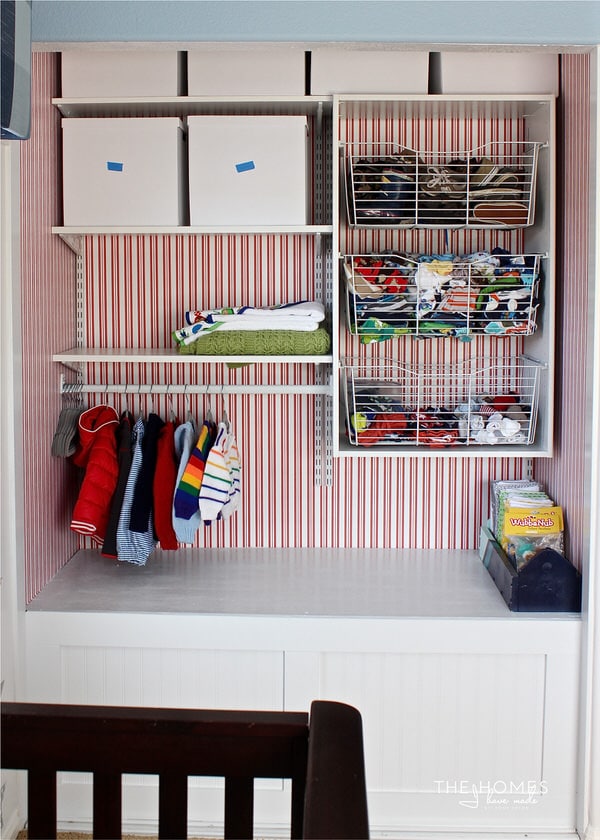
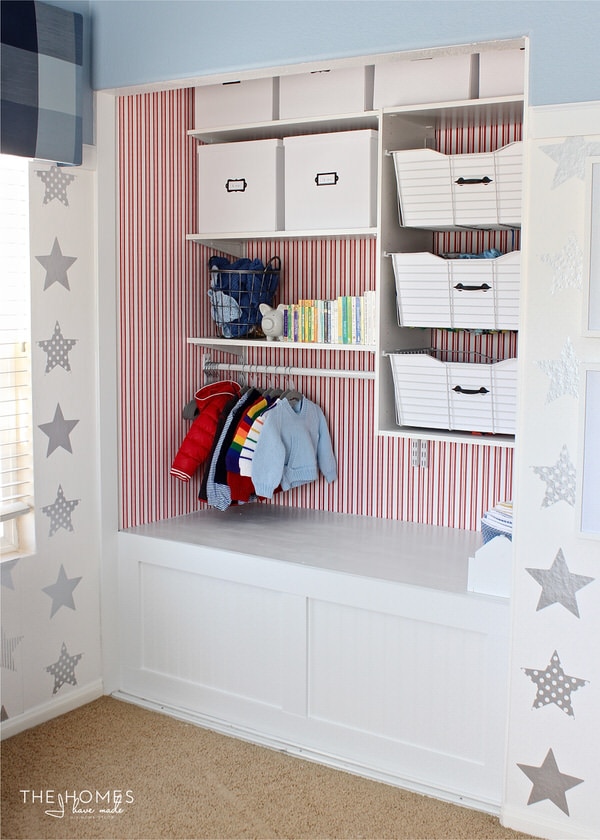
Let’s start with the pretty photos, shall we? Here is how the closet turned out at the end of the ORC last Fall. Second to the diaper changing station, I interact with this space the most in the nursery. Beyond the addition of a touch lamp and a bit of an indentation in the rocker cushion from my bum, this spot looks pretty much exactly the same today!
The “built in” bench along the bottom combined with wall-mounted shelves, drawers, and hanging space has proved time and time again to be both a functional and aesthetic way to store lots and lots of baby things.
From clothes and shoes, books and toys, burp cloths and nursing supplies, the various solutions gave us ample places to store it all!
Taking the Closet Apart
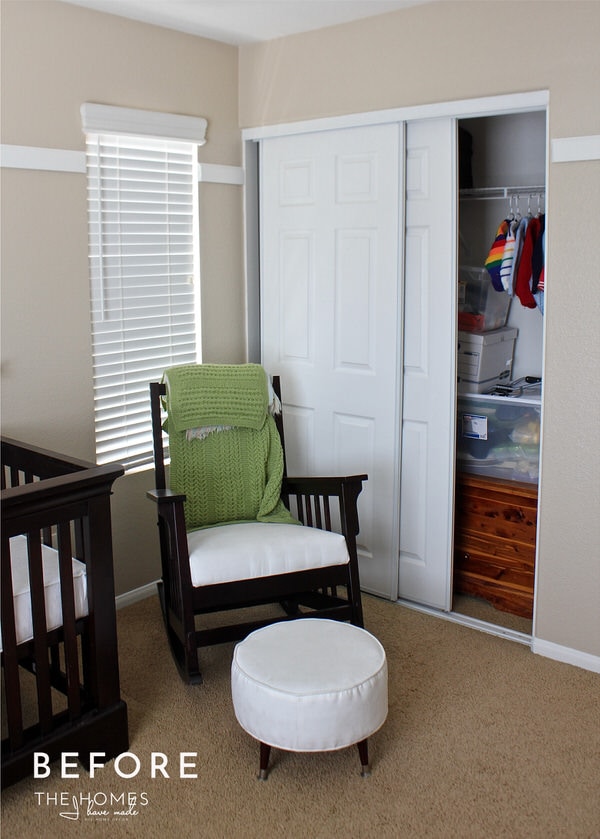
While the nursery closet is now one of my favorite spots in the entire house, it certainly didn’t start out that way. In fact, when we first moved in and started identifying what needed to be stored in the closet, I panicked. Not only was the closet fairly small…
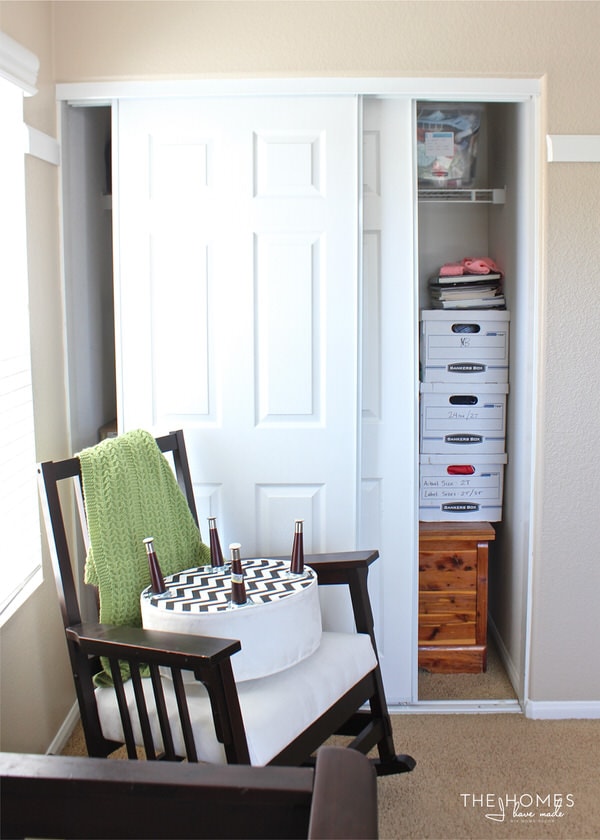
…but the sliding doors covering the closet made it VERY difficult to get things in and out, never mind making it something fun and special to look at!
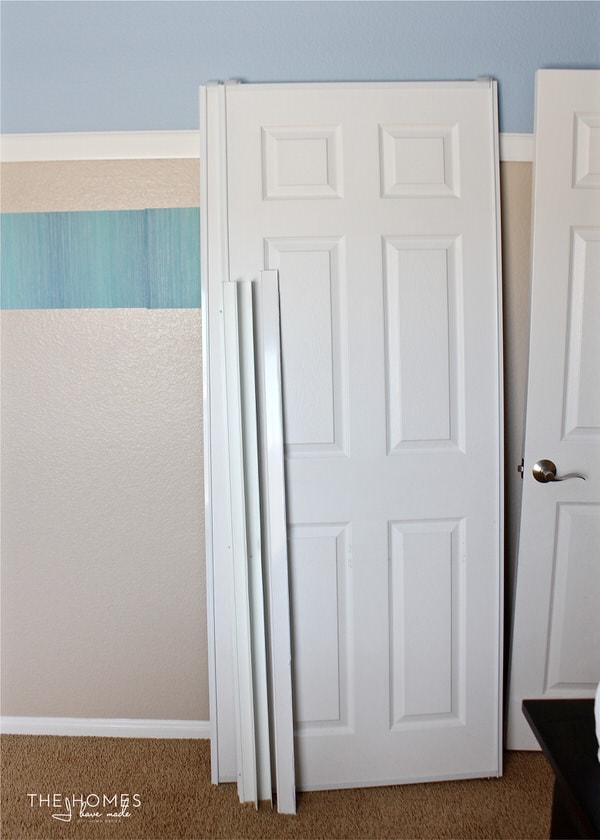
Thankfully, sliding closet doors are very easy to remove. And since we had plenty of space to safely store the doors in the garage, I didn’t hesitate to ask Greg to take them out.
TIP! I will admit taking the doors off of closets isn’t always the right solution, but I’ve now done it in a few rooms where floor and/or closet space are tight, and what a difference it makes! If you have a closet situation where you can’t fully access the closet, you (or your kids) are struggling to keep it clean, or you can’t get good furniture placement (in or outside the closet) because of how the doors slide/swing open, you might consider taking them out. If you’re a renter, be sure you can store the doors safely. Tape all the original hardware, hinges, and guides to the door itself, and consider taking pictures before taking the door down so you know exactly how to put it back before moving out!
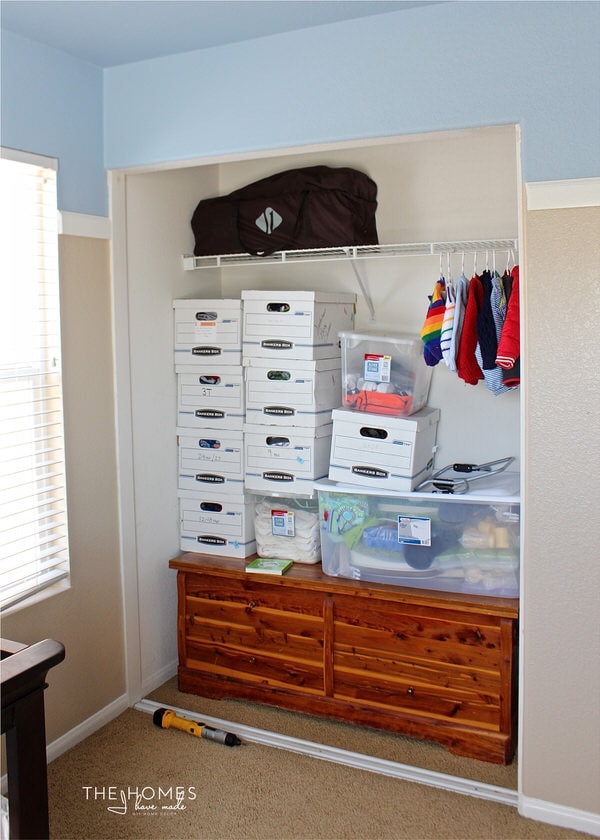
With the doors out, suddenly there was a lot of room to play with (and it made the room feel so much bigger!) However, the single wire shelf (which comes standard in many homes) wasn’t doing us any storage favors either. Not only did we not need all the hanging space provided by the shelf, but it was preventing us from taking advantage of all the vertical height on the back closet wall (both above and below the shelf). We have removed many of these kinds of shelves over the years as well, so we did the same as we did with the doors: carefully removed the shelf and its included hardware and stored it all together in a safe spot in the garage.
While I worked to empty out the closet and sort through all of our bins and boxes of Henry’s old baby items, Greg set about creating a built-in bench for the base of the closet.
The “Built In” Bench
The idea of the built-in bench started with my Mom’s old cedar chest. This cedar chest sat at the foot of my bed in my childhood home for as long as I can remember. It holds all my handmade baby clothes, my Cabbage Patch collection, all my yearbooks, my wedding veil…you get the idea. Because we moved so much and never really had the space for it, it just stayed at my parents house after Greg and I got married. When my Mom passed away and my Dad sold the house a few years ago though, we had to take it. It’s in pretty rough shape, not a color that works with our home, and filled with random items I don’t ever access, so we’ve placed it out of the way in various closets and nooks over the years.
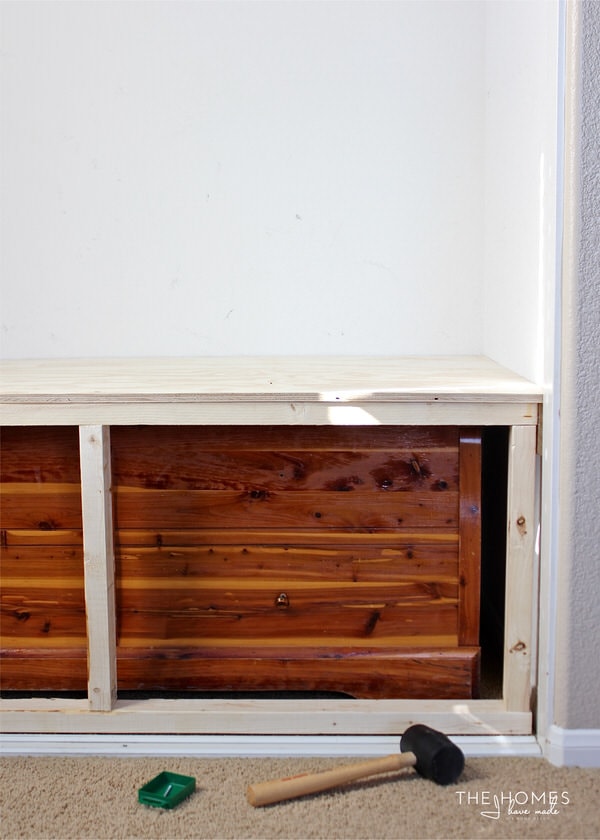
The nursery closet was the most ideal place for the chest in this home, but the color and size of it were conflicting with my overall design for the room. Since it’s not something we ever access, Greg was surprisingly on board when I floated the idea of casing it in with a built-in bench. This solution kept it (and everything inside) safe and protected, but also allowed us to create a unique and more functional closet from bottom to top.
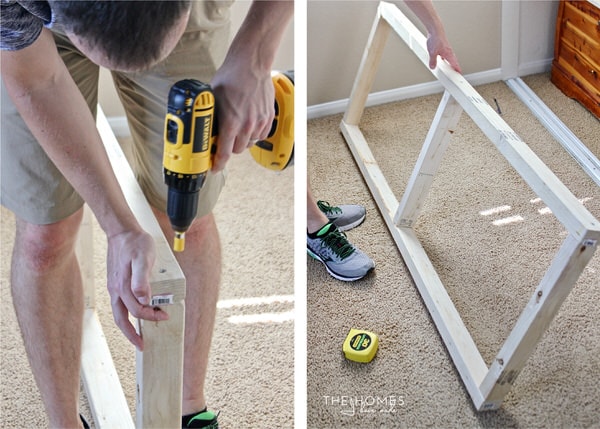
Greg started by making the frame for the built-in…
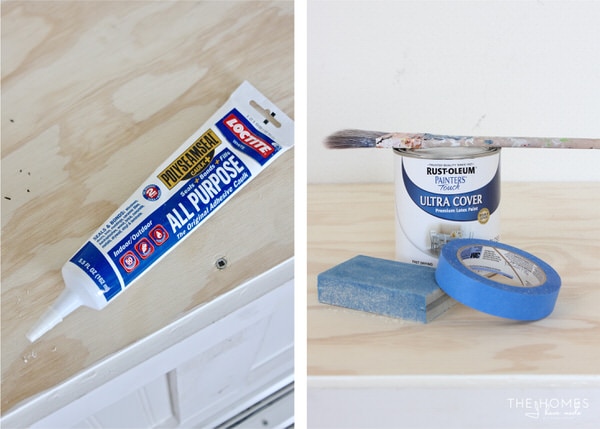
…and I finished it off with caulk and high-gloss white paint.
Greg and I aren’t the most skilled when it comes to “building” things from scratch, but this bench turned out awesome! I’m certain anyone who can measure and use a drill can do it; so if you’re desiring a similar look in your own home, keep your eye out for the full tutorial coming soon.
Wallpapering the Closet
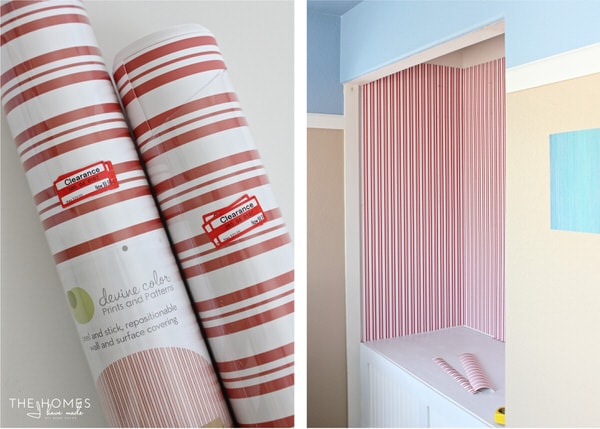
With the built-in complete, I next set to wallpapering the three closet walls with red-and-white striped wallpaper I had found on clearance at Target years ago. I share more about my experience wallpapering textured walls in this post, and share some specific tips on how I made the most of my two rolls of removable wallpaper here!
The striped paper really helped the closet and built-in become a distinct focal point in the room.
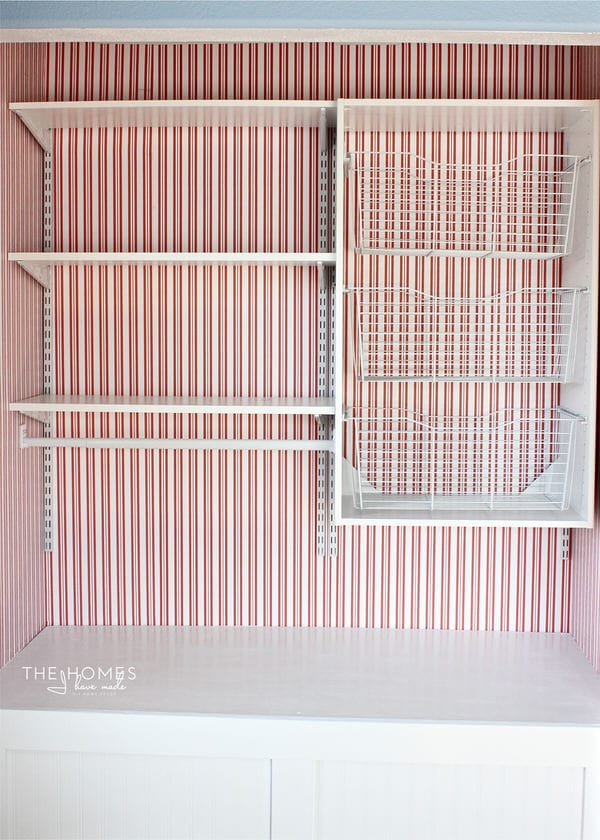
With the built-in and wallpaper complete, it was finally time to add in some much-needed shelves and drawers!
Installing the ClosetMaid System Into the Closet
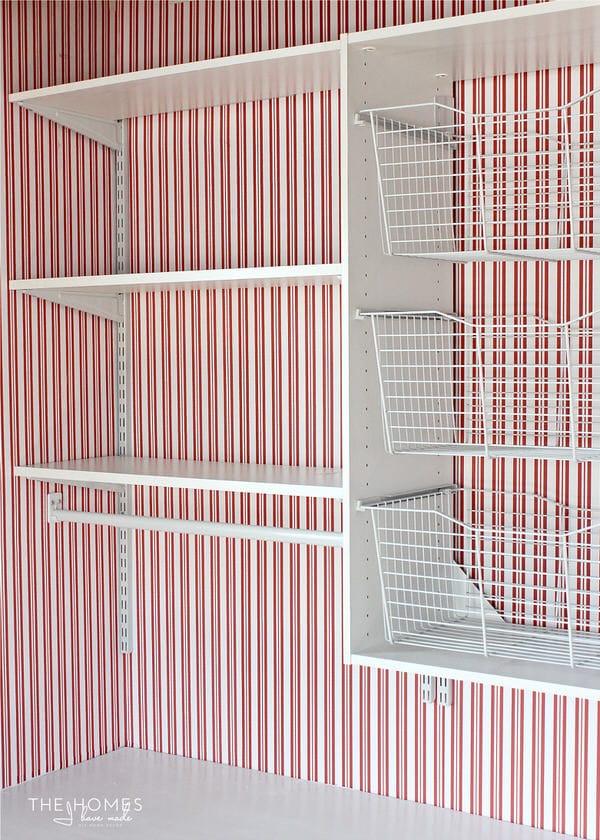
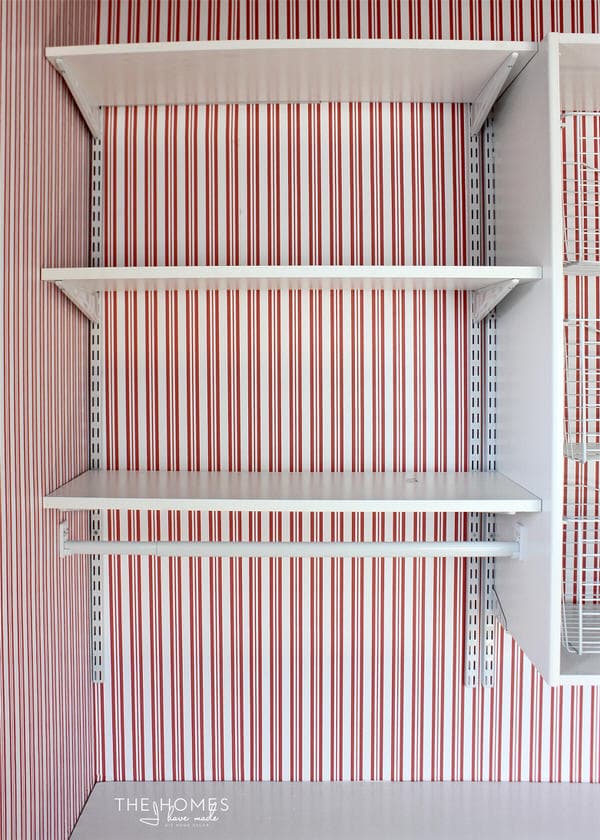
Admittedly, I had my sights set on a beautiful built-in system of shelves, cubbies and drawers to hold every last baby bib, sock, and shoe. But as I researched various systems, I quickly determined that between the cost (yikes!) and the required customizations/specificity to a particular closet, it didn’t seem like the best renter-friendly solution. I ultimately determined that the off-the-shelf closet organization system by ClosetMaid at The Home Depot would give me the look, function and feel of built-ins at a fraction of the cost. Plus…they could be easily transferred to other homes down the road AND didn’t require a million holes in the wall to hang. After playing with lots of different configurations and option (as in, I stood in the aisle at The Home Depot with a tape measure and notebook), we ultimately landed on a set of three vertical drawers, three shelves, and a short rod.
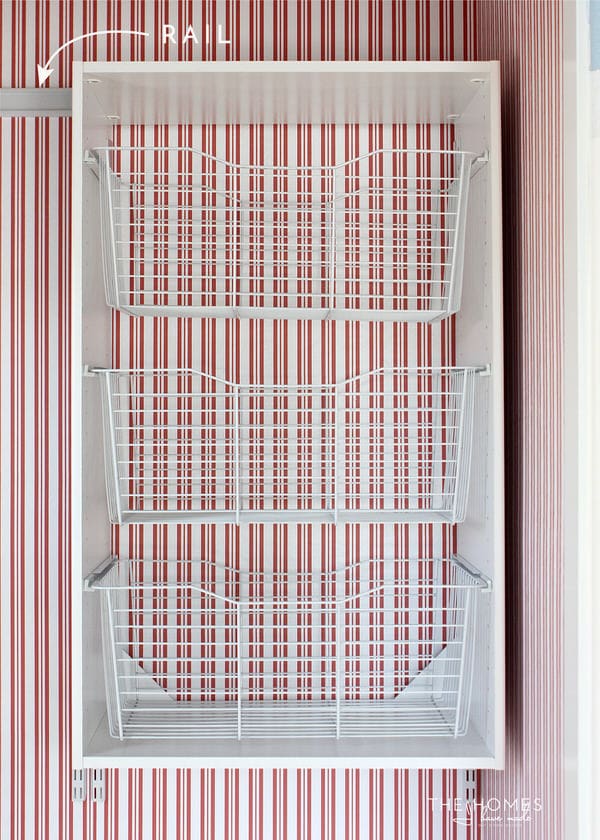
One of the main things that attracted me to the ClosetMaid system is that everything is hung on a single rail. Not only did this make for fairly straight forward installation, but it meant that we only have a few holes (with dry wall anchors) to patch before moving out. Greg simply hung the rail at our desired height, and then hung the drawer box and three shelves onto the vertical supports that attach to the rail. If you’re a renter or are looking for a very user-friendly way to add built-ins to a wall or closet, I can’t recommend this system enough!
To keep this built-in project as budget-friendly as possible, we cut down old white shelves we had from previous homes to fit this closet’s dimensions!
All told, we just had to purchase the top rail, four vertical supports, the drawer box with three wire drawers, 6 shelf brackets and the curtain rod which came out to about $200 (if my memory serves me right).
Organizing Baby Items
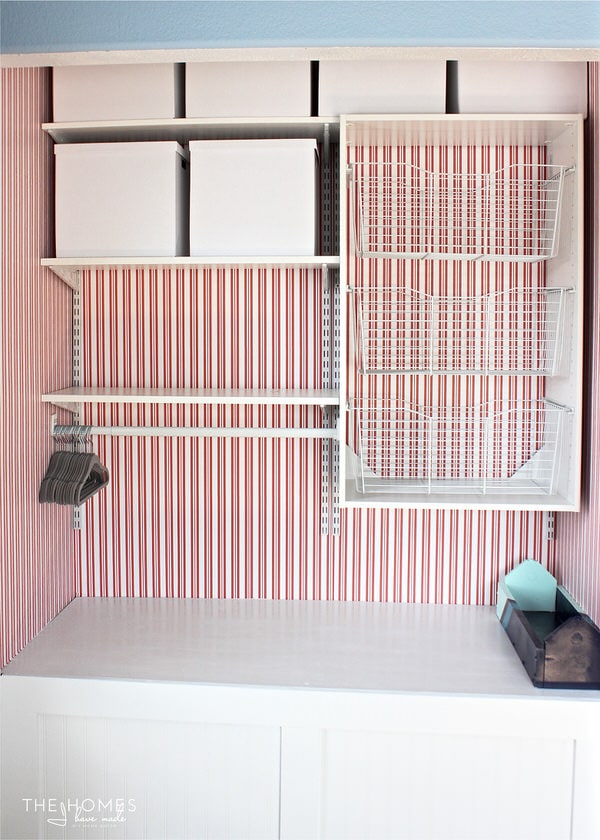
With all the hard work finally done, I could finally start nesting and get all of the baby items sorted and into the right spots. Like I do with most of my organization projects, I put the major storage “bones” in place (as in, the boxes, drawers, hangers, and caddie below)…
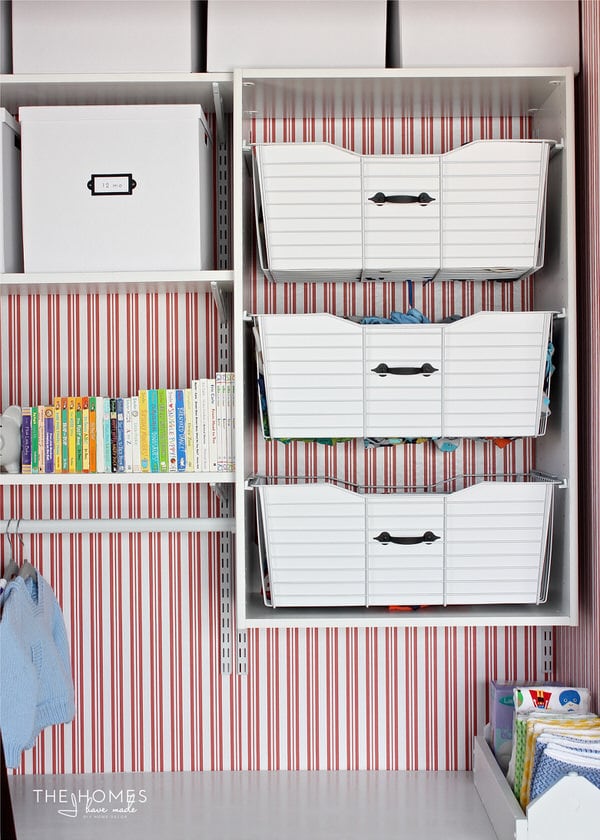
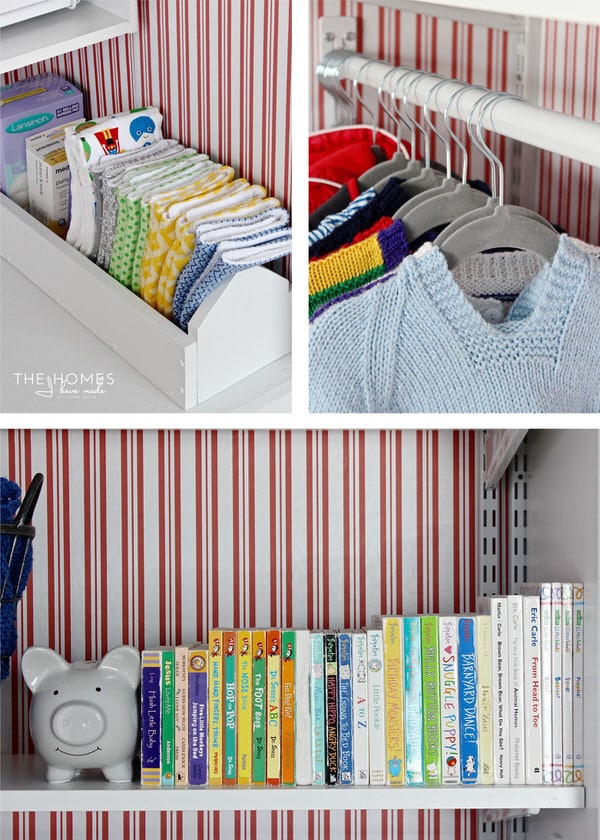
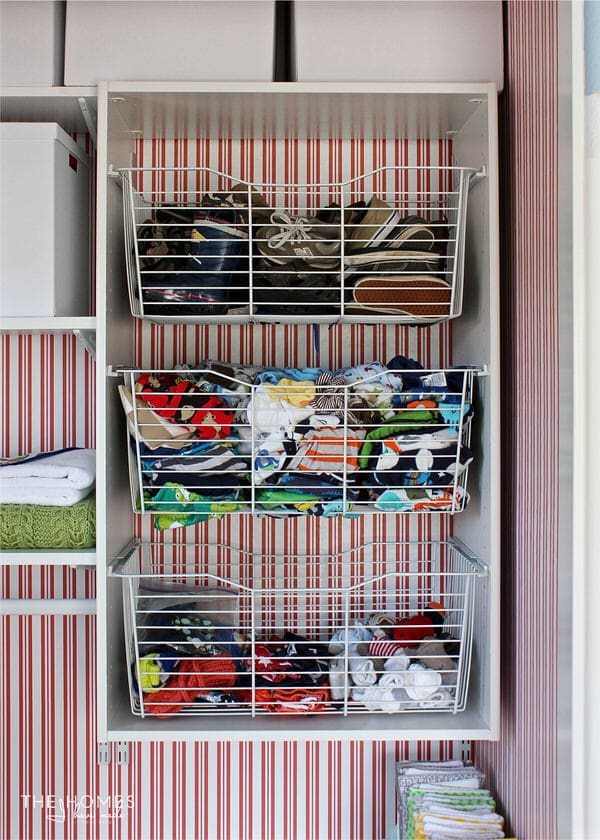
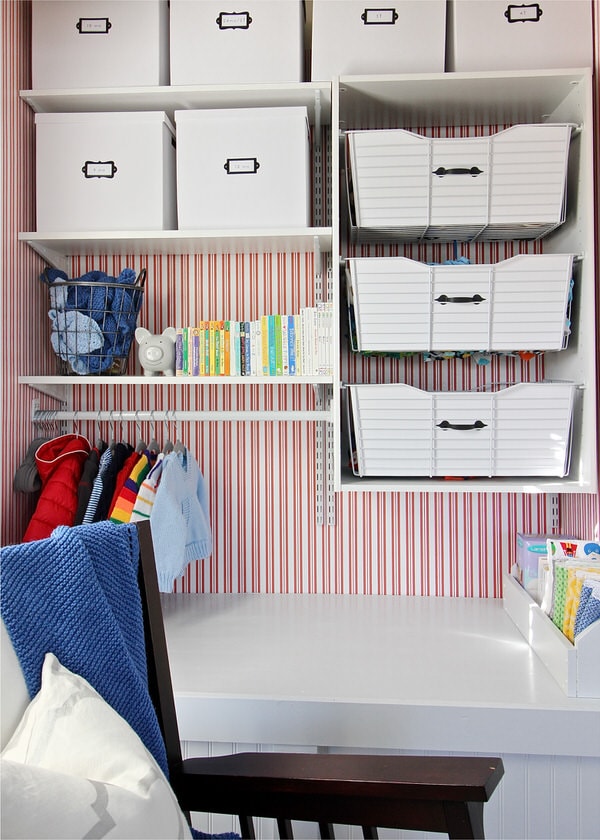
…and then fill everything up in a way that feels the most intuitive and practical. All of the white IKEA boxes store clothes organized by size. The top drawer holds shoes (in every size), the middle drawer holds jammies (in every size), and the bottom drawer holds socks and hats (in every size) since I’ve found these items don’t necessarily “match” a particular age/size. Hanging items were placed on hangers, while burp cloths and other small items were tucked into the caddie. I always like to get the function part of an organization project hashed out before I move on to the pretty details to prevent me from having to make labels twice if I decide to eventually move things around again.
Final Details
Last but certainly not least, I added a few small details that made a big difference in helping the whole closet feel more polished and complete.
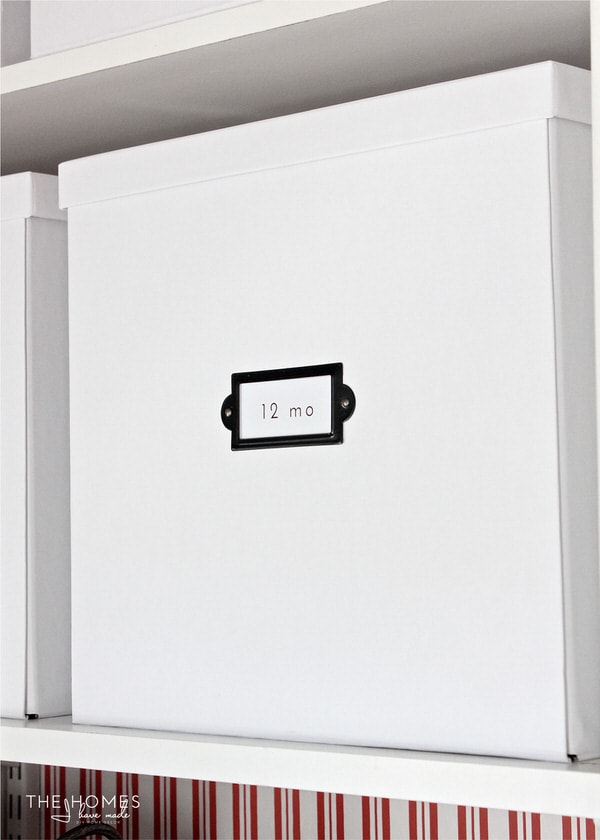
I swapped the blue painter’s tape on each clothing box for sleek metal bookplate labels I grabbed months ago from the Target Dollar Spot. They are held onto the box with basic metal brads, and the labels were simply printed off on plain white paper.
TIP! If you see great labels or other organization products in places like Target’s Dollar Spot, Michaels, Hobby Lobby or other stores that rotate their merchandise frequently, grab them! When the right organization project comes along, you’ll have labels and other accessories ready to go!
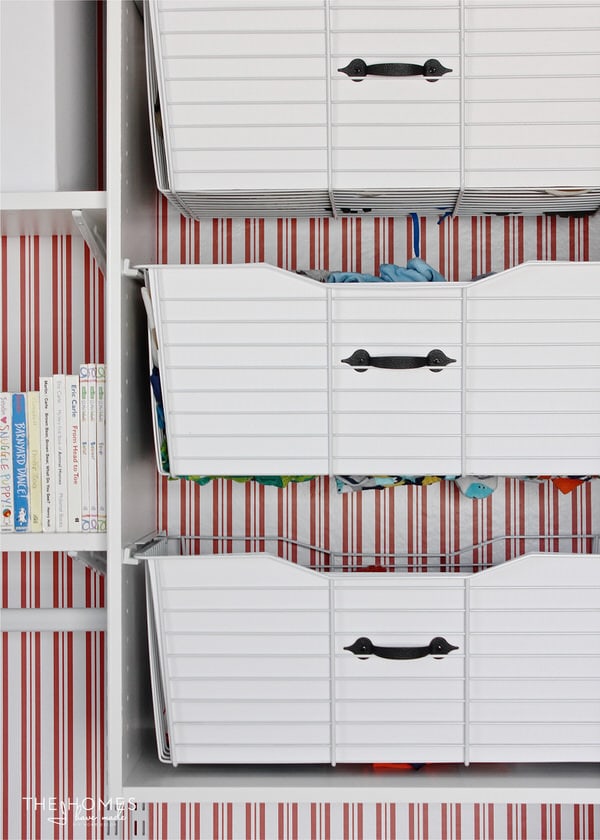
The other small detail that made a huge difference was to cover the fronts of the wire baskets. I chose the wire baskets because they were just so much cheaper than the solid-front drawers. But the wired fronts showed off the contents of each drawer, causing the whole display to feel messy.
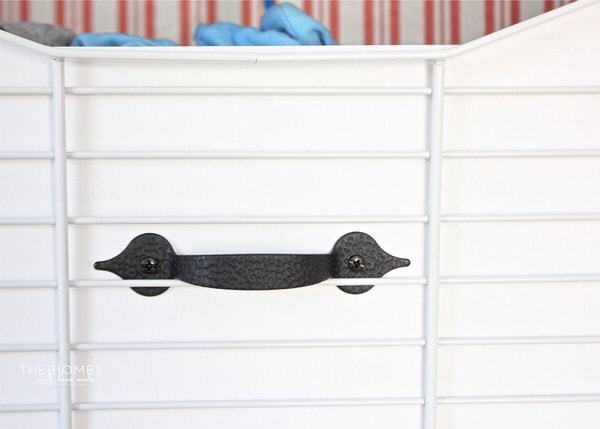
My solution? Foam Core. Yup. You read that right. I simply traced the front of each drawer onto large sheets of Foam Core from the craft store and cut them out with a sharp craft knife and ruler. I then slid them into the front of each drawer (between the wires and the items inside the drawer) and added an inexpensive black handle (from Lowes) using the included screws with nuts on the other side.
The foam core worked wonders in streamlining the space and has held up brilliantly all these months later!
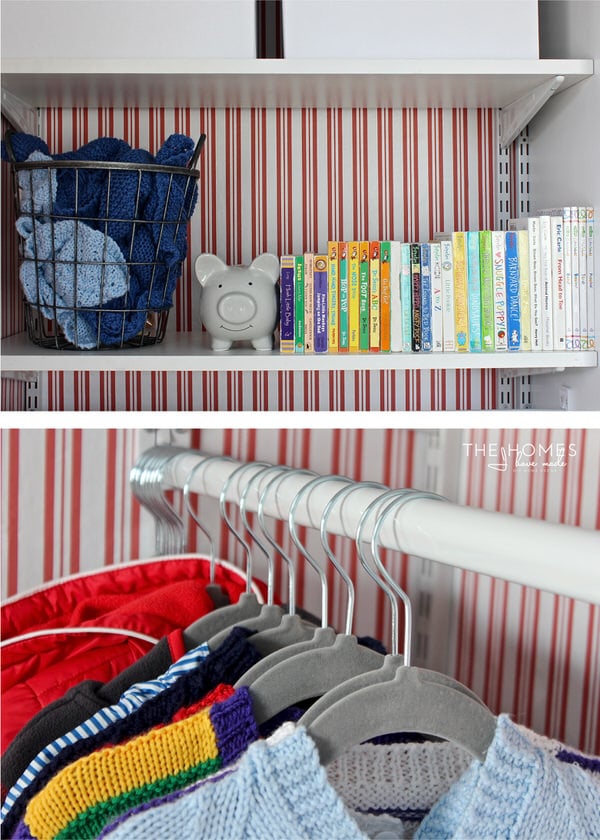
The final touch was to add some books and other accessories to the closet in order to make it the quintessential spot to not only store items, but feed and read to the baby as well!
From top to bottom, this nursery closet was a true labor of love that turned out to be as functional as it is adorable. It’s my favorite cozy spot to nurse and read to Sam, and Henry will often sit on the bench to help read stores at night. Aside from turning this sad closet into something much harder working, this makeover was also a really good exercise in creating something that looks and feels custom with all budget-friendly, off-the-shelf, and removable products.
In case you’re curious, here are the products use in this transformation:
- Building materials: The Home Depot
- ClosetMaid System: The Home Depot
- White paint color: Rust-o-Leum High Gloss White
- White storage boxes: IKEA
- Metal labels: Target Dollar Spot
- Wire basket: Marshalls
- Grey huggable hangers: HomeGoods
- Black handles: Lowes
- Piggy bank: Marshalls
- Red and white striped wallpaper: Target
- Caddie: Thrifted
- Burp Cloths: DIY
As I said, this closet transformation didn’t happen all at once. Over the course of 5 weeks, we took one step at a time until it was complete. Still, I hope seeing this makeover from start-to-finish helps you understand the thought, process and details that went into it should you be considering a similar closet makeover somewhere in your home. We recently started making some updates to Henry’s closet, and I can’t wait to see it reach a similar transformation…it’s a little slower going, though, since Henry has more opinions and requests than Sam did 😉
I hope your week is off to a great start! Back here on Friday, I’m so excited to show you an update to a baby toy I made years ago for Henry that Sam is loving just as much! See you then!
Megan




2 Comments on “An Organized Nursery Closet Start to Finish”
I’ve loved that closet since you showed it last year! It’s so cherry, and perfect for a little boy’s room. You did an outstanding job!
Wow! I love the built in bench and the wall paper! The foam core drawer fronts are also genius! You do an amazing job, especially considering all you do is removable when you have to move!