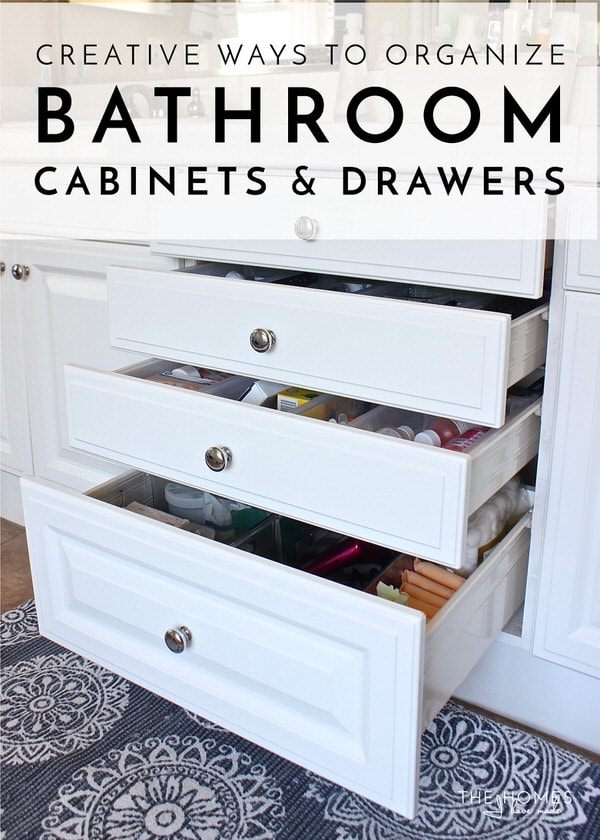
Creative Ways to Organize Bathroom Cabinets and Drawers
After being on a bit of a decorating kick in past months, I’ve suddenly found myself wanting to organize every space I can get my hands on. It might be because it’s one of the only ways I can figure out how to love this house more (by the way, thanks for ALL the love on last week’s post…I’m so glad you guys loved reading it as much as I loved writing it!); or because with Henry home all day…the trail of toys and clutter stretches from one end of the house to the other, and I need somewhere for my eyes to rest. Either way, I recently (finally) organized our master bathroom drawers and cabinets, and I was yet again reminded how happy a little order among the chaos can make me. Drawer organizers, shelf liner, labels and decorative touches in the bathroom might be unnecessary for some, but it’s these little details that instantly bring a smile to my face and help me feel a little more in control of my surroundings. Although I followed my tried-and-true process for organizing these under-sink spaces; this time around, I relied only on supplies I had on hand. What resulted was some truly creative, smart, and budget-friendly solutions I can’t wait to show you!

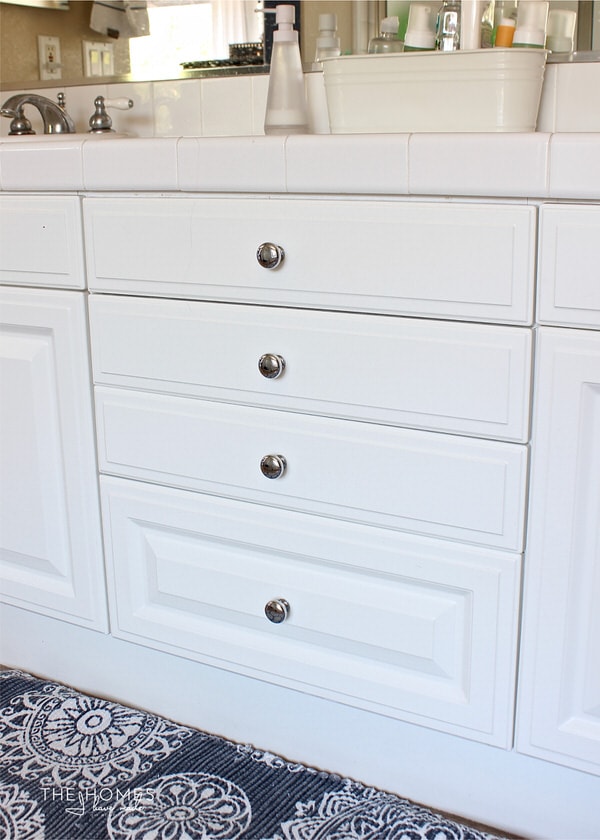
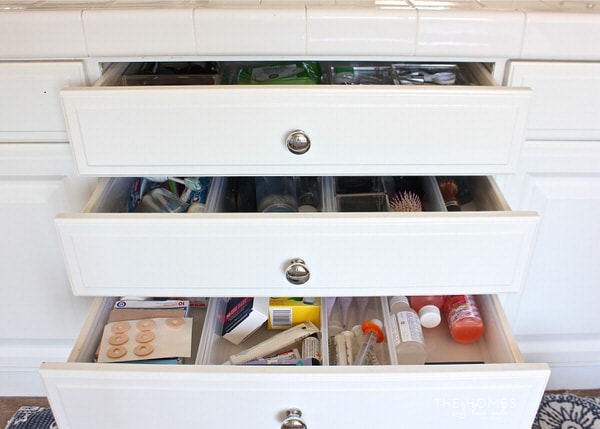
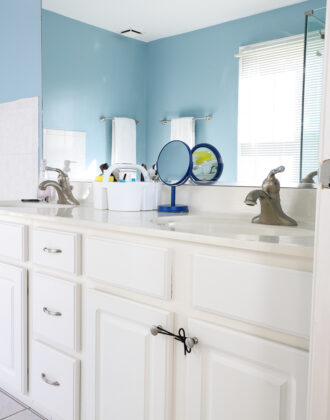
Our master bathroom was one space I was quite smitten with when we first walked through this house. It’s big, light, bright and has more storage than any other bathroom we’ve ever had! I couldn’t wait to organize all these pretty drawers…
*Affiliate links used
Last summer, I took an hour or so one afternoon and lined all the drawers with fun, patterned papers. I (almost always) do this for a few reasons. One, I’m a total pattern junkie and never miss the opportunity to add a pop of pretty wherever I can…especially when it’s so easy and inexpensive. The other reason is much more practical. I’ve learned that drawers and shelves experience some pretty decent wear and tear with daily use. The disposable, peel-and-stick papers keep our surfaces scratch and stain free, so I don’t have to spend hours scrubbing them with a magic eraser before moving out. If you’d like to see exactly how I lined these drawers, you can check out my tutorial here: The Best Way to Line Drawers & Shelves with Pretty Paper.
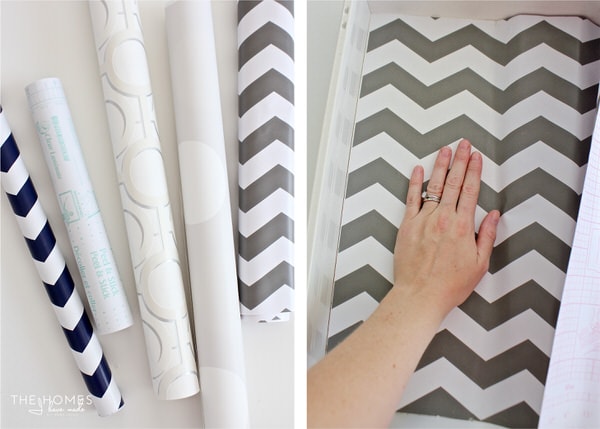
Chevron Shelf Liner: Navy + Grey
At the time, I organized the very top drawer and the cabinet under my sink and called it a day:

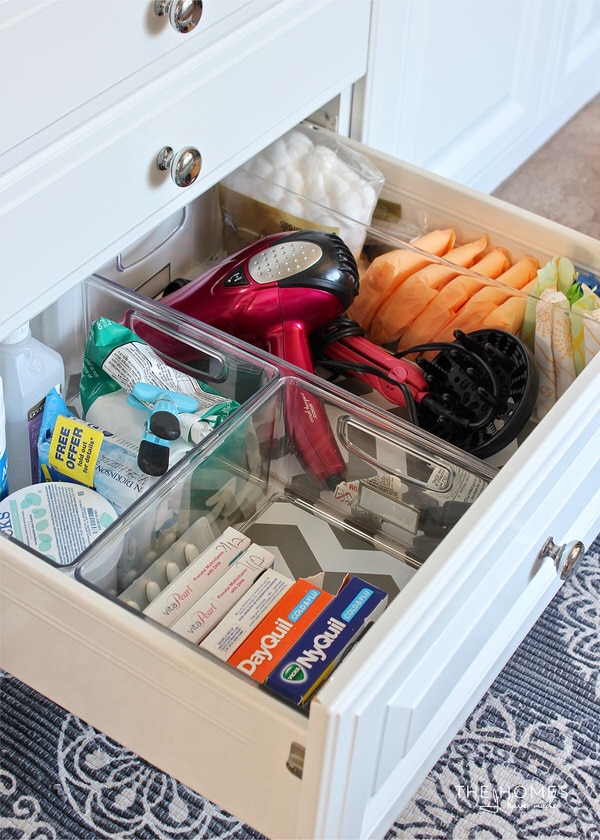
But it didn’t take long for both areas to become a complete, disorganized mess…
…and the most ridiculous part? Several of the drawers remained completely empty despite the override of clutter in the other areas. Seriously.

So I had enough one afternoon and moved these cabinets to the very top of my To Do List. After a few projects stretched across a few afternoons, we now have four, perfectly organized drawers and two under-sink cabinets that are no longer overflowing!
Empty, Sort, Purge, Categorize
The first few steps are the usual ones in any organization process…and I apologize, but I was moving so fast, I didn’t stop to grab the camera. But I’m sure you can picture it:
- I first emptied every last drawer, caddie, organizer, and cabinet onto the bathroom floor.
- With everything empty, I then vacuumed and wiped down all the drawers and cabinets.
- Next, I re-sorted each and every item into like categories: teeth, hair, medicine, lotions and ointments, etc.
- Along the way, I discarded boxes and trash, checked expiration dates on medicines/ointments, and even pulled duplicates/extras from other areas around the house so everything was in one spot.
- Seeing all the various toiletries and items corralled into groups helped me visualize how many and how big of organizers I was going to need for each drawer.
- Then…I went hunting around my house!
Creative Drawer Organizers
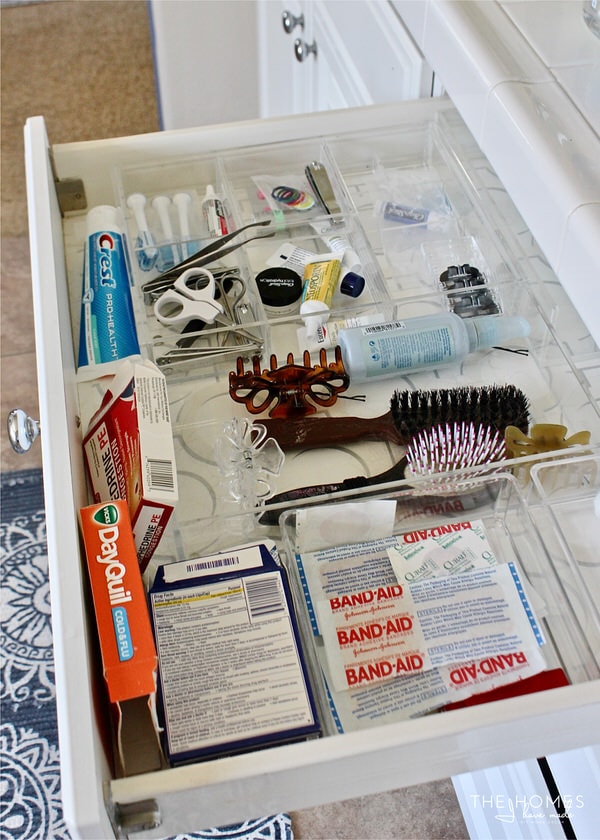
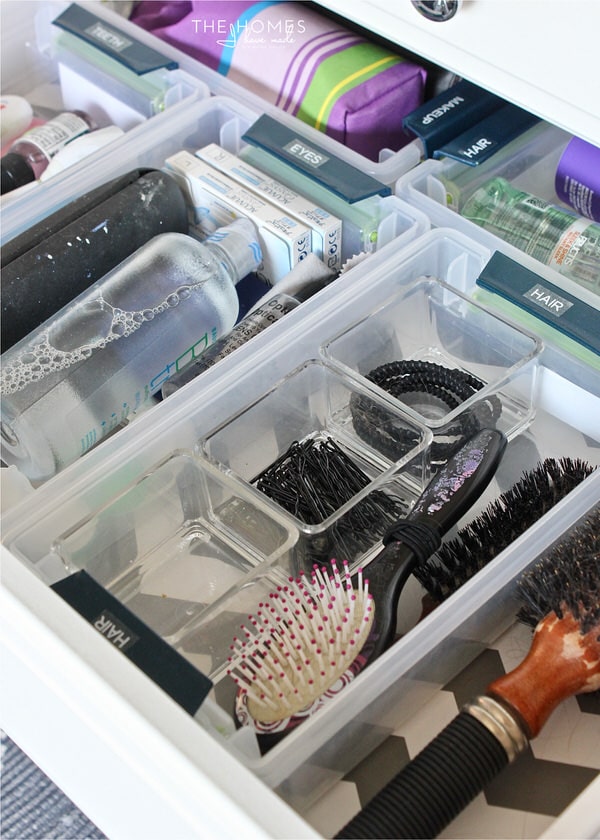
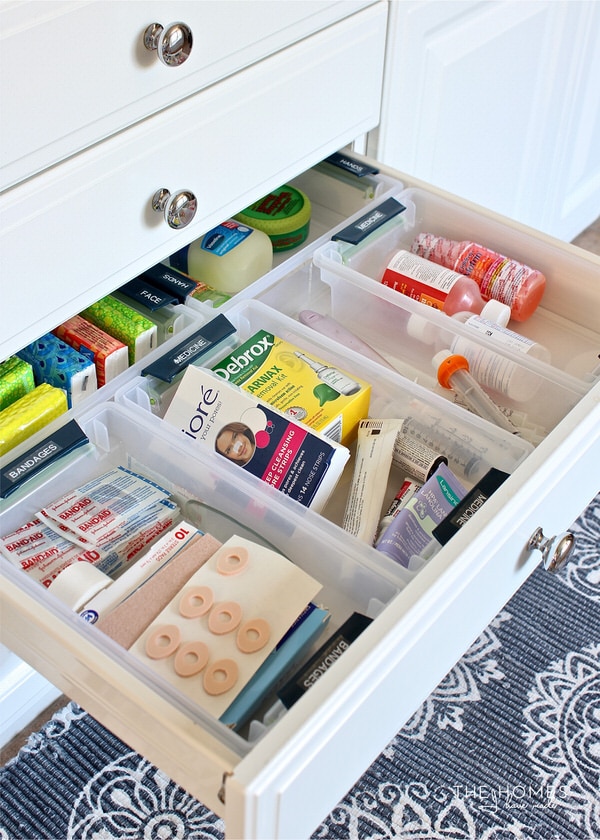
Although it had been over-run with unnecessary items in recent months, I actually really liked the expandable acrylic organizer we were using in the very top drawer (I can’t find the exact one anymore, but this one is similar). I re-arranged it a bit and added some additional acrylic trays along the side to make even more compartments and use up every horizontal inch available.
For the next two drawers, I really needed a way to corral all the various bathroom items. But the solution had to be relatively shallow and small, so I could have lots of different compartments. Admittedly, my bin and basket shopping habit has gotten a bit out of control lately, so I really wanted to use something from my “stash.”
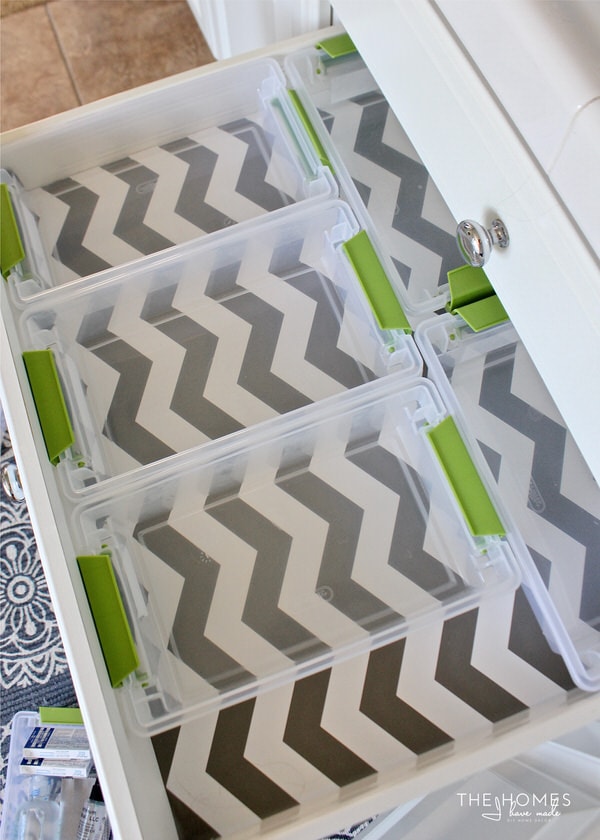
We are in the process of re-imagining what we are doing for Henry’s Lego collection, so I had a bunch of these Sterlite boxes out in the garage. Before I dragged them all in, I grabbed a few from Henry’s playroom to see if they would work.
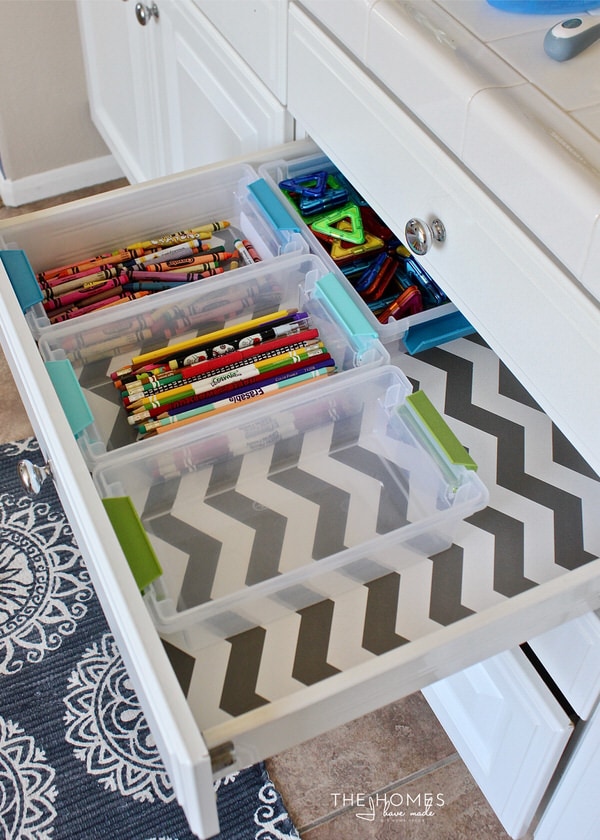
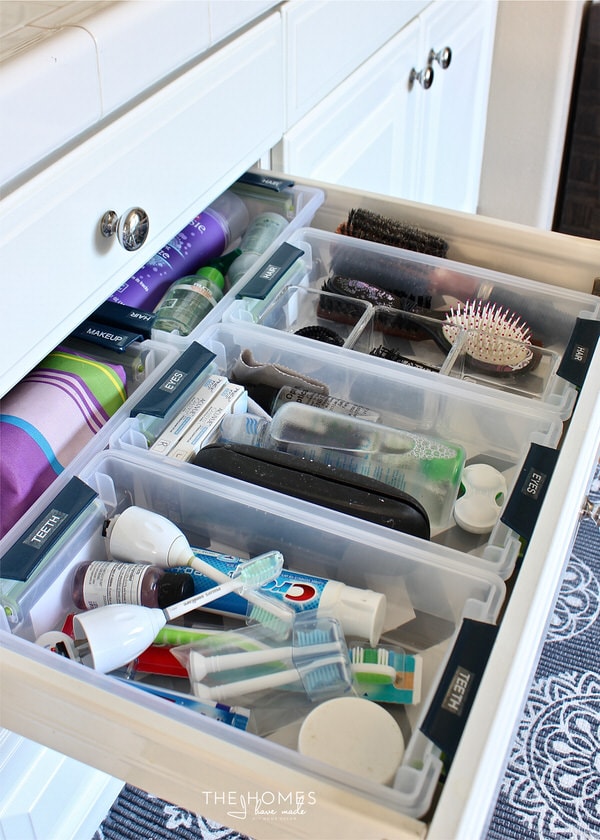
As luck would have it, not only were the boxes (without their lids) the exact right height for the drawers, but I could fit 5 of them in each drawer as shown below. Not only was I ecstatic that something I had on hand worked so well, but was also pretty pumped to get something else out of our garage and into use!
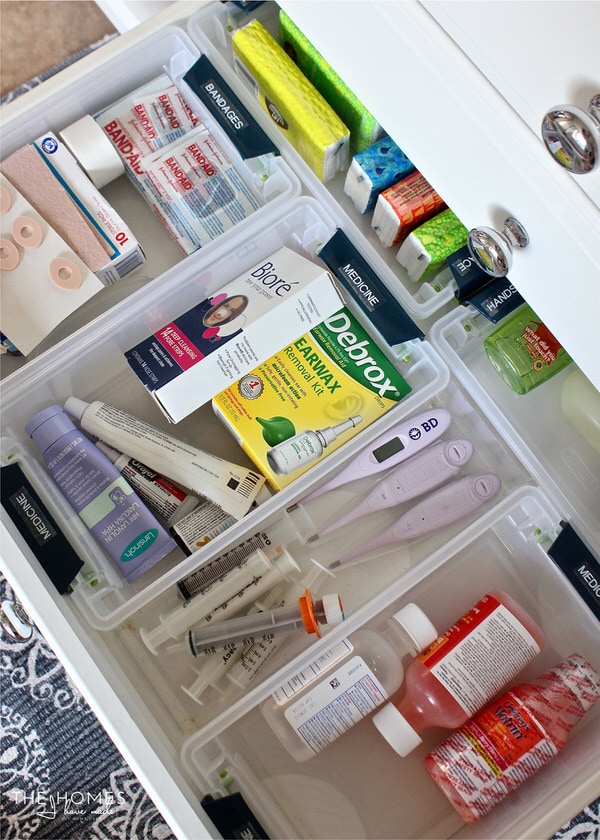
The final drawer is the deepest of the bunch. I discovered shortly after moving in that our deep acrylic bins (I found mine in the kitchen section at Bed Bath & Beyond but these are similar) were the ideal dimensions to separate out smaller compartments in the big drawer. I may have had to use my Tetris skills to come up with the most ideal arrangement, but I ultimately determined that two smaller bins horizontally on one side with the longer bin in the middle allowed for one “empty channel” along the other side! Note that sometimes the “leftover” space can become usable space if you lay things out just right!
Want to save this post?
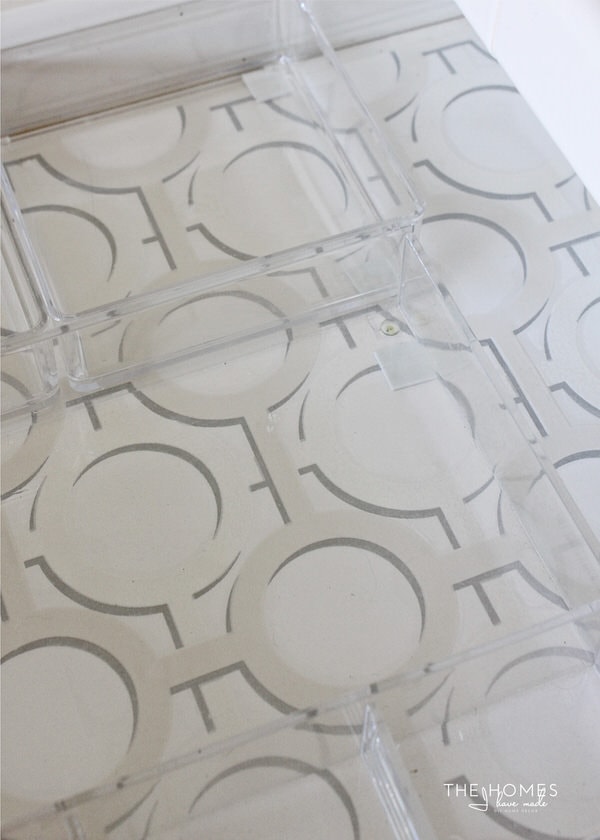
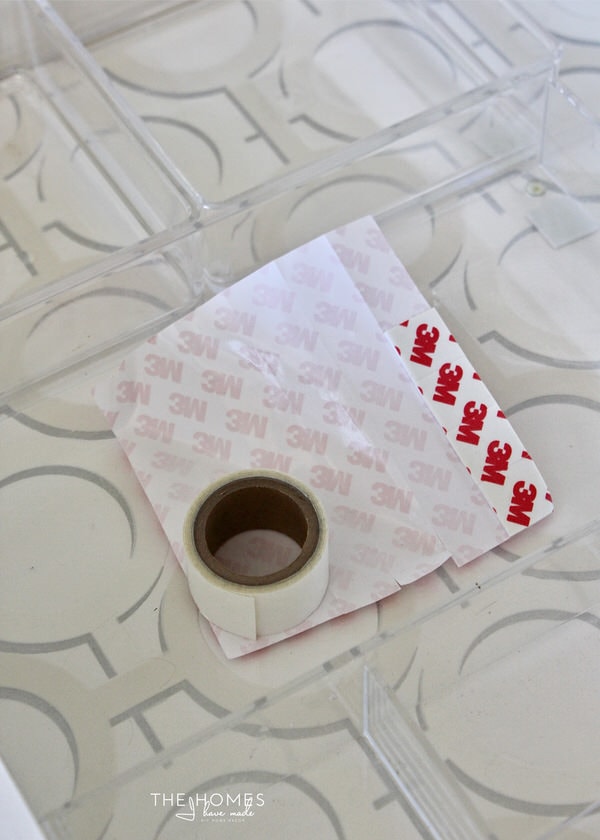
When you are mixing and matching organizers (especially if they aren’t meant to be drawer organizers!) to fill up a drawer juuuust right, here’s one of my best tips for keeping everything tight and tidy: place thick double-sided tape or adhesive squares under your organizers. If you end up using organizers that aren’t quite a perfect fit, this will keep them from sliding around each time you open and close the drawers (and how you can create usable channels out of “leftover” space)!
Filling Up the Drawers
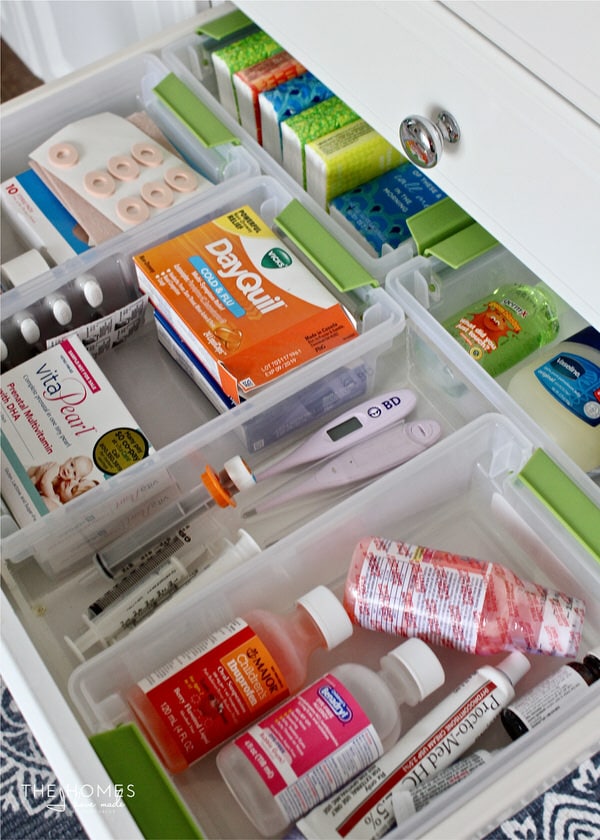
With the drawers fully outfitted with dividers, I then set about filling up each compartment in functional and logical ways. Most-often used items were placed in the in the very top drawer…

…and then less-used items were given homes in the remaining drawers based on use and fit. This took some trial-and-error until I found spots for everything to fit just right!
Making It Pretty
Once all the drawers were organized, I could have walked away. But you all know I like to take things one step further by adding some decorative details and labels. You better bet those green handles in our all-navy and white bathroom were really, really bothering me. My first instinct was to use strips of washi tape just across the tops of each handle, but then I remembered the extra wide washi tape I used on a similar “camouflaging” project with our battery case.
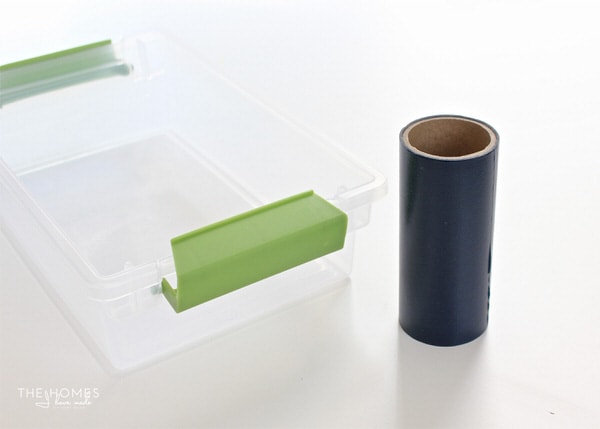
Sure enough, wrapping each green handle with the blue washi tape was quick and easy, and worked really, really well. Since these handles don’t need to be functional, I was able to mask the green and make them work so much better with our bathroom…using something I already had on hand! Score!
The tabbed handles made for the perfect label location, so the final touch was to add some white lettered-labels on clear label tape (I used this tape with my snazzy new labelmaker). With some smart placement, taped handles, and clear labels, these basic storage boxes were transformed into perfect drawer organizers!
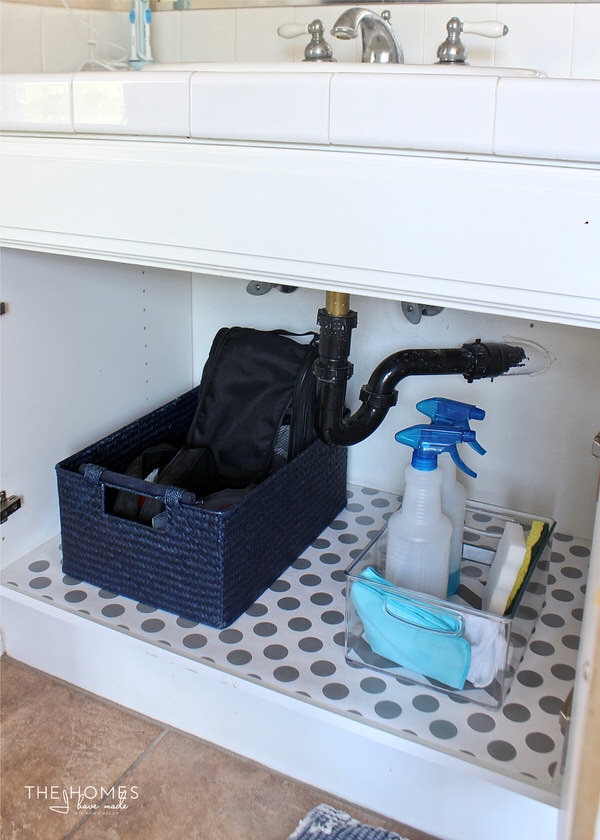
Under-Sink Cabinet Organization
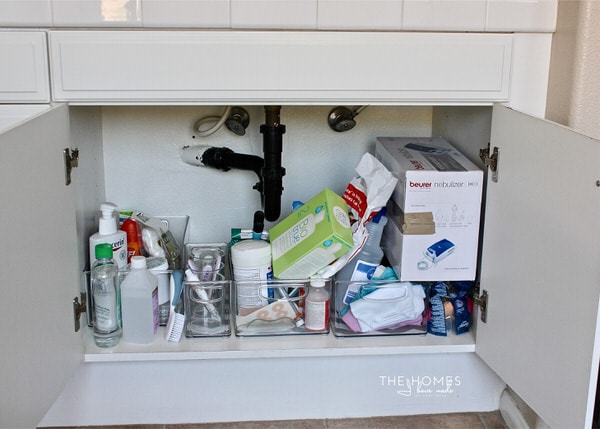
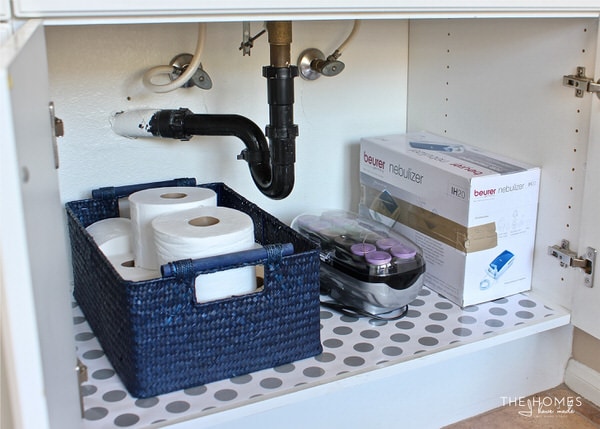
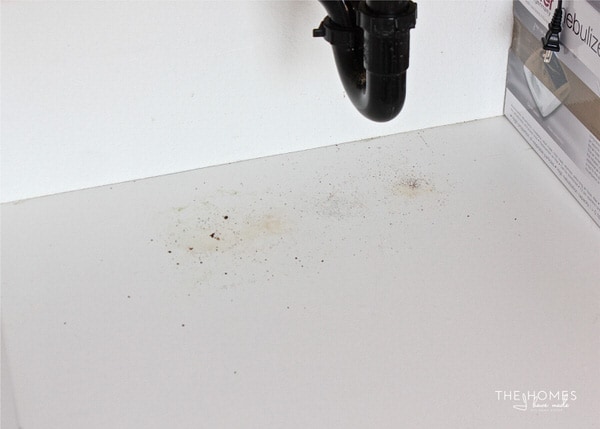
When everything was pulled out from under the sinks, the white shelves were in pretty bad shape. After giving them a good scrub down, I chose to protect these surfaces too.
Since I was out of the other papers I used in the drawers, I used some coordinating wrapping paper (from TJMaxx) covered in clear contact paper along the bottom of the cabinets. With all the various items now organized into the drawers, the cabinets were free to hold bigger, clunkier items.
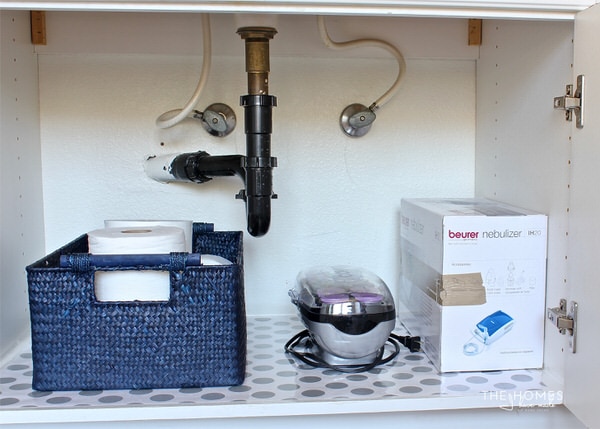
I never hesitate to corral things that can easily topple over and become unruly messes…especially under cabinets. As such, our extra rolls of toilet paper were placed into a pretty basket I snagged on major clearance at Michaels months ago…

And our mini cleaning kit was loaded into another deep acrylic bin.
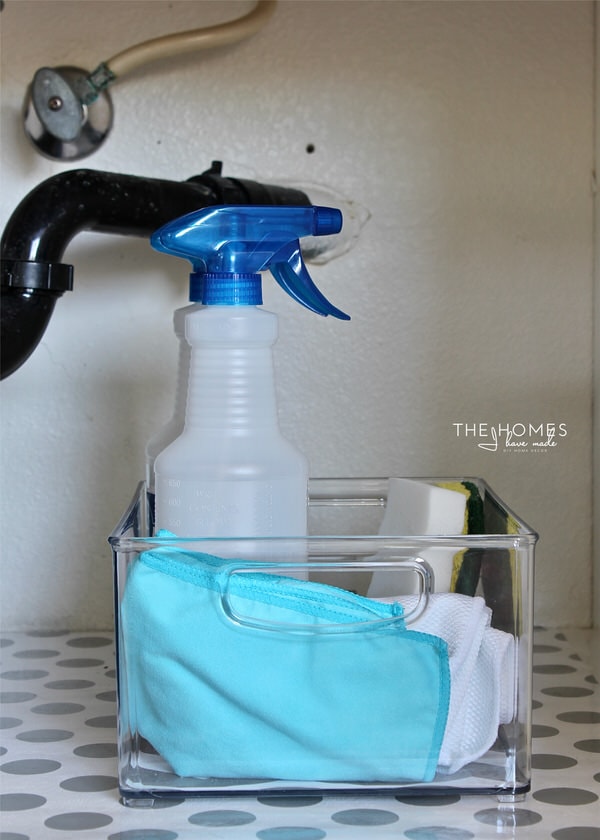
By removing a lot of the clutter and adding in some wipeable shelf liner and sharp-looking bins and baskets, keeping the under-sink spots should (hopefully!) be quicker and easier to maintain!
Oh you guys – it felt so, so, so good to get a good ol’ organization project under my belt. It worked wonders for my mood; and you better bet I smile each and every time I open the drawers to grab something we need. We have a few more details to finish up in this little space before I show you how the whole bathroom comes together. In the meantime, I hope the ideas I’ve shown here today motivate you to look around your house and see what you can use to create a little more order where there is currently none!
If you have any clever or smart bathroom organization tips, please share in the comments below! I have two more bathrooms to tackle and would love to try out some other ideas!
Have an awesome weekend, friends! Next up on Tuesday, I’m sharing an in-depth look at Sam’s nursery closet; and on Friday, I can’t wait to show you some DIY toys that both boys are loving! See you then!
Megan
8 Comments on “Creative Ways to Organize Bathroom Cabinets and Drawers”
Megan, I love your organization skills! I try to use boxes I have on hand in my drawers too. If there is some space left because the boxes don’t exactly fit, I put wine corks or cut up dry sponges to pad the back or side of the drawer. My little bins and boxes don’t wiggle around anymore.
This is so motivating! I’m off to check out my own bathroom drawers…
Love it! I only wish I had drawers in my bathroom so I could do the same.
What is your solution for the “stuff” you have to protect the children from?
I don’t think I’ve seen this addressed in any of your posts. I don’t have that problem but I bet a lot of readers do.
This was an inspiration – I’ve just been thinking about how I haven’t even looked in those drawers for months, so purging is definitely called for!
Love how you re-purposed the bins – if you had to move without much notice, you could just slap the lid on and they’d already be labeled!
Aloha – Tenney
I love your bathroom organization. I just moved and have a huge bathroom, and while my previous bathroom was well organized this one is struggling. I need to spend some time working on my bathroom.
Looks great, but I have a silly question. Where so you store the bin lids?
I had the same question as Penny! I really struggled with that problem, because I didn’t have a good place to lock away the medicines and other things I needed to keep away from exploration by small hands. I ended up with a combo of baby latches on the drawers/cabinets and putting as much as I could into our one tiny higher cabinet. It was pretty inconvenient, and I hoped for a better solution but didn’t find one (he’s 14 now, so it’s no longer an issue!) How do you keep your kids (and their friends!) away from these items?
Hi Megan
I do love this organization, the bins without lids as it is inside drawers and the labels you made too. I have a different way of organization as I have shelves in the open in the master bathroom, it’s also very high between each so I still try different methods to corall everything. In another bathroom, it’s easier as I have a door closing the shelves, these are tiny ones but I found tiny yellow bins which do the job quite well and guess what, the day I put them in I was so happy to open and close the door to admire the result.
Have a nice time and I will think of you and your husband next Friday. We will celebrate Bastille Day, American soldiers will walk on the famous Champs Elysées in Paris, make us remember and be greatful for your country coming into the WW1 helping us beeing free, we won’t forget.
Michèle