Organize Your Cleaning Supplies with Colorful Cleaning Kits!
Spring is in the air, and boy oh boy do I have an urge to get spring cleaning! Not only do we have a move coming up, but this time of year always makes me want to get rid of the clutter and sort and label every last thing we own! Please tell me I’m not the only one! This last weekend I got a bee in my bonnet (so to speak) about our cleaning supplies, and set to work not only cleaning them out, but making them pretty darn cute too. Today, I want to show you how to organize your cleaning supplies into convenient (and colorful!) cleaning kits. Not only are they adorable to look at, you’ll be sure to always have your cleaning supplies when and where you need them!

There’s a secret you all should know about me: I love a tidy home and could literally organize clutter all day long…but I hate to clean. Hate it. Every bit of it. I’ve tried cleaning checklists and schedules. I’ve tried cleaning a little every day and all out once a month…nothing makes it easier or more pleasant for me, and I really haven’t come up with a system that feels manageable and successful.
You know what does work for me though? Hiring it out. I’m almost embarrassed to admit that (me who DIYs almost everything!), and I certainly don’t say it to sound snobby. We take money pretty seriously around here…which also means that we put it toward the things that mean the most to our family, help us out where it counts, and keep us happy. For me, having someone to come clean the house each month makes me a happier Megan and gives me the time to focus on Greg, Henry, projects and the blog.
The cleaning lady we have here in Kansas does something I’ve never experienced, and I absolutely love. Instead of bringing her own cleaning supplies, she stocked us up and keeps everything here (so we can use it all between visits). That alone is pretty brilliant on her part. But wait, there’s more! She also planted a small collection of supplies in each bathroom and the kitchen in order to limit the amount she carries around the house. Typically, I am someone who likes all-of-one thing contained in a single spot. But over the last few months of using her system, I have loved being able to walk into the bathroom right before company is coming and clean it without having to dig out or go get the right supplies. I guess I could make a single caddy that could be carried throughout the house; but man, it’s just so convenient to have a dedicated cleaning basket in each bathroom!
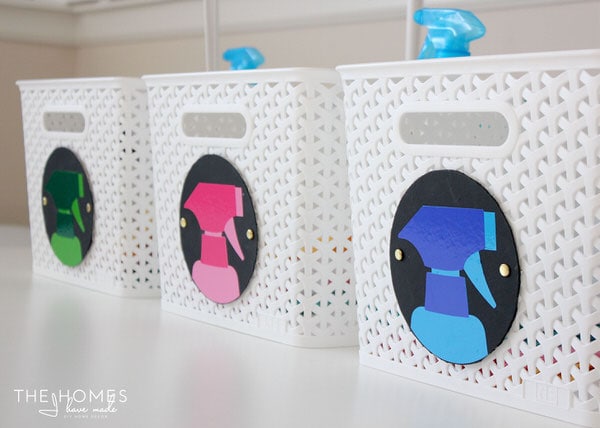
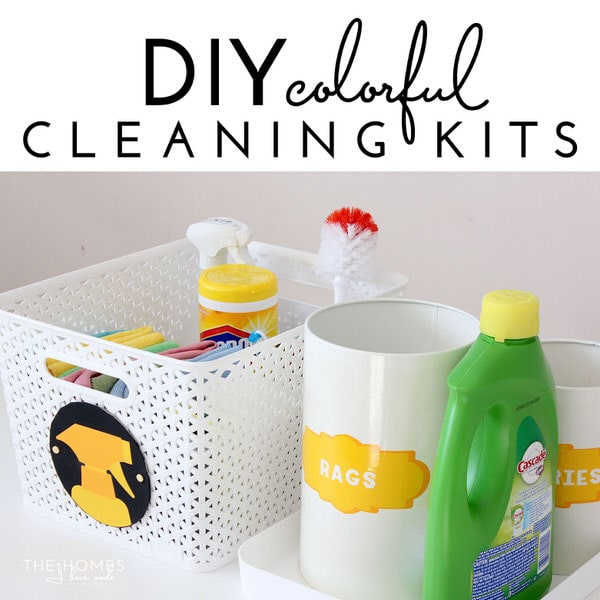
Until recently, all the supplies were just hanging out under the sinks in each bathroom. I (finally) went to go corral everything into baskets when (of course) I had to take a few minutes to make them extra cute! My sister is going to make fun of me when she reads this post. She and her husband are convinced I label everything. I tried to convince her that I don’t, but this post isn’t going to help my case! When I thought about creating dedicated kits for each bathroom, color-coordinating them was my first instinct! As such, I made super cute basket and spray bottle labels that match…and used a different color for each kit.
How to Make Basket Labels from Chipboard
I wanted to make large, sturdy labels for each basket, but also wanted to do it using only things I had on-hand. I had some chipboard leftover from another project and knew it would be a great solution! While chipboard isn’t waterproof, it’s nice and sturdy and will hold its shape over time.
To make labels using chipboard, you will need:
- Chipboard (the thicker the board you choose, the sturdier your labels will be)
- Acrylic paint (in the color of your choice)
- Vinyl (in the colors of your choice)
- Hole puncher
- Brads (optional, for securing the label to baskets)
- Tools: utility knife
 | pencil | scissors | paint brush | e-cutter
 | pencil | scissors | paint brush |
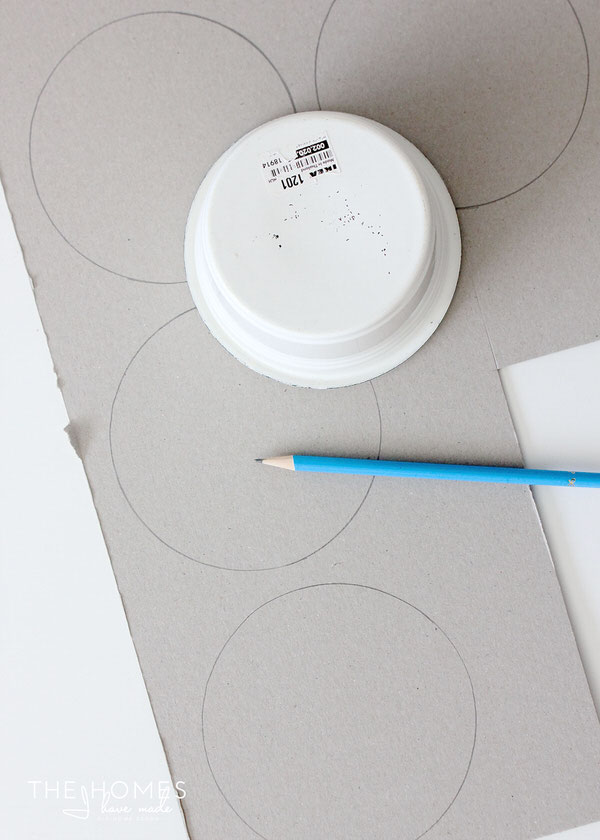
 Start by drawing your label shape onto the chipboard with a pencil. I simply traced a planter saucer I had in my office!
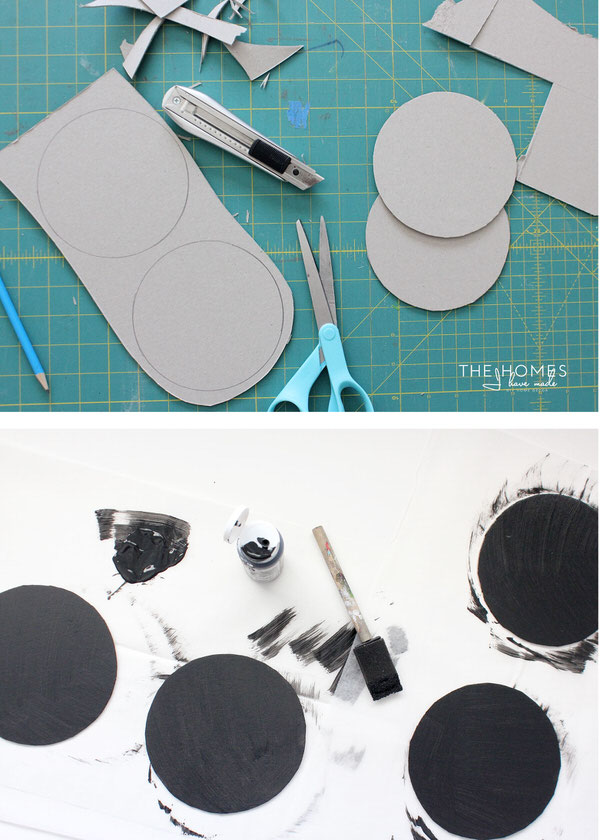
Next, cut out the shapes from the chipboard. Chipboard can be pretty tough to cut with a scissors. I found that trimming away most of the chipboard with a utility knife allowed me to then get in with a scissors to cut out the final shape. Once cut out, paint the chipboard with acrylic paint.
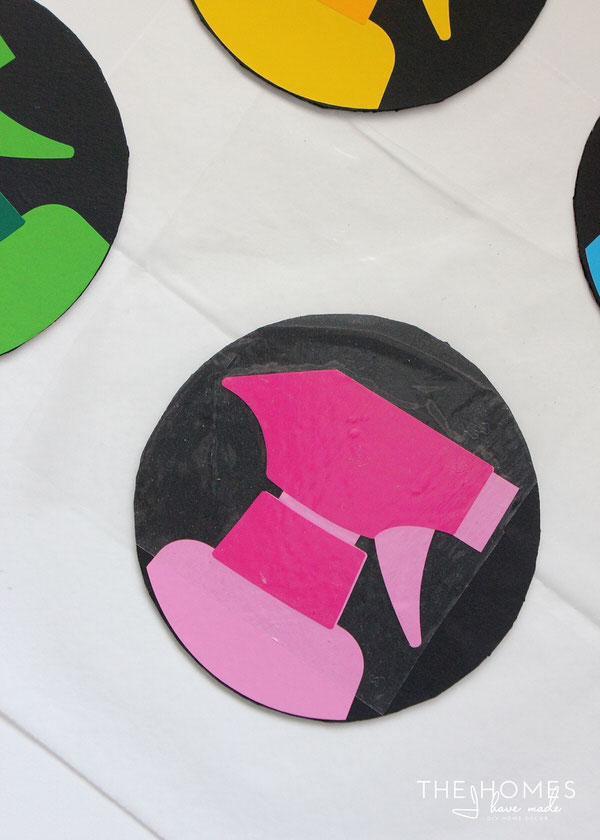
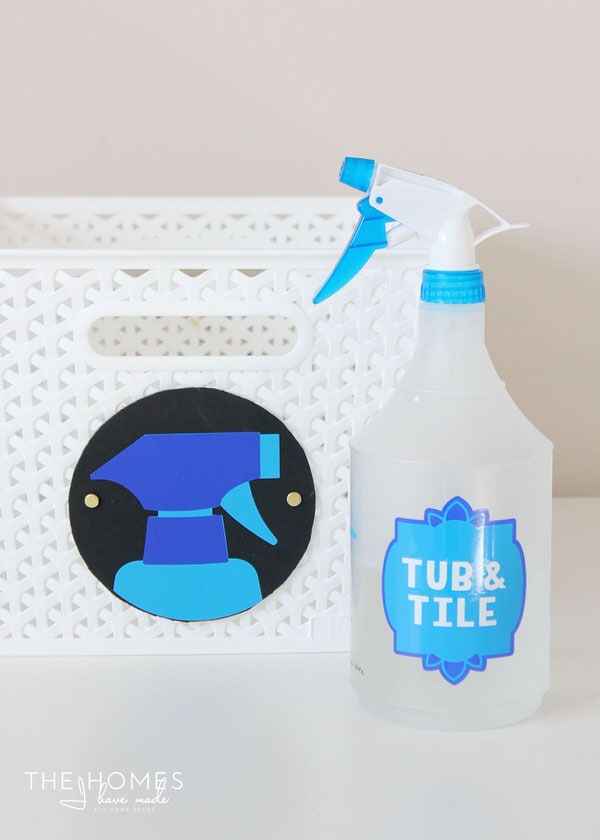
I knew I wanted to have a silhouette image on my baskets (hence the black background). After playing around in Cricut Design Space with a few different images, I finally decided on a two-toned sprayer bottle that I then cut using an array of brightly-colored vinyl!

Once cut, I applied the vinyl to the painted chipboard rounds!
You can attach the labels to your baskets in a variety of ways (including Velcro , double-sided tape
 , etc). My new favorite way is to use brads, which require holes in the label. Chipboard is a bit too tough to punch with a regular hole punch so I used this snazzy little tool from StampinUp! I’ve had it forever and it makes putting in perfect holes a cinch!
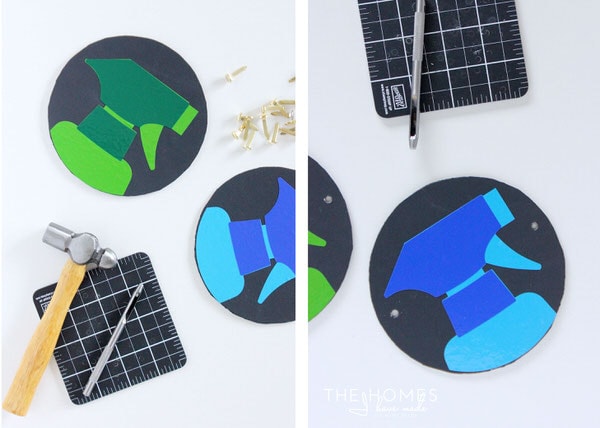
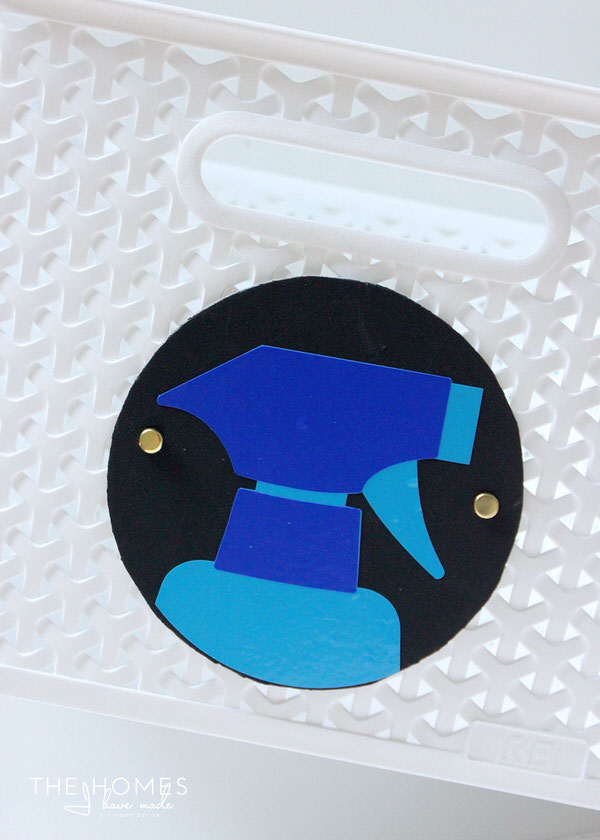
All that’s left to do is secure the labels to your basket using the brads (or any other method you prefer!).
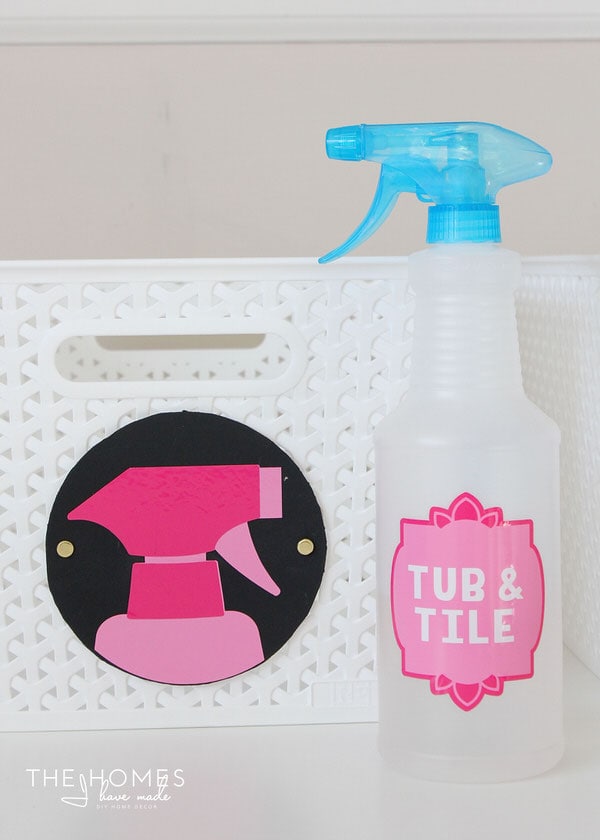
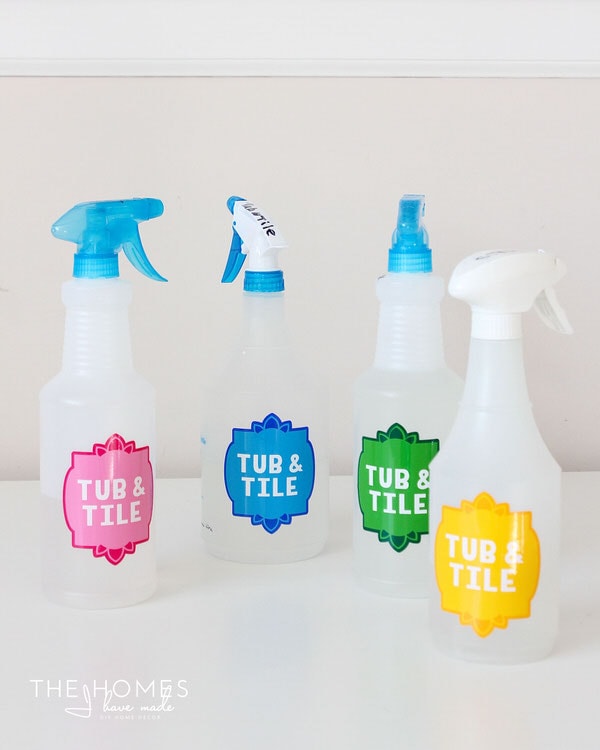
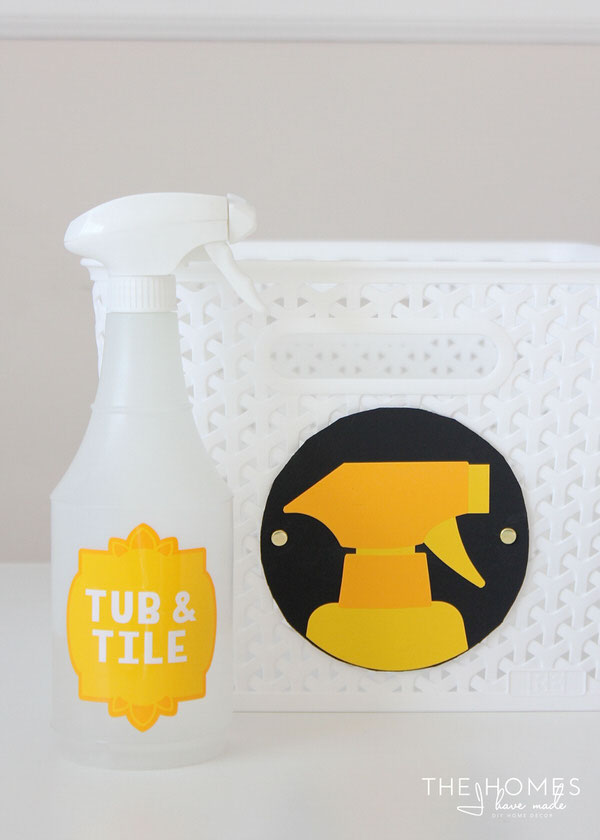
Of course I couldn’t just stop at the basket labels, I decided to add labels to the spray bottles for each kit as well! Our all-purpose cleaner is made from concentrate, so we use generic bottles and mix our own whenever we run out. The labels are made with more vinyl using images from Cricut Design Space.
With the cute stuff done, it was time to load up the baskets!
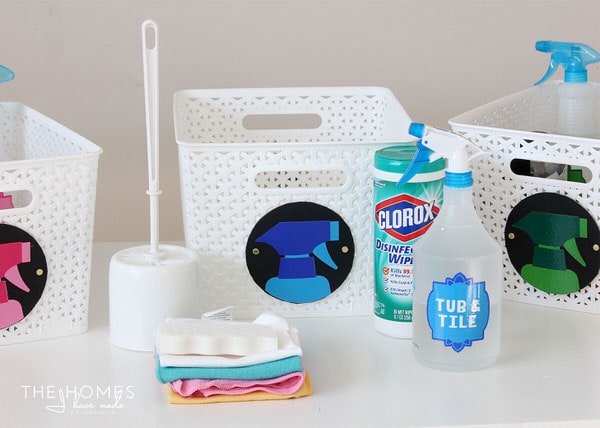
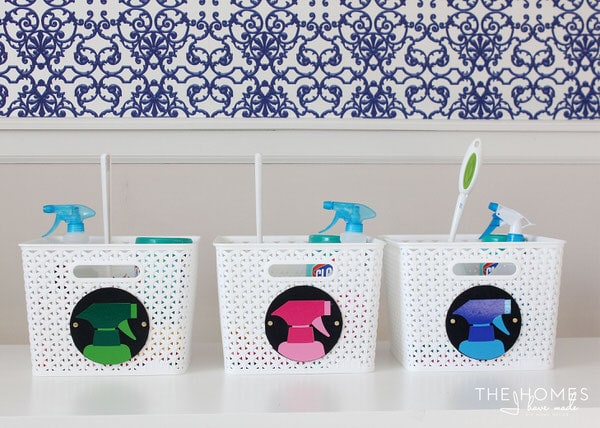
Bathroom Cleaning Kits
We have three bathrooms, so I made a kit for each one!
Want to save this post?
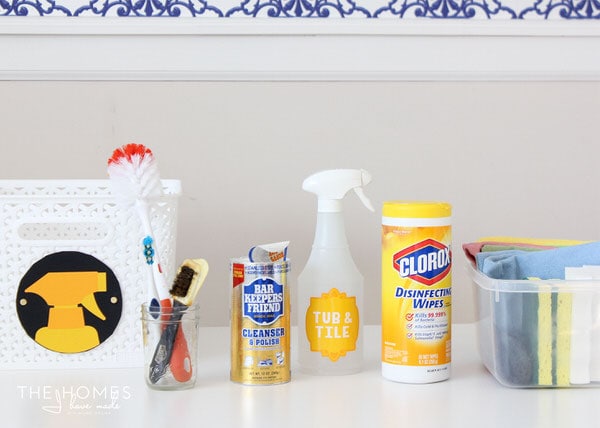
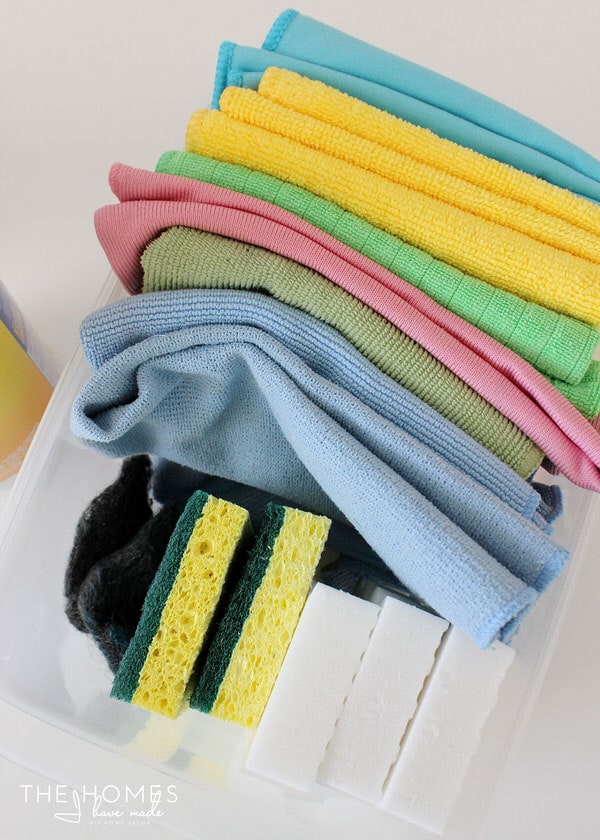
These kits aren’t big or full, but provide just the things we need to walk in and get the bathroom clean in a jiffy. Here is what’s included in each:
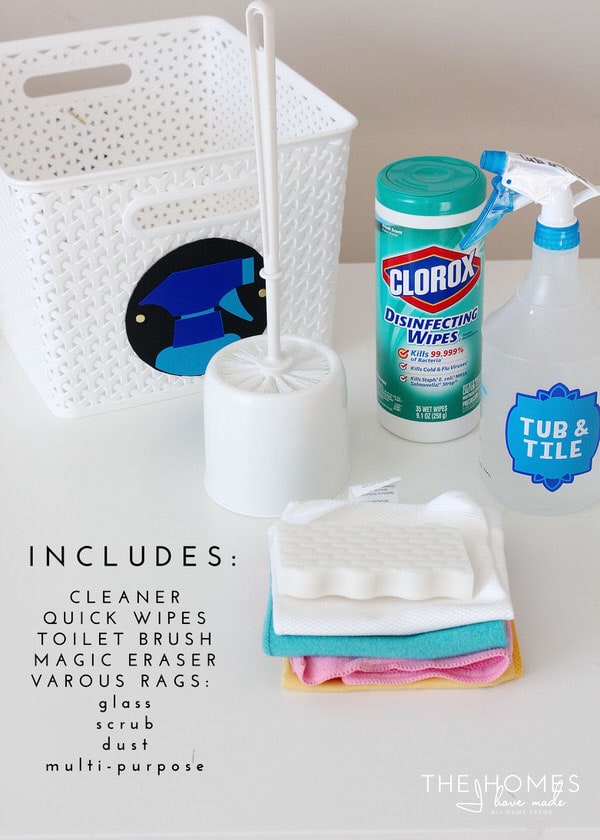
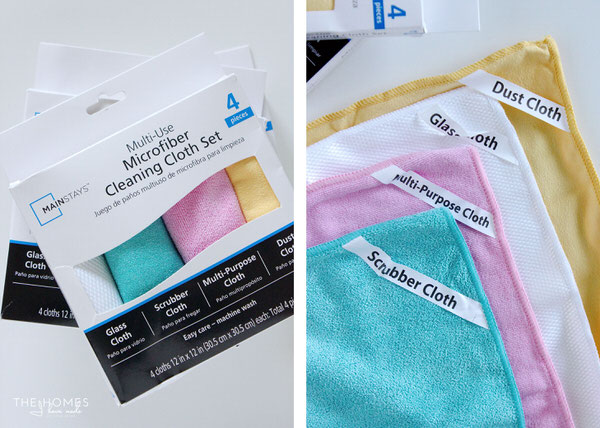
All of our rags had gotten pretty gross, so I used this opportunity to stock up on new ones. I don’t shop at Walmart often, but when I found this really inexpensive kit of four different cloths, I knew they were perfect for these bathroom-specific kits. And the fact that they come labeled…they were made for me! (I can’t find them online, so check your stores!)
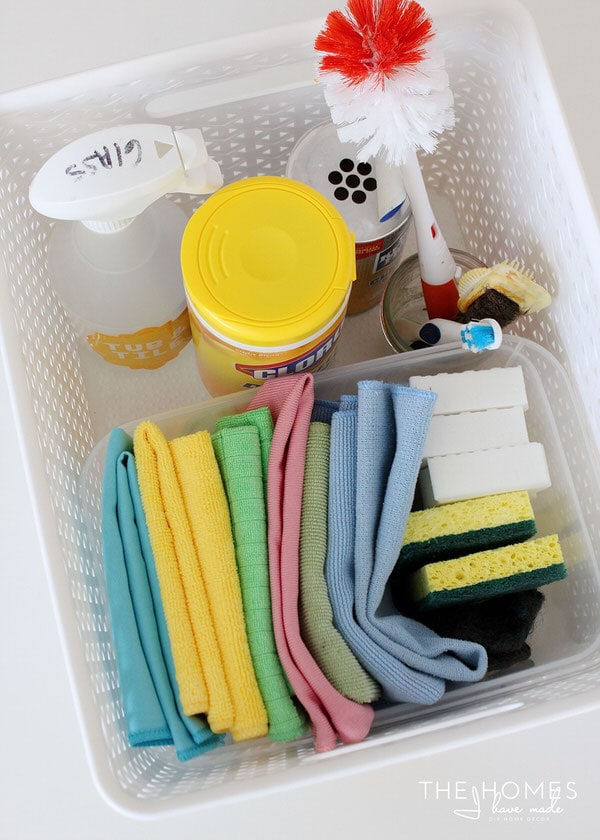
I corralled all the supplies into my favorite Y-weave baskets from Target. I was in Target the other day, and they don’t seem to carry this “medium” size anymore…however THESE are a great alternative! Functional, simple and oh-so-cute…don’t you think?!?
Kitchen Cleaning Kit
In addition to having cleaning supplies in the bathrooms, I also like having some in the kitchen for quick and easy clean up after meal time, for regular wipe downs, and for when we’re entertaining! I organized our cleaning supplies a good long time ago, but as often happens…it had gotten a little out of control in recent months. Take a look:

Admittedly, these two containers weren’t working very well for us at all. Not only did we not use some of the items in here, but the stuff we did use wasn’t accessible or easy to maintain. The plastic caddy never seemed to be wide enough to hold most bottles and supplies; and the cardboard box was a pretty bad idea for under the kitchen sink!
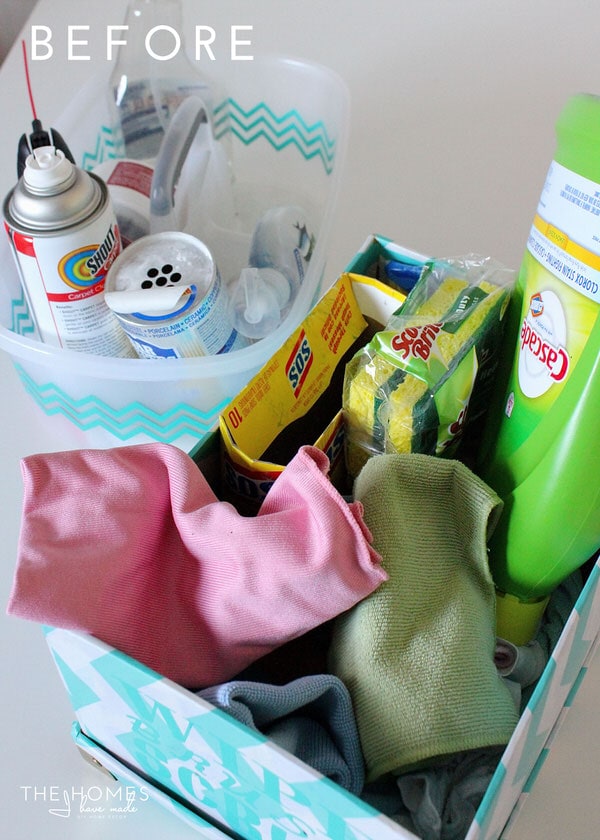
I started by cleaning out everything we had under the sink. The cardboard box got tossed, and the plastic caddy was put into our garage sale pile. I then set out to make one more kit!
Here are the things we really need under the sink. A bunch of rags, sponges and brushes to wash a variety of kitchen-related things, our all-purpose cleaner, some quick disinfecting wipes, and our metal polish. Everything else either got tossed or transported to our THESE (where we store our less-used cleaning supplies).
Every now and then, it helps to add a basket inside a basket to corral things even better! A simple plastic shoebox holds our rags and sponges in a way that is a bit easier to maintain!
Everything fits in comfortably; and it is all easy to pull out and to put back!
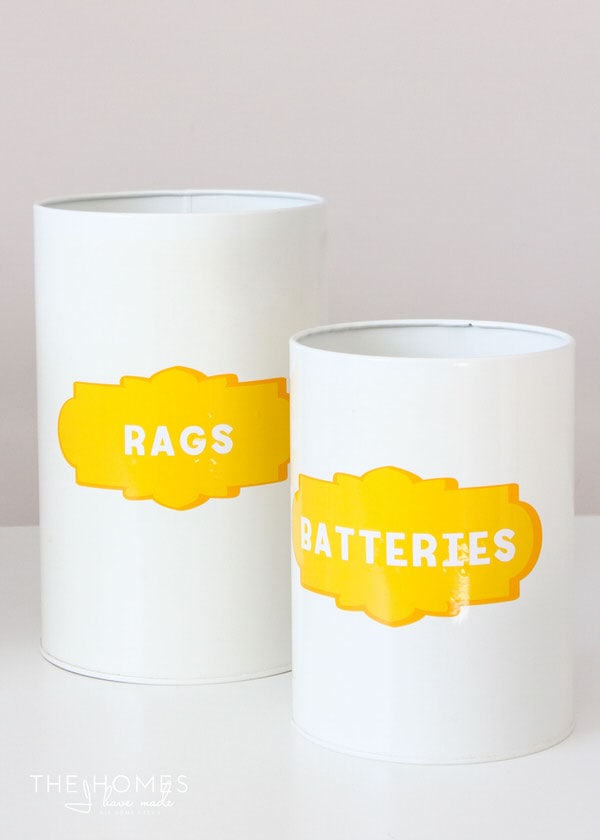
The problem I wanted to solve under our sink was where to put used rags (other than tossing them in our laundry) and our dead batteries (to save for proper recycling). I dug out two tins I had in our stash and added new labels to them. Admittedly, I’d love a perforated tin/basket for rags, but this will do for now!
They both fit perfectly (along with our dishwasher detergent) in a plastic tray (which is really a basket lid!)…and the whole thing can slide right under our kitchen sink!

Ahhhh…much better, don’t you think?
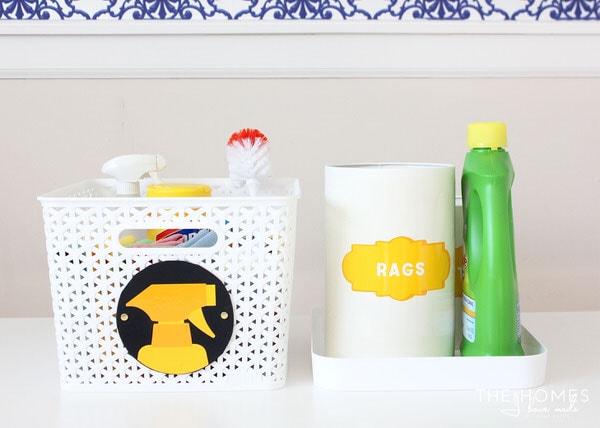
It’s pretty hard to make the cabinet under a kitchen sink look glamorous with all those pipes and such…but the baskets and sunny yellow labels sure do help! So excited to have our mess contained under here now!

Megan
14 Comments on “Organize Your Cleaning Supplies with Colorful Cleaning Kits!”
Ok, tell us what you use the toilet brush for in the kitchen! I have one I use to clean the garbage disposal…but everyone acts like I’m nuts when I tell them that. I’m hoping I’ve found a kindred spirit! LOL!
We also keep a wet bag snapped to the stove for our rags. When I put that in place the husband finally quit leaving nasty used rags & towels on the counter. Apparently the 12 steps the laundry closet is too much! 🙂
Hey Jen!
Lol! This comment had me cracking up from top to bottom.
The “toilet brush” in our kitchen kit is actually the bottle brush we had from when Henry was a baby. We keep it around because it’s great for hand-washing water bottles, wine glasses and other small/tight containers! The garbage disposal is a pretty good idea though!
And a wet bag is a brilliant idea – we have those from when Henry was a baby too, maybe I’ll go dig them out!
Thanks for stopping by and putting a smile on my face today!
Megan
This is awesome. I really should put some of these together so I can instruct my kids on how to clean up after themselves(I think it is time for them to take over wiping down the sinks/tiolet/tub. I’ll still use the toilet cleaner to clean the bowl). And If I could afford it, I would pay someone to come in and clean for me!
So at what age are kids old enough to help?? Lol! Henry hates being wet AND dirty, so I might be out of luck trying to commission him!!! Such a great idea to make little cleaning kits that are kit-friendly/safe! Brilliant!
Hope you’re having a great week!
Megan
Adorable! I couldn’t find the time to make them in a million years (hand painted!), but I’m charmed that you did.
HI Misha!
Thank you so much! Oh, they are not hand-painted! (I am not that crazy, lol!) All the labels are vinyl, cut from a machine…done in mere minutes!
Thanks for stopping by!
Megan
Hi Megan
Once again what a lovely organizational tip! It’s really a good idea to have a set in each bathroom and in the kitchen too. I don’t put anything under the sink as it is really hard for me to use it but I have some bottles and wipes in each bathroom, not so well coralled I must admit. I love to read your post as always and to look at your pictures makes me so calm.Have a nice week-end. Michèle
Thank you so much, Michèle! Yes – having the supplies right in the bathrooms is making getting them cleaned much less of a hassle! Now to get my boys to help me 😉
Megan
This post definitely proves your love for labeling 😉 That’s okay, though, because I share your love! I’m all about storing cleaning supplies right in the bathroom where you use them, and your color-coordinated labels are the icing on the cake.
This is a great idea!! So cheerful and I totally agree with keeps each kit in the place you need it, less carrying and searching!
Great project (love the labels ;))
Lauren | Lovely Decor
xx
I am a labeling maniac too! I love the way you are combining the colours and all the organising you are making! I can make this projects with my kids. They would totally love it.
I know this is an old post, but it makes me crazy when (usually) women are embarrassed or ashamed to admit they have someone help them clean the house. After all, our pioneer ancestors would have been appalled that we have someone else make our clothes, but no one is ashamed of that! I am a firm believer that we should put our money/time where it matters most – there is only so much of each! Some people hate to cook so go out/order in but clean the house themselves. Some people love to sew so make their own clothes, but absolutely hate mowing the yard so hire it out. Do what you do best and don’t worry about the rest of it. Whew! *Steps down from soapbox.
Hi Megan,
This colorful and crafty ideas are really cute. I really like it. Thank you for posting.
I love clean as you go. I started to put things away that I use on a daily basis and it makes a huge difference.