The Ultimate Rental Bathroom Makeover
I am SO excited about today’s “room reveal”! (I actually don’t think I’ve done a FULL reveal from in this house yet?!?) The truth is, this rental bathroom makeover was on the top of my To Do List for much of the last year, but I just couldn’t come up with an inspiring direction to take it. Then one unexpected find led to another, and I was able to make a whole slew of totally temporary changes that took this bathroom from meh to one of my favorite spaces…ever! Today, I want to show you all the inexpensive and renter-friendly methods I used to transformed this builder-basic hall bathroom!
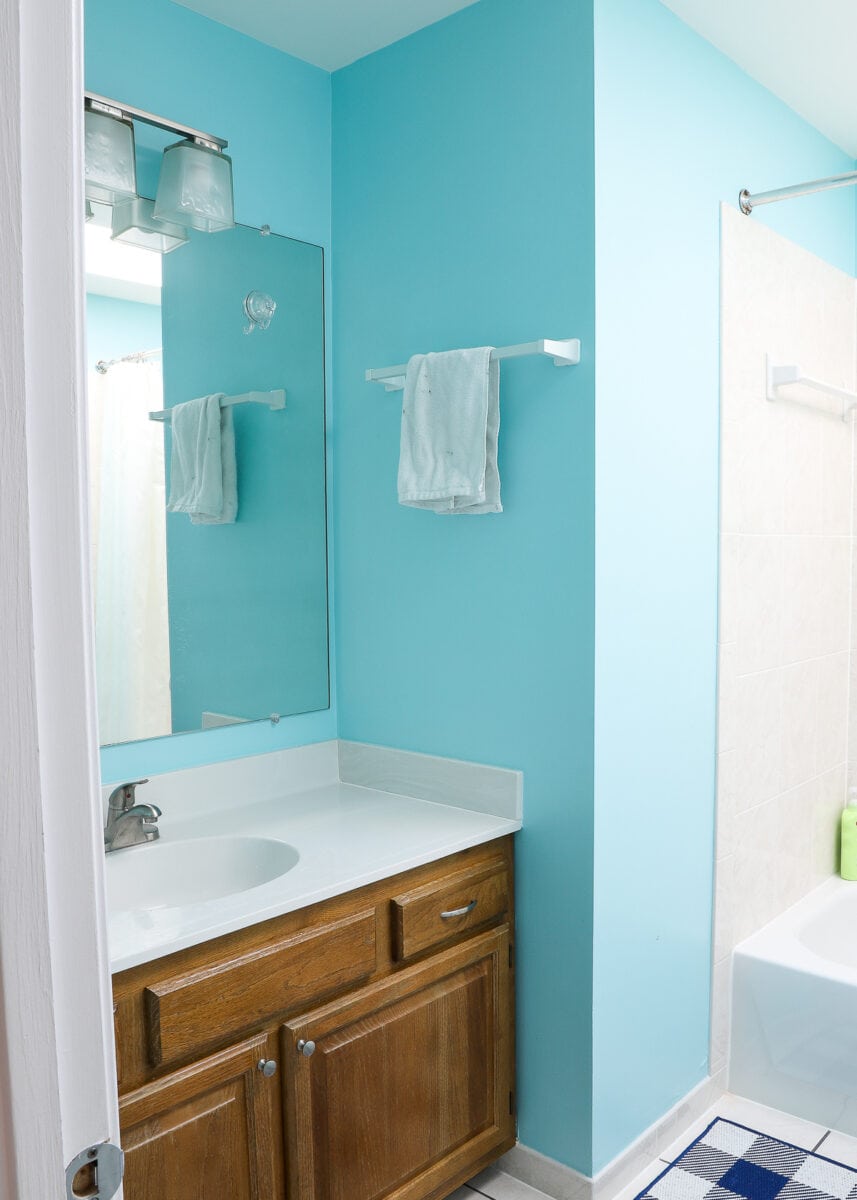
The Bathroom Before
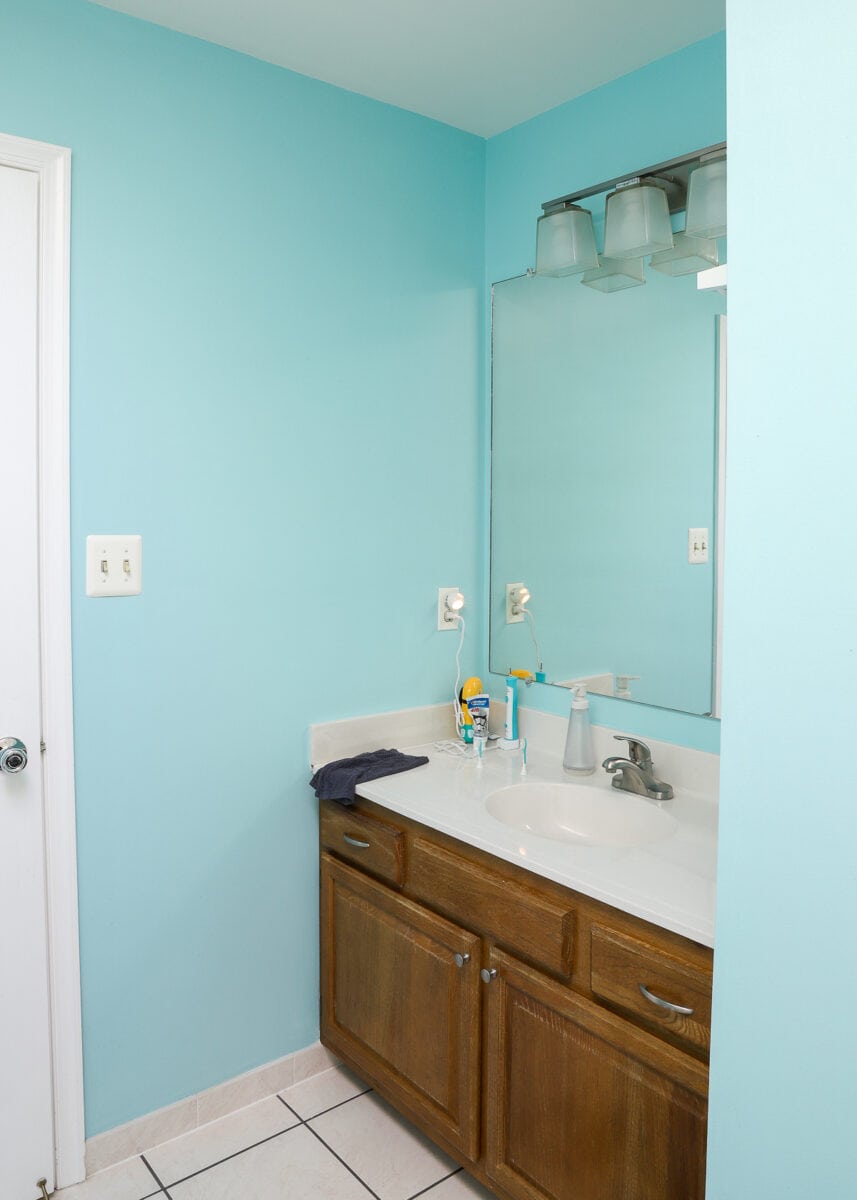
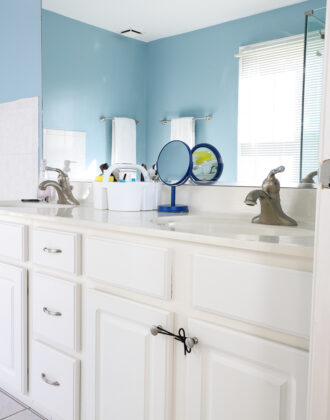
This entire rental home is painted the same neutral, light-beige color…except for the upstairs hall bathroom. To say it sticks out from the rest of the home is an understatement. Thankfully, we planned to use it for our three young boys, so the bright and playful color wasn’t too much of an issue.
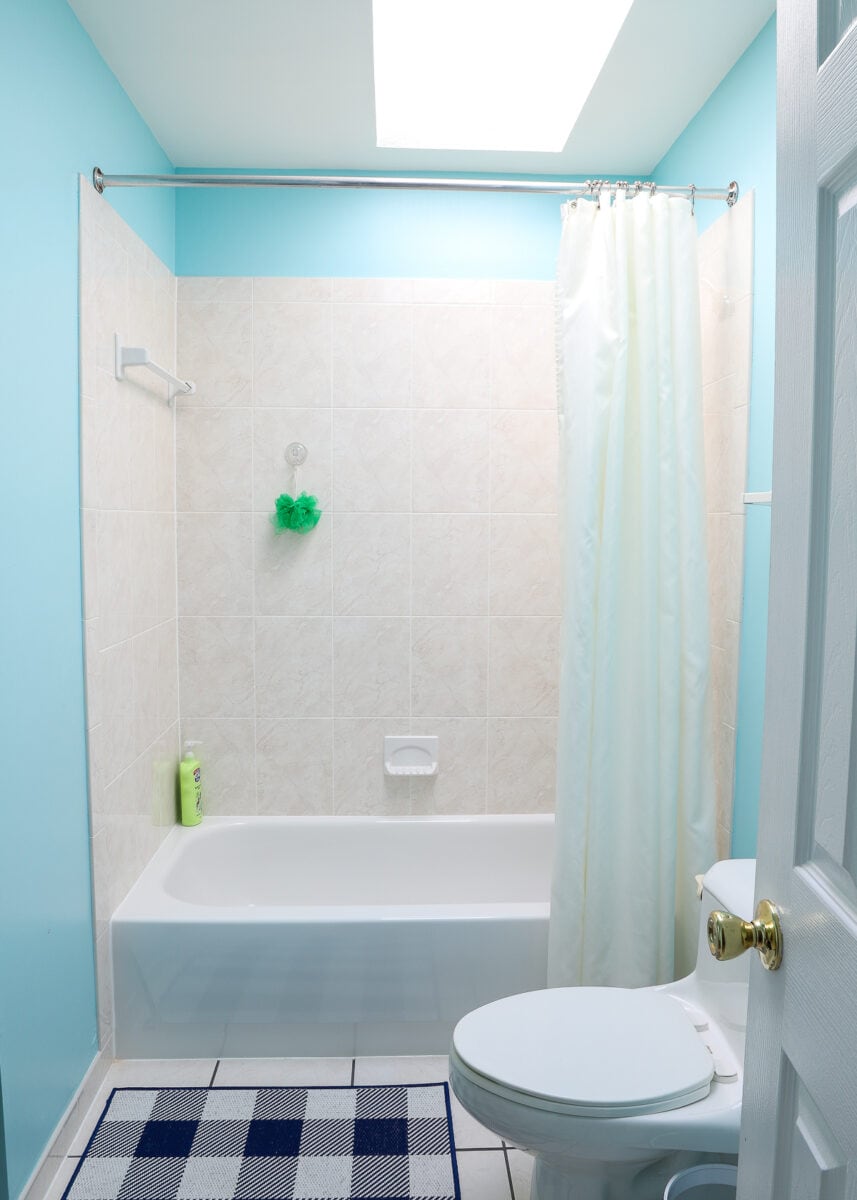
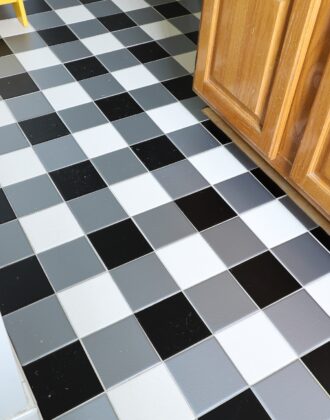
Aside from the bright wall color, this bathroom featured a pretty standard-but-dated builder-basic cabinet, tiled shower with tub, and (super slippery) white tile floor.
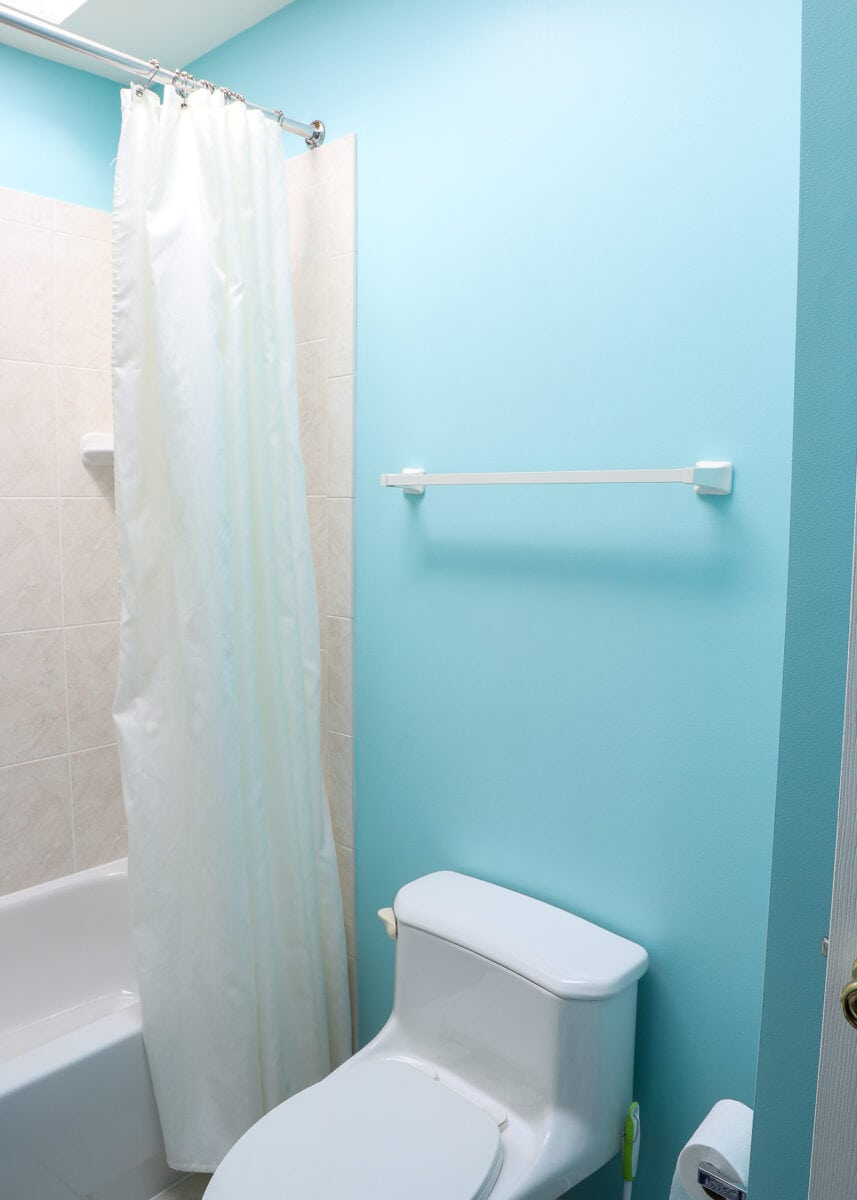
For much of the first year living here, this bathroom looked exactly like this: shower curtain liner, an “outdoor” mat on the floor, and bare towel rods.
A random smattering of toiletries, cleaning supplies, and towels littered both the counter and cabinets. Although our boys didn’t need much in here in terms of storage or decor, I couldn’t leave this blank canvas alone!
The “Plan”
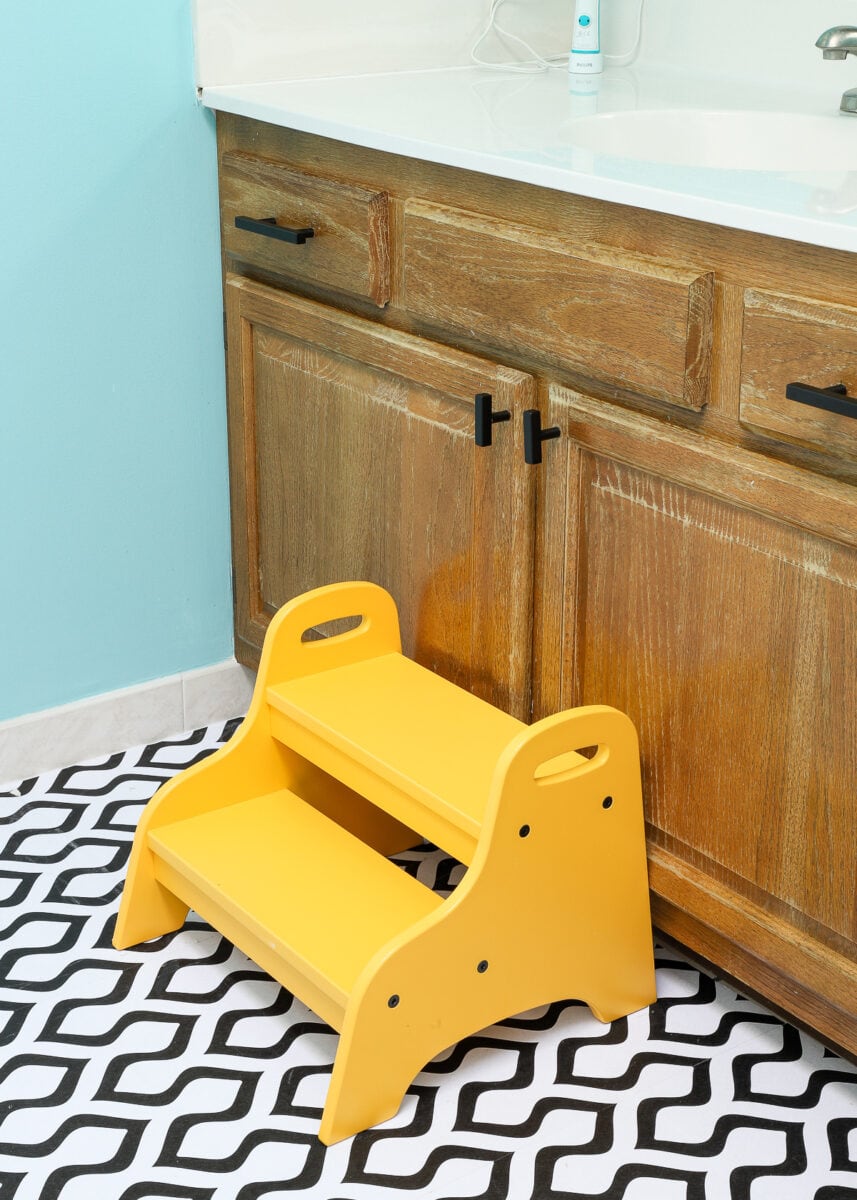
For a long time, I was planning on a navy+turquoise+white theme for this bathroom…likely nautical or with sharks…because…well…I default to navy for pretty much everything. But then I picked up this yellow step stool at IKEA and it started to shift me in a different direction. Then when I added the hanging storage on the wall (a system we already had), the introduction of the black with the yellow resulted in such an unexpected but very happy combination that I just rolled with.
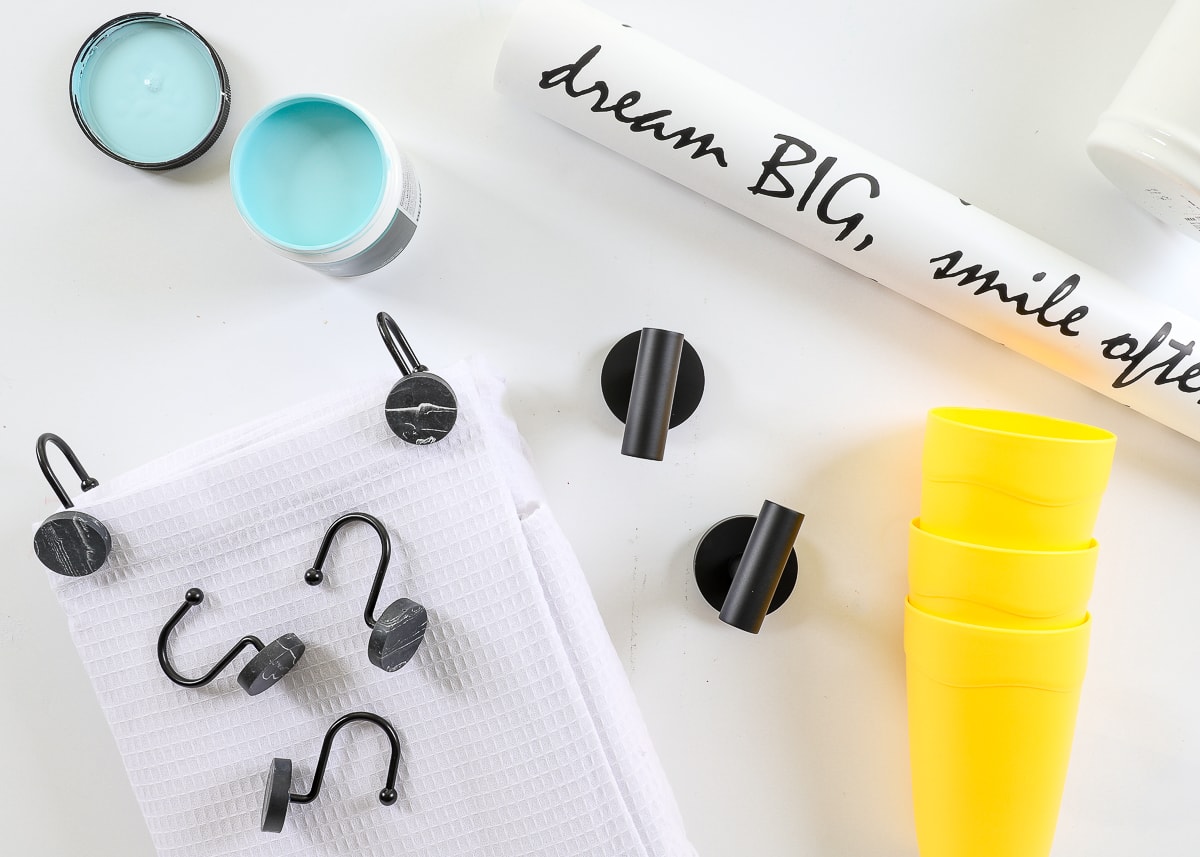
Paint Color: Sherwin Williams Sea Isle | Script Wallpaper | Extra-Long White Shower Curtain | Marble Shower Curtain Hooks | Towel Hooks | Yellow Cups
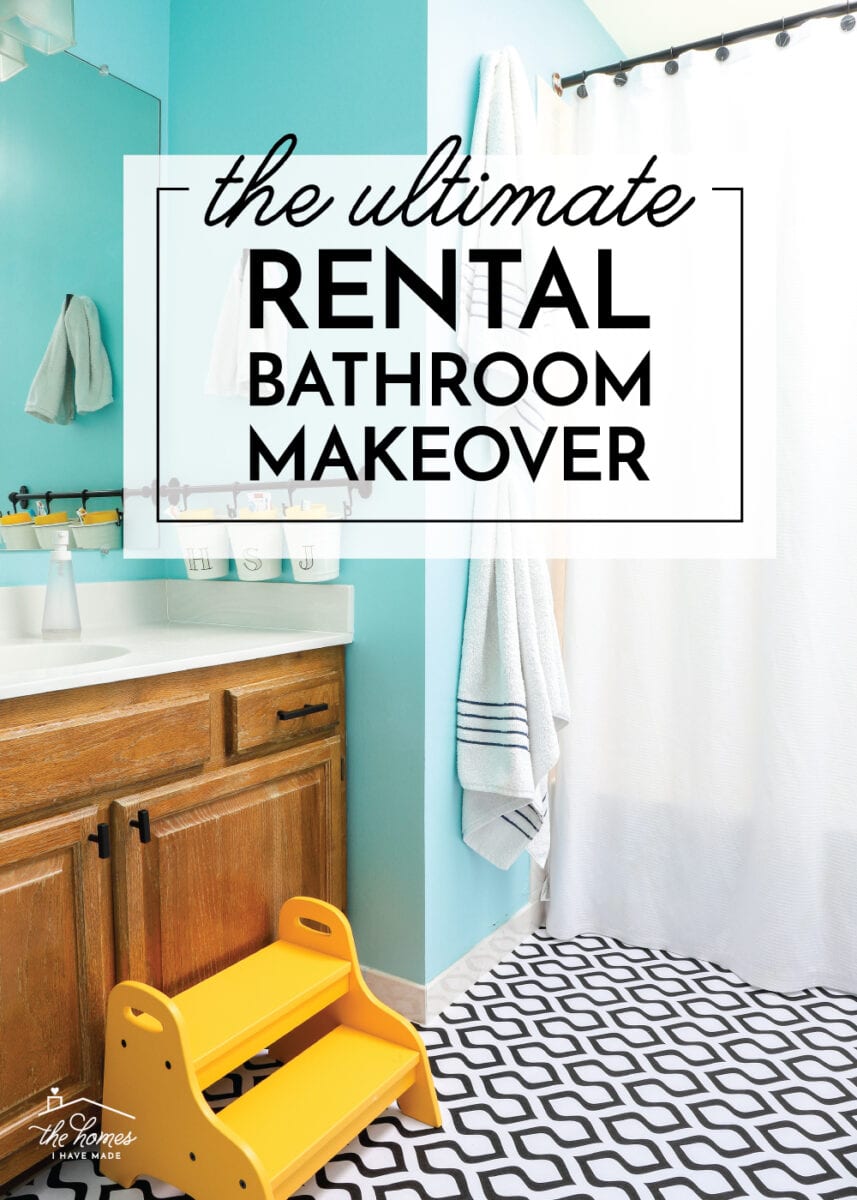
The Bathroom After
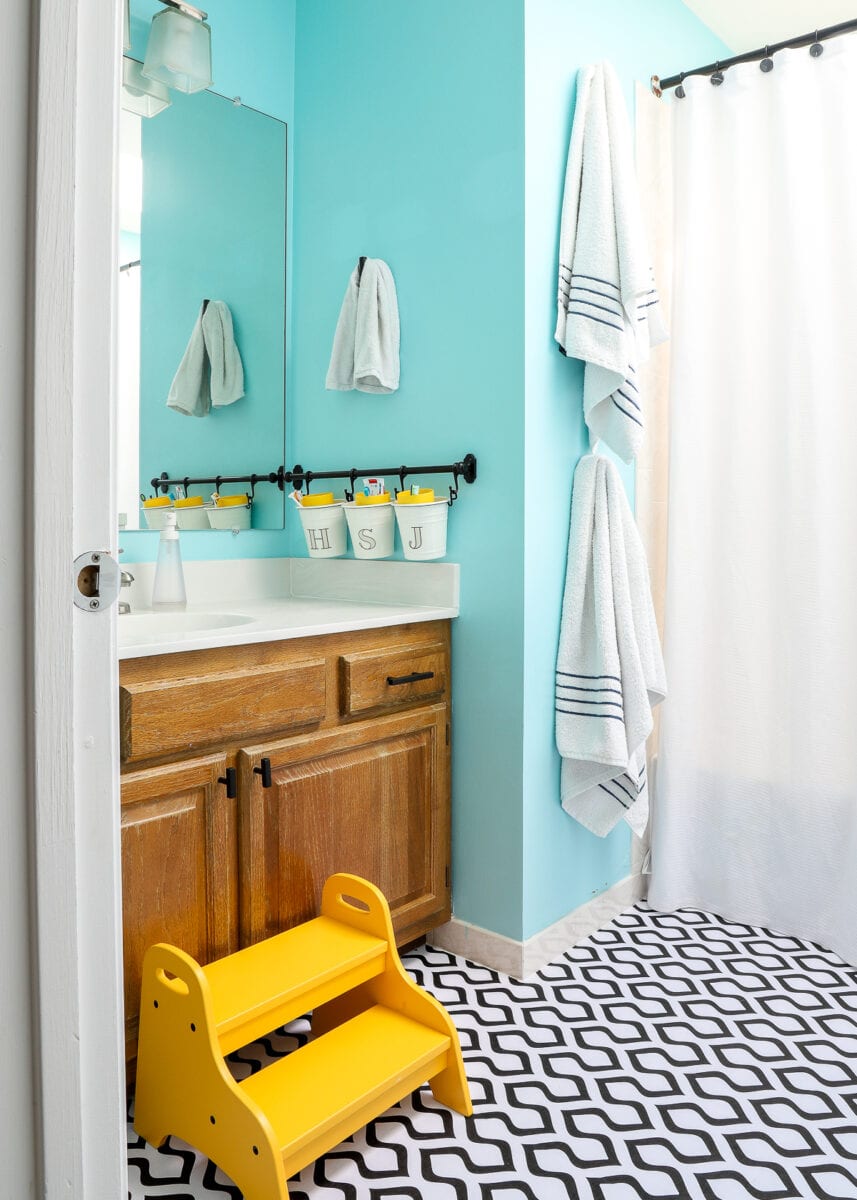
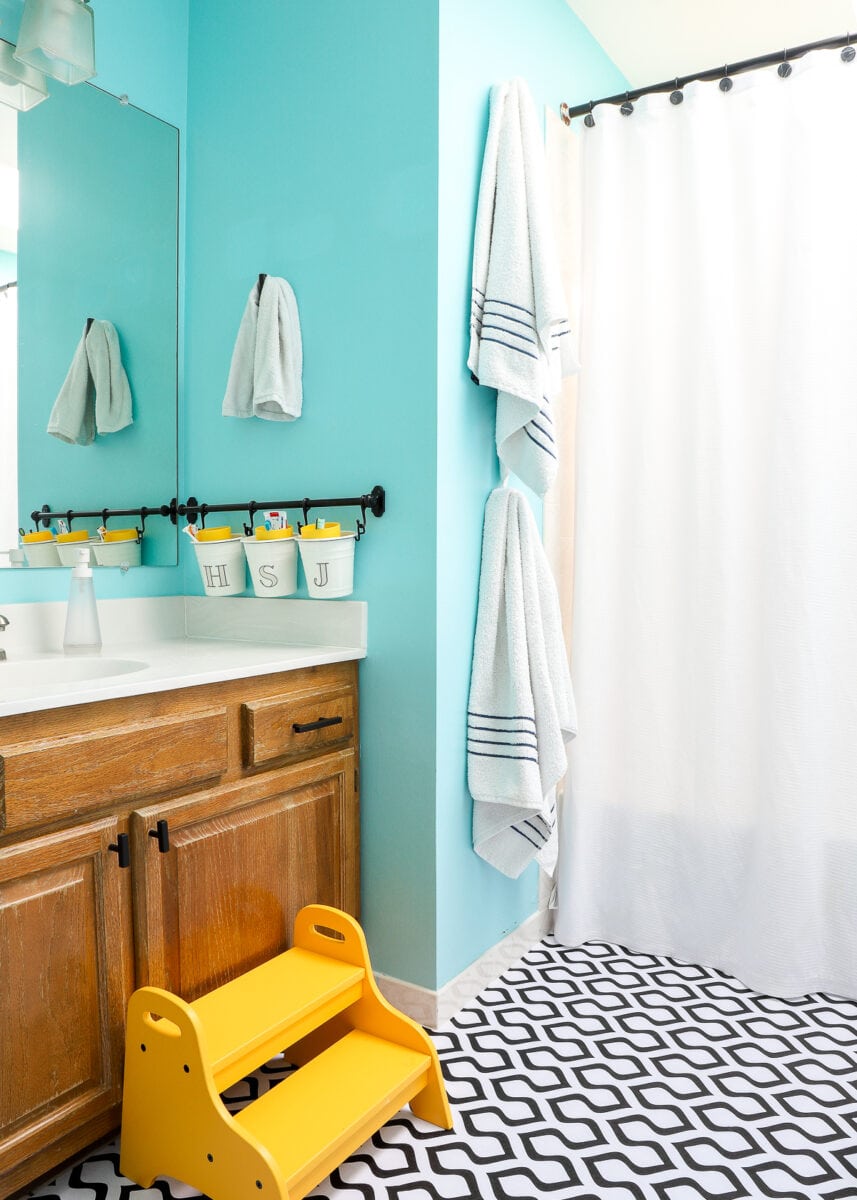
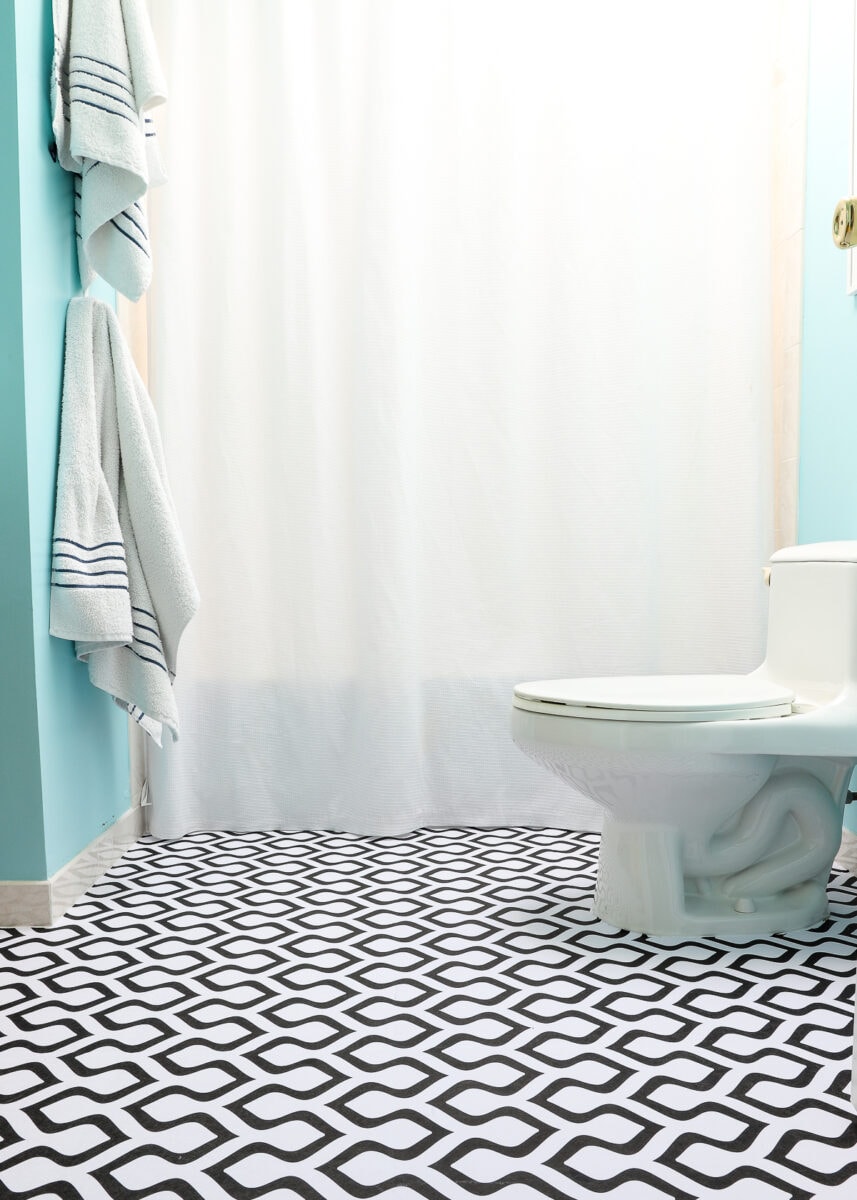
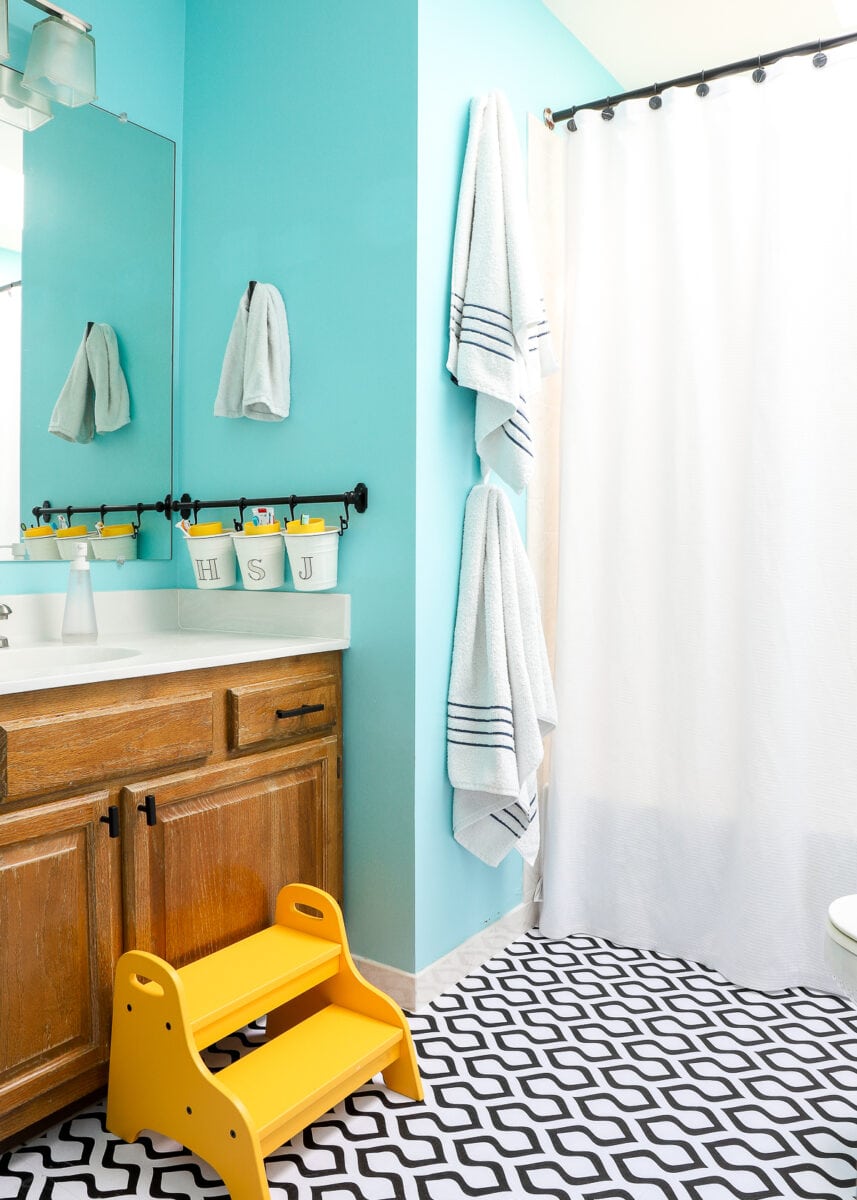
Although I usually like to hash design plans out ahead of time, this is a scenario where things came together a little more organically. Once I landed on the black, white, and yellow combination on the turquoise background, it became very easy to find items that coordinated. I added elements one at a time, with the floor being the final piece to bring it all together. The result is such a happy space that even I can’t believe was done with all removable products!
Renter-Friendly Updates
As I give you the full tour of this bathroom, I’ll highlight the various things I did to change both the look and function of this little space for the better!
In the Shower
If you examine the before and after photos pretty closely, you’ll notice one easy update that surprised even me!
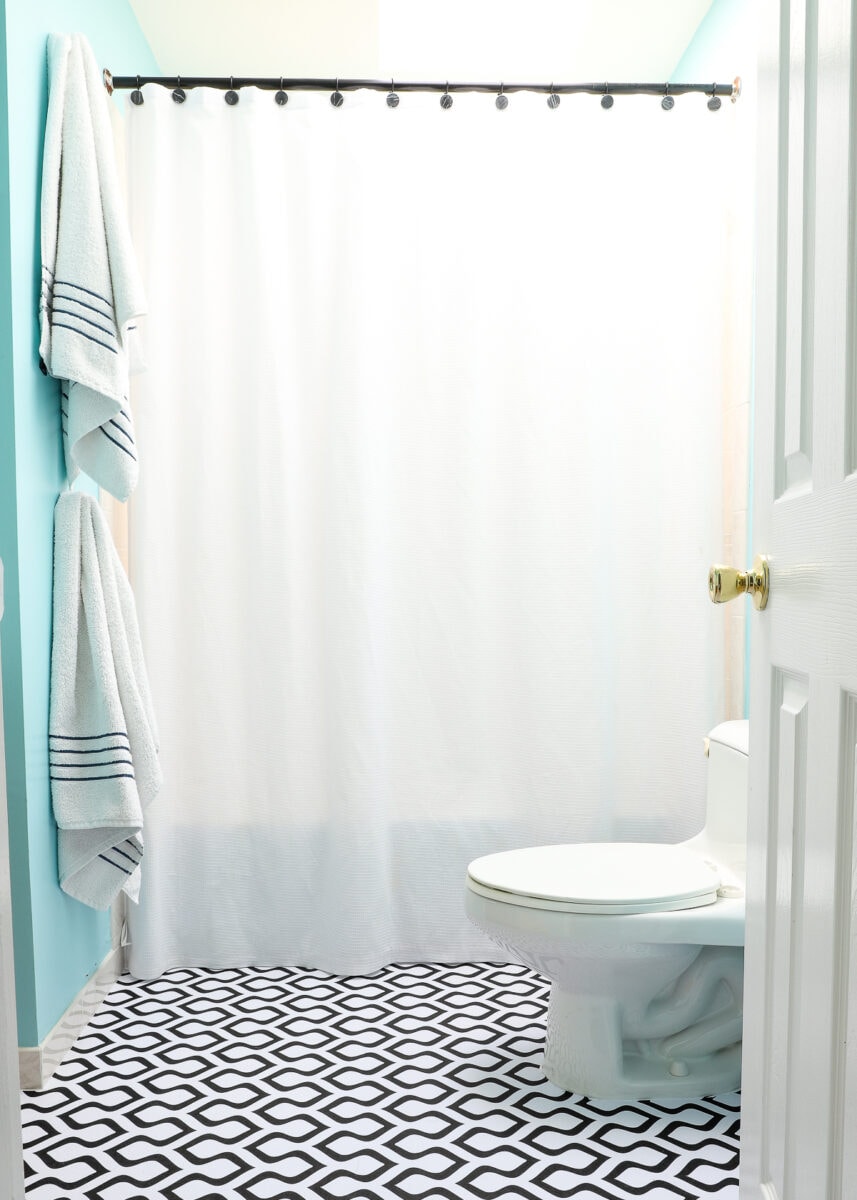
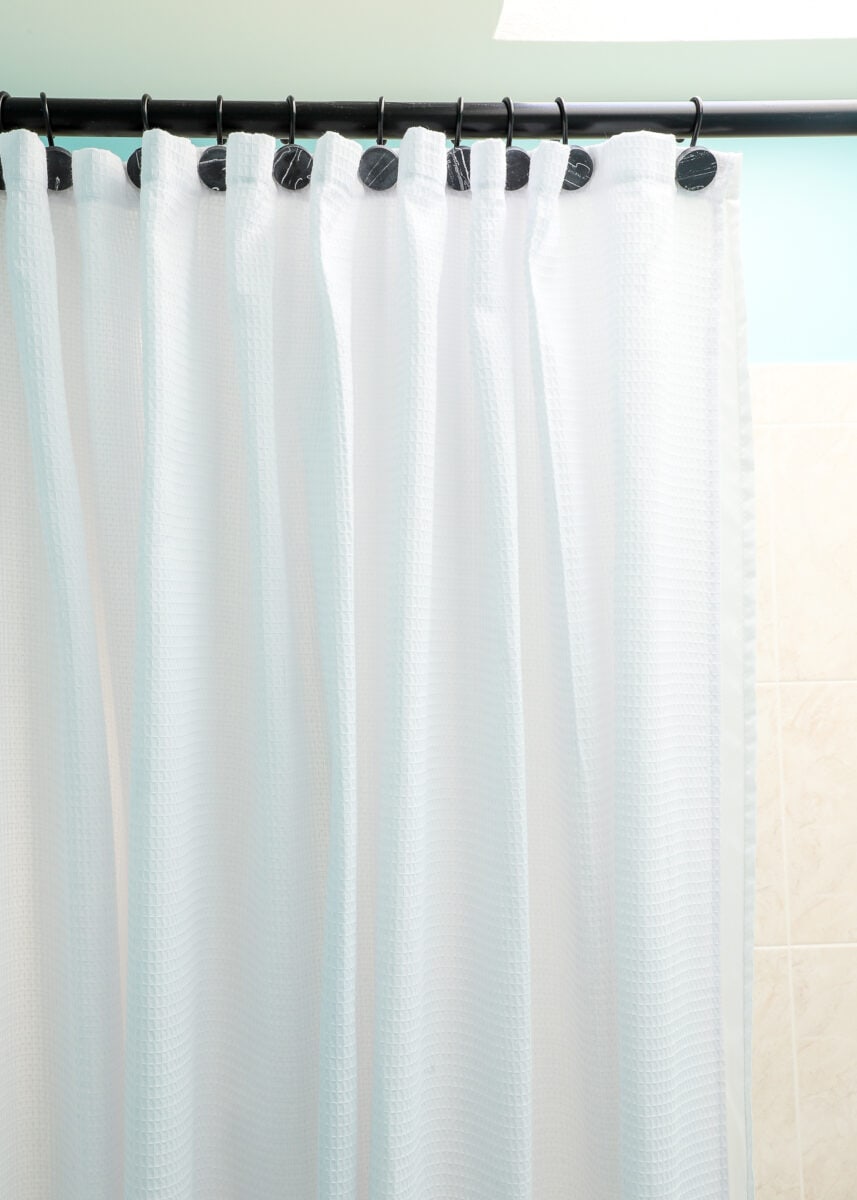
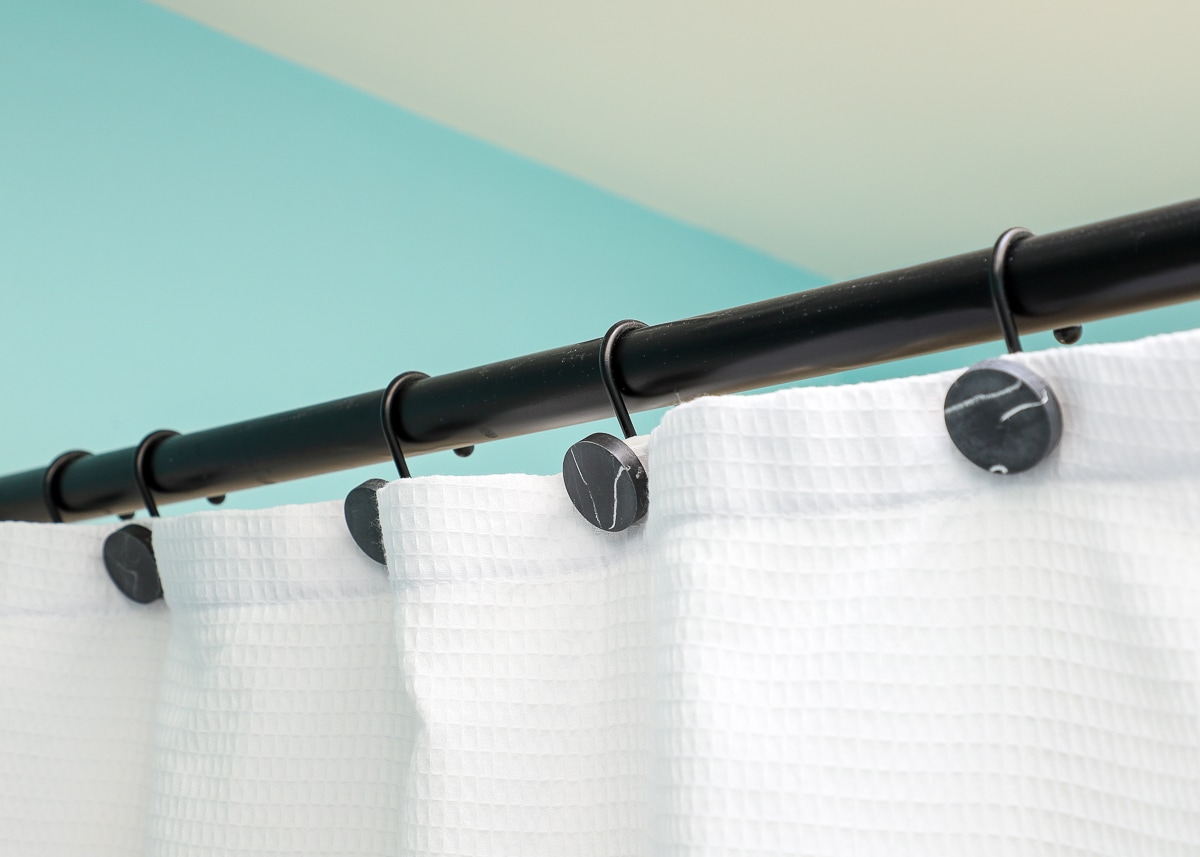
Not only do we have a nice long shower curtain that reaches all the way to the floor, but the shower curtain rod is now black to match all the other elements throughout the bathroom! I did this for a few reasons:
- I wanted all the metals throughout the space to match.
- The existing rod was suuuper rusted and made a horrible squealing sound every time we opened and closed the curtain.
I could have just swapped the shower curtain rod for a black version; but as I mentioned here, the rod was screwed into the wall. On a whim, I grabbed a roll of black matte vinyl, cut a length to match the rod, and wrapped it around. I fully expected the vinyl to peel off within days or be trouble for the curtain hooks, but it’s actually turned to be a perfect solution! In a forever home, I’d install a fresh rod; but this easy update is a great solution when you just want a quick and temporary fix!
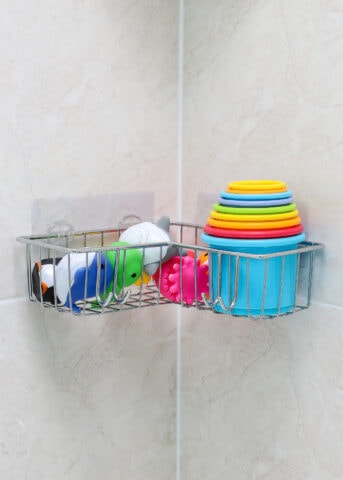
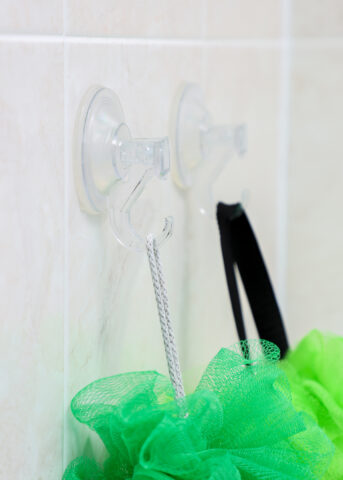
In the shower itself, we rely on some other “peel-and-stick” products to hold our bath essentials. These corner baskets (left) are super sturdy and roomy enough to hold big bottles and toys, while these extra-large suction hooks (right) keep loofas handy.
Hardware & Hooks
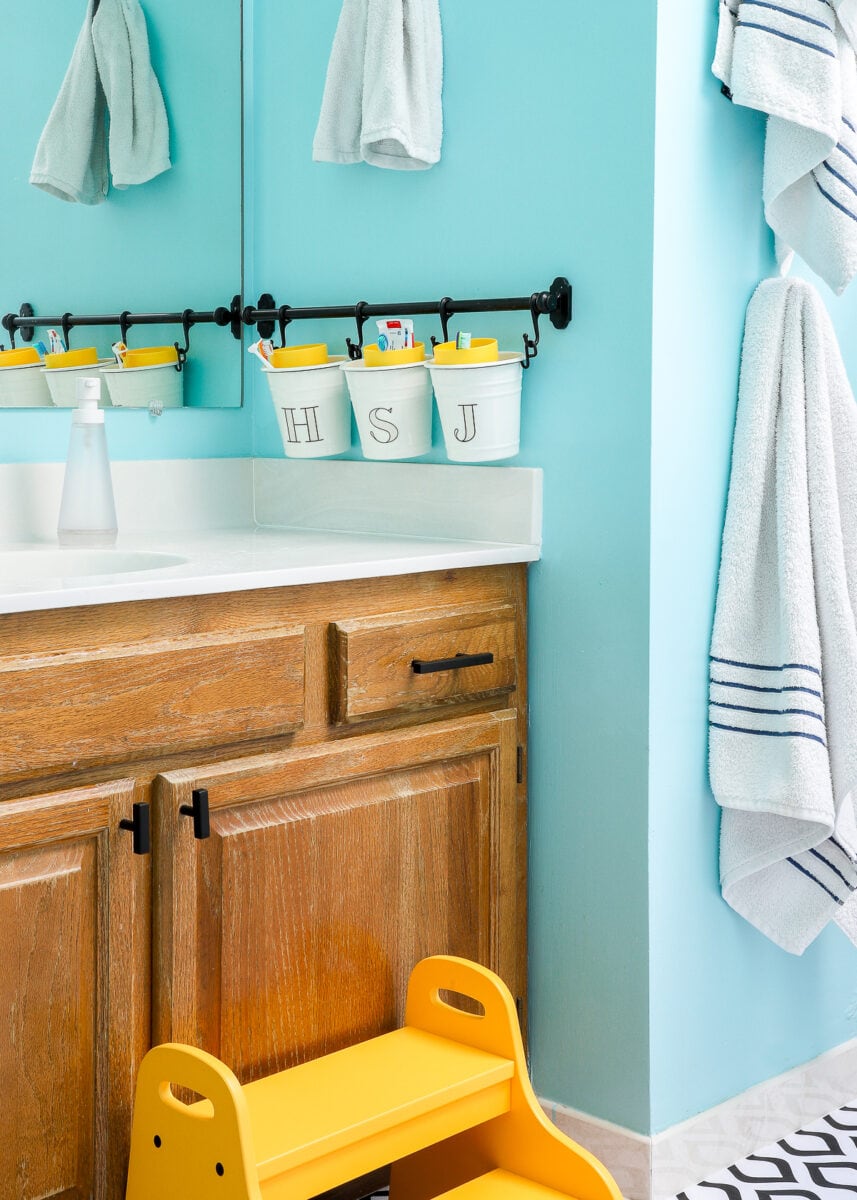
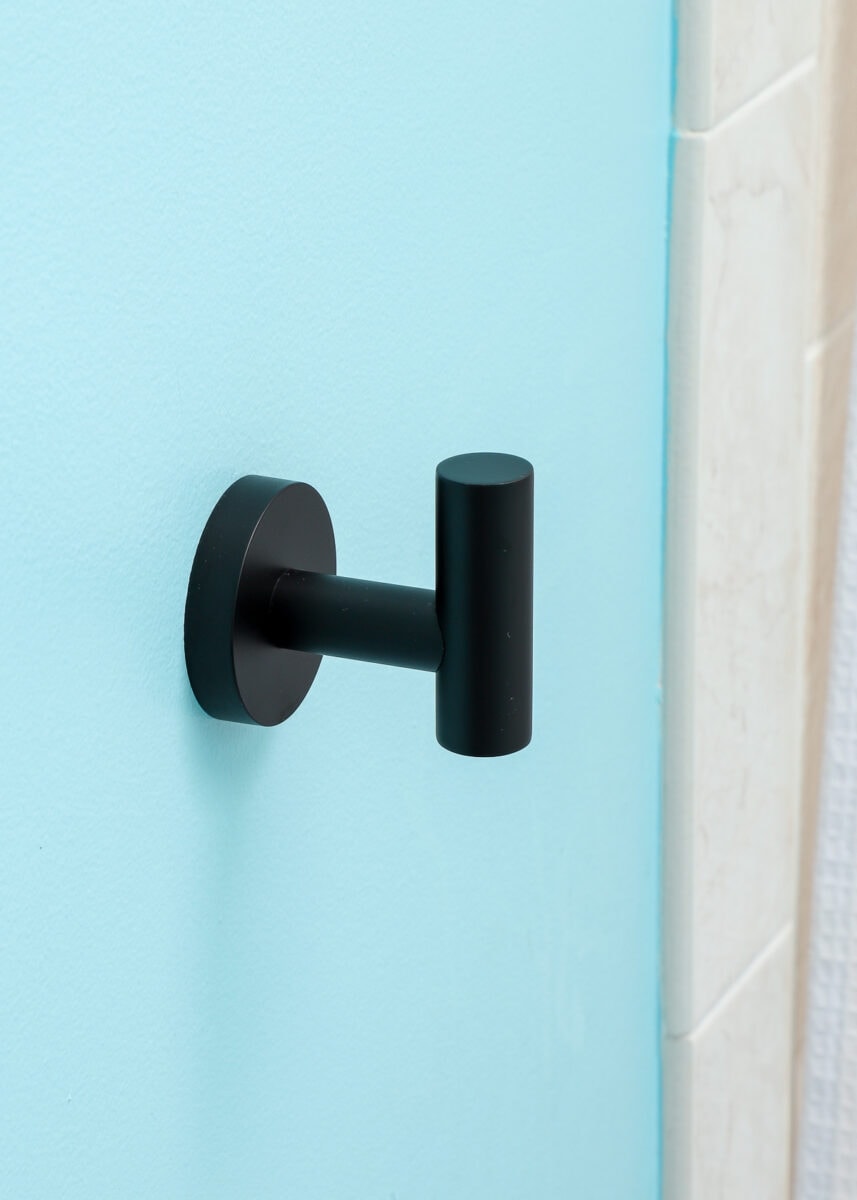
Another easy swap in this rental bathroom makeover was all the hardware. By swapping out the white plastic towel rods and silver cabinet hardware for sleek, matte black versions, this dated bathroom was instantly modernized.
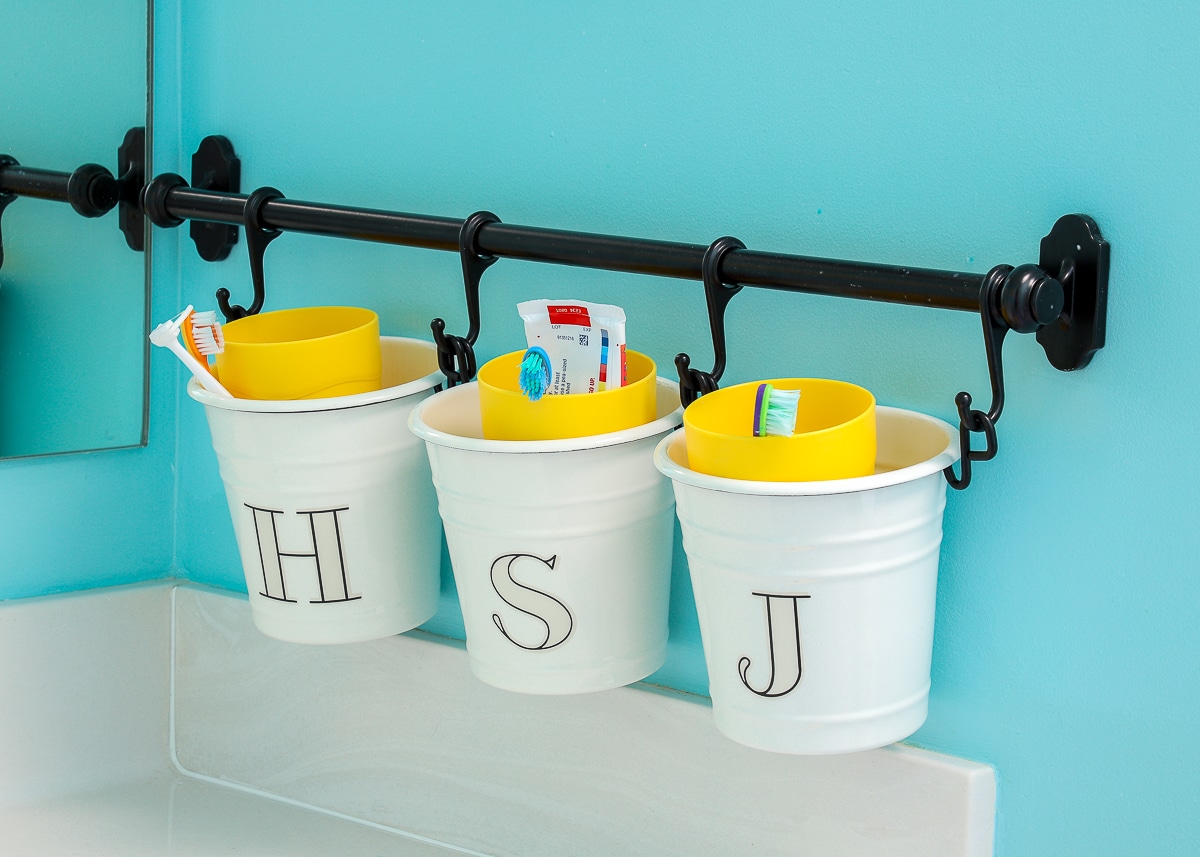
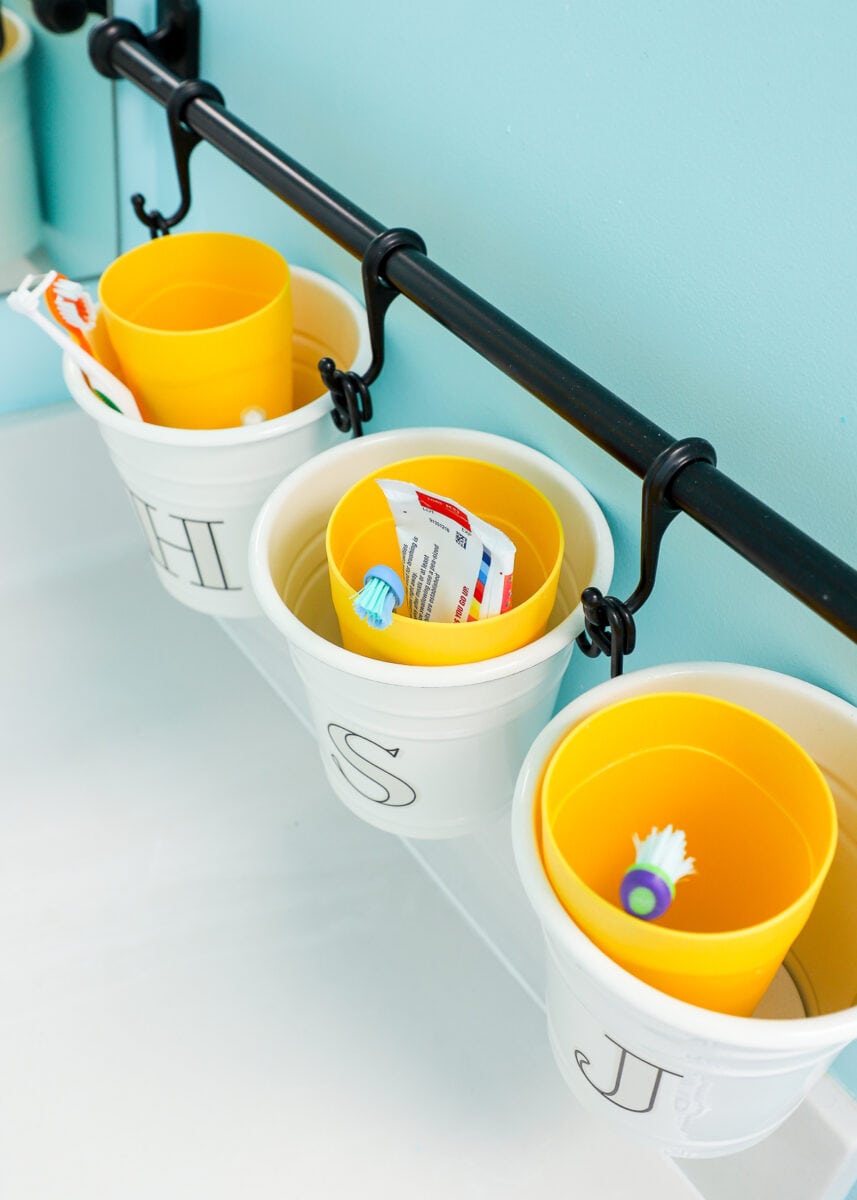
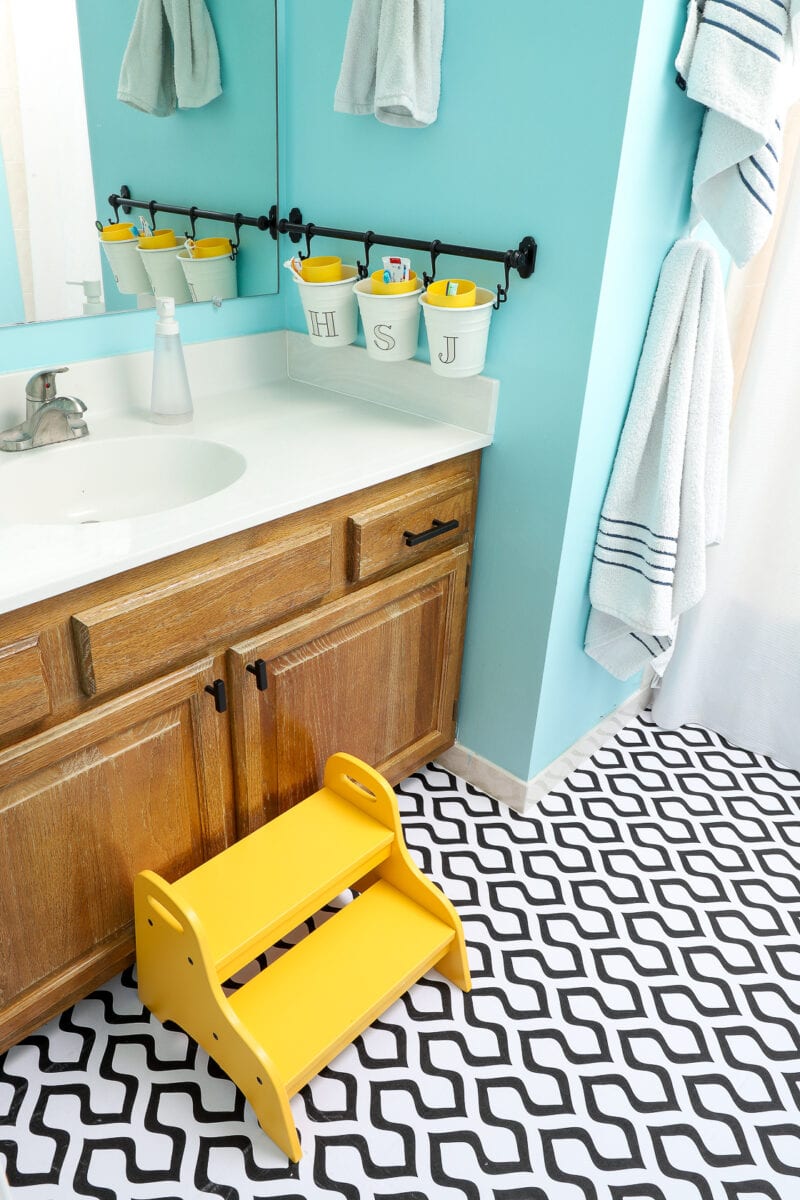
I installed this rail system because 1) we already had it, and 2) it was a super kid-friendly way to store toothbrushes, toothpaste, cups, etc. It has proved a great solution for keeping our counter clean and the right boy using the right toothbrush and cup each day!
You can learn more about this storage system HERE and how I monogrammed the cups for our boys HERE.
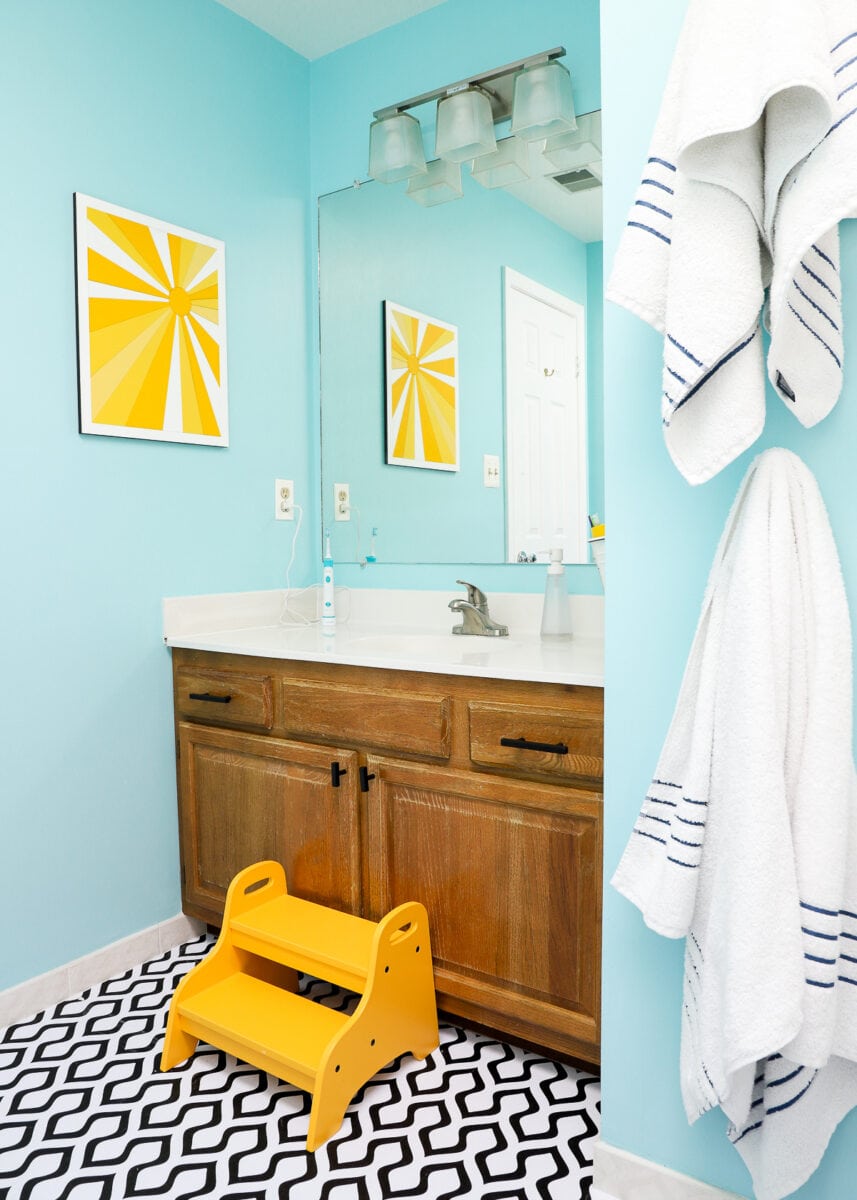
When I first installed the hanging system on the wall, I was really struck with how great the black rods looked against the turquoise wall. But it bothered me that it didn’t match the silver hardware on the cabinets. (Remember, I didn’t really have a plan in place for this bathroom…one thing just led to another!) I recently replaced all the hardware on Henry’s dated dressers and had some pulls and knobs leftover. Talk about lucky that the pulls and knobs fit the existing hardware holes perfectly.
TIP! Swapping existing hardware is a really easy way to temporarily upgrade cabinets (just make sure you keep the original hardware safe so you can put it back before moving out). However, having to re-drill holes into the cabinets to accommodate particular hardware is NOT renter-friendly. Thankfully, many standard pulls come in a wide variety of sizes…so just measure the distance between your existing holes and look for versions that will fit!
Swapping out the hardware got me thinking about the white plastic towel rods throughout the bathroom. They didn’t really match the other elements in the space, and the boys couldn’t reach them for their towels. So I pulled them down (and have them safely stored under the bathroom sink so they can be put back before we move out), and filled the holes. We then hung these awesome towel hooks instead.
We have one next to the sink and two next to the shower. Not only do they look awesome, but they are much more kid-friendly for both hand and shower towels than the previous rods.
Peel & Stick Solutions
A few years ago, I went through this phase where I didn’t want to use “fake” stuff and tried to work with various elements in a space instead of covering them up. But I’ve circled back around lately, realizing that peel-and-stick products can go a long way in masking unsightly surfaces, ultimately helping me love a space a whole lot more.
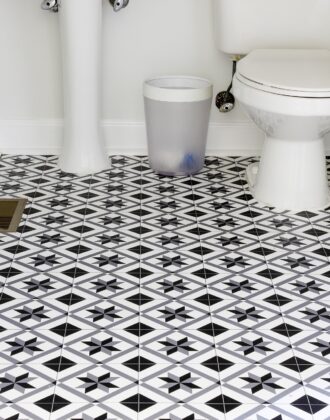
No where else is this more true than the floor. Covering the floor in peel-and-stick wallpaper was not really part of my no-plan plan; but once I had everything else done, the floor was just screaming for something. After combing Amazon for wallpapers that were inexpensive and looked like tile, I landed on this really fun geometric paper.
I detail everything about installing this wallpaper on the floor, as well as how it’s holding up, HERE. But it’s safe to say…this “faux” floor update is one of my favorite elements in this entire rental bathroom makeover, and I’m so glad I went for it!
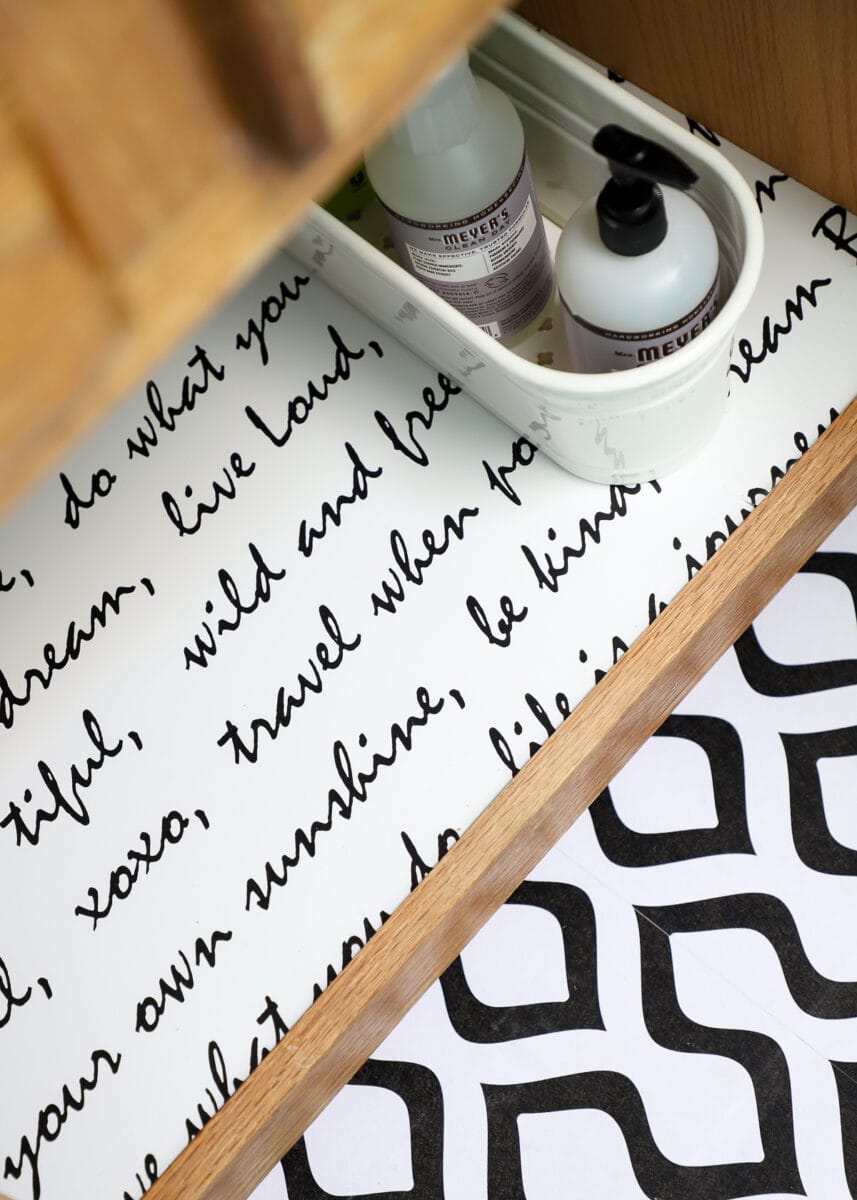
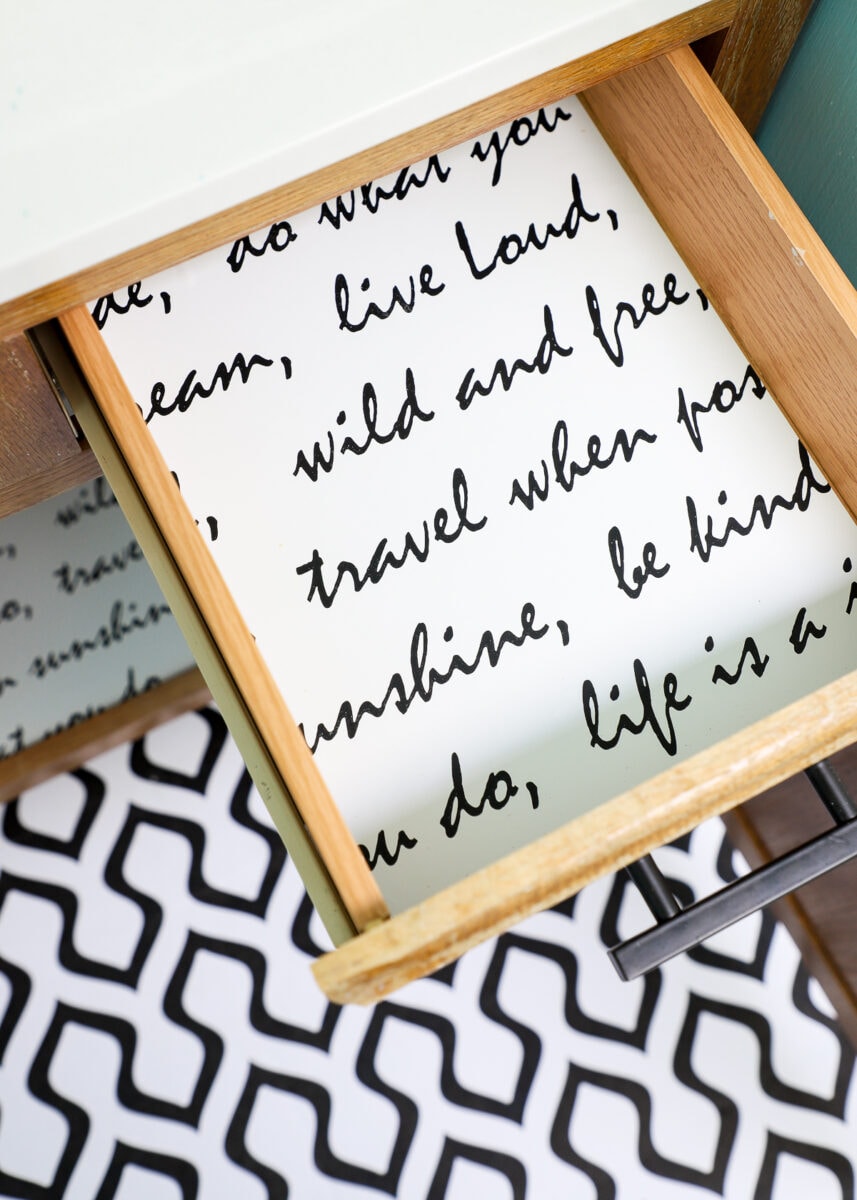
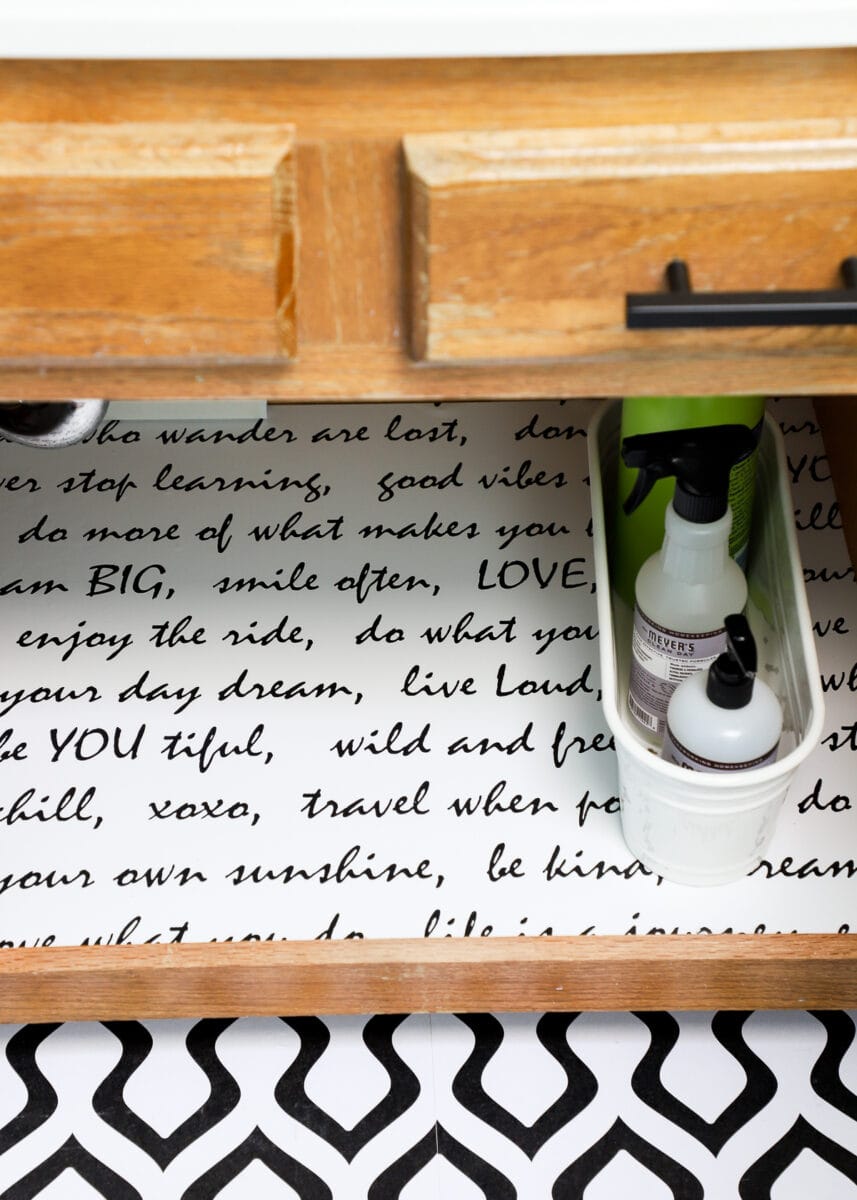
But the floors aren’t the only place I updated with peel-and-stick products! I also added this fun, inspirational wallpaper to the insides of the cabinets and drawers. (Learn how I do it here: The Best Way to Line Drawers & Shelves with Pretty Paper)
Adding some sort of liner to your rental’s cabinets and drawers is a smart idea for lots of reasons. First, it can protect the wood cabinetry from spills, stains, and other damage that can be difficult to clean or fix.
Second, it helps hide cabinet surfaces that might already have water damage, warping, or stains. Finally, these surfaces are easy places to add a fun pop of color or pattern, especially when replacing or painting cabinets is out of the question!
DIY Artwork
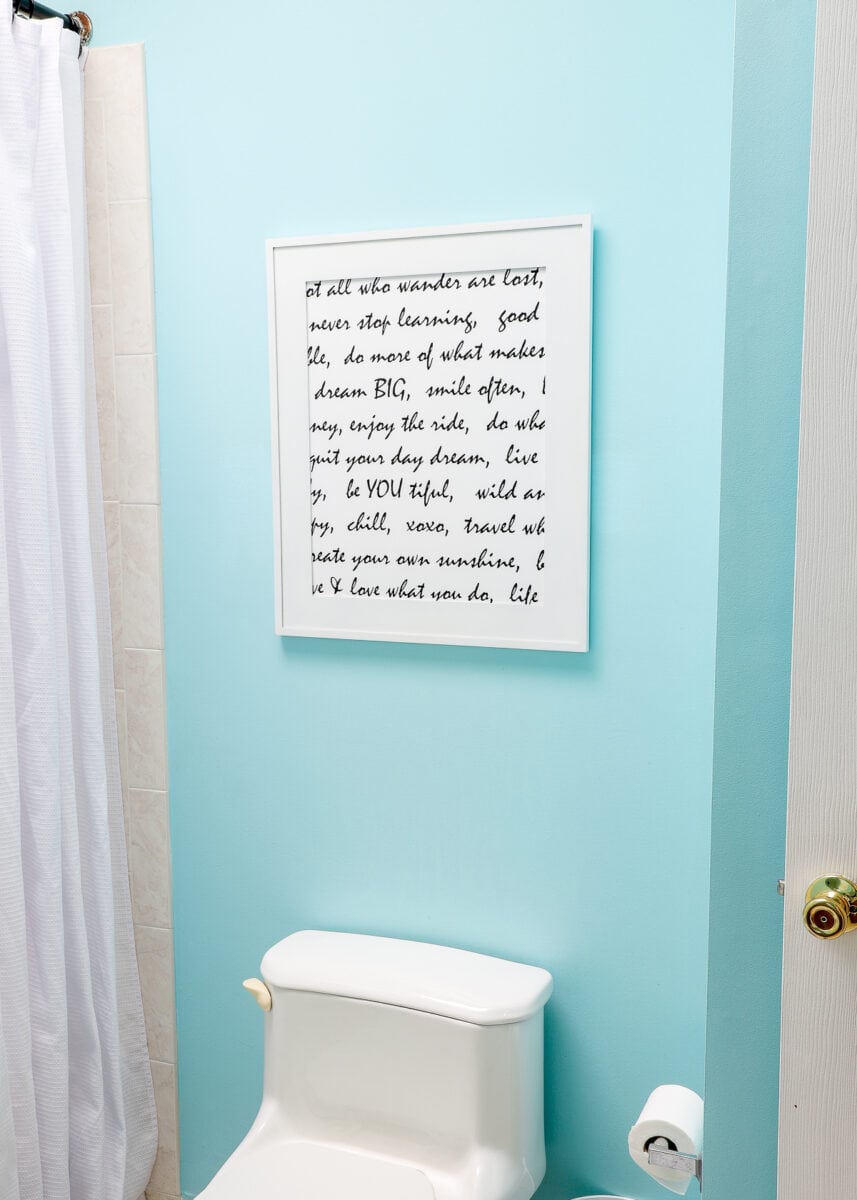
The final additions in this rental bathroom makeover are some inexpensive art pieces! Framing a large swatch of the inspirational wallpaper was a great way to add a bold artistic statement without having to buy something else for the space.
Taking down the plastic towel rods above the toilet (which the kids couldn’t reach anyway) didn’t just improve the bathroom’s usability for the boys. It also allowed me to add this large artwork in a visually prominent spot. Talk about a win-win update!
Over on the other side of the bathroom, I hung this vibrant sunshine art…which was actually a DIY kit I bought HERE. Beyond painting it to match the stool and cups, the sunshine painting also has some meaning to the boys. At the beginning of the pandemic, when everything was so scary, we used ‘You Are My Sunshine’ as our hand washing song. More than just some colorful art, it’s a fun, meaningful, subtle reminder to the boys to wash their hands!!!
Funny Story: Our 4 year old keeps telling me I messed up the painting because I made some of the rays white. I told him I liked it that way, but he reminds me (almost daily) that he still doesn’t approve of my artistic choice!
Shop Our Bathroom
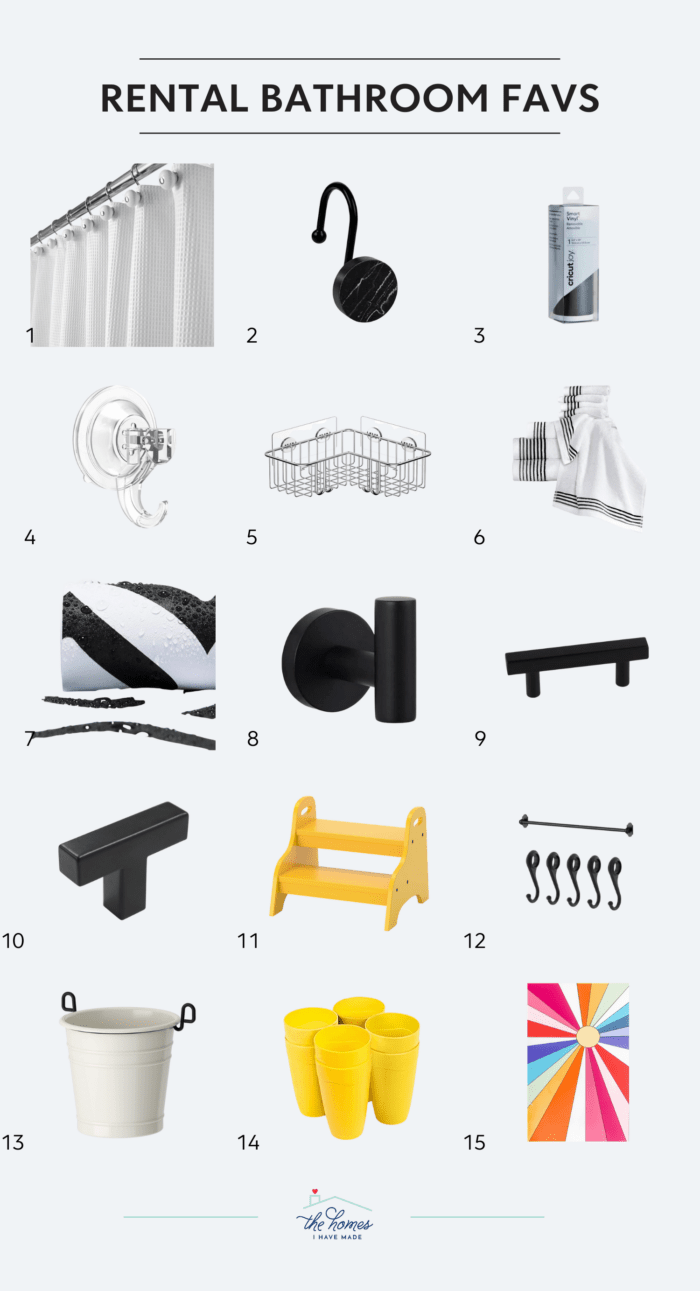
Here are all the products used in this budget-friendly and totally temporary bathroom update!
(NOTE: I linked up some alternatives when actual products were no longer available. Also, I linked up the IKEA products on Amazon, but they are considerably cheaper from IKEA directly if you have one close by.)
1 – White Shower Curtain | 2- Marble Shower Curtain Hooks | 3 – Cricut Joy Smart Vinyl | 4 – Suction Cup Hooks | 5 – Corner Shower Caddy | 6 – Classic Turkish Towel Set | 7 – Black & White Peel-and-Stick Wallpaper | 8 – Modern Towel Hook, Matte Black | 9 – Black Drawer Pulls | 10 – T-bar Cabinet Pulls | 11 – IKEA Trogen Stool | 12 – IKEA Fintorp Hooks | 13 – IKEA Fintorp White Bucket Container | 14 – Plastic Yellow Cups | 15 – Sunburst Wall Art
See All the Projects In This Rental Bathroom Makeover
This rental bathroom makeover was such a fun and unexpected surprise! After not having any idea what to do in here for so long, I am just tickled by how well it all came together. It’s both fun AND functional for our boys, filled with smart products and fully removable updates. To see more details about the various projects in this space, just click below!
- Can You Put Peel and Stick Wallpaper on the Floor?
- How to Hem Curtains Without Sewing
- How to Frame Wallpaper as Art
- How to Fill Nail Holes In Your (Rental) Walls
- Smart Bathroom Storage Solutions (For Any Size Bathroom!)
- How to Make Vinyl Labels with a Cricut | A Comprehensive Guide
I can’t wait to hear what you think of this happy bathroom makeover. The floor is definitely my favorite part, but the pops of yellow are also unexpected (especially for me!) and super fun. I hope this bathroom reveal not only inspires you, but also demonstrates how much you really can do when an expensive renovation just isn’t possible!
Megan





10 Comments on “The Ultimate Rental Bathroom Makeover”
Love it!
Will you remove the vinyl from the curtain rod when you move? Wondering how it will come off.
What a happy space! I always love seeing what you do with your rental homes and I get a lot of inspiration from it even though I own a house now and am no longer renting. Thanks again for sharing your hard work with us!
Jennie
I love the space, Megan! The yellow is so cheerful, and I also like the white rays on the sunshine art. 🙂
I am very curious, though – did the wallpaper on the floor make it less slick?
You make fabulous spaces in your home, Megan, and I always love to see them. :)Margaret
I love that you e pulled together a great room while still have dated wooden cabinets (which we have) and swirly off white 90’s tiles (which we have). It’s easy to think nothing can be done if we don’t have white subway tiles and white cabinets!
Wow ! nice renovation …Making a such & Beautiful bathroom…
Nice to have the only blue walls work out so well for your boys bathroom.
It looks grrrreat, and I would think the sun is yellow also. Mom’s art is too
abstract for the practical thinker you have…..maybe some yellow ombre
would make your young son think it looks more realistic. I think you did
a good job on the picture! I have had to deal with a vanity that has lost its
luster and cannot paint it, so I use Weiman natural LEMON OIL furniture
polish on it. Rag it on and when you have worked it in, wipe it off with a
clean soft cloth (husbands old white t-shirt cut up into smaller pieces
works well). It doesn’t last forever and starts to look like it did before.
So a renters delight to make it look newer than it really is. Sweet.
Beautiful job! Love the almost-daily comment on the sun, too funny!
I once had the same oak vanity and a can of Howard’s Restor-A-Finish in oak (Home Depot) that you wipe on with a paper towel will make it look so new, you’ll be amazed!
Love all these ideas and honestly I’m so sick of bloggers making kids’ spaces way too bland and grown up. Bring on the bright, bold colors!! I absolutely adore that you continue to do your thing instead of conforming to whatever trend is hottest. I continue to read your blog because it’s *not* just a copy of what everyone else is doing. <3 (I’m not saying this isn’t trendy or cool, I just mean if you had coated the space in olive green, faux marble, and brass with a muted floral artwork I’d be like “ok, predictable…” Hope that makes sense!)
Love it .
I’m a painter for 20 plus years to update the cabinet just get an old rag and wipe it down with old english. I prefere the darker bottle old english, it comes in two colors. walmart, target, any cleaning supply should have it. Then they will look new and clean. Do it when kids are at school or sleeping so that it has time to dry and the kids don’t rub on it and get it on their clothes when they wash hands or brush teeth.
Yellow and sky blue are 2 of my favorite colors so I wholeheartedly approve the color choices here!
😀
Also, I adore your sunshine picture! <3