How to Fill Nail Holes In Your (Rental) Walls
If you really want to transform your rental (or ANY home) into a space that feels more special, personalized, and stylish, you will most likely need to hang things on the wall. And while I have become a big fan of hole-less hanging via Command Strips in recent years, there are still some things that require nailing or screwing into drywall (e.g., heavy art, shelves, curtain rods, etc). This shouldn’t stop you though because patching up drywall holes is quicker and easier than you might think. Today, I want to show you how to fill nail holes in your walls using an easy, inexpensive all-in-one product. This tutorial is sure to come in handy whether you’re getting ready to move out or you just made a mistake hanging your new art. Let’s get to it!
Why You Might Need to Fill Nail Holes In Your Walls
Whether you rent or own, there are many situations when you might need to fill holes in your walls, such as:
- You’re moving out and filling nail holes is either required or recommended.
- You hung art, shelves, or other items in the wrong spot and the first-attempt holes are now exposed.
- You’re re-arranging or re-decorating and previous holes are now exposed.
- You’re re-paining walls for a fresh, blank canvas.
If you’re vacating a rental, I always suggest checking to see if there is indeed a “requirement” to patch your walls. While most private landlords require all holes to be filled, many apartment complexes and military base housing companies patch and paint walls as part of their standard turnover procedures. While patching holes is not hard, it’s worth knowing if you even need to bother!
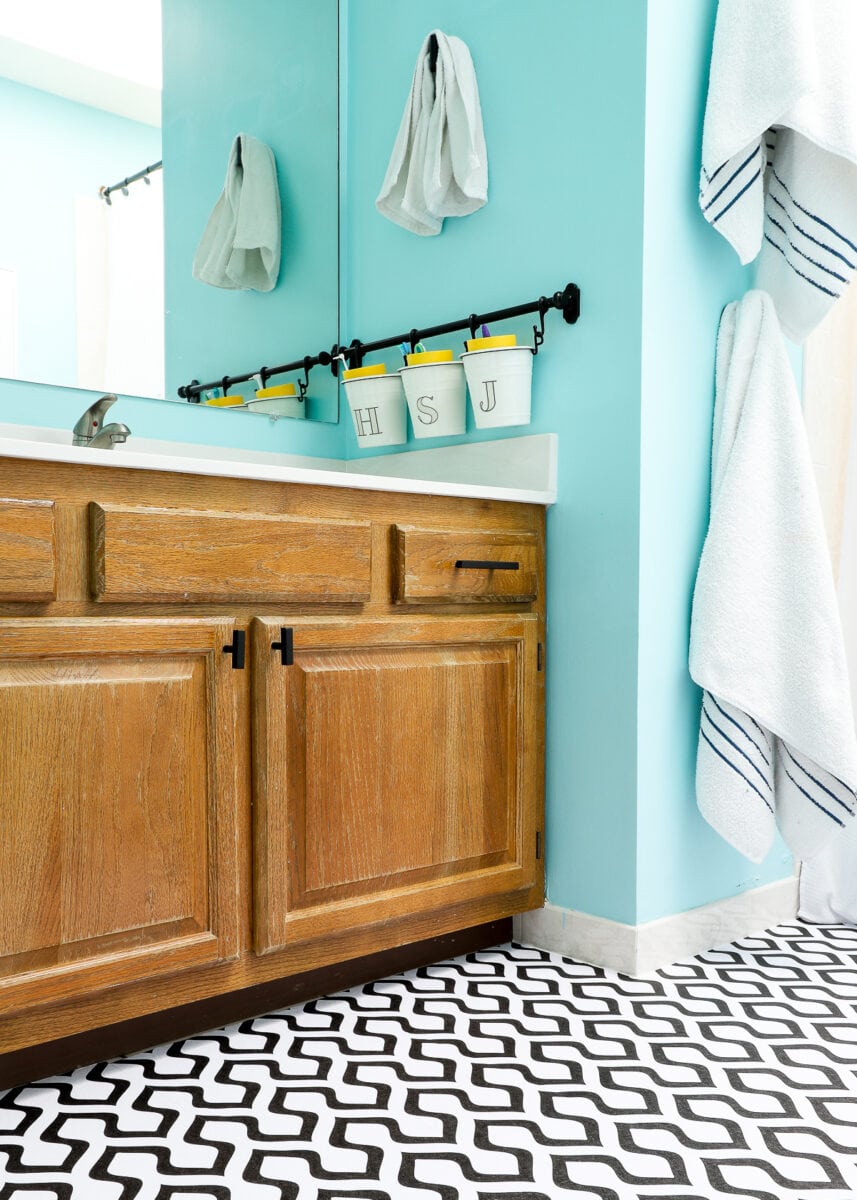
We’re not yet moving out, but in our boy’s hall bathroom, I ended up filling quite a few holes because of some functional and decorative updates I wanted to make. Let me show you the simple process!
What You Need To Fill Nail Holes
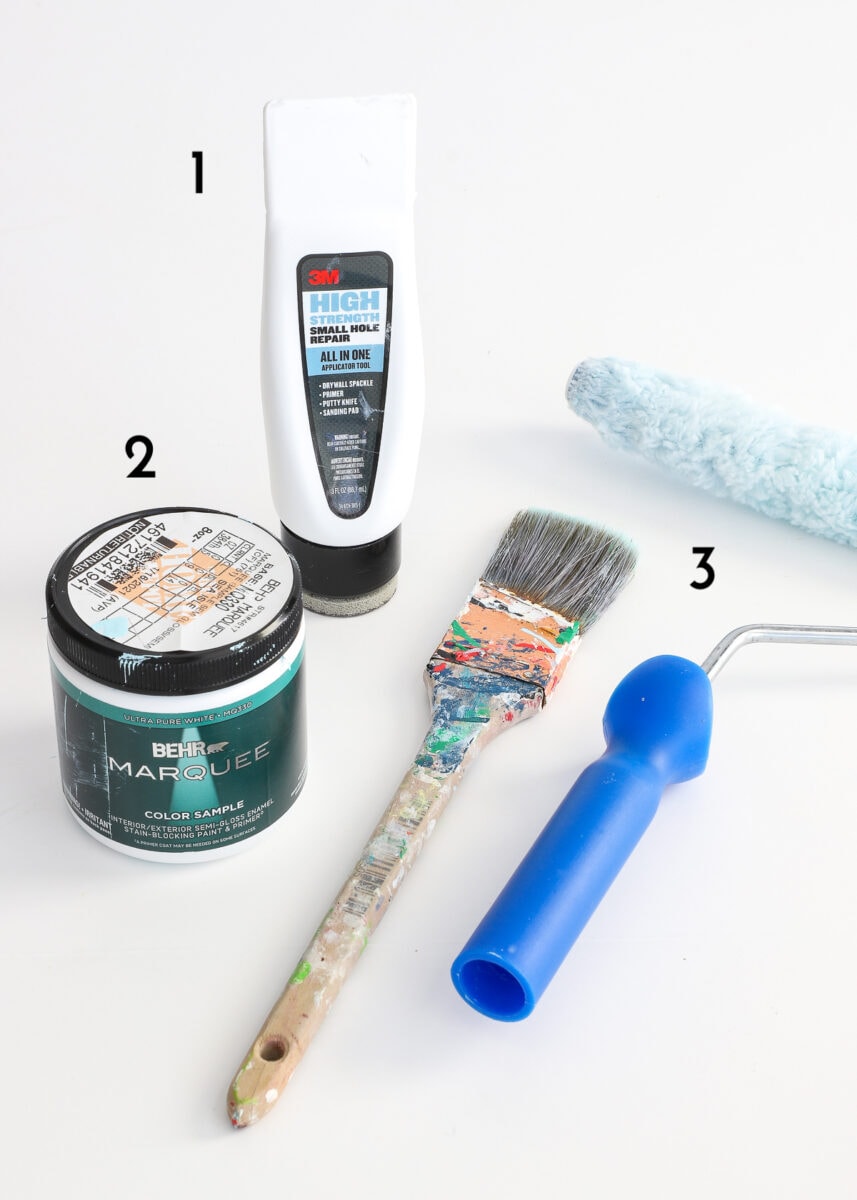
There are lots of ways to fill nails holes in your walls, but if you’re looking to get the job done with the least amount of time, effort, and supplies, here is what you need:
- 3M All-In-One Small Hole Repair Tool – This one item has everything you need: putty, scraper, and sander in one handy, inexpensive tube!
- Matching Paint – Usually, small test jars are more than enough.
- Paint Brush or Small Roller
- It’s important that you consider the existing paint “texture” on your walls when determining what paint application method to use. If your walls are super textured or your nail holes are small, a paint brush is likely sufficient. If you need to cover larger areas and/or your walls were painted smooth or with a slight texture, make sure you use a roller with the matching texture.
Matching Paint Colors
Having perfectly matching paint is imperative to patching holes with flawless results. If you own your home, you likely have or know the existing paint colors. If you don’t know the colors or are a renter, here are some things to try:
- Your best bet for finding matching paint is to look around the garage, utility room, or attic for leftover paint cans. Not only will this paint likely be a perfect match, but it will save you a few dollars!
- If no paint is around, ask your management company or landlord for the existing paint colors. Be sure to get the brand and paint sheen as well (e.g., flat, semi-gloss, etc) because this will affect how well the patch job matches.
- You can try removing some paint from the wall and having the hardware store match it, but this might not result in a perfect match.
- If you can’t get a perfect match, be prepared to re-paint the entire wall so your patch job isn’t at all detectable.
How to Fill Nail Holes In Your Wall
Whether your holes were caused by a small nail, screw, dry-wall anchor, or other random item, here is the simple process for filling them fast!
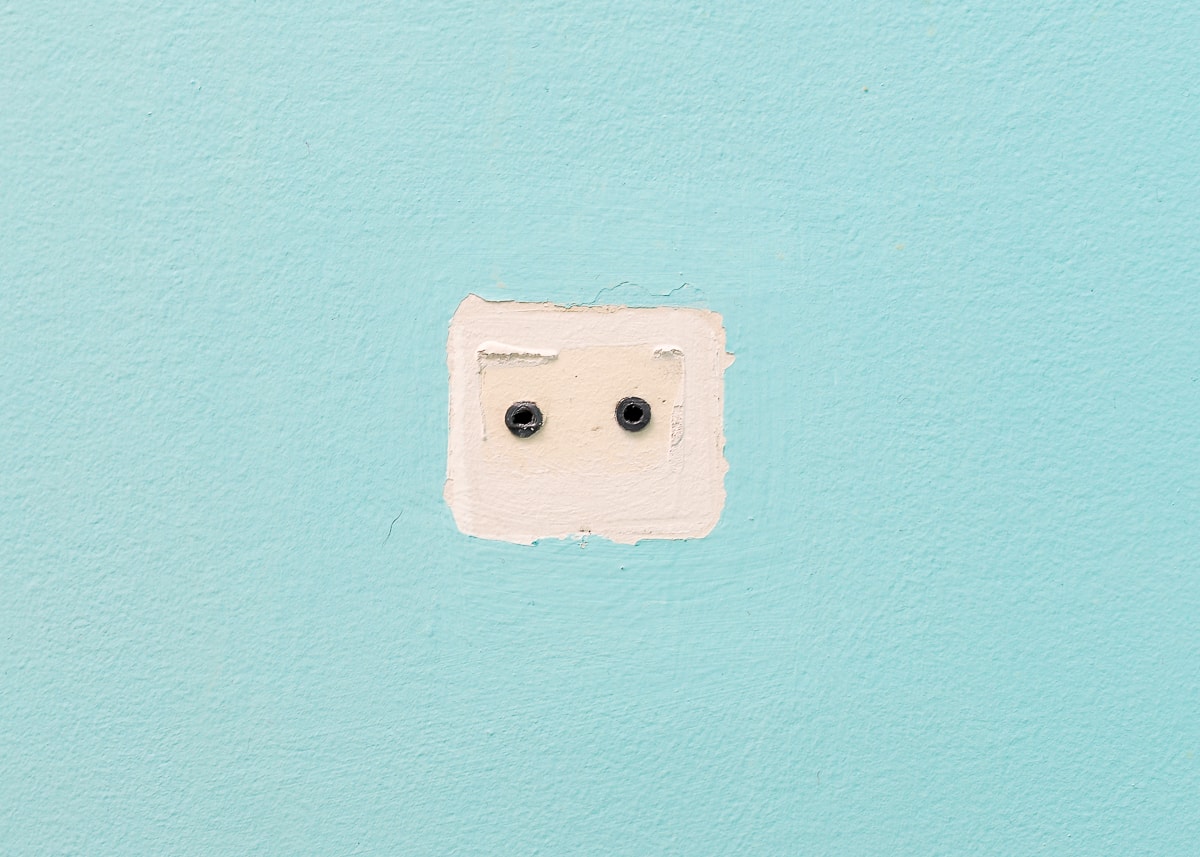
(In this example, I first hung our wall-mounted organizer too low, so I needed to patch the holes after I moved the bar higher.)
Start by using either the backside of a hammer (for nails), a screwdriver (for screws), or a needle-nose pliers (for anchors) to remove your hardware from the wall. Pull straight out from the wall to reduce the risk of creating a bigger hole to fill.

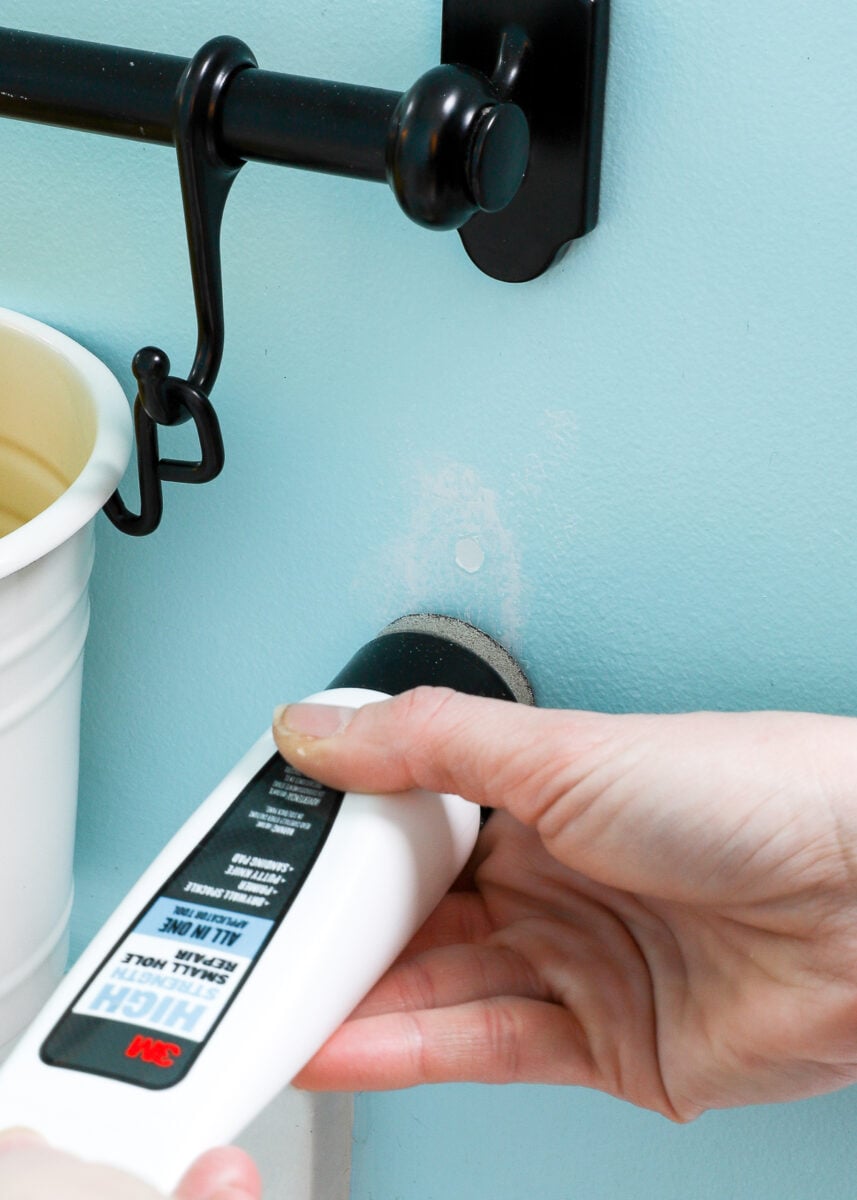
Removing screws or dry wall anchors will likely cause the drywall to slightly protrude outward. Use the sanding cap on the All-In-One Small Hole Repair Tool to smooth the drywall down as much as possible.

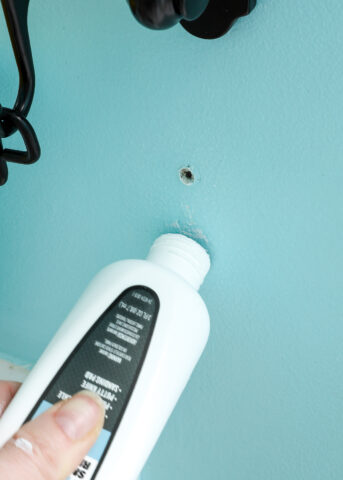
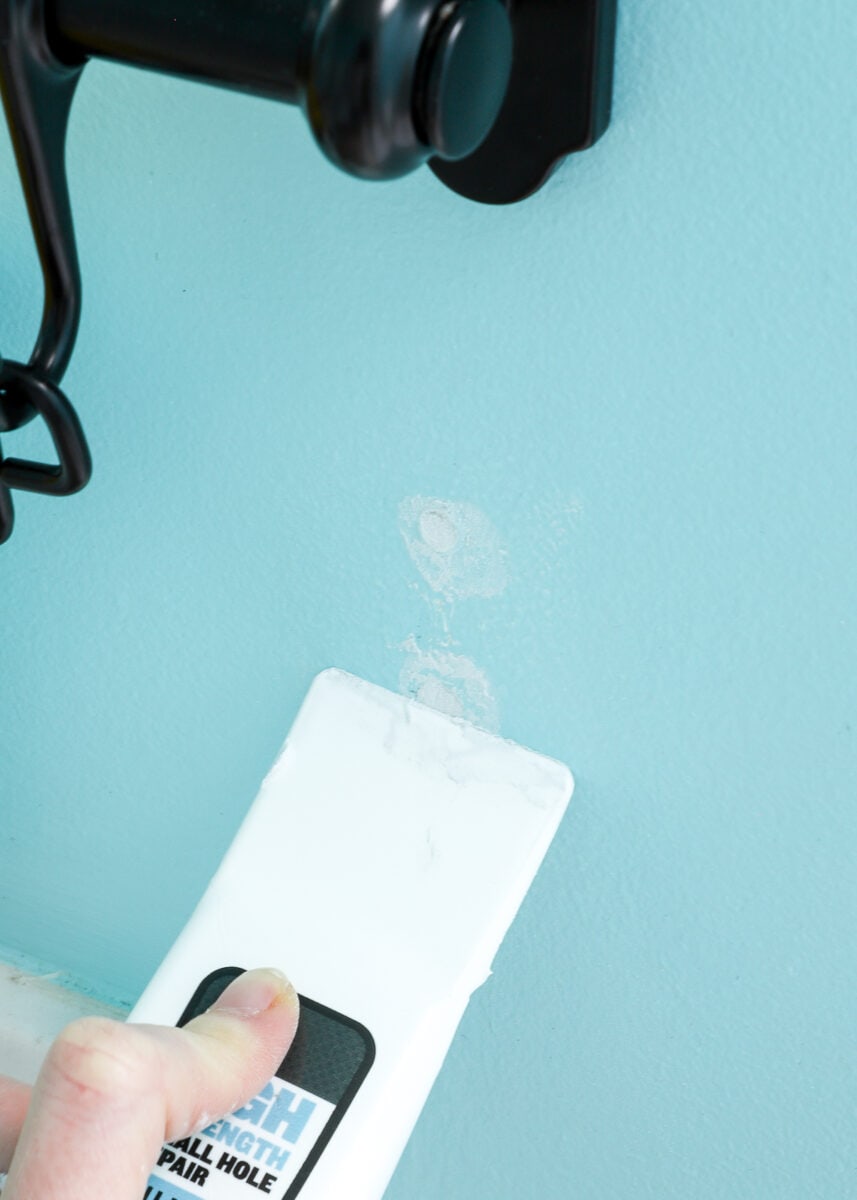
Next, remove the cap and squeeze a generous amount of filler into the open holes. Then use the “putty knife” on the other end of the tool to scrape off any excess. If your hole is large, you may need to repeat this fill+scrape process a few times until the contours of the hole are flush with the wall.
Want to save this post?
For tiny holes, you can likely sand right away. However, larger holes that require more putty (like mine) will need an hour or so of drying time before sanding. Using the sanding cap again, remove any excess putty on top of and around the hole.
TIP! If after sanding, your hole is not perfectly flush with the wall, repeat with more putty+scraping+sanding.
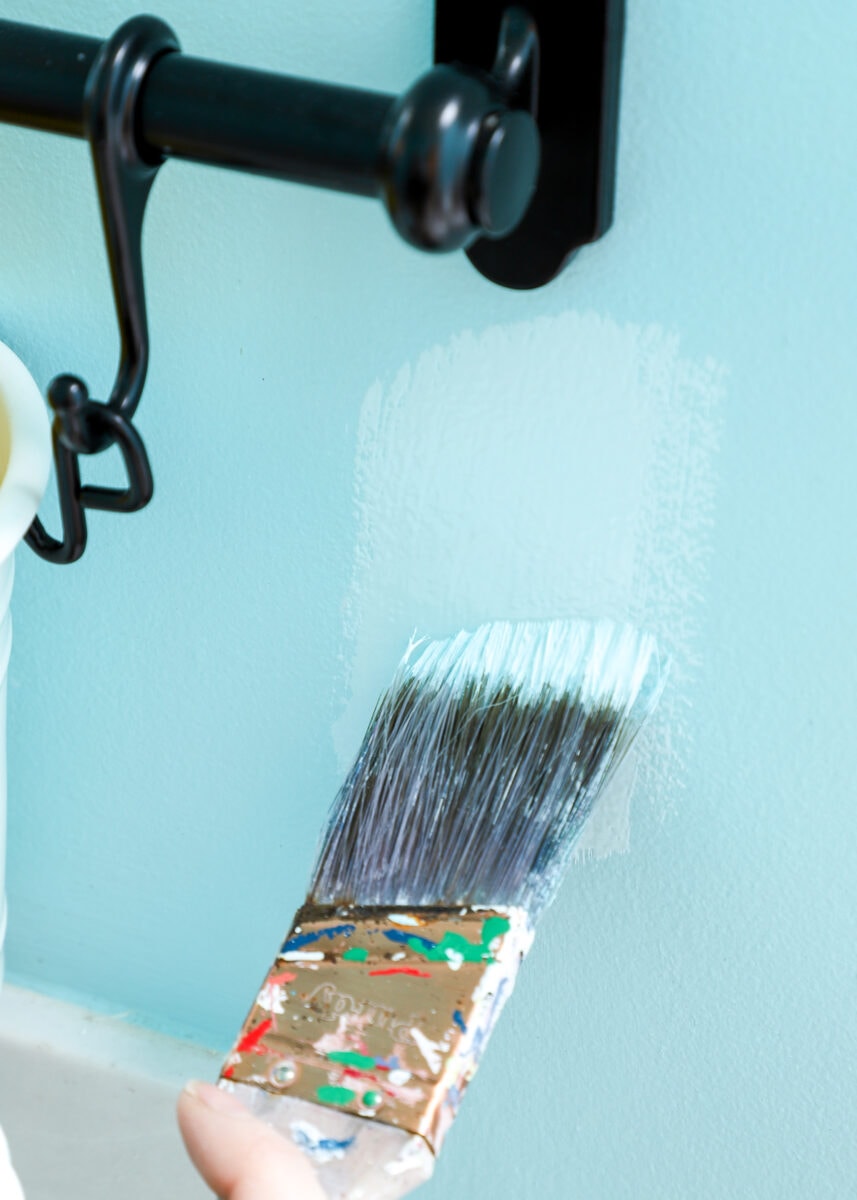
Once your hole is filled, flush, and dry, paint the patch job with a small brush or roller. If your paint is a perfect match and you used the same roller type as the existing paint treatment, your paint and patch job should be undetectable once fully dry!
Patching Peeled Paint
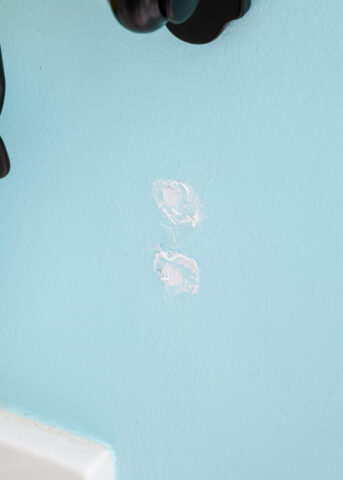
I want to share one other small patching project you might encounter: peeled paint. This has actually happened to us a few times, most recently when I went to remove the towel bar above the boys’ toilet.
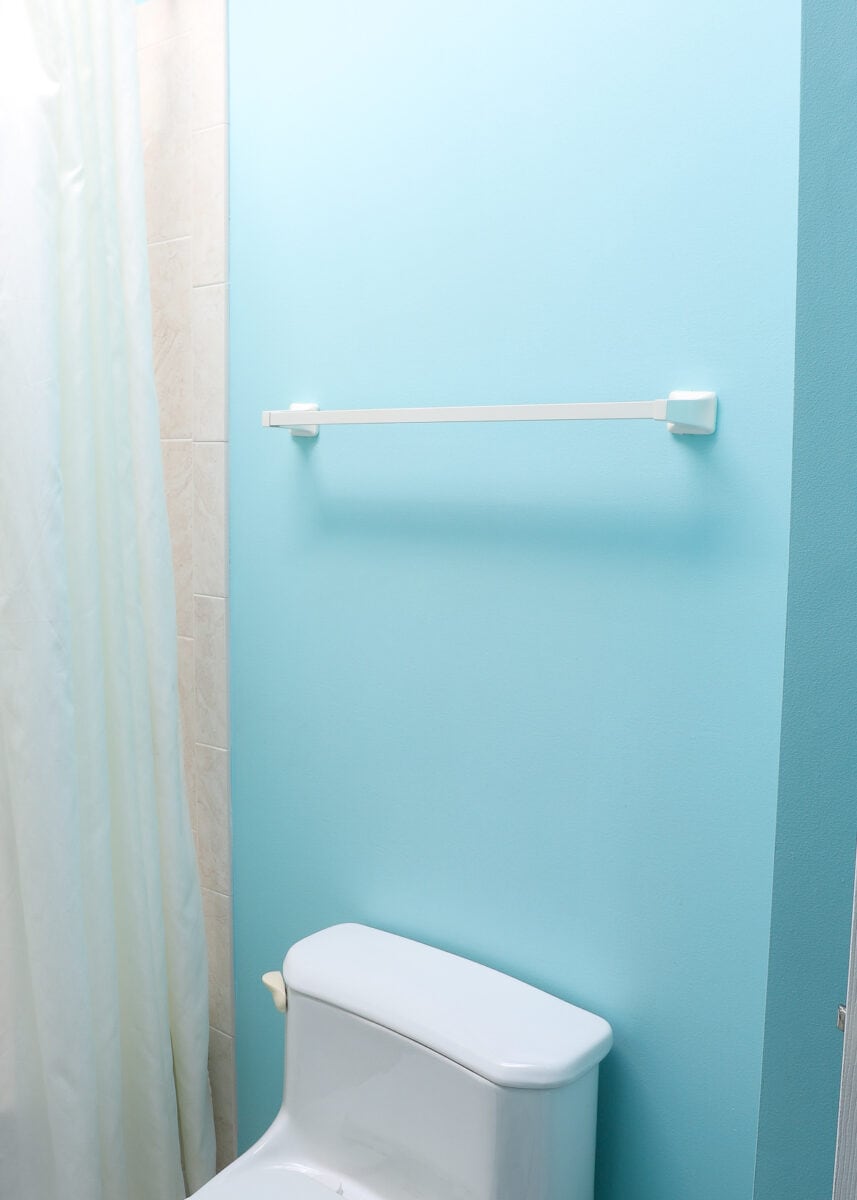
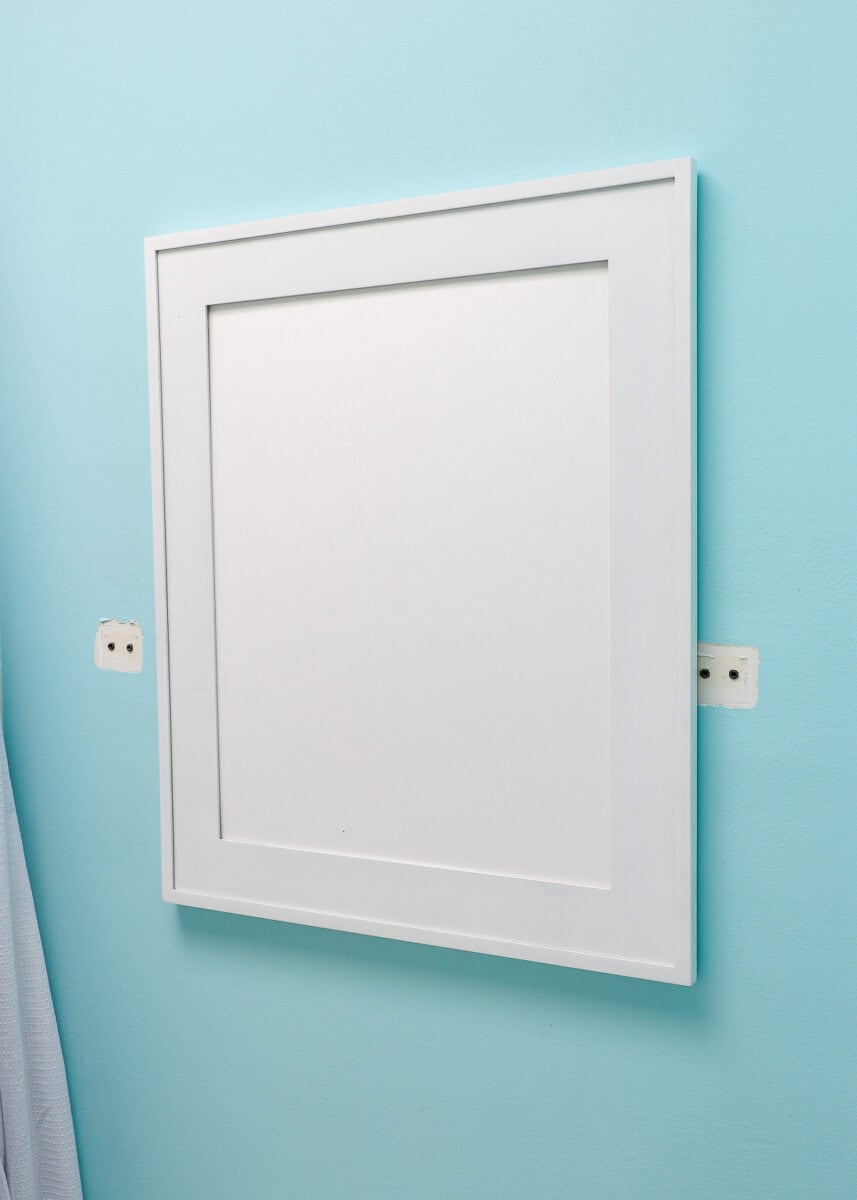
The boys can’t reach the towel bar and don’t use it, so I thought it was a great place to hang some art. Lo and behold when I remove the towel bar, I discovered that whoever painted this bathroom didn’t bother to take the towel rods down, leaving white patches under the bar returns. Unfortunately, my frame wasn’t big enough to hide the mess, so I had another patch job to undertake!
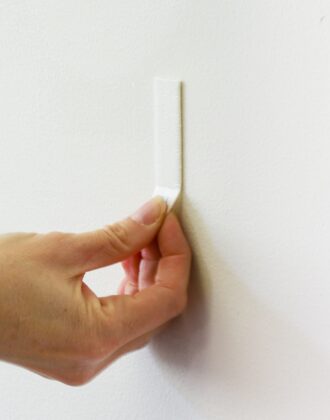
You might encounter similar peeled paint when removing art that’s been on the wall for a while, shelves hung really snug on glossy paint, vinyl decals, Command Strips (if not removed properly) and more. Although you may be tempted to slap some paint on the gash and call it a day, using the same patching method can help create a smoother, cleaner result.
After sanding the raw edges with the cap of the same 3M tool, I used more putty along the peeled paint edges and across the entire gash to create a smooth surface.

Although we will have to hang the towel rod back up before moving out, at least we don’t have unsightly gashes to look at in the meantime!


There are lots of ways to fill holes in your walls. We love the quickness and ease of the 3M All-In-One Patch Tool…especially when we’re moving out and have lots and lots of holes to fill at one time. My goal with this post was to show you how really easy it is, so you won’t be scared to actually hang stuff on your walls and make your home more YOU!
Megan


3 Comments on “How to Fill Nail Holes In Your (Rental) Walls”
Great information. Pinning for now until I get the product. Sounds easy enough that I can do it!
Yes! This handy little tool definitely makes a tedious task so much easier!
Hope you give it a try!Megan
Great information, thank you! I haven’t used this product before, but in using other “putty,” a friend once showed me that after applying the putty, wait about 15 min. Then take a slightly damp cloth and gently go over the patch to remove the compound from the surrounding wall. I was skeptical, but it usually works for me and leaves a smaller space to paint.