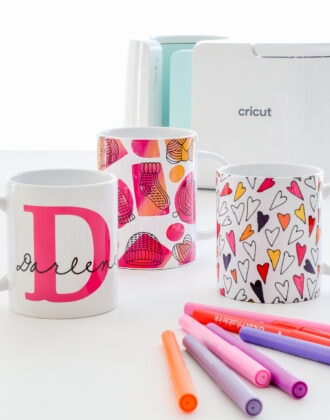
How to Design Mugs in Cricut Design Space
Having helped readers with their Cricut projects for many years now, I’ve learned that, without a doubt, the biggest struggle for most is designing their projects in Cricut Design Space. And like many specialty Cricut projects, creating designs specifically to go on mugs with the Cricut Mug Press requires a few nuance techniques that might not occur to eager mug makers. After designing and making a lot of mugs, I’ve identified a host of tips, tricks, and best practices to help you create, size, and lay out your mug designs with ease. Although this post isn’t filled with the prettiest pictures, I’m going to teach you exactly how to design mugs in Cricut Design Space so you can bring all your mug dreams to life (without wasting precious time or materials!)
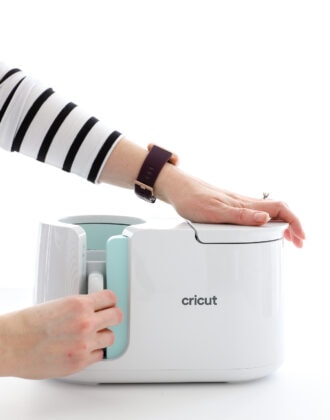
Series: Getting Started with the Cricut Mug Press
I am so excited to share with you a bunch of tips and tricks for creating flawless mugs in mere minutes with the new Cricut Mug Press! Here is everything you need to know to start making mugs today!
- About the Cricut Mug Press
- How to Make Mugs with Infusible Ink Transfer Sheets
- How to Make Mugs with Infusible Ink Pens
- Tips and Tricks for Desinging Your Own Mugs – you are here!
If you are a Cricut enthusiast, you likely already know there are countless images and techniques available to bring your creative visions to life. But when it comes to designing mugs, placement is everything. Additionally, when it comes to using Infusible Ink Transfer Sheets or Pens, design type matters almost as much. I’m going to walk you through several ways to design mugs today, starting with the easiest (and most foolproof!) and progressing to the more complicated. Let’s get started!
Finding Mug Designs & Templates in Cricut Design Space
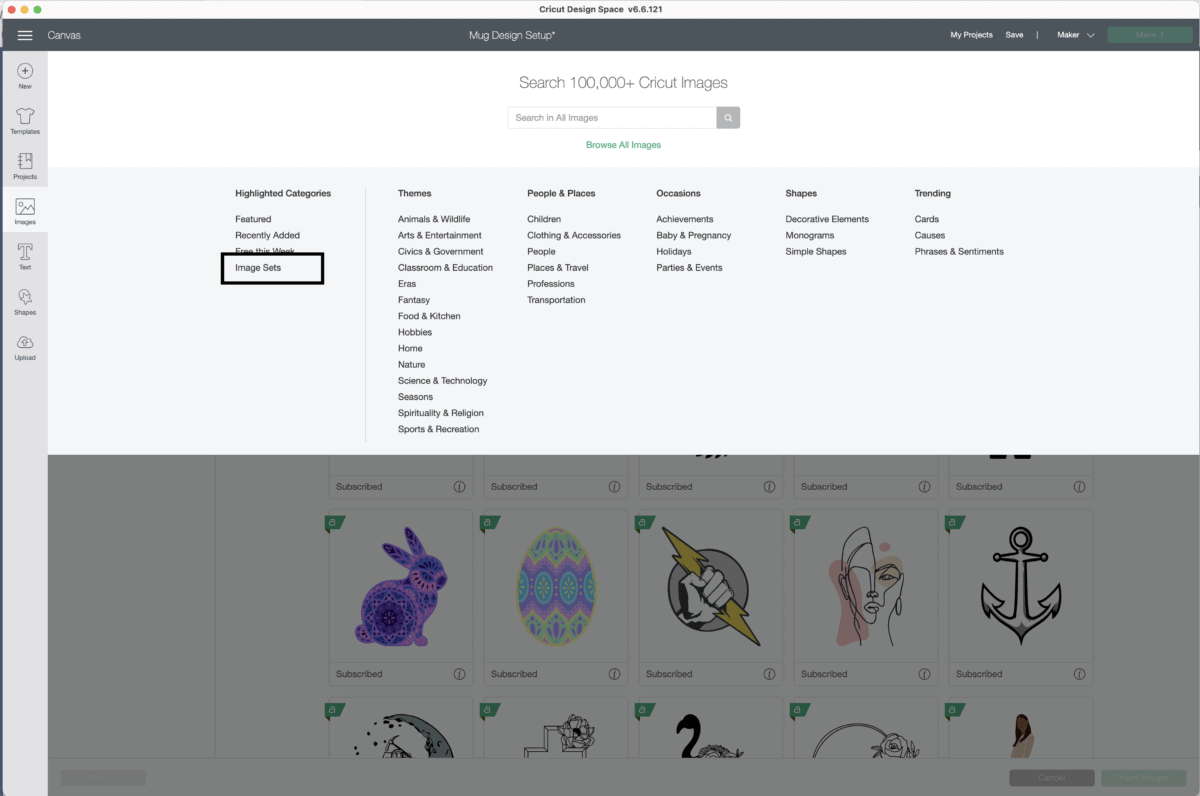
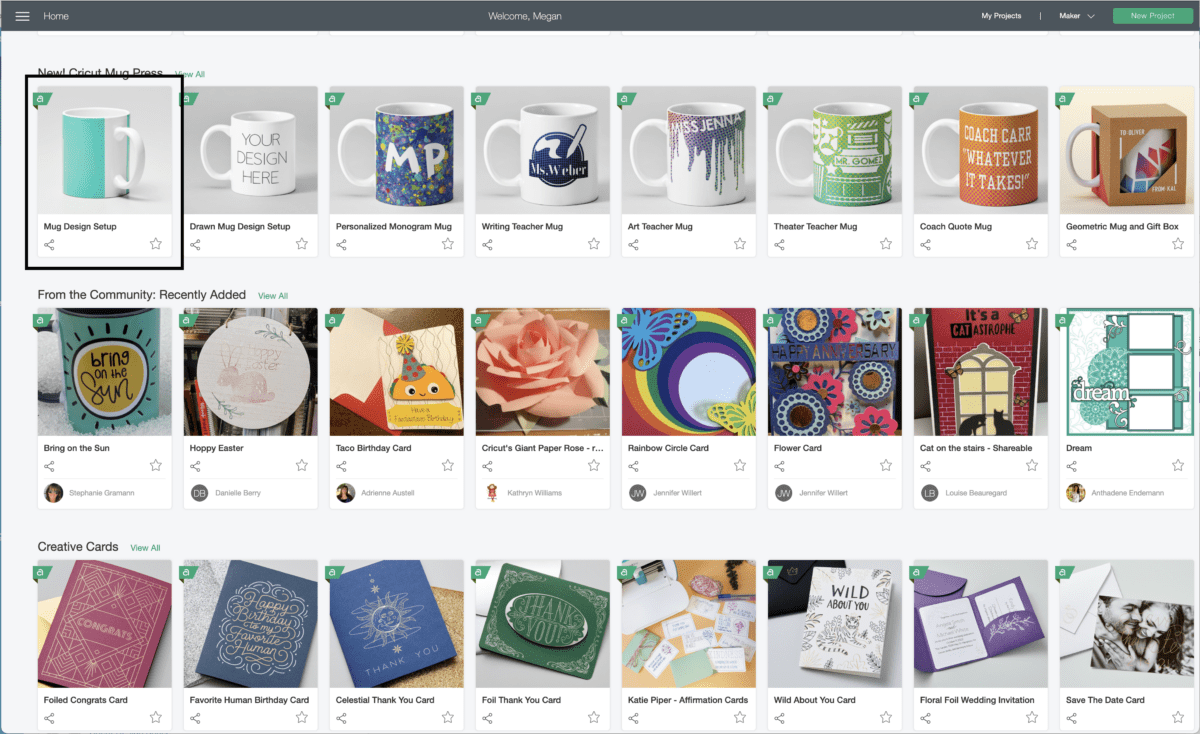
With the launch of the Cricut Mug Press and compatible mugs, Cricut has loaded Cricut Design Space with dozens of ready-made mug designs. The easiest way to find these images is to open the Image Library (use the button on the lefthand size of the design canvas) and click “Image Sets” on the left side of the screen.
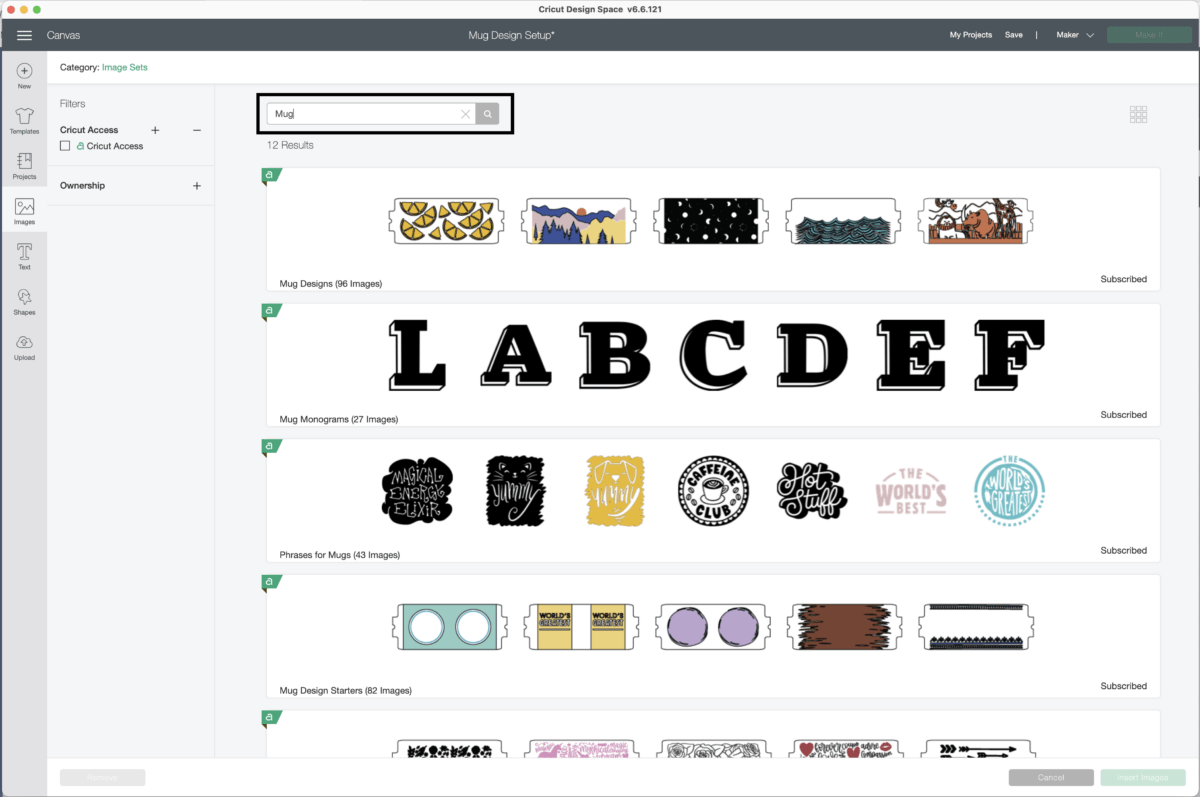
Type “Mugs” into the Image Sets search box to load 12 different sets of mug designs. It’s important to note that all of these images are sized specifically for Cricut Mugs in both the Small (12 oz) and Large (15 oz) sizes.
Ready-To-Make Designs
The 96+ images in the “Mug Designs” set are “Make It Now”-style projects. Using one of these images is the easiest and quickest way to make a mug since 100% of the design work is done for you!
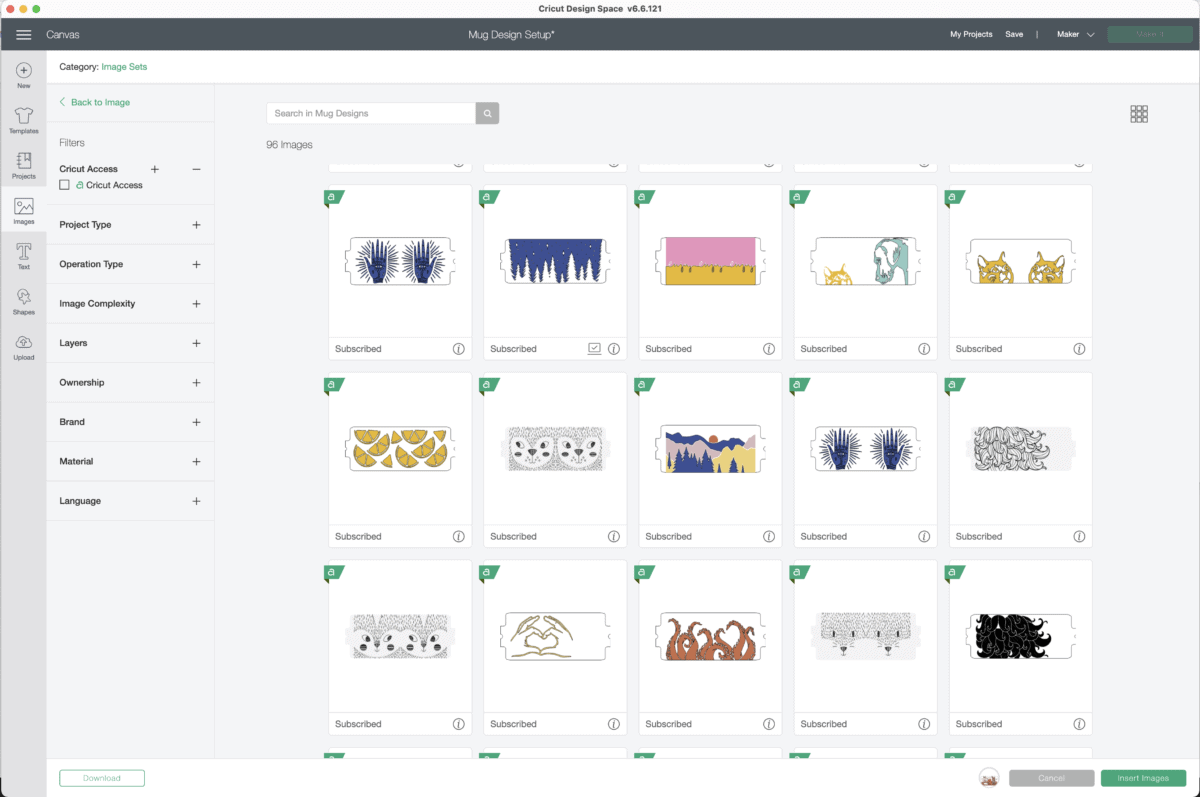
It’s very important that you chose the right size design for your mug project. Click the (i) symbol in the bottom corner of each image in order to see the size.
- If you are making a 12 oz mug, look for designs that say “Small”
- If you are making a 15 oz mug, look for designs that say “Large”
NOTE: All mug designs are available for both sizes!
![]()
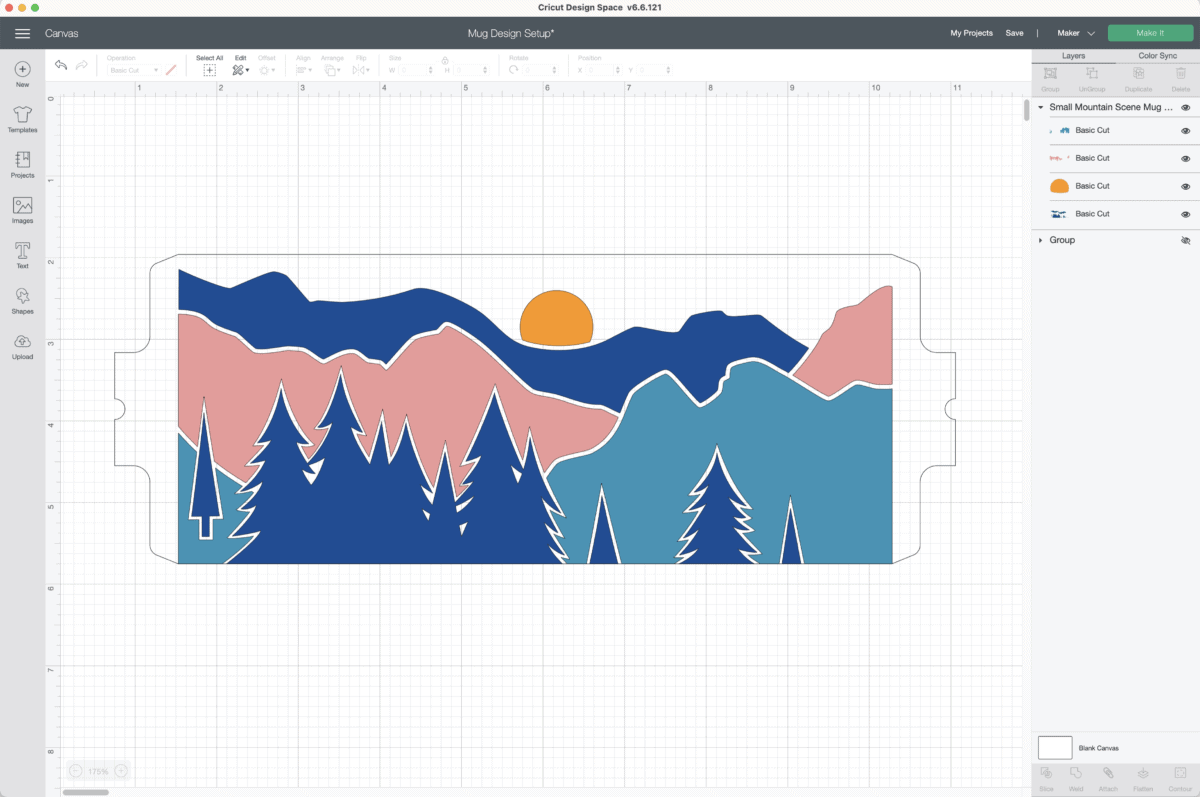
Once you place the mug design on your canvas, it will load ready-to-go (you don’t need to do anything to these designs). Click the green “Make It” button and then use these instructions for assembling your mug:
Mug Design Starters
Moving along in complexity, your next option is to use the images in the “Mug Design Starters” set. These images, also sized for both Small and Large mugs, are basic templates rather than ready-to-go designs.
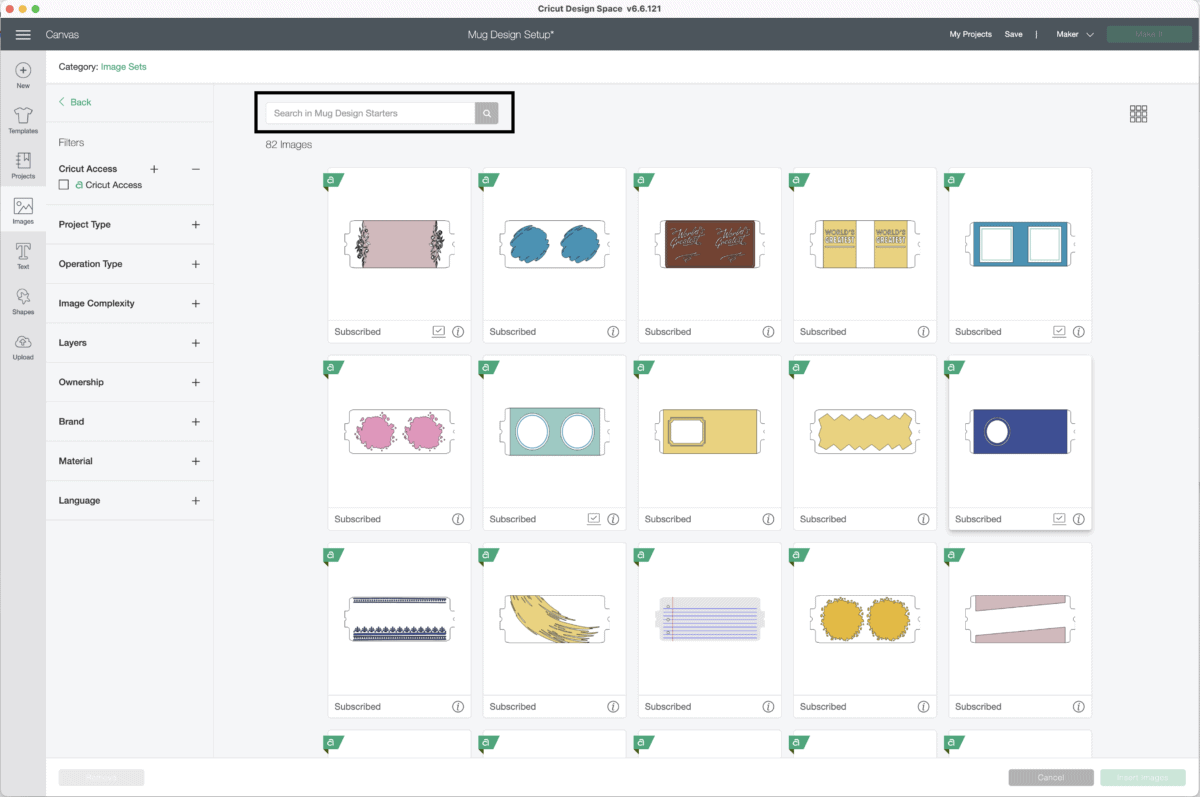
Using these starter designs is a great way to add your own images, messages, monograms, etc, but in a way that ensures the spacing and layout are optimal for your mug.
By combining these starter templates with either 1) images from the Design Library or 2) text of your preference, you can make a custom, meaningful mug without much design work at all.
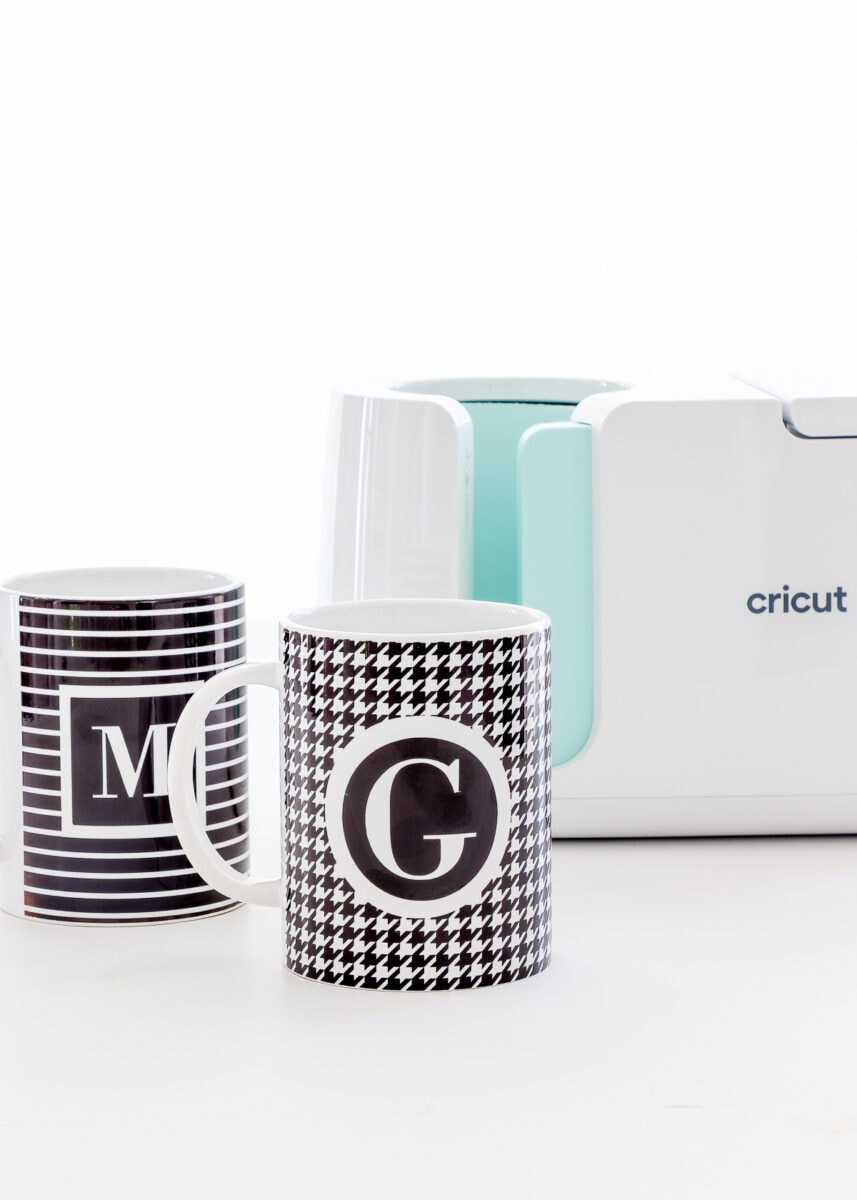
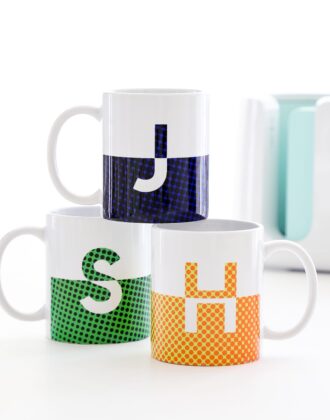
In fact, using one of these starters is exactly how I made the monogram mugs for Greg and I!
I strongly encourage new mug makers to use the Mug Design Starters on their first few projects…just so you can get the hang of designing, cutting, and transferring your images. Once you’re ready to take your designs up another notch, you’ll want to start using the Mug Design Setup project…
Using the Mug Design Setup Project
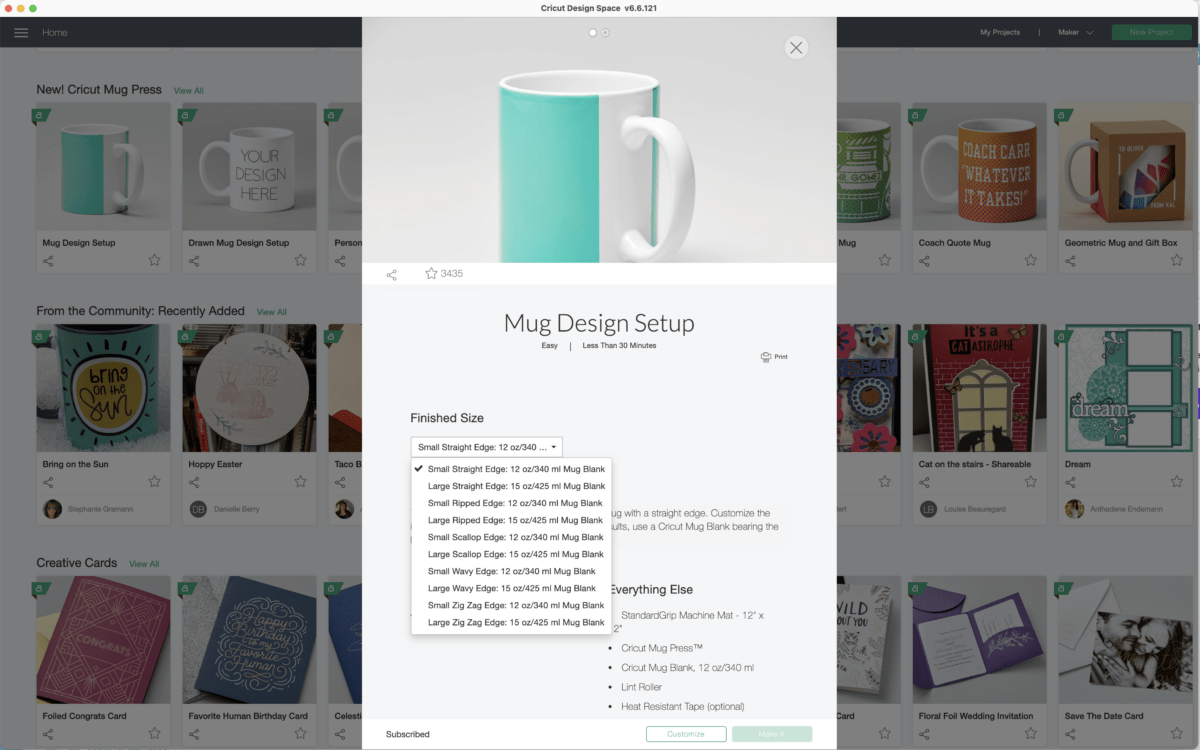
The Mug Design Setup should be loaded in your Cricut Design Space project library, under Cricut Mug Press projects.
When you open it, first select which edge you want to use (e.g., straight, ripped, scallop, wavy, zig-zag) and what size mug you are making (Small/12 oz or Large/15 oz).
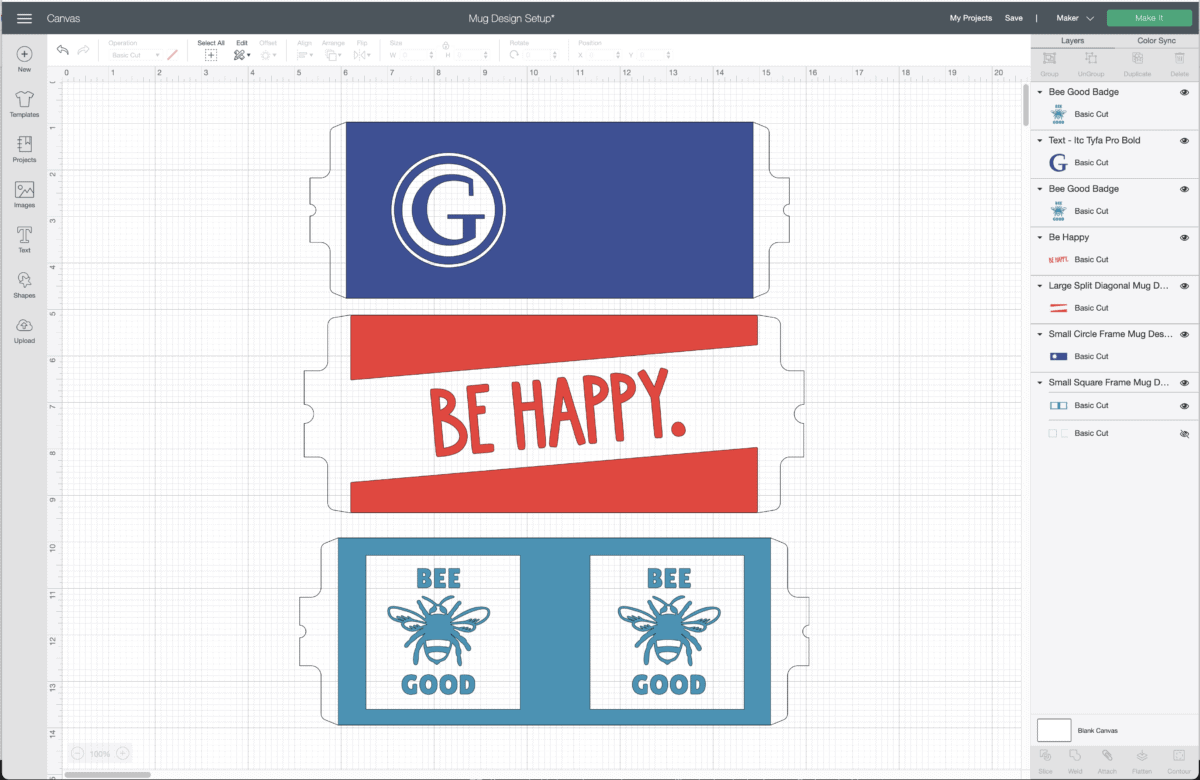
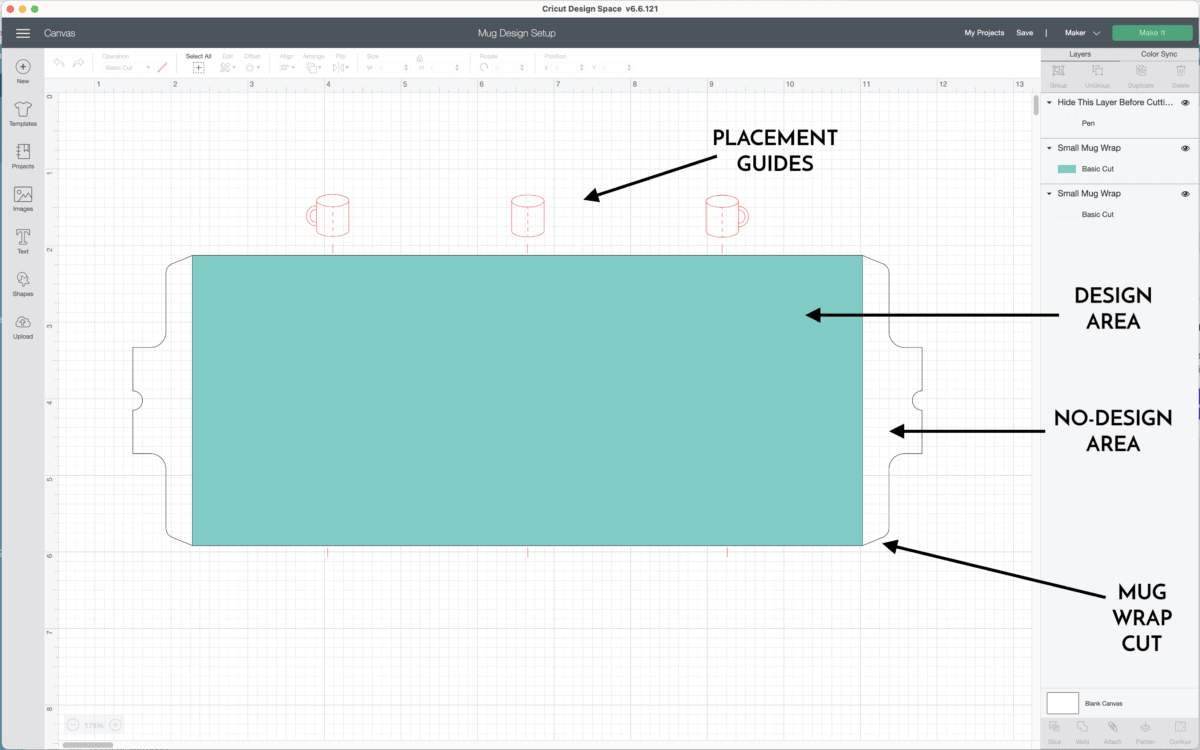
No matter what edge and size you choose, a blank mug “template” will populate on your canvas. It is perfectly-sized for whatever mug you chose, so be sure not to re-size it at all as you’re desinging. On the Mug Design Setup, you will see the following features:
- Mug Wrap Cut Line – This is the outermost cut line of your design. It will pass 2-3 times (in repetition) in order to cut through both Infusible Ink Transfer Sheets and the clear liner sheet underneath. The tab design is meant to fit under the mug handle.
- Design Area – The (turquoise) design area is the space that will be enclosed by the heating elements of the Cricut Mug Press. This is where you place your mug designs.
- No-Design Area – There is an open space on either size of the template between the Design Area and the Mug Wrap Cut Line. This blank space represents areas of the mug where the Cricut Mug Press does not reach, so you should not put ANY designs in this space.
- Placement Guides – These red mug placement guides are to help you determine where exactly to put your images (side, middle, other side). This layer should be hidden (by clicking the eye symbol in the right-hand layers panel) before cutting your design.
Using the Design Placement Guides
The red placement guides are a handy tool for identifying where to manually place images on your mug. Use the two outer mugs when you want images on one or both sides of the mug; use the center guide to place designs centered or wrapped around the mug.

Design Placement for Larger Images
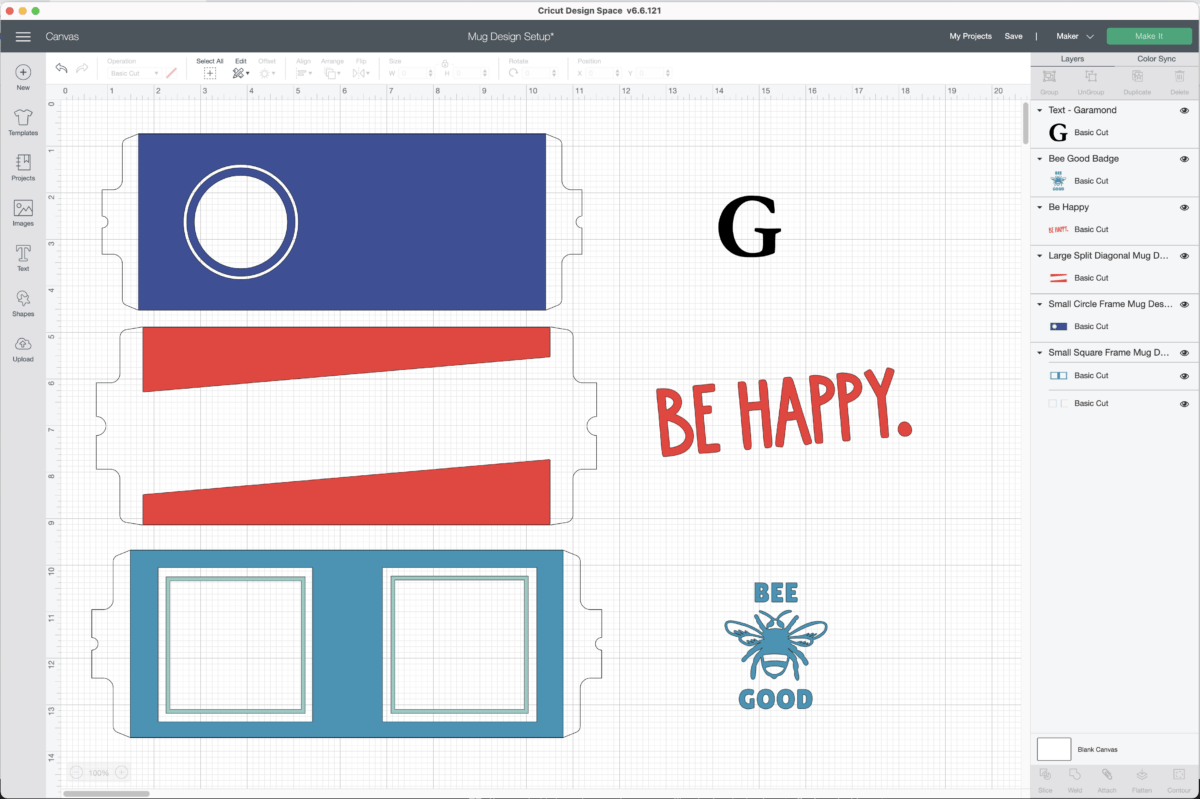
I find the mug placement guides quite useful, particularly for small, skinny elements. However, I found that larger designs tend to hug the handle a bit too closely when placed according to the side placement guides.
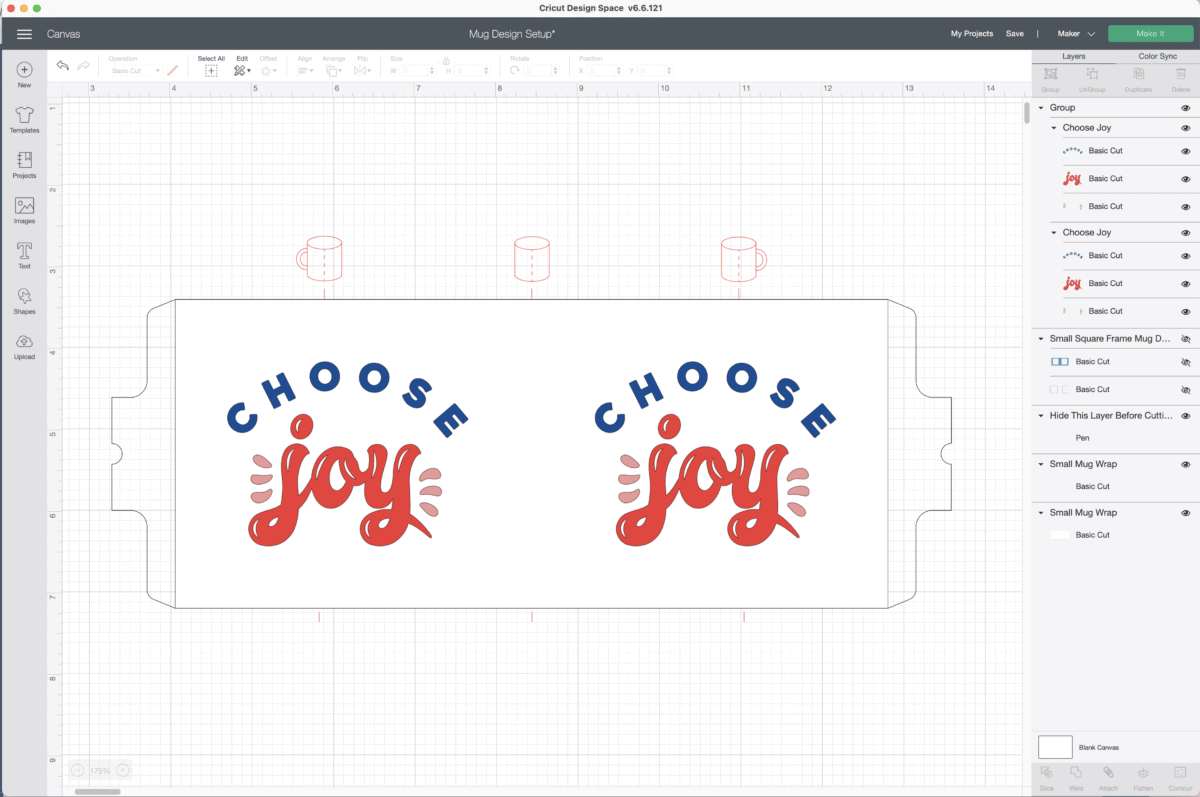
For larger designs, I prefer to use the square Mug Design Starter template. By sizing and centering my designs within the squares, I end up with a more natural placement on my final mug.

Notice how the images below, placed using the blue square Mug Design Starter, are slightly interior to the red placement guides. I personally prefer this spacing on my final mug, but I recommend testing a bit to see what you like better!
Centering Your Images on the Mug Design Setup
When you have the red mug placement guides turned on, it can be a little tricky to use the Alignment tools. Center Horizontally will work just fine, but the guides can disrupt the Center Vertically accuracy.
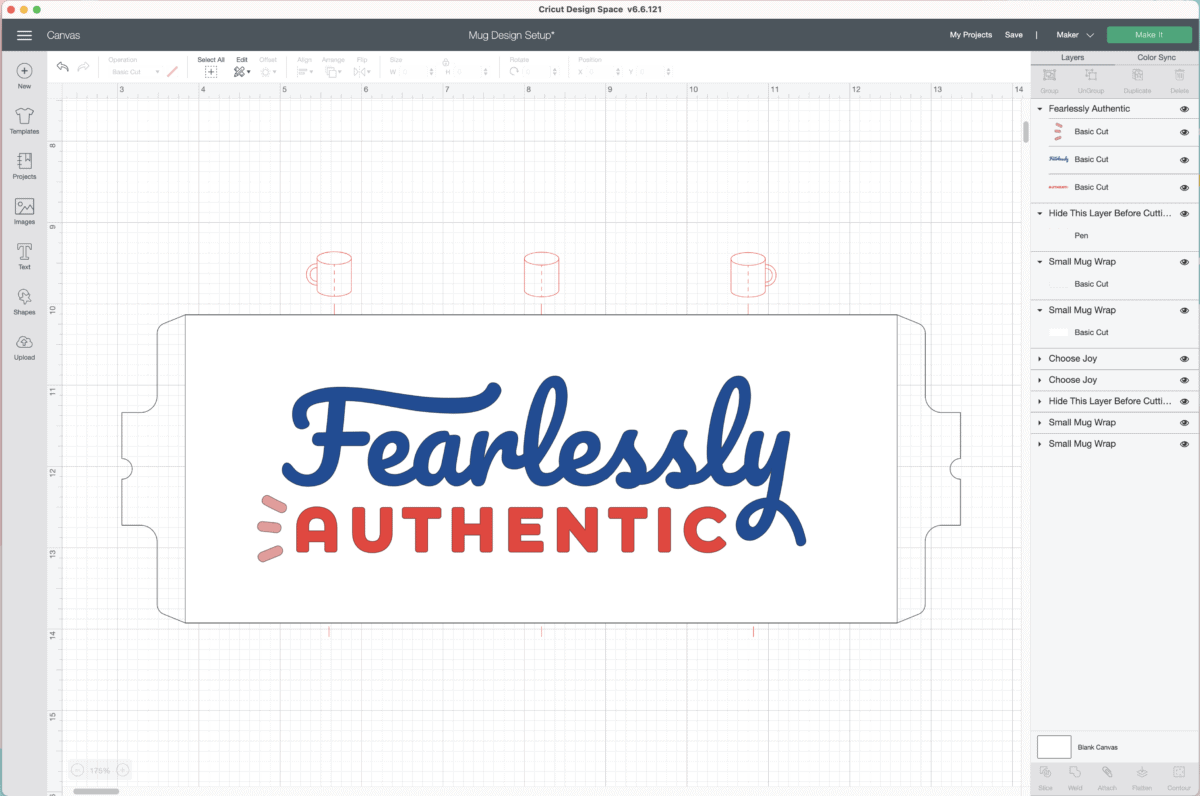
To vertically center your designs, first hide the red placement guides (notice they are turned off in the right-hand layers panel below). Then select your entire mug design (wrap+image) and center everything using the Align tools.
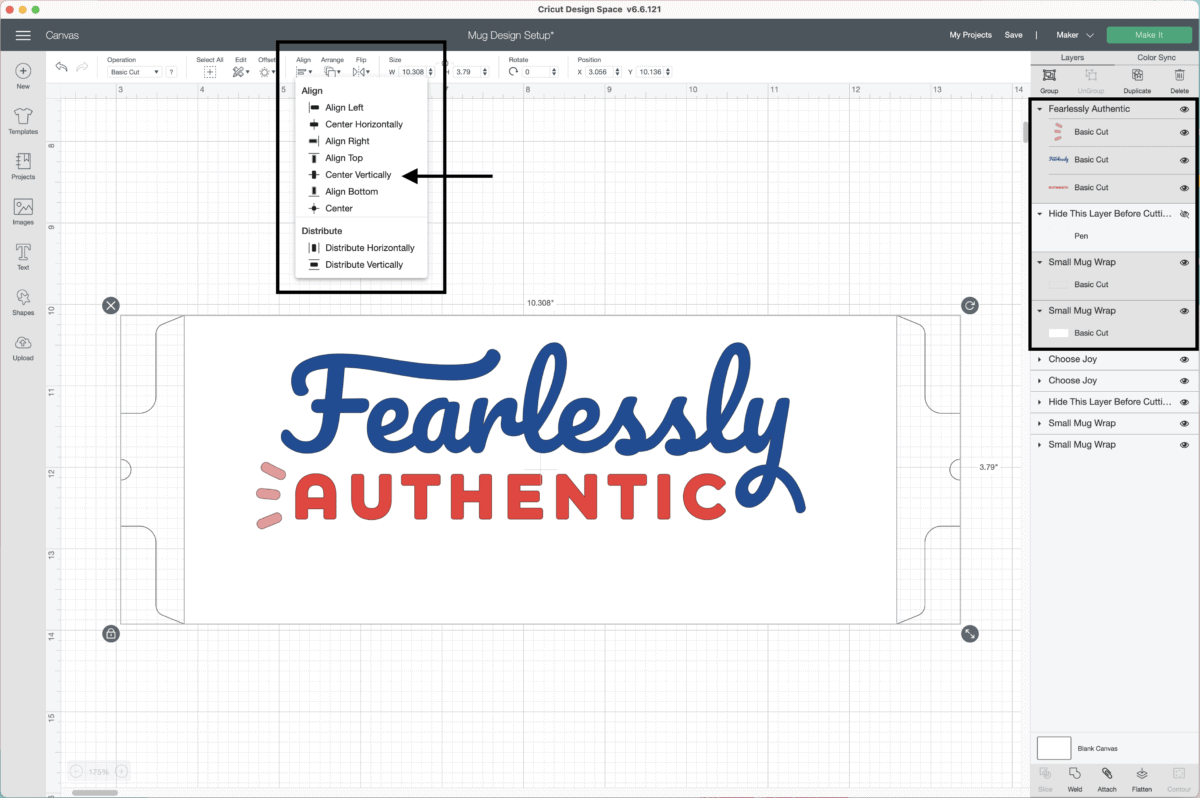
Once centered, you can turn the placement guides back on if needed.
Want to save this post?
Using the Mug Design Setup to Create Borders
Even if you don’t want to create a full mug wrap design, using the Mug Design Setup project is still a great place to start in order to size and lay out images to fit your mug perfectly. Instead of measuring your mug manually or trying to visualize the design in your head, use the Mug Design Setup project as a placeholder template to see your design before cutting them out.
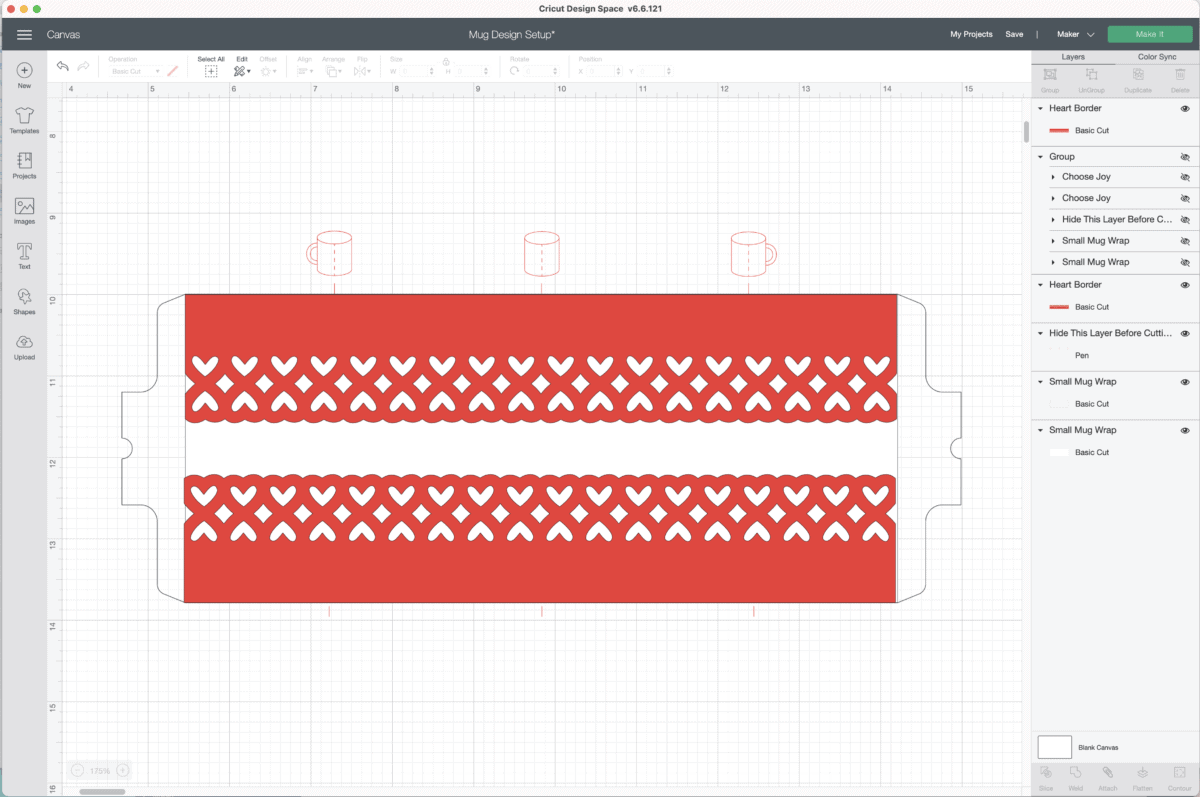
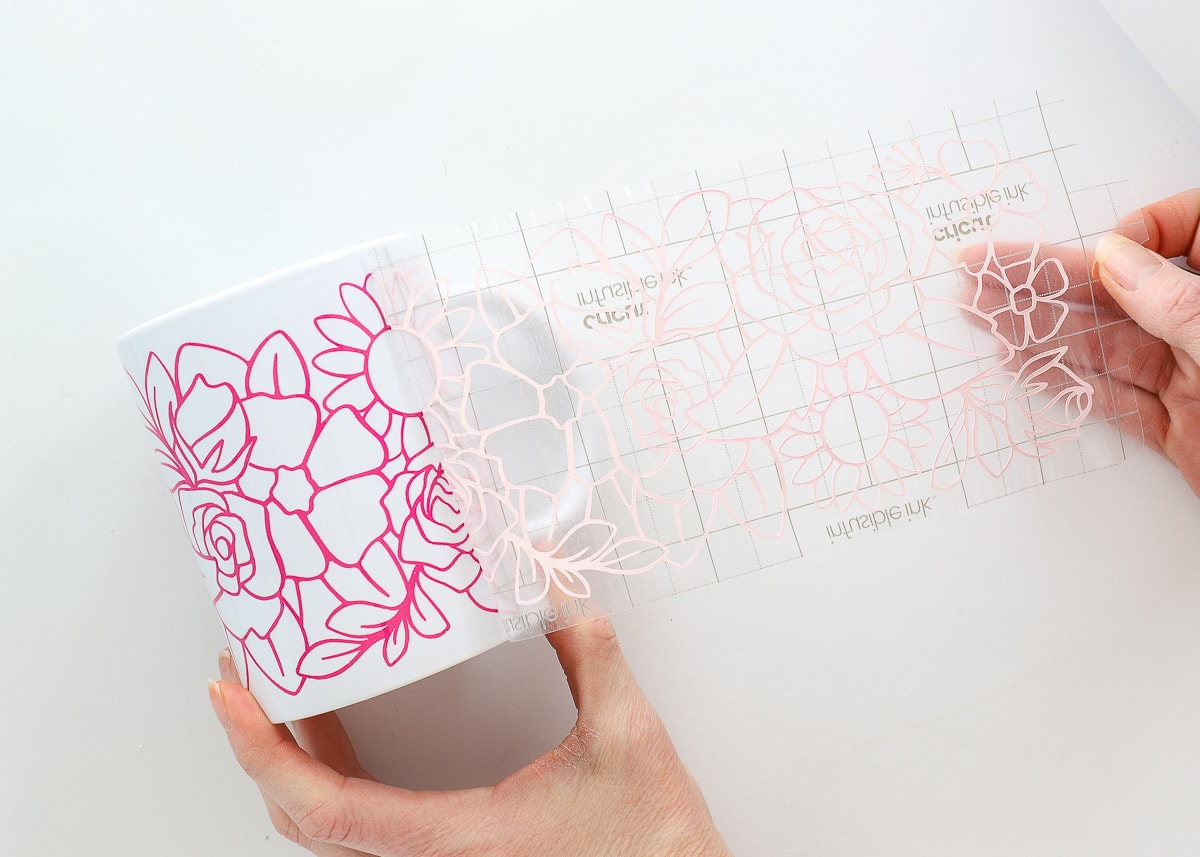
For example, if you want to create a border to wrap around your mug, find a border image from the Image Library and place it on your canvas along with the Mug Design Setup.
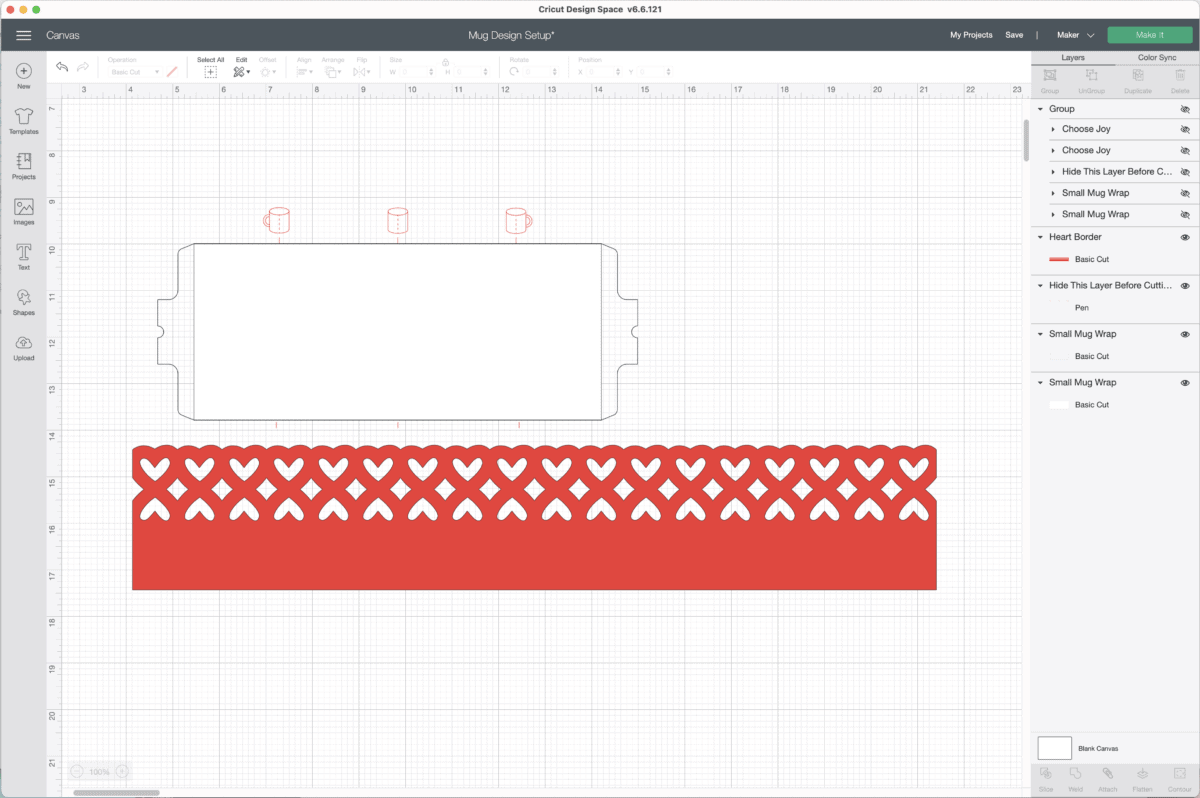
Use that solid Design Area (white, in this project) to size and layout the borders so they end up within the heated elements of the Cricut Mug Press.
NOTE: Once you have your design set, feel free to hide or delete out the Mug Design Setup images if they aren’t needed.
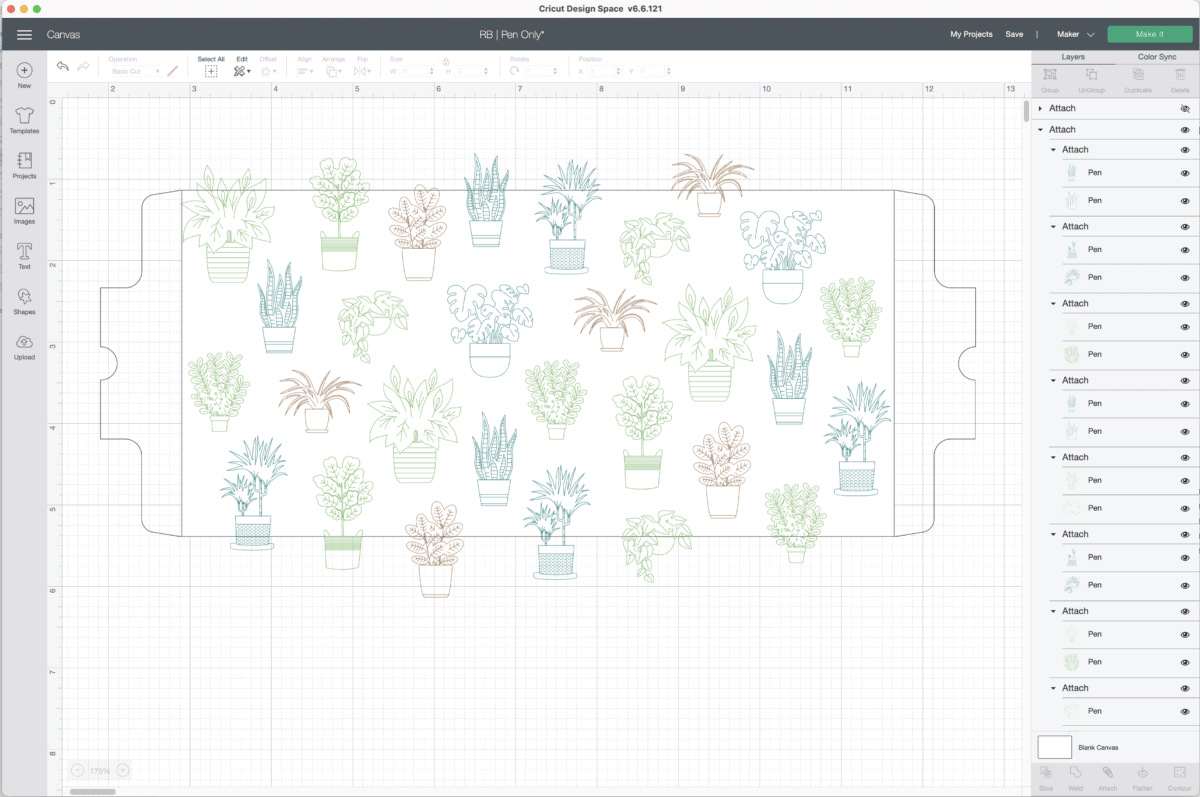
Using the Mug Design Setup to Create Patterns
Similarly, if you want to create an all-over pattern for your mug, start with the Mug Design Setup. Add patterns or images all over, just be sure to stay within the Design Area (and not out by the tabbed sides).
NOTE: Once you have your design set, feel free to hide or delete out the Mug Design Setup images if they aren’t needed.
Using the Mug Design Setup to Create Your Own Designs
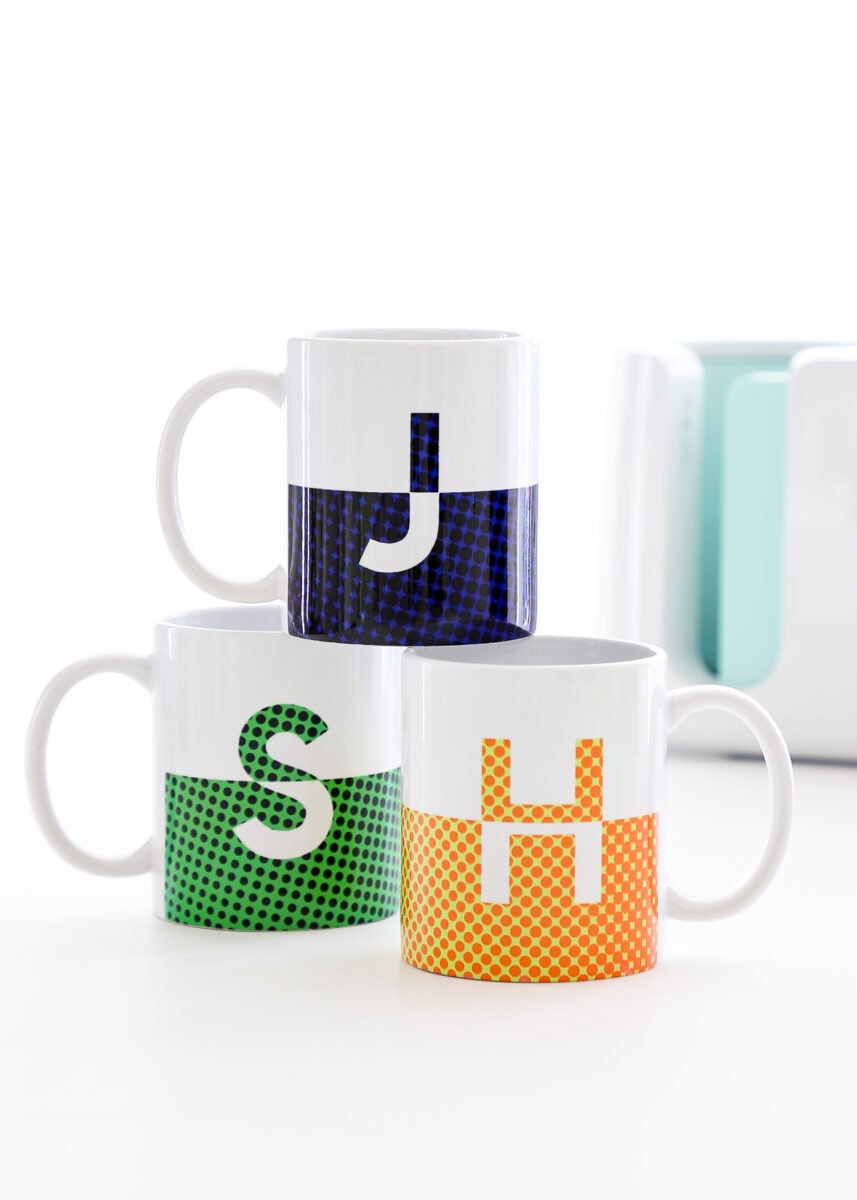
It’s worth mentioning that the full array of Cricut tools can be used on the Mug Design Setup to create whatever design you wish. Below, I started with the straight-edge 12 oz Mug Design Setup. I then cut the Design Area in half, added a monogram with the Text Tool, used the Slice Tool to remove half the letters, and then used the Attach Tool to keep everything together on my final cut.
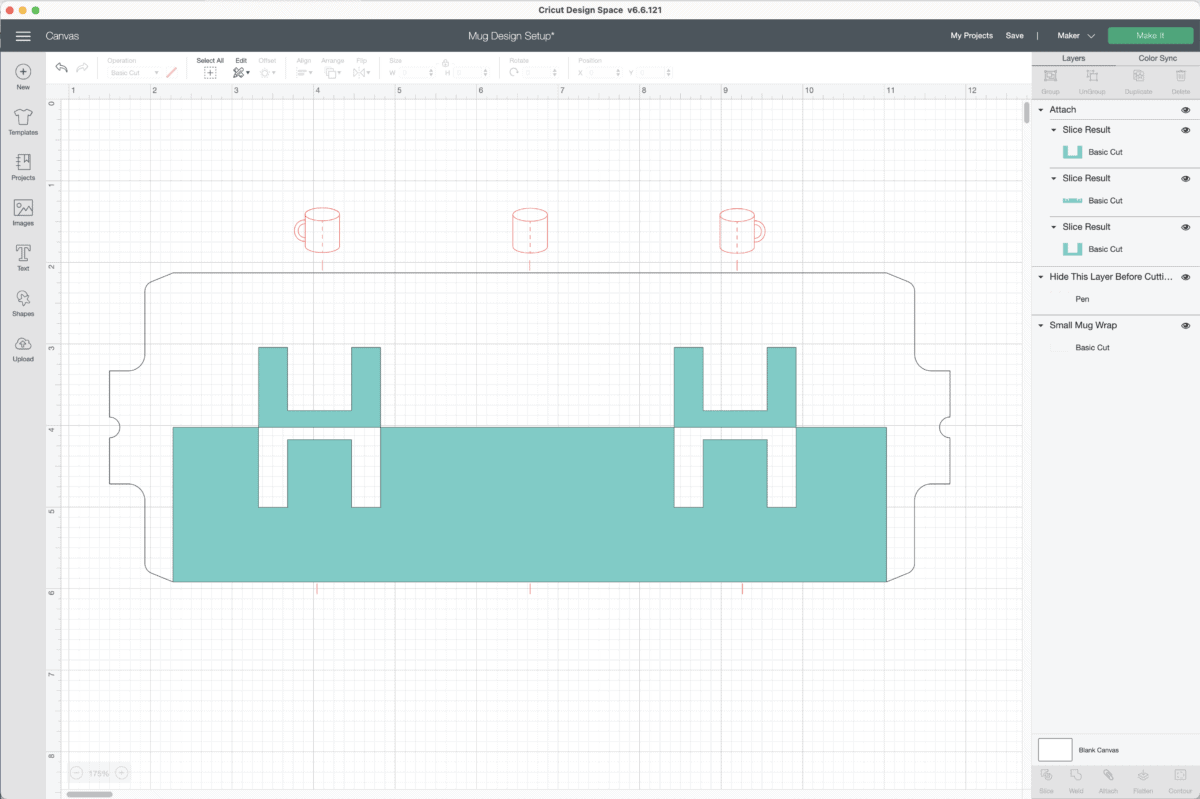
Although I manipulated the original Mug Design Setup project considerably, I was still left with a design that perfectly fit around my Cricut Mug blanks!
The Best Images to Put on Mugs
Now that I’ve shown you the basics for creating your own mug designs from scratch, I want to quickly chat about what images will work best on your mug projects. Although your machine can theoretically cut or draw pretty much anything, it doesn’t mean every image will look good on a mug.
Best Images for Infusible Ink Transfer Sheets
When you want to cut a design for your mug from Infusible Ink Transfer Sheets, it is best to use images that feature large, clean, simple elements. Because the Transfer Sheets are rather thick, cutting and weeding really fine, intricate details can be tricky and will most likely not result in the cleanest transfer on your mug. In the examples below, the top two images are not recommended because they feature really little text, fine lines, and intricate details. On the other hand, the bottom two images feature blockier letters and stronger shapes.
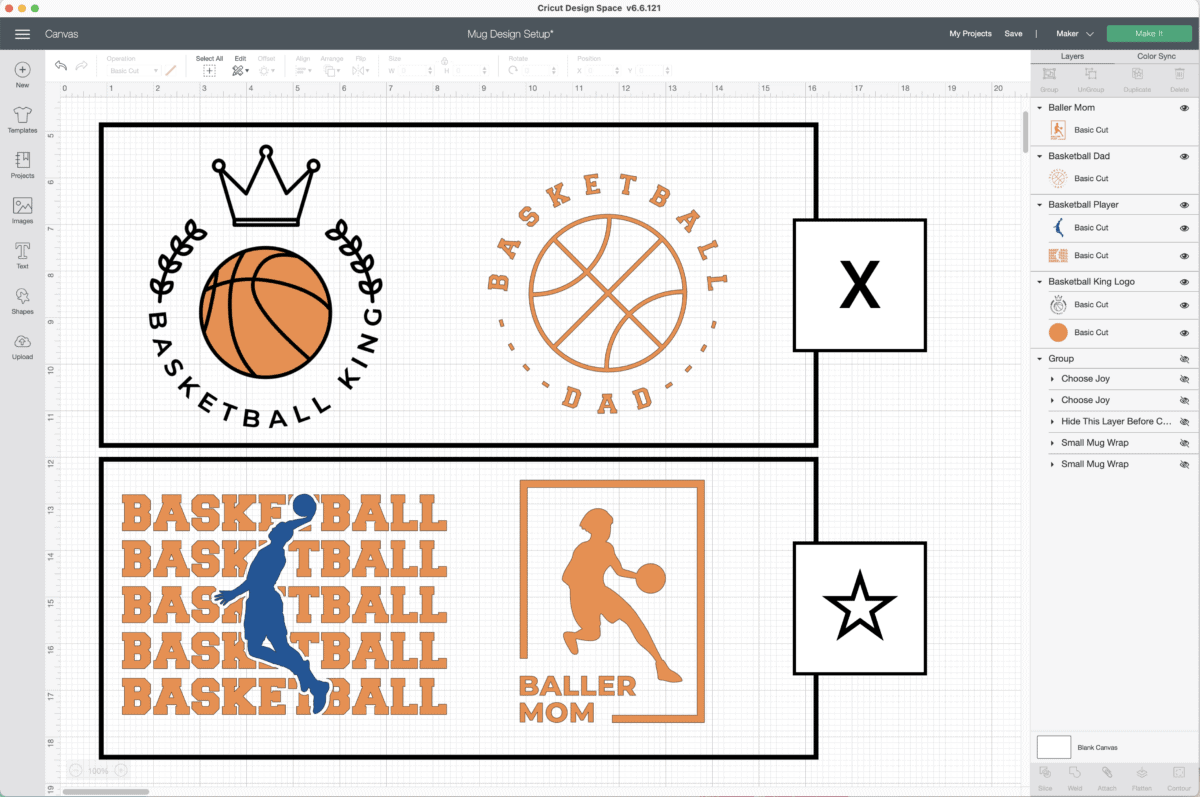
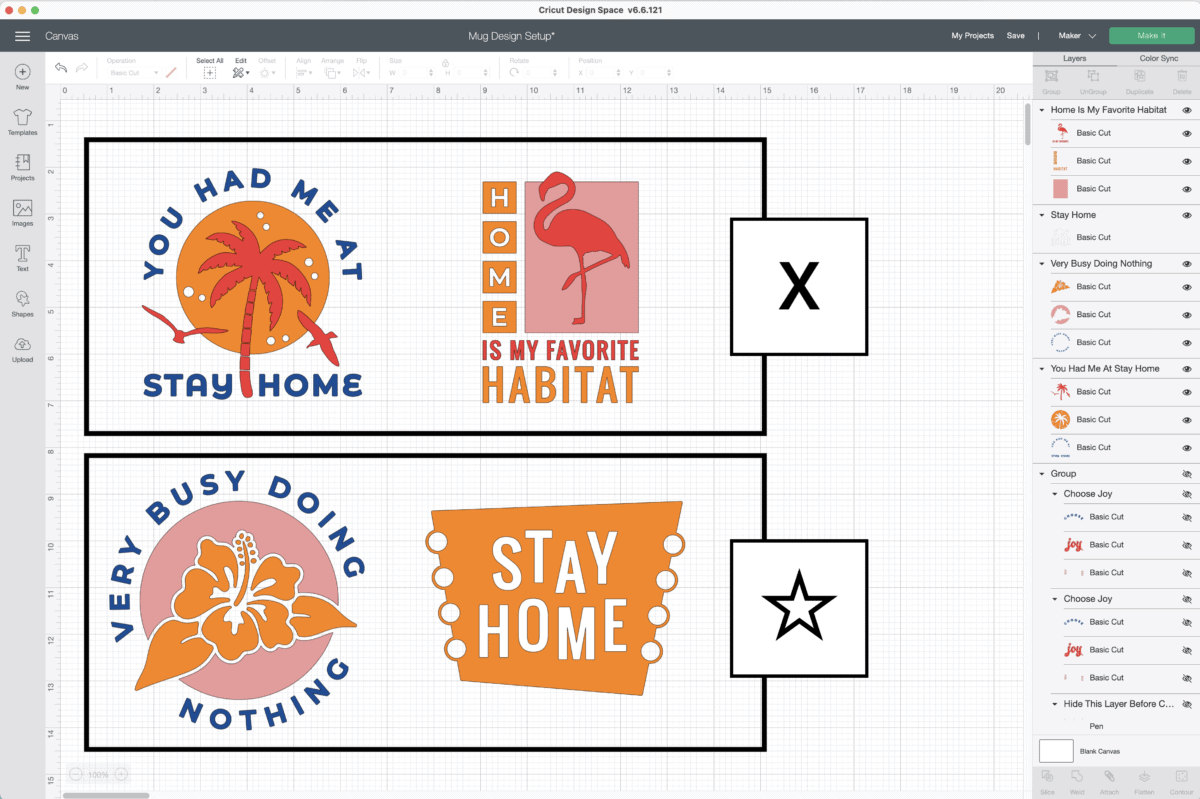
Similarly, cut images for your mugs should be just a few colors (1 or 2 is ideal) and the layers should not be stacked on top of each other. In the top two images below, not only are the designs super intricate, but the palm tree and flamingo sit on top of the base layer. This will not work well for Infusible Ink Transfer Sheets.
On the other hand, the two images on the bottom are simpler designs, and none of the different color layers overlap.
Single Color Designs
Although I show multi-color images in these examples, single color images really work the best for mugs since multiple layers requires the Slice and Set Technique and/or multiple heatings in the Cricut Mug Press. To make your single color designs look more interesting, just look for Infusible Ink Transfer Sheets with fun patterns or colors!
Best Images for Pens
If you want to put a design on your mug that is fairly intricate (like a logo), the Infusible Ink Pens are likely a better option. Since the Pens can draw finer lines, the details of such images won’t get lost.
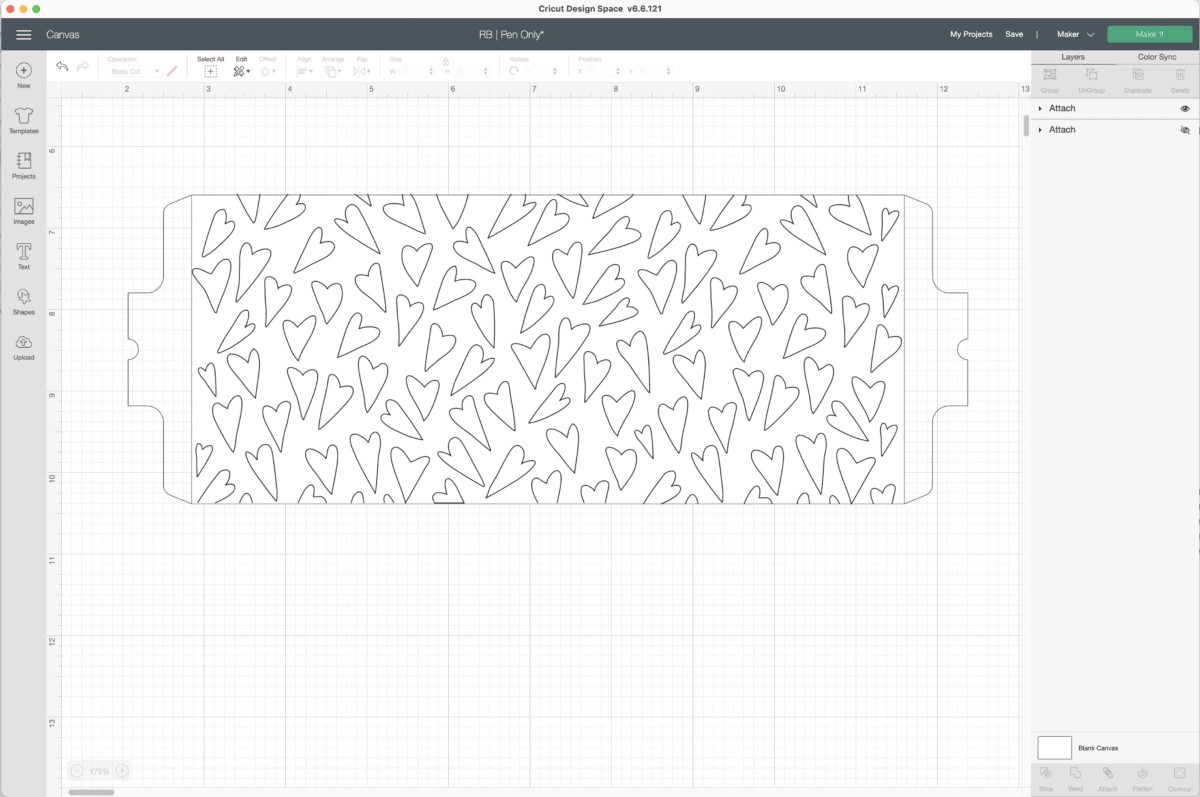
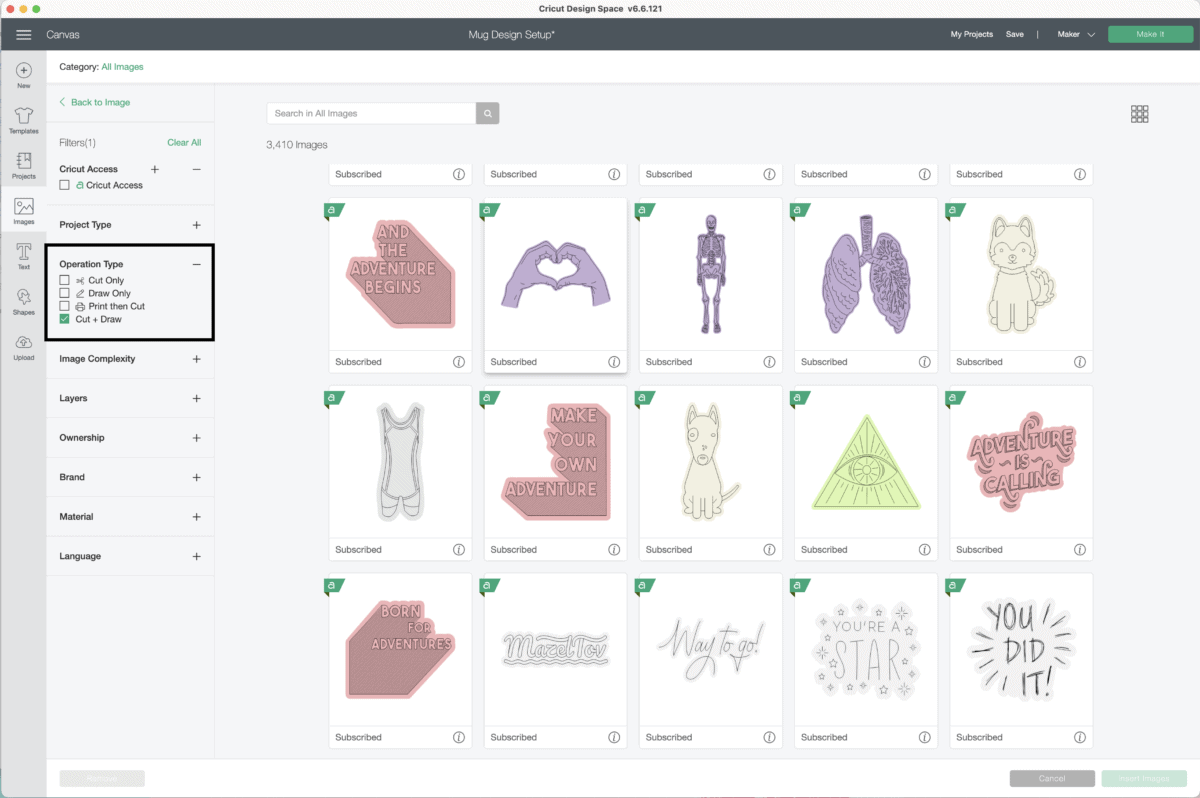
The Cricut Design Space Library is full of really neat, intricate designs ideal for creating with pens. To find these designs, filter the images by “Draw Only” under Operation Type:
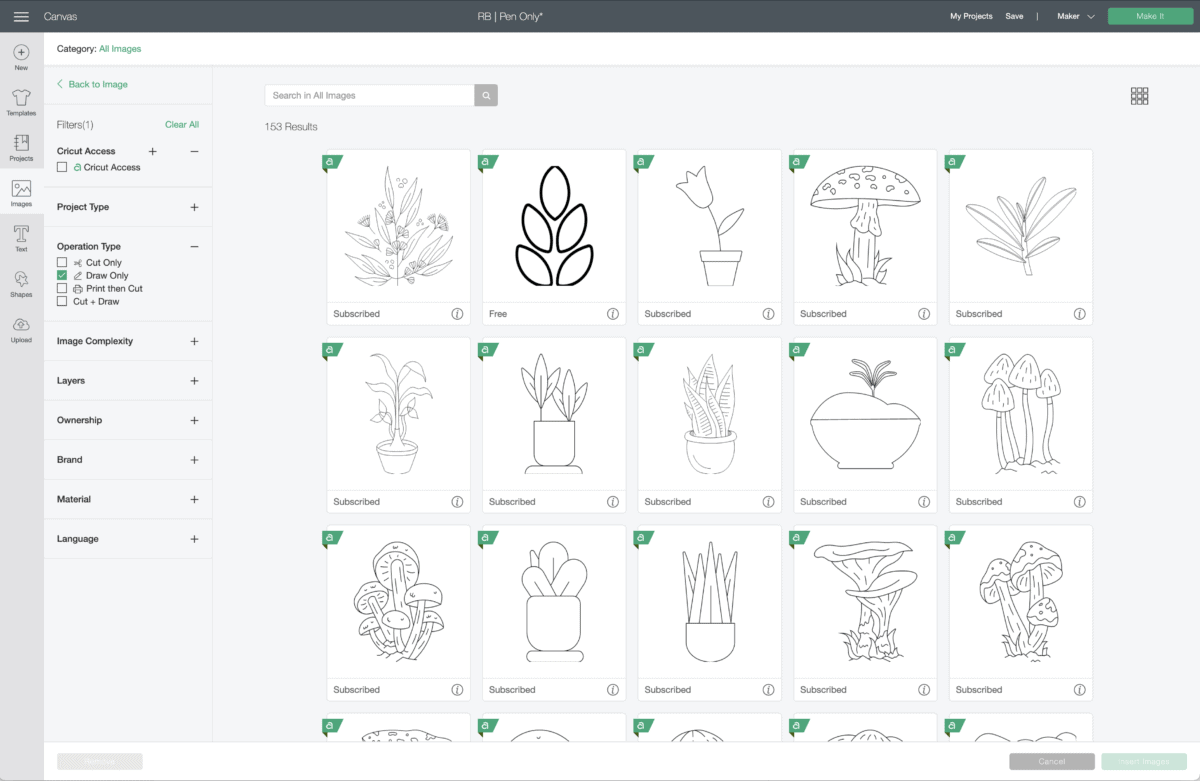
You can then add these pen designs to your Mug Design Setup project in any layout you wish!
Picking the Right Pens for Your Designs
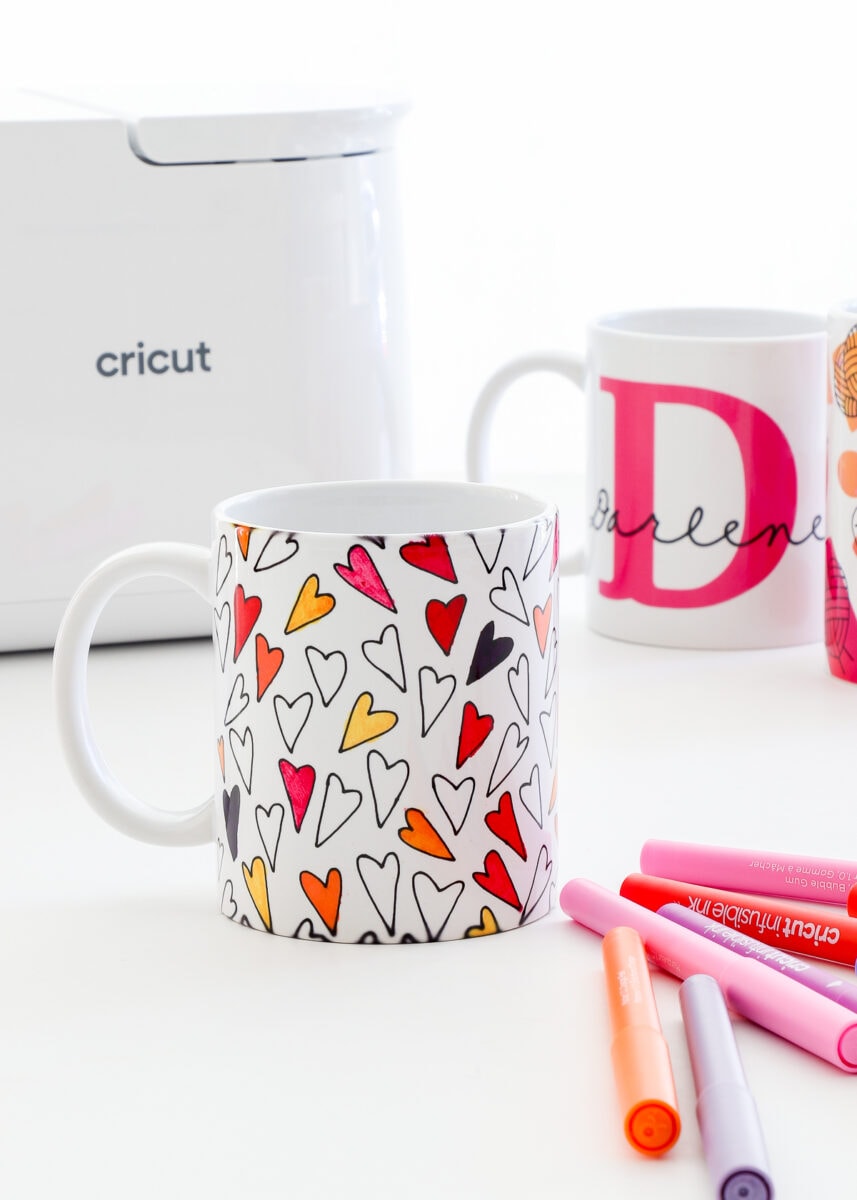
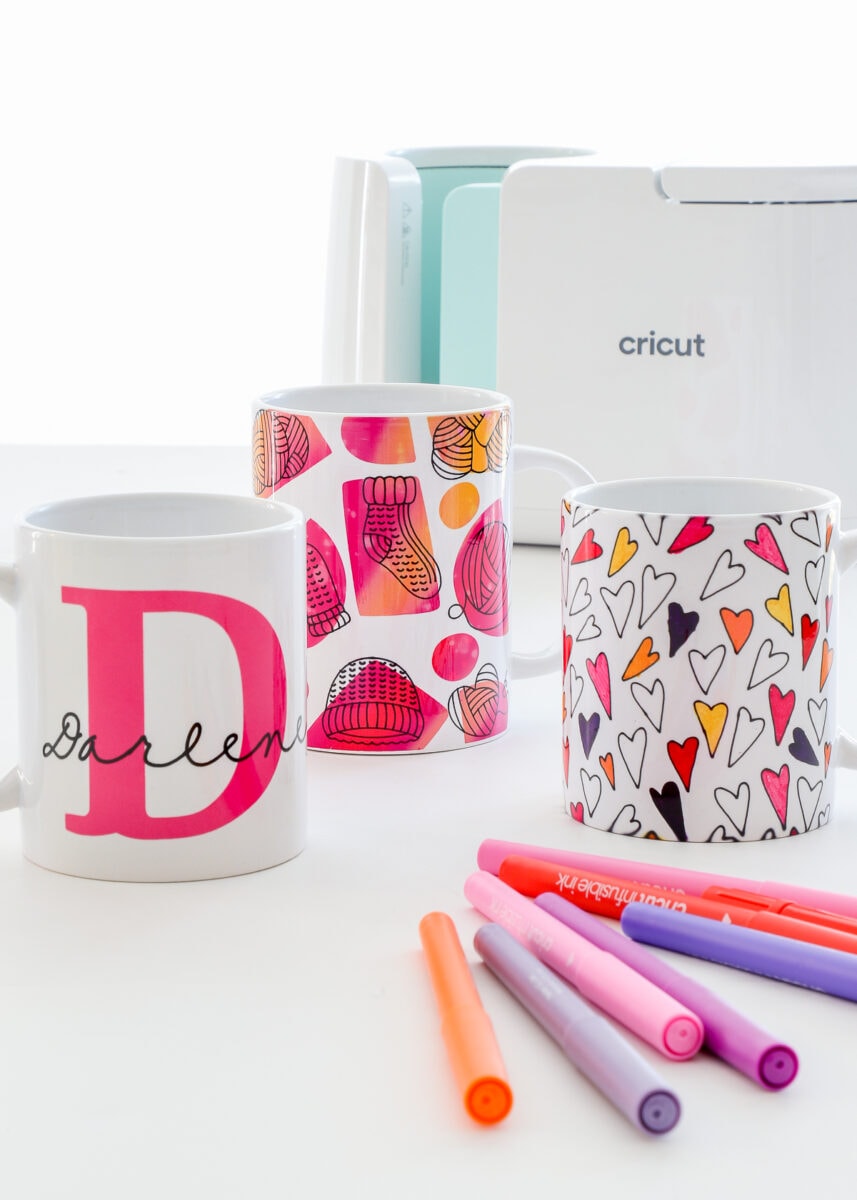
If you are creating a “Draw” design with lots of little, fine, intricate details, I highly recommend using the 0.4-weight Fine Point Pens (Heart and Knitter mugs below). If your designs are larger or have less pen detail, the 1.0-weight Markers will create thicker results (D mug below).
Best Images for Transfer Sheets + Pens
One of the absolute coolest ways to create designs on your mugs is using BOTH the Infusible Ink Transfer Sheets AND Pens, just like I show HERE. There are two different ways to create these designs.
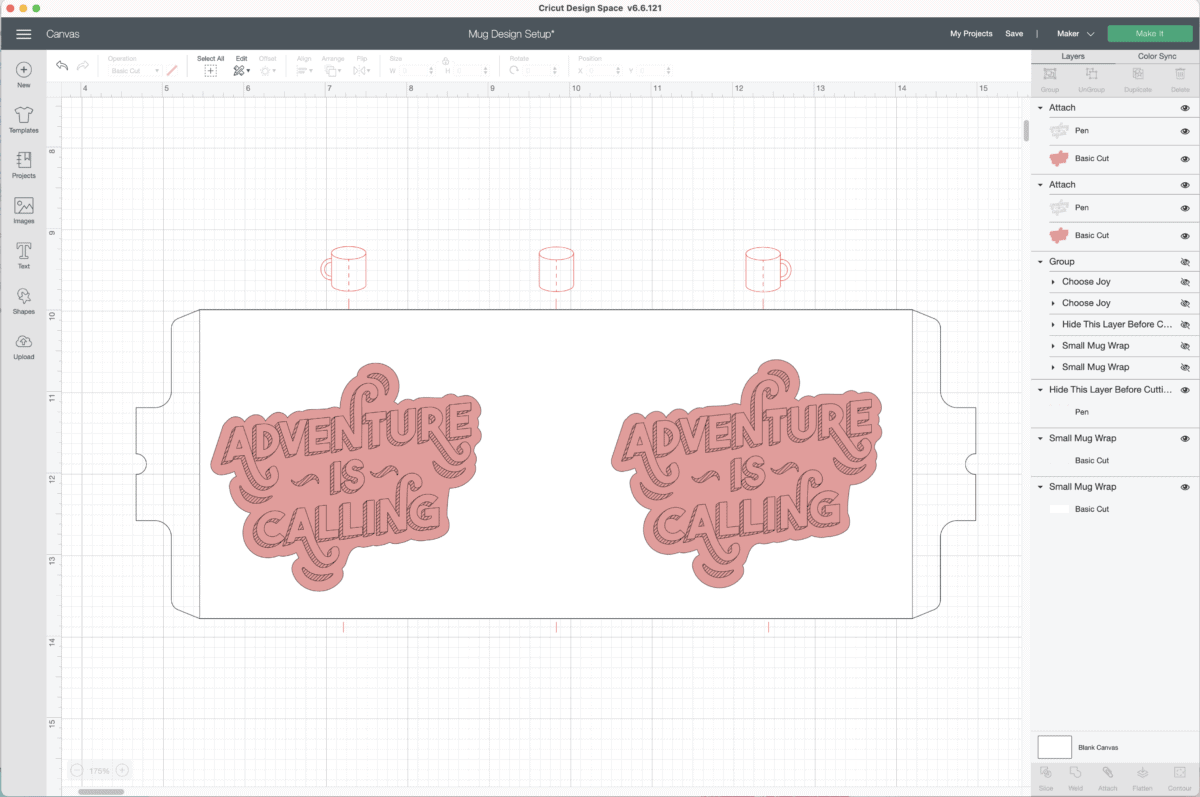
First, filter your image search in the Design Space Image Library to “Cut + Draw.”
This will bring up a whole slew of designs that are double-layered: one layer that can be cut from the Infusible Ink Transfer Sheets and the other layer that can be made with the Pens.
However, you can also create your own layered designs using any Cut and Draw images in the library. For example, on my favorite Knitter Mug, I started with the Painted Shapes Mug Design (to be cut from Infusible Ink Transfer Sheets)…

…then layered on individual images from the Knitting set.
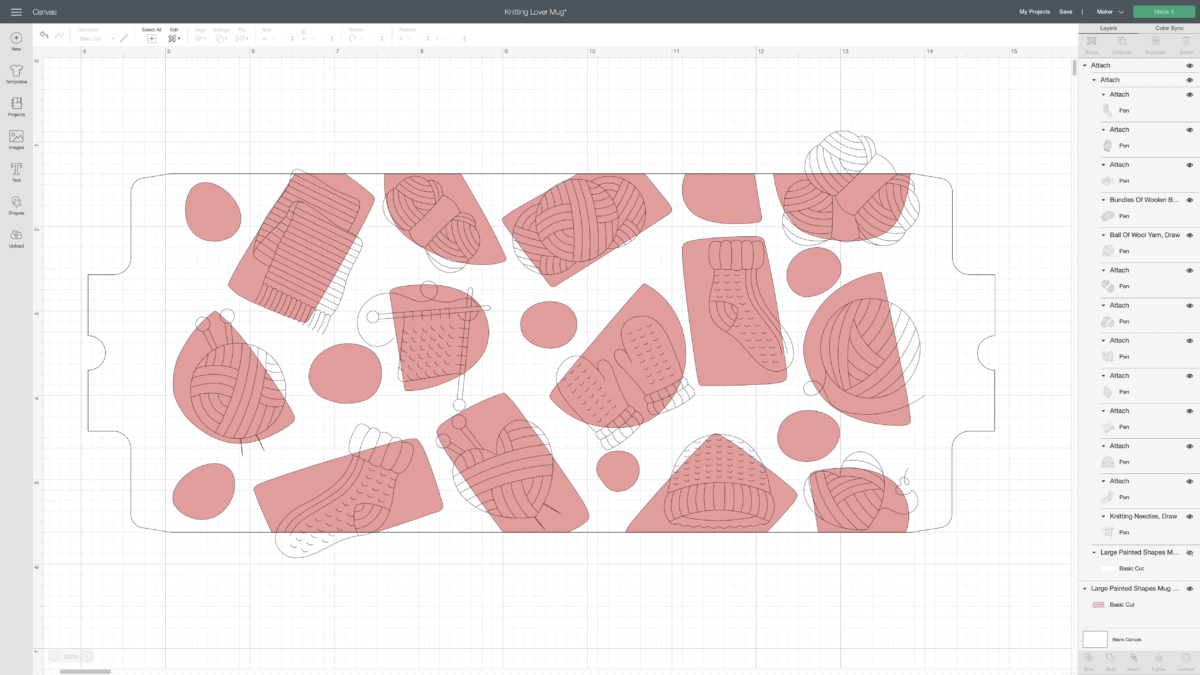
When you do this, just make sure you have your background/solid layer set to “Cut” and your pen detail layer set to “Pen.” To see how to then heat this layered mug, see my full tutorial HERE.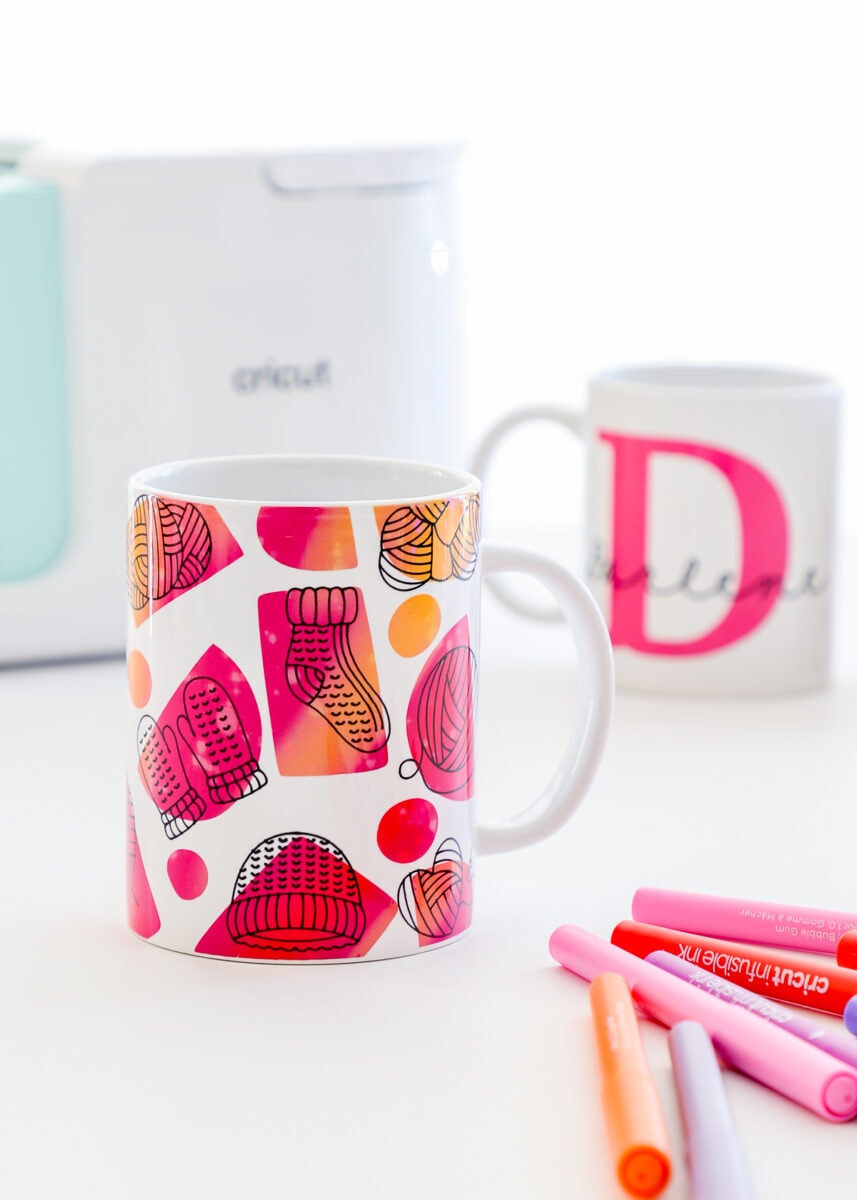
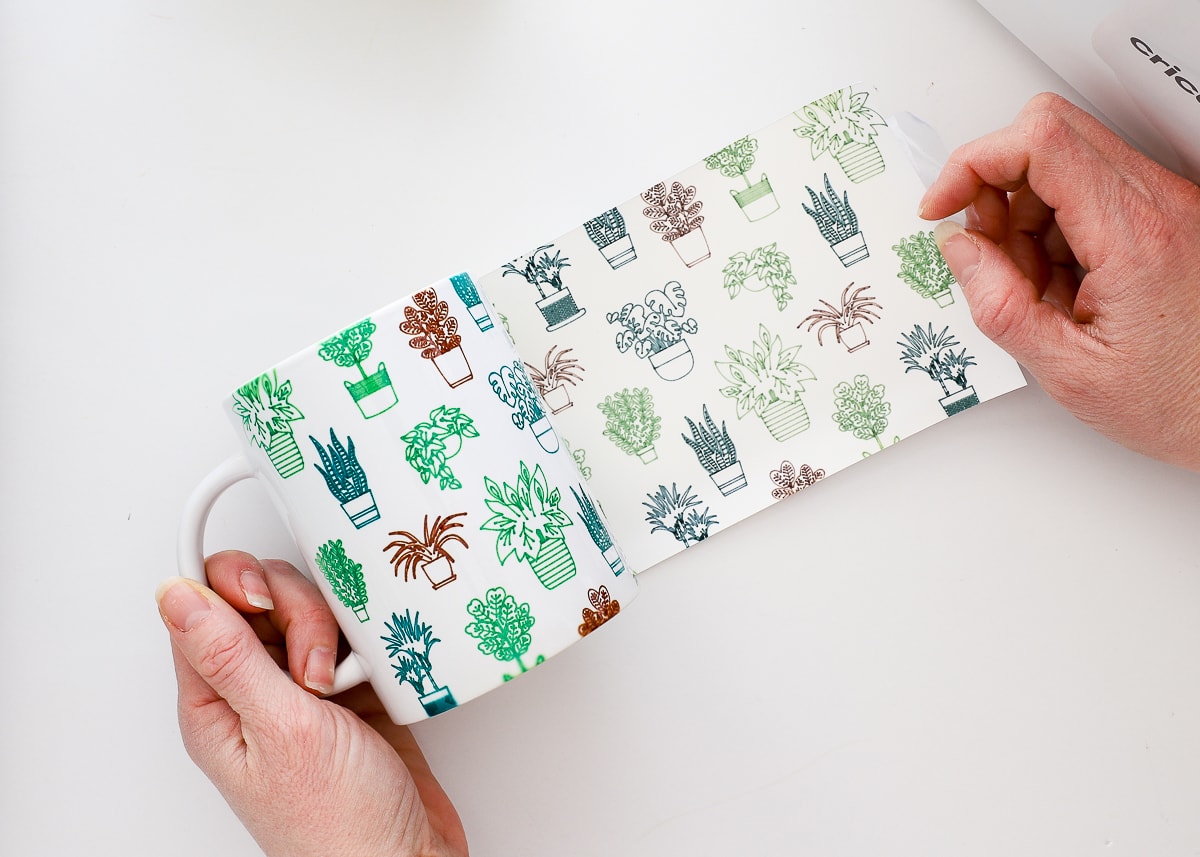
Practice On Paper
Infusible Ink, once transferred to the mug blanks, cannot be un-done. It’s not like vinyl or iron-on, both of which can be peeled off if you make a mistake. And since I suspect you don’t want to waste your materials or mugs, try cutting your designs from paper first!
You can use any scrap paper you like and the colors/layers don’t even need to be entirely accurate, but if you’re just not sure about a design, layout, or how something will look once it’s actually on a mug, doing a test run with paper can really help you visualize the result without risking your precious stock.
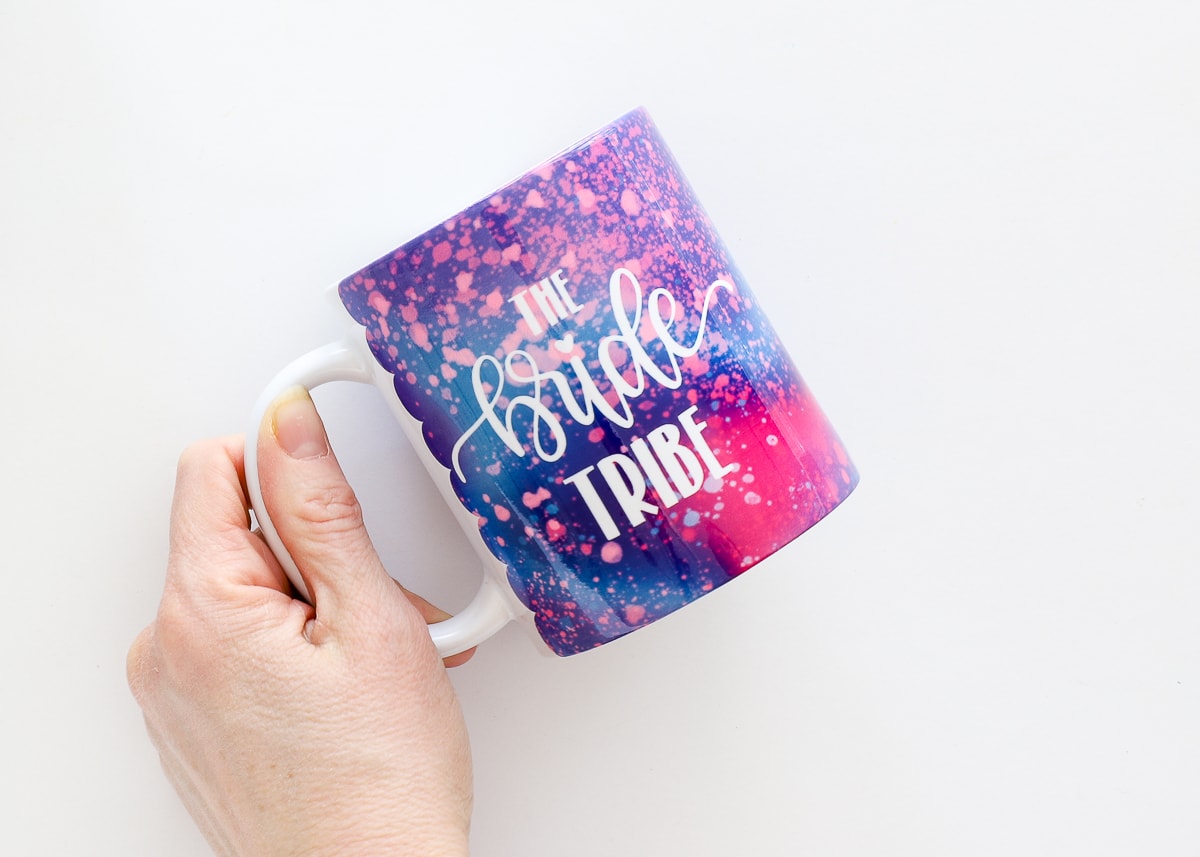
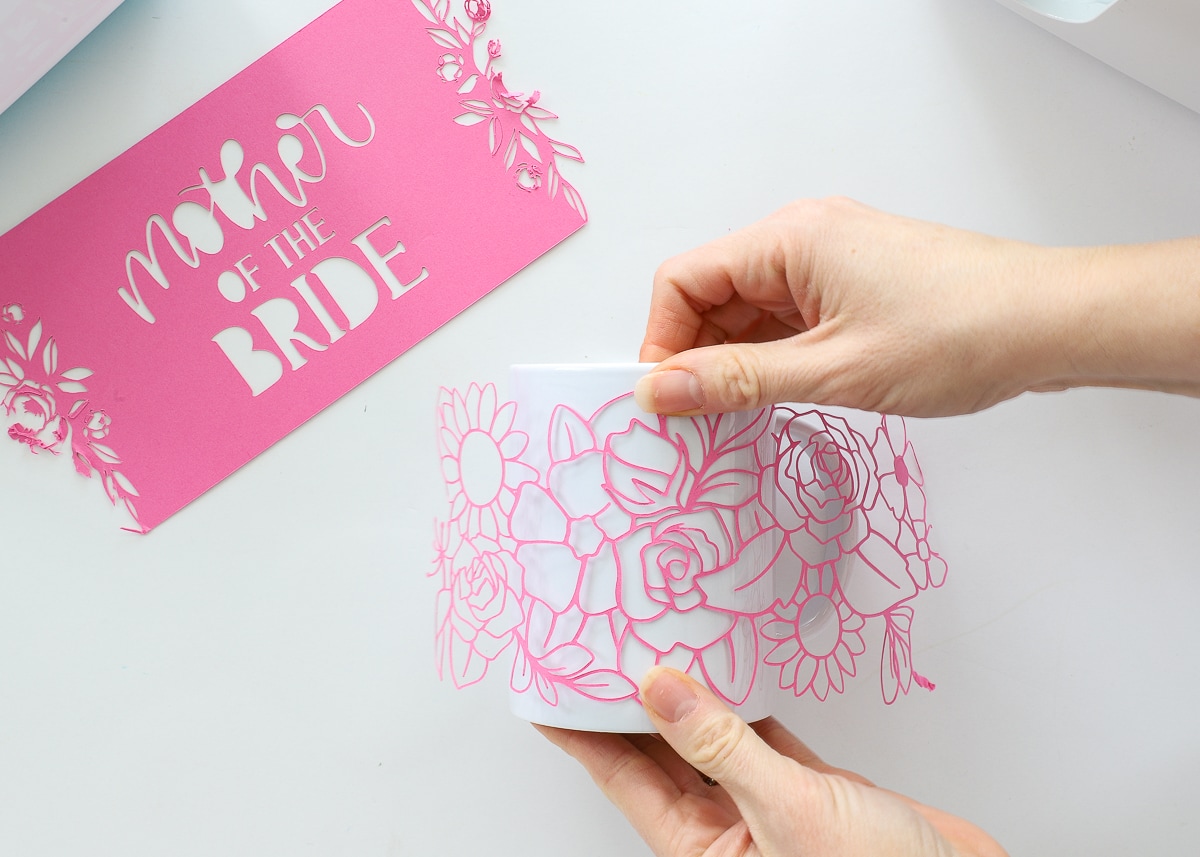
For example, I really couldn’t decide what mug design to make for my bridal “collection,” so I did two tests on basic cardstock. Once I wrapped each around the blank mug, I knew instantly the Blooms design was the way to go!
Phew! I know there is a lot here, but I really wanted to teach you how to design mugs in Cricut Design Space, including some short cuts and tips that I think will make all the difference when you go to make your own designs. When you’re just getting started, I highly recommend beginning with the first few methods covered in this post. As you gain confidence, work your way down to the more complicated design techniques. With a bit of practice, I just know you’ll get the hang of executing your designs to perfection!
Megan
5 Comments on “How to Design Mugs in Cricut Design Space”
Wonderful tutorial! That was really helpful. Love all your designs! Thank you so much.
So glad you found this helpful, Deborah! Have a great week!
~Megan
Your tutorials are great. I have already created two mugs with pens. I am wondering if you have a tutorial for the fancy edges like on your Mother of the Bride example and wondering where you found the Blooms design you used in the mug.
Thanks for great instructions.
Hi Pam!
All the instructions you need are actually right here in this post you just commented on 🙂
The Mother of the Bride mug instructions can be found here. But note that I started with the Mug Design Setup project…you just start with the scallop edge and then add any design.
The Blooms one is a pre-made design…just follow the instructions for finding images in the DS library.
Hope that helps!Megan
These tutorials are so detailed that I’m eager to start. Thank you.