The Best Way to Line Drawers & Shelves with Pretty Paper
When I’m organizing drawers or shelves, I (almost) always take the extra step of adding pretty papers to the surface. Not only do I love the subtle and unexpected pop of pattern, but I also find that liners protect our rental surfaces from damage while helping everything look more cohesive and polished. While I’ve shown you lots (and lots and lots) of papered drawers and shelves over the years, I’ve actually never broken my process down for you! So today, I’m teaching you the best way to line drawers and shelves with great results (and no frustration!)
Why Line Drawers & Shelves?
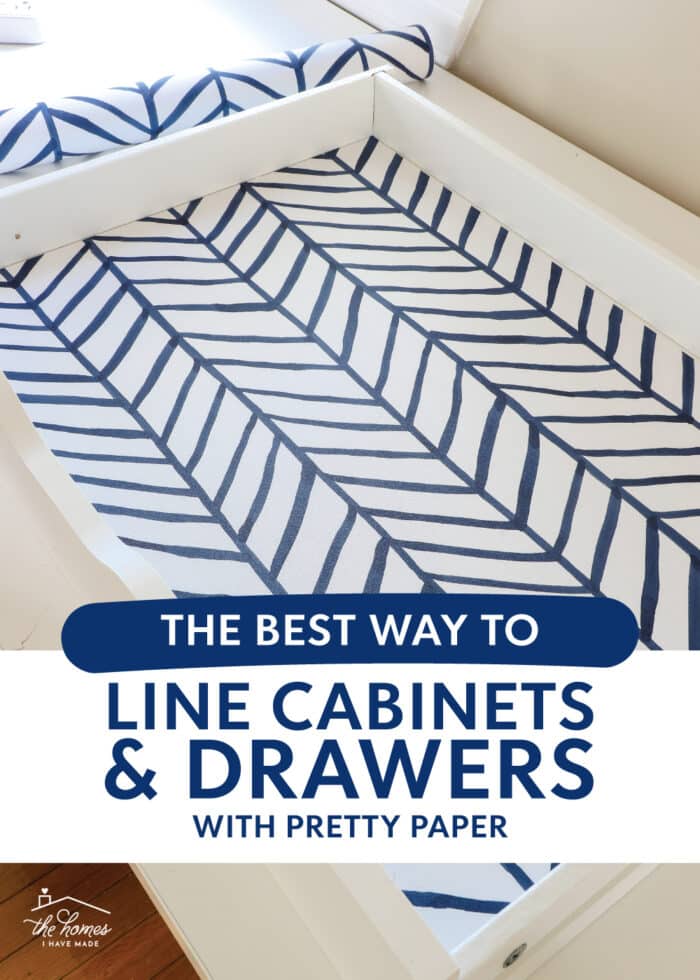
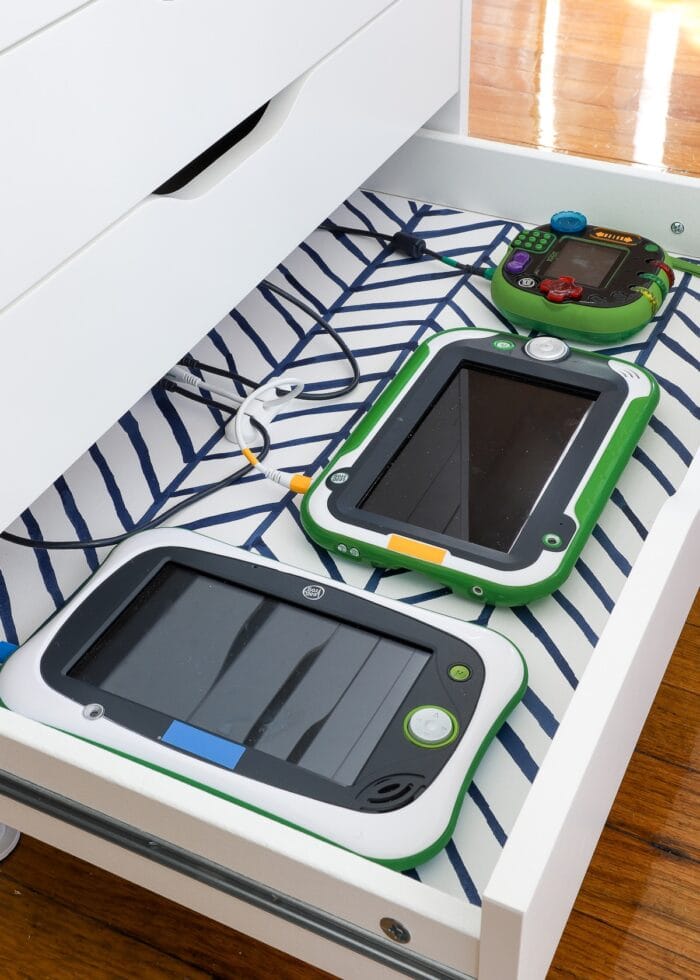
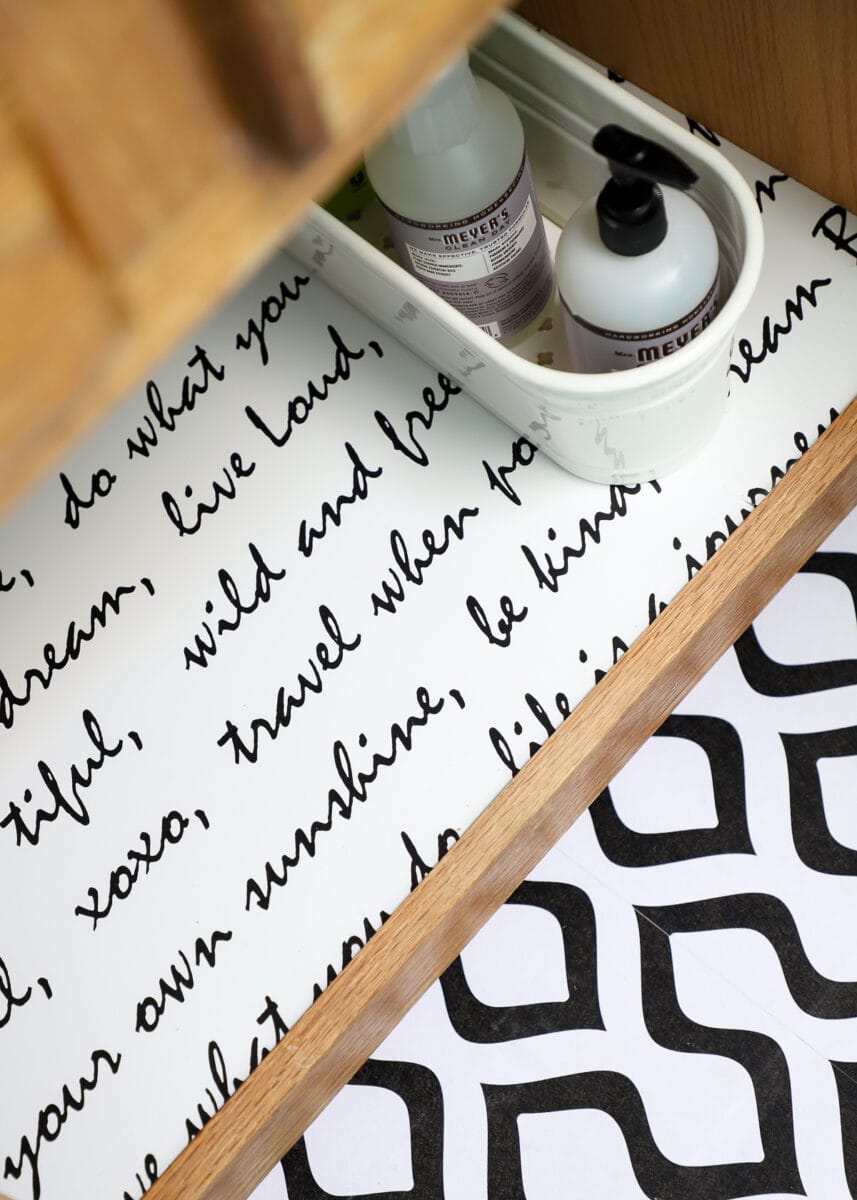
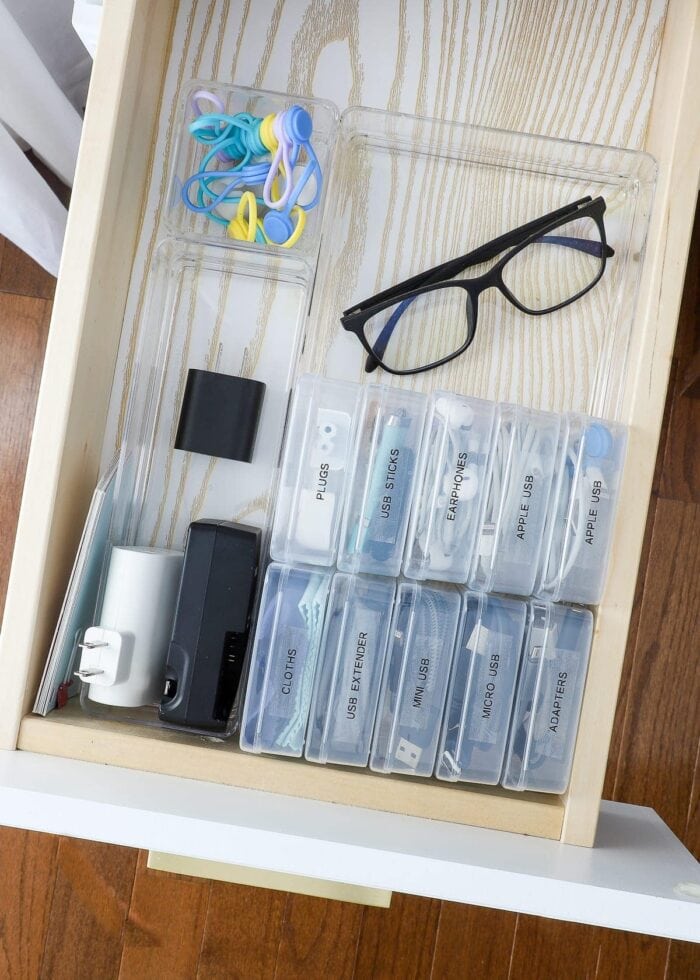
Over the years, I have papered the insides of drawers, cabinets, and shelves more times than I can count. An organization project just doesn’t feel complete to me without some sort of pretty paper grounding all the supplies, toys, clothes, books, etc.
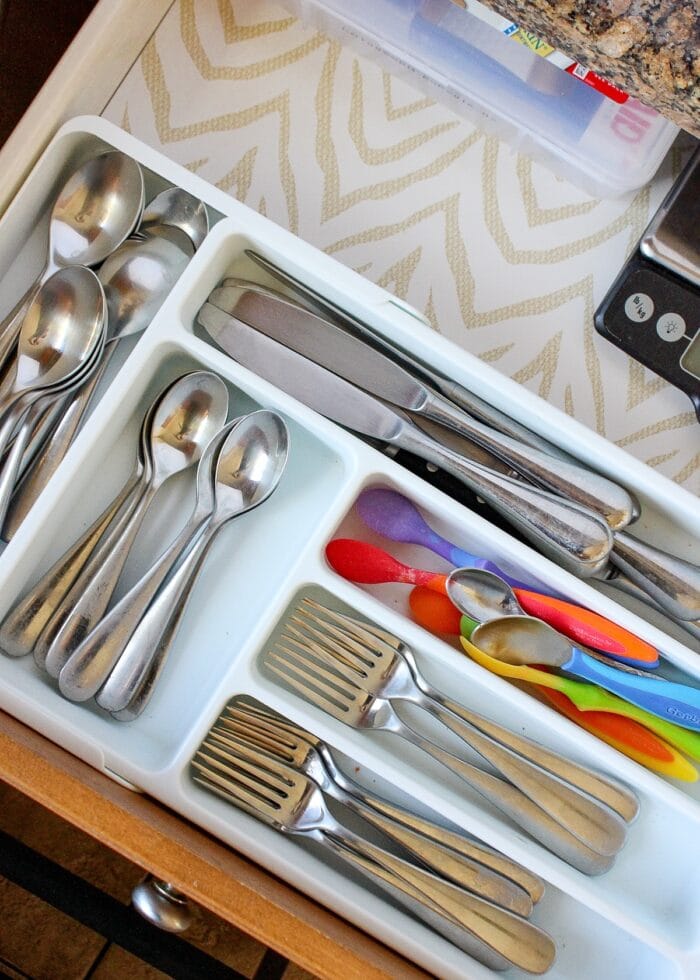
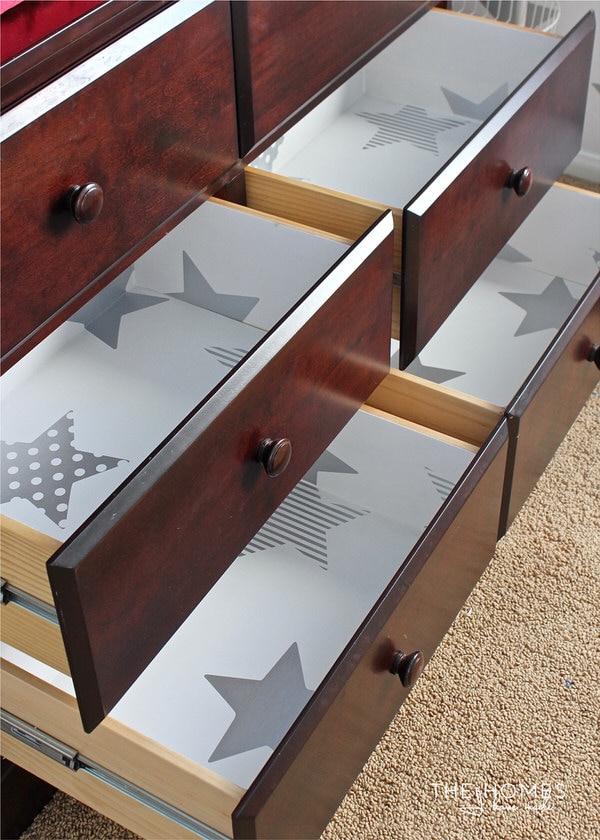
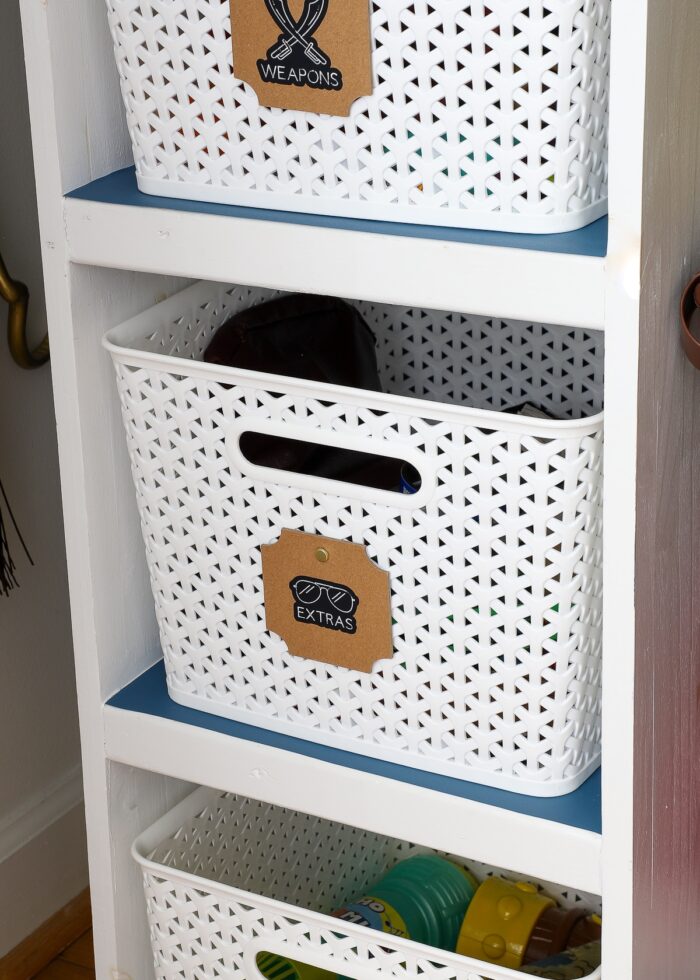
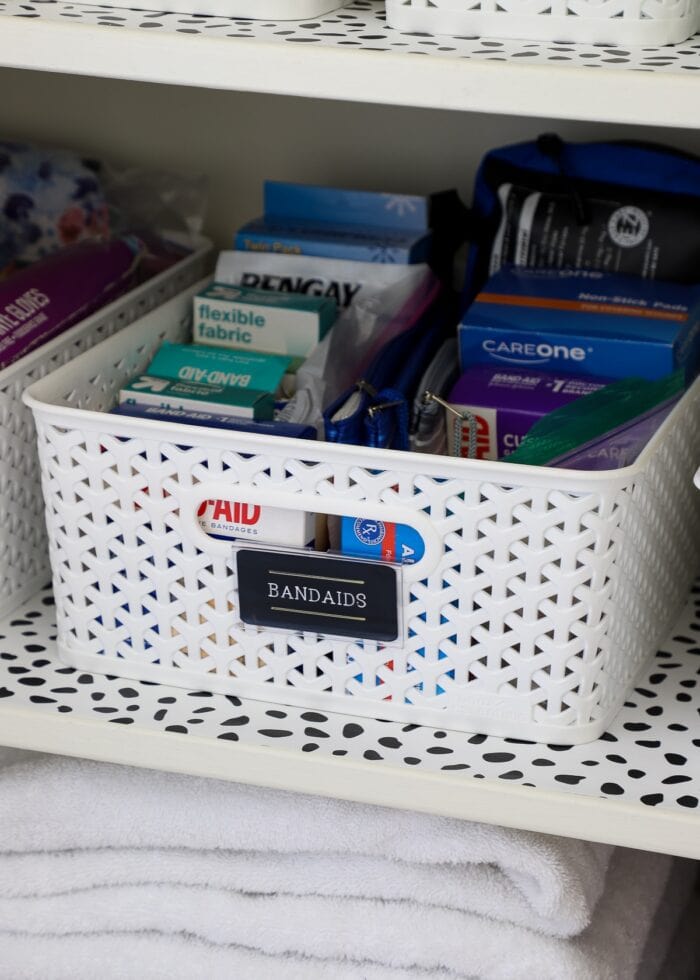
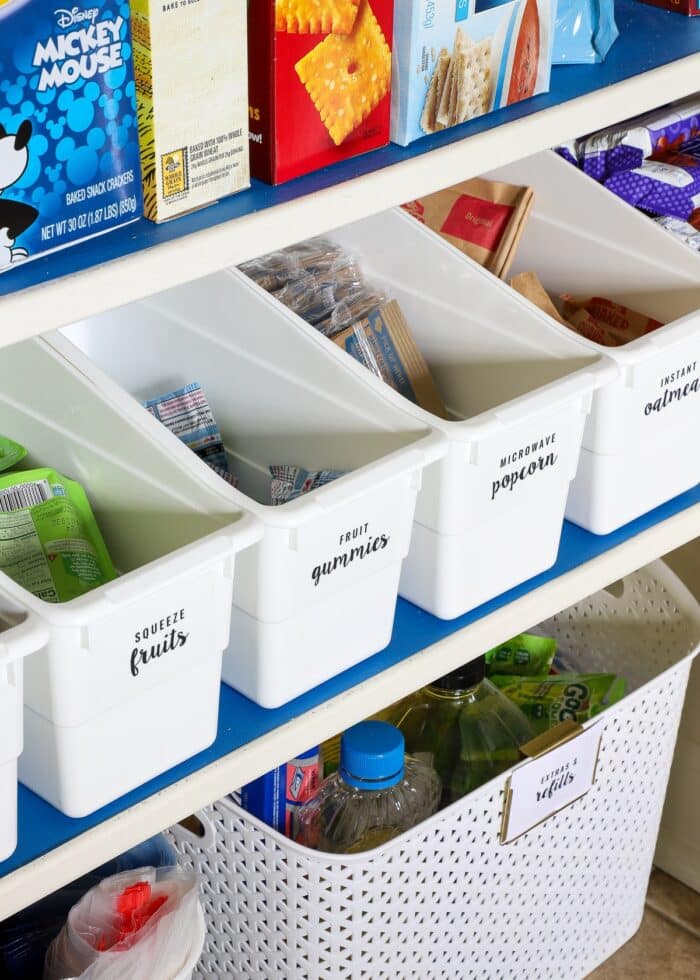
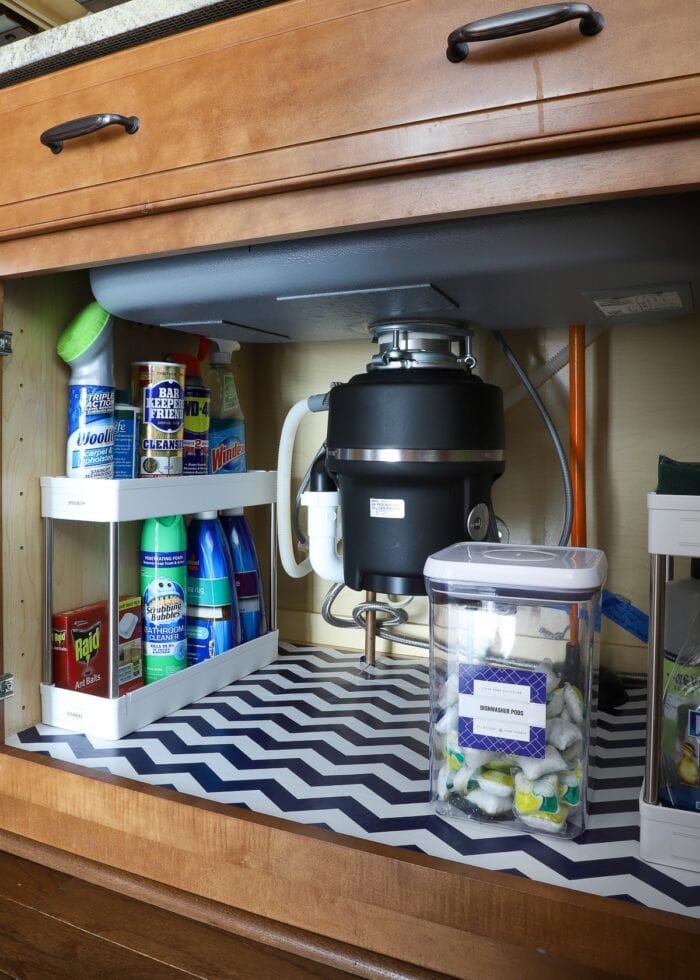
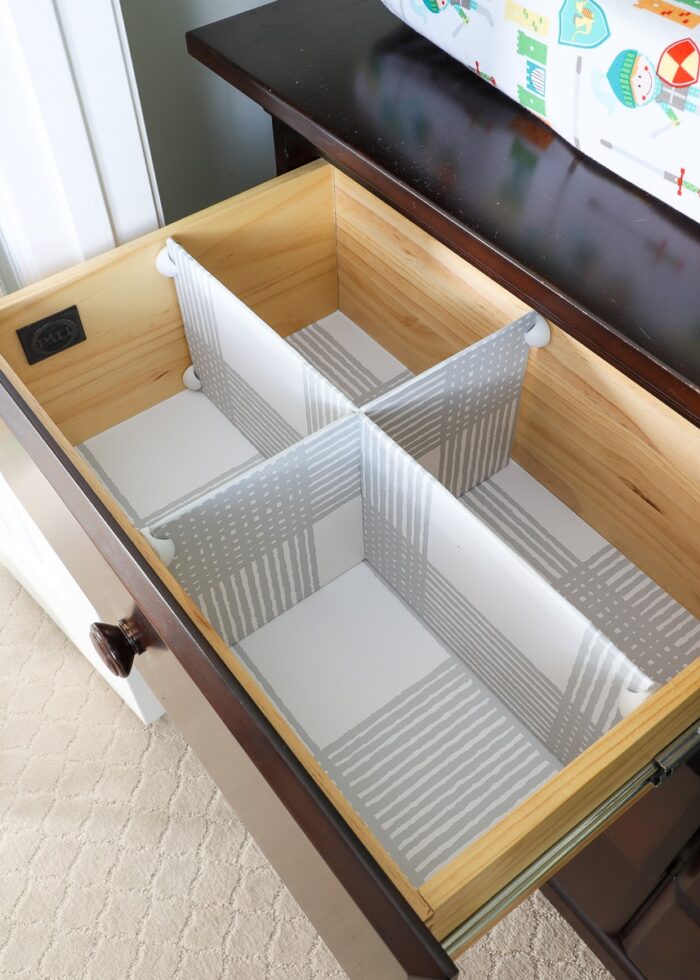
Here are just a few examples from our various spaces:


But since shelf liner doesn’t necessarily hold any organizational “value,” you might be skeptical of the cost and extra work of this admittedly-optional step. So here are a few reasons you might want to consider it anyway:
Protection
Without a doubt, the main reason shelf liners were even invented was to protect the underlying surface from dings, scratches, smears, and other damage. Whether you live in a rental or not, shelf liners are a great way to ensure your drawers, cabinets, and other shelving stay spill- and nick-free!
Conceal Damage
Conversely, using contact paper (or similar products) can hide existing damage. Perhaps there are ugly water stains, cracks, or veneer surfaces peeling up. Maybe various finishes don’t quite match from years of intermittent replacements. Or sometimes, surfaces just look dirty, dingy, dated, or disgusting. Whatever the blemish, decorative papers can hide it all away!
Add Color or Pattern
Adding whimsical papers inside drawers and cabinets is a great way to infuse color and personality in spaces that tend to be a little bland and harder to decorate (e.g., kitchens, bathrooms, offices).
Helps Maintain Organization
No, the presence of paper doesn’t directly keep a drawer, cabinet, or shelf organized. But adding paper does elevate the area so that you want to keep it tidy. When you’ve shown a particular spot some special care and/or financial investment, you’re usually a lot more motivated to maintain it!
It’s Just Fun
If you’ve never added a fun color or pattern to the inside of a drawer or cabinet, give a try. There is just something about this “surprise” detail that helps you love a space and your home so much more.
Supplies Needed
After years and years of trying various supplies and techniques, here are the supplies I recommend most:
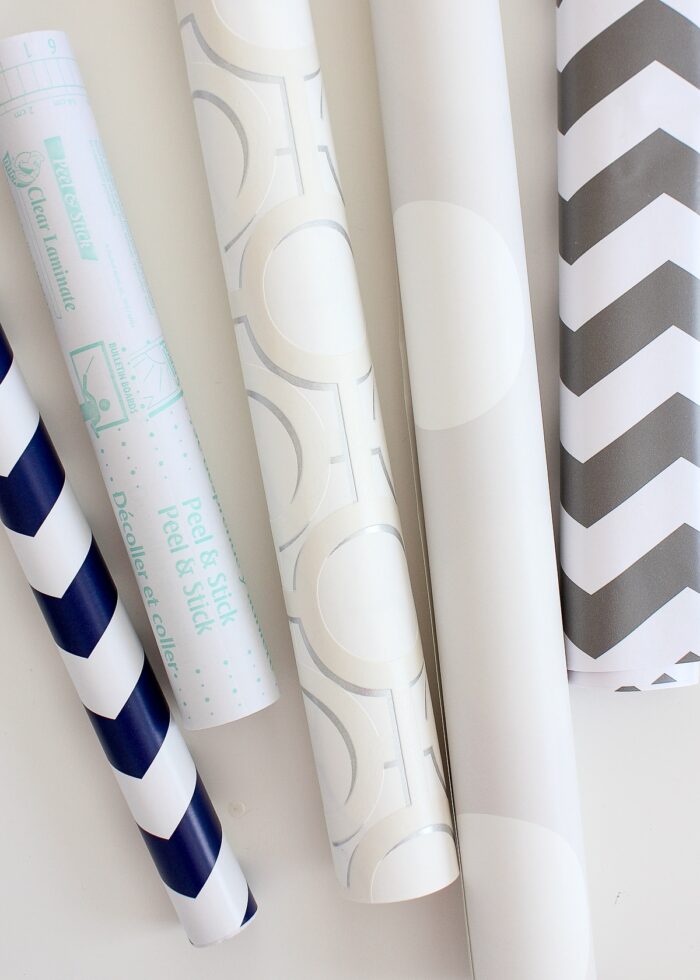
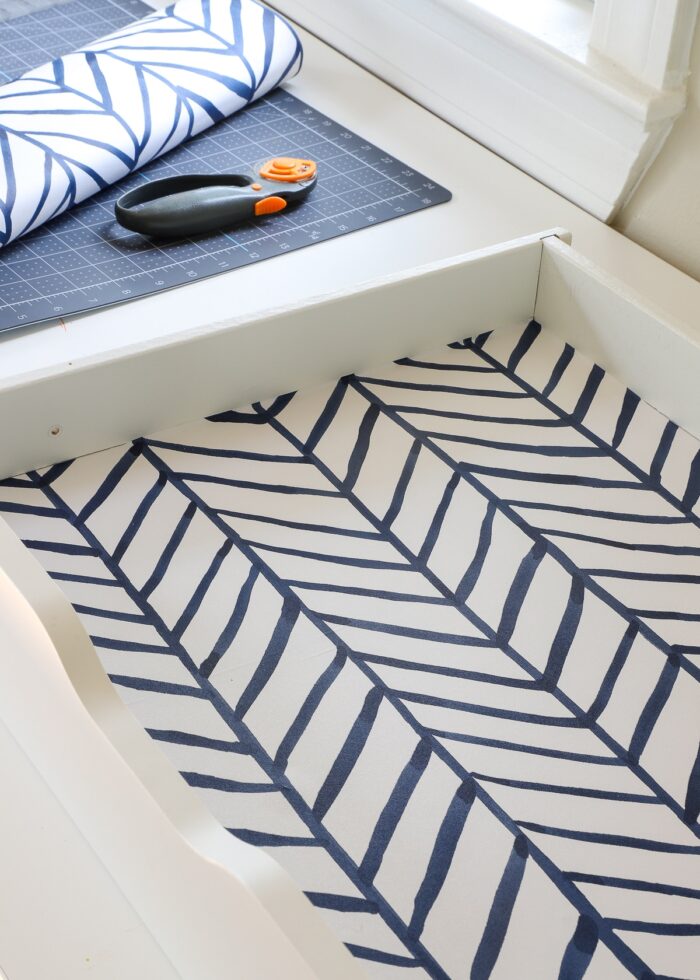
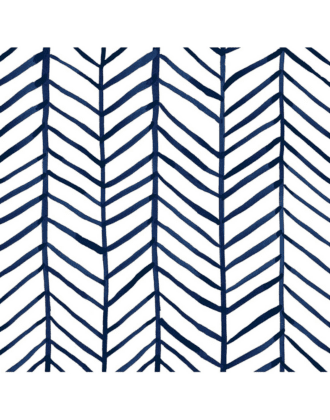
- Adhesive-Backed Paper such as contact paper, shelf liner, or wallpaper – more details below (this is the wallpaper used in this post)
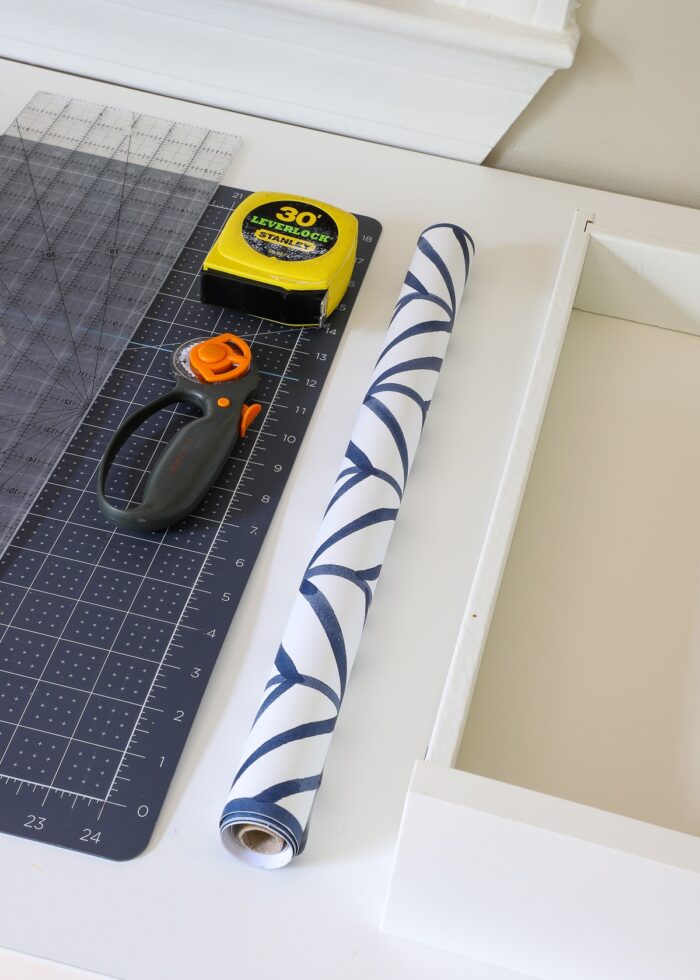
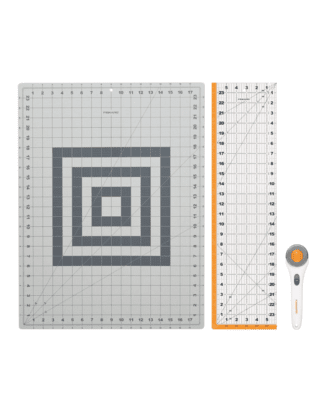
- Self-Healing Mat with Rotary Cutter and 24″ Ruler
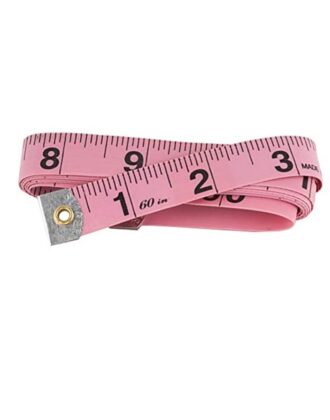
- Measuring Tape
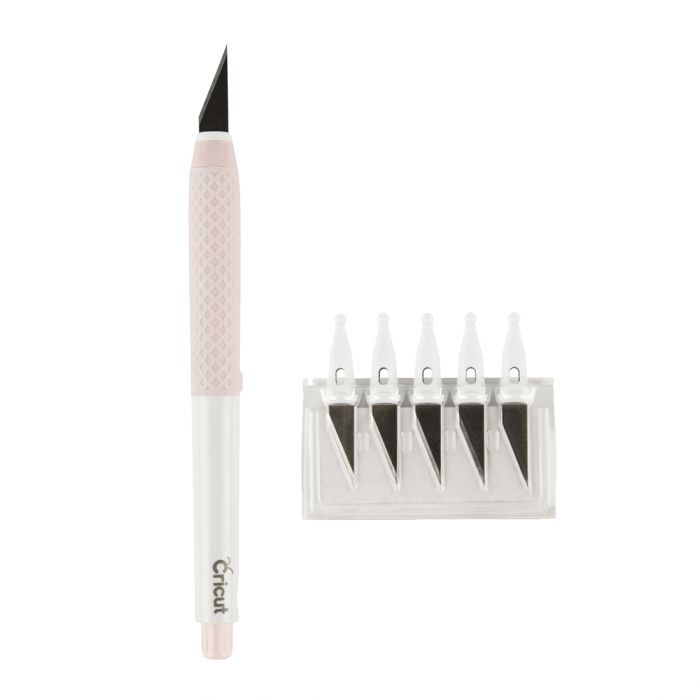
- Sharp Craft Knife
- Paddle Scraper
- Pencil and Paper
What Kind of Paper Is Best for Lining Drawers & Shelves?
Honestly, you can use pretty much anything to line drawers and shelves, including contact paper, shelf liner, peel-and-stick wallpaper, regular wallpaper, wrapping paper, or any other large papers.
Personally, I love the convenience of papers that are already sticky, like contact paper and peel-and-stick wallpaper. However, you can use non-sticky papers such as wrapping paper. You’ll just need to use double-stick tape, spray adhesive, or Mod Podge to hold it in place (and consider covering it in clear contact paper for added durability).
For a long time, I preferred to use Macbeth Shelf Liners; but in recent years, I’ve switched to using peel-and-stick wallpapers since they remove much easier, tend to be cheaper, and come in so many different colors and patterns.
When selecting a paper, make sure you like the way the pattern orients in your specific drawer or cabinet; and try to pick patterns that won’t be too hard/noticeable to match up if needed.
Video Tutorial
If you’d like to watch how I line my drawers and shelves, below is a short video tutorial. (Video not loading for you? You can watch it HERE!)
How to Line Drawers & Shelves | Step-By-Step
Before You Start
When papering drawers, I recommend removing them from their larger cabinet/dresser if it’s possible and relatively easy. This will allow you to get more precise measurements and better fit the paper into the drawer.
If you’re papering shelves or a cabinet, this is usually not possible or necessary.

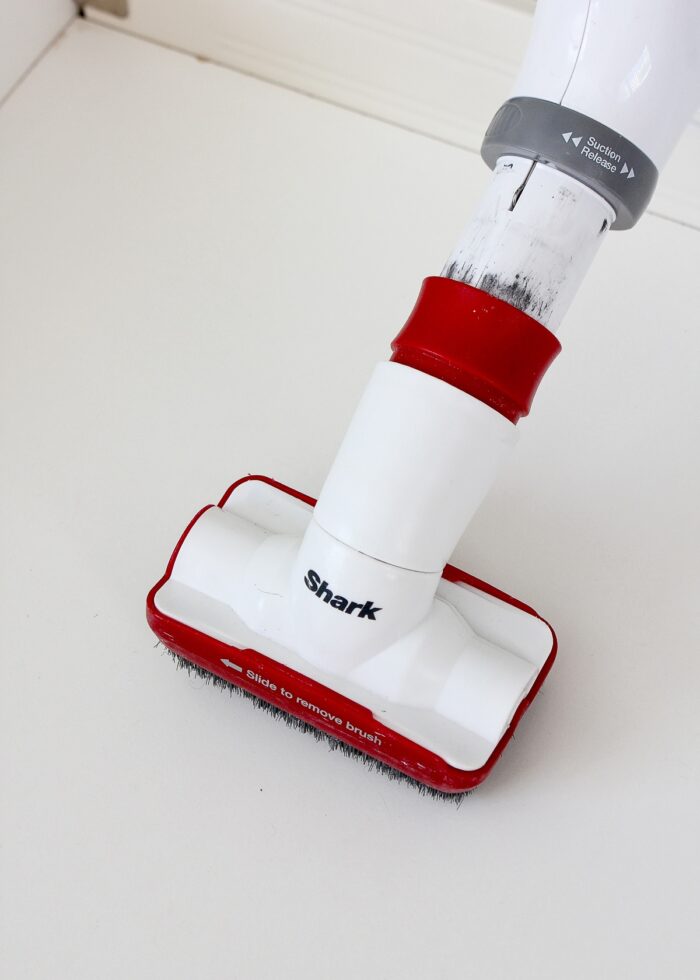
Step 1 – Clean the Surface
No matter what kind of surface you are covering, give it a good clean. Not only do you not want to trap in foods and spills, but all sticky papers adhere better to a smooth, clean, debris-free surface. Use these tricks to remove any sticky residue and vacuum up crumbs and other small particles on the inside of the drawer or cabinet.
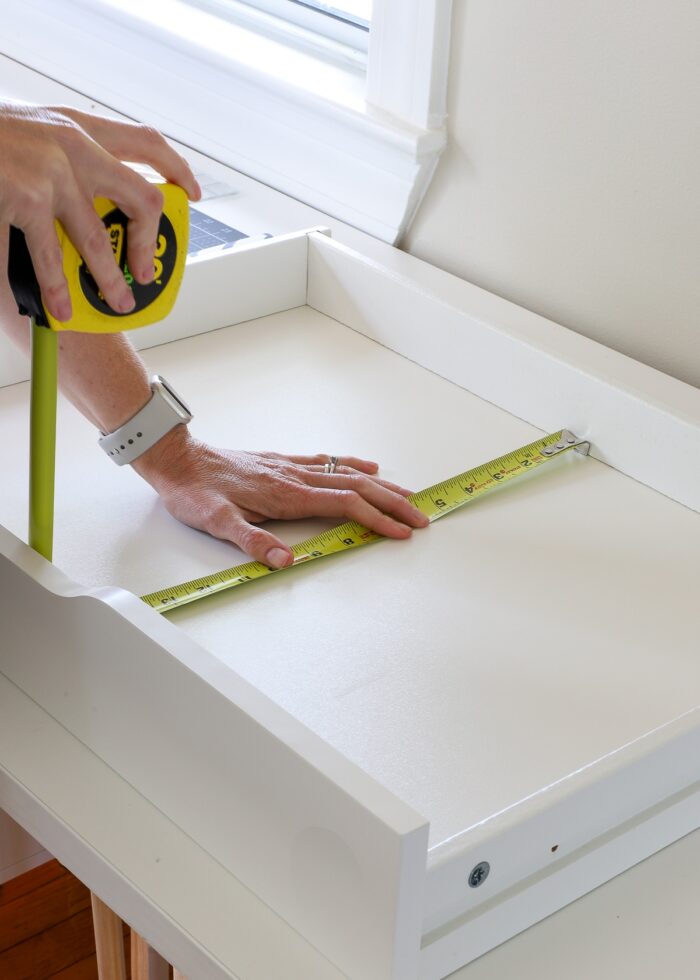
Step 2 – Measure
Next, use a tape measure or cloth measuring tape (which is usually easier to manuever inside drawers and cabinets) to get precise interior measurements. You’ll need to measure both the depth and width of the drawer/shelf; and be sure to write down the exact dimensions if they aren’t easy to remember.
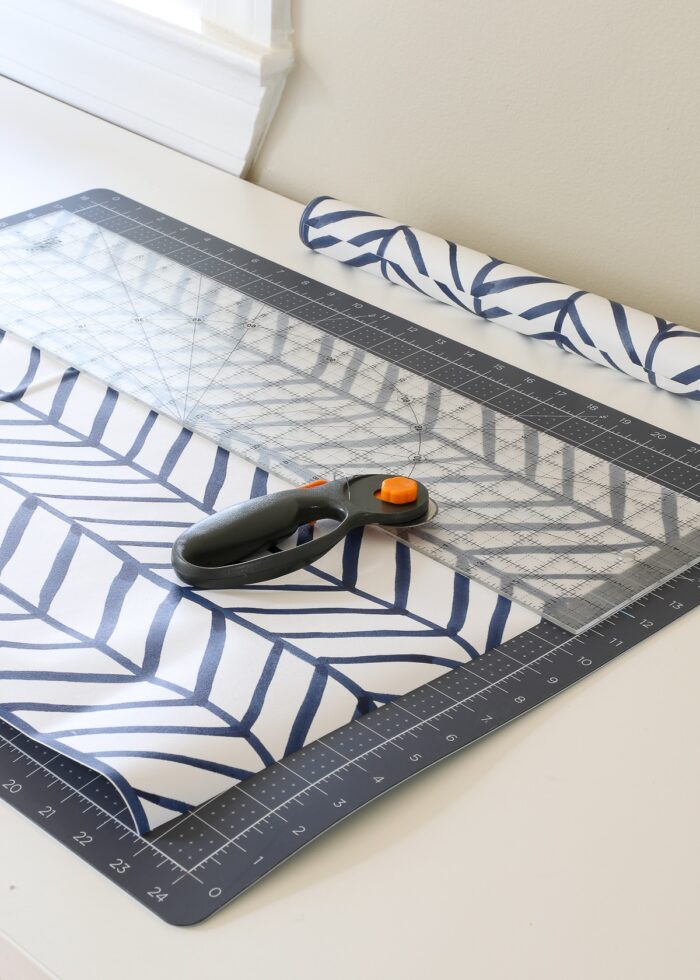
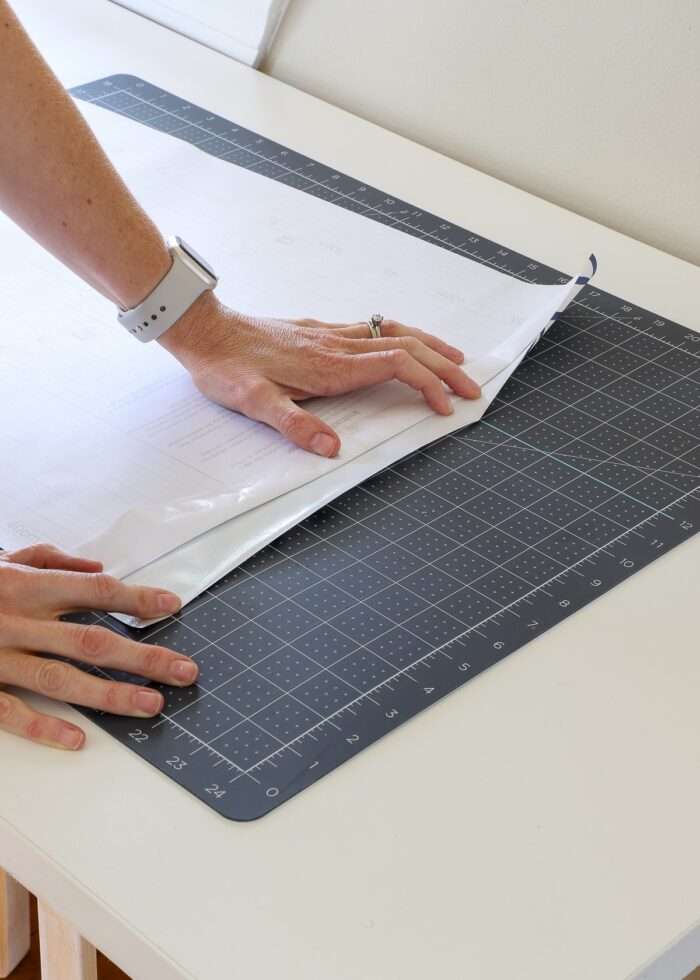
Step 3 – Cut Paper to Correct Dimensions
Next, use a rotary cutter and 24″ ruler on top of a self-healing cutting mat to cut down your drawer liner to those exact dimensions.
I don’t recommend “fudging” it or adding “extra” as wiggle room. I’ve learned that it’s actually harder to install the paper bubble-free when the paper is too wide or long. Your goal should be to replicate the interior dimensions of your drawer as closely as possible.
Can you use a scissors to trim down the paper? Yes, absolutely. But a rotary cutter and ruler make is so quick and easy to get straight, clean lines on long lengths of paper. If you work with paper rolls frequently, this set is well worth the investment.
Want to save this post?
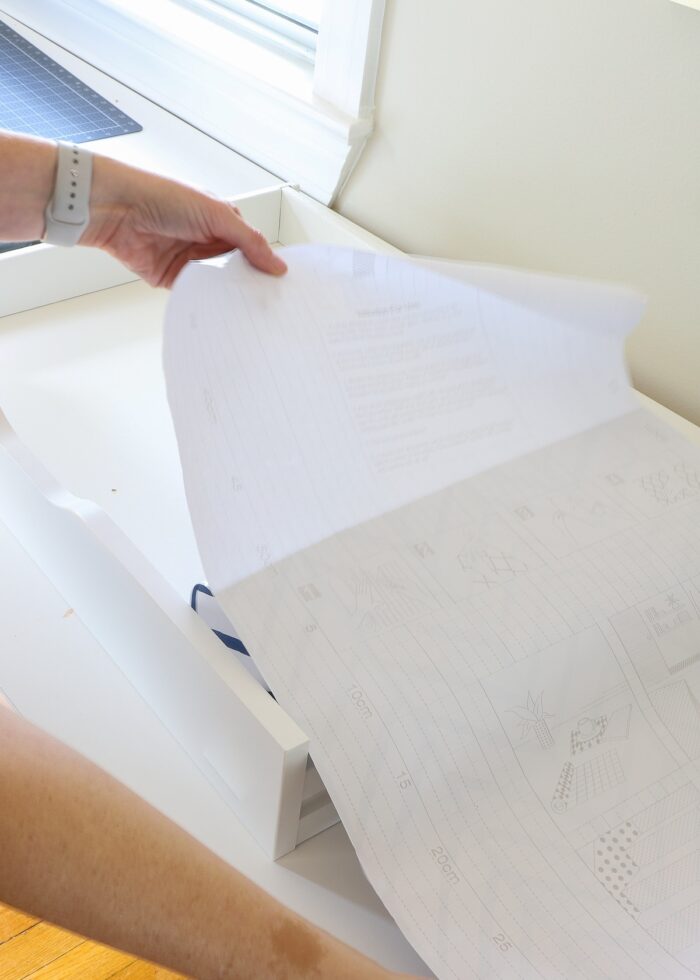
Step 4 – Fold Away 1″ of Paper Backing
Do not fully remove the white paper backing. This will make the sticky paper infinitely more difficult to work with.
Instead, just peel back 1″ of the side of your dominant hand.
I am right handed, so I peeled back 1″ off the right SIDE of the paper.
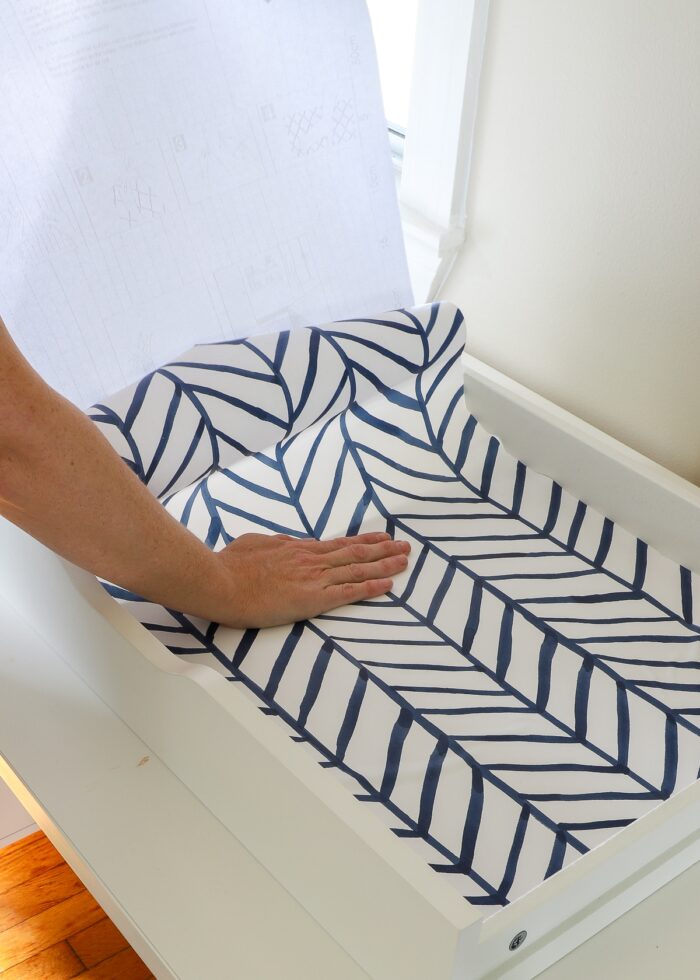
Step 5 – Place Paper
With 99% of the white paper backing still on your shelf liner, place it into your drawer/cabinet, patterned side up. It should fit perfectly; and since all but the leading edge isn’t sticky, you can get it perfectly straight and into the best position.
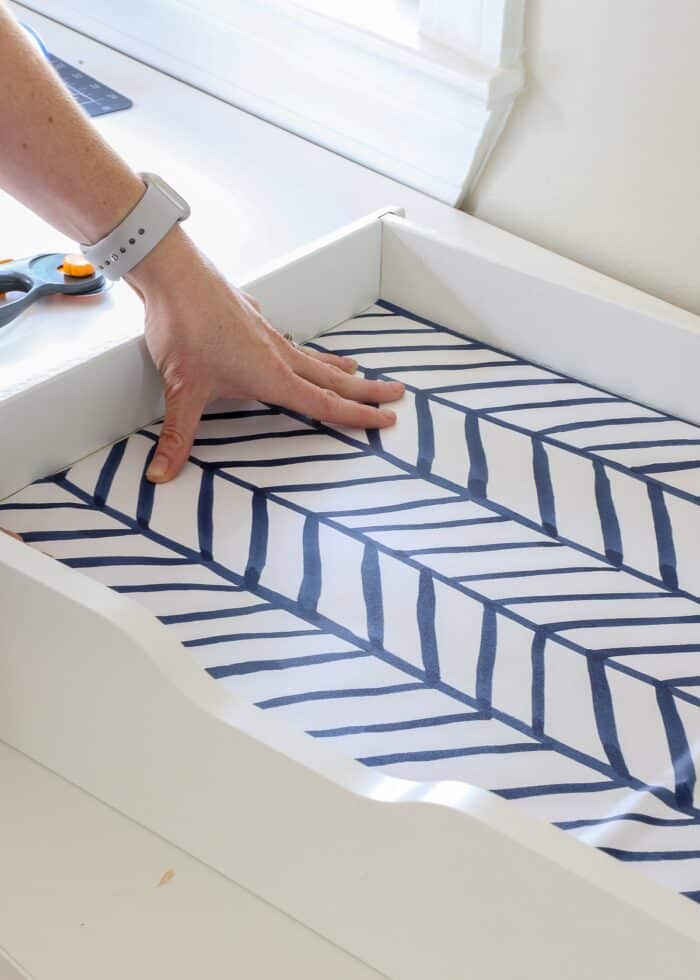
Step 6 – Affix Leading Edge of Paper
Now with the paper in the perfect position where all the edges of the drawer/shelf line up straight, go ahead and stick that exposed edge into place. Take care not to shift or turn the paper at all as you do so.
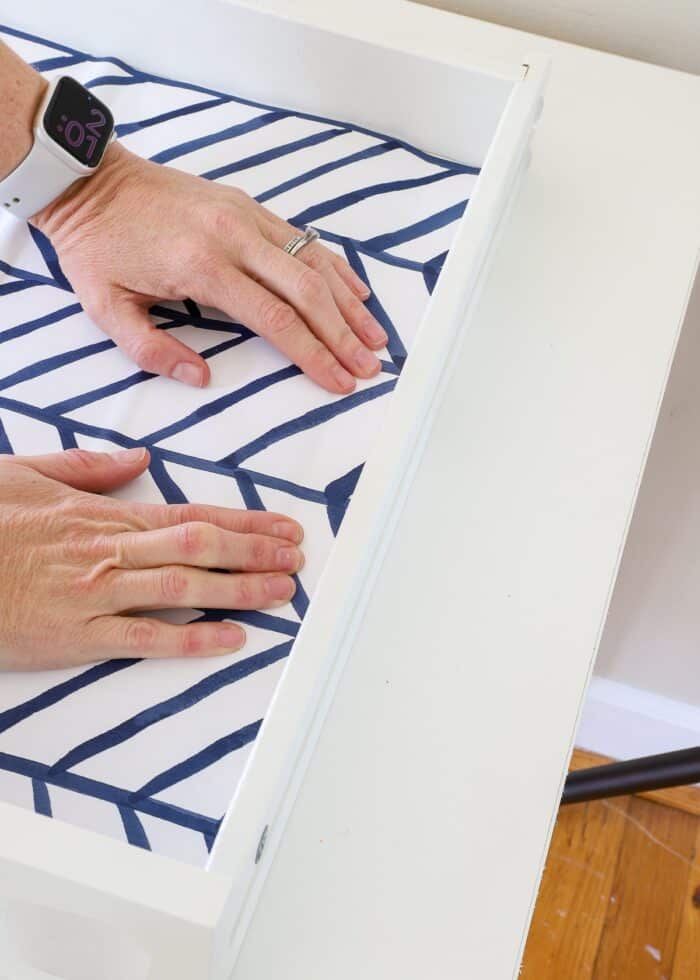
Step 7 – Remove Paper Backing
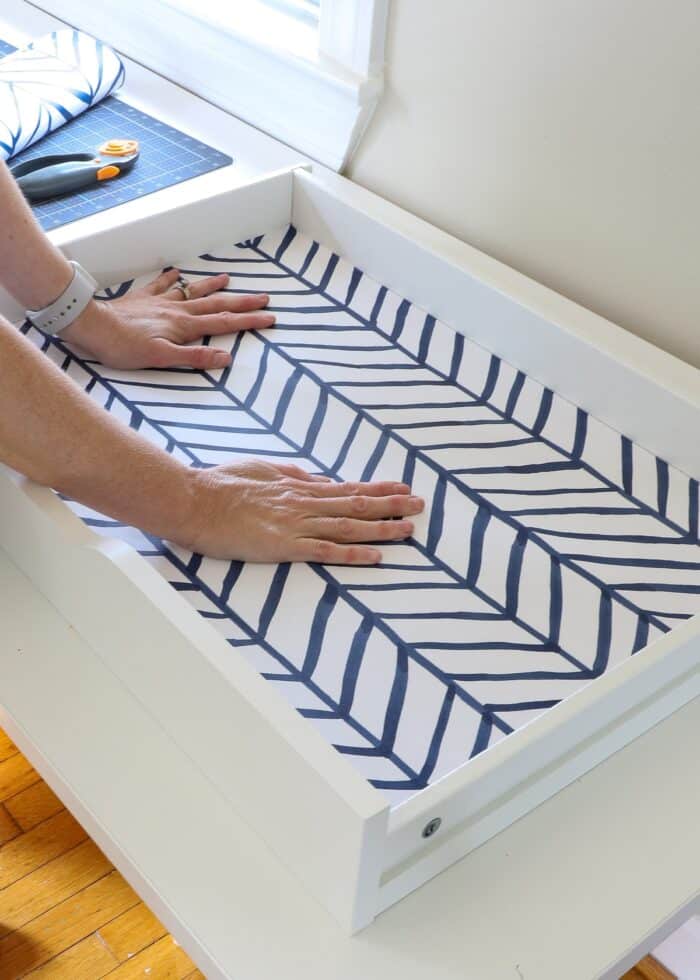
Now with that edge in place, you can begin to remove the remainder of the paper backing with your non-dominant hand.
Peel back the paper liner just a few inches at a time and smooth the patterned paper down flat (with your strongest hand) as you go.
If your leading edge was stuck down correctly, the rest of the paper should lay down and fit perfectly into place!
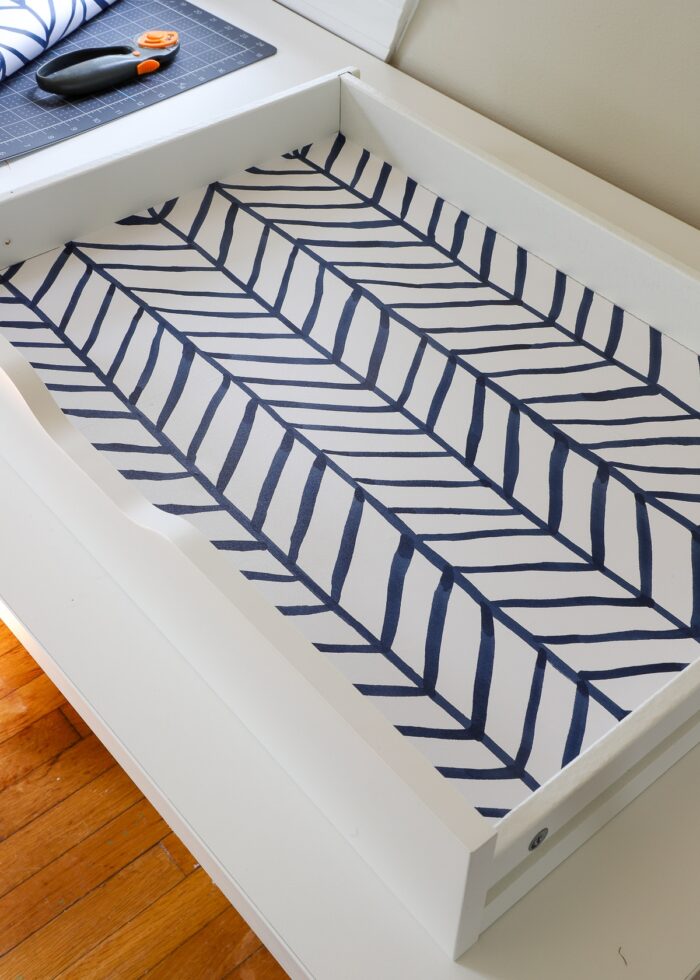
Step 8 – Smooth Out Wrinkles or Bubbles
If you do end up with any wrinkles or bubbles, don’t hesitate to peel the paper up…just to where the bubble/crease is…and smooth it back down. A scraper can be helpful to work out bubbles; but usually, it’s better to peel the paper up and lay it back down (as a scraper can actually cause the paper to crease instead of flatten).
Step 9 – Trim Edges (If Necessary)
In the event that you didn’t get your paper quite straight, you may need to clean up an edge or two with a sharp craft knife. However, the more you practice, the better you’ll become at getting perfect installations…no trimming necessary!
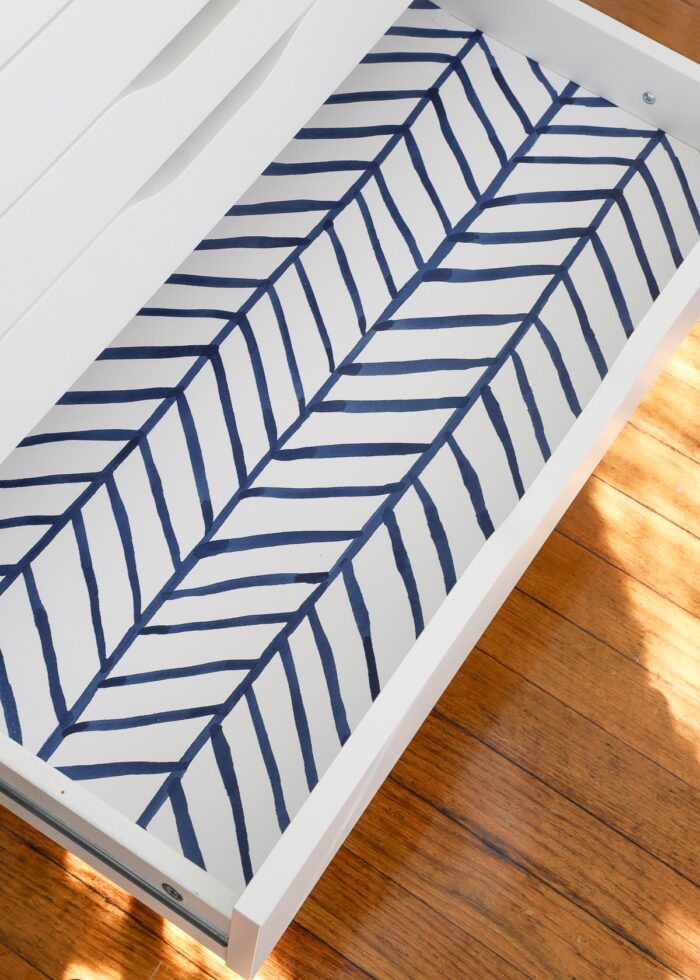
Step 10 – Repeat & Re-Place
If you have additional drawers, cabinets, or shelves, repeat the entire process from start to finish.
I always recommend measuring fresh for each install. It’s not uncommon for dimensions to be slightly off from shelf-to-shelf or drawer-to-drawer, especially in older pieces!
More Great Drawer Organization Ideas
- The Easiest Way to Organize Any Drawer In Your Home
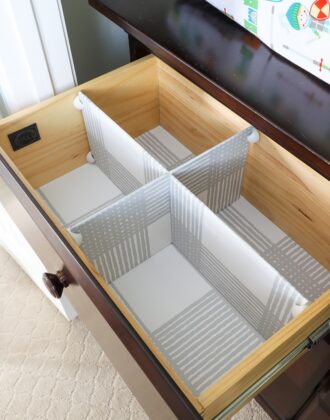
- Easy DIY Drawer Dividers (For Any Size Drawer)
- The Best Way to Line Drawers & Shelves with Pretty Papers
- How to Line Drawers with Wallpaper
- How to Put a DIY Charging Station In a Drawer
- How to Make Drawer Organizers with Cardboard Boxes
- Top 10 Tips for Organizing Kitchen Drawers
- 3 Ways to Organize Cords in a Drawer
- How to Organize Pantry Drawers
Years ago, I remember loving the concept of pretty drawers and shelves, but always got so exasperated with the sticky paper, crooked installations, and wrinkled results. Once I figured out that 1) cutting the paper the exact right dimensions (with no extra) and 2) placing the entire paper down and straightening it before sticking the leading edge in place led to much better results, the whole project became less intimidating!
This is also a project that gets easier and easier with practice. So go ahead, buy some pretty paper, and give your office or kitchen or bathroom or dresser drawers a makeover. By the time you get to the last one using these tips and tricks, you’ll be just as obsessed as I am!
Megan


5 Comments on “The Best Way to Line Drawers & Shelves with Pretty Paper”
i use oak tag to line my shelves and drawers. i then put shelving paper over it with a spray adhesive. this was a much easier method for me.
I needed these tips and tricks. I tried years ago, but stopped when it seemed too hard to make it work. I will have to try again, and read this post first!
I am loving all your tips for organizing a craft space and how to lay paper. Good explanations, too.
Hello! What is the brand and name of the beautiful blue and white liner paper you are working with in this demonstration? Thanks!
Thank you for this helpful how-to! Back in the 1970s my mom lined the kitchen cabinets of our summer cottage with Contact paper. Several years ago when I decided to reline the cabinets I pulled the old Contact paper off only to find that it left a very sticky residue. I used Contact paper again and just stuck it down over the stickiness. Now after several years I’m finding that the edges are curling. I know that I need to remove the paper and either sand the stickiness off or cover it with Kilz and paint but that’s probably never going to happen!! My question is: would stick on wallpaper be a better choice and possibly stay stuck down better than the Contact paper?