DIY Charging Station In a Drawer | Easy 1-Hour Project!
Although I recently divulged that many projects here on the blog usually take longer than you think, that was actually not the case with today’s spur-of-the-moment project. In fact, this DIY charging station in a drawer not only solved several organizational dilemmas for us, but came together using items we already had on hand and in just an hour or so. If you’ve been struggling with where to store electronics devices but more so how to store them so that they are both out of the way AND charging, then this is the project for you. Let me show you how this awesome solution comes together!

Our New Device Charging Drawer
In the coming weeks, I’m going to be chatting a lot about the sneaky ways we are carving out more storage in our new family room. Because…even though the room is quite large…we actually don’t have a lot of our tried-and-true toy storage solutions (e.g., IKEA Kallax, storage ottoman) at work in here.
When I was recently brainstorming ways to organize the kiddos’ electronic devices, I was actually trying to solve two problems:
- Where to put the devices so they are both accessible (for the kids) and concealed (for me).
- Where to recharge them since we are constantly losing the cords for these devices and they are always out of juice when the boys want to use them.
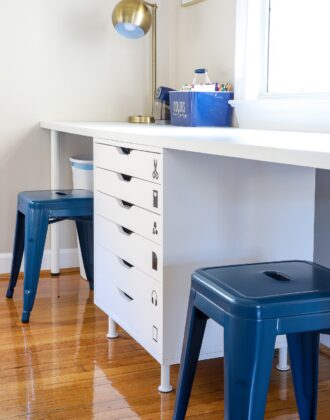
I was actually working through a different wall-mounted charging station idea when I realized that the boys’ art drawers (that sit under a countertop along the side of the family room) were mostly under-utilized and are the perfect size for their tablets.
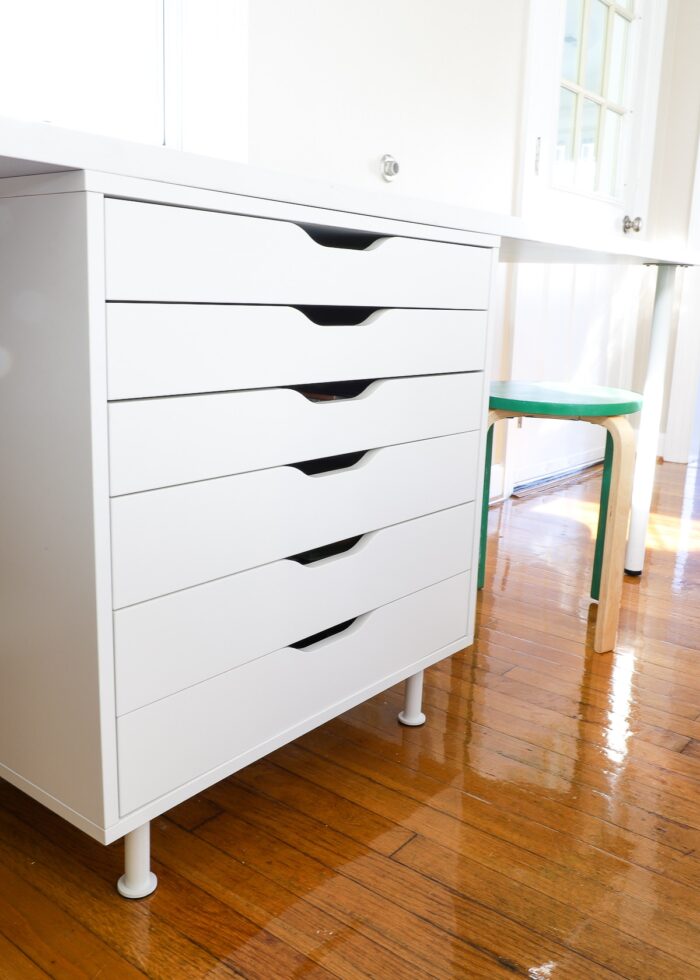
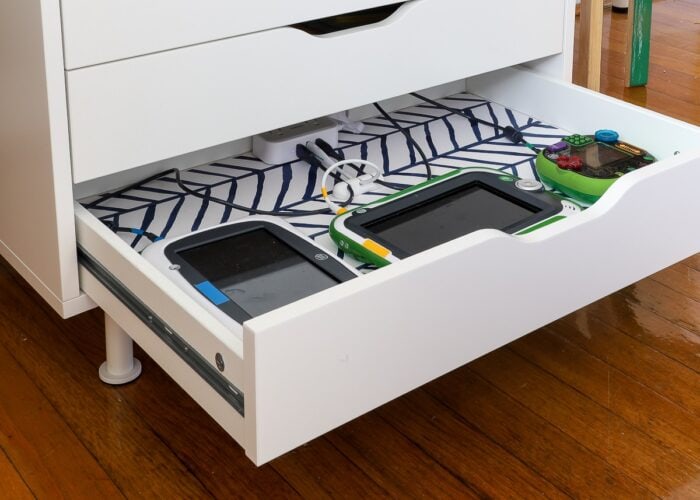
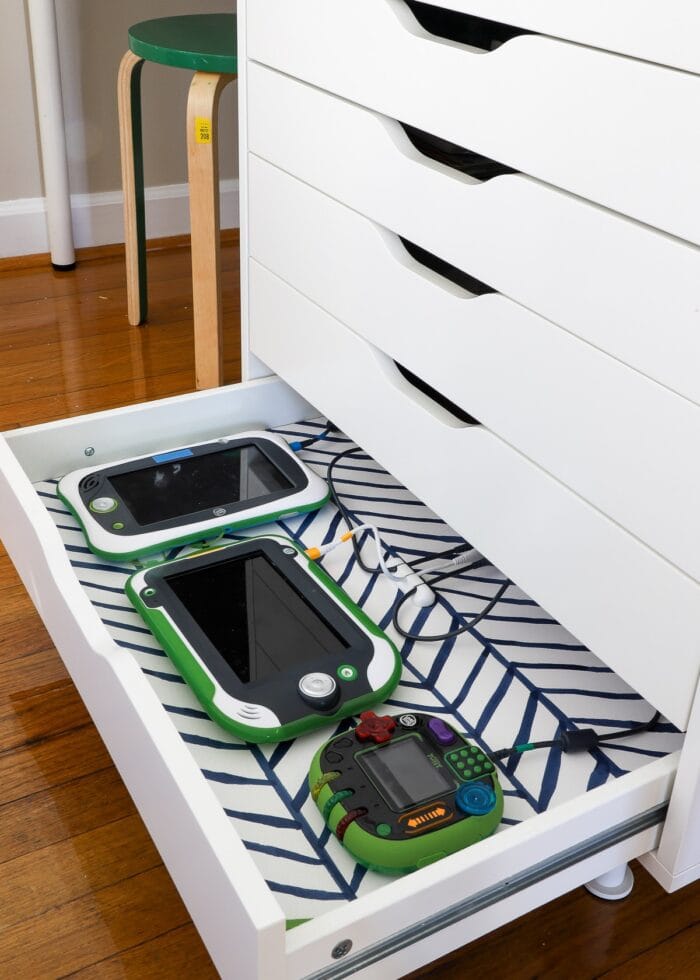
As soon as I realized how perfectly-suited this shallow drawer was for a charging station, I practically had the drill and power strip in hand.
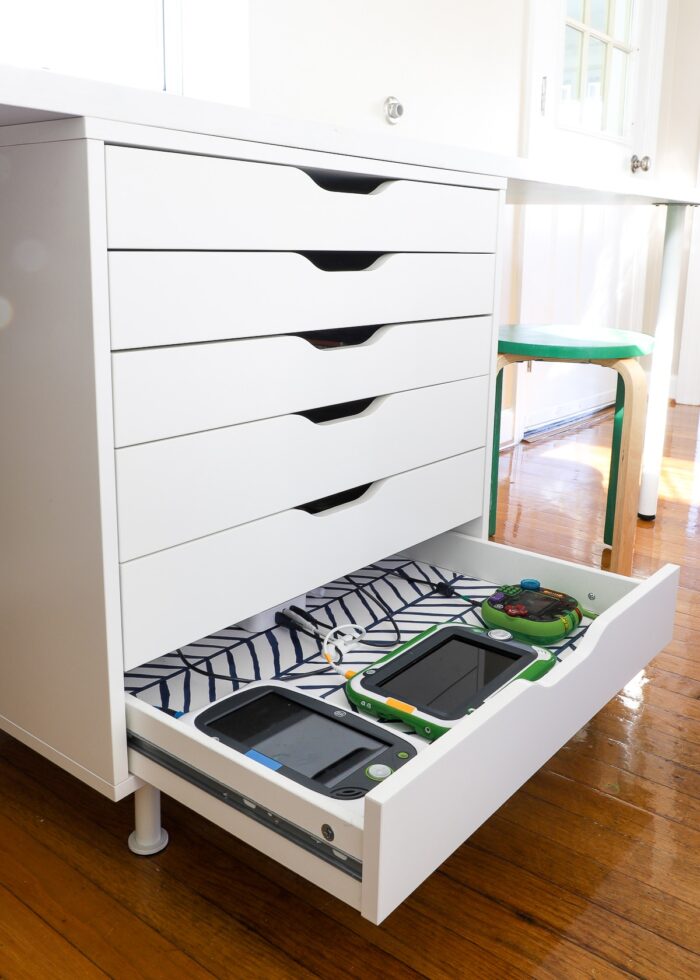
Literally within an hour, I was able to quickly and easily create a DIY charging station that satisfies all our device “problems” and looks mighty fine too!
Why Use a Drawer as a Charging Station
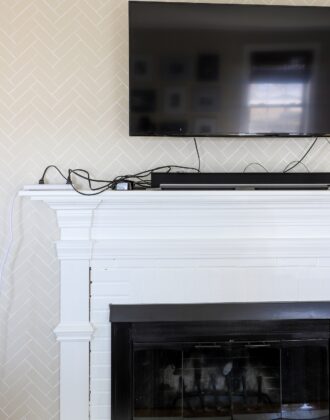
Using a drawer as a charging station is an excellent solution if you are short on space…especially flat, horizontal surfaces such as the kitchen counter, bookshelves, or console tables. Since devices are tricky to stack or stand without some sort of shelf/divider, all too often they tend to be sprawled out on tables, taking up more room (and looking like a bigger mess) than necessary.
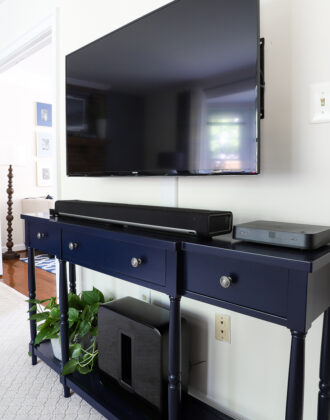
A drawer not only takes advantage of vertical storage space and keeps unsightly devices out of view (which can also help deter usage, if that’s one of your goals), but since drawers tend to be up against the wall, they also allow you to conceal cord clutter quite easily.
Essentially, using a drawer to store (and charge) your devices allows you to reduce the amount of visual clutter on your open surfaces while keeping devices charged up and ready to go at all times!
Picking the Right Drawer for a DIY Charging Station
Although technically any drawer can be turned into a DIY charging station, some will work better than others. Keep these tips in mind when looking for the best drawer to use:
- Does the drawer comfortably fit the devices you need it to hold?
- Is the drawer located in a location that makes sense for device charging? Kitchens, bedside nightstands, command centers, family rooms, offices, and mudrooms are all great places to start.
- Does the back of the drawer have low enough clearance to feed a cord over (without getting jammed or stuck)? If not, can you easily drill a hole in the back of the drawer?
- Does the back of the drawer unit (i.e., dresser) have an opening to feed a cord through? If not, can you easily drill a hole in the back of the unit?
- Is the drawer near an outlet? If not, can you easily run an extension cord to one?
Finally…although not required…I do recommend using a very shallow drawer if you have one. Although you can use a deeper drawer as a DIY charging station, you’ll have lots of wasted space (since devices tend to sit flat in a drawer). A shallow drawer will be a more efficient use of space, keeping the devices higher up toward the top.
If you do need to use a deep drawer, consider finding a way to stand phones and tablets up on their end/side in some sort of tablet holder, magazine rack, or file holder in order to take better advantage of the vertical room.
Supplies Needed
Although every drawer and set of devices may warrant different supplies, here is what we used for our DIY charging station in a drawer:
- Drawer – we used the bottom drawer of an IKEA Alex unit
- Paddle Bit & Drill – to create cord holes if necessary; if you need a really large hole, consider a Hole Saw set.
- Power Strip – Be sure to purchase one that fits nicely in your specific drawer, has enough outlets/ports for the devices you need to charge, AND the cord can reach from the drawer to the outlet
- 3 USB + 2 Outlet Combination – If you need both plugs and USB options
- 4-Port USB Charger – if you only need USB charging
- Cord Holders (optional) – Although not necessary, these can help direct cords and keep your entire arrangement a little cleaner
- Heavy-Duty Double-Stick Tape
- Colored Tape or Label Maker
- Shelf Liner (optional) – I used this herringbone wallpaper
- Devices with their cords
How to Make a DIY Charging Station Inside a Drawer
Step 1 – Remove Drawer (If Possible)
Although not necessary, this project will likely be easier to accomplish if you remove the drawer from the unit/dresser itself. This will not only help you reach the back of the drawer/unit for drilling and feeding the cord through, but it also makes papering the drawer and figuring out your arrangement much easier.
TIP! If you are also trying to do this in an IKEA Alex drawer and you can’t figure out how to remove the drawers, I found this video really helpful!
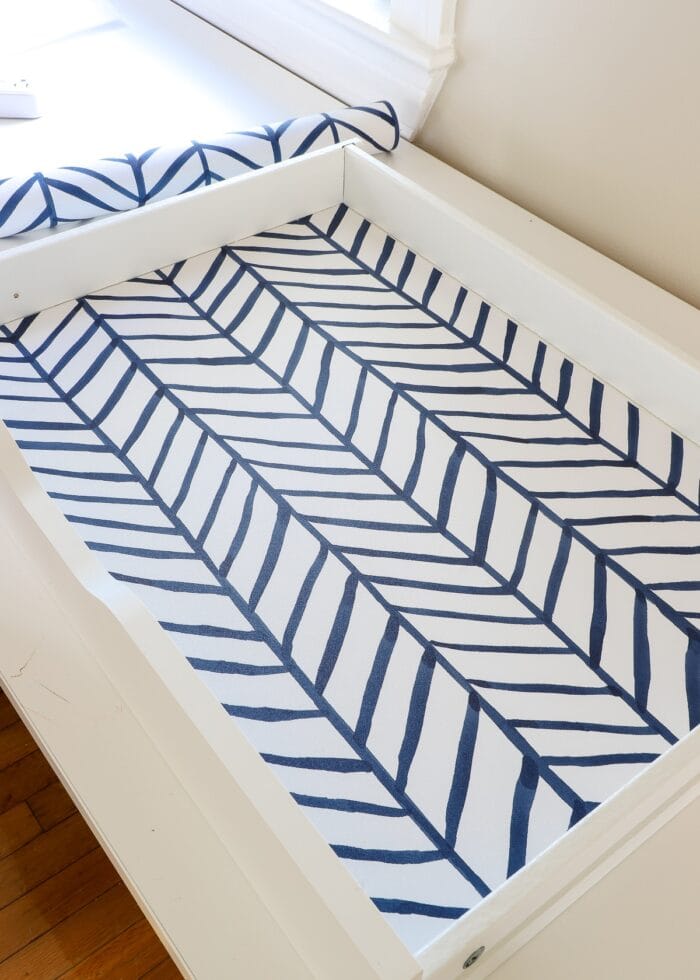
Step 2 – Line Drawer (Optional)
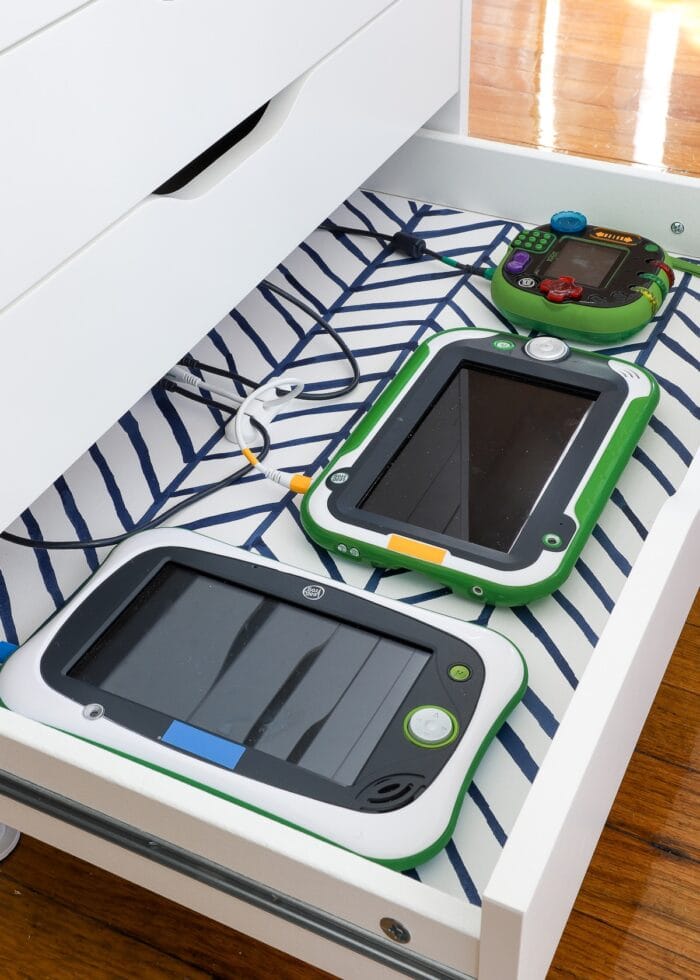
Before you start outfitting your drawer with holes and cords and devices, this is a good time to add a little punch of color or pattern if you want it. I never pass up the opportunity to add pretty papers to our drawers, so I grabbed some peel-and-stick wallpaper I had on hand and lined the bottom piece of the drawer. If you need more help lining your drawers, see more: The Best Way to Line Drawers & Shelves with Pretty Paper.
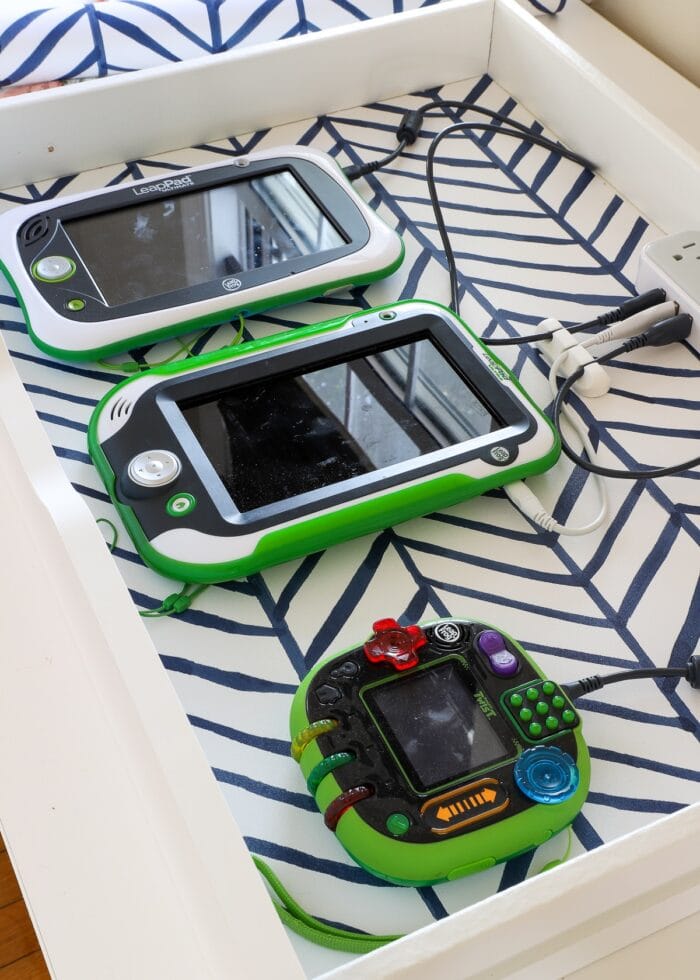
Step 3 – Brainstorm Layout
Next, spend some time playing with different layouts for the devices you need to charge in your specific drawer. Make sure you use the cords in your brainstorming, as cord length can influence where and how a device should be positioned. As you figure out the right spot for the central charging port and various devices, also plan for where and how the cord will exit the drawer.
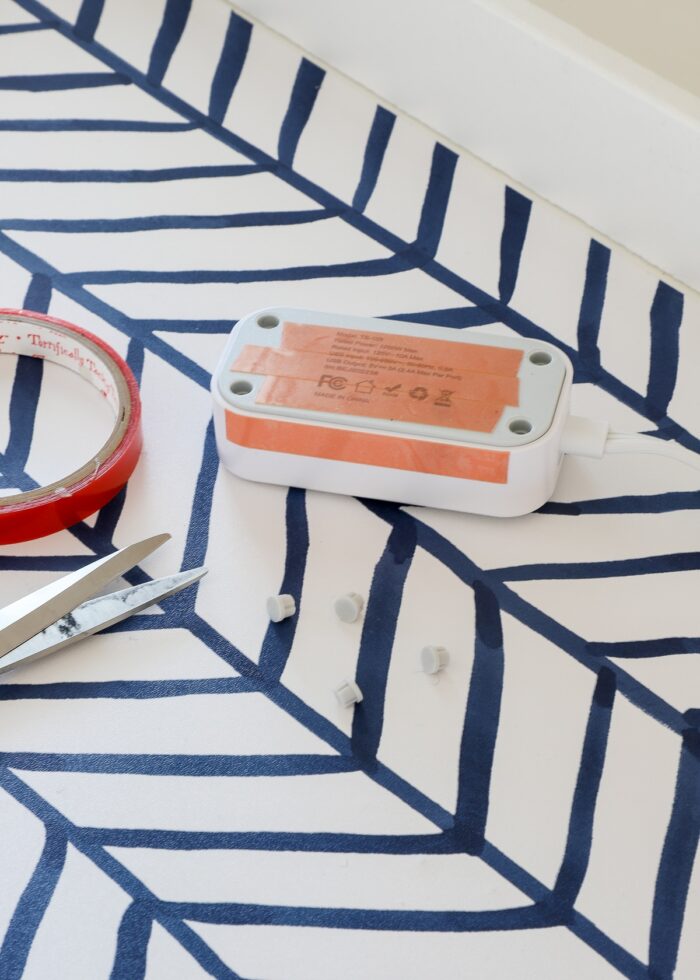
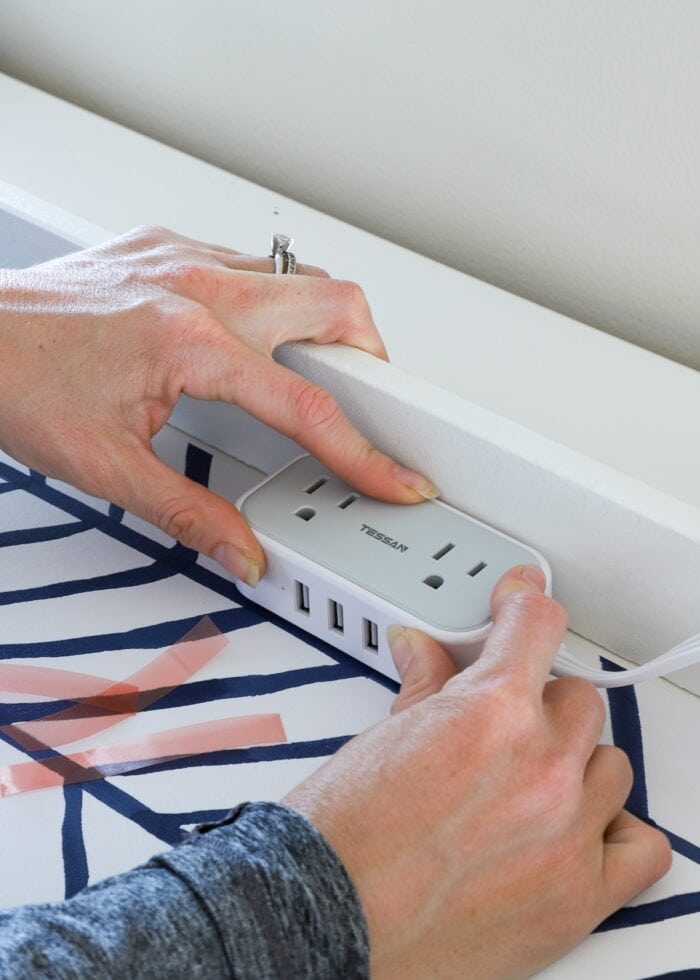
Step 4 – Secure Charging Cables In Place
Once you land on a layout that works perfectly for your drawer and your devices, you’ll want to secure (most everything) in place so it doesn’t move around when you open/close the drawer (or pull your devices out). Although you can use Command Strips or Velcro for this step, I’ve had good luck with using really strong double-stick tape. Not only does it hold lightweight items pretty securely, but it also allows items to sit flush (whereas thicker products can create a gap).
Want to save this post?
TIP! If your charging dock has anything keeping it from sitting flush to the bottom or side of the drawer, try removing it. My port had little rubber feet that I was able to easily pop out, which helped my thin tape hold more securely.
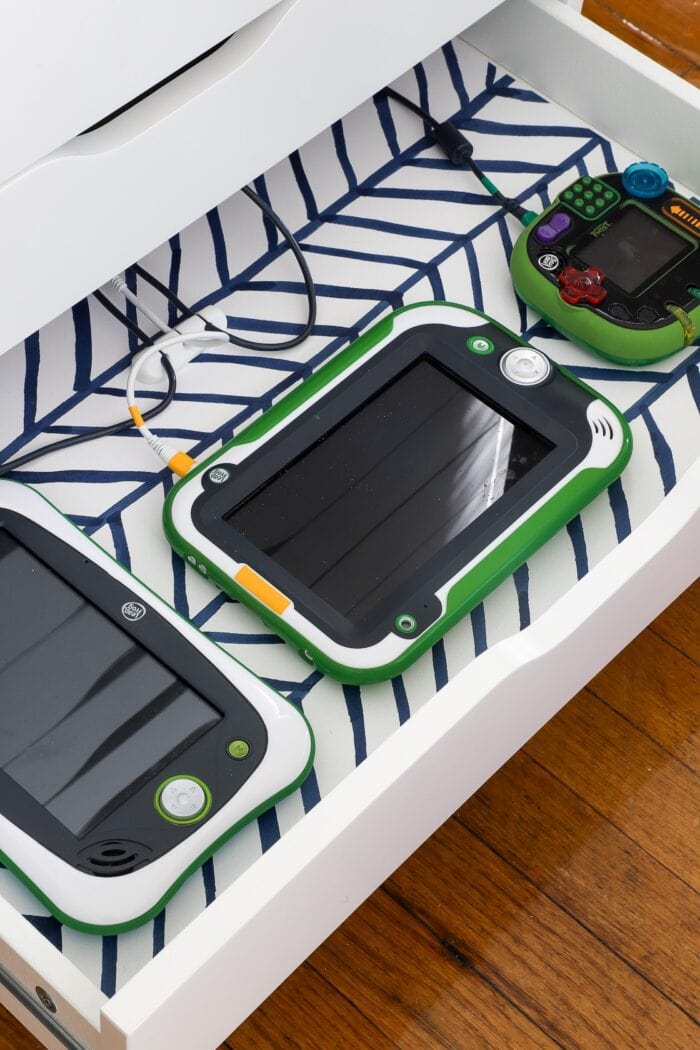
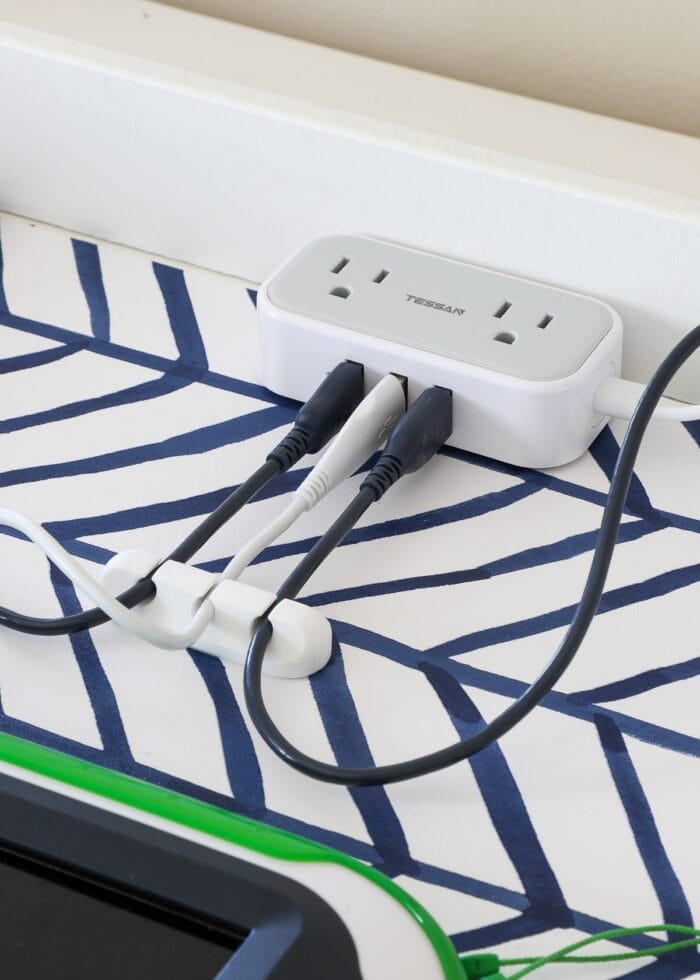
Although not required, I do recommend adding some sort of cord clips to help guide and secure the cord for each device. (Most have adhesive on the bottom to hold them in place).
Whether you use a multi version like I did or single ones at different places throughout the drawer, these can ensure there is no stress placed on the port itself and each cord is always near where the device should go.
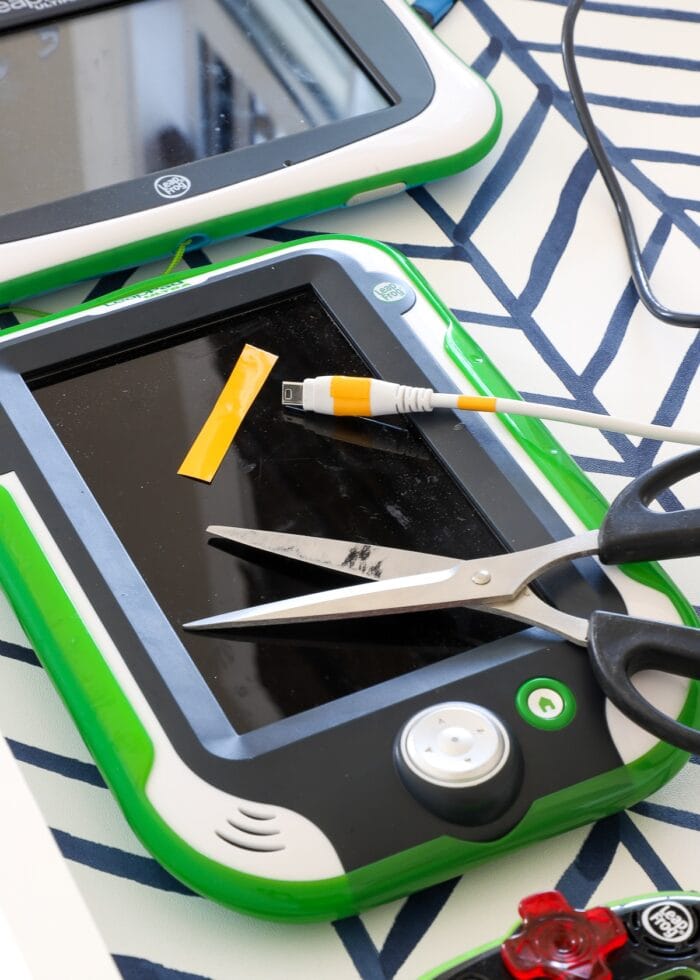
Step 5 – Label Charging Cords & Devices
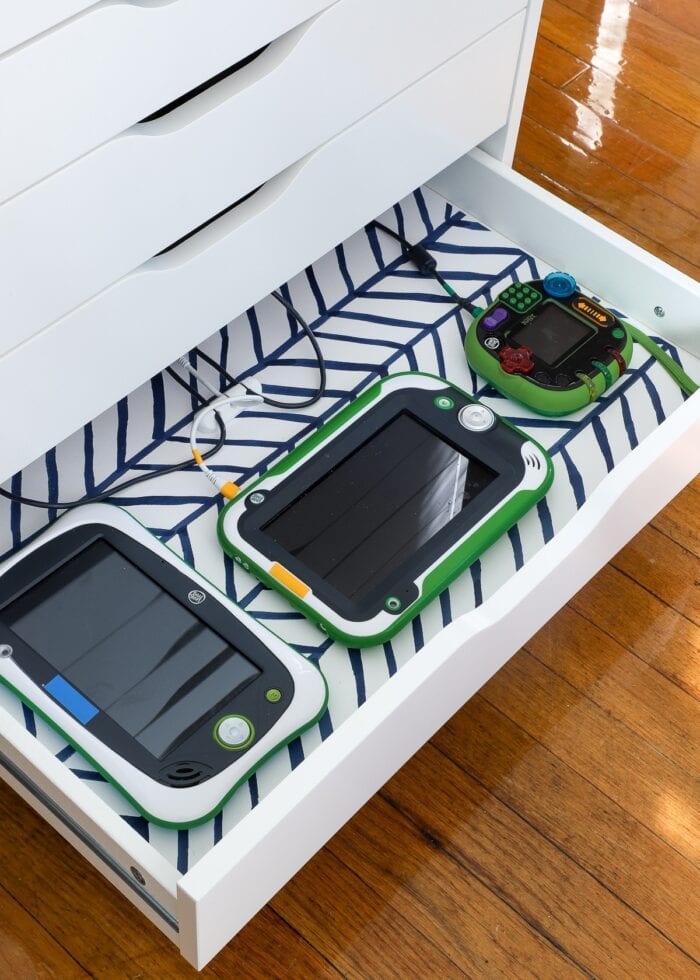
If your DIY charging station is just for you, you can likely skip this labeling step all together. However, this in-drawer charging station is (obviously) for my kiddos. I have trouble figuring out which cord goes to which device, so some little color-coding not only helps them but me too!
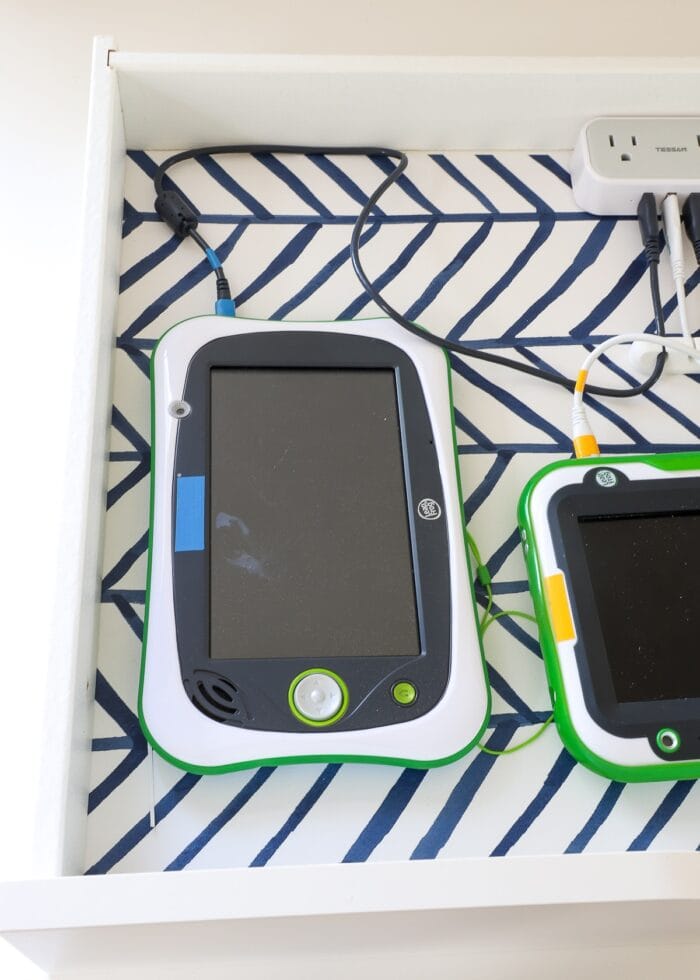
You can use whatever you like to create little labels that match the cord to the device. A label maker with names, letters, or numbers is one option; and so is using washi tape as cord labels like I show here.
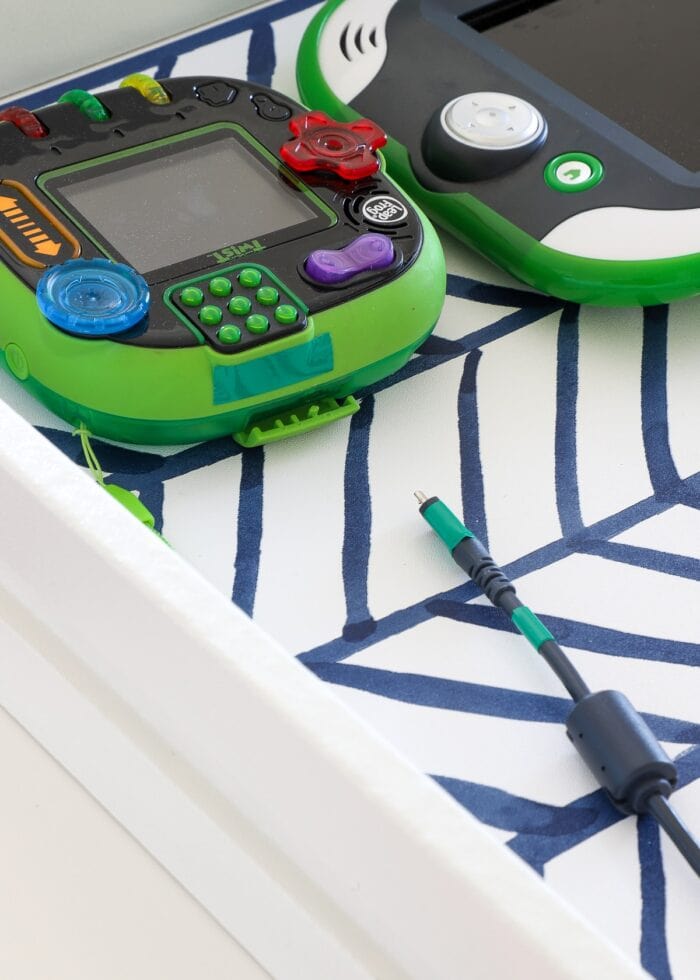
I figured color-coding was the easiest for the kids, so I just placed some scraps of vinyl around each cord and on each device. This set of tapes could achieve the same look.
TIP! If it’s still unclear where each device goes, you could also place coordinating labels on the base of the drawer (under each device). And if you’re worried the devices might slide around, consider creating compartments by securing shallow, well-fitting trays or frames inside the drawer.

Step 6 – Drill Hole in the Back of the Drawer and/or Unit
With the inside of your drawer mostly set, you now need to figure out how to thread the charging port’s cord through the back of the drawer and/or unit to the outlet.
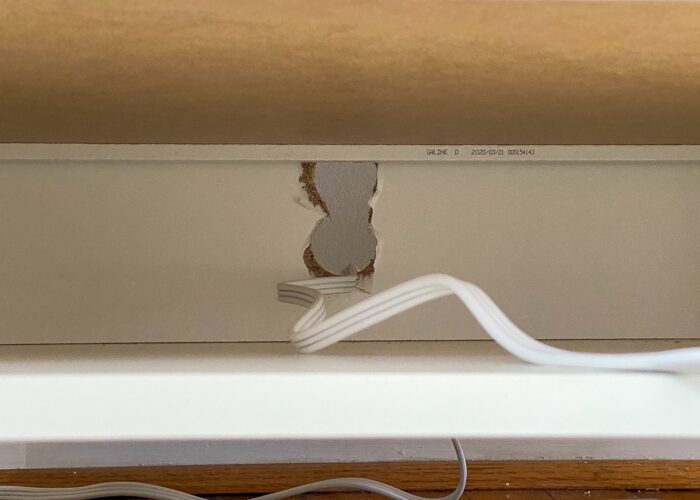
Although my specific drawer had plenty of clearance for the cord to go up and over the back edge, there was no where for the cord to exit out the back of the unit. Therefor, my only option was to drill a hole in the back of the drawer box.
This didn’t bother me since this is inexpensive IKEA furniture and the back of the unit will always face a wall. But if you are not comfortable drilling a hole in your furniture, then you likely need to pick a different drawer or find a different way to route the power cord.
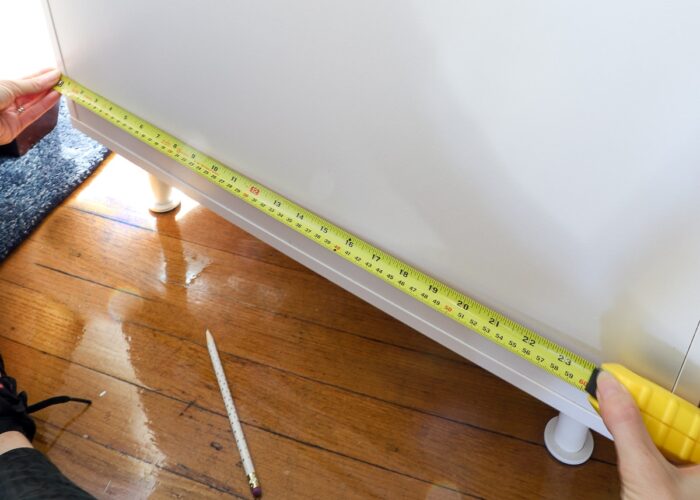
Before you start drilling away, spend some time figuring out where the cord will exit the back of your drawer (and therefor the back of the unit). If needed, use a measuring tape to ensure the inside-of-the-drawer placement lines up with where you are drilling on the outside.
Then, use a paddle bit on your drill to create a hole into the back of the drawer, the unit, or both. Take your time, and have a vacuum cleaner handy, because this will create some dust!
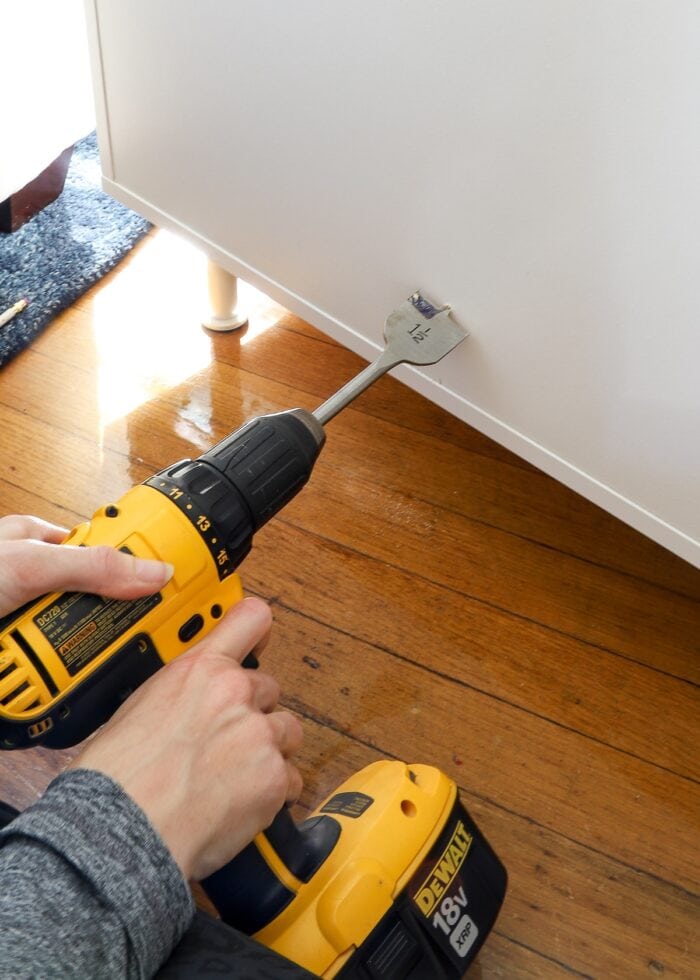
From what I can tell, most standard paddle bits only go up to about 1.5″, which may or may not be large enough for your plug to pass through.
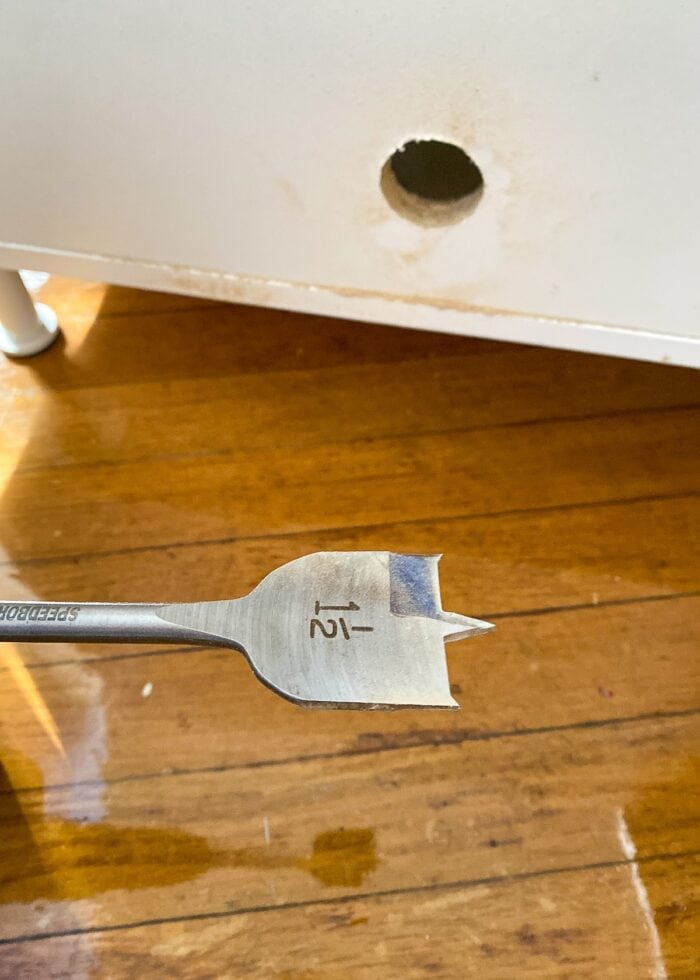
My plug was too big to pass through a single 1.5″ hole. This is where a Hole Saw set would come in handy, but we don’t have one. So I drilled a second hole right on top of my first hole. The cord was then able to pass through the two combined holes and out the back of the drawer unit to the outlet.
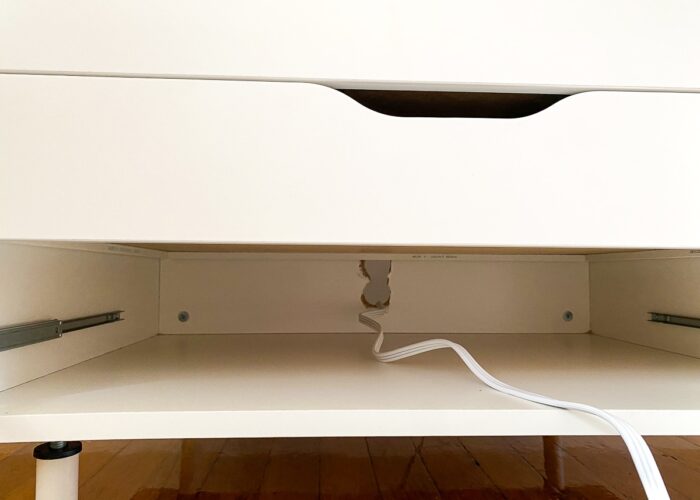
Step 7 – Replace Drawer
With the inside of your drawer all situated and the hole(s) now drilled through, all that is left to do is pass your cord through the back of the unit, plug it in, and replace the drawer!
Although it might take some additional wiggling and adjusting of the cord, you should eventually be able to open/close the drawer without any tugging or bunching. If needed, use additional cord clips or screws out the back of the drawer unit (along the wall) to keep the cord straight and tangle-free.

I have to admit, this simple little DIY charging station in a drawer has me pretty giddy. I love love love figuring out a solution that not only works really well for the entire family, but also transforms an under-utilized spot into something super functional.
I love that the devices (and cords!) are out of the way; and my kids are pretty excited that their LeapPads will be charged up and ready to go whenever they want them.
More Great Toy Storage Solutions
Looking for more great toy storage solutions? Here are just a few of our tried-and-true favorites:
- The Best Toy Storage Solutions for Every Item In the Playroom
- Sneaky Toy Storage Ideas for the Living Room
- How to Store Tiny Toys
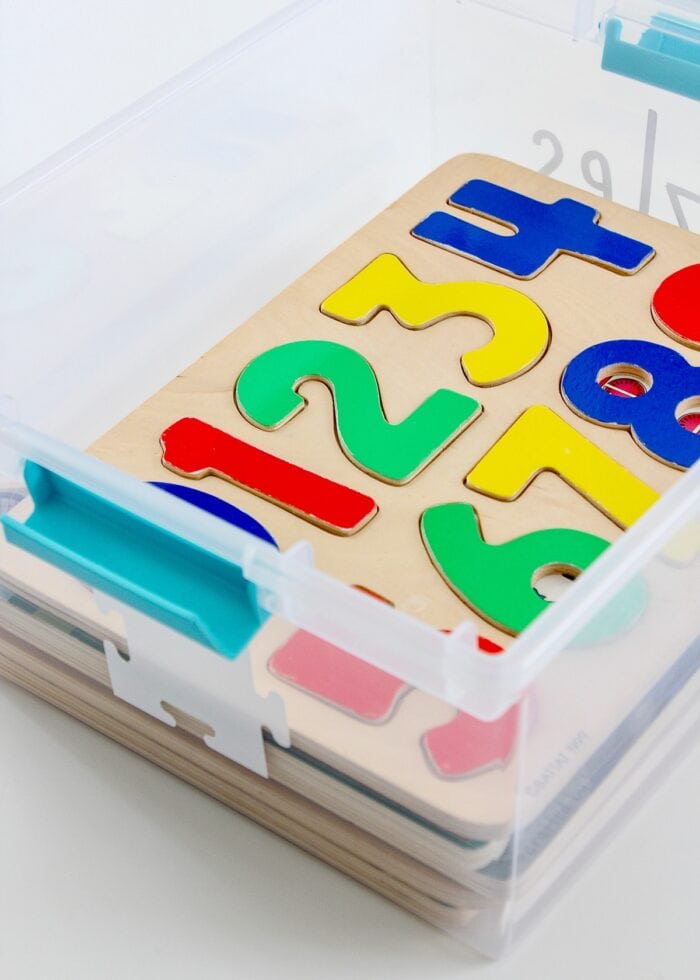
- How to Store Wooden Kid Puzzles
- The BEST Way to Organize Board Games
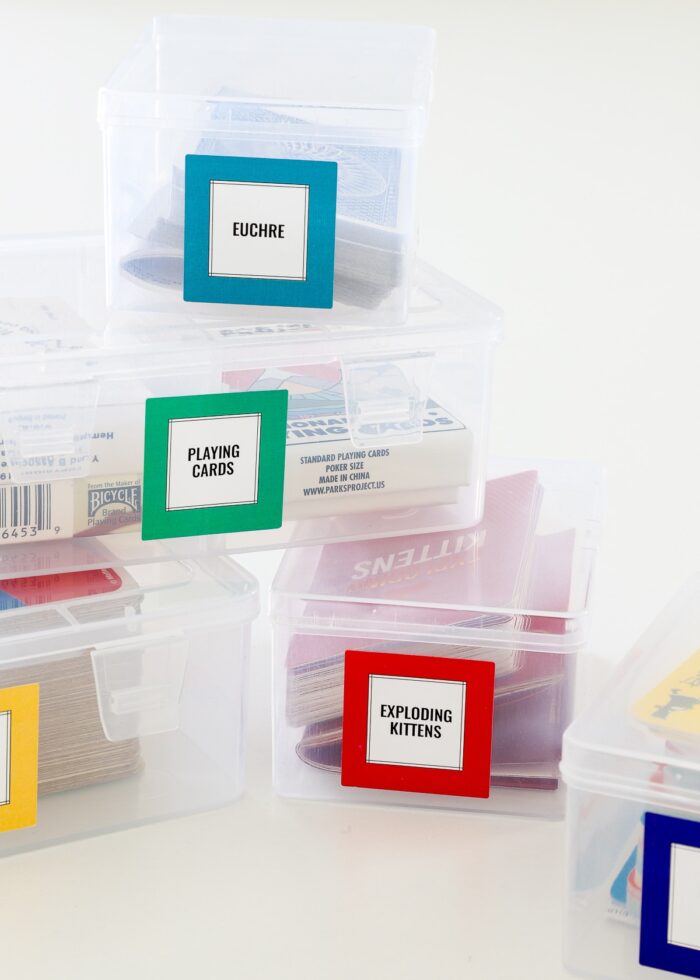
- How to Organize Small Card Games
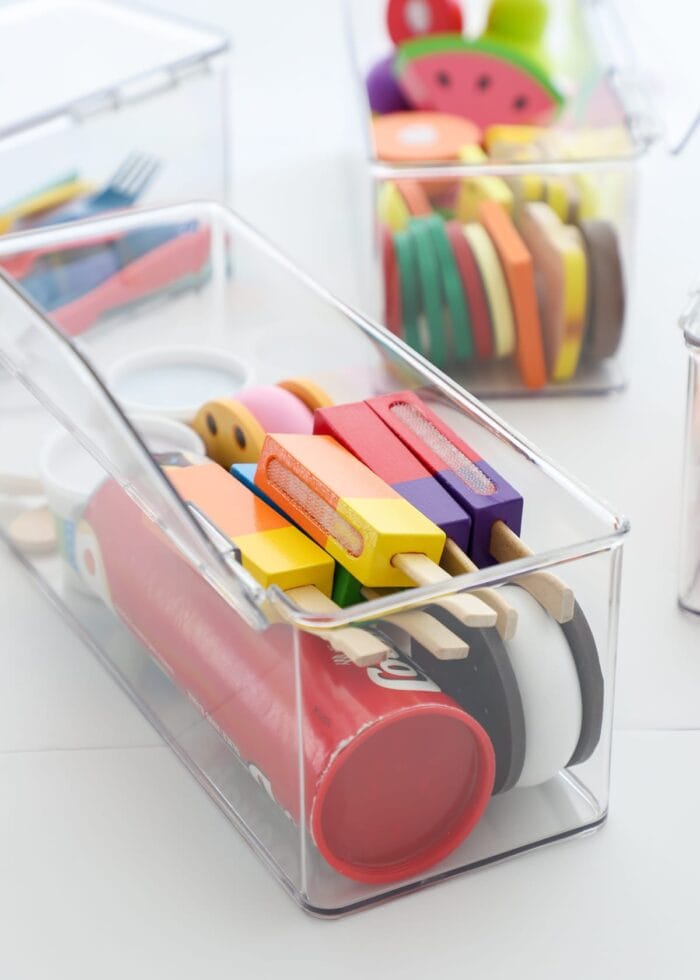
- How to Organize Play Food
- Device Charging Station in a Drawer
- DIY Dress Up Station for Kids
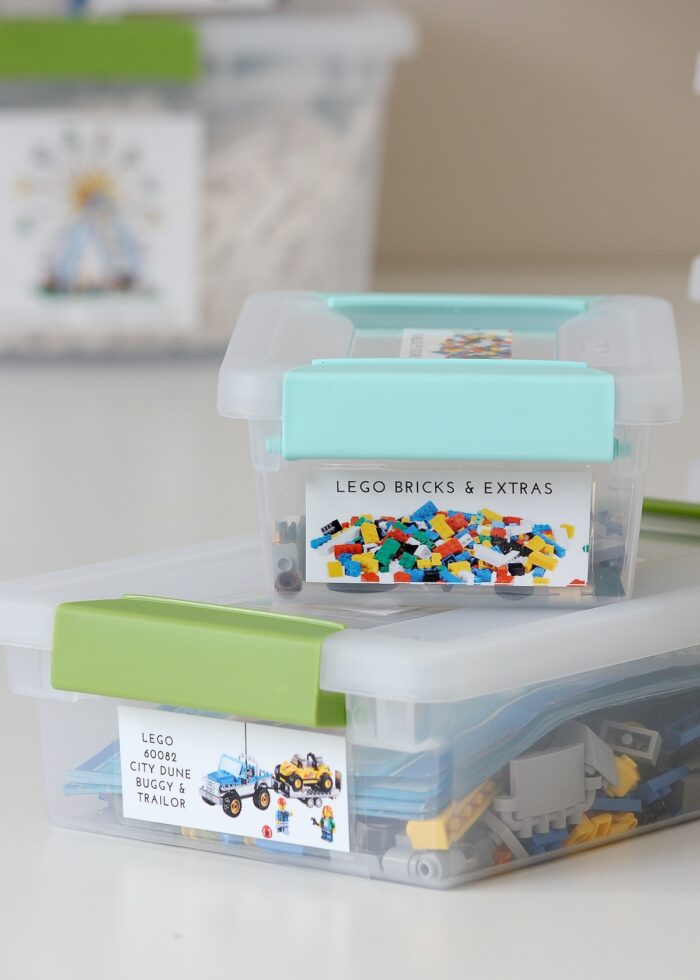
- How to Sort and Store Those LEGO Sets
- How to Store Kids’ Sports Equipment
- How to Setup a Kids Art Station
- How to Store Kinetic Sand

Although I show this project in a small drawer with just three kid electronics, it can be adapted for any size and number of devices. Whether you want to make individual drawers for each family member or a dedicated family charging station, this same concept can be easily expanded with a bigger drawer and more charging ports.
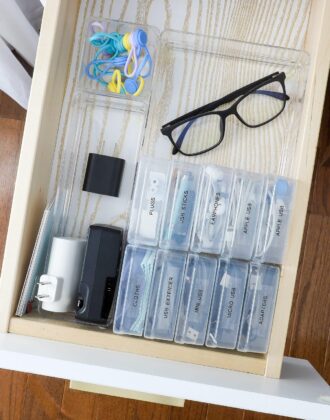
Now that the kid devices are taken care of, I’m actually trying to figure out if we can implement something similar (in a higher-up drawer) for the non-kid-friendly devices (e.g., iPad, laptop, smartphones, cameras, etc). In the meantime, I hope these simple DIY charging station ideas spark some solutions for tacking the nuisance devices and cords in your own home!
Megan
3 Comments on “DIY Charging Station In a Drawer | Easy 1-Hour Project!”
I have done something very similar to charge my phone in my nightstand drawer. I wanted it within reach, but out of sight.
I also stuff the cords for my lamp and sound machine into the same drawer so they are not collecting dust and hair and are safe from puppy teeth. The cords and surge protector are in a basket in the back, giving me the front for necessities.
Since I don’t have the equipment or tools to make the holes my friend’s husband bartered it for dog sitting.
There’s always a way.
We discovered a way to add an outlet where we need one as an extension of a poorly placed one. It was a you tube video involving removing base board and adding Romex. It’s a bit more involved but we did it to create a coffee station with a space to plug in chargers as well. And all the cords are hidden behind the coffee station using a multiport charger just like what you did. The outlet was a few inches from the door and it was an ugly mess! You are a great inspiration!
Megan – as always, a brilliant article! Will be adapting a drawer as my next project. Also – just about to read your article on “3 ways to organise cords in a drawer”. I already have mine stored in partitioned openings but seeing your idea with labelled see-through containers is much better. Only today my husband was looking for a particular charger and cord – he didn’t even have a clue what he was looking for! Labelling and/or using different coloured Washi Tape is definitely the way to go. Thanks for all these great tutorials.