Storing Kids’ Sports Equipment | Our Real Life Solutions
We’ve been hard at work organizing every corner of our garage. And today, I want to show you the easy, affordable, and totally effective solutions we’re using to organize and store kids’ sports equipment. While the few products we’ve implemented aren’t especially fancy, they are working wonders for keeping our balls, mitts, bats, bikes, helmets (and so much more!) sorted out and tidy yet still totally playable! Let me show you!
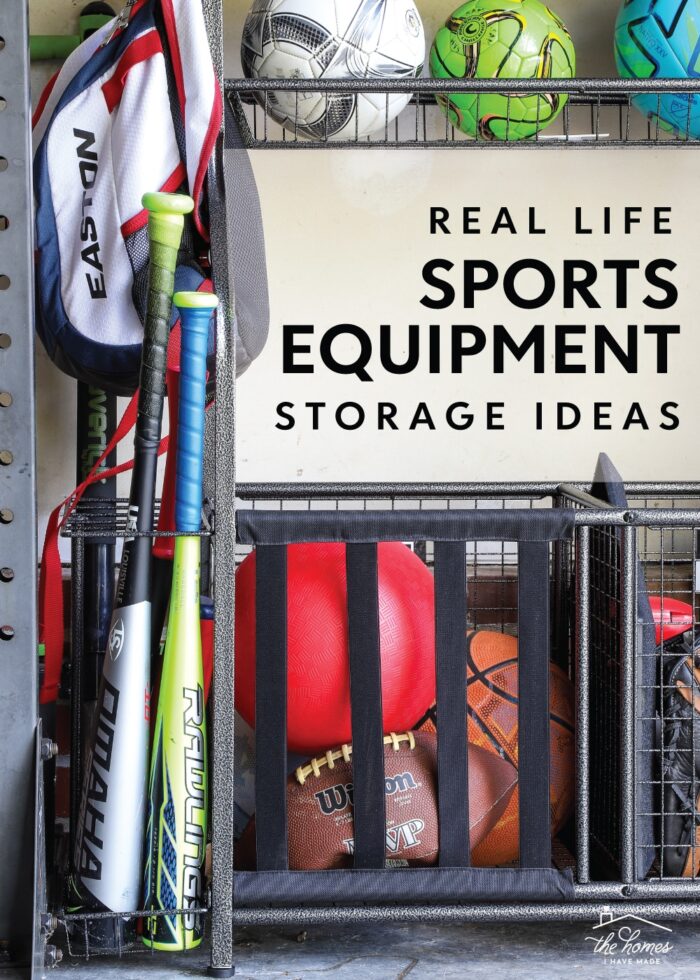
A Look at Our Kids’ Sports Equipment Storage
In almost 12 years of sharing our homes here on the blog, there is one space I’ve actually shared precious little about: the garage. And quite frankly…it’s usually because I run out of time before I can figure out (and implement) some real, viable, effective storage solutions for the tools, supplies, holiday decor, wheeled vehicles, and everything else we tend to stuff store in the garage.
Admittedly, kids’ sports gear storage has always proven especially challenging for me. No matter what I try, helmets and mitts and balls ultimately end up piled precariously on shelves or stuffed into bins; and almost always, no one is able to find (or use!) anything.
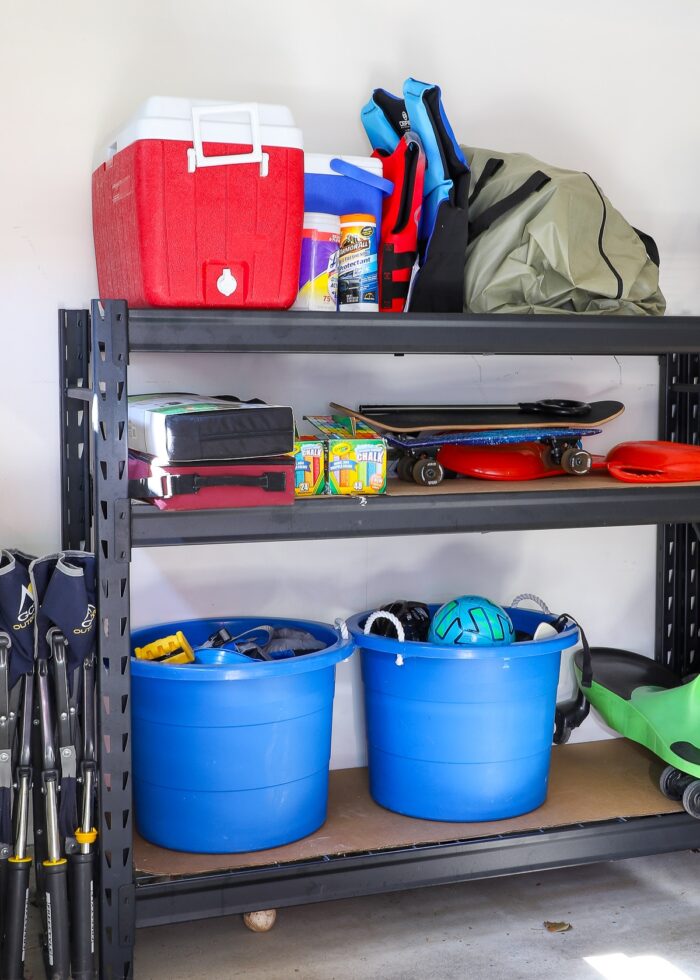
But now that we have three busy boys constantly in, out, and around our garage all day long playing with all the things, I was determined to come up with some sports equipment storage solutions that really work. Work for them. Work for me. Work for the stuff itself.
This primarily involved (finally, reluctantly) stepping away from my default bins-on-shelves setup, because time has taught us that (lidded) bins and even large open tubs just don’t work great for sports equipment.
So instead, I opted for a few different sports-equipment-specific organizers on the perimeter of our garage. While these solutions don’t look or feel as “custom” or “outside the box” as I usually prefer, I can say for sure that they’re working brilliantly!
My kids can find their sports stuff AND put it away because these solutions are open, accessible, and perfectly suited to all different types of outdoor gear.
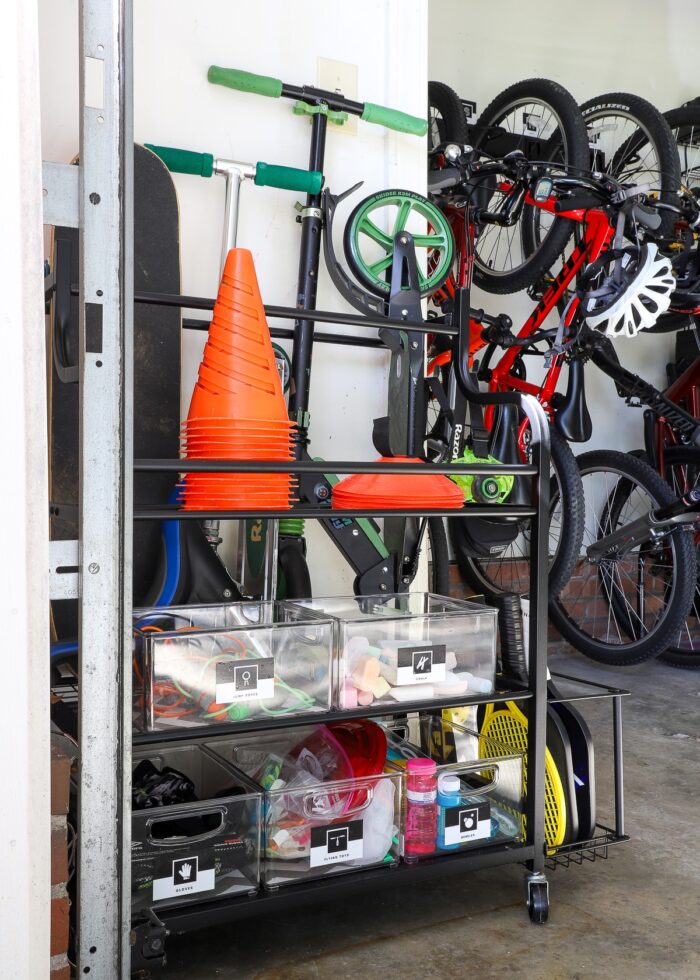
As much as I would love a long expansive wall full of organized sports equipment, we just couldn’t make that kind of storage space available (nor did we want to invest in something super specific for this garage since we’re renters). But after we got some larger shelves into place, we determined we had about 3 feet of space on either side of the garage that could hold smaller carts of equipment.
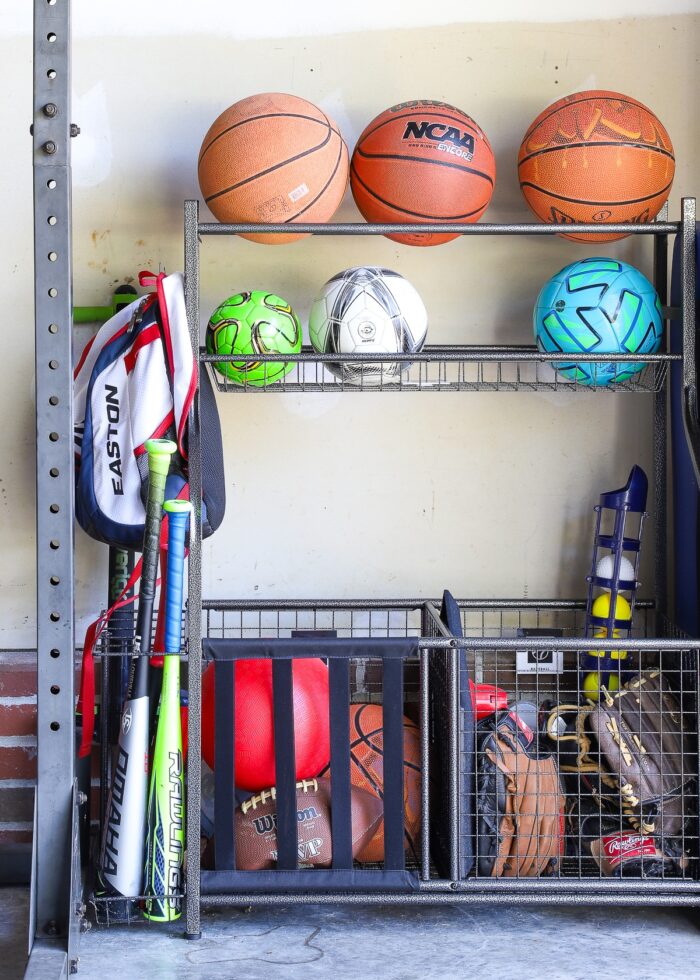
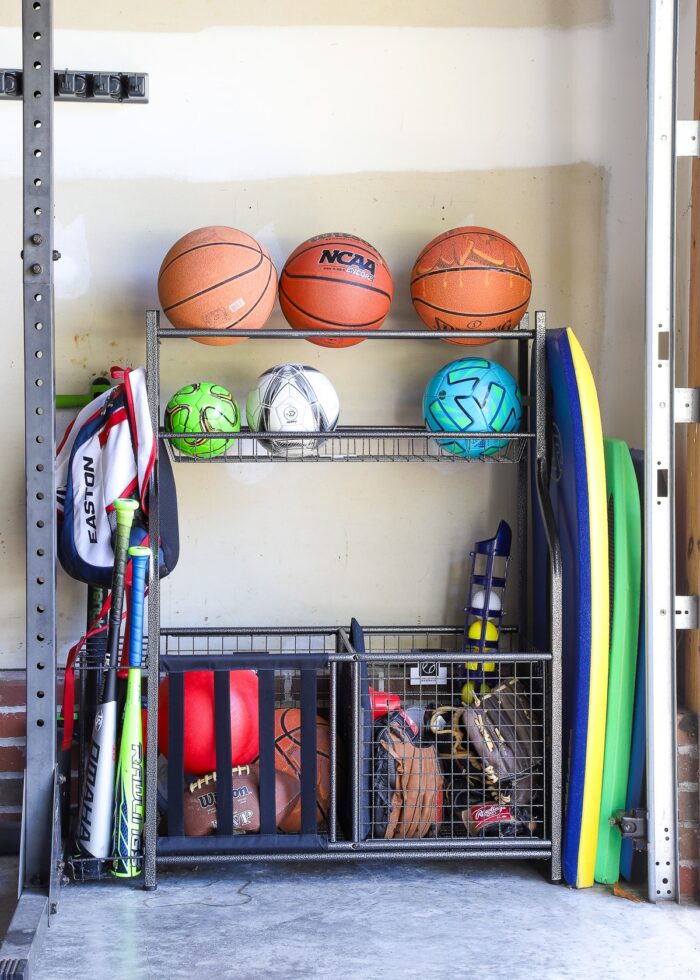
So on the right side of the garage, we have one cart, mostly dedicated to sports equipment.
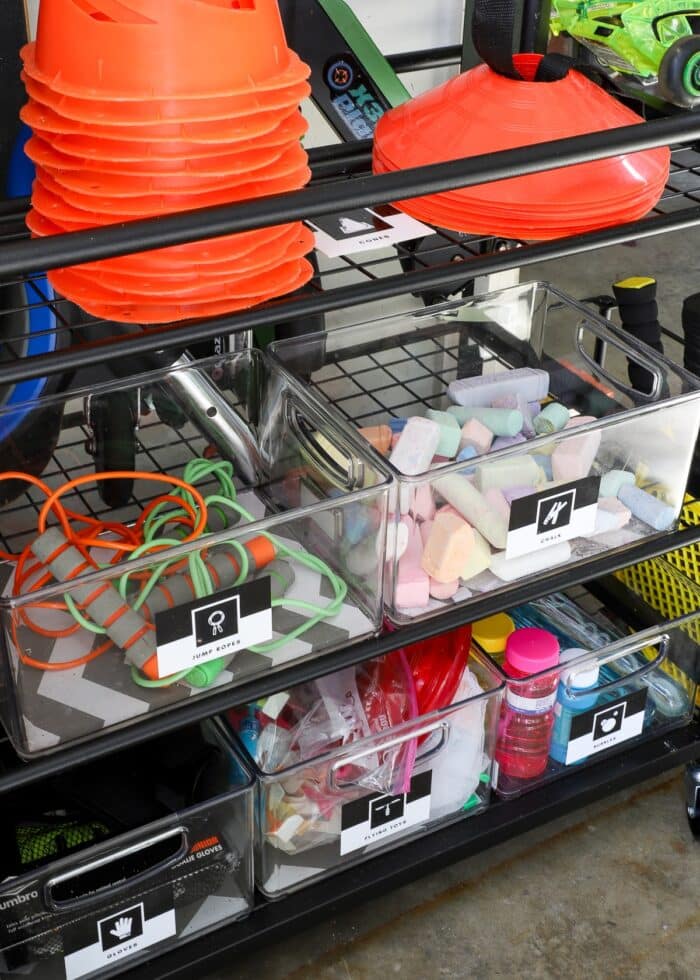
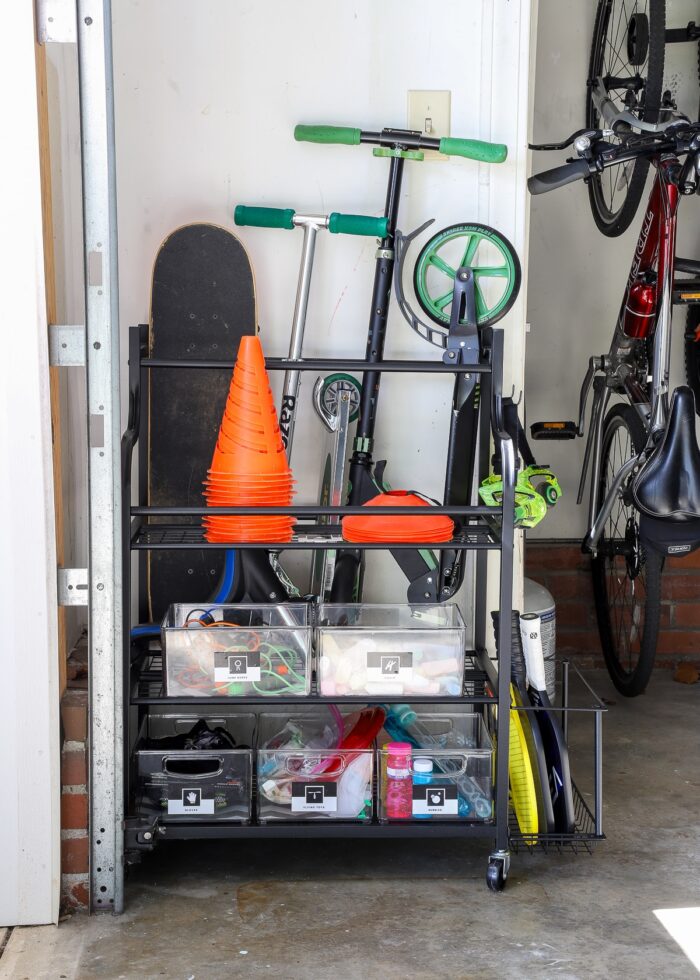
And on the left side of the garage, we placed a second (different) cart that has more “outdoor toys” type stuff (e.g., bubbles, chalk, etc).
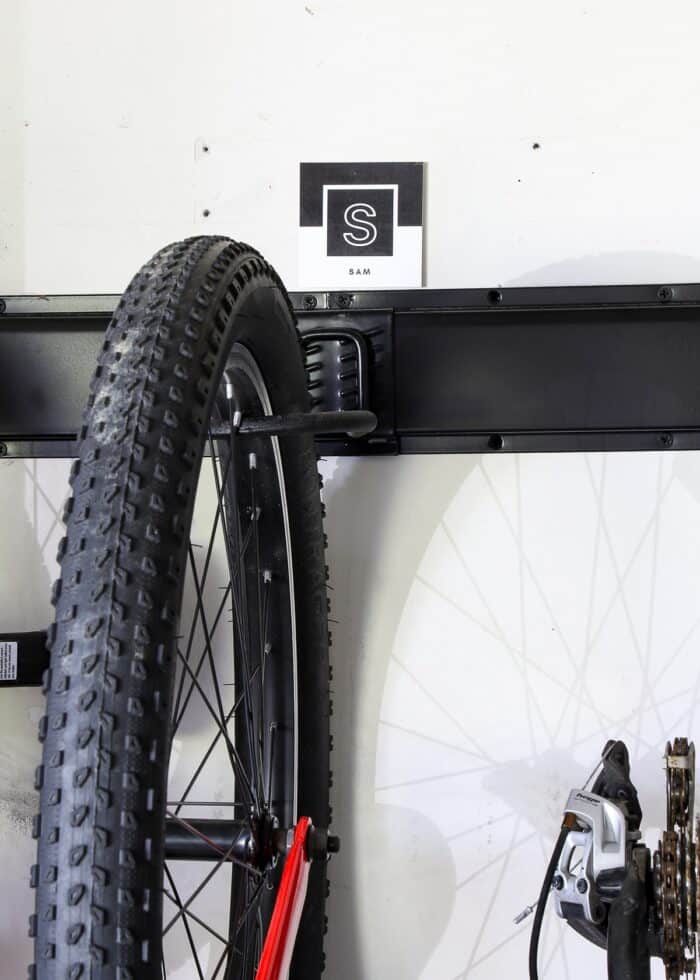
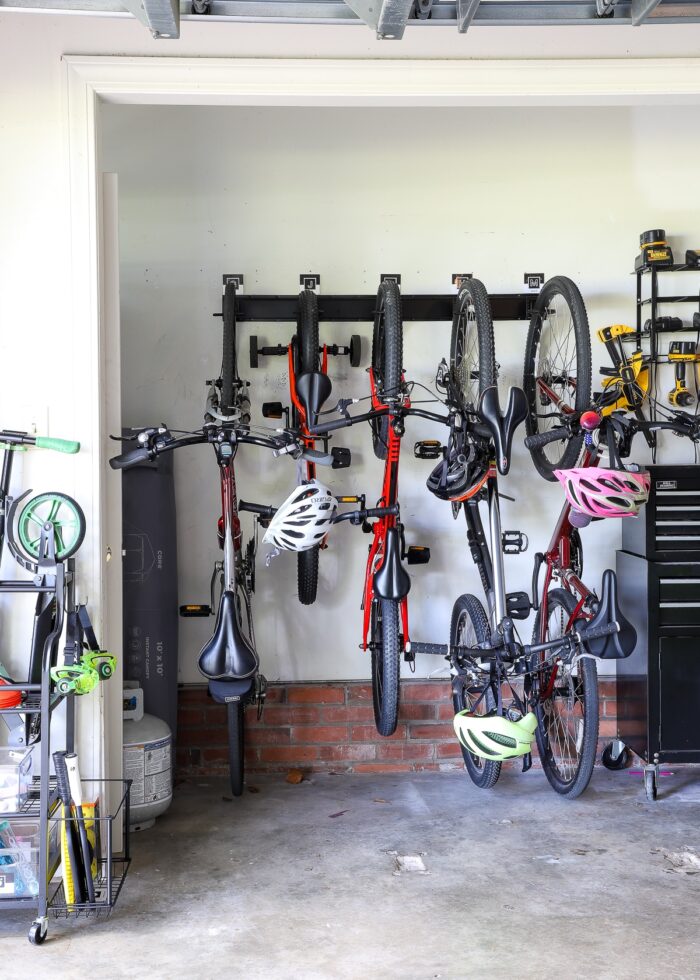
Finally, we used the sizable alcove off the side of the garage to hang bikes vertically on the wall. The depth of the alcove perfectly matches the depth of the bikes. Meaning that, when hung, the bikes don’t impede play or parking at all!
Besides a few beach toys, these three locations hold 100% of our kids’ outdoor toys and sports equipment. Let me give you a closer look at everything, while sharing my very best tips and tricks I learned along the way!
Top Tips for Organizing Kids’ Sports Equipment
Tip #1 – Purge Before You Organize
I cannot over-stress the importance of sorting out and decluttering your sports equipment and outdoor toys before identifying what exact carts, organizers, shelving, etc you need to store it all.
We started out with 8 basketballs (8!), most of which weren’t usable anymore. Further, we had a lot of worn out and/or broken gear that was never going to be used again.
By the time I purged out all the junk, we actually had a much more manageable collection of items to store (which in turn meant I didn’t need big, bulky, expensive storage systems to hold it all!)

Don’t hesitate to use space in-between racks/carts/walls for taller items!
Tip #2 – Ditch the Catch-All Bins
For years, my solution for outdoor toys and sports equipment has been big round plastic tubs sitting on low shelves. While I loved the “one-and-done”-ness of this solution, large open bins actually aren’t that kid-friendly.
More often than not, everything gets dumped out just to find one specific item; and almost always, the bins become random “pits of despair” with no sense or order.
Even smaller lidded bins (broken down by activity) don’t prove much more successful. In general, lids are never a great idea for kids (kids just won’t un-do/re-place lids), so either the toys don’t get played with or they don’t get put away. Plus, very rarely does everything for one particular sport/activity fit into a nice, neat basket.
Everything we have now implemented are all-open systems (i.e., shelves, hooks, racks, etc), and I can attest the toys get played with so much more and the overall mess is so much less!
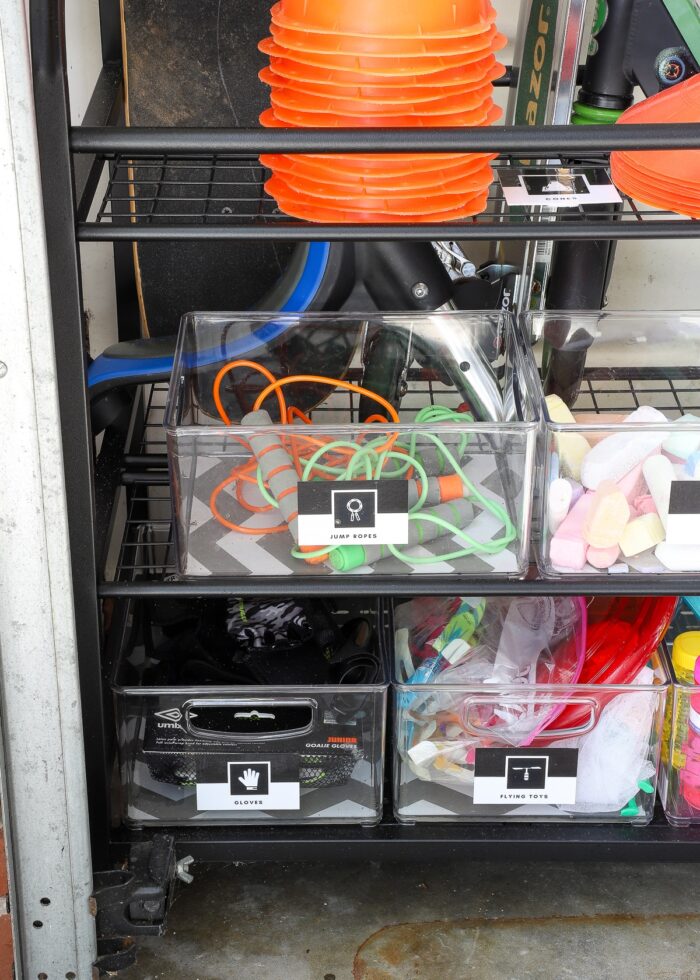
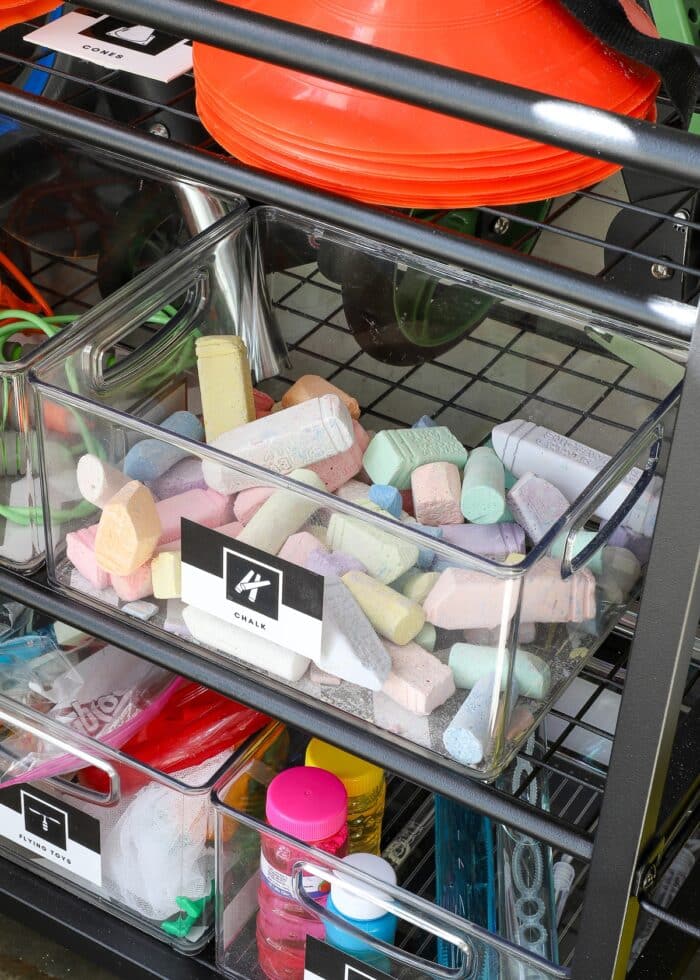
Durable plastic bins on open shelves are great for collections of small toys (e.g., bubbles, chalks, etc). The kids can just grab what they need and go!
Tip #3 – There’s No One Size Fits All Solution
One of my biggest take aways in figuring out our sports equipment storage was that there is no single solution that will work for every last item. What works for balls won’t work for jump ropes; what works for baseball bats won’t work for tennis rackets. And on and on.
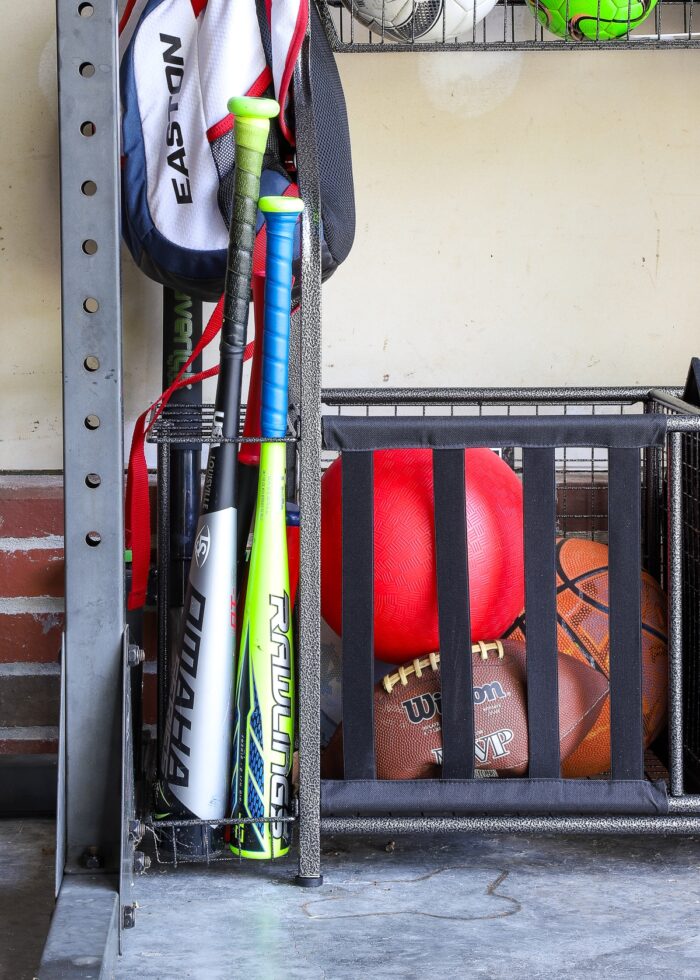
I love the tall side storage compartment for bats, hockey sticks, lacrosse sticks, etc.
I’m pretty certain that the reason these two carts work so well is because they offer a wide variety of storage methods: shelves, open bins, racks, rails, hooks, big compartments, small compartments, etc. Between the two, there is a well-fitting and logical spot for every last item…big or small, round or flat.
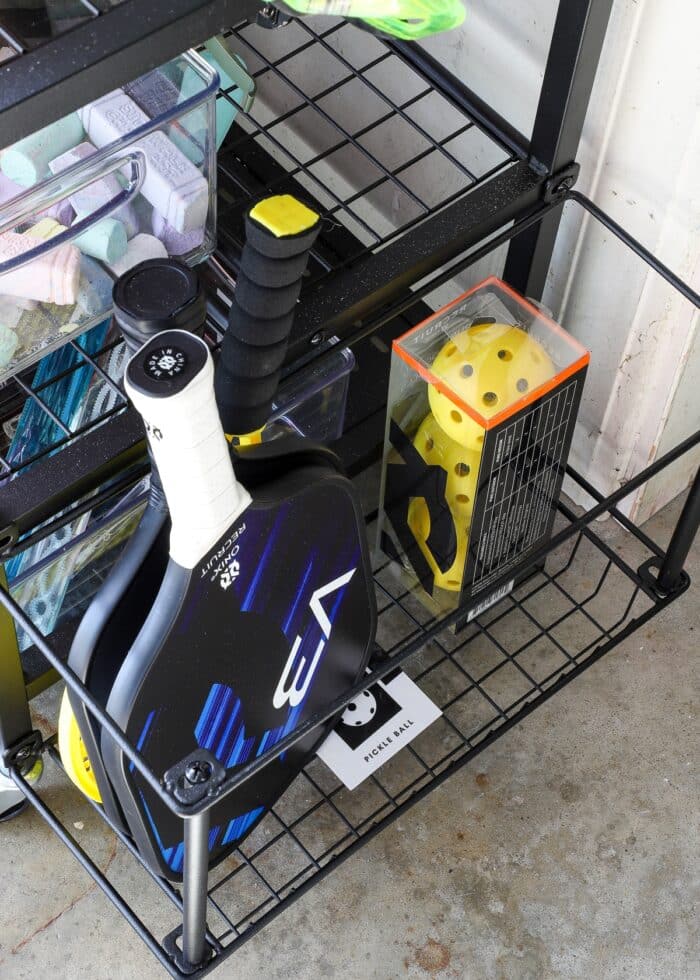
This wider compartment (intended for yoga mats) is actually great for wider rackets!
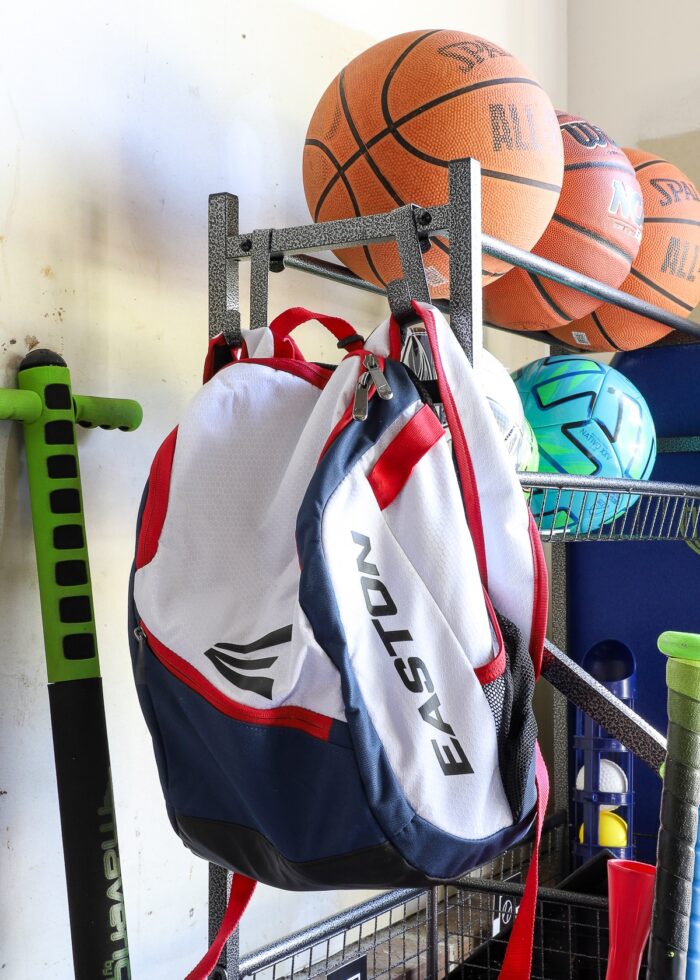
External hooks can be mounted in various locations on the carts and are great for bags, cleats, uniforms/jerseys, and wheelies!
Tip #4 – Plan as You Shop
If you refer to my SPACE Method while decluttering, you’ll see that I always advocate purging and categorizing before you shop for specific organizers. And that’s because you need to know specifically what you’re looking for.
Originally, I assumed we’d need two of this cart design (the one with the rails for balls). But as I analyzed what we owned, how big everything was, and how best each item could be stored, I realized a second identical cart wasn’t quite what we needed.
Rather, open shelves and wider compartments would be much better for the few miscellaneous categories still left to store, which ultimately lead me to this fitness cart instead.
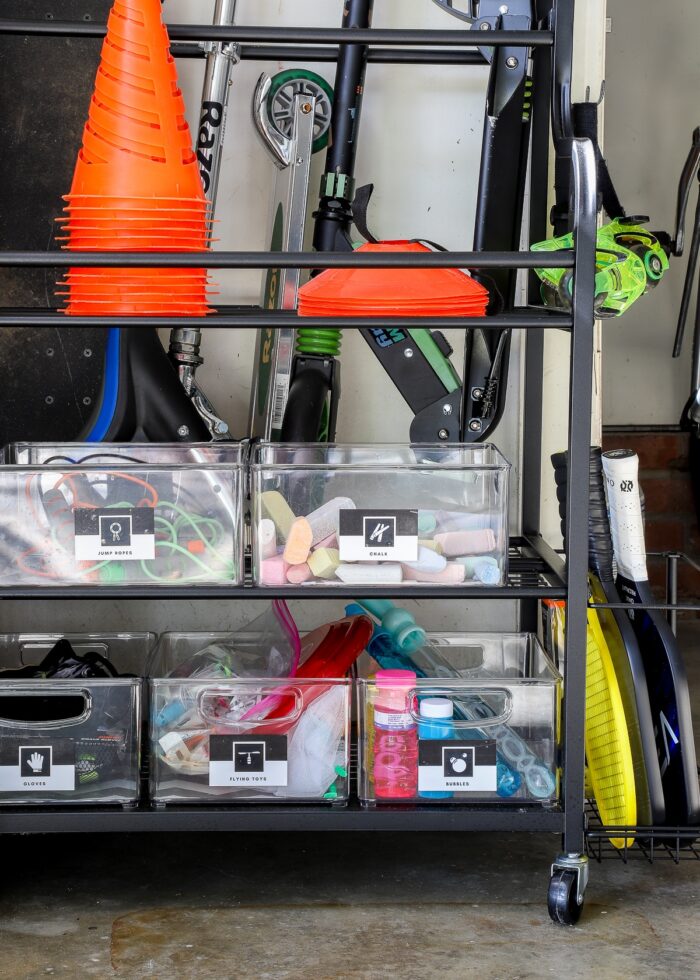
Don’t just assume that what you have will fit on something called a “sports equipment organizer.” Read dimensions, analyze product plans, and consider different types of racks, carts, and organizers to find the exact solutions your stuff needs.
My best example: even though this specific cart is a “fitness” cart with a large back compartment intended for yoga mats, it was actually the exact space we needed for tall, wide items like skateboards and scooters!
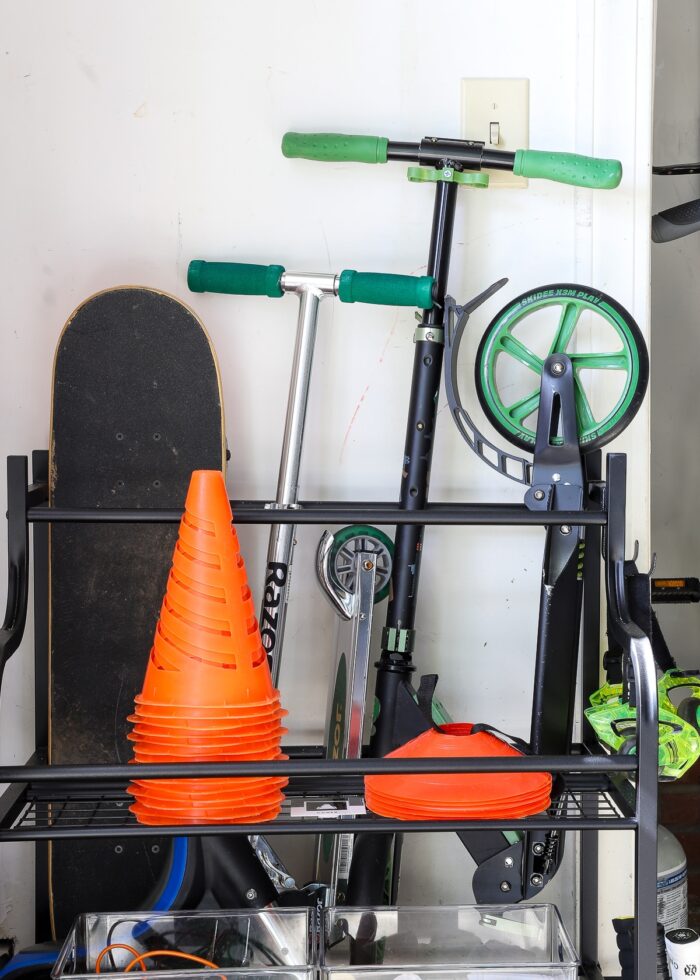
Collapse down scooters and other ride-ables (when possible) to make them more compact for storage.
Tip #5 – Keep It Clear
Besides being too big and too cumbersome for kids to use, another point-of-failure with plastic bins is the inability to easily see what’s inside.
Kids won’t play with what they can’t see, so try to pick products that are wired or see through. Yes, in general, see-through storage doesn’t look as clean-and-tidy as opaque organizers. But what’s the point in storing items if they don’t ever get used?!
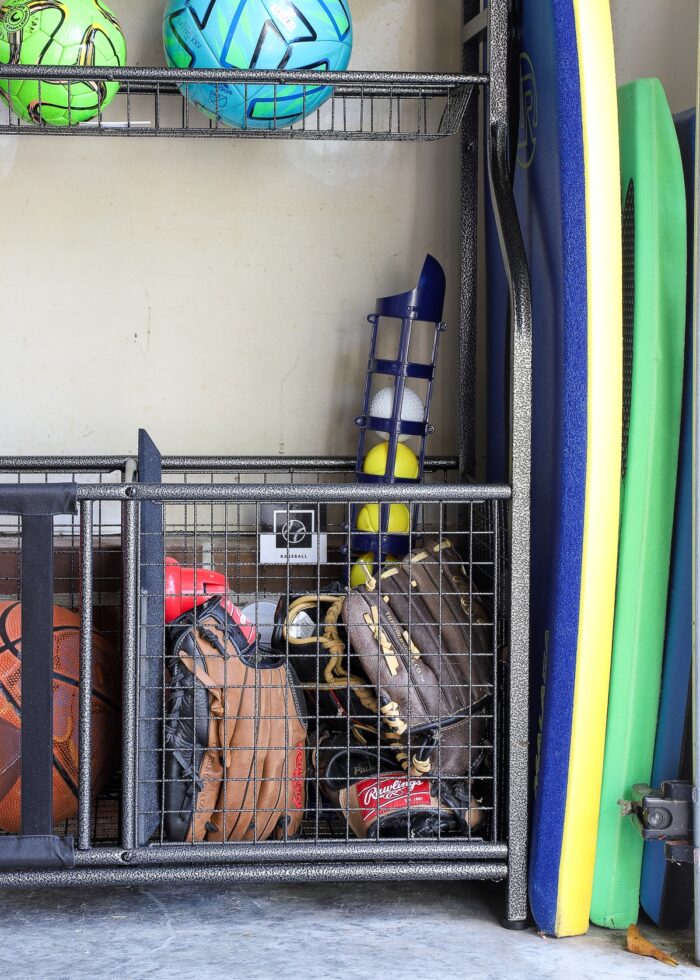
Tip #6 – Match Your Systems to Your Kids
In general, but especially in garages, my instinct is always to get things off the floor by using the walls. And this can be a really solid approach, especially if you need to park in your garage or want to keep the floor space open for play.
But we realized that moving items high up on the wall would make them too hard for the kids to reach on their own. Taking advantage of vertical space makes sense if you have older/taller kids; but if you still have little ones, consider rolling carts, shelving, or wall-mounted systems that primarily take up the lower half of the wall. This means they’ll always be able to get items out and put items away without your help!
At the bottom of this post, I’ve linked a few add-ons to these carts that would allow you to take more storage up higher as your kids grow or you add more sports items to your stash!
Tip #7 – Best Ball Storage Solutions
After years and years (and years) of having all our balls in large open tubs, it’s been quite the (pleasant) change to have them out on open rails, like shown below. This type of display makes it super easy for kids to grab the exact ball they need, whenever they need it (even as we’re literally running out the door to practice).
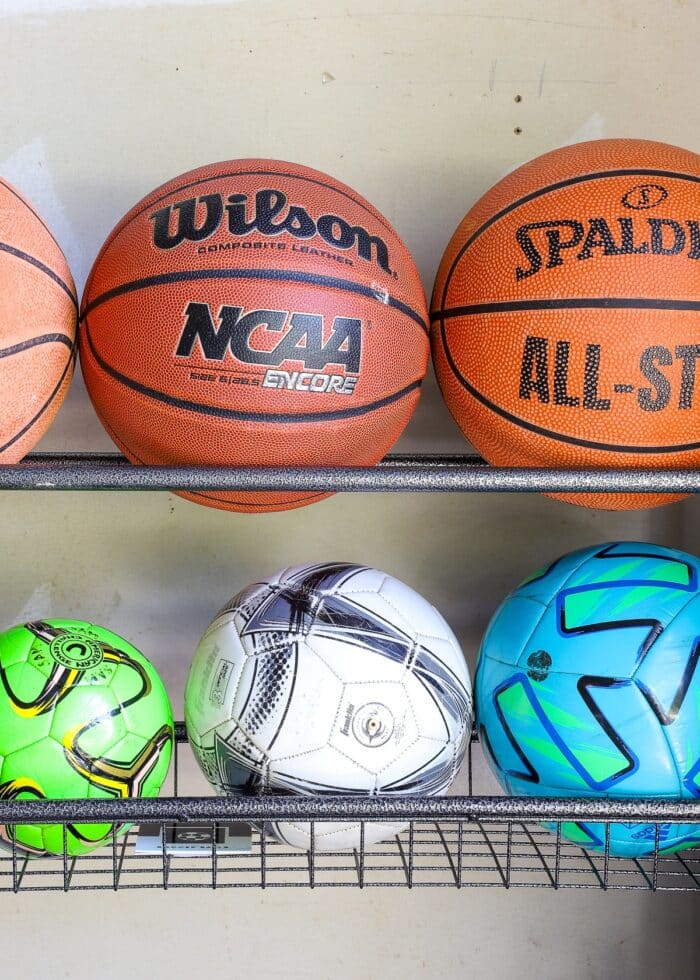
The lower rack is better for smaller balls such as soccer balls, baseballs, volleyballs, and tennis balls. We found that basketballs only fit on the top rails.
That said, racks and rails tend to have a finite amount of space; and you may have some overflow. An expandable bin (like on the bottom left side of this cart) is perfect for the few extra, random balls.
The wire sides make it easy to see what’s where, and the elastic straps allow you to pull a single item out without disrupting the rest. If you have a sizable ball collection, here are stand-alone versions that would provide the same functionality in a bigger footprint.
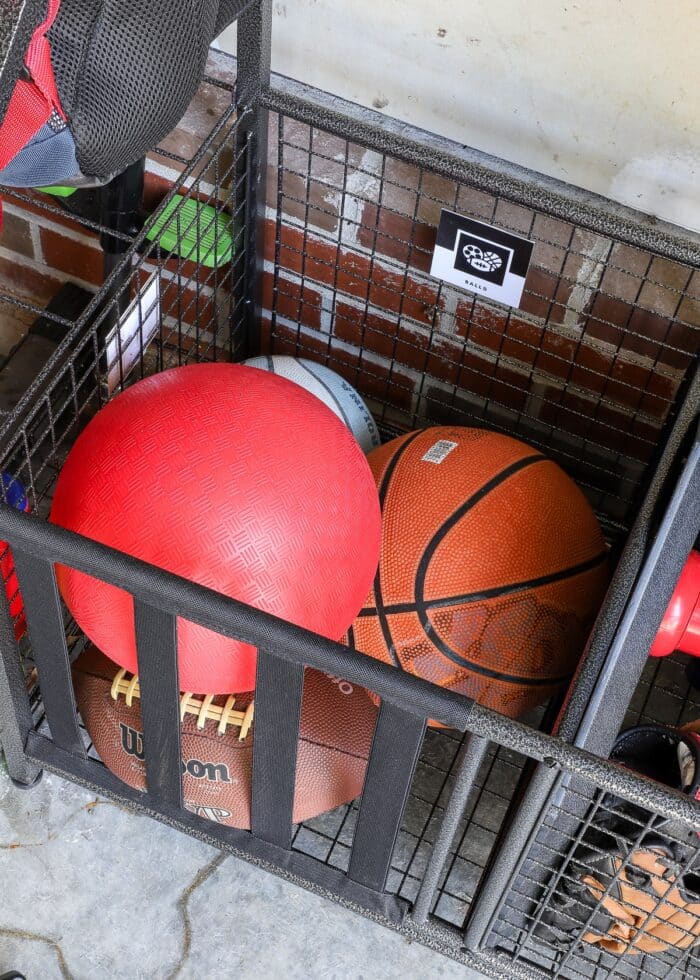
The elastic straps allow this compartment to expand, while also making it easy to get items out!
Tip #8 – Bike Storage Storage Solutions
Oh…bikes. What is the best way to store a family’s collection of bikes so that they are easy to use but not all over the garage floor constantly?
Use the wall!
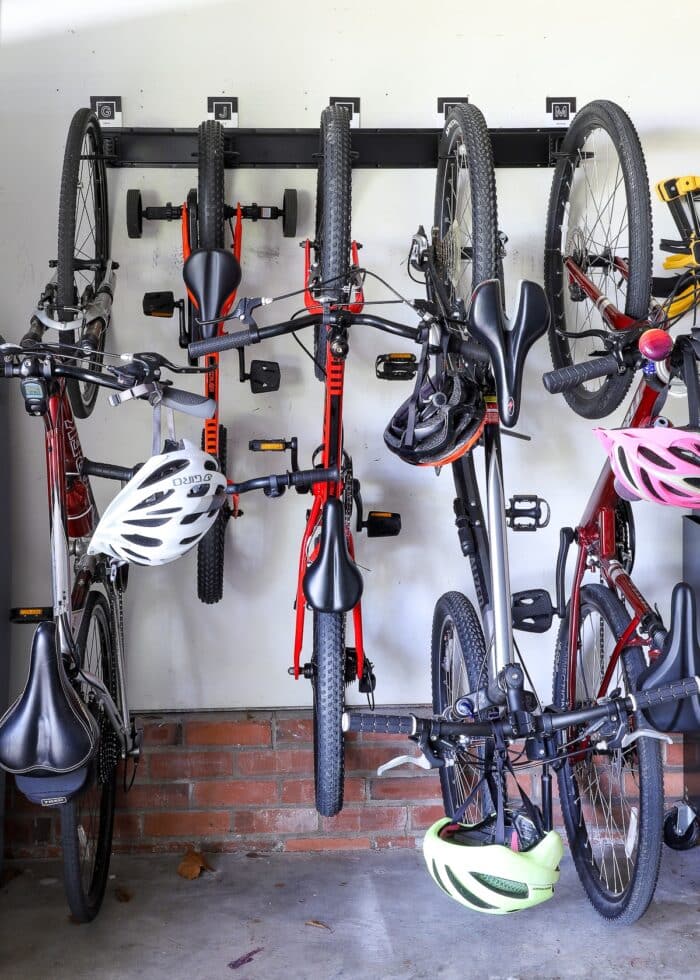
Alternate handle bars up/down to make it easier to get bikes off the rack.
Bikes are clunky and prone to tipping over; so using the wall (or the ceiling) can be a great alternative to the floor. That said, once mounted, bikes do stick out a considerable distance from the wall which can still eat up precious floor or parking space.
Fortunately, our current garage has an alcove, which allowed us to hang the bikes without sacrificing any walking/playing/parking space either.
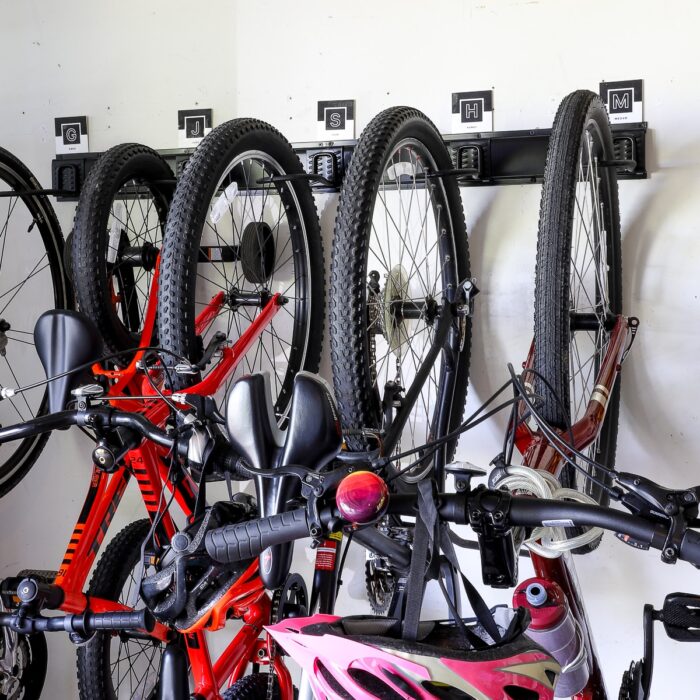
My one regret with this particular bike rack? The bikes are not easy for the kids to put up and get down on their own, especially when all five are hung tightly together. In hindsight, I wish we had bought heavy-duty wall mounts that allow the bikes to be hung at wider intervals and fold to the side; but 1) they are much more expensive, and 2) we didn’t realize how difficult this would end up being for the kids.
If you don’t ride bikes frequently or you have older kids, this basic wall rack is an excellent solution for getting them up off the floor and out of the way. However, if you want to be able to pull bikes down quickly and easily, consider spreading them out (with an extra rail) or using a system that pivots.
Tip #9 – To Label or Not?
Admittedly, my first instinct was not to bother labeling these sports equipment storage carts. It’s quite obvious where the balls are, and the baseball gloves and the chalk.
But remember that labels have two purposes: the first is to help you locate items, and the second (and more important one, in my opinion) is to remind you where items go back.
When it comes to kids, they need that gentle reminder of where items go, or else they will just throw items anywhere. But if they see a simple, easy-to-understand visual cue, they will put items back where they belong. And that is key to keeping your sports equipment storage in tiptop shape.
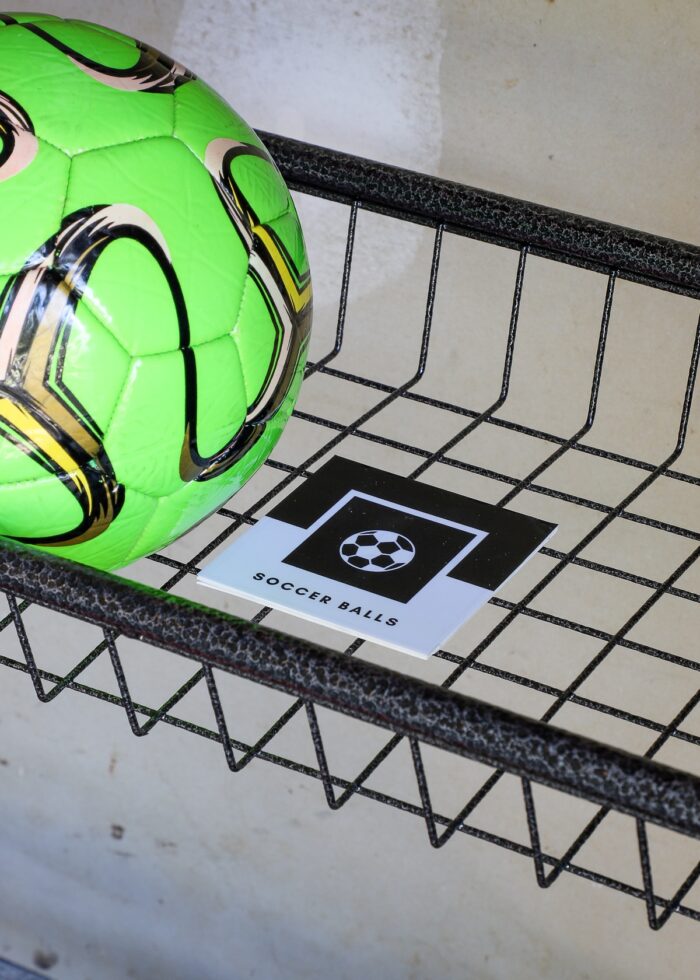
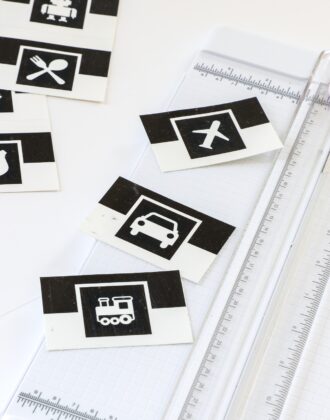
As such, I made some waterproof sticker labels using this label template (and these instructions). The ones on the wire racks (like the soccer ball label, below) are adhered to stiff cardboard squares and then held in place with adhesive-backed Velcro.
The labels on the plastic containers are stuck directly to the sides of the bins.
The monograms above each bike help us remember where each bike fits best, since getting all 5 up onto the hooks takes some maneuvering.
Tip #10 – Maintenance Is Key
Like any other area in the home, maintaining organization requires work. And sports equipment storage is no different. Even with the best organizers and most-intuitive labels, you will need to teach kids where items go and reinforce putting items away until it’s second nature.
I’ve been very pleasantly surprised how tidy our entire setup has remained over the last few months (a real testament to how easy each solution is to use!)
Shop My Sports Equipment Storage Picks
I can’t overstate how impressed I am with the Mythinglogic garage storage options (not sponsored, just impressed!) These carts/racks are super-sturdy, rust-proof, affordable, and come in lots of different layout options (including ones specific for golf bags, gym equipment, tools, etc). In fact, after our two carts arrived, I went back to see if I had uses for any of the other models. I really like the taller versions too (shown below), giving us options to expand up as needed!
Below are the products seen in our garage, plus a few others I think would be quite handy if you have more sports equipment than we do!
Sports Equipment Organizer
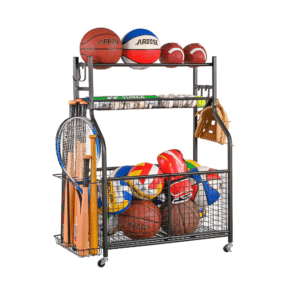
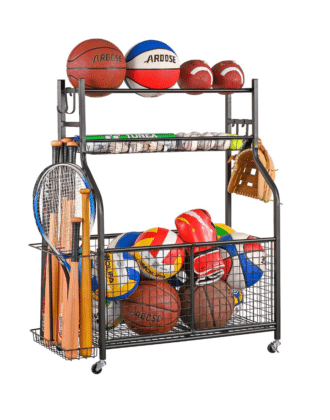
This is the cart we’re using for all of our sports equipment. With rails along the top, large bins in the bottom, and specialty features like tall stick storage and hooks, you can squeeze A LOT into this little cart!
Sports Equipment Organizer Add-On
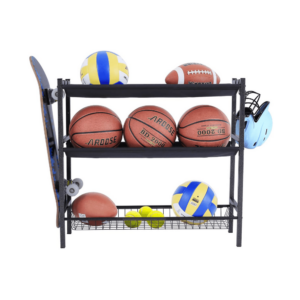
If you need additional ball storage, this extra shelf hooks on top of the (above) storage cart and would allow you to easily sort and store balls by sport!
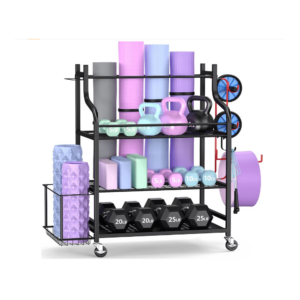
Fitness Equipment Organizer
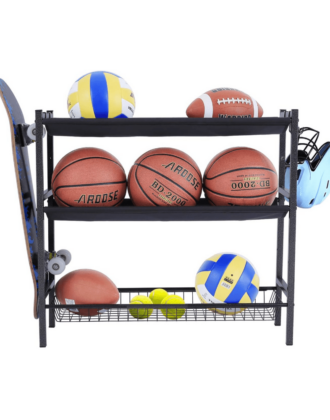
This is the exact cart we’re using for scooter/skateboard storage, as well as outside toys such as bubbles, jump ropes, and more! Just because it’s designed for gym gear, don’t hesitate to use each hook, compartment, and shelf however you need to!
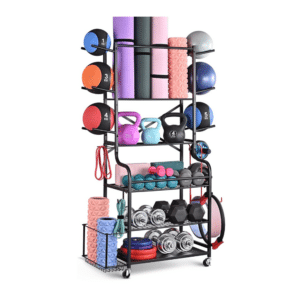
Tall Fitness Equipment Organizer
This is the same fitness organizer as shown above but with a taller add-on. Those external rungs would be great for bike helmets; and the taller shelves are ideal for items you may not use frequently (e.g., beach toys, water toys, etc).
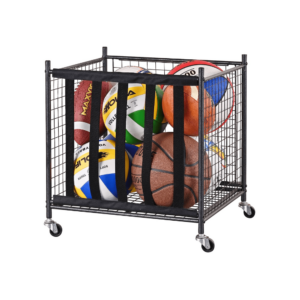
Rolling Ball Cart(s)
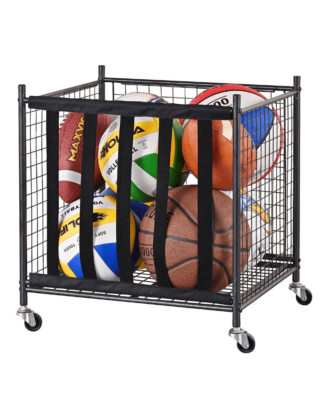
If your ball collection is much more extensive than ours, I love these rolling carts with the elastic/expandable sides. You can even buy multiples to stack on top of each other!
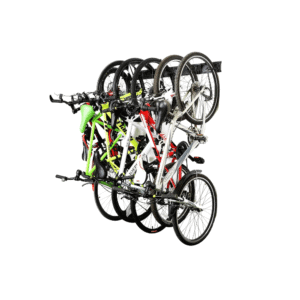
Wall-Mounted Bike Storage
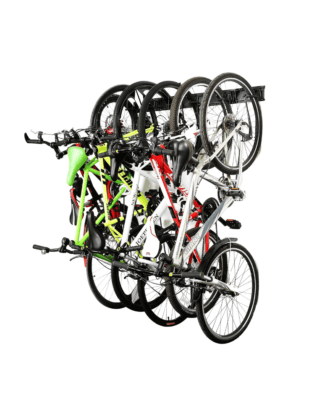
This wall-mounted bike rack is easy to install and can hold up to 6 bikes in a compact wall space. However, bikes don’t swivel, making it a bit tricky to get bikes up/down if they are packed in tight!
More Garage Organization Ideas
Looking for more great ways to organize the items in your garage? Here are some other ideas to explore:
The sports equipment storage solutions we’ve implemented in this garage have me feeling pretty giddy! Not only because they are budget-friendly and easy-to-setup (compared to more dramatic wall or ceiling installations), but because they’re actually working!
Organizing kids sports stuff has alluded me for so long, and these two simple carts (plus a few bike hooks) has meant we can actually walk through our garage AND our kids can find their play things! Hooray!
Megan



2 Comments on “Storing Kids’ Sports Equipment | Our Real Life Solutions”
Most impressive!
You should make a poster that says “Purge – then Organize”
You are torturing your followers who love your genius label methods by not showing the underside / backs of the wire shelves with the velcro! Those are hard to label…is the metal sandwiched in between? Is laminating possible?
Beautiful job and inspiring, as always!