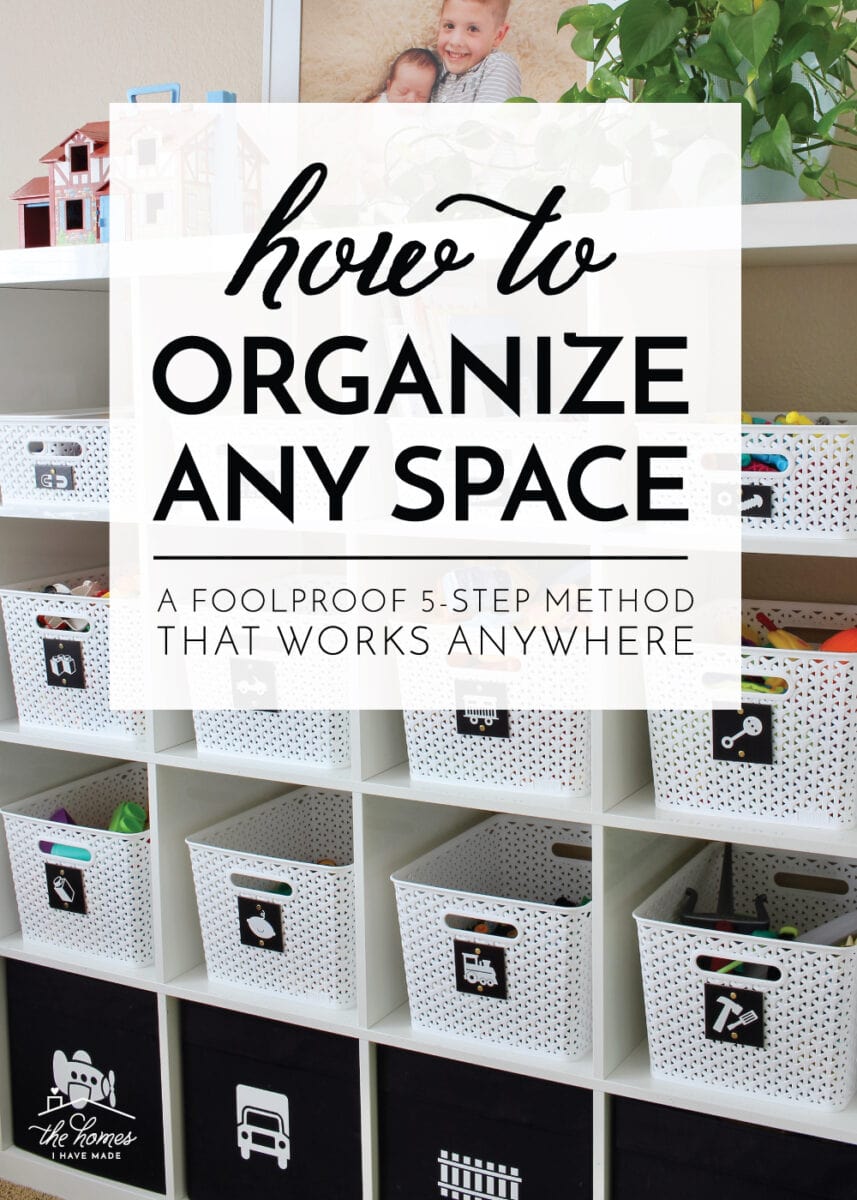
Learn How To Organize Any SPACE In 5 Steps
Over the last 15 years, I have used the 5-step SPACE method outlined in this post to set up, organize, and enhance the function of all 8 of our rental homes. From small junk drawers and annoying paper piles, to over-run playrooms and out-of-control garages, this easy and intuitive system works for any situation in your life or home. While this process of organizing might seem like a lot of steps at first glance, I promise that, as you get more comfortable, dealing with your clutter and creating truly functional spaces will not only become more manageable and obtainable…but maybe even enjoyable! Let me teach you how to organize any SPACE!
Are You Making This Mistake?
When most people decide to tackle a clutter problem, usually their very first instinct is to go load up on pretty storage containers (e.g., baskets, bins, files, etc) at their favorite shopping spot. They excitedly return home with fancy new supplies, sort their stuff, and put everything away in a new and likely-prettier home. But my friend, I have a hard truth to share: this isn’t organizing. This is finding pretty ways to store your clutter.
Truly organizing a space is so much more than sorting items into drawer organizers or containers and adding labels with a fancy label maker. It’s really about:
- Assessing the importance, function, and usability of your stuff;
- Deciding how much stuff can reasonably fit into the storage spaces you have;
- Identifying systems to make that stuff usable and accessible;
- And (if desired) adding pretty finishing details to help you love your new systems and incorporate them fully into your lifestyle.
The process starts with making a bigger mess than you started with, and it actually finishes with the pretty baskets and labels.
How To Organize Any SPACE
Today I’m going to teach you how to organize (pretty much anything!) using what I call the SPACE Method. It works on any area of your home, including big, obvious areas such as the fridge or laundry room. But it can also apply to small spots like drawers, purses, and folders, as well as life situations such as your calendar, purse, or Inbox.
Although this method is my own (refined over years and years of trial-and-error), it’s quite similar to systems and processes used by other bloggers and professional organizers. The 5 steps are straightforward and practically foolproof; and the entire method is designed to be intuitive and easy to remember so you can stay on task and make meaningful progress!
The 5 steps are:
- SORT
- PURGE
- ASESS
- CONTAIN
- EMBELLISH
When I don’t know quite how to organize a situation or if I get lost in the middle of an organizing project, I ALWAYS circle back to the easy-to-remember SPACE acronym. You will quickly see how it orients you in what is often a circuitous process, helps you stay on track when you’re tempted to take shortcuts, and pushes you through when it all becomes too challenging.
Let’s dive into detail on each step so you can start making some real, meaningful progress in your own organizing endeavors!
Step 1 – SORT
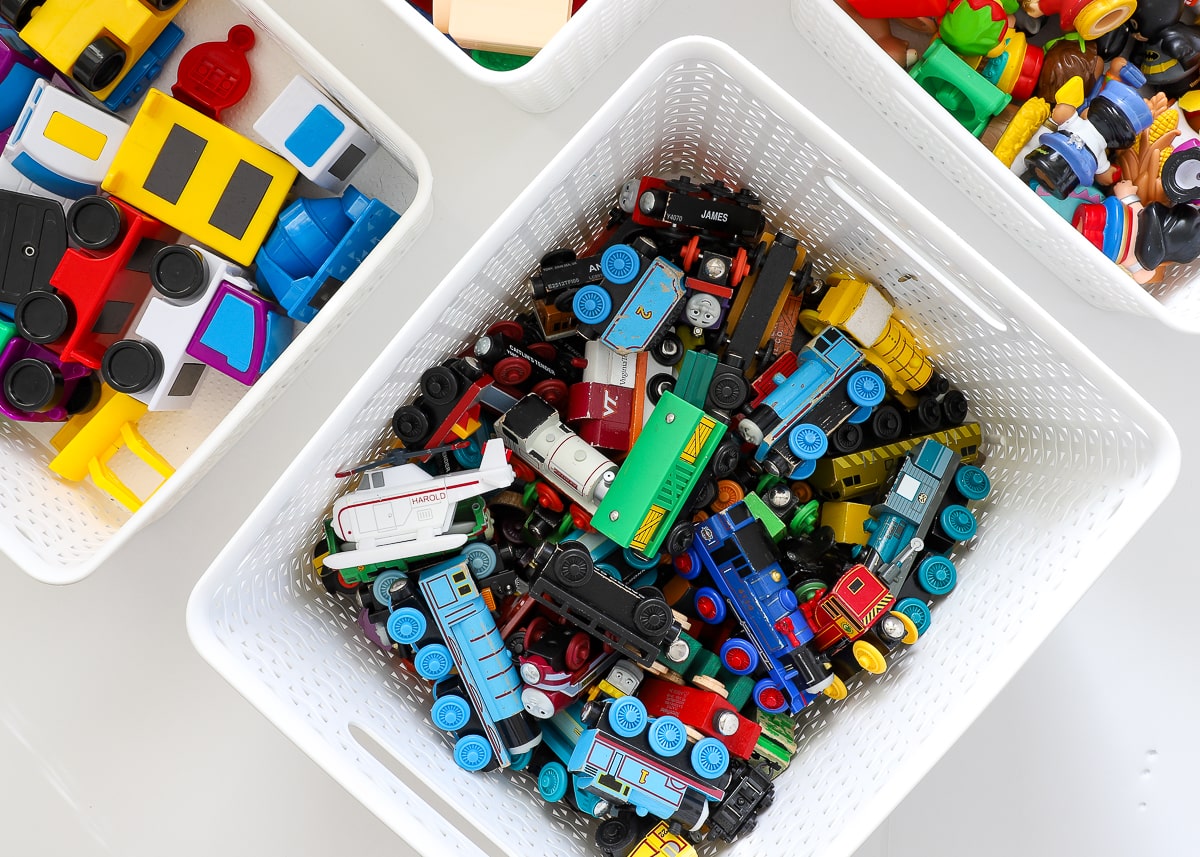
The very first step in any organizing project (big or small) is to empty out your Target Area (i.e., the room, shelving, drawer or other spot you are organizing). Yep – remove every single thing. Leave nothing behind. Sure, this may be easy if you’re organizing a single closet or drawer, but it can create quite the disaster if you’re tackling a large space like an attic, garage, playroom, or craft space. Although you may be tempted to work in chunks or zones, I strongly recommend emptying out the entire space if you can manage it.
Setup work tables, work on a nice day where you can put things outside, or use empty rooms/hallways to hold overflow while you work. Not only does creating a huge mess motivate you to deal with everything as efficiently as possible, but it’s really the only way to fully assess what you have, make decisions about what to keep, and determine how to optimally re-organize everything moving forward.
THINK ABOUT IT: There is no point sorting through, purging, and perfectly organizing your coffee mugs in one cabinet only to discover days or weeks later that you have a bunch more under the sink.
So yes…empty out your Target Area completely so you can see everything you have. And as you empty, sort things into piles of like items or general categories (e.g., shoes with shoes, belts with belts, etc). Don’t over-analyze and don’t get bogged down in making Keep/Toss decisions now. Your goal is simply to empty your Target Area and sort every single item into general categories so you can easily identify quantity, duplicates, purpose, quality, and value in the next step!
Step 2 – PURGE
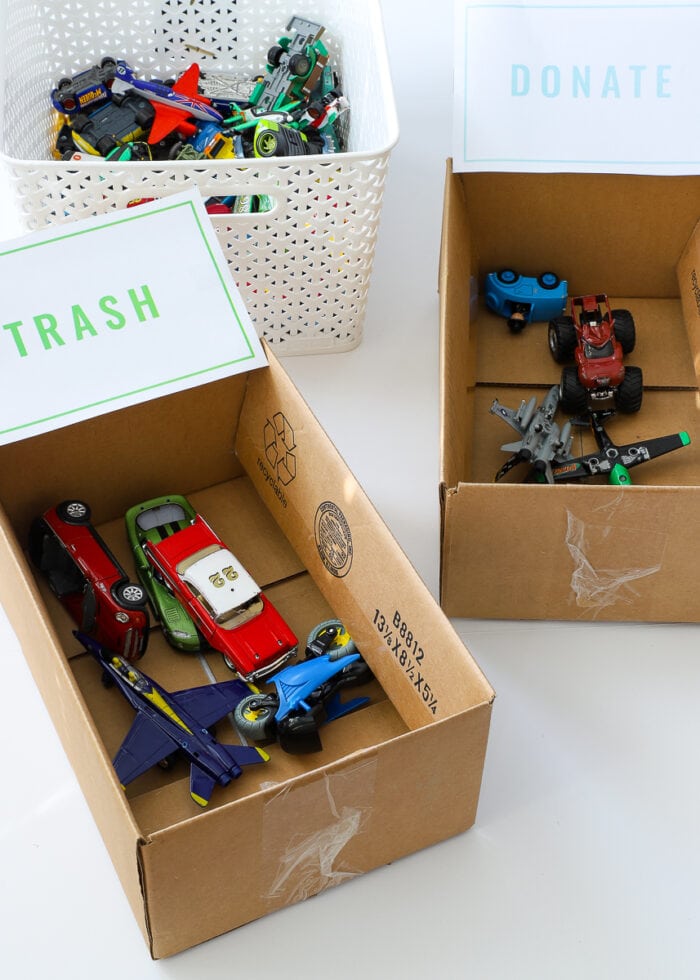
This second step will likely be the hardest, especially if you tend to have emotional attachments to your things. Now that your Target Area is empty and each item is loosely sorted into general categories, it’s time to re-visit each pile, one at a time, and assess every item individually.
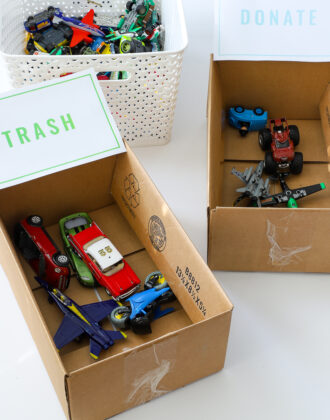
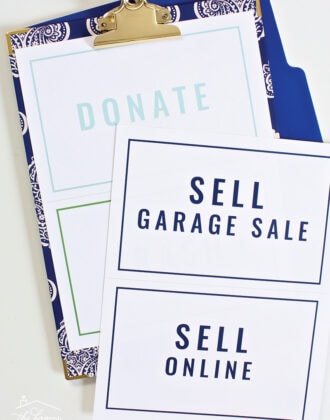
Now is when you will determine which of these 5 categories each item falls into: Keep Here | Keep Somewhere Else | Trash | Donate | Sell.
Depending on how much stuff you have and the amount of space you have available, you may have to edit heavily and be pretty ruthless with yourself. If you struggle with the purging step, be sure to check out this helpful guide: Keep or Toss: Questions to Ask Yourself When Decluttering
Before moving on, put away items that don’t belong in your Target Area: place trash in the trash, load up the car to go to the donation center, and box up/store items to be sold at a later date.
THINK ABOUT IT: Not only does moving discarded items out right away keep you from second guessing your decisions, but it will visually reduce the amount you have leftover to deal with. This alone can be very motivating, especially if you had a doozy of a clutter situation at the start!
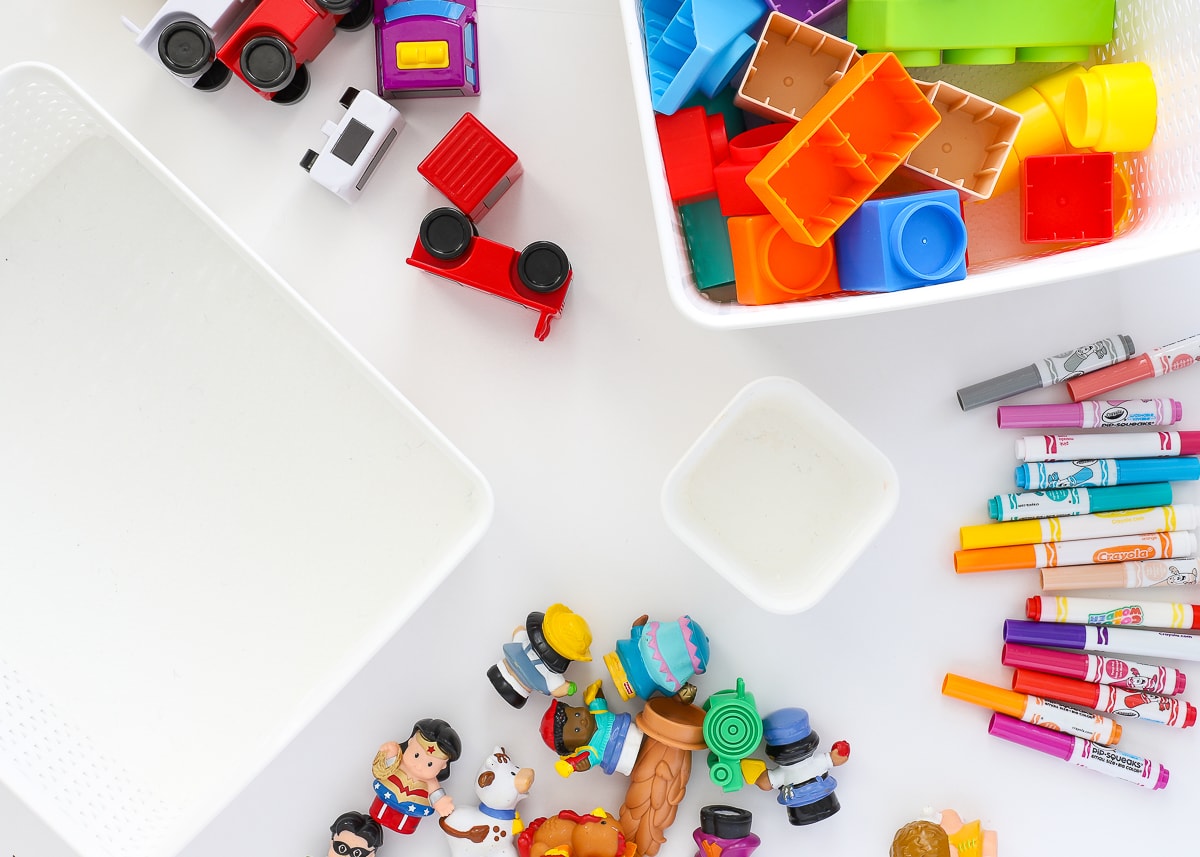
Step 3 – ASSESS
Want to save this post?
Now that the hard work of emptying your Target Area and addressing each and every item is done, it’s time to turn your attention to putting all the remaining items back in a way that not only fits and makes the most of the space you have, but also leaves each item functional and accessible. To do this, you will need to do a proper analysis of your space and the items that have to go back into it.
To identify what should be stored together, where and how, use the questions listed below:
- What was previously working?
- What was previously not working?
- Which items should be stored together?
- Where do items function best?
- Where do items fit best?
- Where do you commonly use items?
- Are necessary items missing?
- What kind of storage devices, systems, containers, racks, accessories do you need to make better use of a particular spot?
It is during this assessment step that you will begin to identify where items should go and how best they can be stored. While you shouldn’t necessarily be putting items away just yet, you will likely find yourself moving items/categories around your space and testing out different solutions. Since it’s too early to put things away, “try out” different places, use boxes or bags as placeholders, take measurements, and even scratch potential layouts onto paper.
THINK ABOUT IT: If you just cannot find a way to make your item(s) comfortably, logically, and functionally fit into the space you have, you may need to purge again in order to get your collection down to a more realistic level.
By the end of this step, you should have a place in mind for each and every item/category in your Target Area, as well as possible solutions for containing and storing everything (e.g., baskets, bins, files, shelves, hangers, dividers, hooks, etc). Because you have truly assessed each item and have identified the best way to corral and store each item, you can now create a detailed shopping list for the storage solutions you still need in order to put everything away.
Step 4 – CONTAIN
This next step is the most fun and where you will really start to see your efforts pay off. It’s finally time to gather some awesome organizing supplies, install systems, contain your items, and actually put things away!
Using the measurements you noted and the list you created in the last step, shop your house or favorite stores to find the exact products you need in order to store your sorted and purged items in the most space-savvy, functional, and aesthetically pleasing way possible. Storage systems can include anything from boxes, bins, files, totes, shelves, drawers, dividers, trays, and more.
THINK ABOUT IT: Oftentimes, patience and perseverance are necessary in order to find the exact right storage solution for your items and your space. Resist the urge to jump for just any product to do the job. If necessary, use cardboard boxes, laundry baskets, or plastic shoe boxes as placeholders until you find exactly what you’re looking for. And when you do find possible candidates, save your receipts so you can return anything that ultimately doesn’t fit quite right.
As you put things away, continue to check that your final storage solutions meet the following criteria:
- Does the entire item/collection fit where you want to put it?
- Does the item make good use of that spot?
- Are the items easily accessible?
- Are the items close to where you use them?
Continue to work and refine where each item goes until everything fits, it’s all functional, and you like the way it looks.
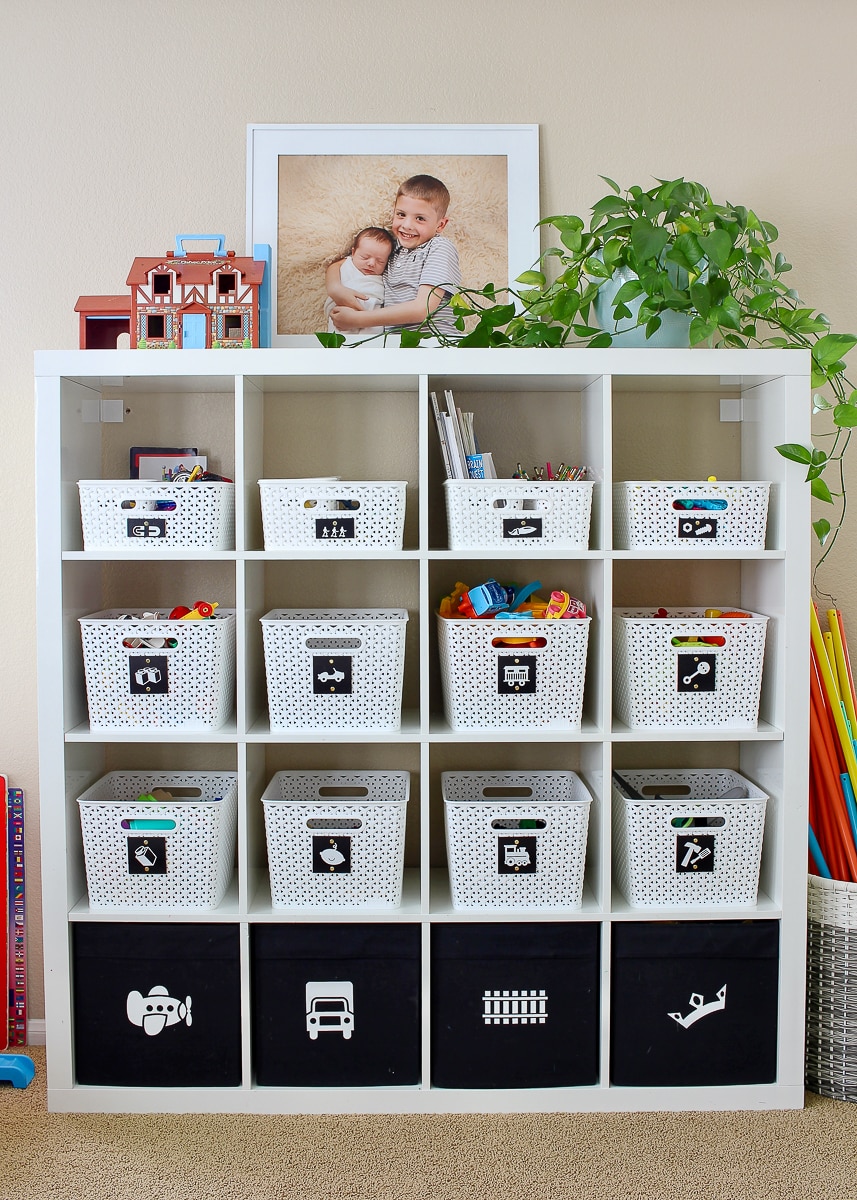
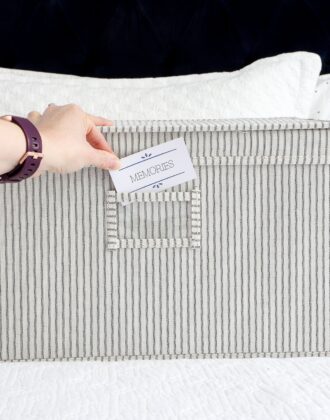
Step 5 – EMBELLISH
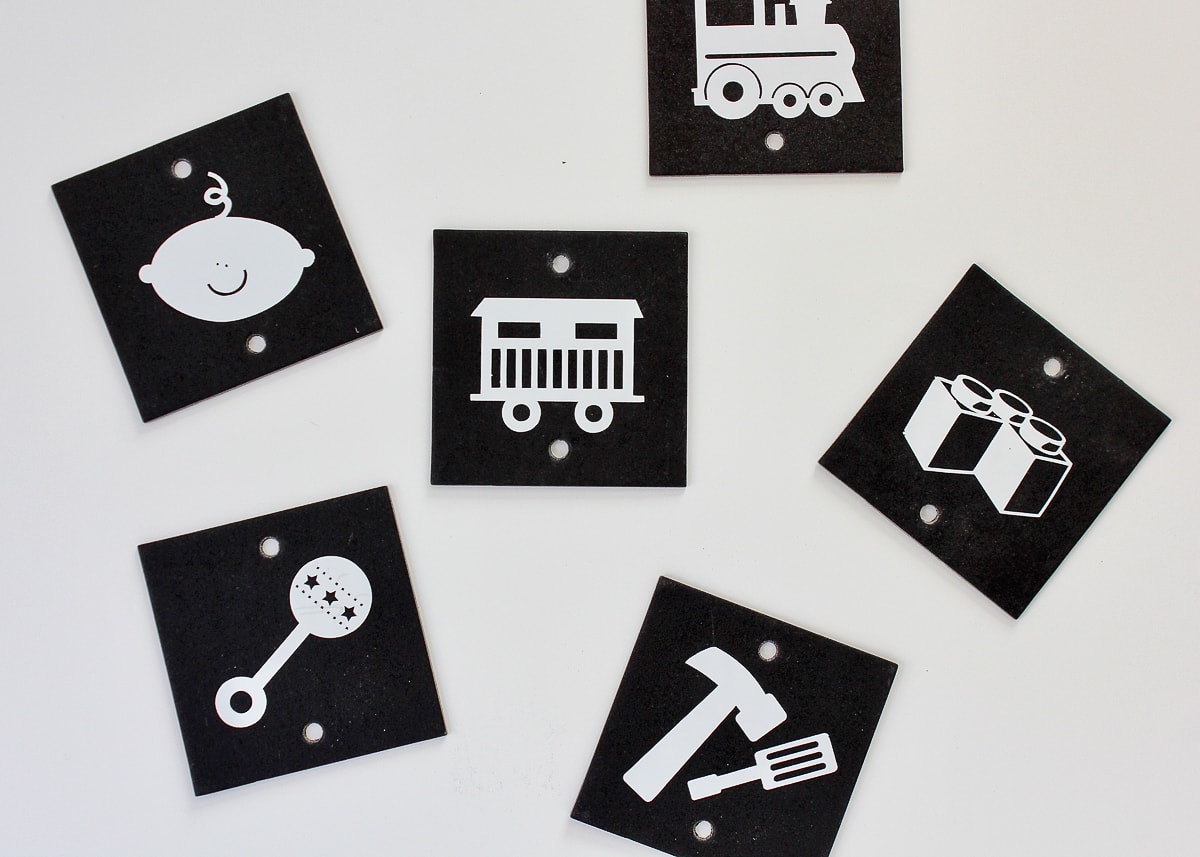
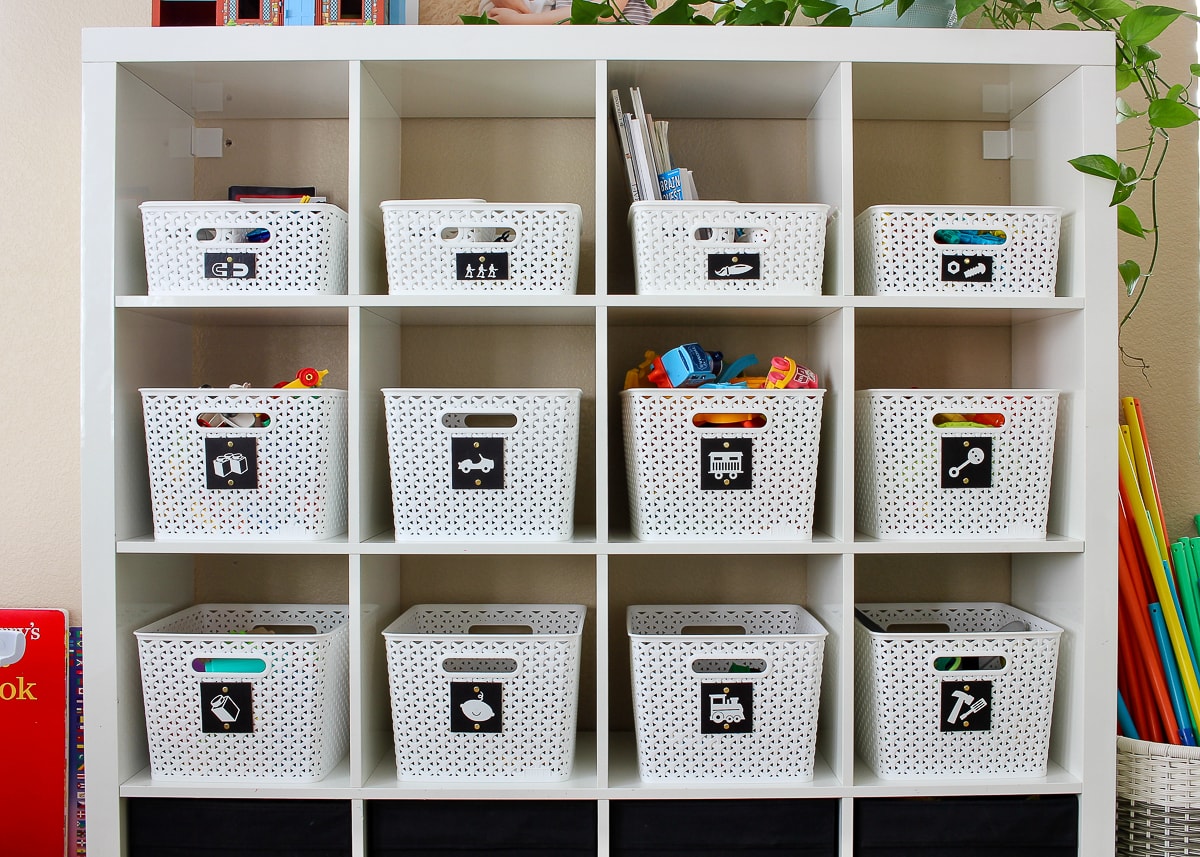
The final step is completely optional but highly recommended: embellish your newly organized space with liners, labels, and other decorative touches!
THINK ABOUT IT: Not only do labels hold you accountable when you’re first learning to put things away, but decorative touches also help you honor your space. These small details don’t necessarily create a more organized result, but they will encourage you to love and maintain the new systems you put in place.
In almost any organizing project I do, you will notice the decorative elements come in at the very end. I prefer to add pretty labels, liners, and other decorative touches when, and only when, each and every item is in its final spot. This allows me to continue to tweak my systems as I work (and even live with the systems for a bit), instead of being stuck with a certain solution because I already made the labels or committed to a certain color scheme.
TIP! If you need labels to keep yourself organized as you work, use sticky notes or dry-erase markers as temporary labels. Only make the final labels once you’re 100% satisfied with where everything is.
Adding in the decorative elements at the end does sometimes mean you have to disassemble what you’ve worked so hard to put together. But since this is the most fun, easy, and pretty work you’ll do, you likely won’t mind. Plus…if you never get to this more “decorative” step, you will still reap the rewards of a perfectly organized space (rather than getting distracted with labeling and never finishing up the hard work!)
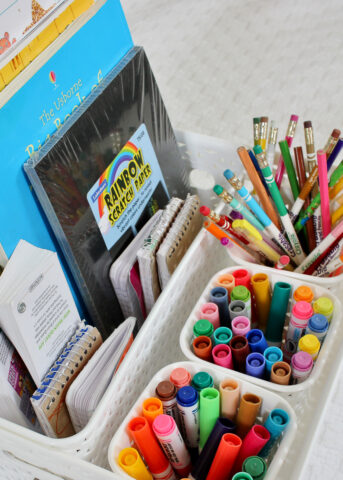
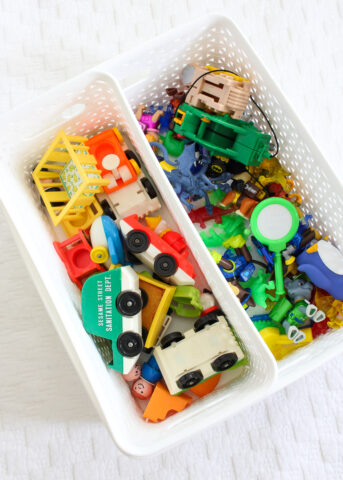
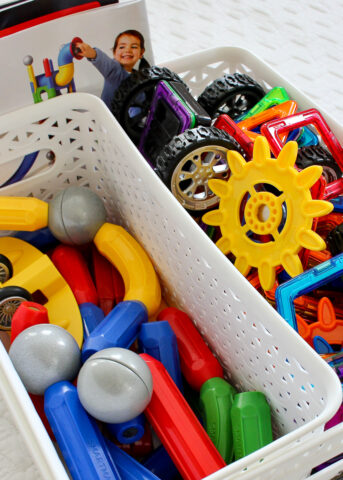
The SPACE Method In Real Life
Up until this point, this entire process might seem theoretical at best. So to give you a sense for how the SPACE Method works with real-life clutter problems, check out the various applications below!
- How to Organize Under the Kitchen Sink with SPACE
- How to Organize Coffee Mugs with SPACE
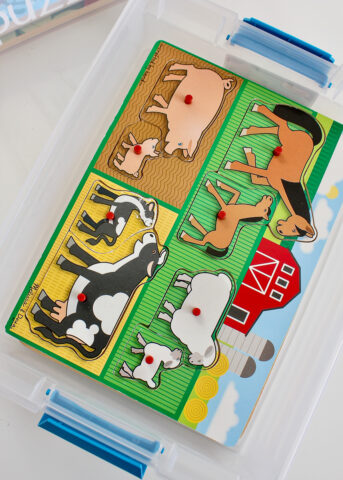
- How to Organize Play Food with SPACE
- How to Organize Your Schedule with SPACE
- How to Organize the Bathroom Closet with SPACE
I know learning how to organize any SPACE might seem like a lot of work at the onset. But I promise that as you start to apply this method to areas around your home, you will naturally fall into its systematic groove and truly, finally make some progress on your biggest trouble spots.
And the best part of all? This system can be scaled and applied to pretty much any corner of clutter, be it a small drawer or a massive basement. So I encourage you to go on…give the SPACE Method a try, and be sure to report back how it works out for you! I can’t wait to hear!
Megan
12 Comments on “Learn How To Organize Any SPACE In 5 Steps”
Ever since you said you cleaned out your craft room I have been dying to go work on mine. It is truly a disaster and I need to make it functional again. But just the thought of going in and working on it has discouraged me. Thank you for putting this printable together. I can’t wait to print it off and spend some time this weekend working on my disaster of a craft room!
I ALWAYS love your blog the crafts, the ideas, the renter friendly/ move a lot solutions! All of it! but sometimes it seems you write something just for me. This was one of those times. We recently moved overseas. Our things did not get purged and organized as I would have liked before the move (due to some unforeseen illnesses in our family) . We have arrived, so have our things, and now they must be purged and organized! The Office/Craft room is the worst of them all! We also have a new baby due in just a few weeks and I will also be starting a full time job! Life is crazy. Your method is something that i feel I have been on my way to figuring out myself. But you helped me to skip all the trial and error it would take on my part to perfect it! THANK YOU! This makes what seems to be an overwhelming task much more enjoyable. I love pretty print outs that help me organize! Also, I’ve been using your Smooth Move binder from your post on another site and it is wonderful (in fact that’s how I found THIHM.) We will continue to use and tweak it as we go I’m sure. Thanks for taking to time to share so many of your brilliant ideas!
Hi Jennifer!
Thank you so much for this awesome comment! It makes me so happy to hear that what I’m writing and sharing is helpful! I really hope my method works for you – having a system makes plowing through spaces so much easier and quicker. I’m not afraid to tackle spaces, because I know exactly what to do and what’s coming next! And I totally get it about the lack of a good pre-move purge. We didn’t organize as well as we should have last summer, which has made getting settled into this house SO.MUCH.HARDER! One day and one box at a time, right?!?
It means a lot to me that you took the time to write such a kind comment. Good luck with the decluttering and happy Friday!
Megan
Great method for organizing! You have the acronym “SPACE” and my acronym is “LOSE” for : Localize, Organize, Systemize and Economize. I used this method a few months ago for a post I did on our outrageously messy upstairs hallway closet. Great job! DeeDeeDoes.com
The system you have is fairly common I think among professional organizers, but your acronym is absolute brilliance! It perfect for help in not only remembering the steps, but also remembering the goal. It’s so easy to get overwhelmed in the process sometimes and SPACE is the perfect way to remember it all and to be motivated by it. You’re such a genius, Megan. 🙂
I absolutely love your bin labels. Where do you get those? I like to use fabric bins for IKEA Kallex cube storage. What do you recommend for labeling fabric cube bins?
HI Elizabeth!
Thanks so much for your note!
You can see how I made the black labels on our playroom baskets HERE: https://thehomesihavemade.com/2018/01/super-simple-diy-chalkboard-basket-labels/
And you can see AAAAALLL my ideas for labeling fabric cube bins HERE: https://thehomesihavemade.com/2020/08/creative-ways-to-label-ikea-drona-bins/
Hope that helps!Megan
Thank you in advance!!
Do you offer a printable version of the
“Organize -Just about everything” I’m the Toolbox?
I LOVE organizing! But realize now that I was just “corral-ing” the clutter. We will soon move into our 2400 sq ft home from our 5000 sq ft home. And though we purged a lot already, I will benefit from your SPACE method as we settle in. I’m also grateful for your advice to live with what you have for 2-3 months before starting—I felt really pressured to do it all immediately.
Thank you!
Hi, Megan: Just read the whole thing and boy am I exhausted! 🙂 Thank You! I don’t mean to waste your time, but I live in a hospital room of an extended-care facility. Dbl. below-the-knee (BTK) amputee w./wheelchair, in between prostethes. I don’t have a home–everything I own is in storage (now THERE is opportunity 🙂
I organized my train case, and my backpack (all cs.s/pouches), which hangs on the wheelchair, IN CASE wait for bus is three hrs. after Dr.’s appt. Every appt. = ‘Daytrip’.
My bathroom was the ‘Blue Lagoon’–I share your love for blue. 🙂
My kitchen was blue-white, cf: Delft china; had a bread-baking sta.; stand-mixer, immersion-blender, blender/Mason jar sta., coffee/hot H20 sta.
I organize my yarn all the time: wool, cotton, baby, eyelash, by color, by event…Spring, St. Patty’s, EAS, 4.July, Fall, XMS, etc….
Maybe OCD?
Sorry I got carried away, Hannelore 🙂
Have 2 lbl-makers, sgl.-/dbl,-wide. 🙂
Estoy emocionada con esta publicación porque me mudé y verdaderamente tengo un desorden acumulado de mil cosas por ordenar y no sabía ni por dónde empezar, así que pondré manos a la obra para organizar todo, hasta mi agenda, gracias por brindarnos este apoyo y el tiempo invertido en esto, seguro que me ayudara muchísimo.