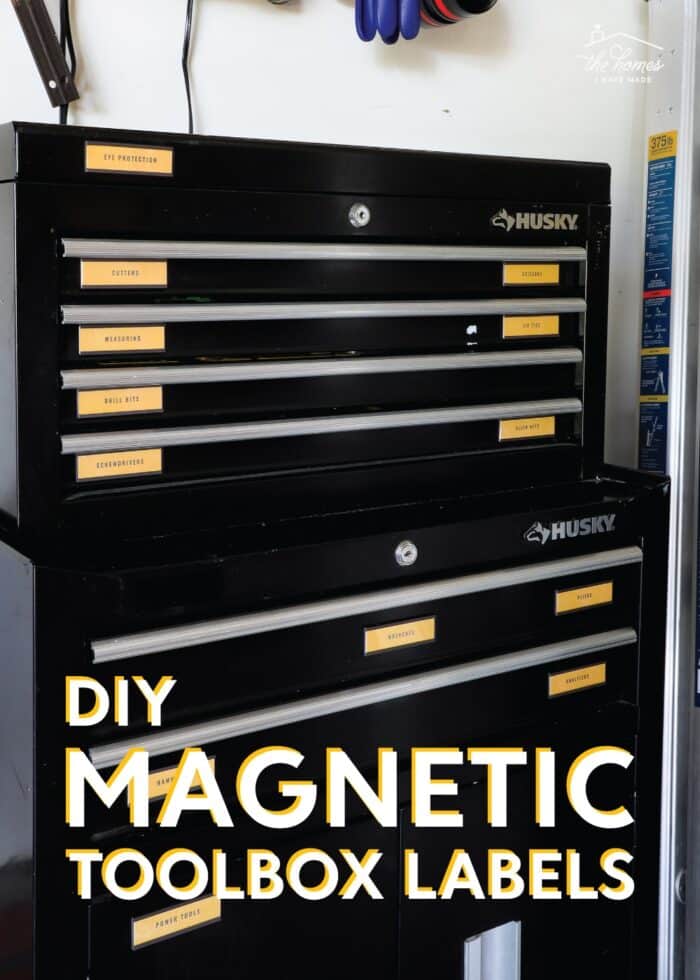
DIY Magnetic Toolbox Labels (With Template!)
Being into DIY projects means we keep our fair share of tools on hand. And while we don’t have the most extensive “workshop,” what we do have was constantly falling into disarray, making it impossible to find what we needed, when we needed it! I finally decided to make some magnetic toolbox labels to help calm the chaos, and it’s definitely a project I wish I had done sooner. Let me show you why and how!
Pssst – This full organized garage reveal is now live! See it here: How We Organized Our Large Garage
Why Label Your Toolbox?
If you’ve been coming around here for any length of time, you know I have a pretty strong passion for labels. Beyond just looking nice, I find them indispensable to keeping our home(s) tidy and organized.
Sure, labels are helpful for finding what you’re looking for. But more importantly: labels are your #1 accountability partner in maintaining any organization system.
When you can clearly see where an item is supposed to go, you are more likely to put it back in the right spot when you’re done with it. Putting things away correctly is actually what keeps your drawers, closets, bins, anything(!) organized for the long haul. (You can read more about this concept here: Why Labels Are So Important When Organizing)
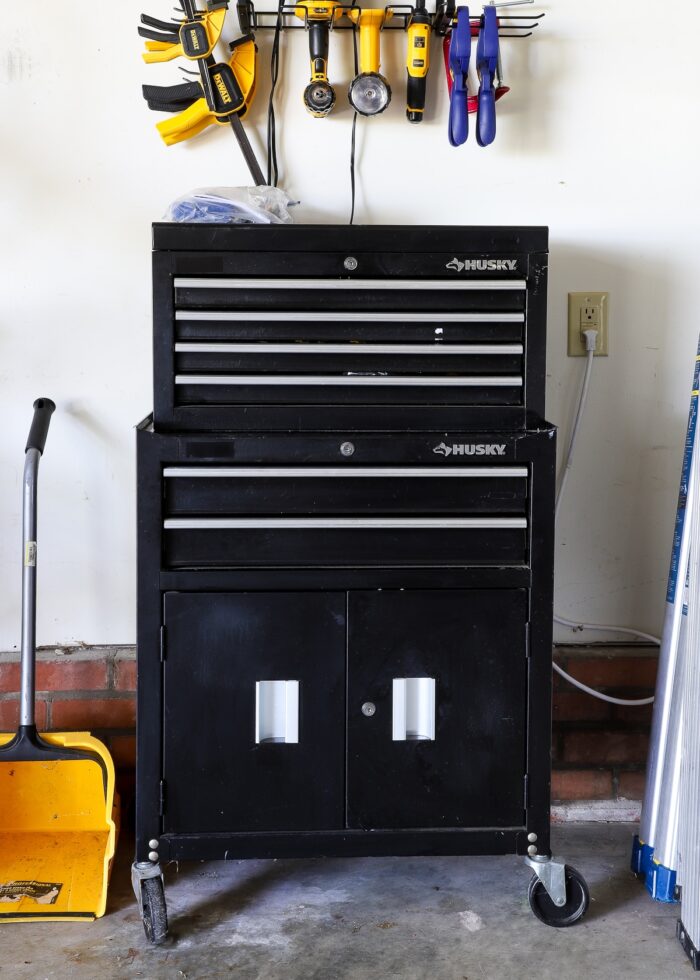
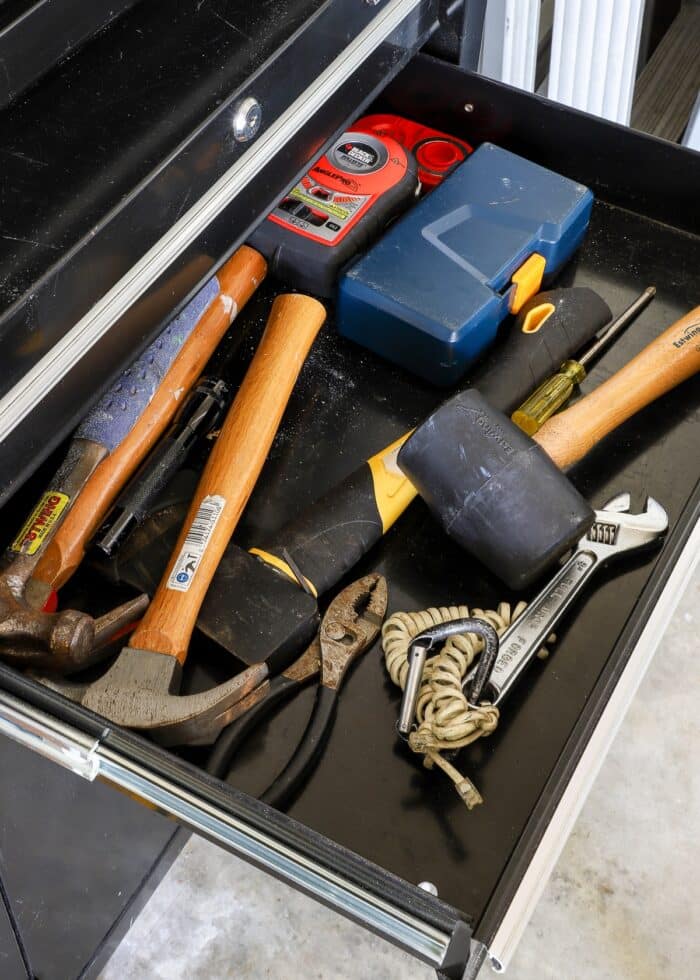
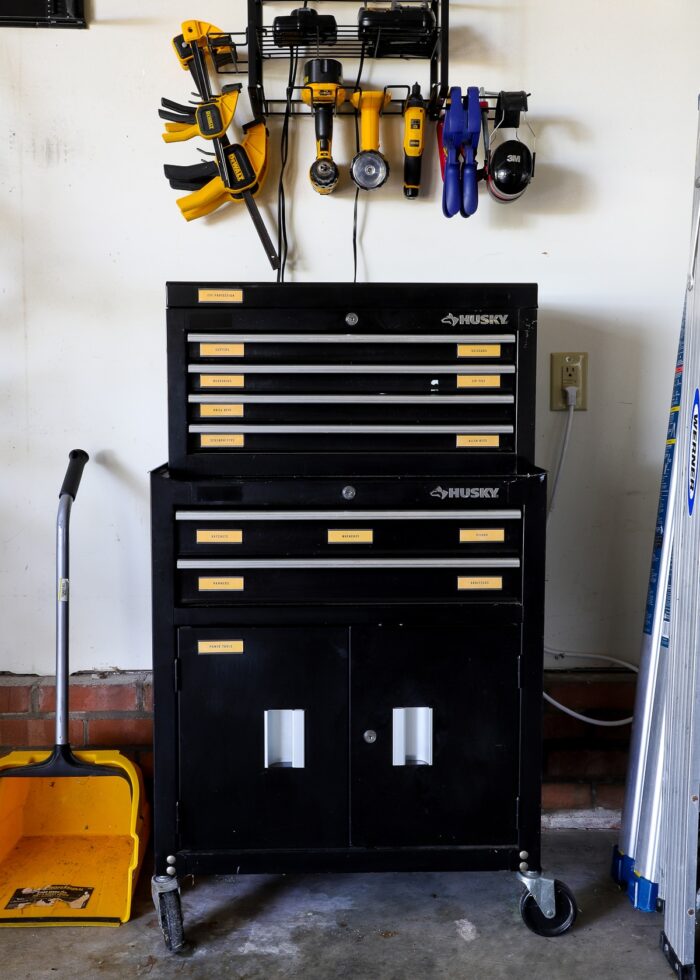
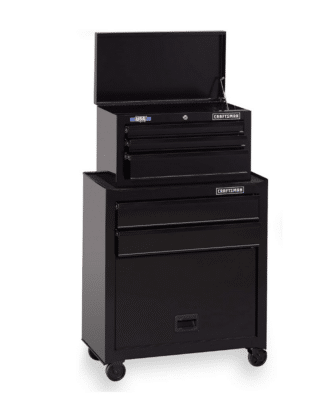
We’ve had this rolling toolbox for quite a while now; and despite my attempts at sorting and organizing our various tools over the years, it constantly becomes a mess. Since it’s never quite clear where items go back, it’s just too easy to open any drawer and stuff things back inside. For us…drill bits were with measuring tapes, screwdrivers were with the ratchet set, etc.
This type of disorder not only causes frustration mid-project or repair, but it can also lead to unnecessarily purchasing duplicates because you just can’t find what you need.

But a lot of this frustration and disorganized can be avoided by having labels on your toolbox. With clear labeling, finding AND putting away your tools becomes much MUCH easier.

This simple 30-minute project helped restore order to our messy toolbox and allows us to work more efficiently when tackling projects. Let me show you exactly how they come together!
Take a full tour of our garage tool setup here: Our Compact Tool Storage in the Garage (& Why It Works!)
Supplies Needed
Here are the supplies you’ll need to label your toolbox:
- Garage Toolbox Labels Printable Kit
- Bright White Copy Paper
- Home Printer (this is the one we have)
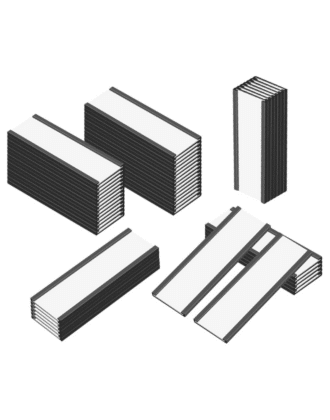
- Magnetic Label Holders (1×3″)
- Paper Trimmer (or Scissors)
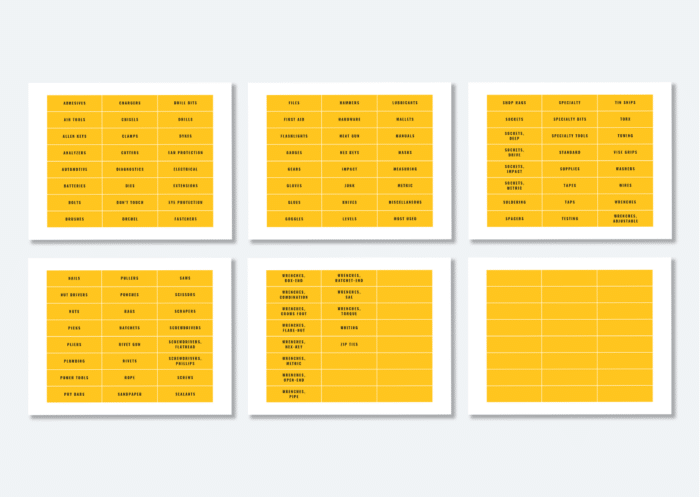
The Garage Toolbox Labels Printable Kit
What’s Included
The Garage Toolbox Labels Printable Kit includes everything you need to quickly and easily make your own toolbox labels:
- 14 unique PDF files with 6 pages each (total of 84 printable pages)
- 9 different label colors with black and white text options
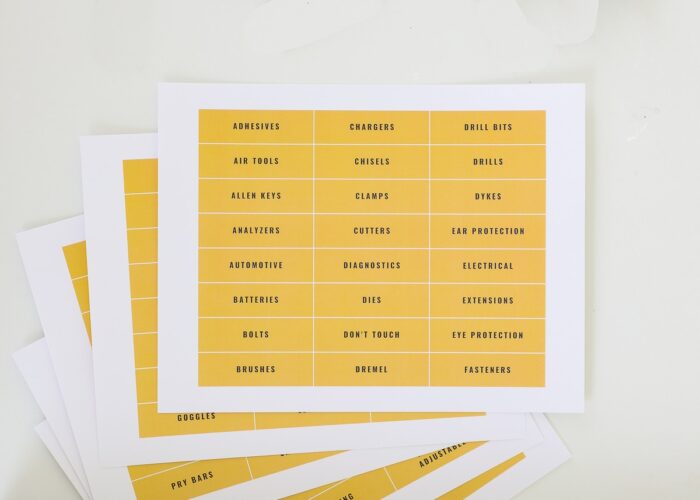
- Labels measure 1×3″ (compatible with 1×3″ magnetic label holders)
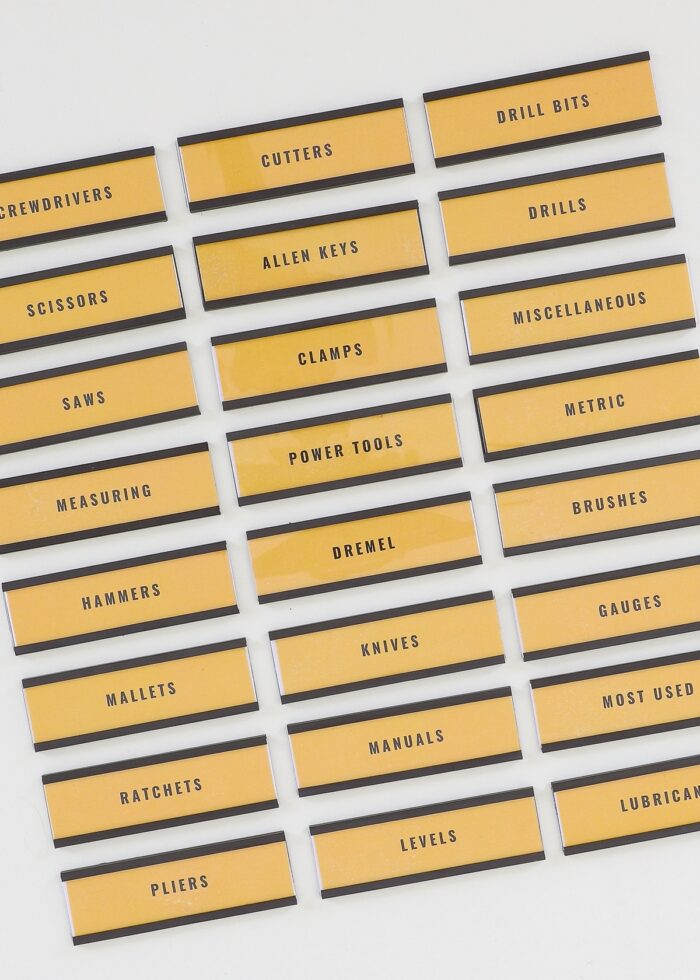
- 109 pre-typed tool labels
- 35 blank labels with fillable text fields (to type in your own labels)

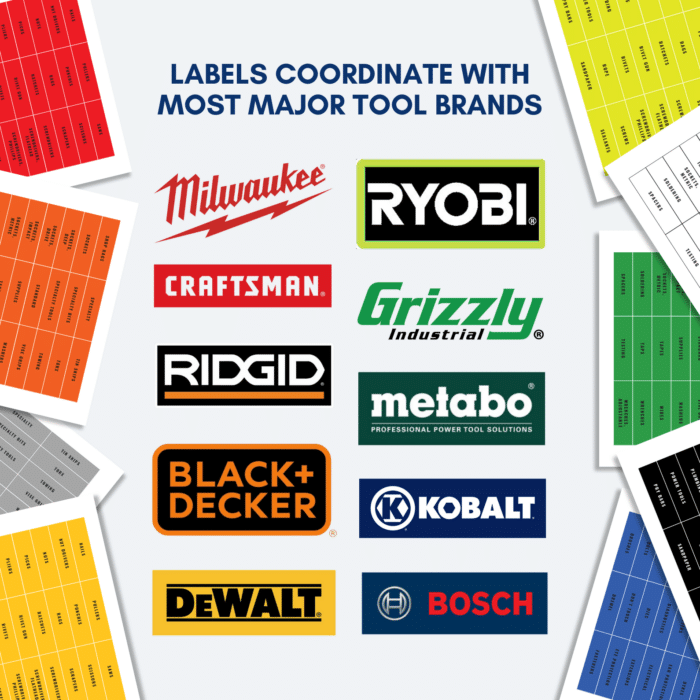
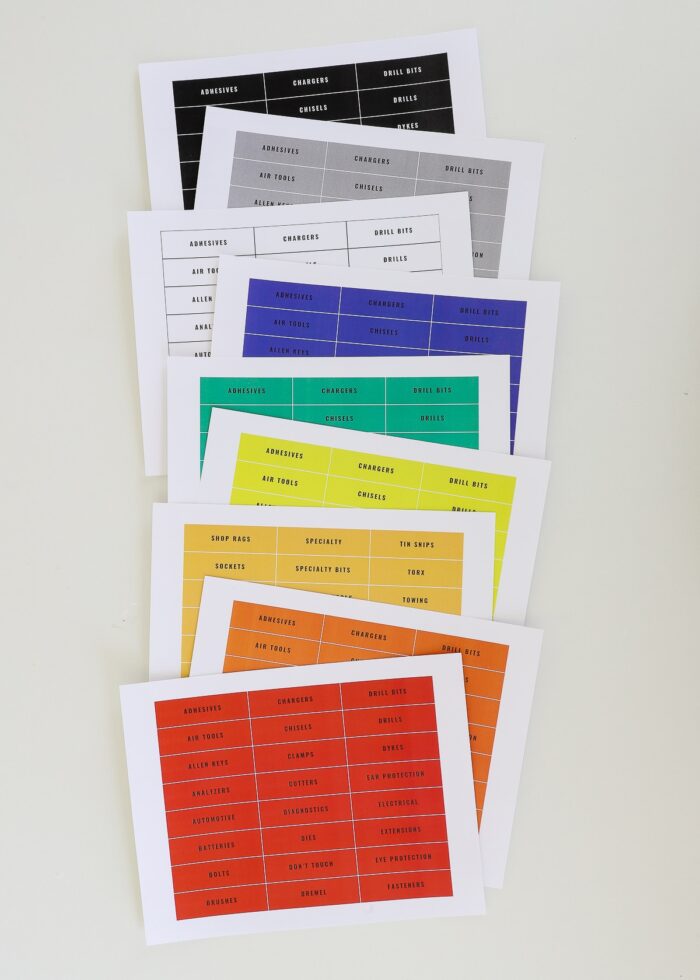
Color Schemes Included
The Garage Toolbox Labels Printable Kit features 9 different colored label sets, most of which come with both black and white text options.
The color options perfectly align with most major tool brands, allowing you to setup a workshop space that perfectly coordinates. Whether you choose basic black, white, or grey or even setup a rainbow display, the options are endless!
Video Tutorial
Making your own DIY Magnetic Toolbox Labels couldn’t be easier. You can watch the entire process in the short video below. (Video not loading for you? You can watch it HERE!)
How to Make Magnetic Toolbox Labels
Step 1 – Organize Your Toolbox
Before you can make any labels, you’ll first need to organize your toolbox. Ideally, you want your tools organized into intuitive, easily-identifiable categories. How specific or broad of categories you choose will very much depend on what you have, how much, and how you specifically use your tools.
Our collection is fairly compact, so all I needed to do was re-sort our drawers into fairly broad categories (e.g., hammers, screwdrivers, bits, etc).
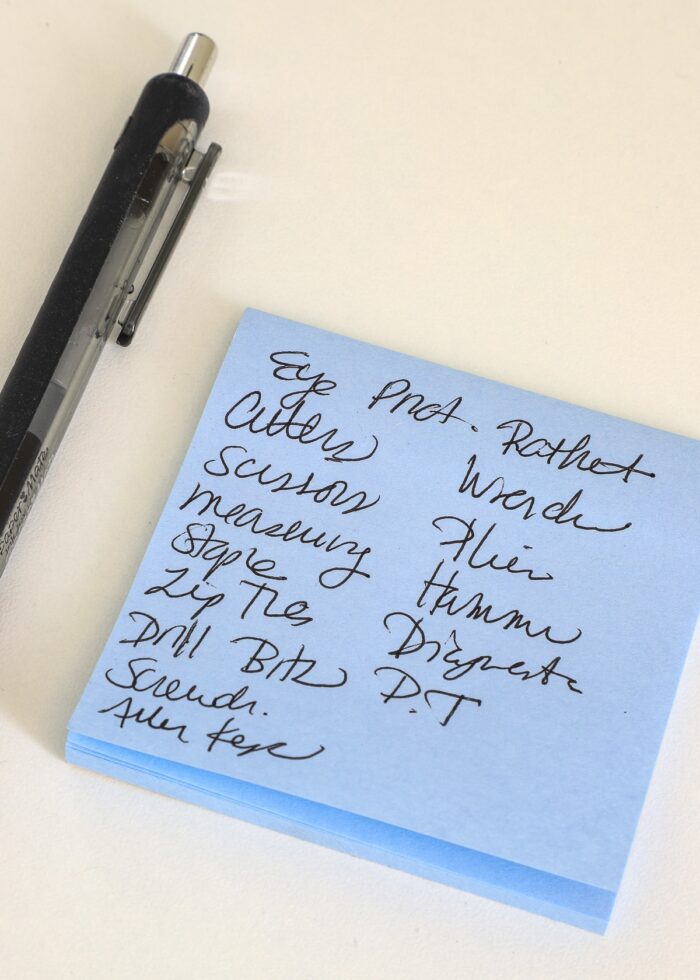
Step 2 – Make a List of Needed Labels
Once you have all your tools sorted into categories that make the most sense to you, jot down a quick list of your categories. This will help you identify which label pages to print and/or if you need to type additional categories into the blank labels.
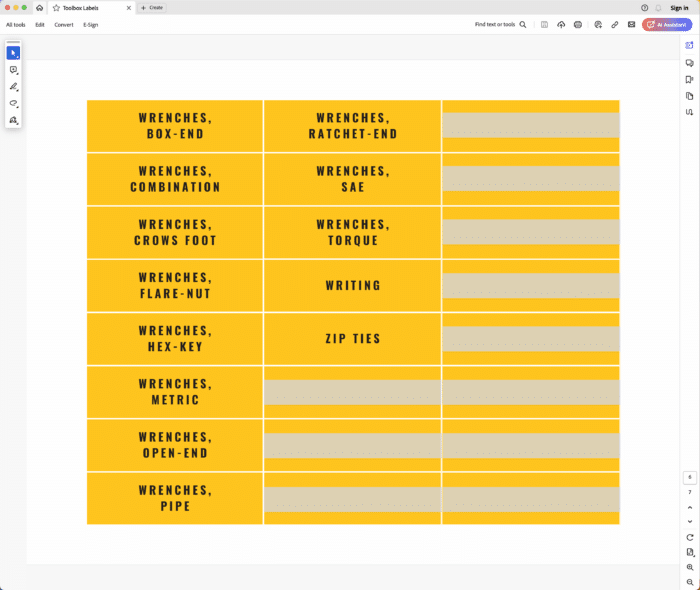
Step 3 – Edit Label Template (As Necessary)
I tried to include every single tool label in my Garage Toolbox Labels Printable Kit, but you may still need a category that is missing. If necessary, use Adobe Acrobat Reader to open the label file and type in any other labels you need.
Want to save this post?
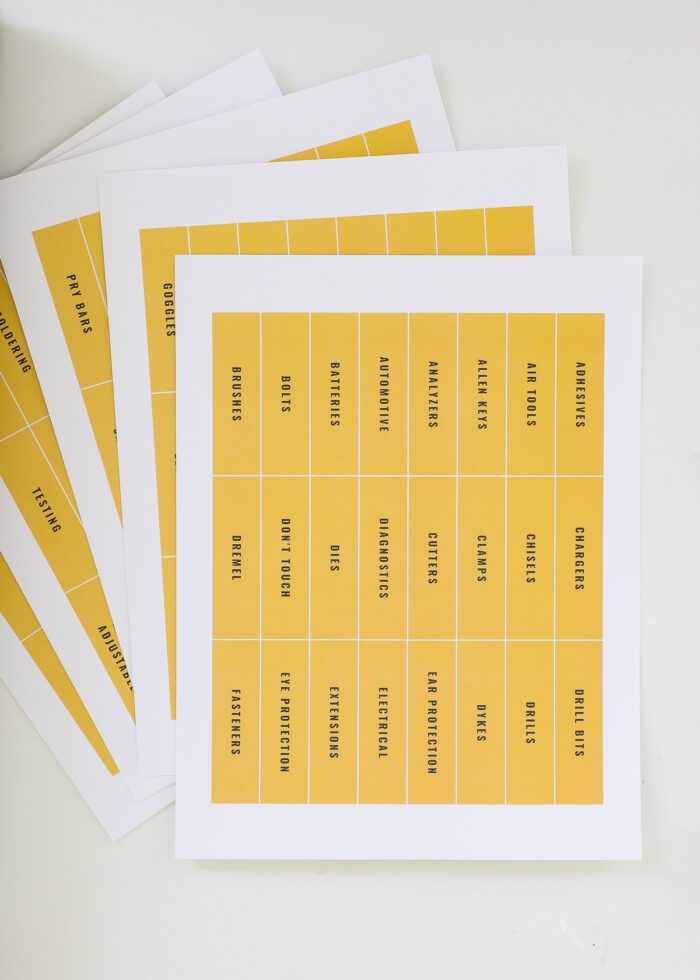
Step 4 – Print Toolbox Labels
Once you’re sure all the labels you need are populated on the pages, print them onto white printer paper (or cardstock) with your home printer at 100% resolution.
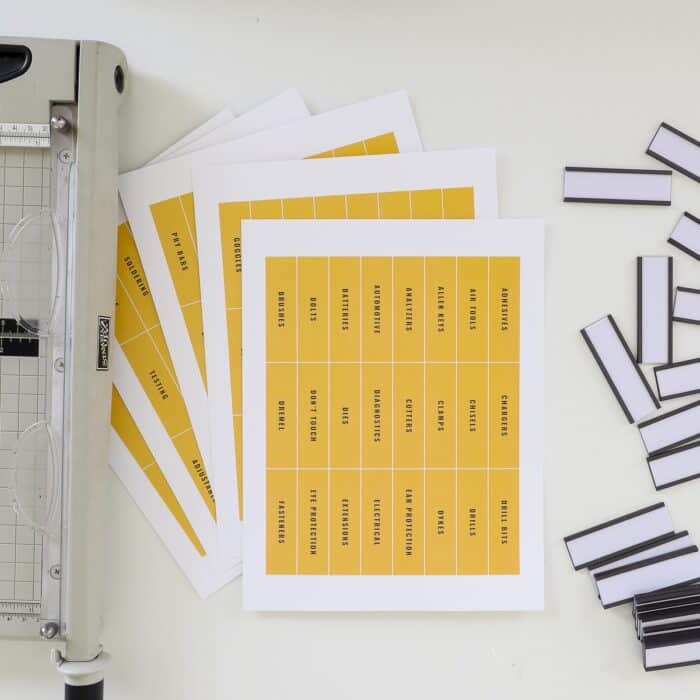
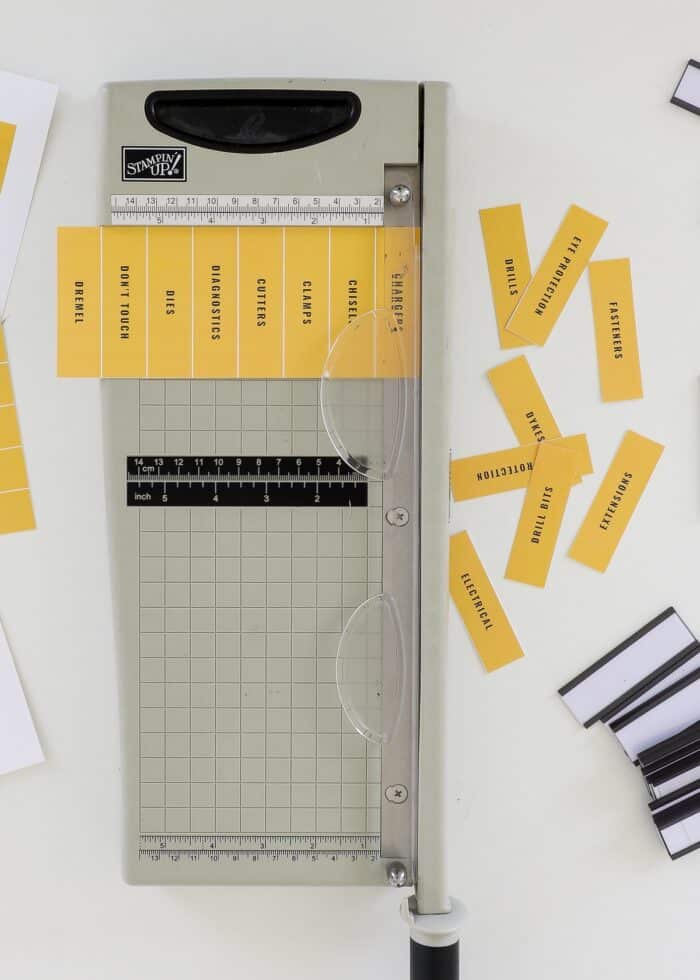
Step 5 – Cut Out Toolbox Labels
Next, use a paper trimmer or scissors to cut out the labels you need.
I find it easiest to trim all the white edges off first…
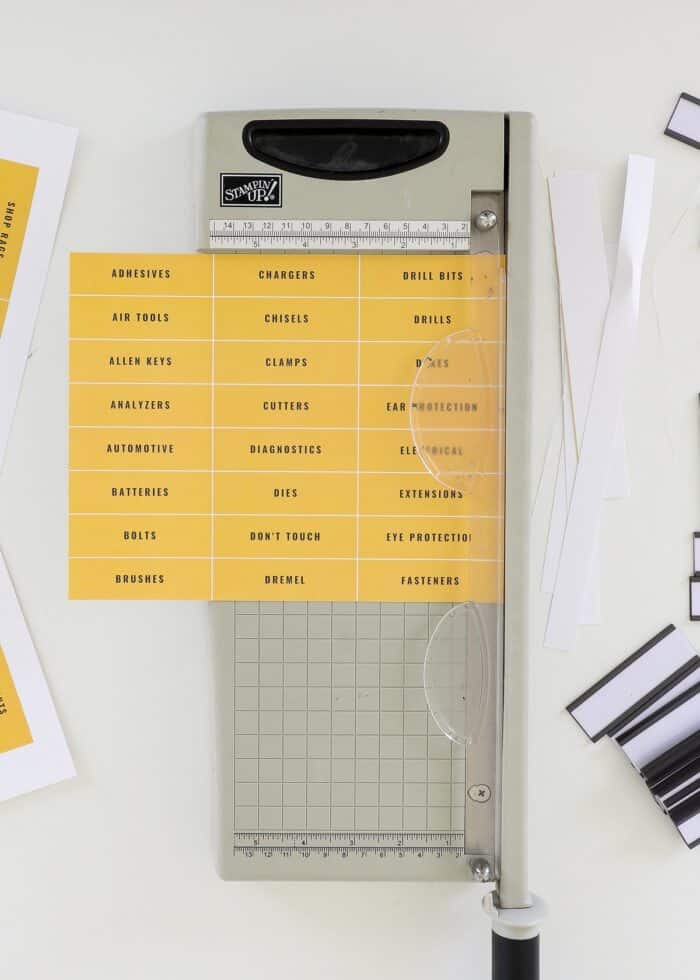
…then go back and slice the labels apart on the white lines.
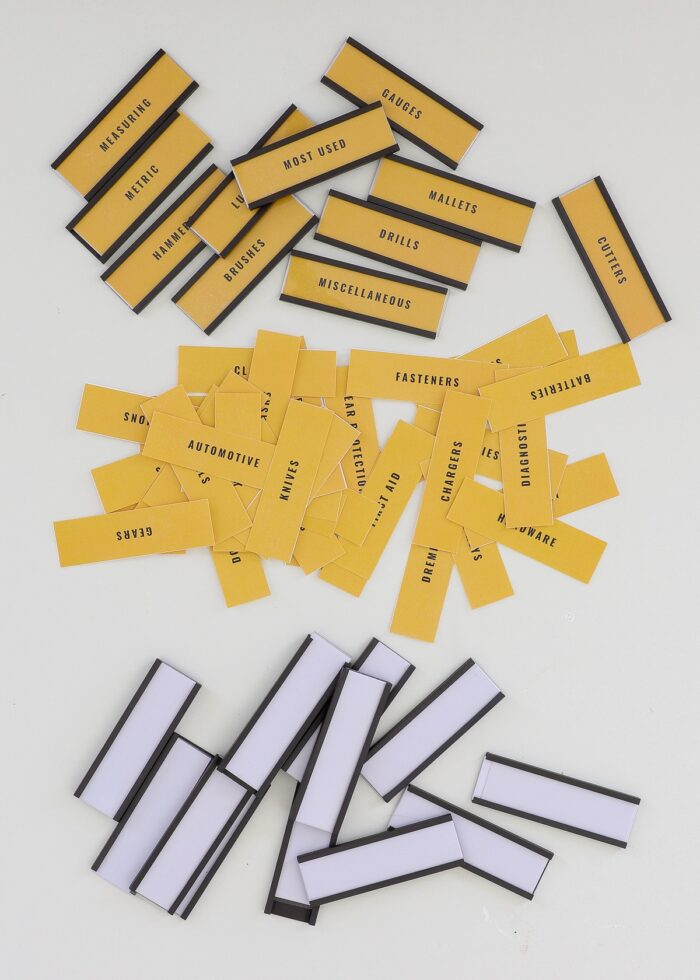
Step 6 – Load Labels Into Magnetic Label Holders
With the labels cut out, all you need to do is slide them into the magnetic label holders!
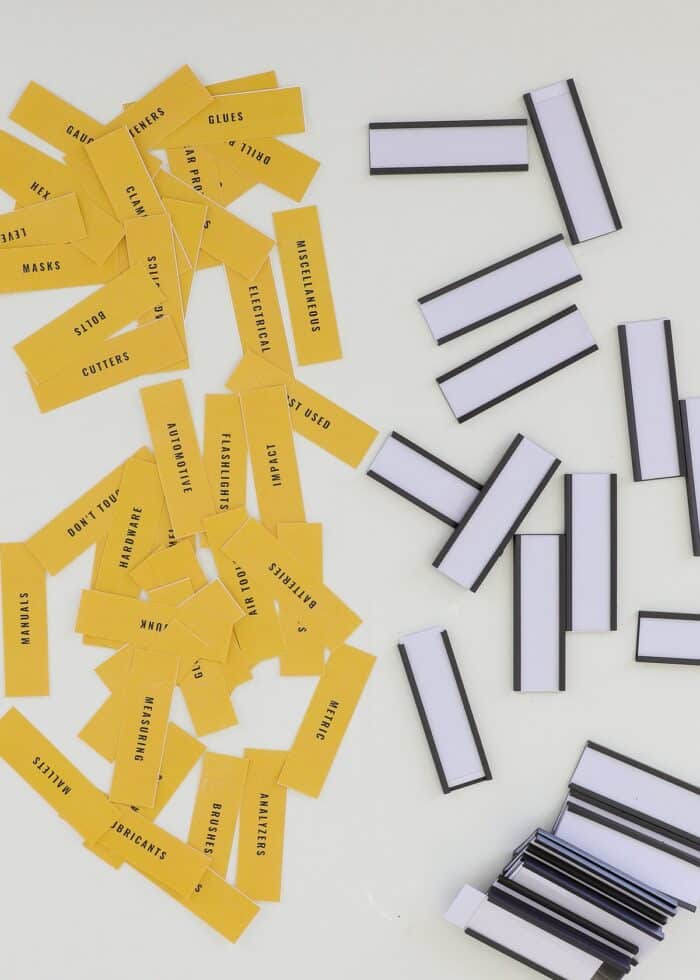
Here is the process I found works the best:


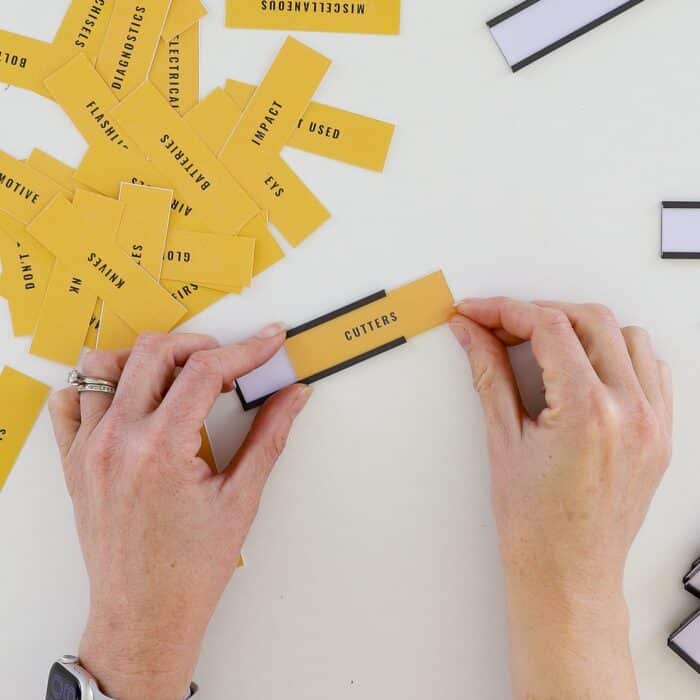

TIP! While you can remove the included white labels before inserting your own, I chose to keep the papers in place to prevent my paper labels from sliding around (and then I can always use them in the future if desired).
Sliding the toolbox labels into the holders takes mere minutes, and you end up with easy-to-read, easy-to-stick labels all ready to go!
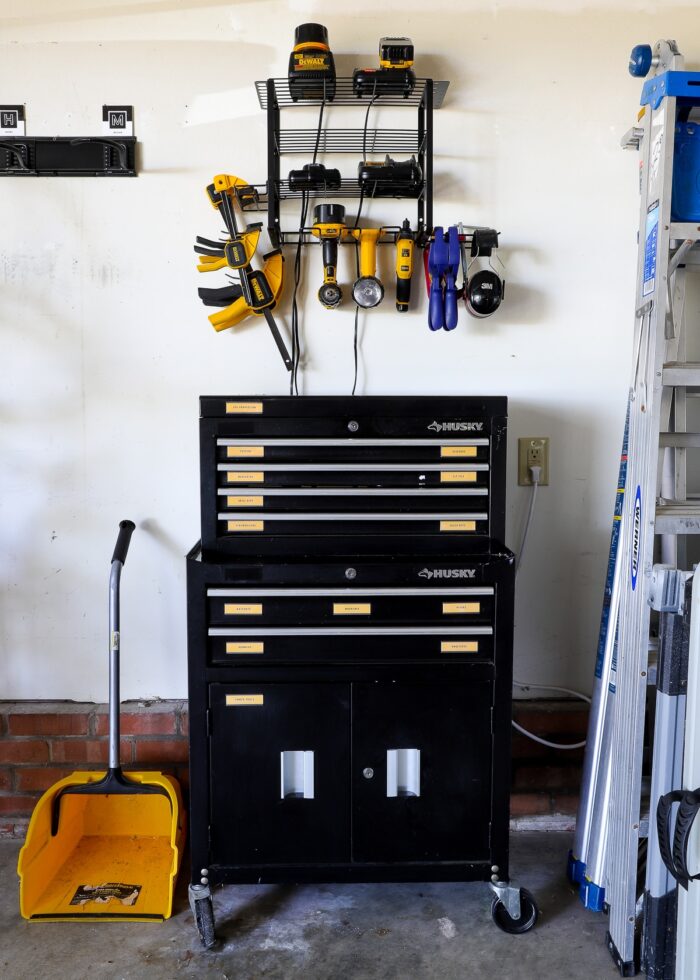
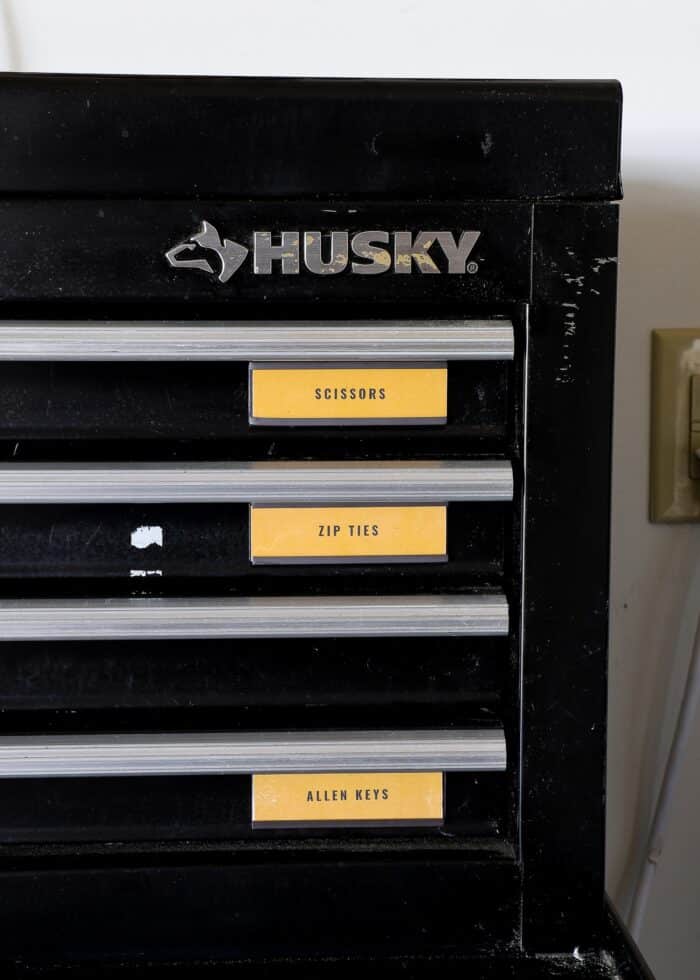
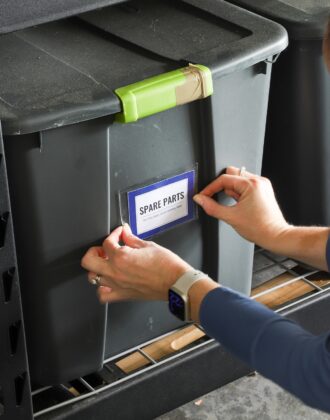
Step 7 – Place Labels Onto Toolbox
The final step is to simply place the magnetic label holders onto your metal toolbox in the right spots.
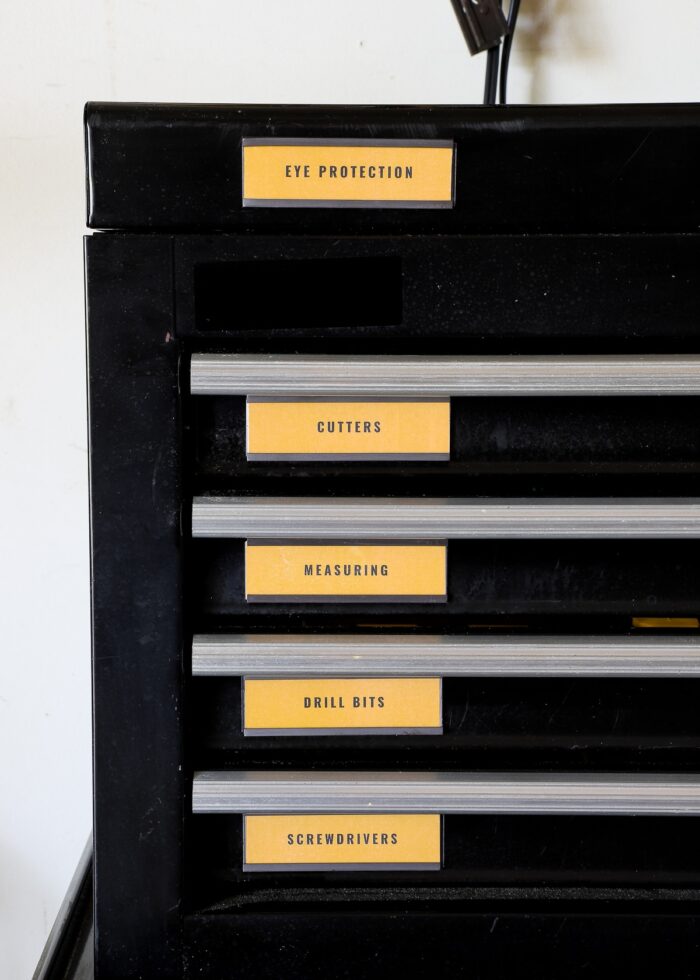
While they secure onto the metal surface with ease (and stay firmly in place), spend a bit of time ensuring they are all lined up and equidistant for a cleaner appearance.
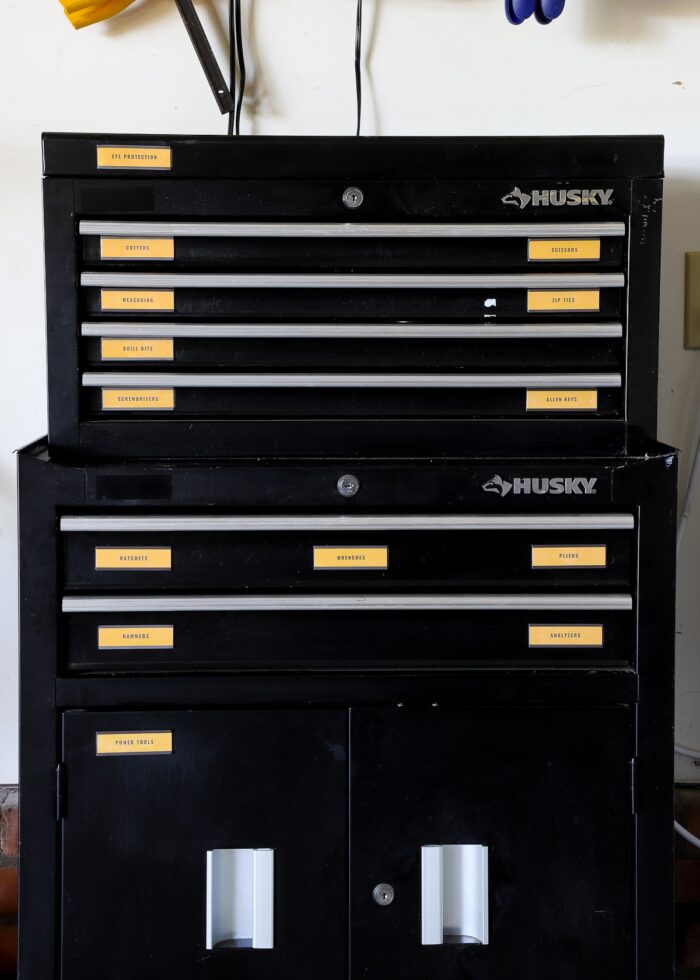
Now you can find whatever tools you need from your toolbox with ease!
More Labeling Templates
I love making labels, and I want it to be quick and easy for you too! Below are some other ready-to-print templates you can use throughout your home!
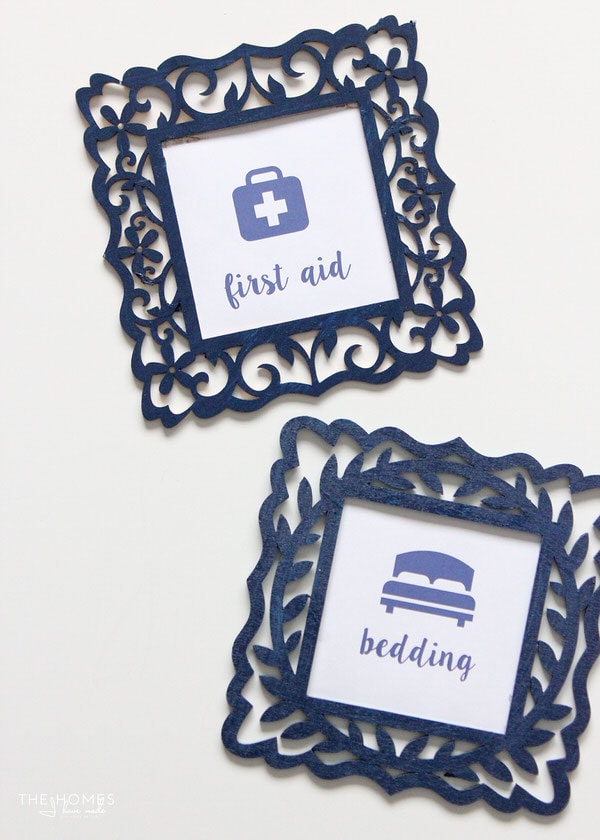
- Storage Bin Labels Template
- LEGO Set Label Template
- Garage Toolbox Labels
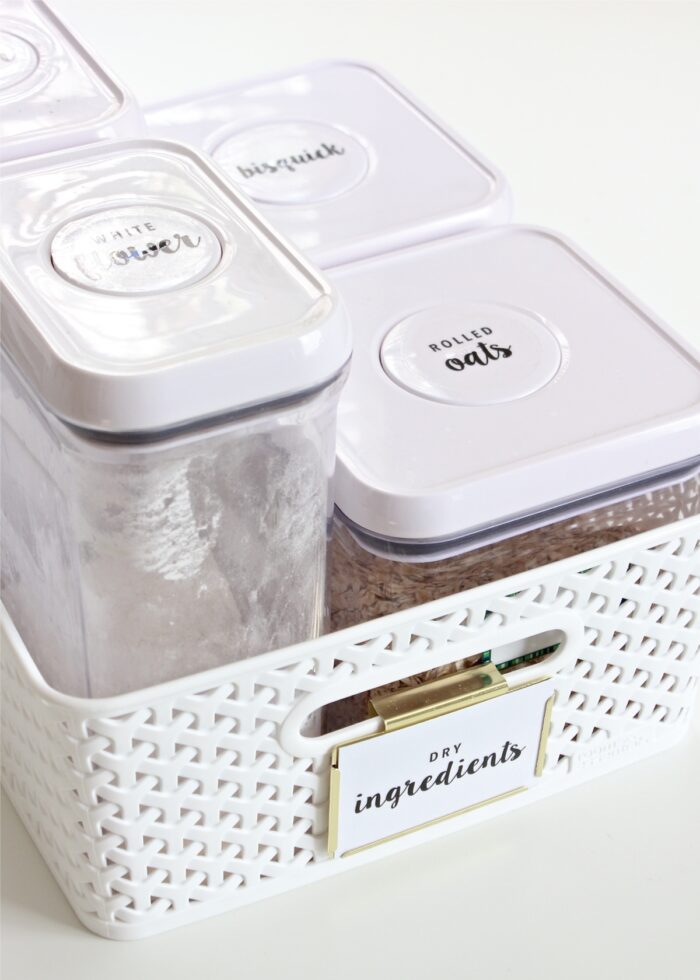
- Printable Spice & Pantry Labels
- Cleaning & Laundry Supply Labels
- Basic Shapes Printable Labels
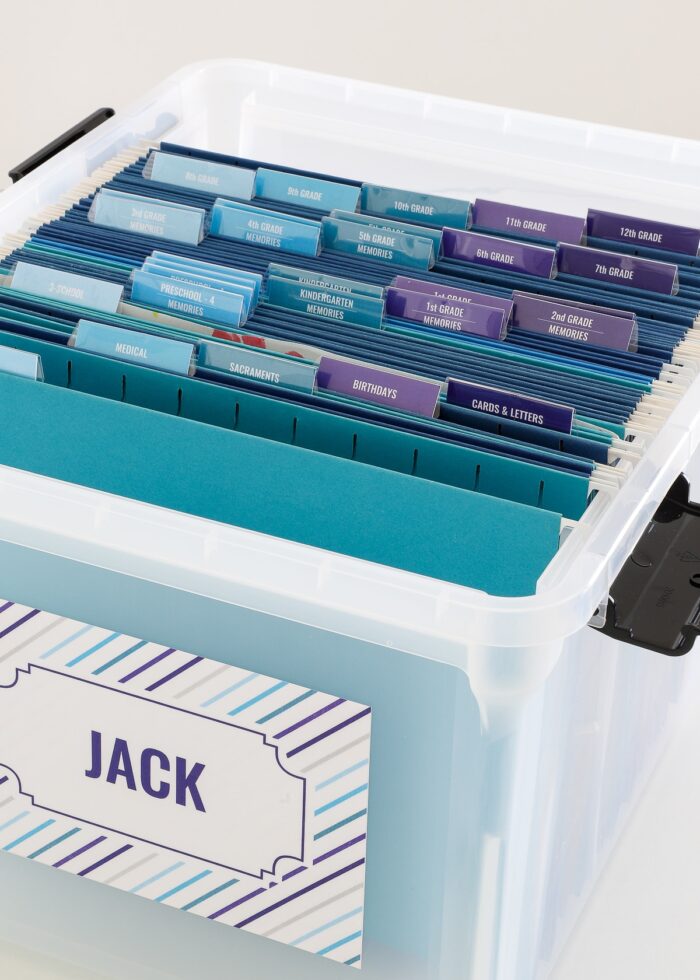
- School Memory Box Labels
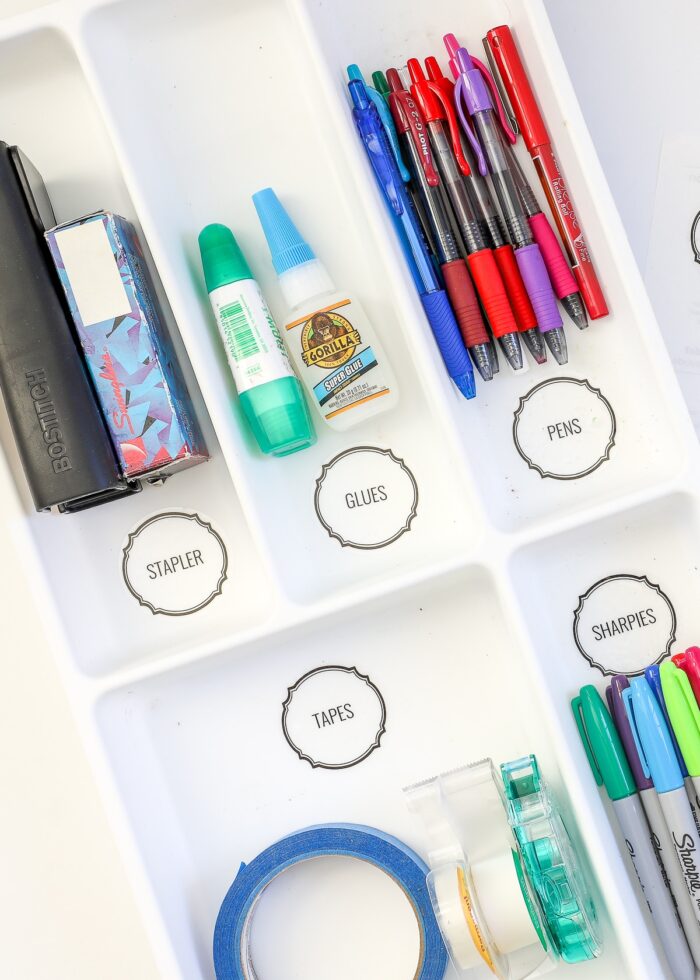
- Household Staple Labels
- Toy Bin Labels

For as many years as we’ve owned this rolling toolbox, I’m somewhat embarrassed it took me this long to label the drawers. I can’t tell you how many times I’ve had to open every single drawer to find the one thing I’m looking for.
But now thanks to this clever solution (magnetic label holders + coordinating toolbox label templates), making your own magnetic toolbox labels is quicker and easier than ever! If your toolbox is constantly a mess too, I promise this labeling project is well worth your time!
Megan


One Comment on “DIY Magnetic Toolbox Labels (With Template!)”
Isn’t amazing how long we are will to struggle with finding stuff… as compared to the time required to categorize and label ….. Need to just do it!
(speaking of which…. I have messy desk drawers…..