Templates to Make Your Own LEGO Labels
In the many years since I first organized our LEGO sets into clear plastic boxes, I have been asked by countless readers to share exactly how I made the picture labels. Although it took me far too long to circle back to this project, I am so excited to not just break down the full step-by-step instructions for making LEGO labels, but also share an easy-to-use Canva template that will allow you to make your own custom labels in a snap! Whether you want to label your LEGO sets just like mine, or need to use these labels for other boxes around your home, let me share this simple project with you!
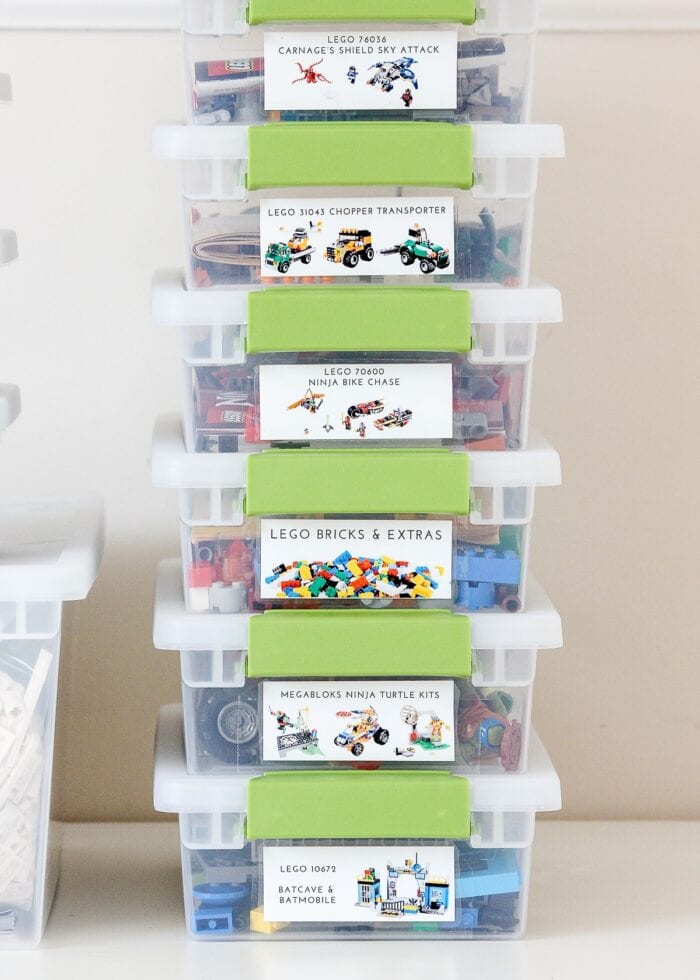
Our Organized LEGO Sets
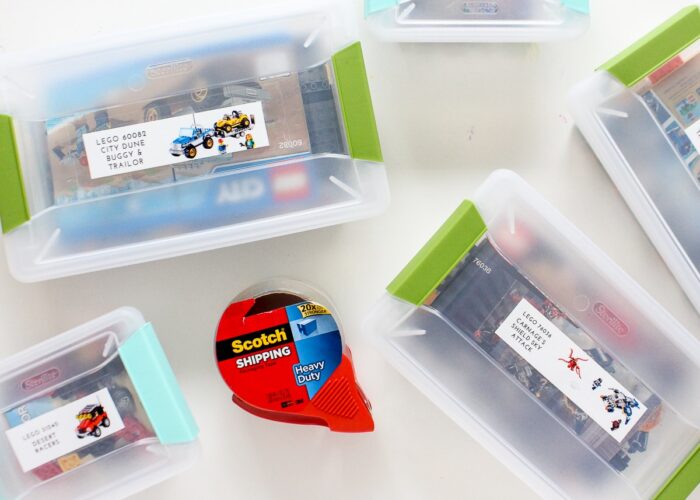
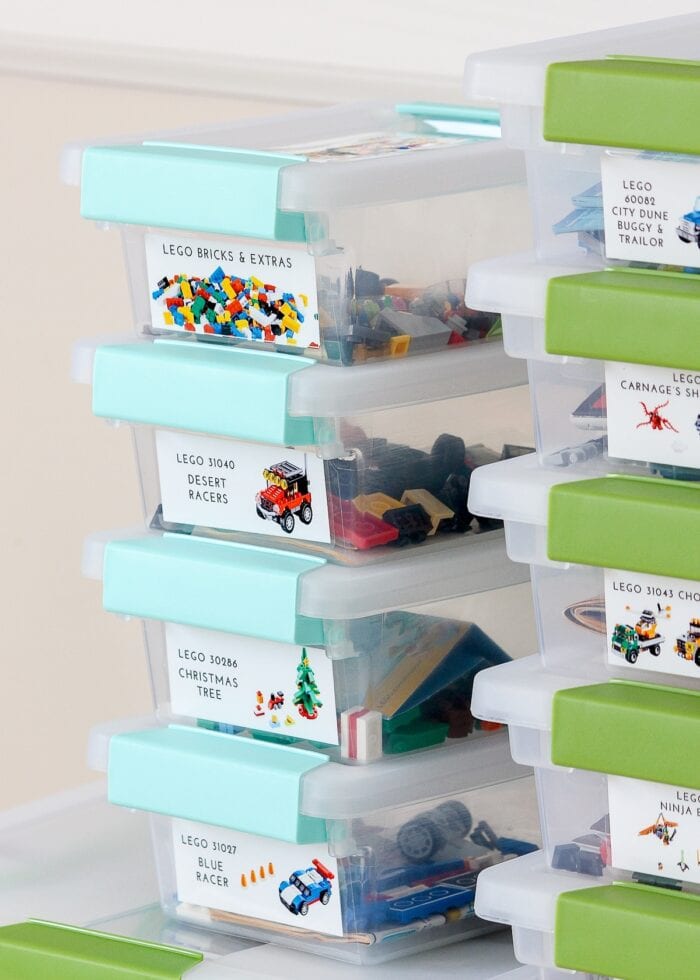
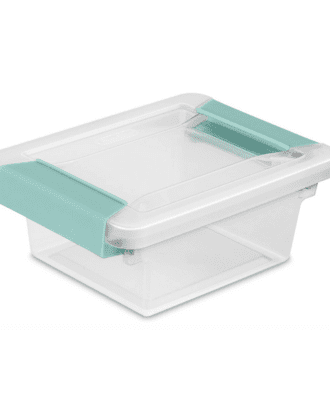
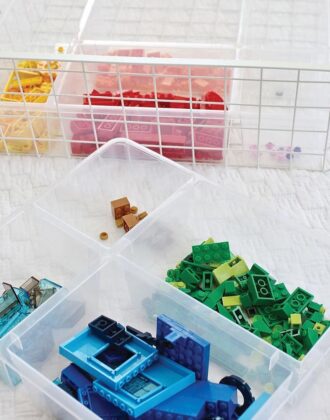
As I mention in this LEGO organization post, I learned early on in our boys’ brick-building career that the blue LEGO boxes (that sets come in) aren’t very durable. They don’t easily seal back up once they are open, can’t contain tiny little pieces without the plastic bags, and their various sizes make them hard to stack nicely. We found that loading sets (with their instruction manuals) into Sterilite boxes was a great solution for keeping kits together.
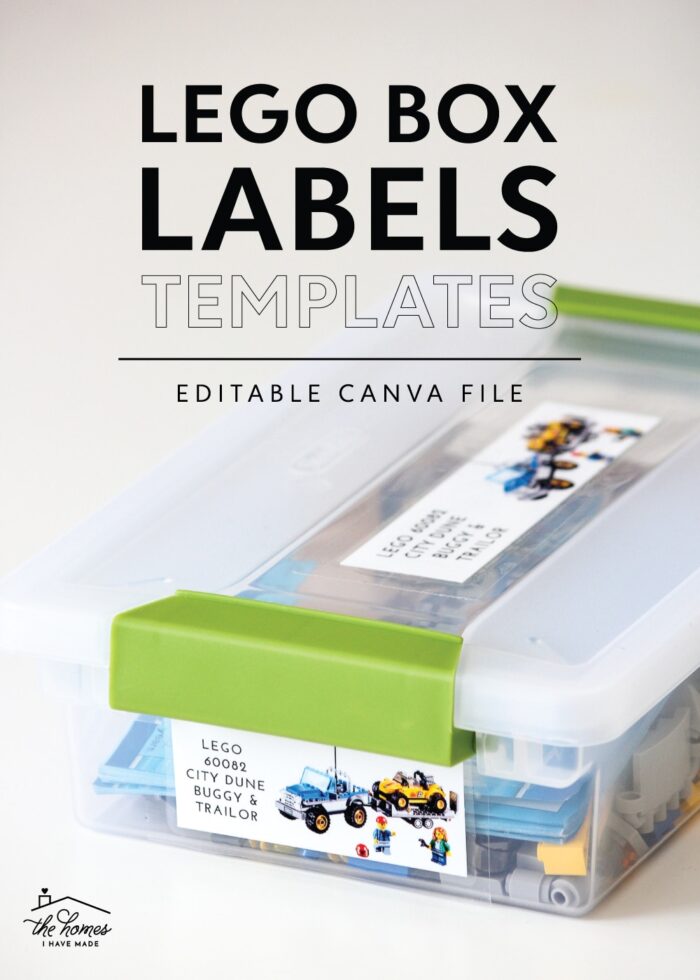
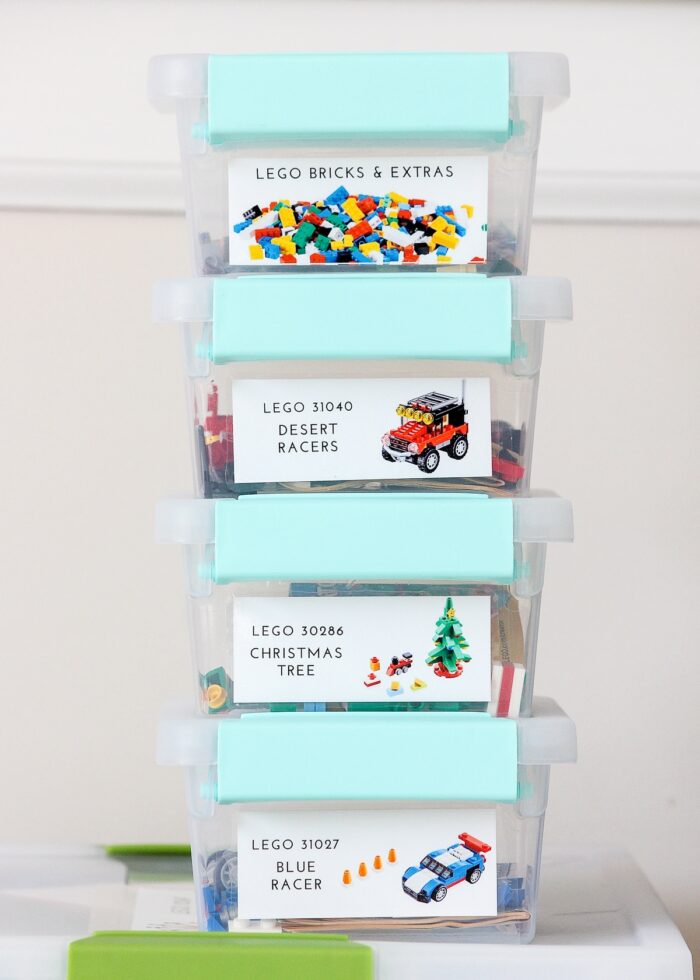
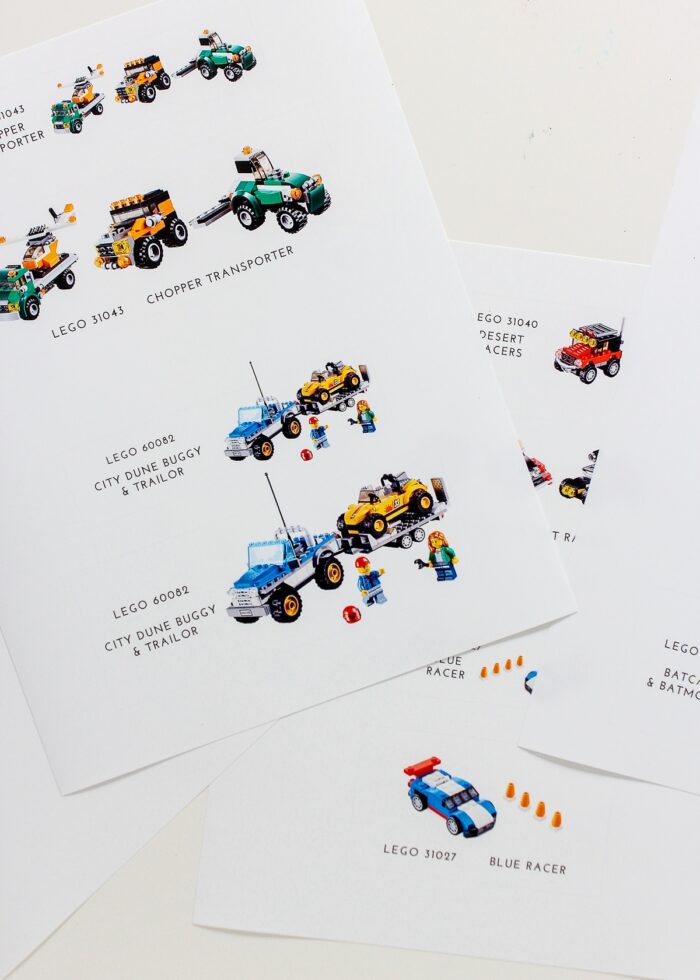
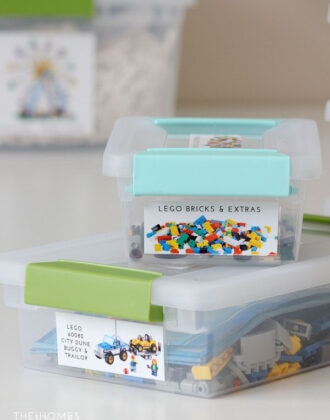
Because unassembled LEGO bricks don’t usually give a good enough clue of what is inside the box, it’s really important to add labels so that you can easily see what kits you have. And since LEGO sets are toys often played with by kids, text-only labels are usually insufficient. So that our entire family (kids included) can see at-a-glance what kits we have, I made our labels to include not just the kit name and number, but a picture of the completed set as well.
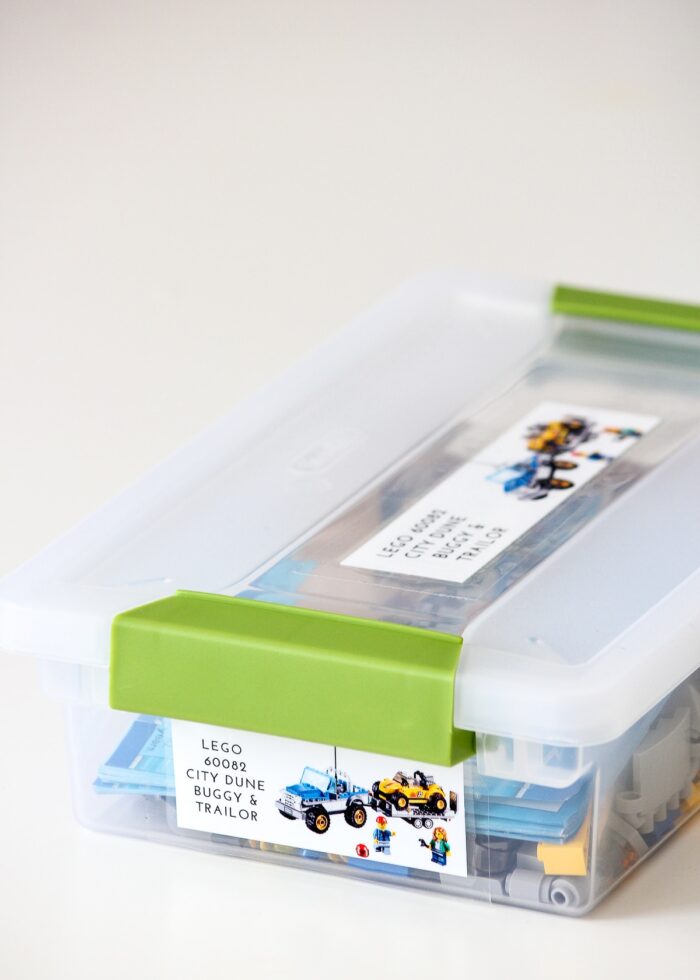
The LEGO labels are on both the sides and lids of each box so that we can keep tops/bottoms together. The side labels also help us easily see what is where when the kits are stacked up on a shelf.
When I first made these labels, I somewhat figured it out as I went along. Now that I’m revisiting this project, I’ve streamlined the process for you so you can quickly and easily make labels that look just like mine. Let me walk you through the process!
Supplies Needed
Here is what you need to make your own picture labels for your LEGO collection:
- Canva.com Account – the FREE account is more than sufficient for this project
- The LEGO Labels Canva Template
- White Paper – photo paper, sticker paper, and white cardstock will all work well for this project
- Home Printer – this is the one we have
- Scissors or Paper Trimmer (recommended)
- Clear Packing Tape – if you don’t use sticker paper
Video Tutorial
If you’d prefer to watch how to make LEGO labels rather than read the instructions, here is a short video to help you! Video not loading for you? You can watch it HERE.
Step 1: Find & Save Images of Your LEGO Sets
Before you even get started making LEGO labels, you first need to identify what sets you have and save digital pictures of each one. With the help of the LEGO Group website, this is actually really easy!
Take Inventory
First inventory your LEGO sets and make a list of all the kits you own (including both the names and set number). If the original boxes are long gone, use the instruction manuals to help you.
Find & Save Pictures
Next, visit LEGO.com or Amazon to search for each set you own. On LEGO.com, it’s easiest to type the kit number directly into the search bar in the upper right hand corner of the page.
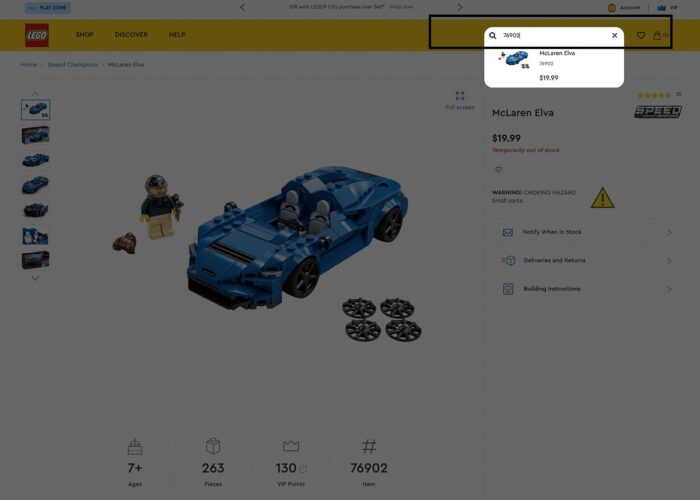
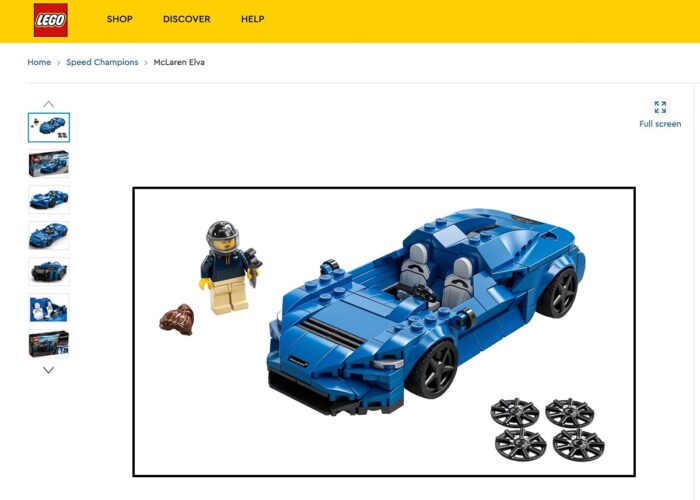
Once the kit loads, you’ll see a variety of pictures along the lefthand side from which you can choose. I like to scroll down until I find the simplest image on a solid white background (but you can use any image you like, including the box graphic).
Because the LEGO website has a zoom feature, you can’t just save the images to your computer. Instead, you’ll need to use the “screen grab” function on your computer:
- Mac: Command + Shift + 4 – then drag a box around whatever you want to save. Once you release, you will see a preview of the image pop up in the bottom right-hand corner of your screen and then the picture will save to your computer. See HERE for more information.
- PC: Windows Logo Key + Shift + S to open the Snipping Tool, then select “Rectangular Snip.” See HERE for more information.
Continue searching for and saving images of all your LEGO sets to your computer.
Step 2: Open the LEGO Labels Template
It’s important to know that this template will only work in Canva (a very easy-to-use, highly capable graphic design program); so if you don’t have one yet, set up a free account at Canva.com.
Next, download my LEGO Labels Template and click the template link inside the PDF. When you do, you will be directed to a screen that says my template has been shared with you (shown below). Click the purple “Use Template” button.
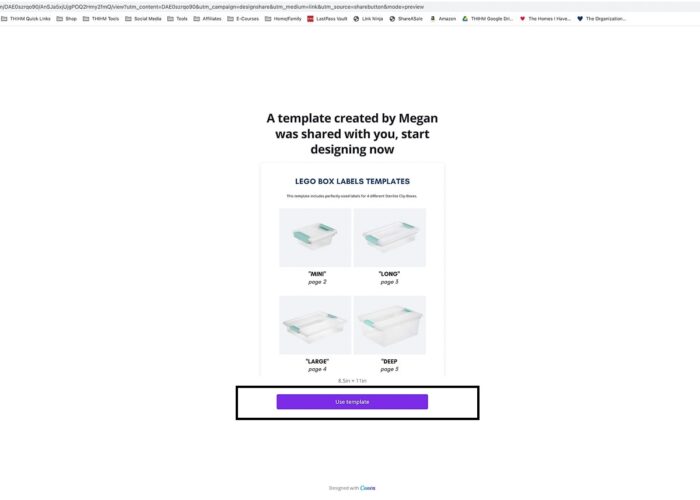
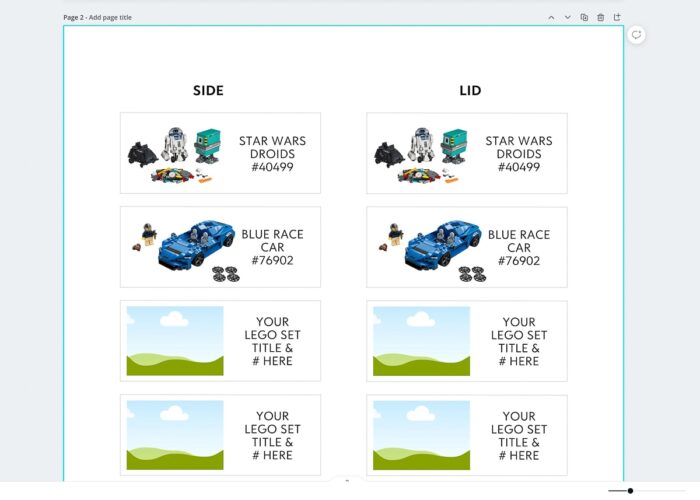
The LEGO Labels Template contains a “Table of Contents” page with some basic information, as well as four pages of drag-and-drop templates, one for each size Sterilite box (Mini | Long | Large | Deep).
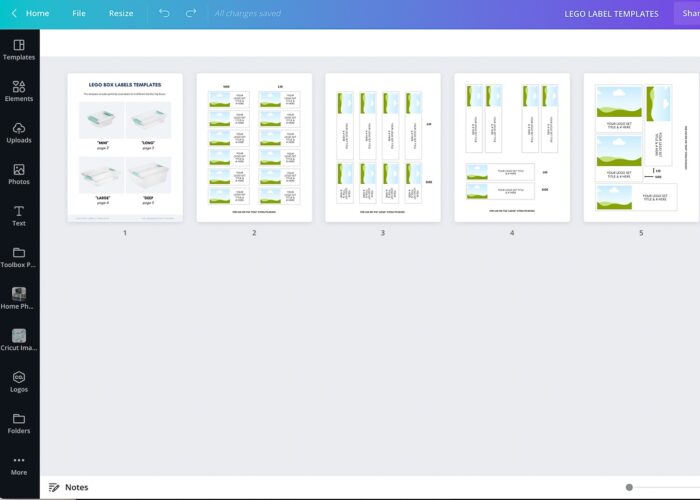
I have pre-sized and formatted the labels for each size Sterilite box, including both the picture and text on each label.
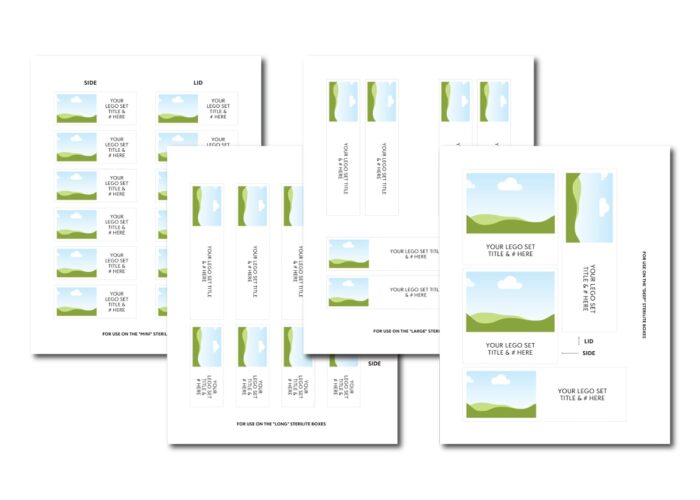
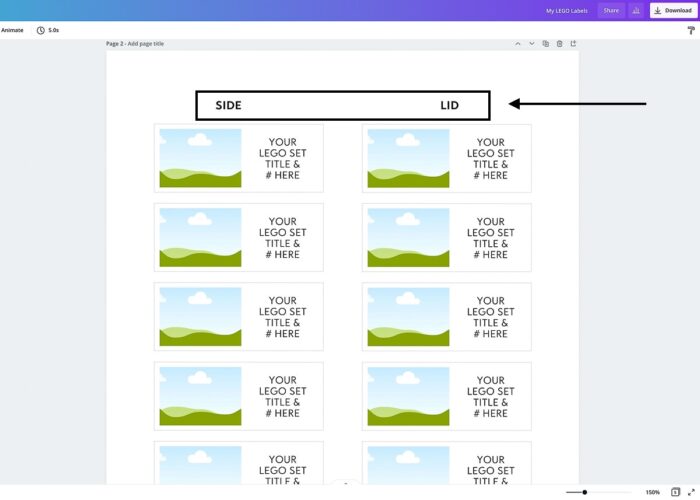
Note that each page indicates which size box the labels are intended for, and each box has designated labels for the side and lid.
Keep in mind that when you click that purple button to “Use Template” a NEW version of this document is created in YOUR Canva account. This means you can do ANYTHING to this file and it won’t affect the original template. As such, don’t hesitate to delete things out, move pages around, or edit elements according to your preferences.
Step 3: Create Your Own LEGO Labels
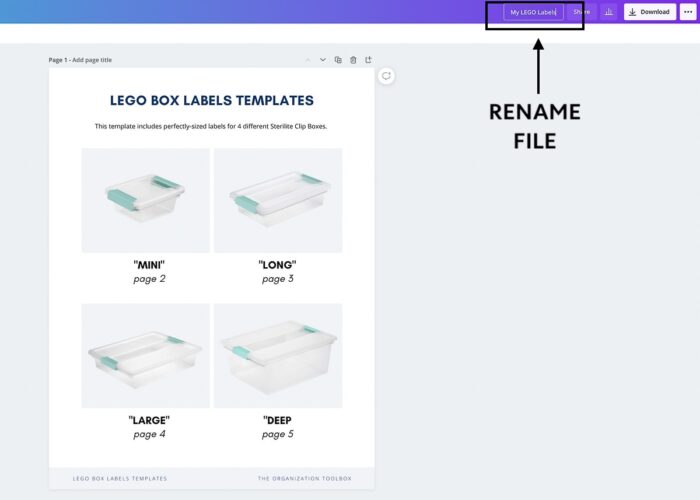
Start by changing the name of the file to something you will recognize in your Canva account.
Want to save this post?
Import LEGO Images Into Canva
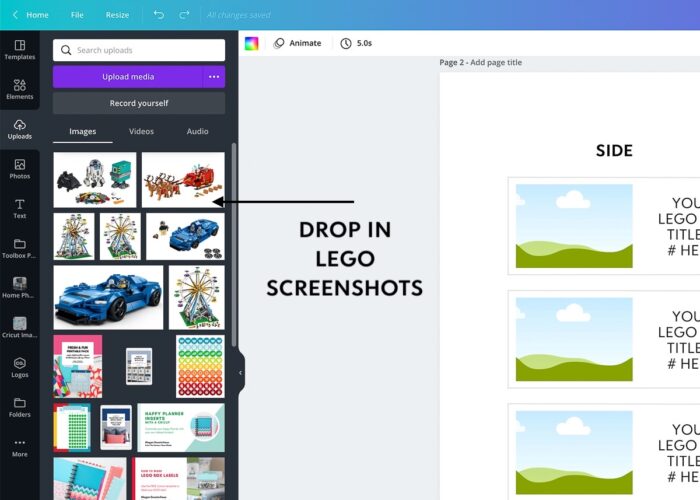
Next, locate all the saved images of your LEGO sets on your computer and drag them directly into the left-hand side bar of Canva. As they upload, you will see “tiles” of each image pop up under the Uploads tab.
Populate Images & Text
Each square that looks like a blue sky and green land is an image placeholder; which means you can literally drag-and-drop any of your LEGO pictures into these boxes. Once you drop a picture in, double-click on it to adjust the layout and zoom of a particular image to suit your preference. (Watch the video tutorial to see how this works.)
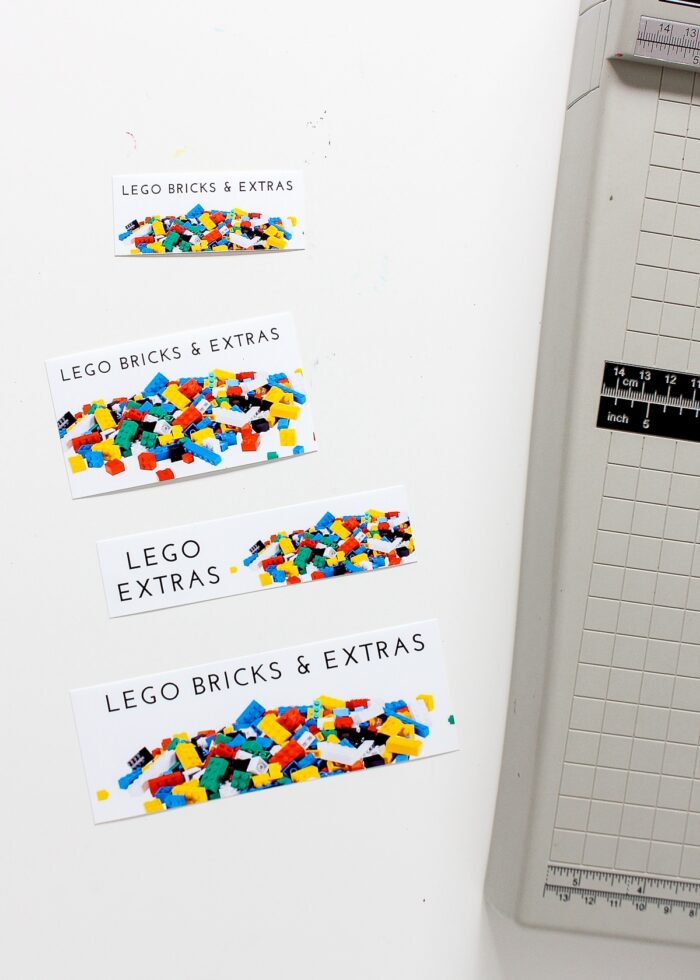
With the pictures loaded, double click the adjacent text box to populate the set name and number information. At any time, you can change the font, size, colors, etc.
NOTE: In order to make matching labels for the sides and lids of each box, load the same picture and text into 2 labels.
Step 4: Print & Cut the LEGO Labels
Once you have populated all the labels you need for your particular LEGO sets, you are ready to print your labels!
So that the sizing remains exact, I recommend first exporting your Canva document into a PDF:
- Click the Download button in the upper right-hand corner of Canva.
- Click either PDF Standard or PDF Print (both will yield nice print quality).
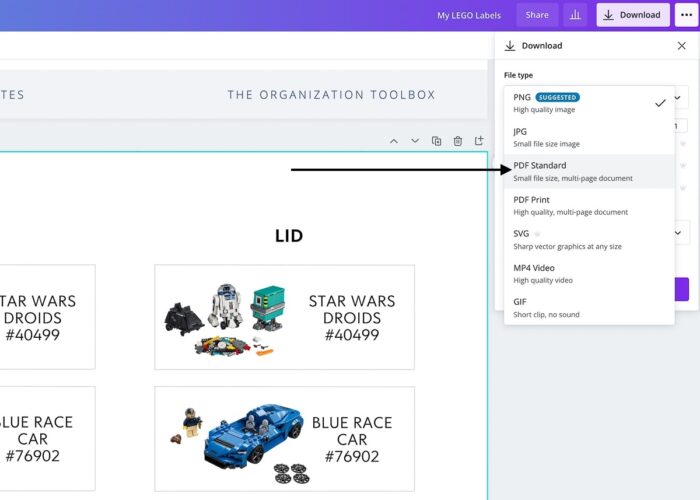
The PDF will export to your device’s “Downloads” area. Once you locate it, open it using your favorite PDF viewer (e.g., Preview, Adobe) and then print the pages at 100% resolution.
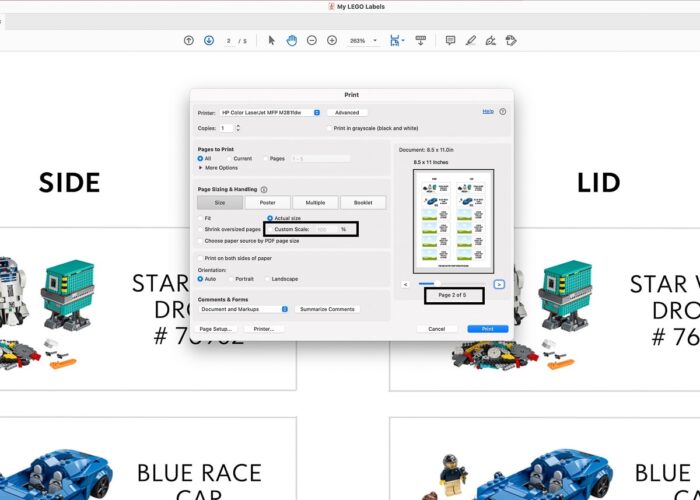
I recommend printing your LEGO labels onto white carstock, white photo paper, or white sticker paper.
Then use a paper trimmer or scissors to slice apart the labels along the (provided) grey lines.
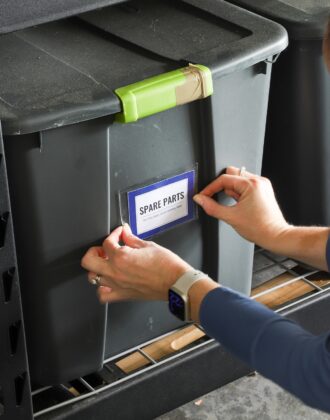
Step 5: Attach the LEGO Labels
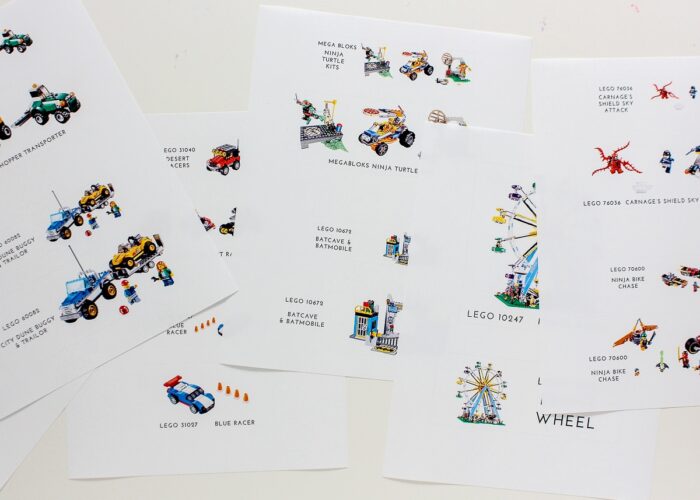
With your labels printed and cut down to size, all that is left to do is attach them to whatever LEGO storage device you are using (e.g., boxes, drawers, etc). If you used sticker paper, you can just peel-and-stick the labels right onto your containers. If you used cardstock or photo paper, my favorite label application method is to use clear packing tape. The tape is perfectly crystal clear and serves as a durable “laminating” layer, sealing up and protecting your labels from wear and tear!
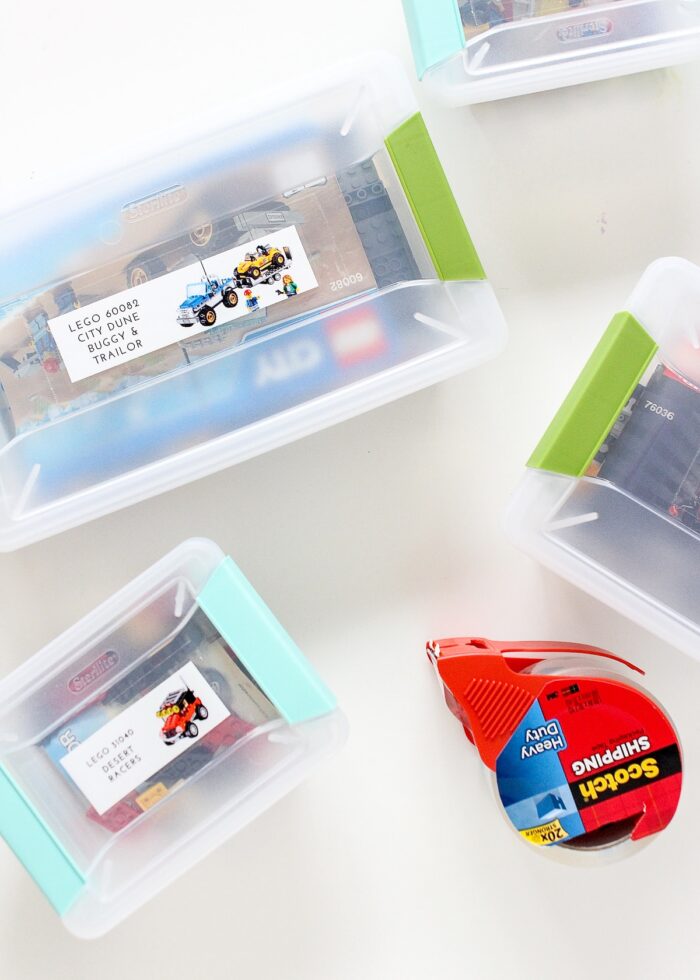
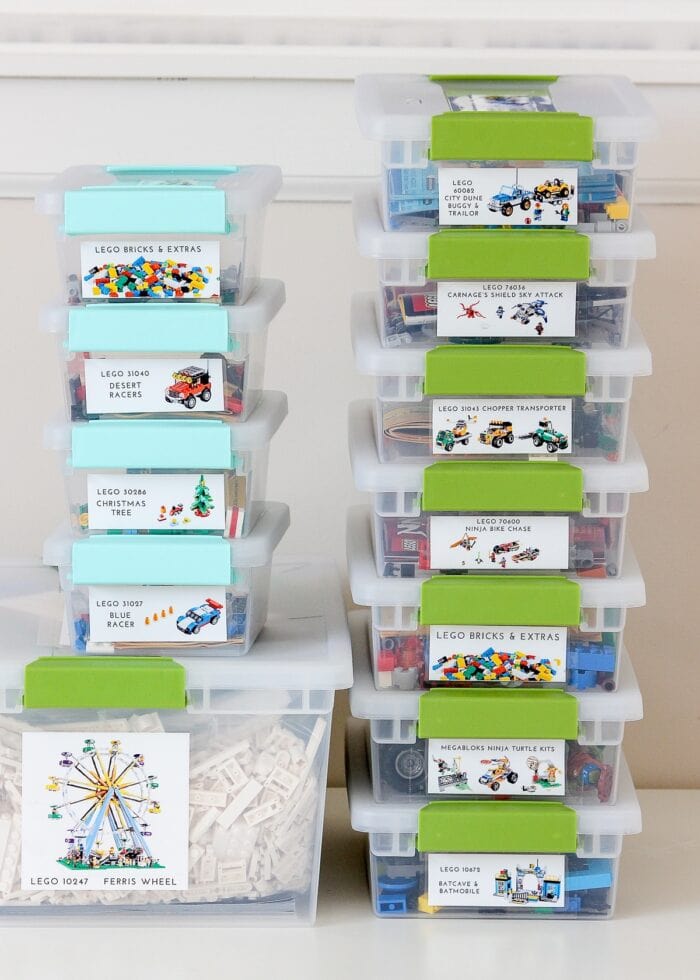
And with that, your LEGO sets all have fully custom labels with pictures, names, and set numbers. Now stack up your boxes on a shelf so you can easily see each set at-a-glance!
Use This Template to Label Anything!
Although these instructions detail precisely how to use my Canva template to make labels for LEGO sets, I’d like to point out that you can actually use this template for just about anything!
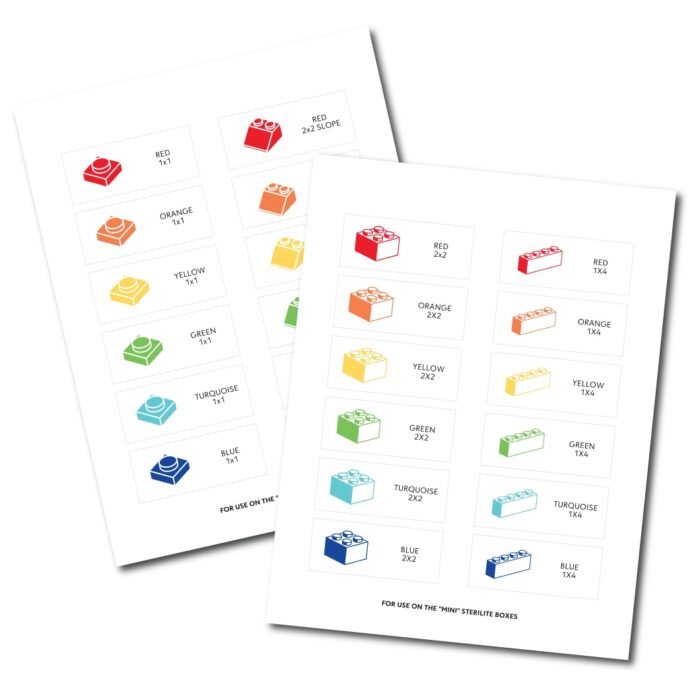
For starters, you can still use this template if you organize your LEGO bricks differently. For example, you could make labels for wheels, mini figures, technic bricks, common parts, connectors, specialty parts, etc. Additionally, you can make the same picture label in a variety of colors to represent bins or drawers of different colored bricks (e.g., red, yellow, blue, pink, lime green, etc).
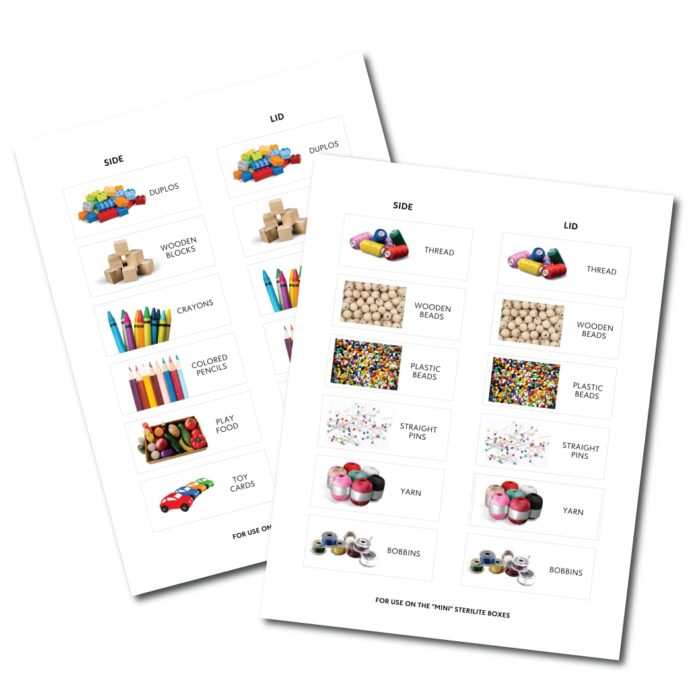
Also, I have used these same Sterilite bins to hold toys, craft supplies, and even tools and hardware. To use this template for any labeling project, simply swap the LEGO pictures and text for whatever you’re storing. Use your creativity to find other uses for this great template around your home!
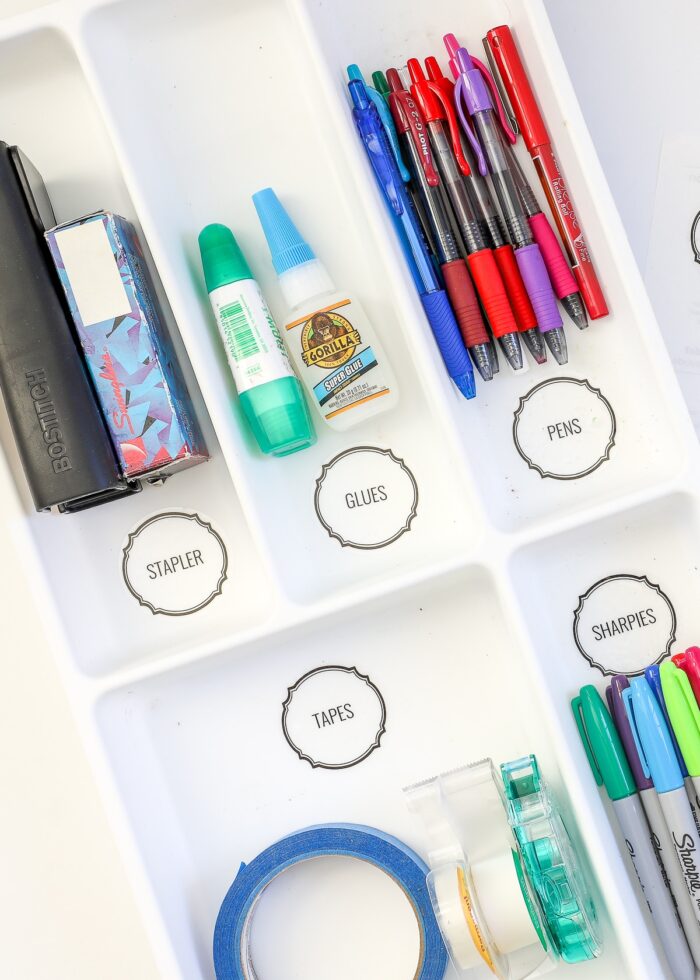
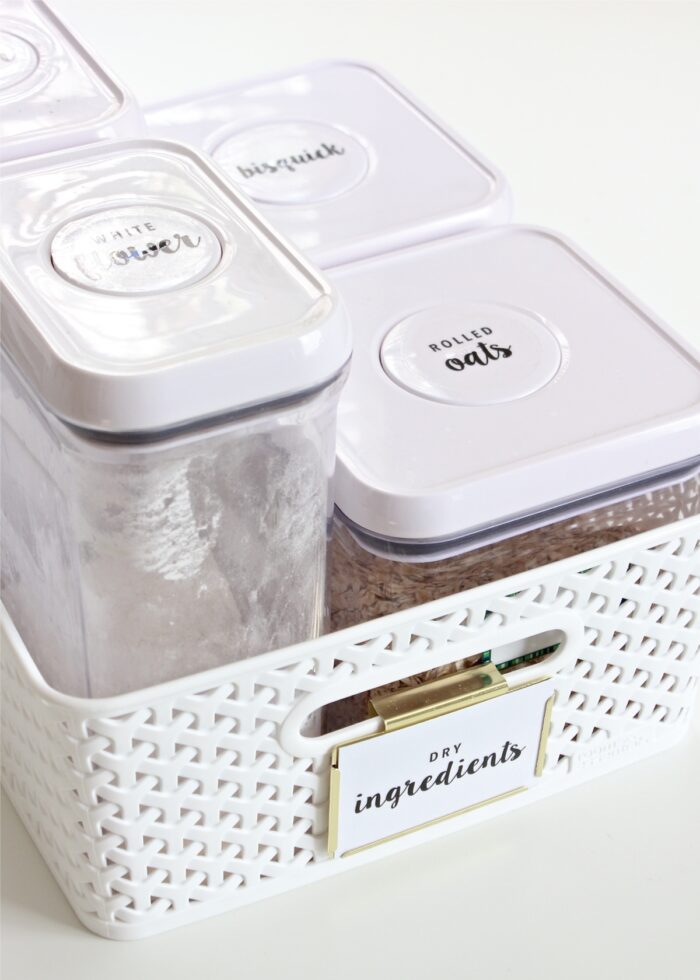
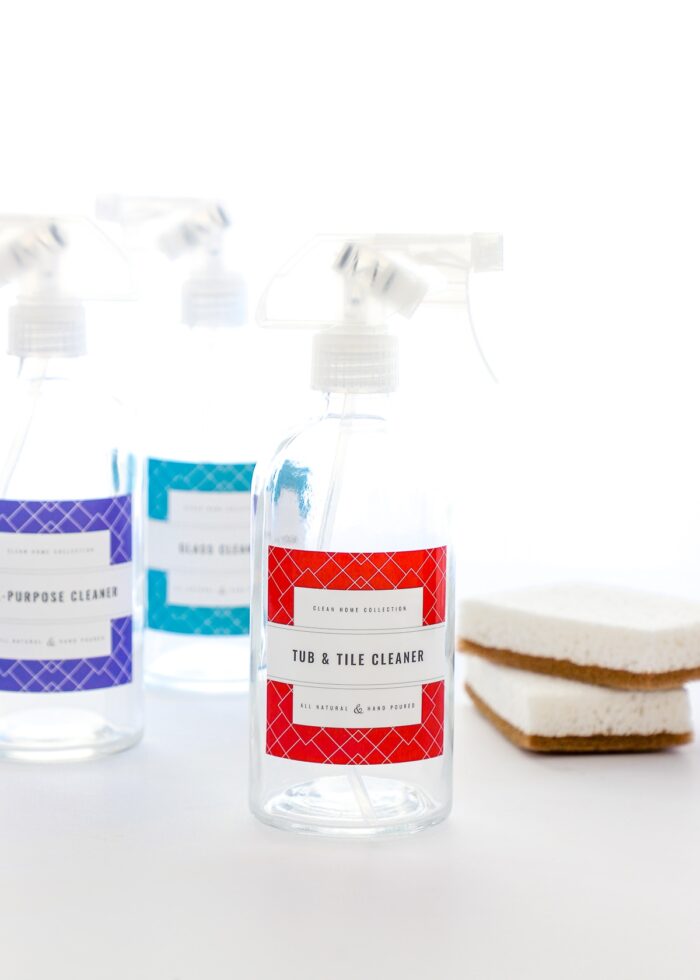
More Labeling Templates
I love making labels, and I want it to be quick and easy for you too! Below are some other ready-to-print templates you can use throughout your home!
- Storage Bin Labels Template
- LEGO Set Label Template
- Garage Toolbox Labels
- Printable Spice & Pantry Labels
- Cleaning & Laundry Supply Labels
- Basic Shapes Printable Labels
- School Memory Box Labels
- Household Staple Labels
- Toy Bin Labels

Between my instructions on how to sort and store LEGO sets and this labeling tutorial, I hope you’re feeling motivated to finally tackle some LEGO organization in your home. While it can certainly take some time and work to organize your LEGO sets, I think you’ll find your efforts well worth it!
Megan

One Comment on “Templates to Make Your Own LEGO Labels”
Can’t thank you enough for this tutorial and template. My 6 year old recently discovered legos and the collection of legos has exploded lol. This was so helpful. I’ve used canva before but learned some new tricks through your tuturial. Anyways thank you from a mom who has been overwhelmed by legos!