How to Make Your Own Printable Toy Bin Labels (With Template!)
There are countless versions of ready-to-print toy bins labels available on the web these days…so why bother designing your own? Because when you rely on someone else’s design, you might not get the exact labels (or the exact look!) you want for your space. Don’t consider yourself a graphic designer? Don’t you worry! Today, I’m breaking down exactly how to make (super easy) toy bin labels so you can create the exact playroom organization your home needs!
Why Put Labels on Toy Bins?
Oh boy! If you look back through all our different play spaces over the years, you’ll quickly see one unifying element: toy bin labels. In fact, I think some basic image labels were one of my very first organizing projects shared here over 10 years ago!
And this is no accident! I firmly believe (and have even tested and proved!) that labeling the bins in a play space is essential to not only your kids finding their toys at play time…but more so, being able to clean up all on their own when play time is through.
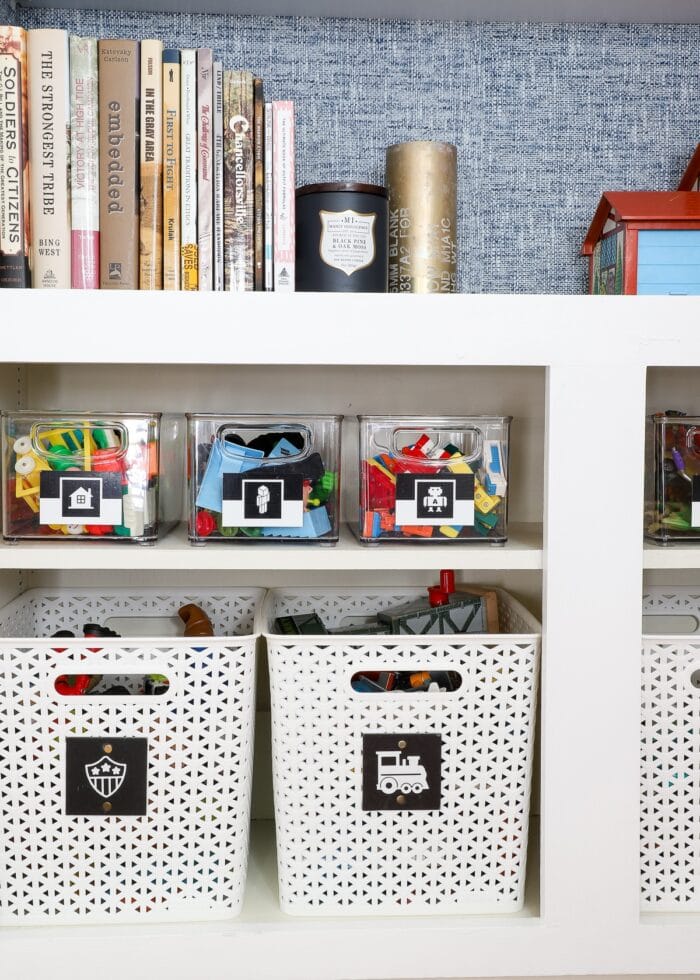
But there is one major key when labeling toys: you have to use labels that truly communicate what is inside each bin, so that your kids (and you!) know…immediately and without hesitation…exactly where everything belongs.
Why Design Your Own Playroom Labels?
Without a doubt, doing a quick Google, Pinterest, or Etsy search for “printable toy bin labels” will yield all sorts of options…too many options! In fact, you might even spend more time sifting through all the ones you don’t want in order to find a pack that will work for you, your kids, and your specific toy collection.
But what if I told you that instead of finding ready-to-print versions that might “just do,” you could use that same time to make your own…exactly as you want them!
By designing your own toy bins labels, YOU get to pick:
- The color(s)
- The size for your specific bins, baskets, or label holders
- The shape (e.g., squares, circles, rectangles)
- If the labels have words, pictures, or both
- Which pictures/words represent each toy category
In essence, making your own toy storage labels allows you to create the exact labeling system YOUR play space needs, instead of having a bunch of labels that don’t quite make sense to your kids or for your toys.
I promise it doesn’t take much more work than downloading a “done for you” set of labels…so let me show you how to do it!
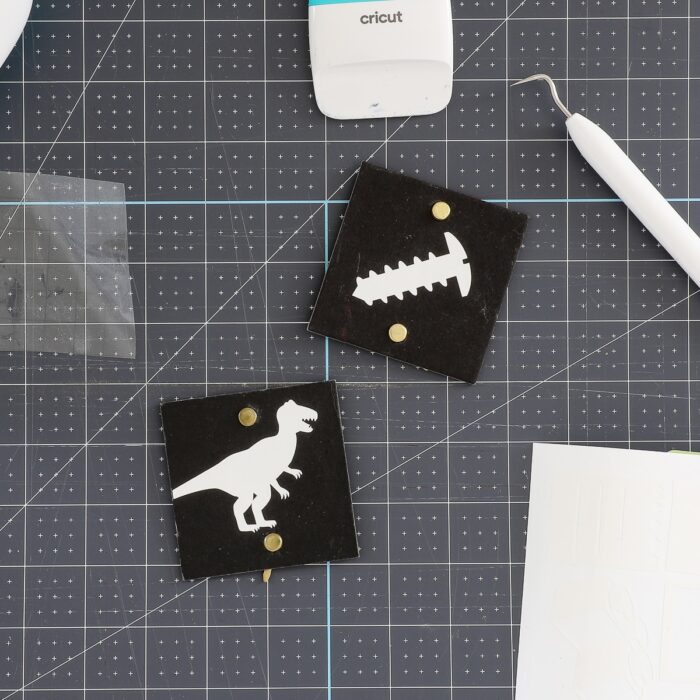
Psssst – Don’t want to print toy bin labels but would rather cut them from vinyl using an e-cutter? Check out this companion tutorial: How to Make Picture Toy Bin Labels with a Cricut
Supplies Needed
- Canva – free, easy-to-use design software
- Free Toy Bin Labels Template – see more below
- Noun Project – if wanting to use icons on labels; this site is free for personal use and does not require a subscription
- Home Printer
- Printable Papers
- Cardstock
- White Sticker Paper
- Clear Sticker Paper
- Optional: Avery Self-Laminating Sheets
- Scissors or Paper Trimmer
Free Printable Toy Storage Labels Template
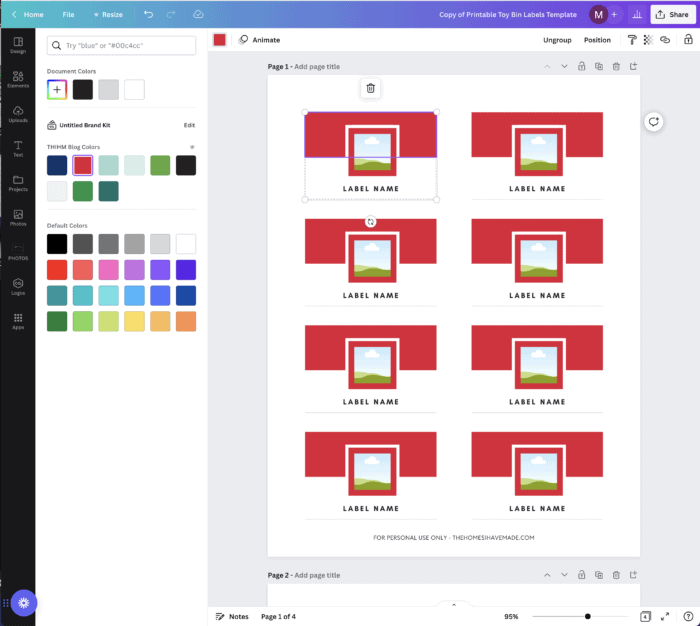
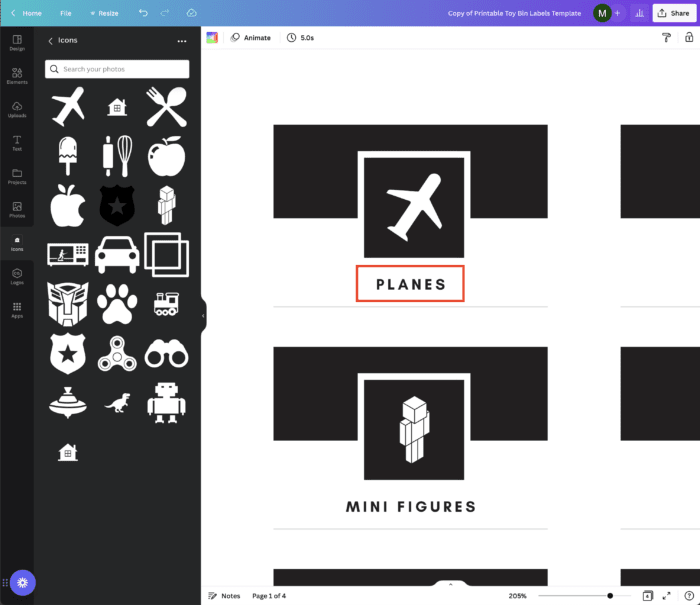
This tutorial will rely on a free design platform, called Canva, to design custom toy bin labels. Canva is easy enough to design your labels completely from scratch, but if you’d like a jumping off point, you are welcome to use (and adjust) my FREE Toy Bin Labels Template.
Included in this template are four different label pages:
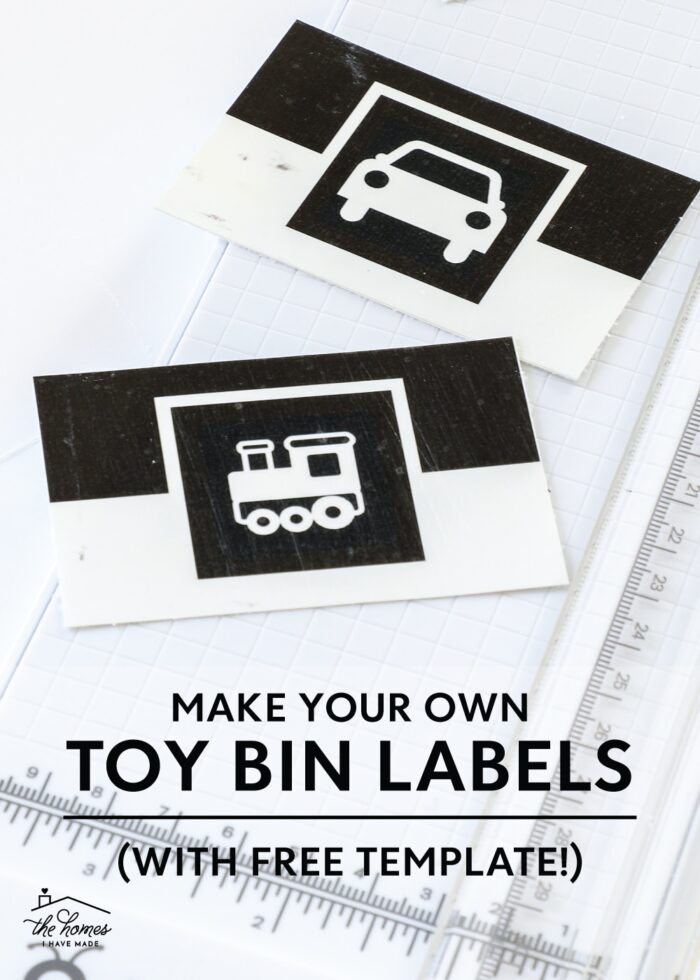
- 2×3″ labels with picture AND text
- 2×3″ labels with picture only
- 3″ square labels with picture AND text
- 3″ square labels with picture only
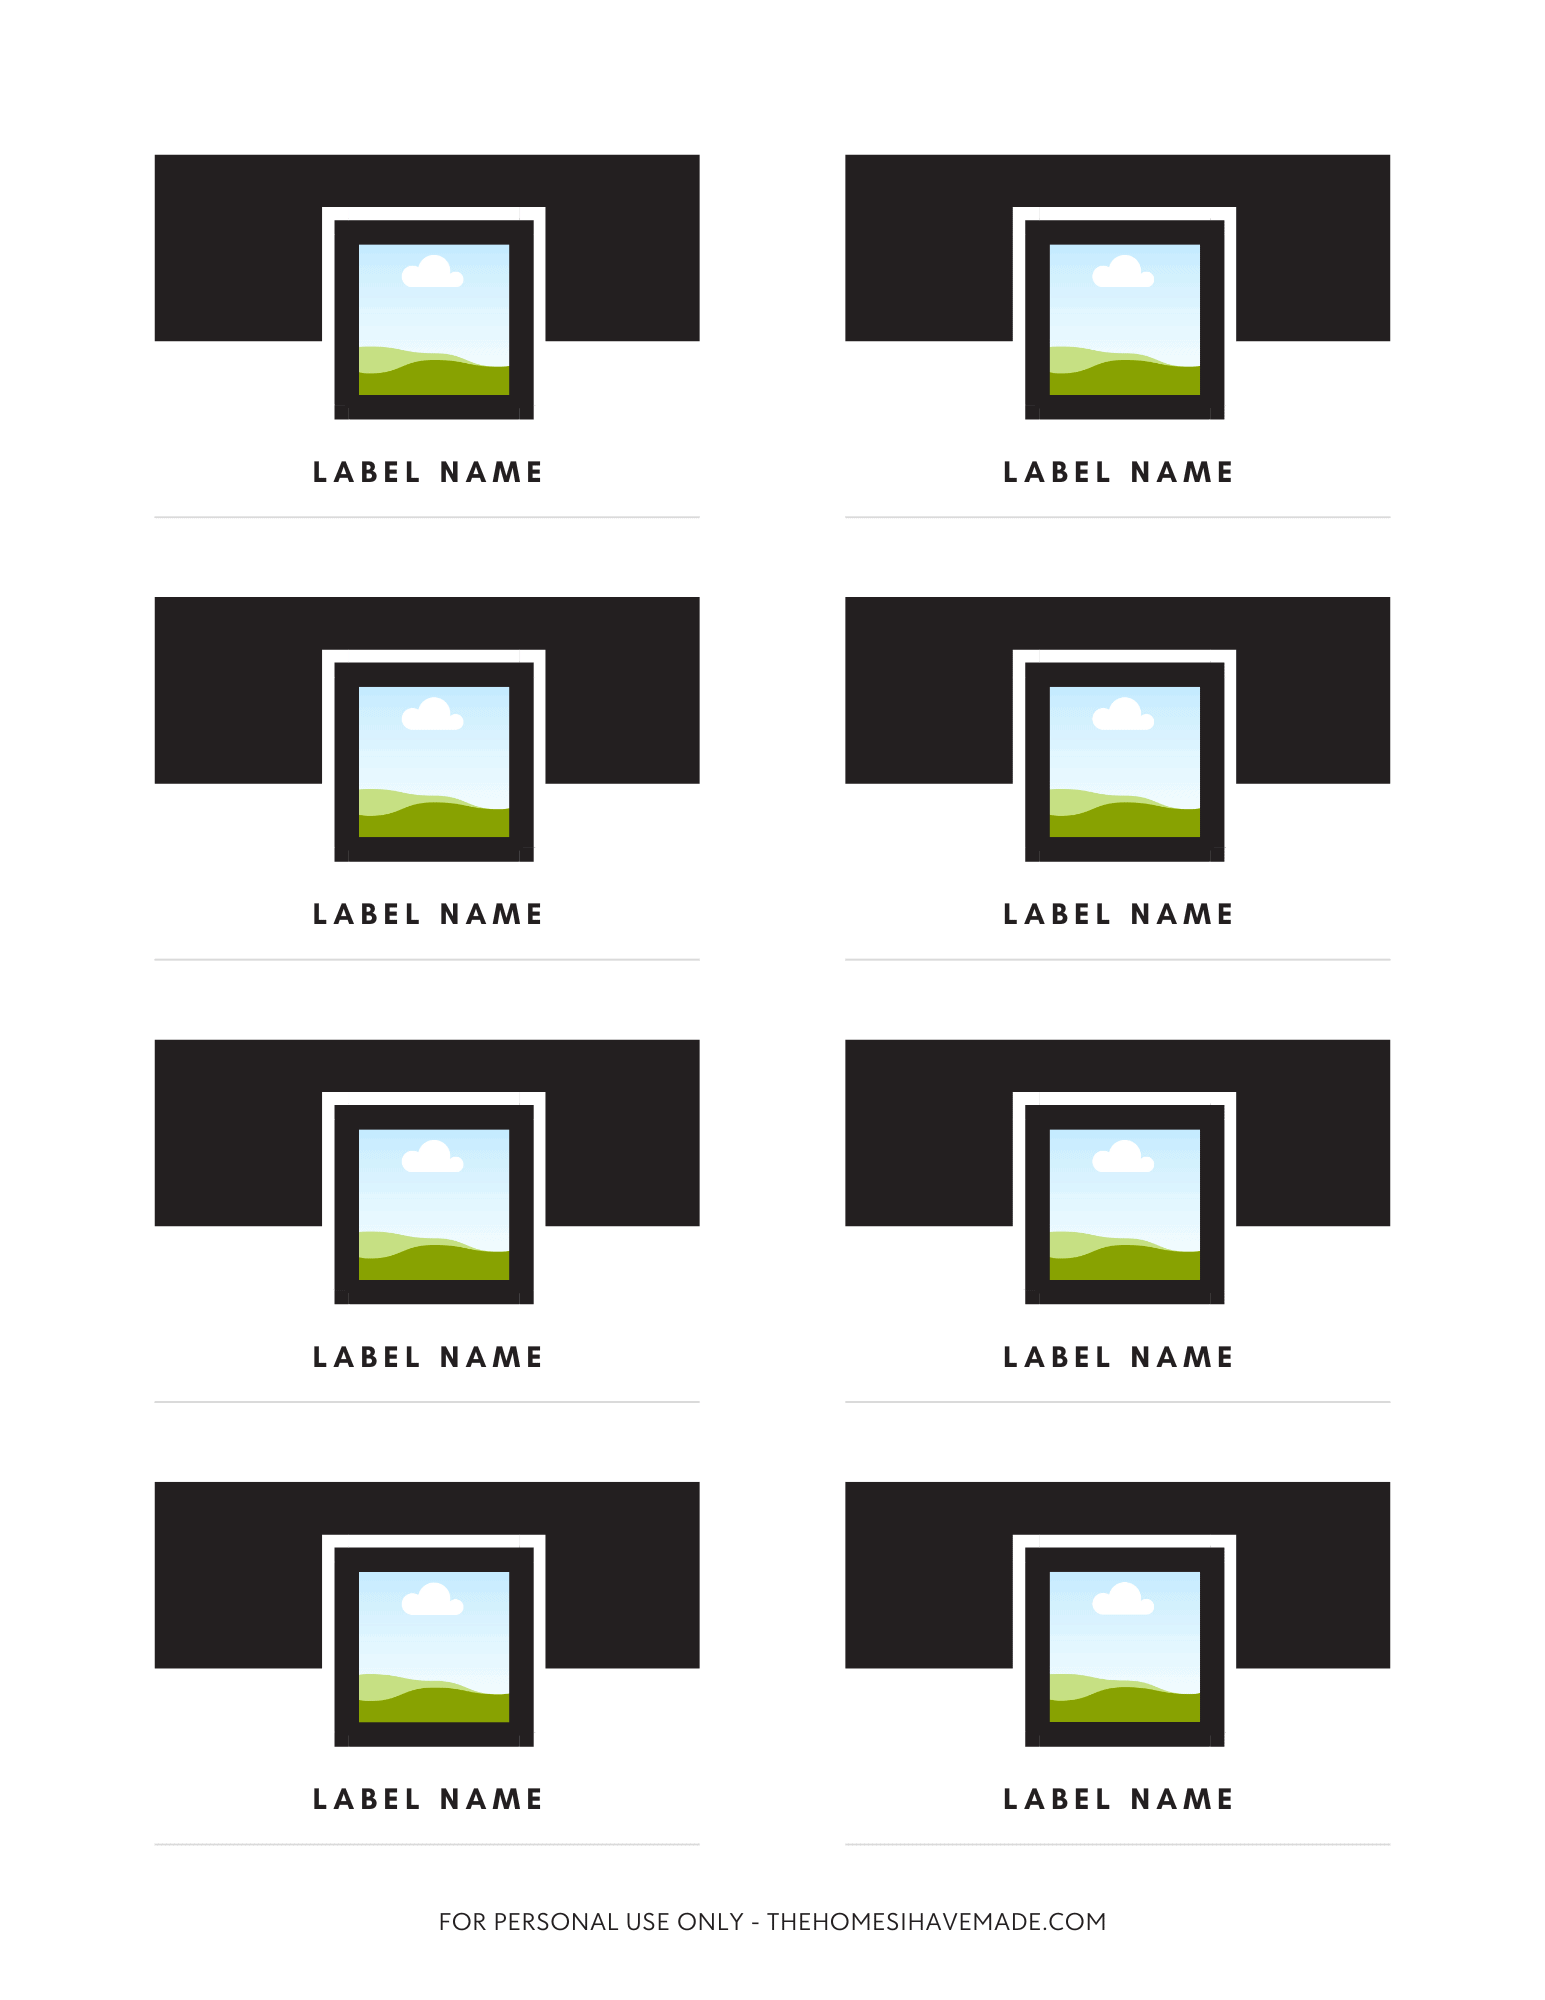

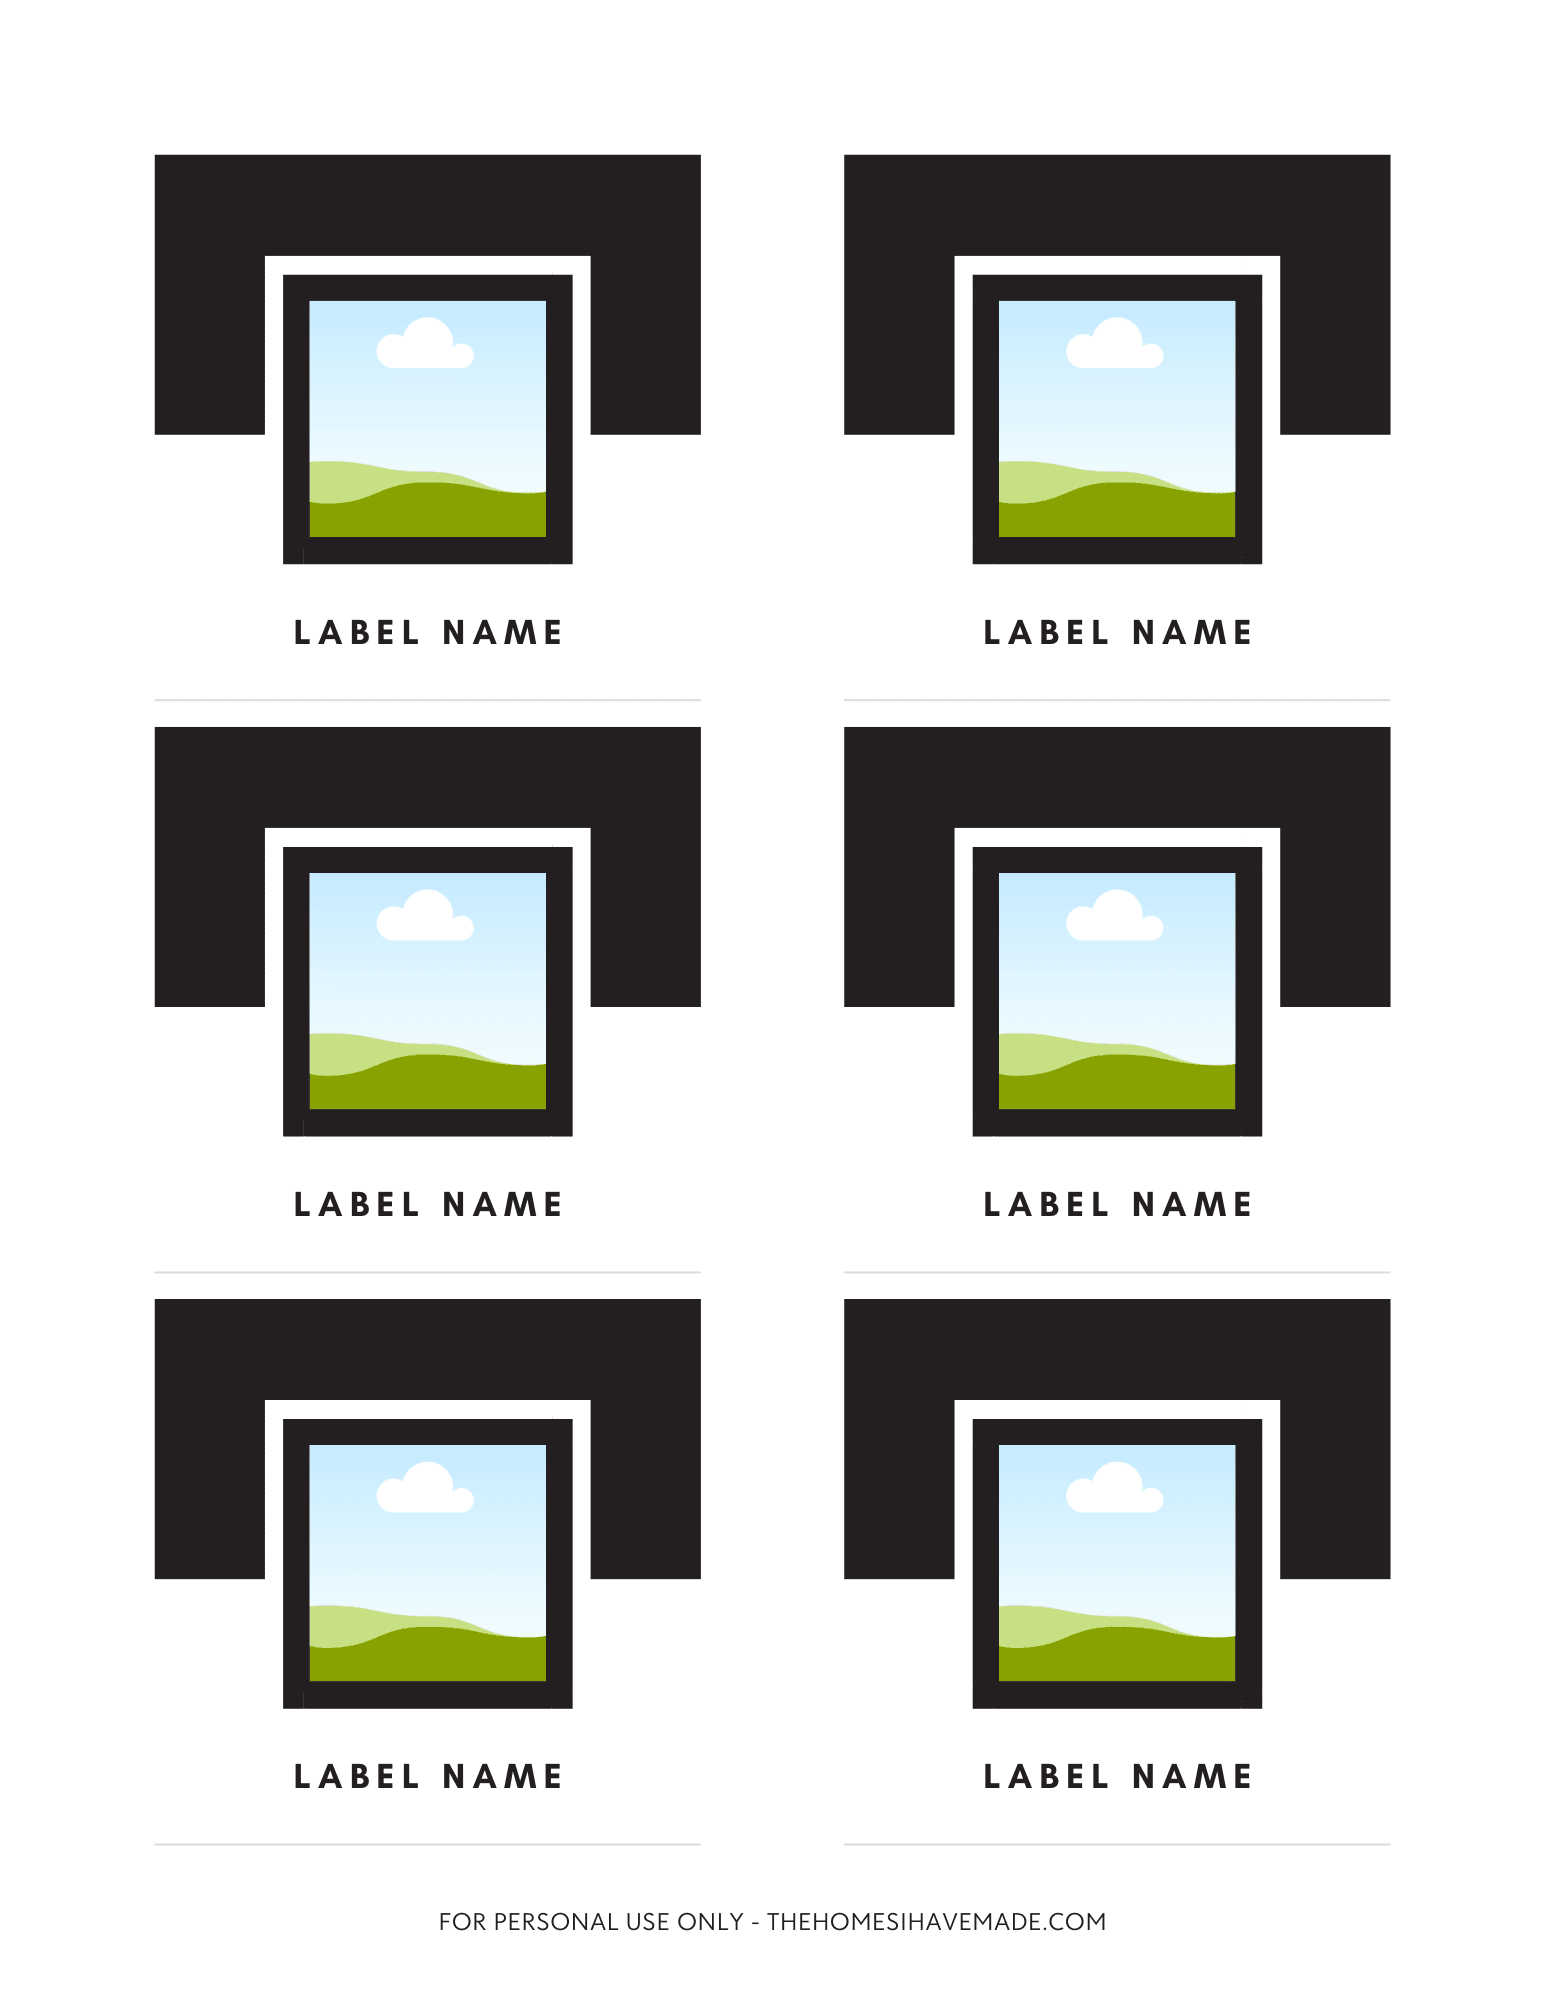
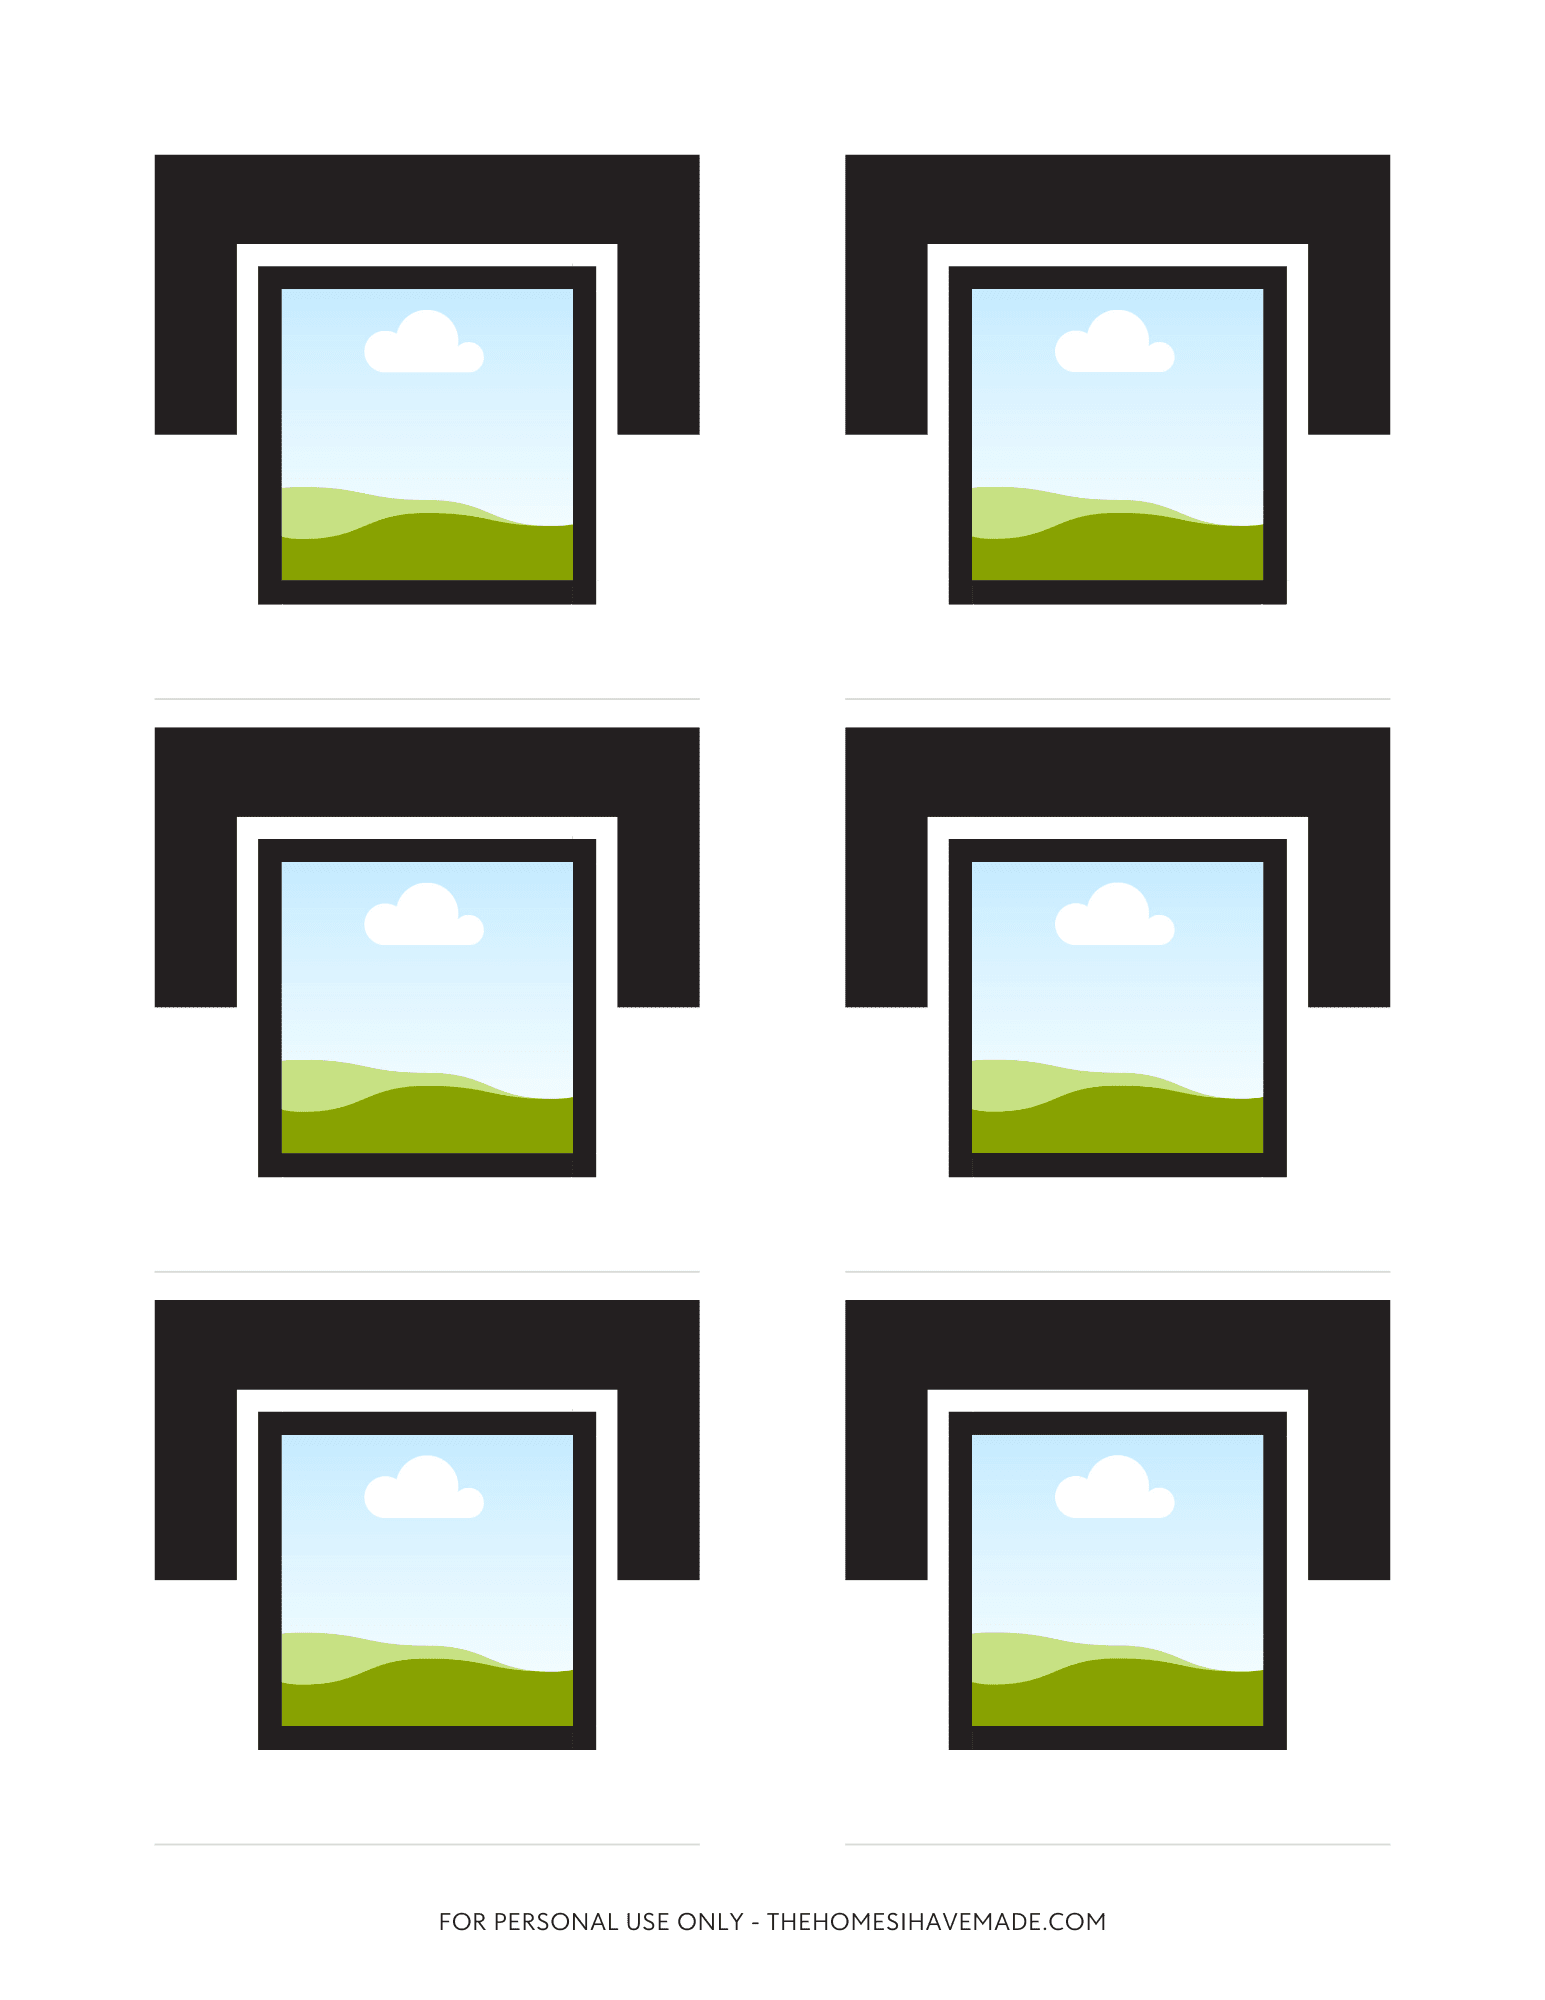
Every element…from the text and pictures to the overall shape, size, and colors…can be fully customized exactly to your preferences!
Template Video Instructions
All the instructions for making your own toy bin labels using my template are written out with photos in the remainder of this post. But if you would like to watch the entire design process, below is a short video tutorial! Video not loading for you? Watch it HERE!
Step 1: Organize Your Toys
Believe it or not, this label project should pick up where your toy organization project ends. I always, always, always recommend that labeling be the very last step of any organization project, because it’s only then that you know exactly what labels you need, how many, and what size.
If you are unfamiliar with my organization method, see more here: Learn How To Organize Any SPACE In 5 Steps
And if you need specific help with toy organization, see more here: The Best Toy Storage Solutions for Every Item In the Playroom
Step 2: Identify Needed Toy Labels
Since you now have all your kids toys purged, sorted, organized and loaded into proper plastic bins (ahem…you did go back and organize your toys first, right?!?), the next step is to identify the “name” or category for each bin.
In most cases, toy bin labels are for kids, so it’s really important you keep these things in mind when figuring out how to label a particular group or collection of toys:
- Go with Gut Instinct – Don’t overthink or overcomplicate the label. Look at the category of toys and write down the first thing that comes to mind. If you’re having trouble, show the toys to the kids and see what they suggest.
- Keep it Short – Stick to one word labels if you can (e.g., Cars versus Race Cars, Toy Cars) unless you have multiple bins of similar items (e.g., RC Cars versus Matchbox Cars).
- Break Broad Categories Down – If you find that a single label doesn’t adequately capture everything inside the one bin, try breaking the toys down into smaller groups that are easier to label more precisely.
- Go Broad – Adversely, you don’t need a bin for fire trucks, construction trucks, and LEGO trucks if you only have a few of each. Just go with “Trucks.”
- Go Generic – You might be tempted to label “Magnatiles,” but “Magnets” is just fine. “Little People” can be “Dollhouse” and Hot Wheels can be “Cars.”
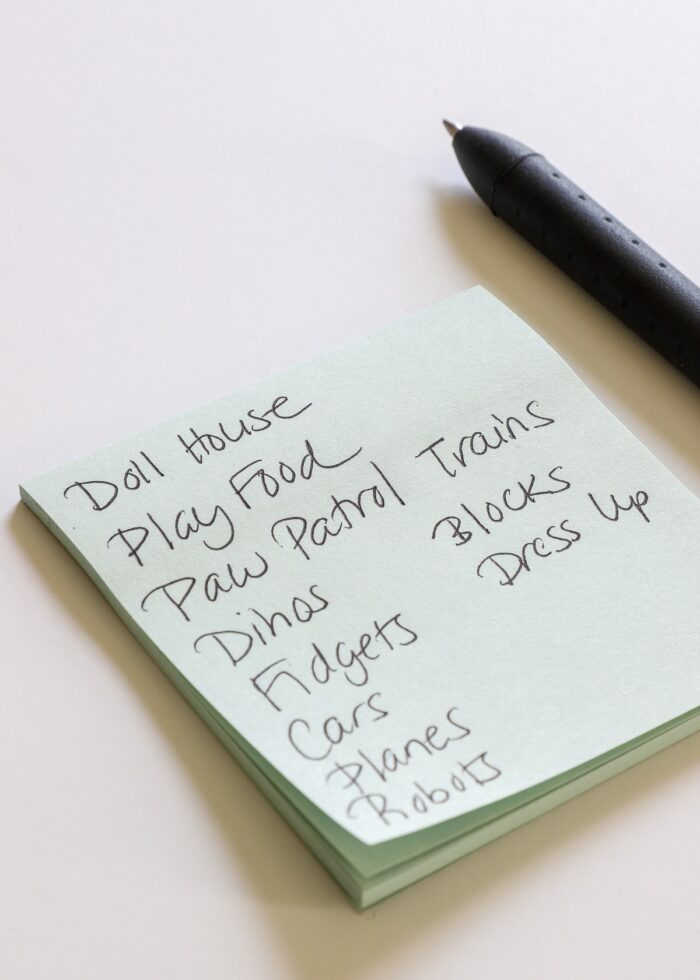
I recommend making a complete list of all your toy baskets/categories and then a coordinating name/label/concept next to each one before moving on!
Want to save this post?
Step 3: Find Matching Graphics (Optional)
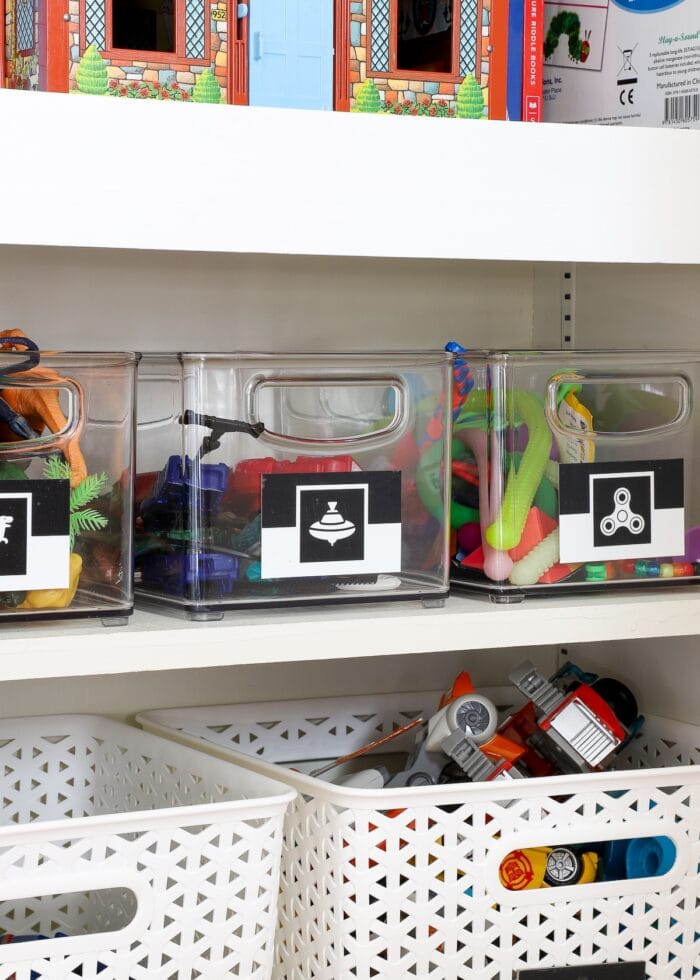
I personally LOVE using images on toy bin labels. Not only do I think they look a little more fun than a bunch of letters, but more importantly: pictures are easier for kids to understand (especailly non- or early readers!)
Whether you use a picture only or picture+text, here are my favorite ways to find images for playroom labels:
Finding Images/Photographs
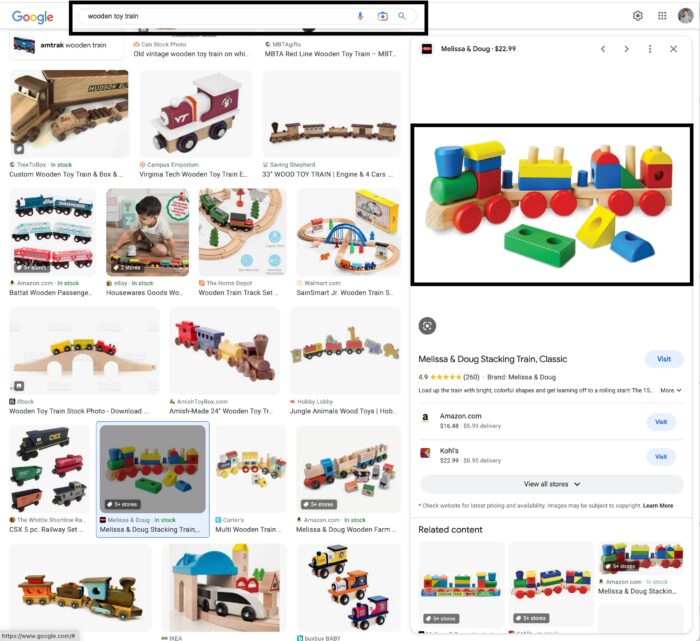
If you prefer to use “lifelike” images for your labels, I recommend using Google Images. Simple type in your previously-identified label name into the search results and find a picture you like. Whenever possible (although not required), try to find images with a white or transparent background (because they will look nicer).
When you find a picture you like, right-click on the image to save it to your computer or use a screen-capture function.
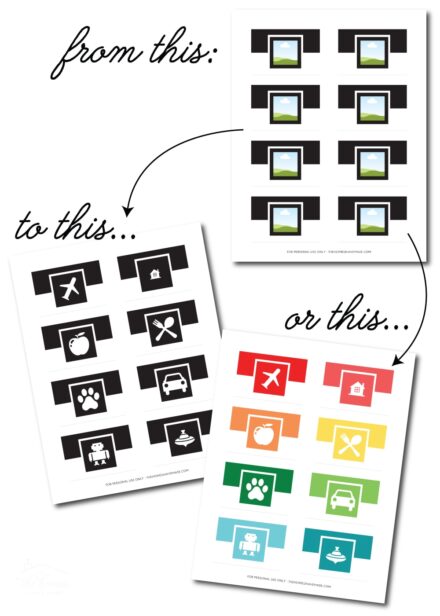
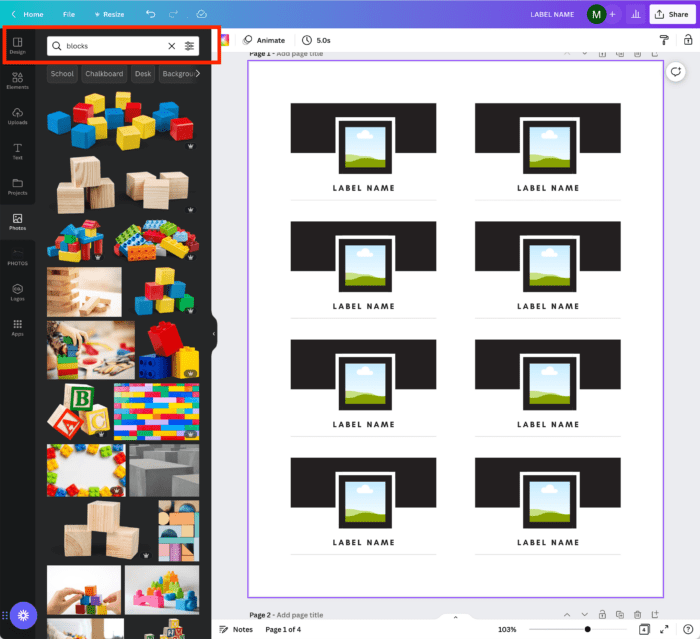
Canva itself has lots of pre-uploaded images you can use on your projects:
- Find the “Photos” tab on the lefthand side of the screen
- Enter whatever toy you need a label for (e.g., “Blocks”) as the search term.
- Look through the available options to find images you like.
NOTE: Because these images are already loaded into Canva, you don’t need to save/upload them. You’ll be able to drop them right into your label designs within the software itself.
Finding Icons
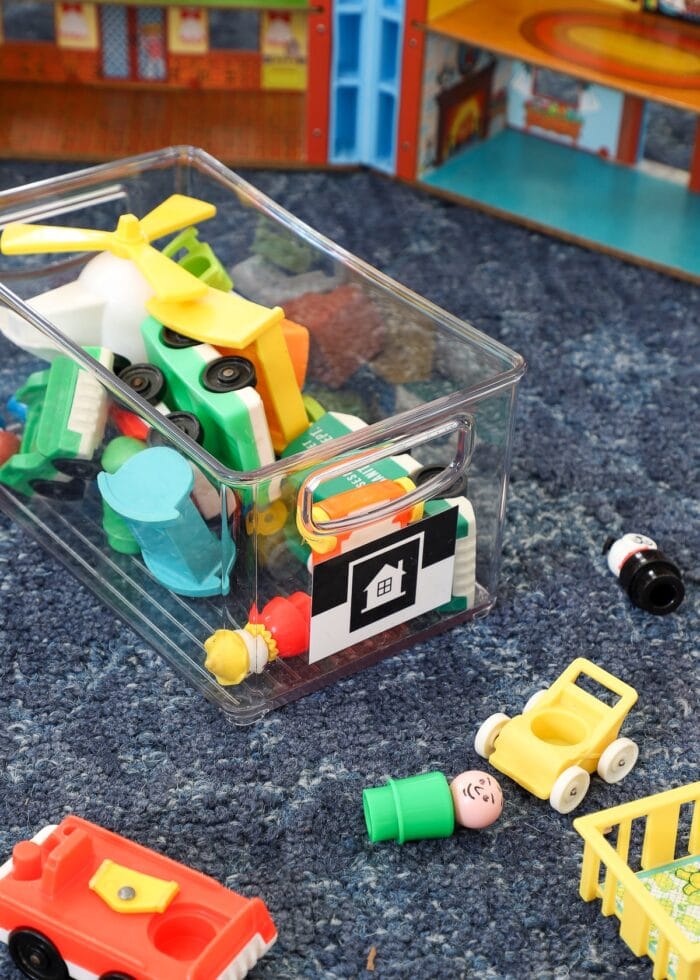
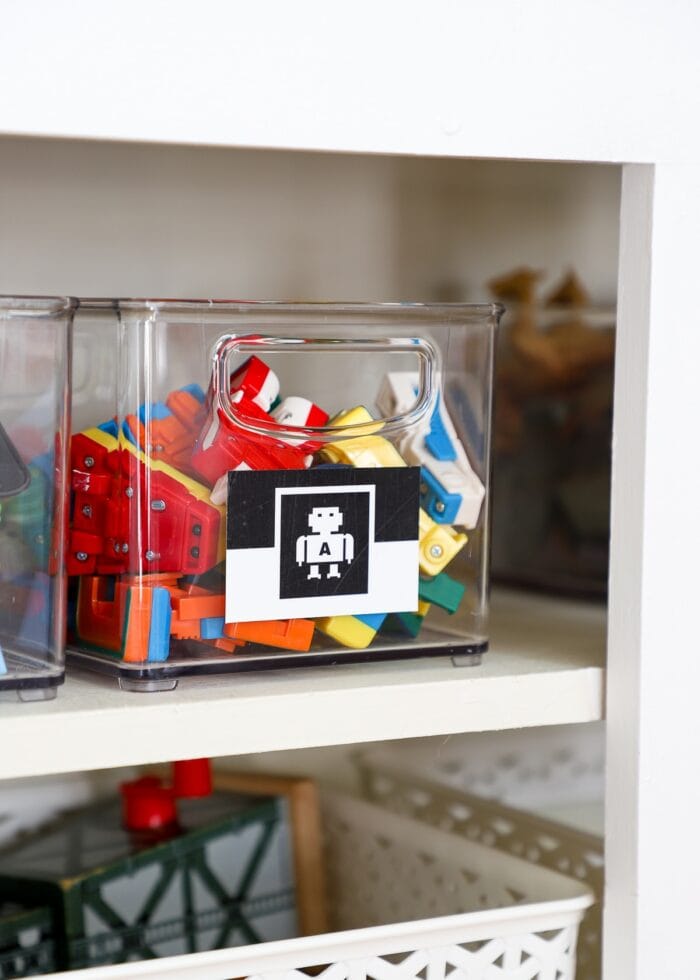
I personally like to use icons on my labels instead of photographs. I think the simple, single-color designs look a little cleaner and…as icons are intended…they convey the toy bins’ contents in a really simple and easily-understood way.
My favorite place to find icons is a site called Noun Project. Not only do they have millions of icons to choose from, they can be customized to ANY color and are completely FREE to use for personal use!
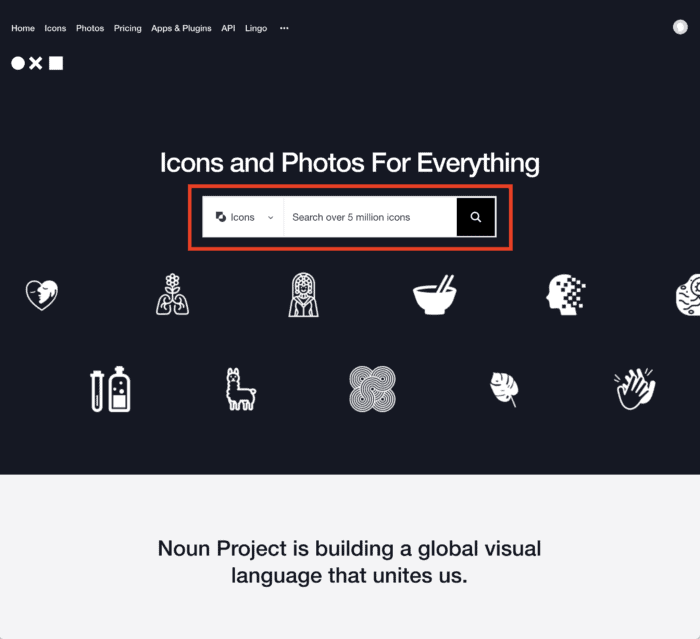
Visit Noun Project and type in your desired icon into the search bar.
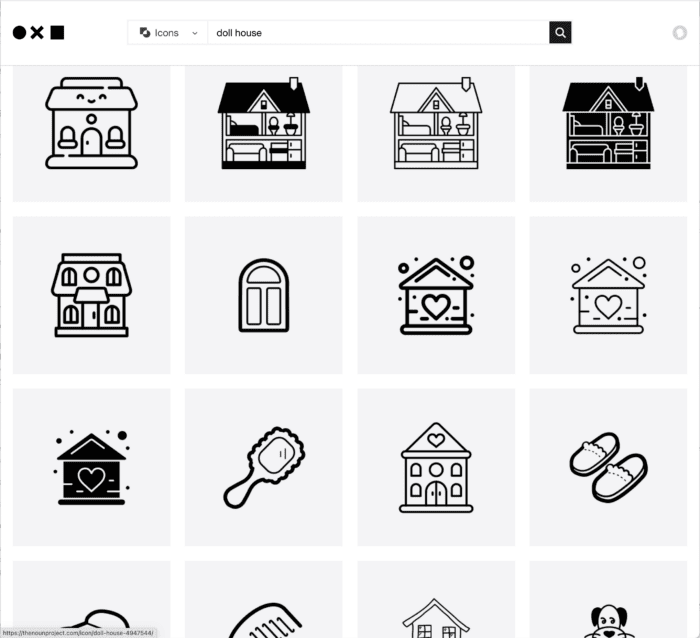
Browse the many options and then select an icon for your first toy bin category. Then change the color of the icon to your preference using the Color Tool (below the icon). I always make mine white…
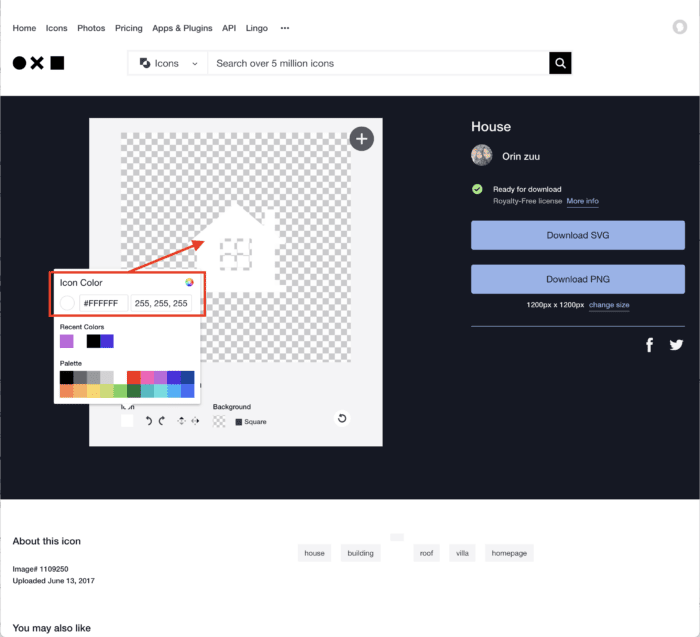
…and ensure the background is set to Transparent.

Download the icon as a PNG using the button on the right. Continuing searching and saving for all your needed toy bin labels.
Saving Images
It’s really helpful to create a a folder on your computer’s Desktop to save all the files you download/export. In order to stay organized throughout this project, be diligent about moving any downloads to this folder and changing the file names to something you recognize.
Step 4: Design Labels Using Template
Once you have all your graphics saved, it’s time to make your labels!
Download the FREE Toy Bin Label Template
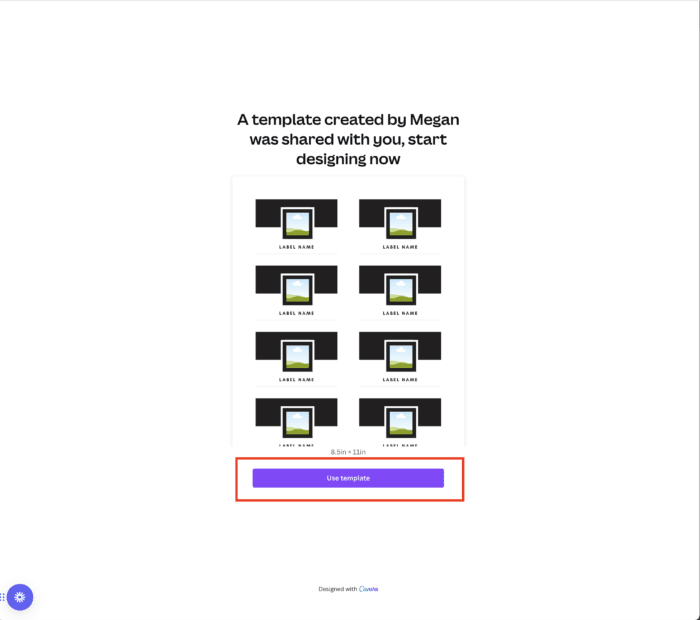
If you don’t already have one, create a (free) Canva Account. Then snag my Free Toy Bin Labels Template. The template link will be delivered via email; when prompted, click the “Use Template” button.
Pick a Size & Shape for Your Labels
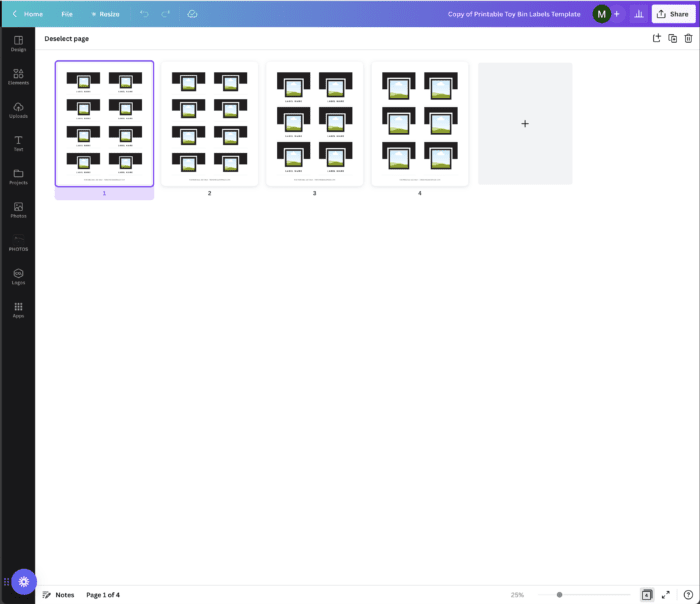
The FREE template includes four different label pages:
Rectangles – these measure 2×3″ but you can adjust the width or height of each label as needed.
- Text + Picture
- Picture Only
Squares – these measure 3″ square but you can adjust the width or height of each label as needed.
- Text + Picture
- Picture Only
If you choose to re-size the labels, make sure the entire label is “Grouped”; then size each one individually to the same dimensions.
Adjust Design Elements
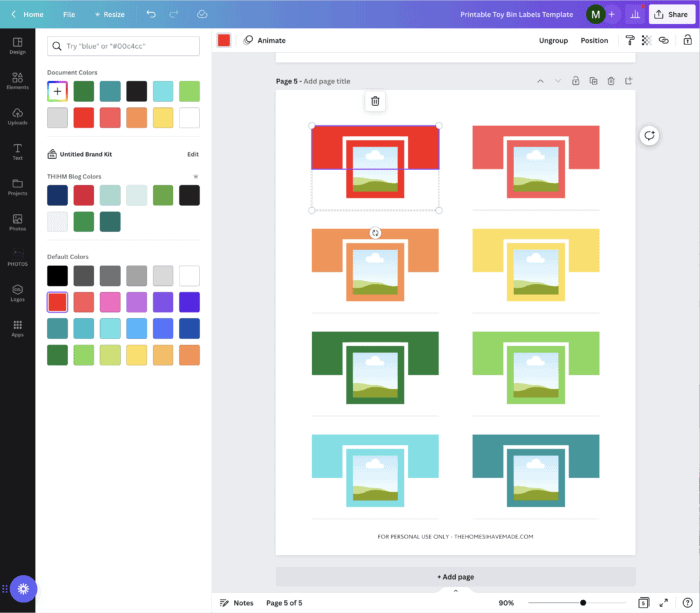
Once you select the primary design (square versus rectangle, no text or with text), you can then easily change just about any part of the design to suit your needs! Canva is a very intuitive program, and you’ll quickly get the hang of adjusting, deleting, rotating or swapping various elements.
To change the color of any design element (shape, text, etc), select it and then click on the solid color square along the top toolbar.
When you select a new color, you will prompted to “Change All” in the bottom left corner of your screen.
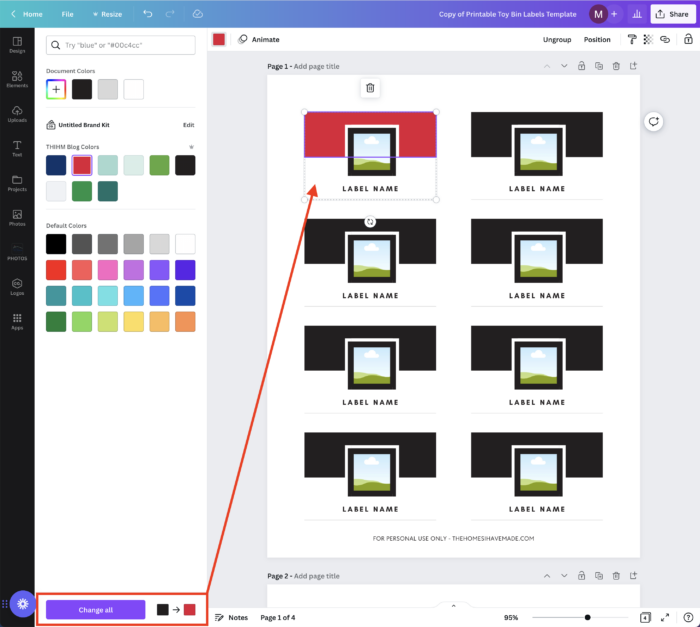
By clicking “Change all”, you can completely re-color all the labels at once!
Or, you can change each label color individually if you want an array of colors on your bins.
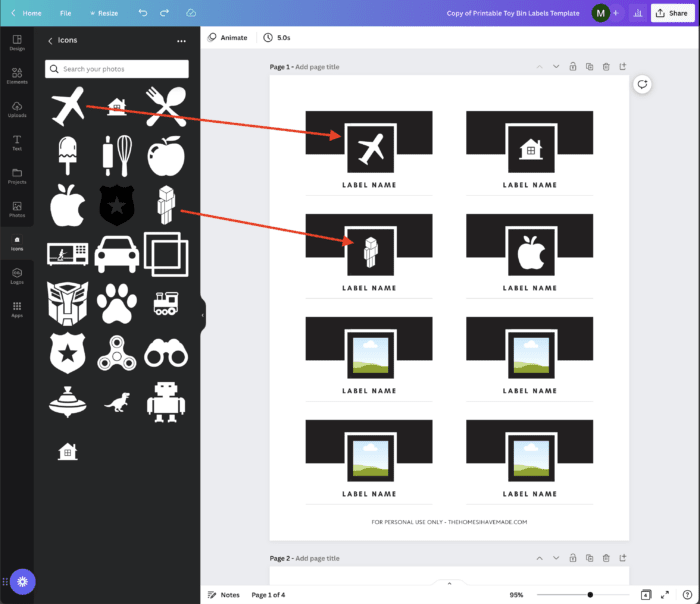
Add Your Icons
Once you have the colors and design mostly settled, it’s time to drop in your pictures/icons.
- Click on “Uploads” along the lefthand side of the Canva screen.
- Drag-and-drop all your saved images (or find the correct folder on your device) to upload everything into Canva.
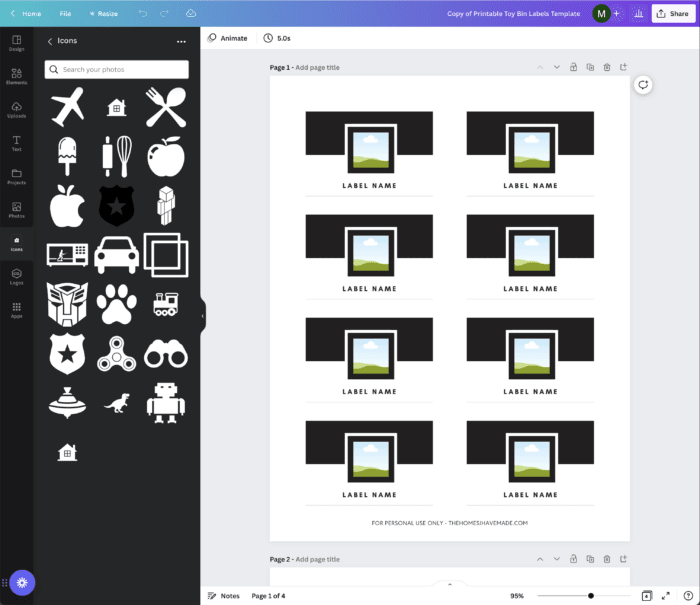
Every sky+grass graphic is a pre-formatted placeholder for your saved images. All you have to do is drag and drop them into the correct spot!
TIP! If you need to adjust the size of the image once it is in place, double-click it and re-size using the handles as needed.
Adjust the Text
If you are using labels with text, double-click into each text box and type in your own text. At any time, you can change the font, color, or size to better suit your labels or style.
Repeat Until All Labels Are Complete
Fill up all the labels on a single page. If more pages are needed, click the “Duplicate Page” button (right above each page) to make another set of identical labels. Continue swapping icons and/or text, colors until you have all the labels needed for your play space.
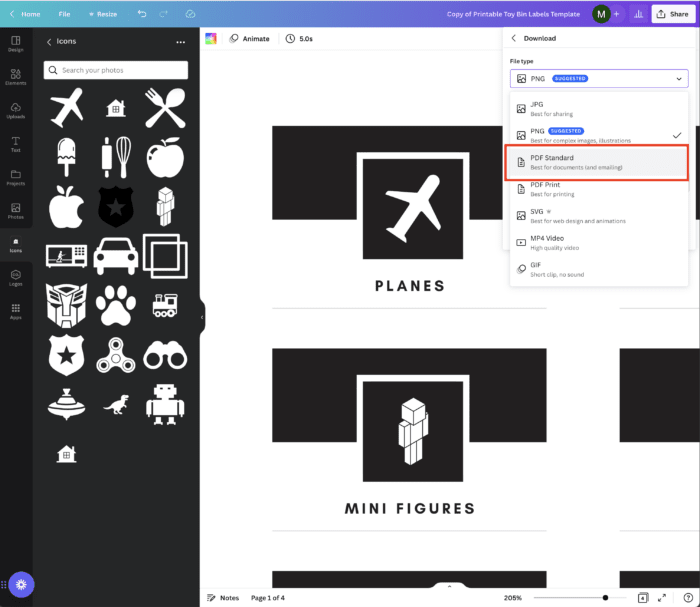
Export Labels for Printing
Once you have all your labels populated:
- Click the “Share” button in the upper right-hand corner
- Click “Download” from the options
- Select “PDF Standard” from the dropdown menu
- Click “Download” to save the file to your computer!
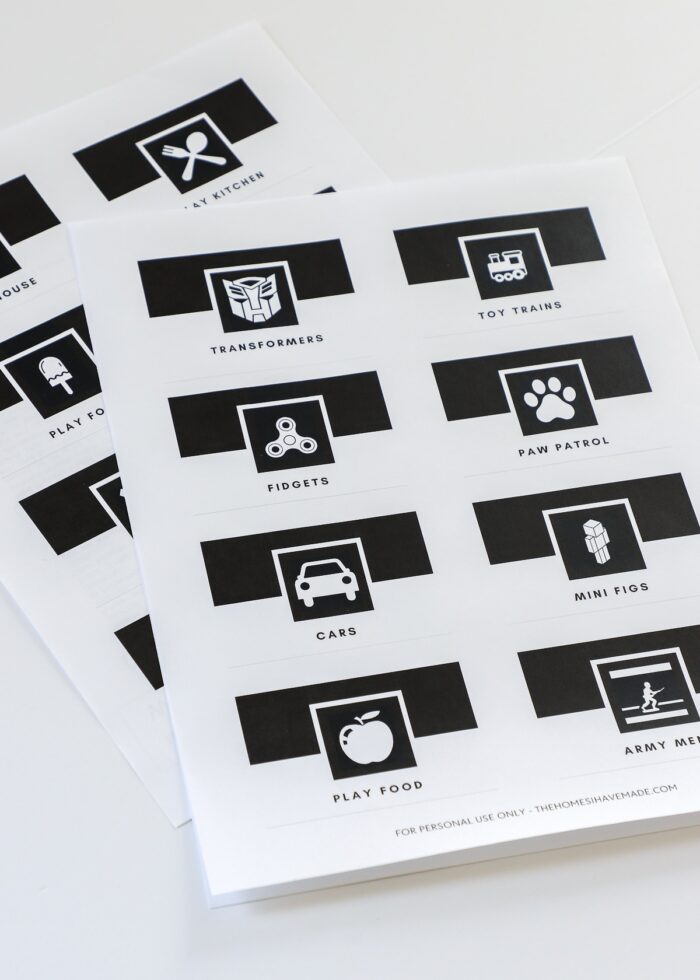
Step 5: Print & Prepare the Labels
Once you have the labels exported into a PDF, all you need to do is print them off with your home printer!
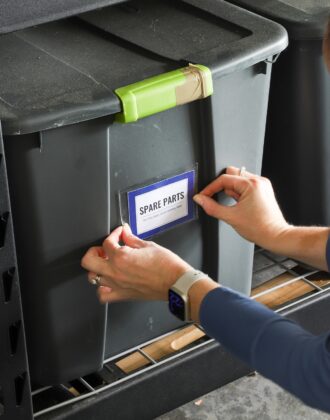
If you’re using bin clips or label holders, you can print directly on cardstock. If you want to stick your toy bin labels onto storage boxes or other pre-cut tags, print onto white or clear sticker paper!
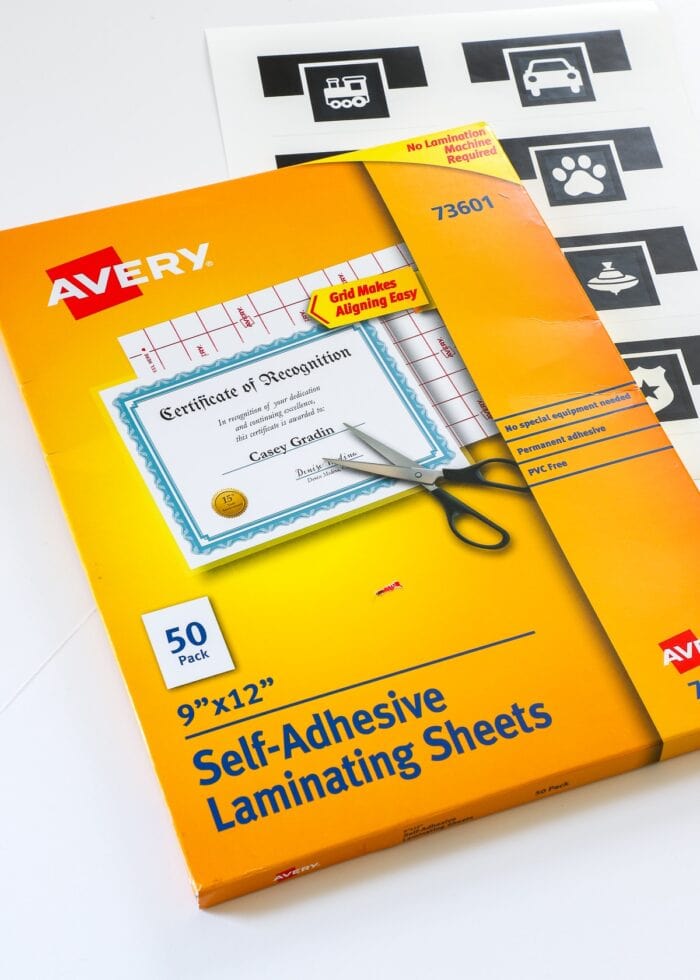
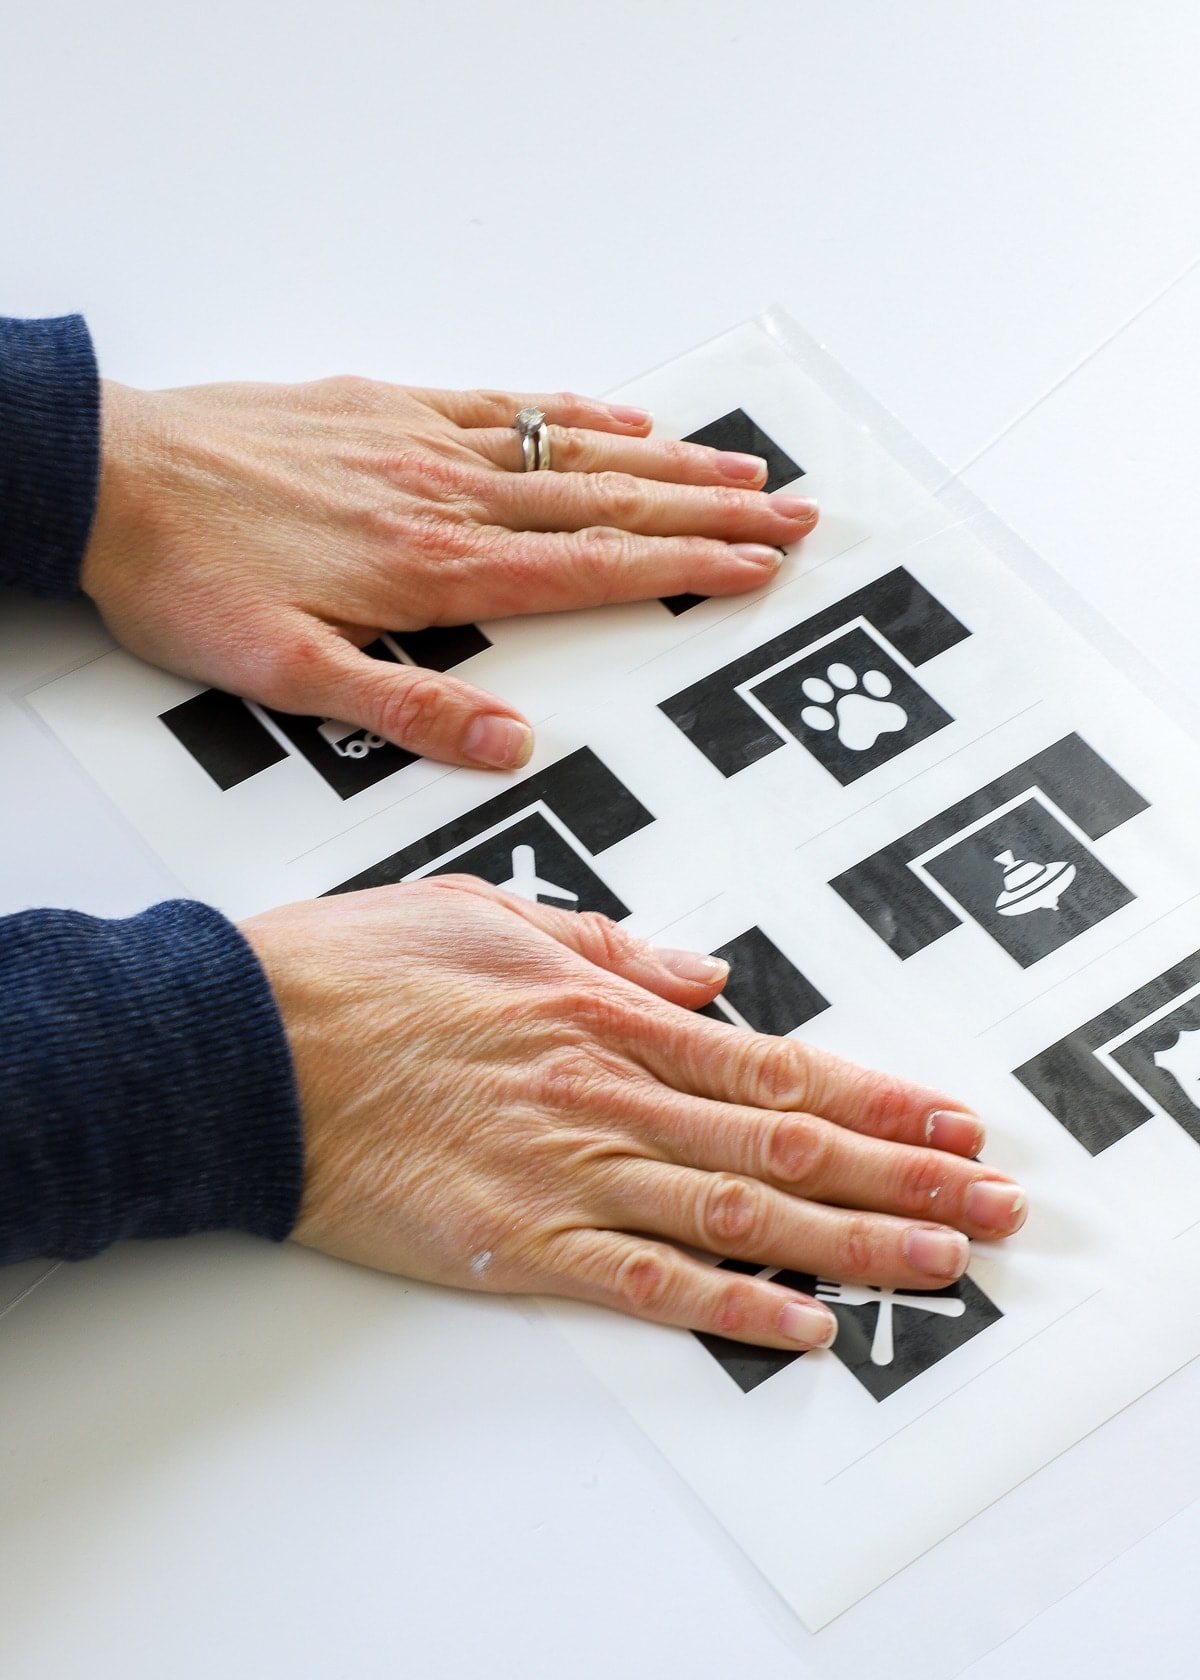
For added durability (especially in the playroom), I always recommend laminating your labels before cutting them out. I like using these machine-free laminating sheets for quick application!

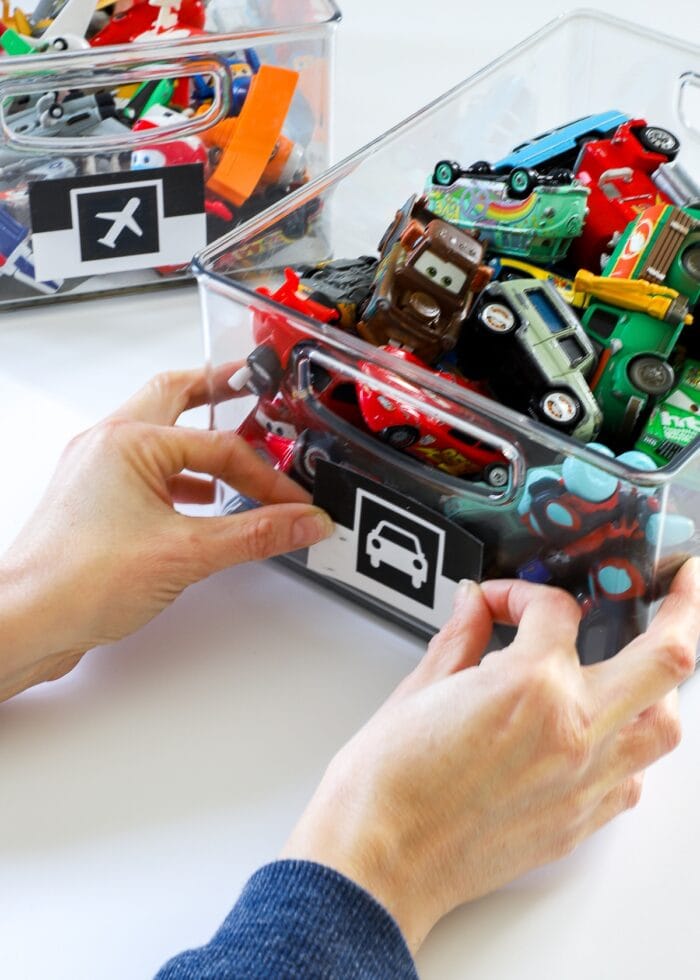
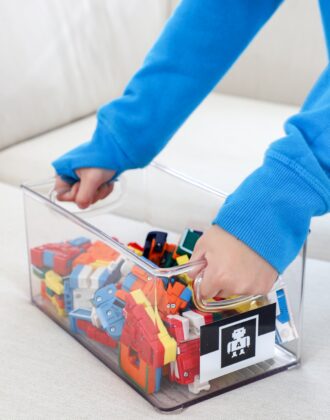
Step 6: Label Your Toys!
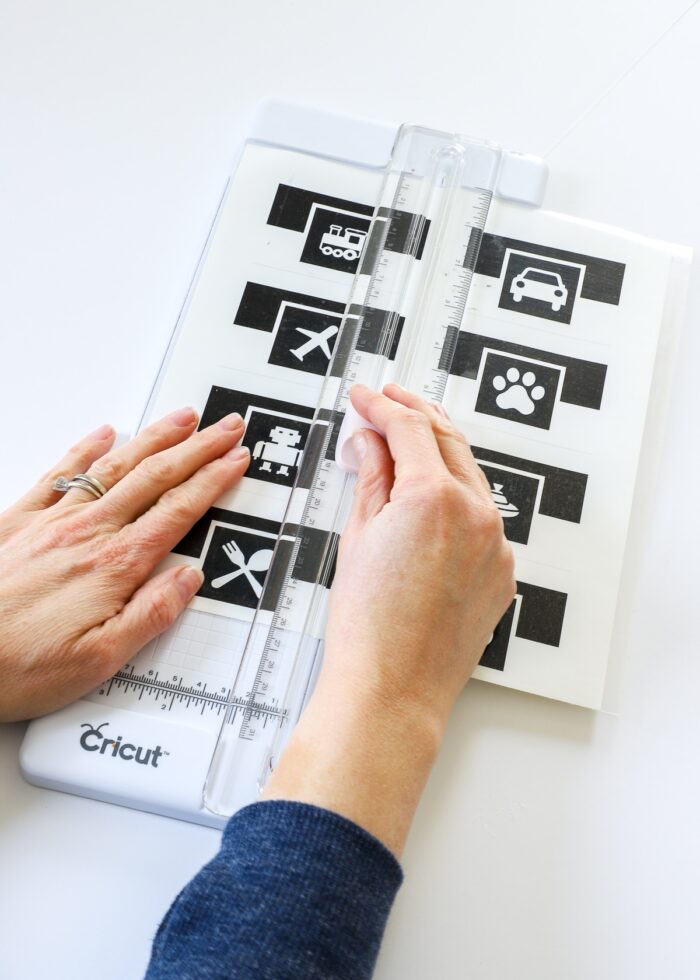
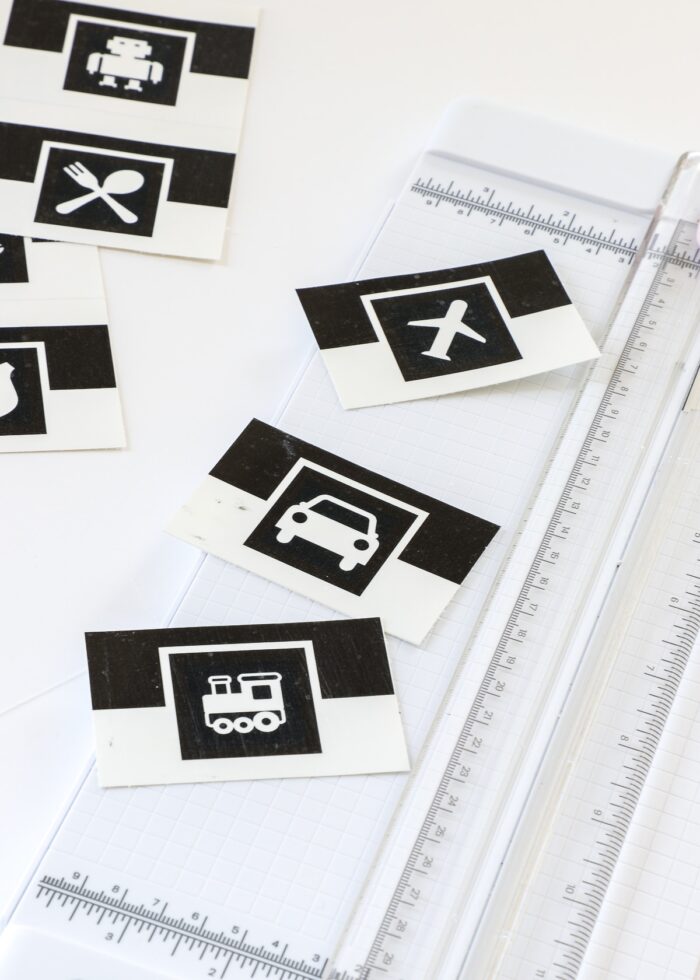
Now that your labels are printed, it’s finally time to put them on your storage bins! Simply cut apart your labels using a scissors or paper trimmer and then insert them into bin clips or stick them directly onto containers.
I realize finding ready-to-print toy bin labels is certainly far more convenient than designing your own. However, when you just can’t find the exact look, size, or style you want, it really isn’t too hard to make your own.

More Labeling Templates
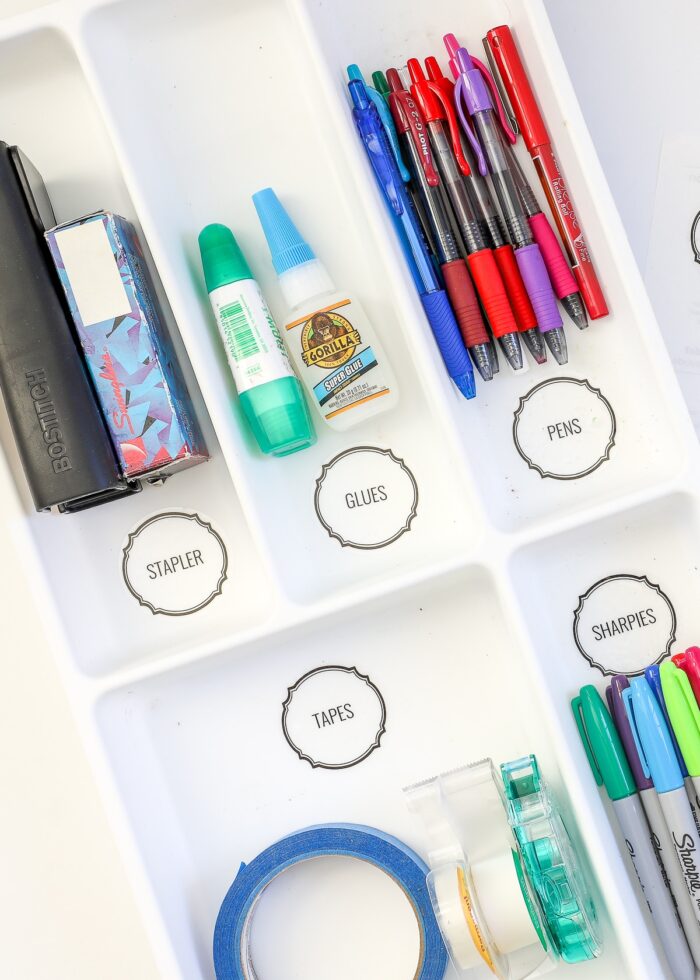
I love making labels, and I want it to be quick and easy for you too! Below are some other ready-to-print templates you can use throughout your home!
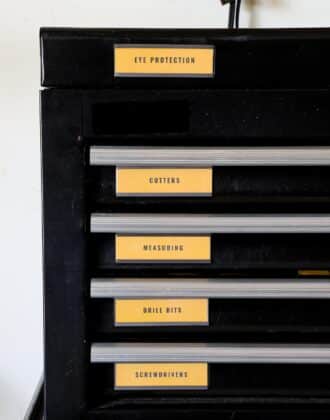
- Storage Bin Labels Template
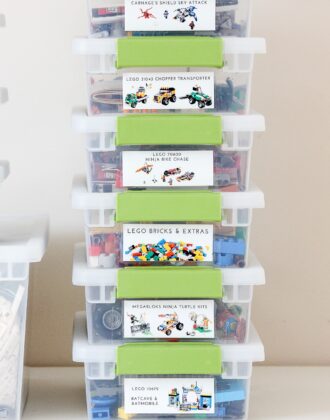
- LEGO Set Label Template
- Garage Toolbox Labels
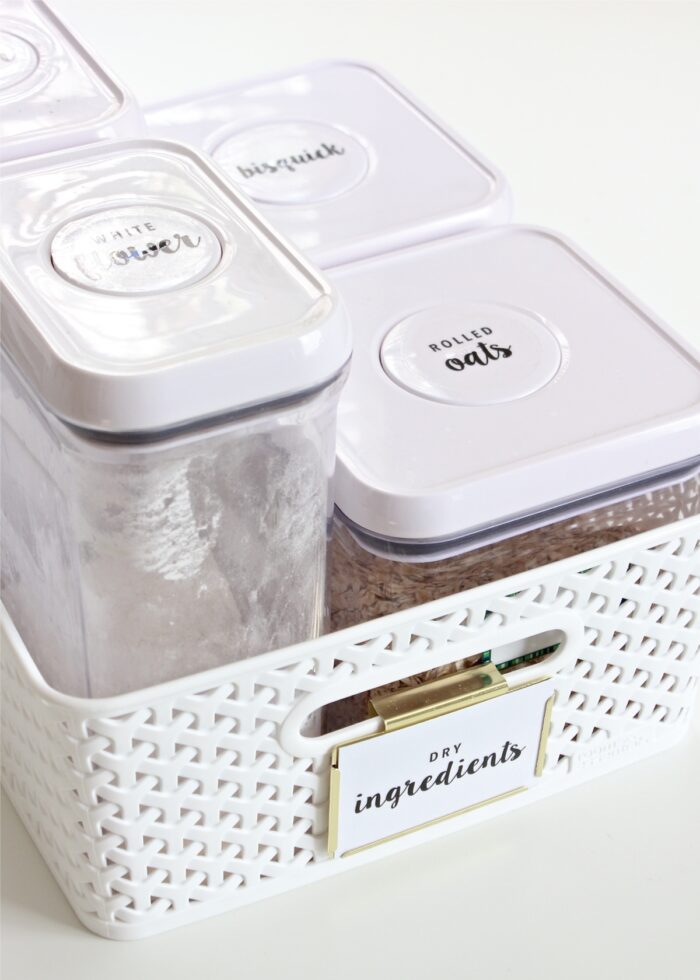
- Printable Spice & Pantry Labels
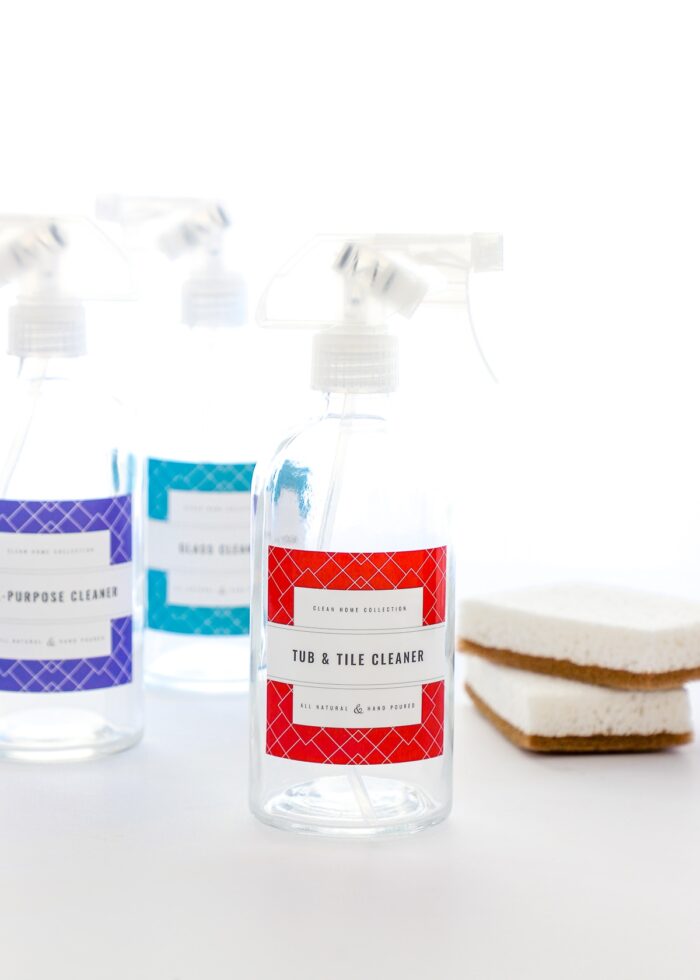
- Cleaning & Laundry Supply Labels
- Basic Shapes Printable Labels
- School Memory Box Labels
- Household Staple Labels
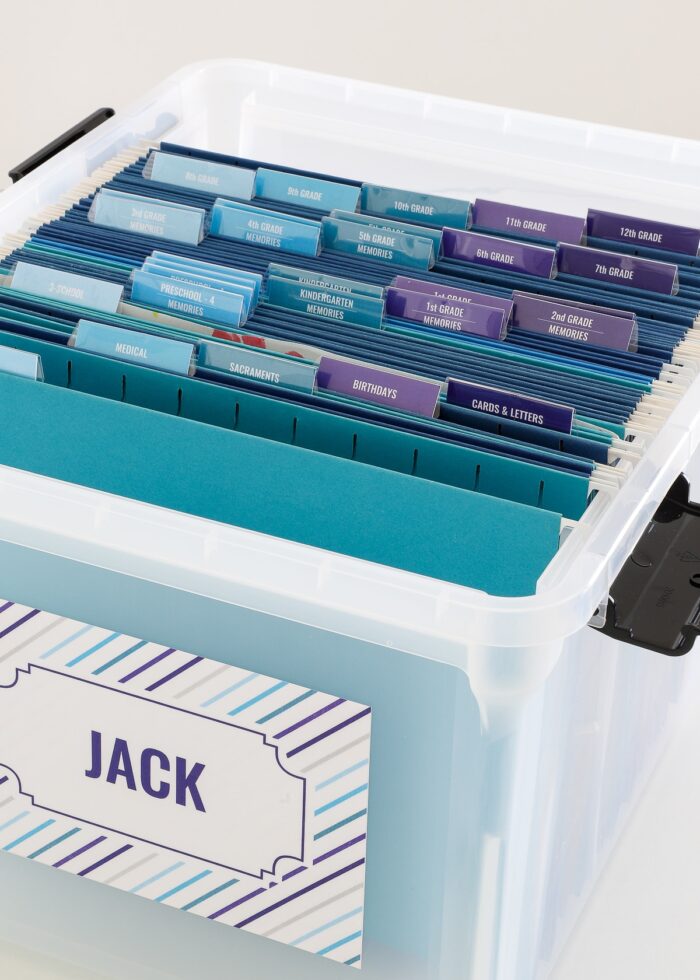
- Toy Bin Labels
I hope the instructions I’ve outlined here (along with my free template) empower you to get your play space organized and labeled so you can start to enjoy the order both you and your kids need and crave!
Megan


4 Comments on “How to Make Your Own Printable Toy Bin Labels (With Template!)”
Thanks for this template! I previously used your Lego Organization one (and loved it), so I knew your instructions were easy to follow. My youngest (2.5yo) is very aware of the “proper” spots for things, and my husband isn’t so great about getting toys back where she thinks they go. I had my bigger kids help pick the pictures and words for the labels. We chose matching colors for each label to further differentiate them. I didn’t have any printable stickers, etc so I printed on plain paper (in color) and used clear packing tape to attach to our plastic sterilite totes that fit in our Kallax shelf. Perfection, yet again — thank you, Megan!
Wow!!! I’m blown away, Sarah!
I’m so thrilled to hear you’ve been able to use my templates for your needs!
Thanks for sharing, this made my day! (Clearly I’m just now catching up on comments 🤦♀️)
Have a great day!
Megan
These are wonderful looking labels. Unfortunately, in order to be able to change the icons to white(like you do) you have to pay. Otherwise the images have to stay black. You might want to update your info for this on your blog post. Thanks!
Hi Naomi!
Thank you SO much for letting me know! I didn’t realize the color-change was a paid option. I will update the tutorial and see if I can come up with a work around!
Thanks again,
Megan