How to Make Picture Toy Bin Labels with a Cricut
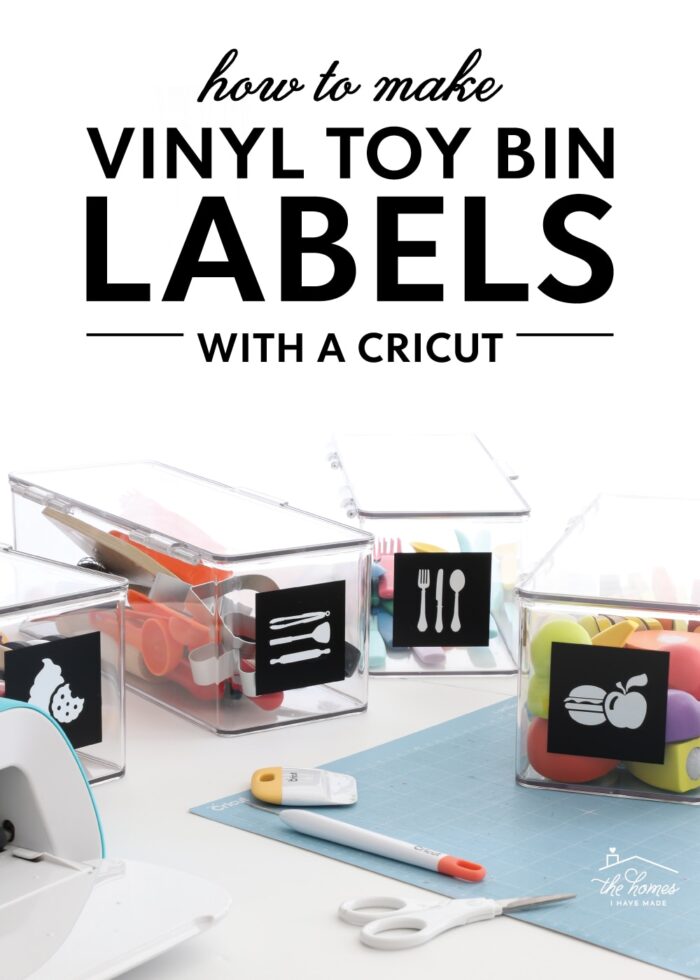
Without a doubt, my favorite way label the toy bins in our playroom is with simple vinyl picture labels. Not only do they look great and are quite easy to make, but they will truly help your play space stay tidy. Let me break this simple Cricut label project down for you from start-to-finish!
Using Picture Labels in a Playroom
One of the earliest organization project I ever shared here on the blog (over 10+ years ago!) was the toy bin labels in our very first playroom.
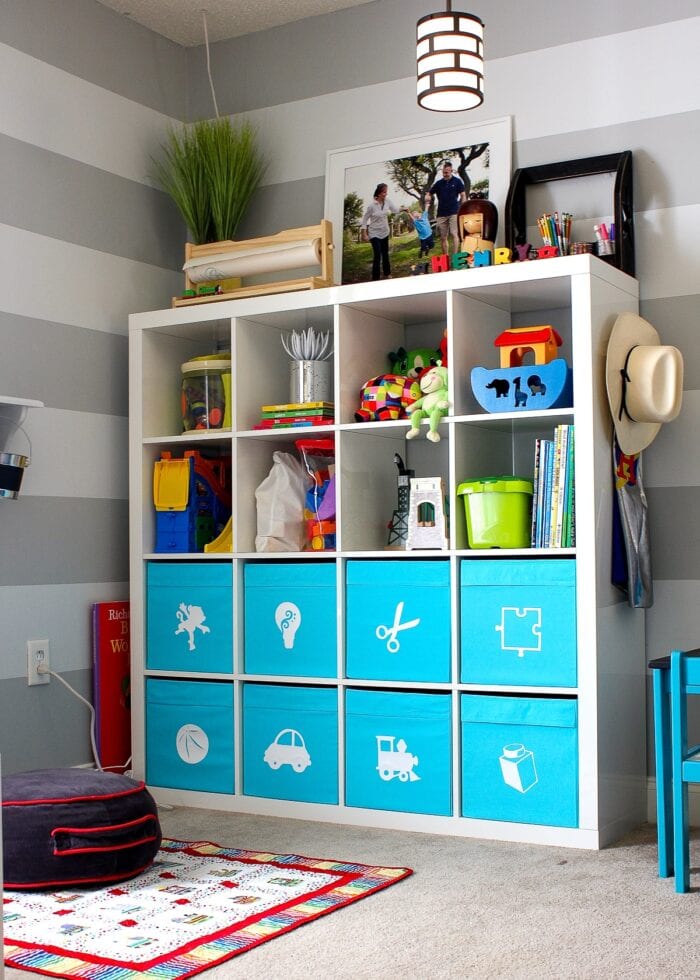
At the time, Cricut machines were fairly “primitive,” and vinyl was practically non-existent. In fact, I cut these toy bin decals out of white contact paper!
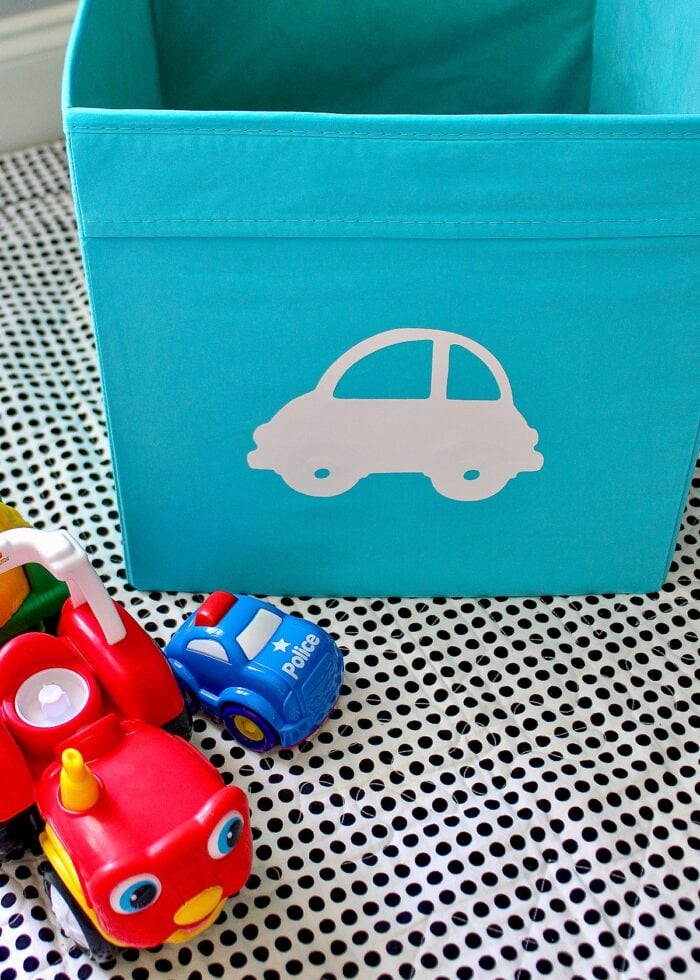
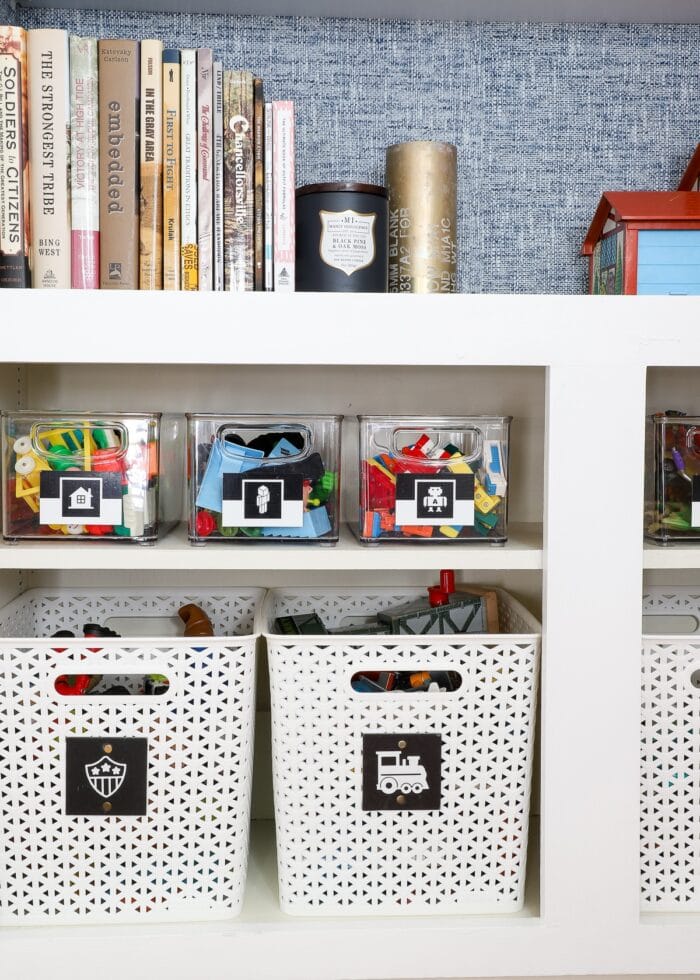
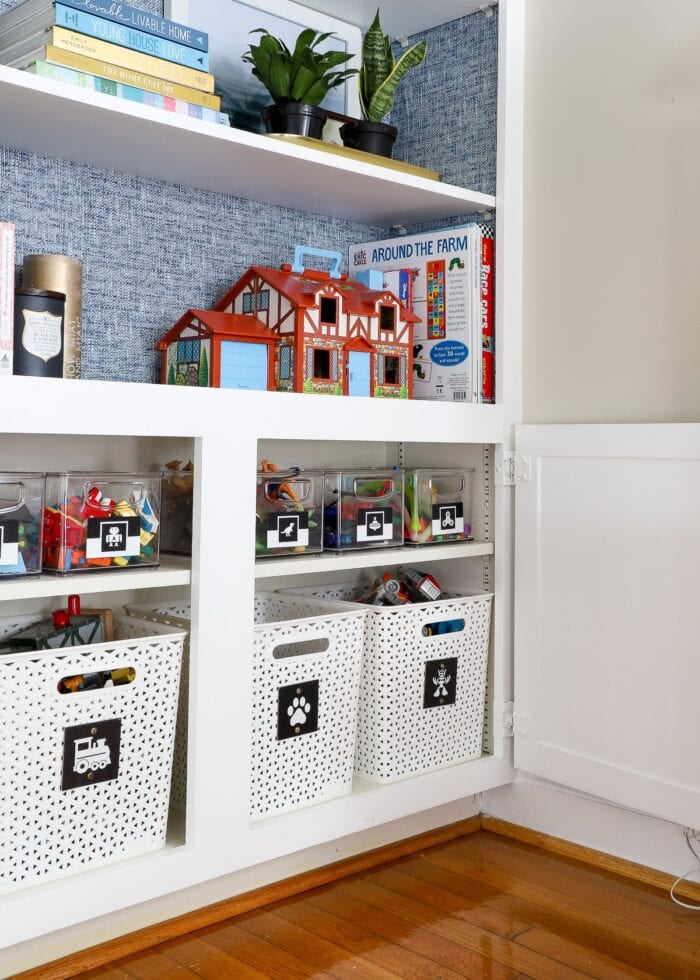
But that very first toy bin labeling project was one that I’d go on to re-create over and over and over…in all sorts of sizes, shapes, and colors for our various play spaces across our homes:
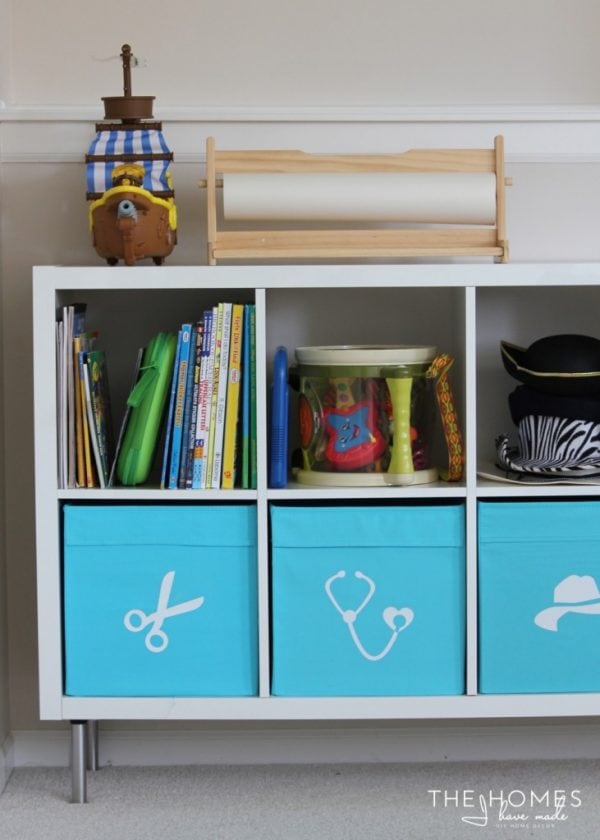
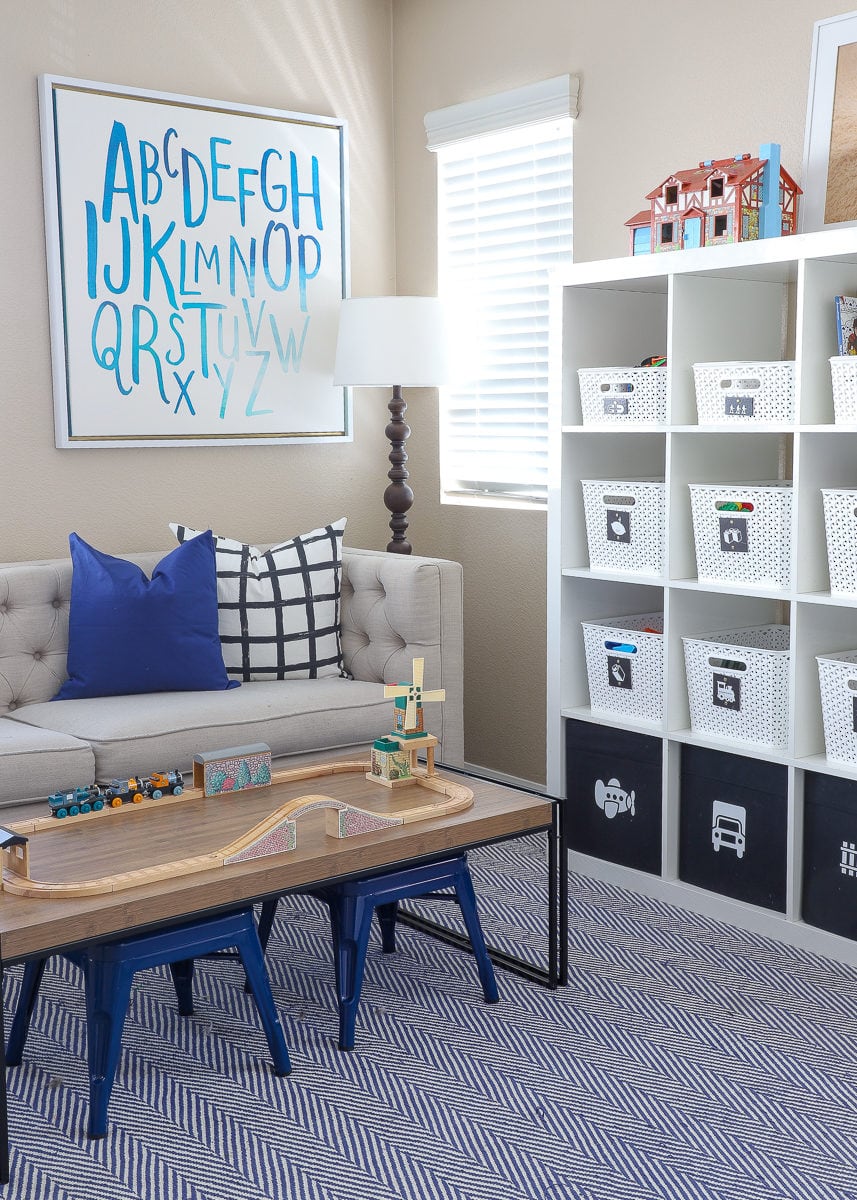
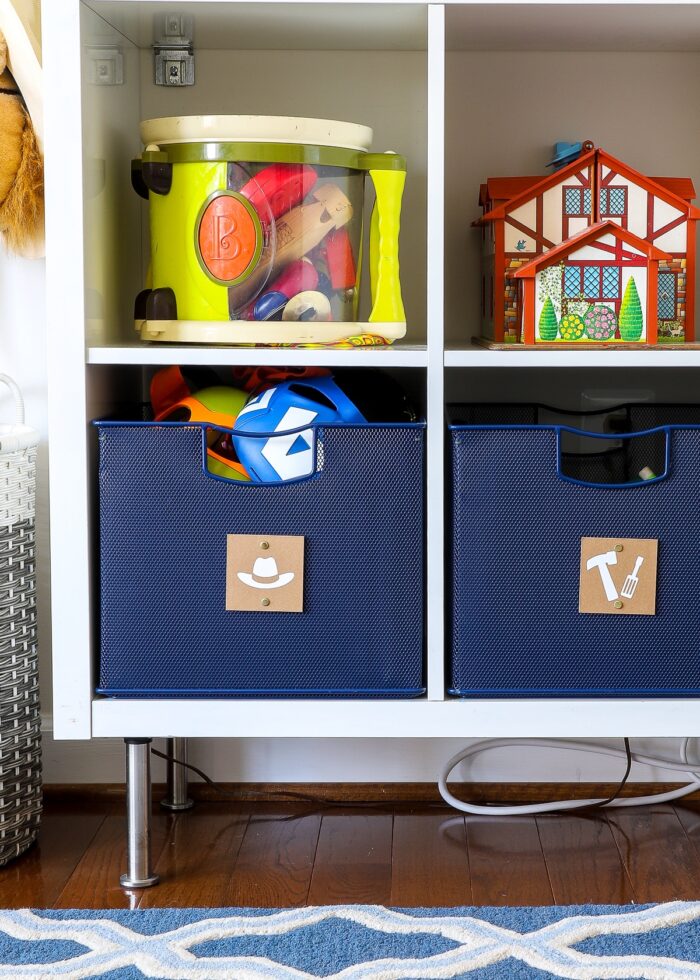
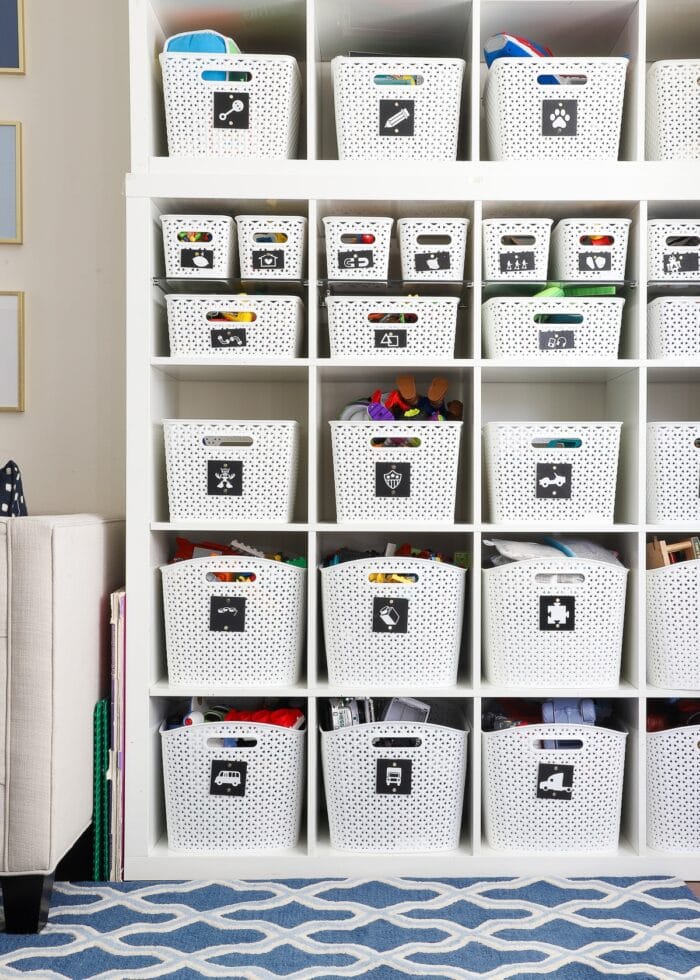
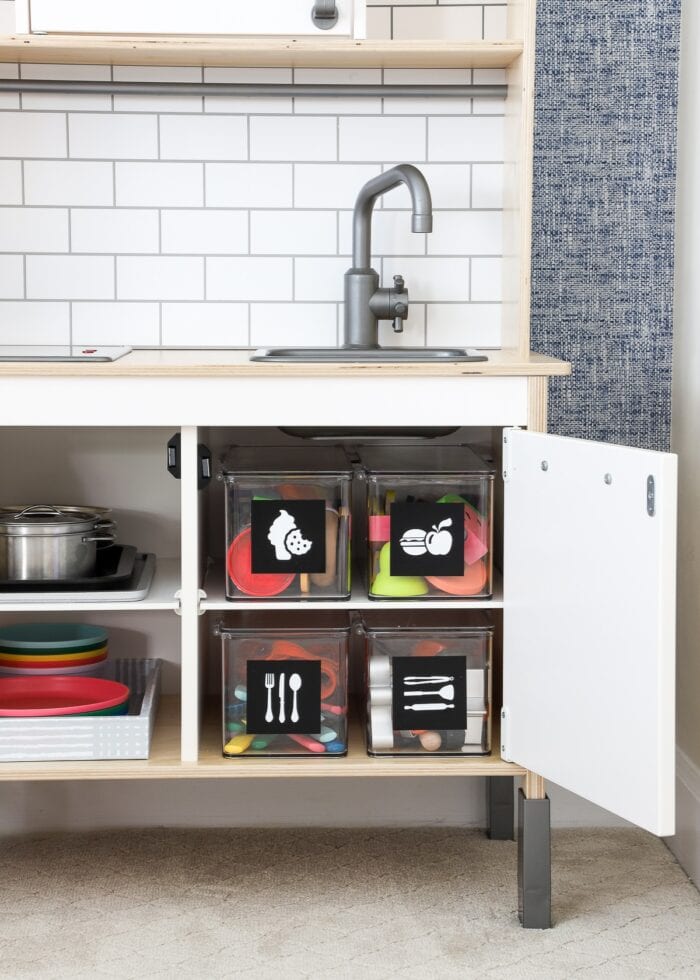
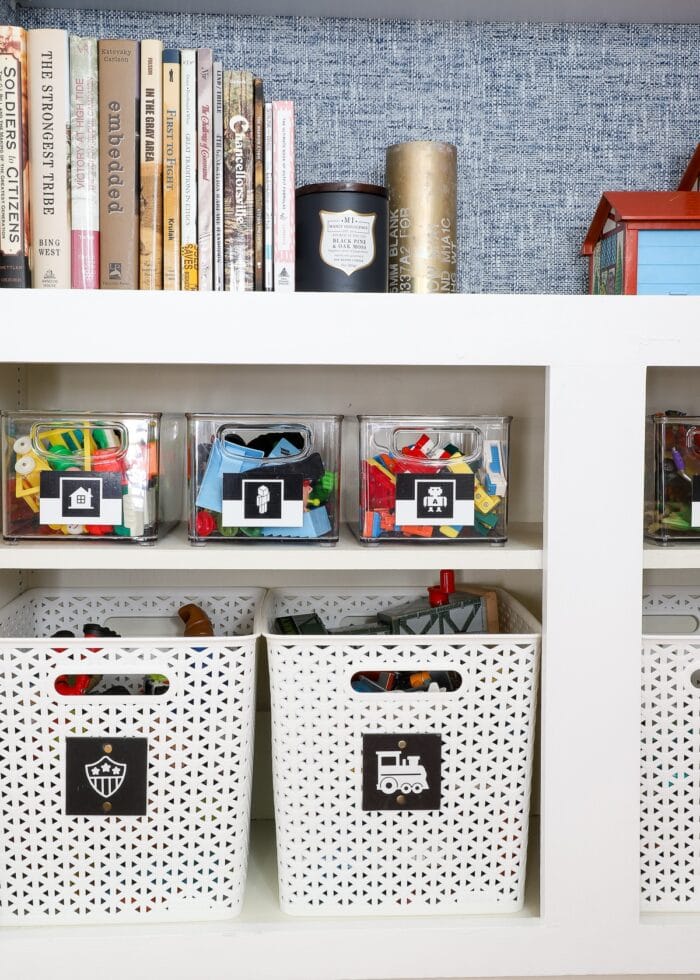
Why?
Because, quite simply, when you add labels to toy bins in the playroom:
- Your kids (and you!) will better be able to find what they are looking for at play time
- And (more importantly!) they will be able to clean up all on their own when play time is through!
I prefer to use images on our playroom labels (instead of word labels) because they instantly communicate what is inside the bin, basket, drawer, or container. Not only is this ideal for non or early readers, but the single-color, icon-style images also convey a clean, simple look that can help reduce the visual clutter common in a playroom.
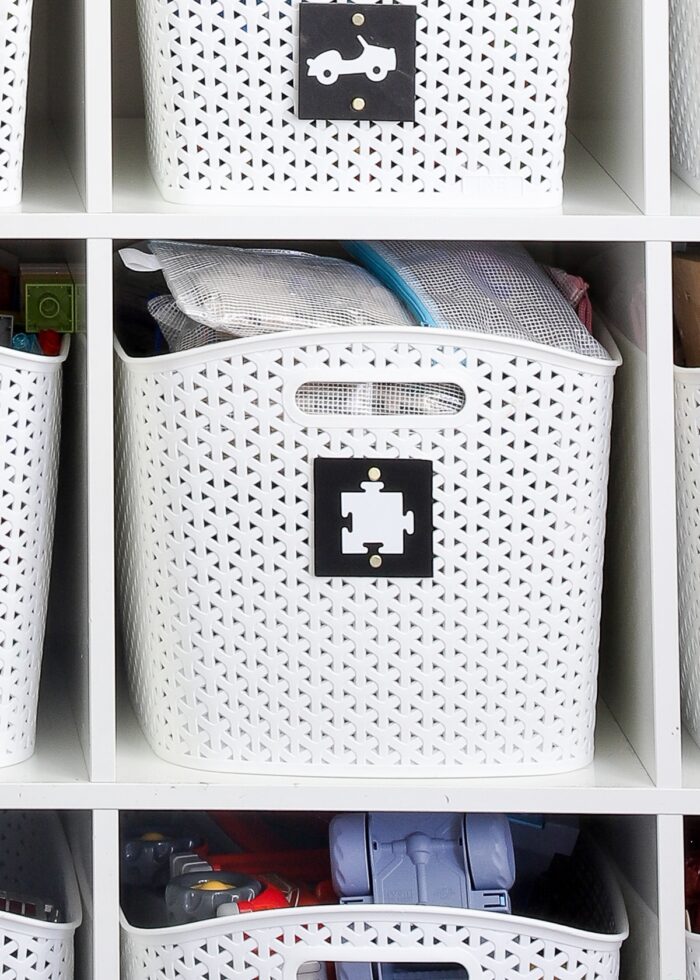
Depending on what kind of containers we’re using for specific toys, I will sometimes print toy bin labels onto paper and laminate them. To learn how to do this, see here: How to Make Your Own Printable Toy Bin Labels (With Template!)
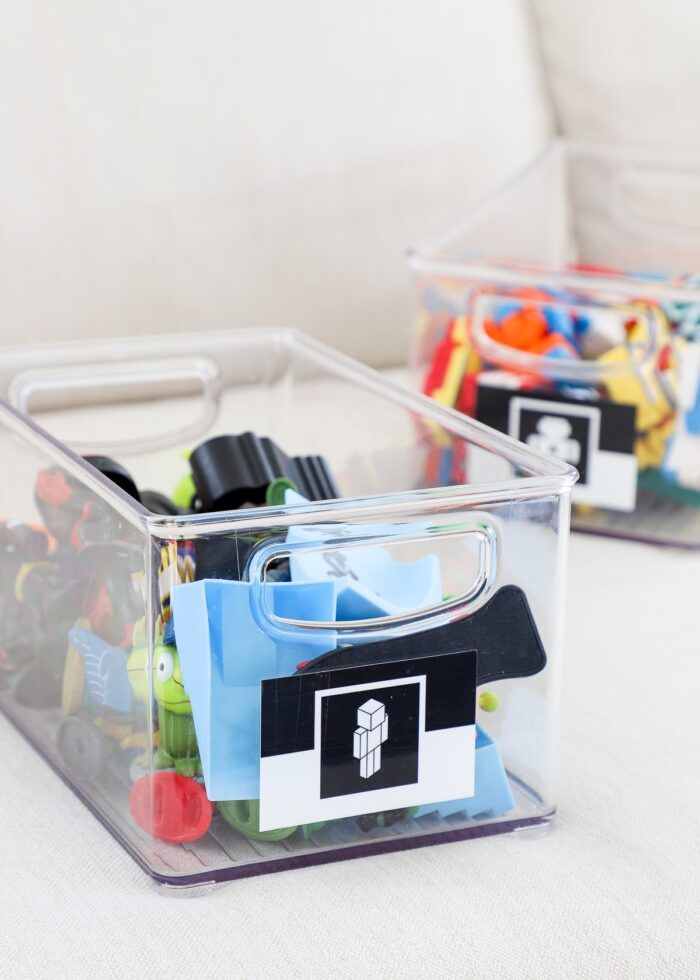
And other times, I’ve been known to use the Cricut Print Then Cut function to make labels for multi-color designs…
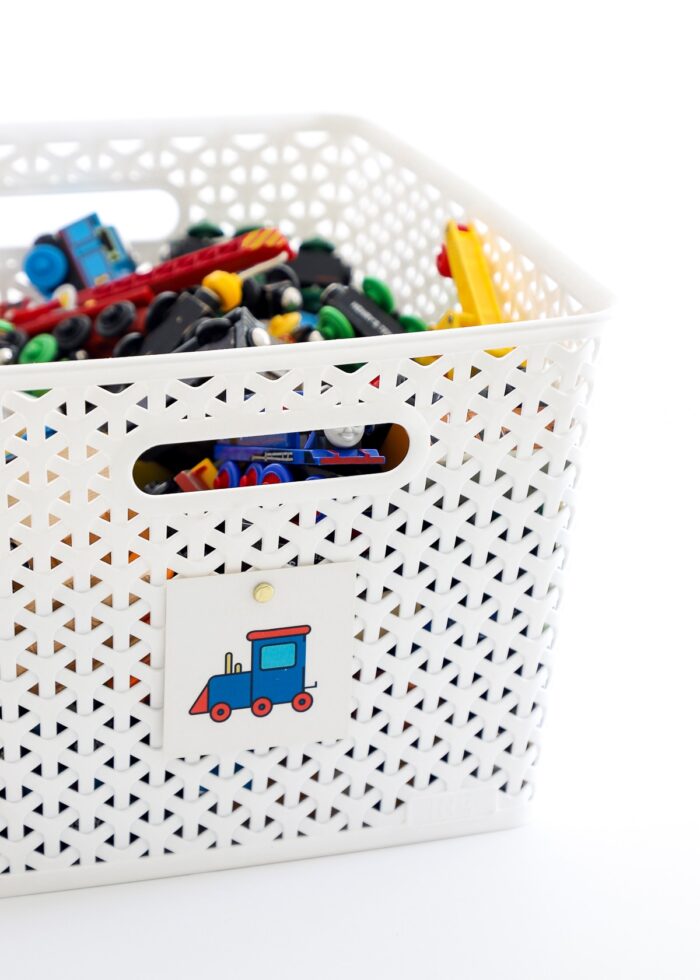
But more often than not, I choose to cut out picture toy bin labels from vinyl using my Cricut machine because they are truly the quickest and easiest way to make toy bin labels (or change them out as kids grow and toys change!) Vinyl labels also have excellent durability against little people, so this is a great solution for classroom shelves too!
Supplies Needed
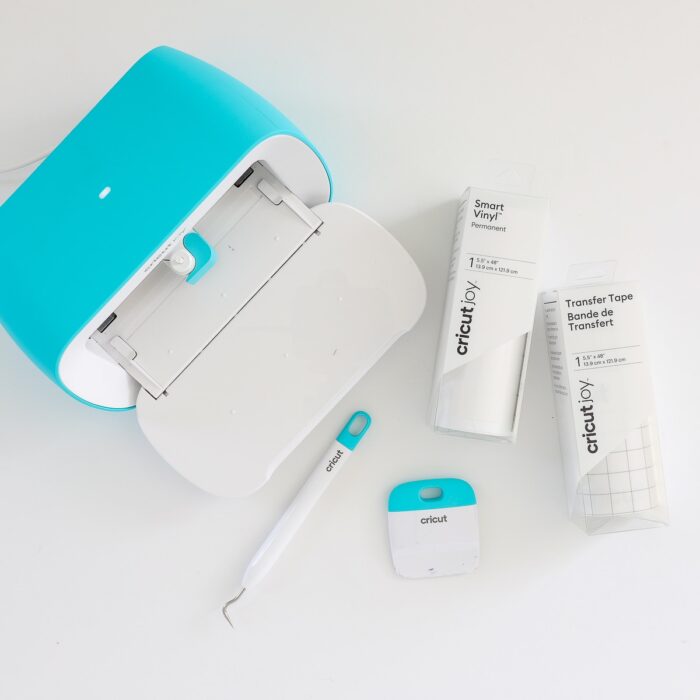
Here is what you will need to make your own picture toy bin labels with a Cricut machine:
- Cricut Machine – any Cricut machine can be used for this project (Cricut Maker | Cricut Explore | Cricut Joy)
- Standard Grip Mat – if not using Smart materials
- Fine-Point Blade – the one that comes with your machine
- Vinyl – in the color of your choice and sized appropriately for your machine
- Consider using Smart Vinyl if your machine supports it to keep this project extra fast!
- Transfer Tape
- Weeding Tool
- Scraper
- Something to Label – this can be a bin, basket, pre-cut tag, label holder, etc.
Video Tutorial
If you’d like to watch how these vinyl picture labels come together in just about 5 minutes, here is a short video of the entire process! Full picture/text instructions are below the video. (Video not loading for you? You can watch it HERE!)
How to Make Picture Toy Bin Labels Using a Cricut
Step 1 – Organize Your Toys
Before you can even begin making labels for toy bins, you first have to know what toys you have and where they all go! As such, I always recommend that labeling be your very last step in the organization process.
So if you haven’t already, start by organizing the toys into clear, logical categories. You can learn my entire organization process here: Learn How To Organize Any SPACE In 5 Steps
Step 2 – Identify Toy Bin Labels
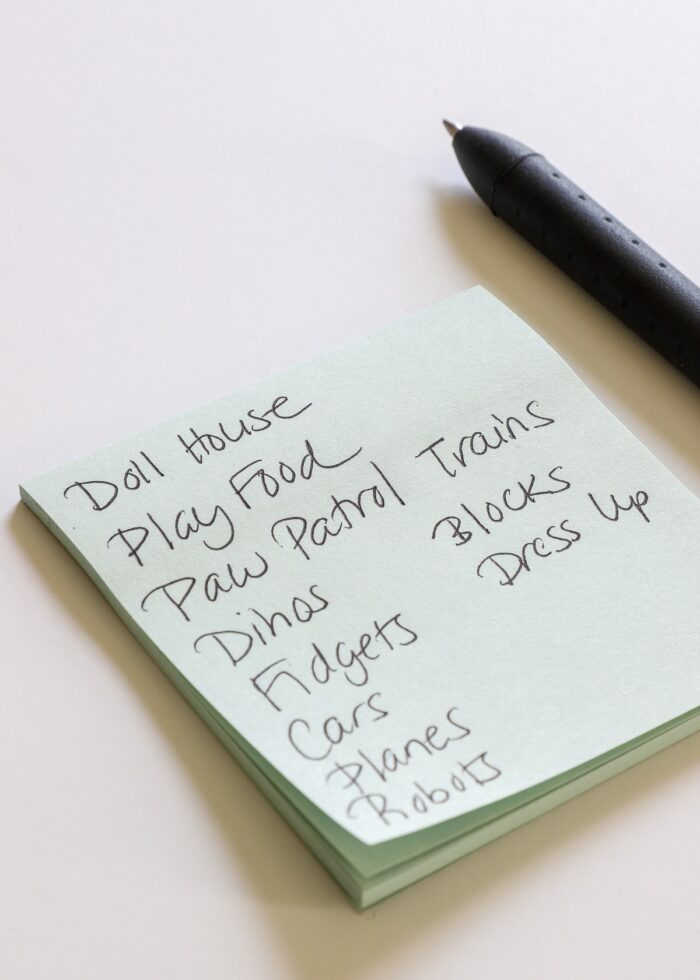
Once the toys are sorted (purged!) and categorized, you should have a general idea of what toy bin labels you need. Before getting started with your Cricut, take a minute to quickly list out all the toy categories requiring labels.
Step 3 – Find Label Images
Next, you’ll need to find cuttable images to match each toy category. When selecting images to be cut out by a Cricut, keep these things in mind:
- The image should be simple – Toy bin labels can be pretty small, so you don’t want to be fussing with tiny details.
- The image should be a single color – To keep these quick and easy, I don’t recommend layering different colors together. Instead, look for single-layer, solid-color images.
- The image should instinctively convey the basket’s contents – You don’t want the labels to be confusing or misleading. Try to pick imagery that makes sense to both you and the kids.
There are lots of places you can look for cuttable toy bin images, but here is where I find mine:
- Cricut Design Space – There are now thousands of images in the Cricut Design Space Image Library, that…if you have a Cricut Access subscription…you can cut for no additional charge.
- Noun Project – This is my absolute favorite site to find SVGs that you can download for FREE and then upload directly into Cricut Design Space. Simply type any toy category into the search term (e.g., trucks, art supplies, crayons, etc) and pick one you like best!
- Etsy – Look for a ready-to-cut playroom SVG bundle that you can upload directly into Cricut Design Space. Just make sure whatever set you pick includes either SVG or PNG files (for optimum cutting) and try to find really simple, basic images to avoid lots of weeding.
If you need help uploading images into Cricut Design Space, see my tutorial here: How to Import Your Own Images Into Cricut Design Space
Step 4 – Format Images for Your Toy Bins
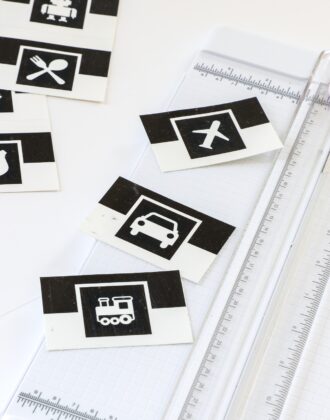
Before you cut out each decal, you first need to determine the right dimensions. Sometimes this can take a little trial-and-error to figure out what looks best. I recommend measuring your basket, label holder, etc and then generating some “mockups” within Cricut Design Space.
Below, I used a black 3″ square to represent the tags I place my vinyl labels onto. I won’t cut out this black square necessarily, but it can help me size each icon appropriately.
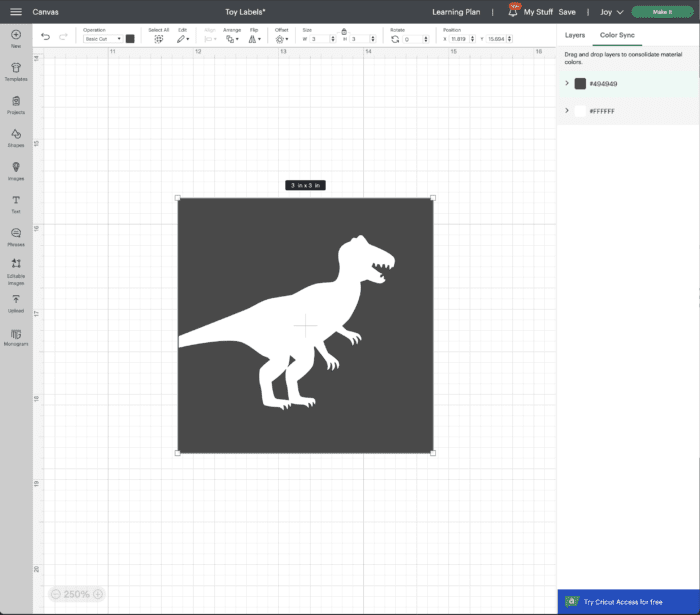
Finally, before sending your images to be cut, make them all the same color so they will all be cut together on the same mat (unless you’re choosing to do different colored decals).
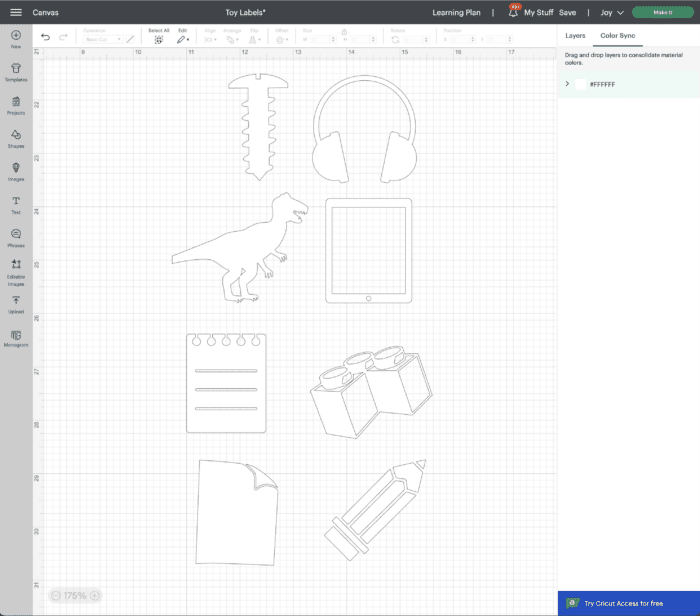
Step 5 – Cut Out Toy Labels with Cricut Machine
Next, cut out the images from adhesive vinyl using your Cricut machine. This will involve feeding vinyl into your machine (either via a cutting mat or Smart Vinyl) and selecting “Vinyl” from the Materials Menu within Cricut Design Space.
If you need more help cutting vinyl with a Cricut machine, see here: Your Complete Guide to Cutting Vinyl with a Cricut
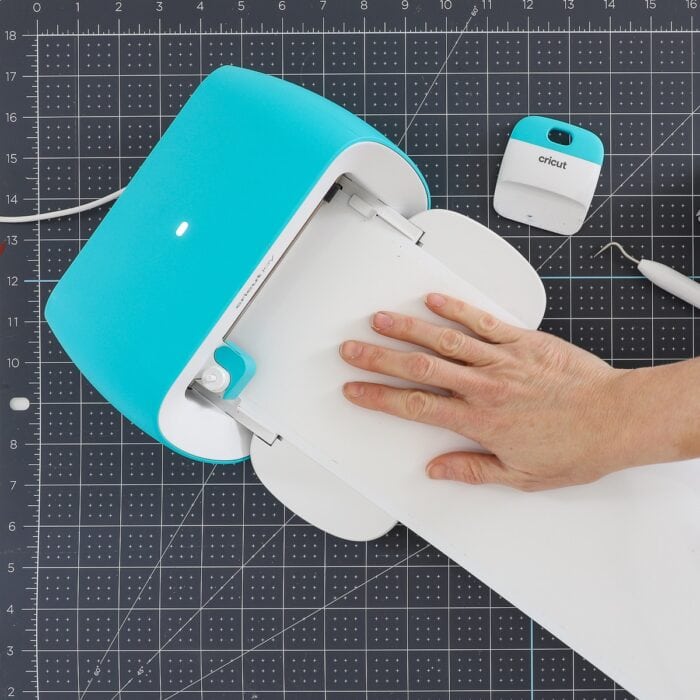
Step 6 – Weed Toy Bin Labels
Once your machine is done cutting, unload the vinyl from your machine and use a weeding tool to remove the excess vinyl from around each shape.

Take your time to pull away the un-needed vinyl slowly, as small labels often have tiny details that can easily get whisked away. Also take care to remove any interior details before moving on.
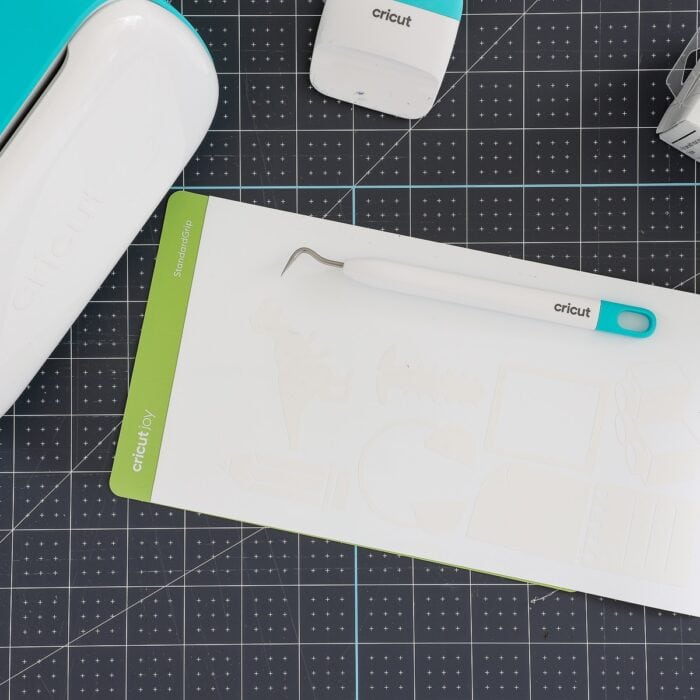
Step 7 – Pick Up Toy Bin Labels with Transfer Tape
Typically, no matter what image you use or how big it is, you’ll want to use transfer tape to move it from the white paper backing to your toy bin. I’ll review this process quickly below, but if you need even more help, see here: How to Layer Vinyl on Cricut Projects
Start by cutting a piece of transfer tape that will just cover your vinyl image.
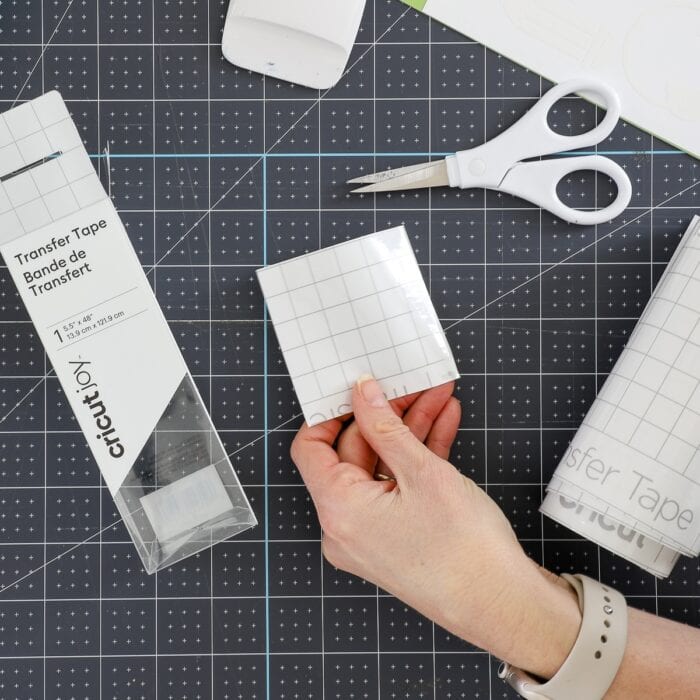
Peel off the white paper backing and place the transfer tape (the clear sticky paper with the printed grid) down onto the vinyl decal (sticky-side down).
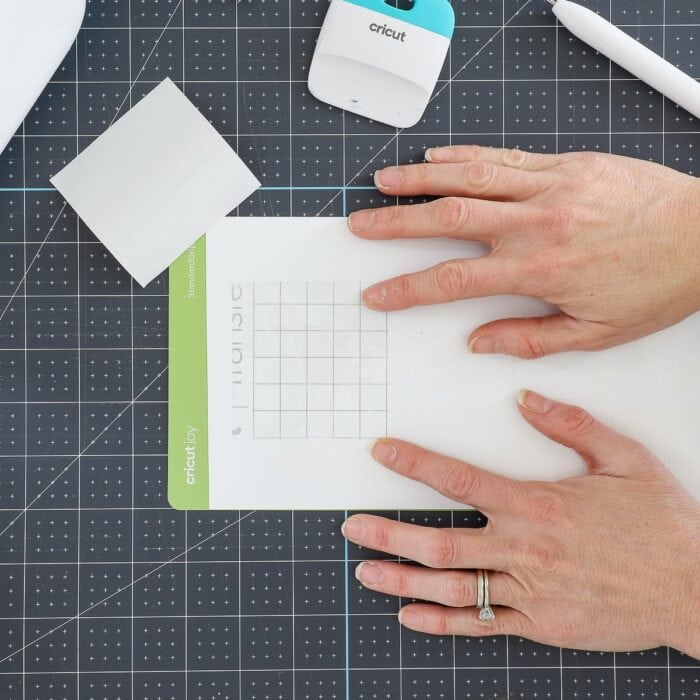
Use a scraper to vigorously rub the vinyl+transfer tape combo in every direction.
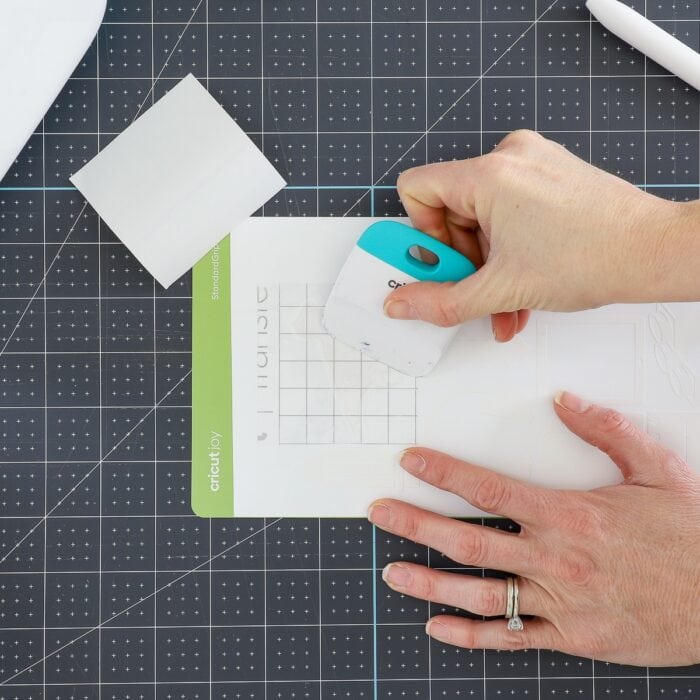
On diagonal, peel up the transfer tape. If you rubbed enough with the scraper, the vinyl decal should come off the paper backing, sticking to the transfer tape.
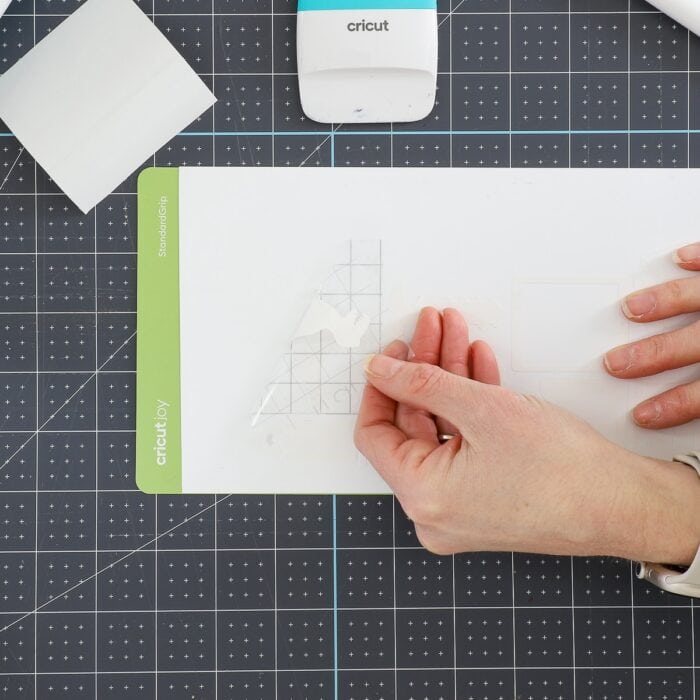
Now, you have your image label picked up and ready to be placed onto any toy bin!
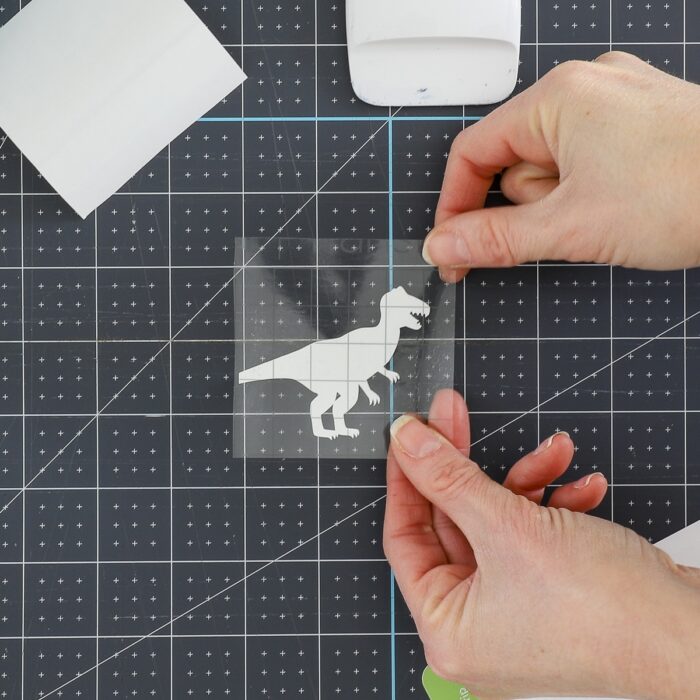
Step 8 – Apply Toy Bins Labels
There are three main ways to attach toy box labels:
- Onto a pre-cut tag or label holder
- Onto another piece of vinyl
- Directly onto the bin/basket itself
There are pros and cons to each, so let me break them all down!
Place Labels Onto a Pre-Cut Tag or Label Holder
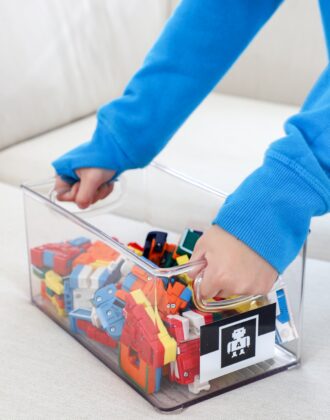
My preferred way to label toy bins is onto a pre-cut tag or label holder. Not only is it easier to get the placement just right on a smaller surface, but the labels can be easily moved around (and even removed all together) as your toy organization changes.
My favorites are square chipboard tags (I usually find mine at Michaels). You can read more about how to secure them to baskets here: Super Simple DIY Chalkboard Basket Labels
To attach the vinyl picture label, simply place it sticky-side-down onto the tag/label holder…
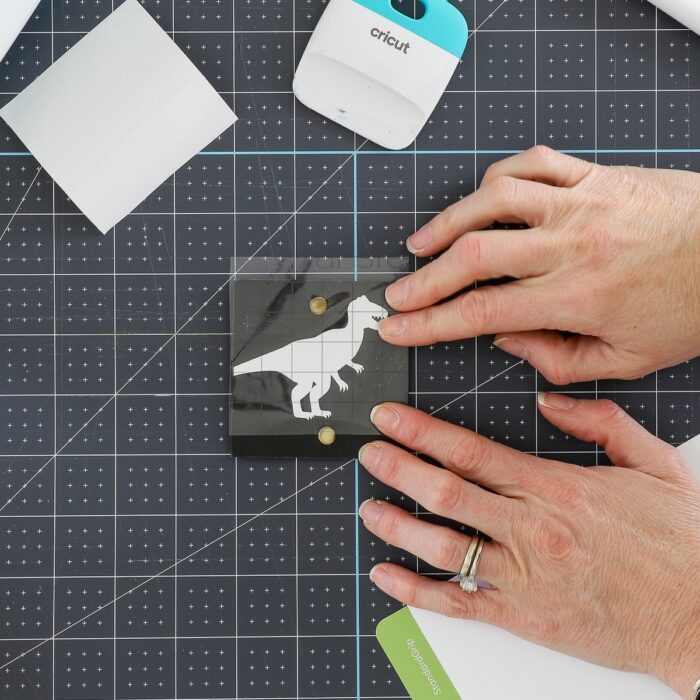
Rub vigorously with the scraper, this time with the purpose of getting the vinyl image to stick to the tag.
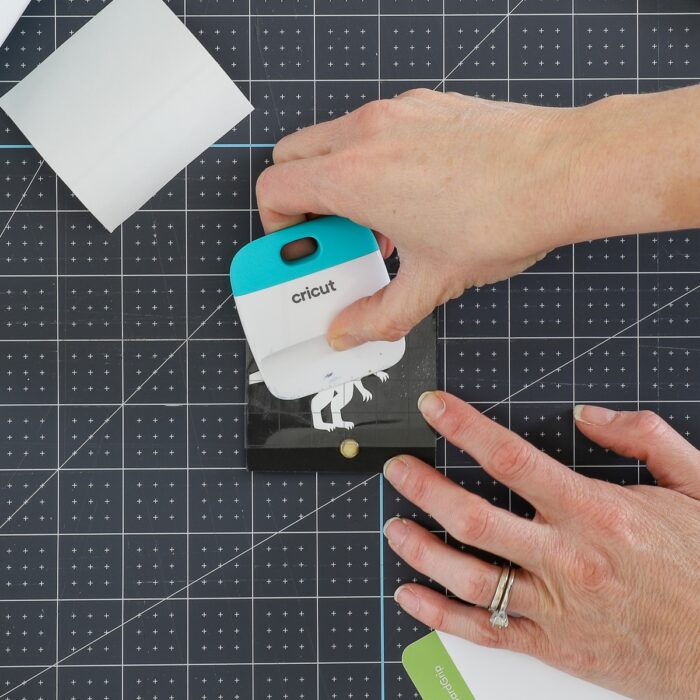
Again on diagonal, carefully peel up the transfer tape. If you rubbed long and vigorously enough, the vinyl label should remain adhered to your tag!

Repeat with additional picture labels as needed…
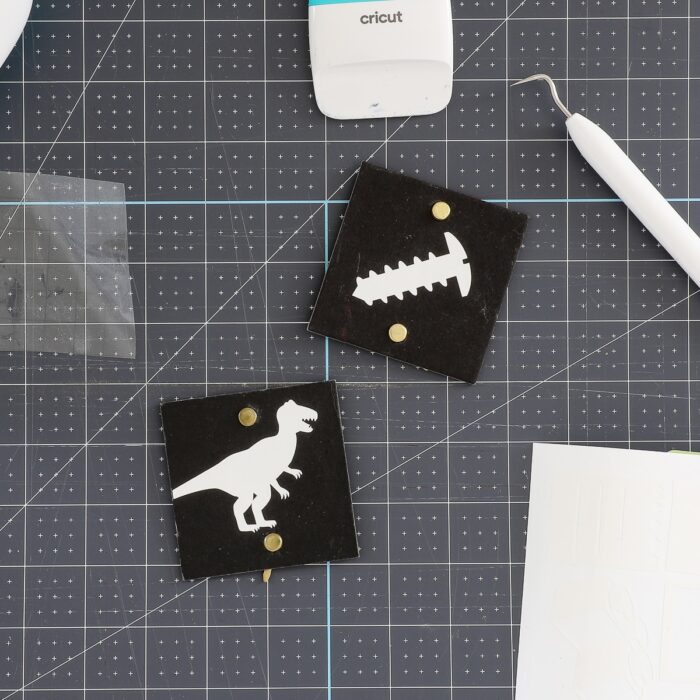
…and then attach the tags/label holders directly to the toy baskets with clips, brads, ribbon, twine, etc!
Place Labels Onto Another (Larger) Cut of Vinyl
If your toy bin or container is completely smooth, solid, and/or handle-less, you might not be able to use a tag or label holder. In this case, I recommend attaching the more intricate vinyl picture label to a larger vinyl shape, like I did here for our play food containers:
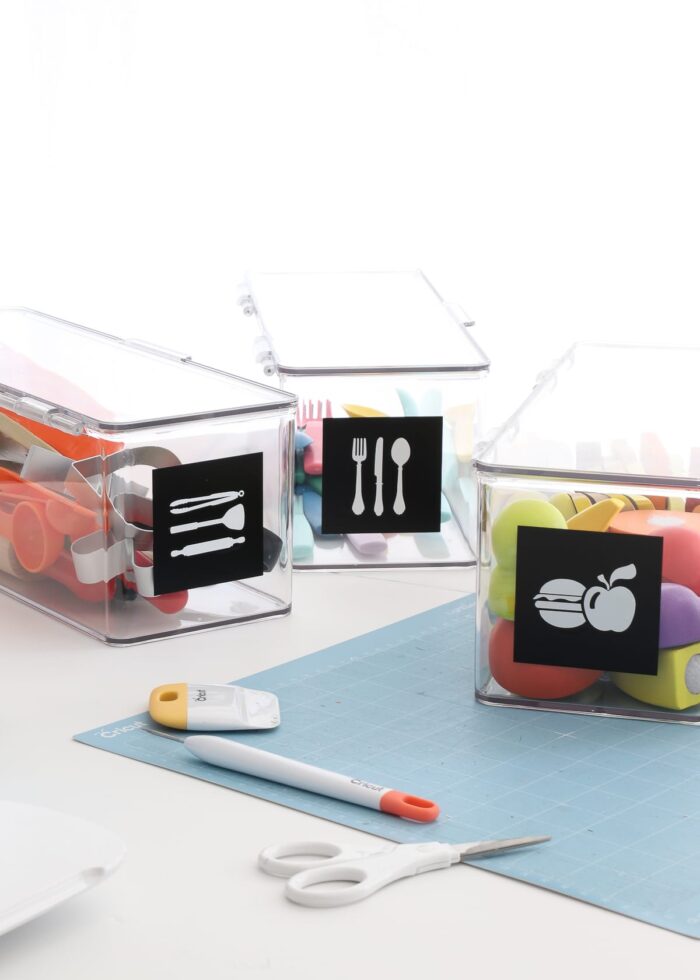
Here’s why.
For one, securing the smaller, detailed picture to a rectangle, circle, or square labels will afford you quicker and easier application to your final destination. Instead of having to use transfer tape on your container, you can simply peel up the larger shape and place it by hand. This gives you more control over placement.
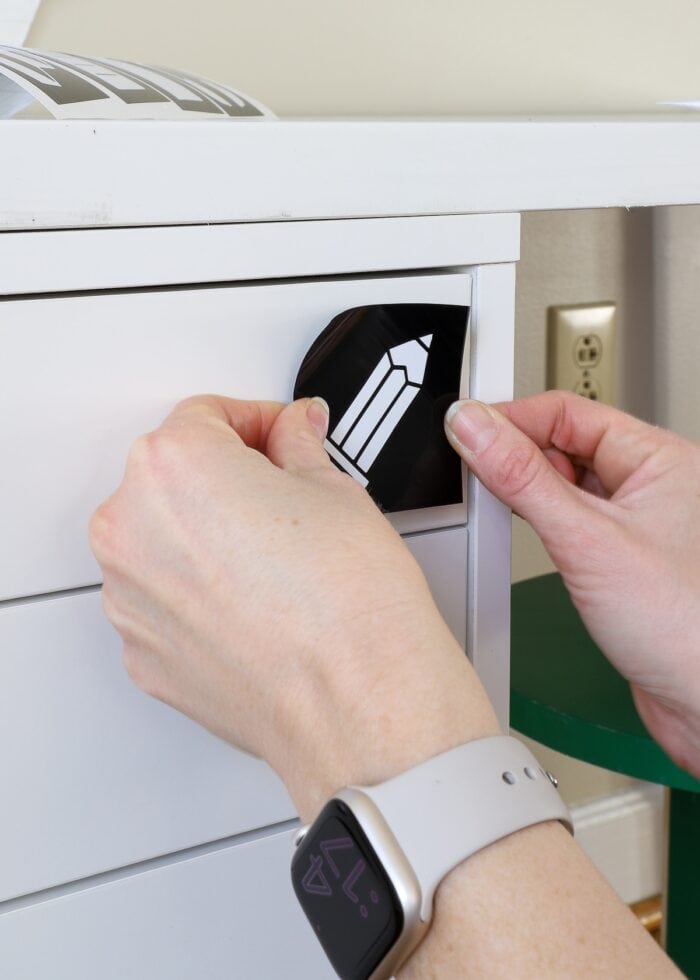
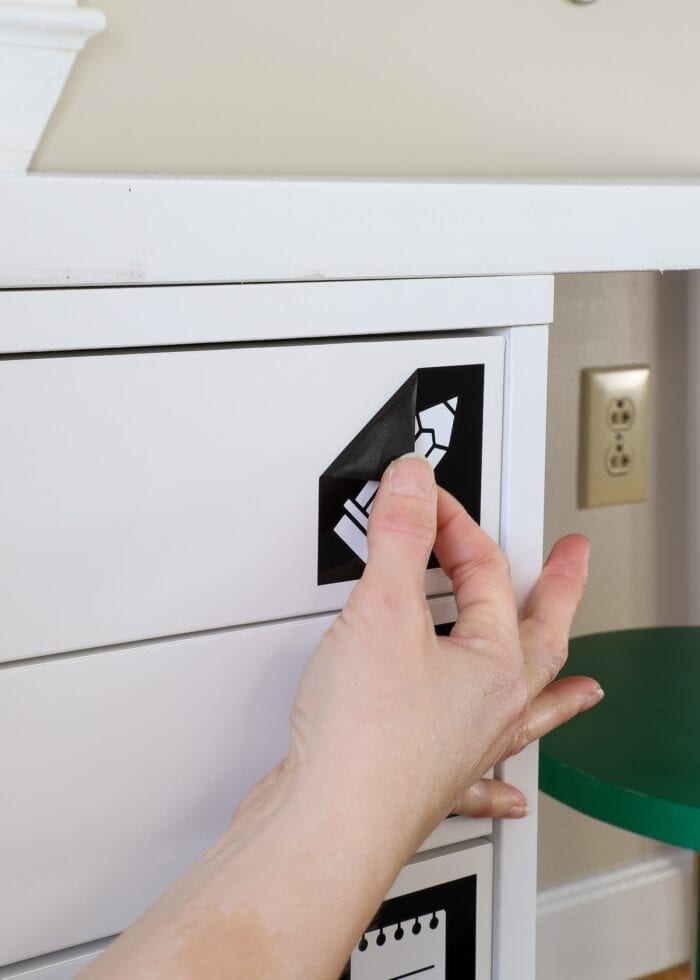
And more importantly, if you need to re-position (or completely remove) the label, you simply peel off the larger shape (instead of every tiny vinyl detail).
To do this, pick a basic shape (I usually recommend circles, squares, or rectangles, depending on the size/shape of the bin/basket) and cut as many as you need out of a solid-color vinyl. Like before, use a weeding tool to remove excess vinyl from around the shapes.
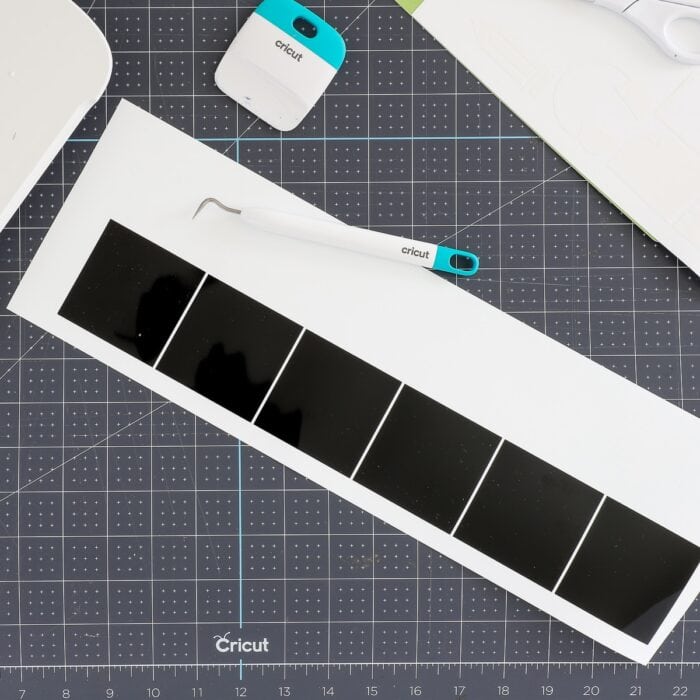
Then, as shown before, use transfer tape to attach each toy bin image to the center of the larger shape.
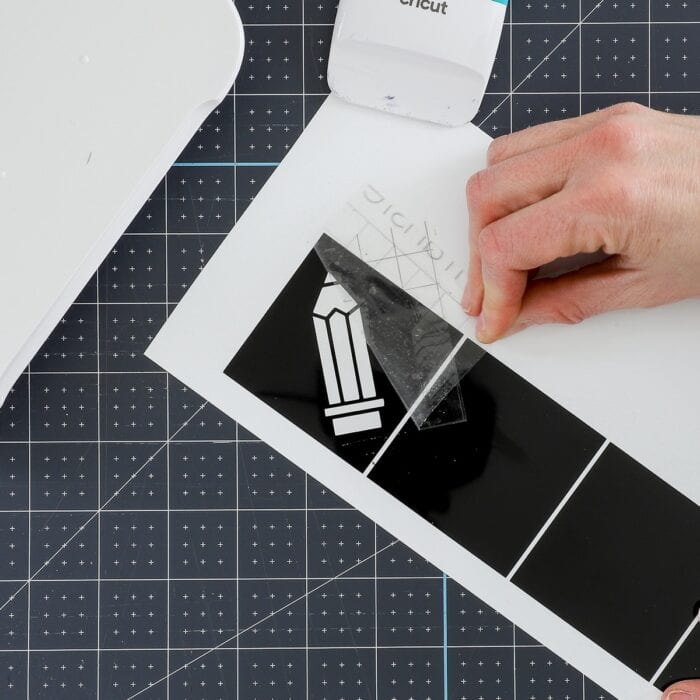
Repeat for your whole set of labels.
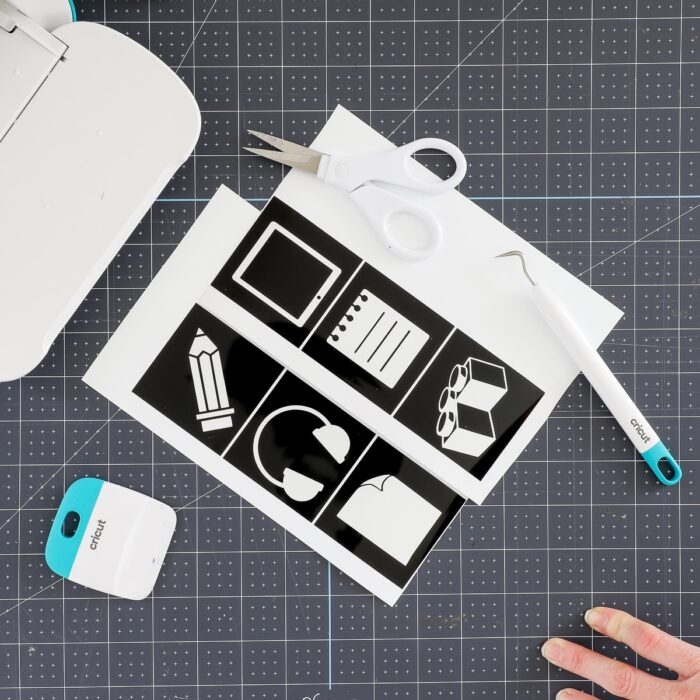
To label your containers, simply peel up the larger decal…
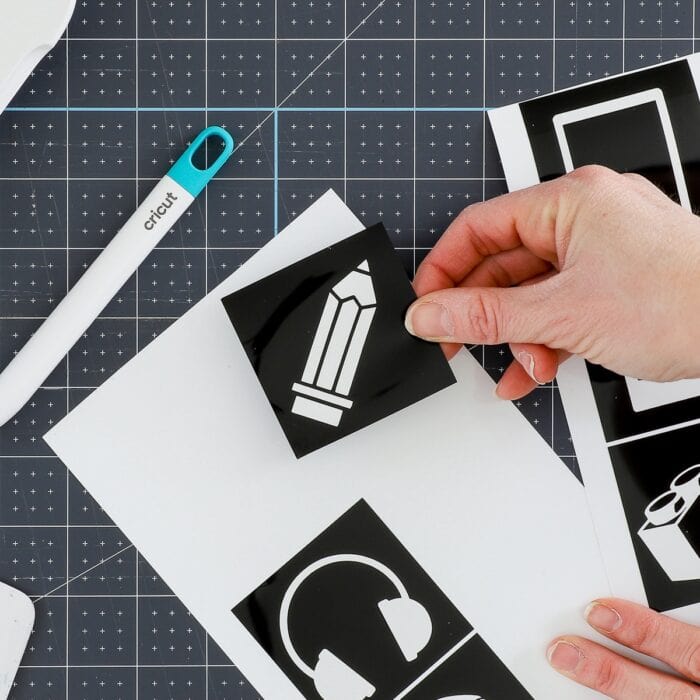
…and place them by hand!
Place Labels Directly Onto the Surface
I very much prefer labeling methods that are quick and easy to change, especially in a toy room. As kids grow, you’ll find yourself moving things around quite a bit and it’s really nice to be able to move toy storage labels (using the two application methods outlined above) instead of having to re-cut them entirely.
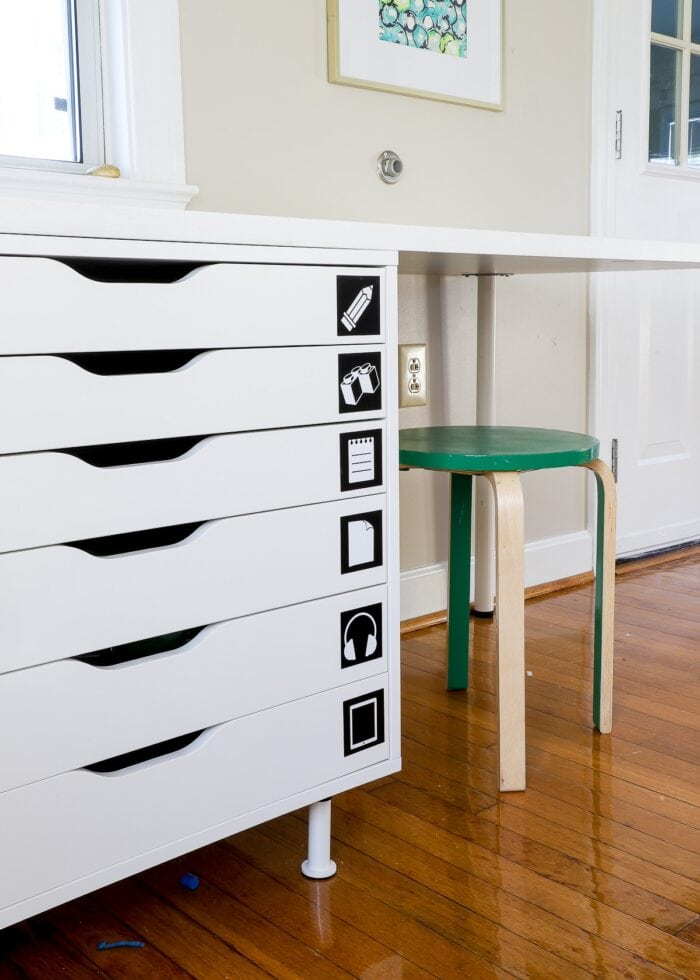
That said, whether you simply prefer the look of a crisp, clean icon (without a background shape) or your toy images are super simple to peel up, you might also consider applying the vinyl picture label directly to the surface itself (without a tag or shape background).
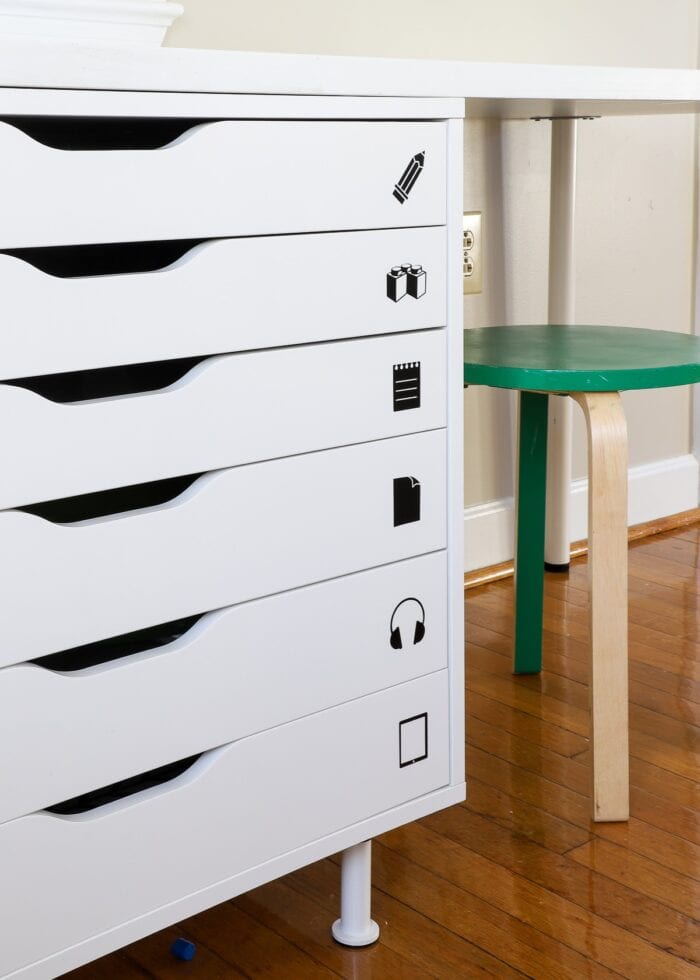
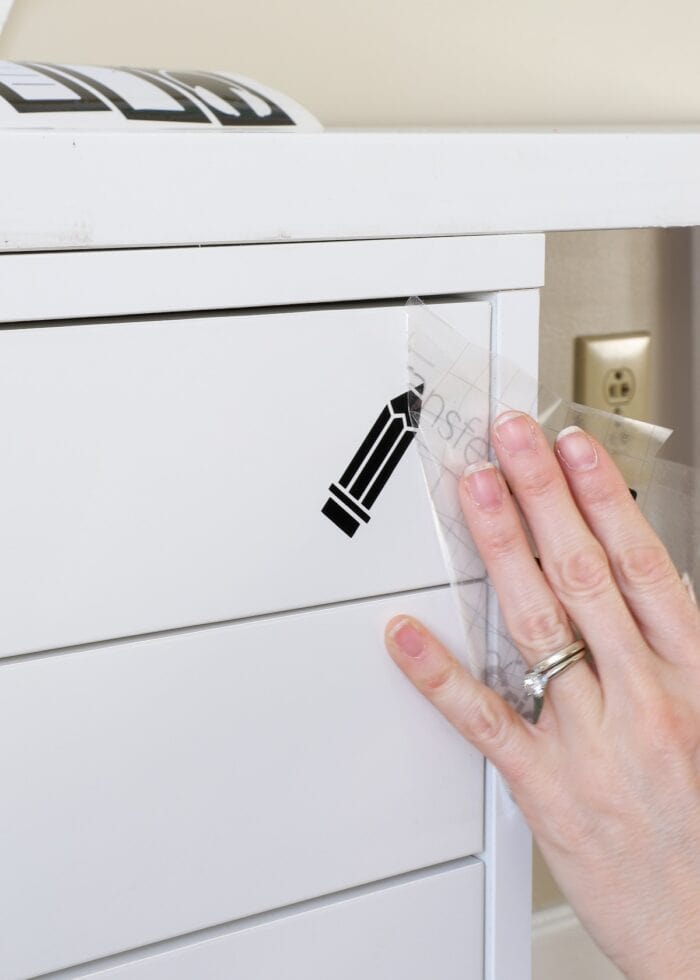
Keep in mind that you will still need to use transfer tape (especially if the images are detailed, like the pencil below), and you typically only get one shot to place the picture label correctly. Once a decal is down, there is no easy way to move it. If you don’t like the location, you’ll have to peel off each detail and re-cut/re-apply it entirely.
Can Vinyl Labels Be Placed on Fabric Toy Bins?
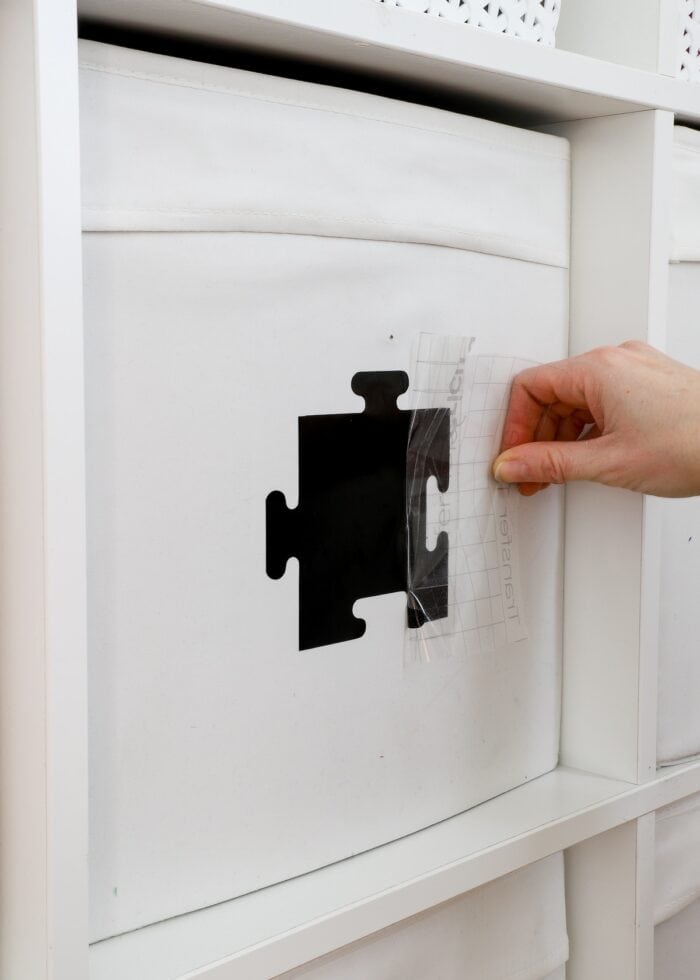
Typically, vinyl should be applied to clean, hard, smooth surfaces. That said, I’ve had really, really good experiences with placing standard adhesive vinyl onto fabric bins (such as the IKEA Drona bin). In these instances, I cut my shape quite a bit larger and still pick it up using transfer tape…

With some patience, you will be able to get the vinyl decal to stick to the fabric surface and peel away the transfer tape exactly as shown on other bins.
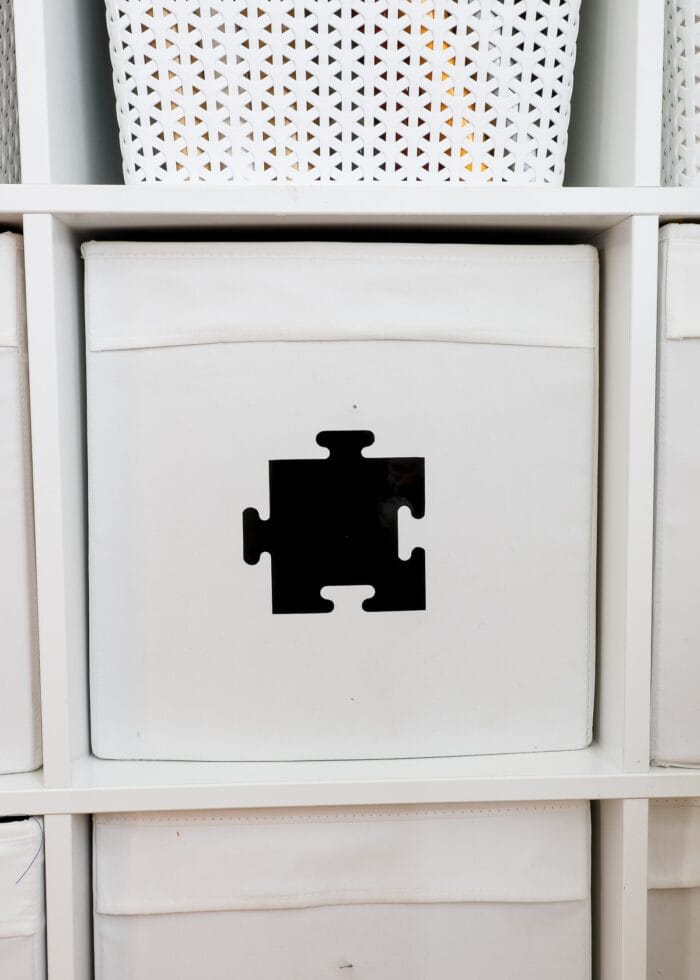
I’ve done this countless times; and I’ve never had the standard adhesive vinyl fall off the fabric storage bins. Additionally, the labels (eventually) peel off without issue, making them easy to swap out when it’s time!
More Great Cricut Labeling Projects
Ready to label even more with your Cricut machine? Check out these other awesome projects:- Make Vinyl Labels with a Cricut
- Make Labels Using Cricut Pens
- Make Labels with Cricut Print Then Cut
- Make Waterproof Labels with a Cricut
- How to Label Fabric with Iron-On Vinyl
- Iron-On Clothing Labels with a Cricut
- Toy Bin Labels with a Cricut
- Pantry Labels with a Cricut
- Dresser Drawer Labels with a Cricut
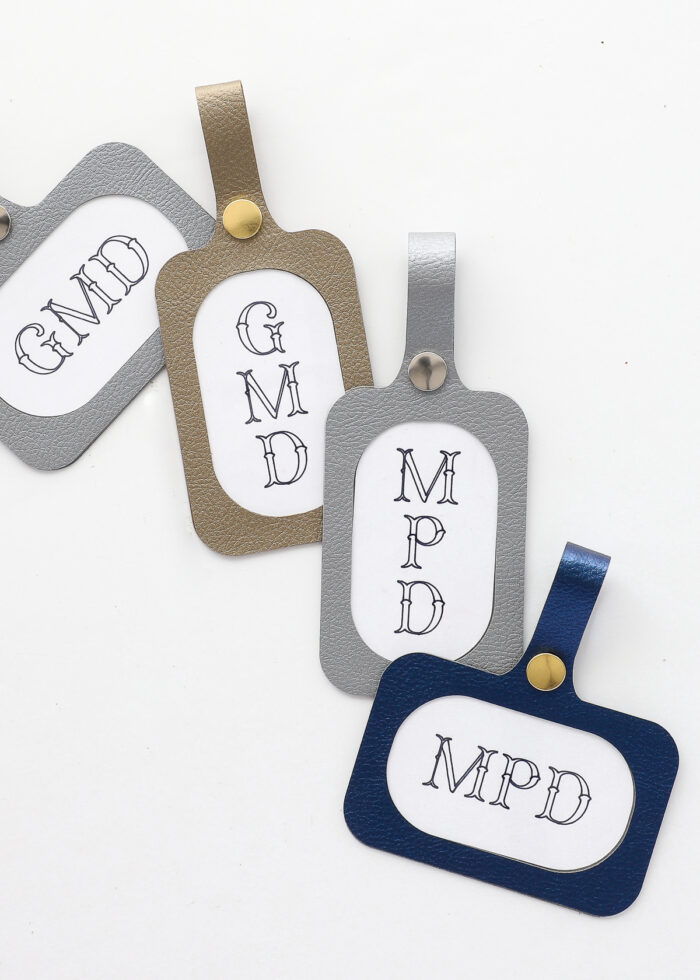
- Luggage Tags with a Cricut
- Return Address Labels with a Cricut
- Fast Labels with the Cricut Joy App
- Make Easy Round Closet Dividers with Cricut Vinyl
- Label Drawstring Backpacks with Cricut Iron-On
- How to Make Vinyl+Wood Labels
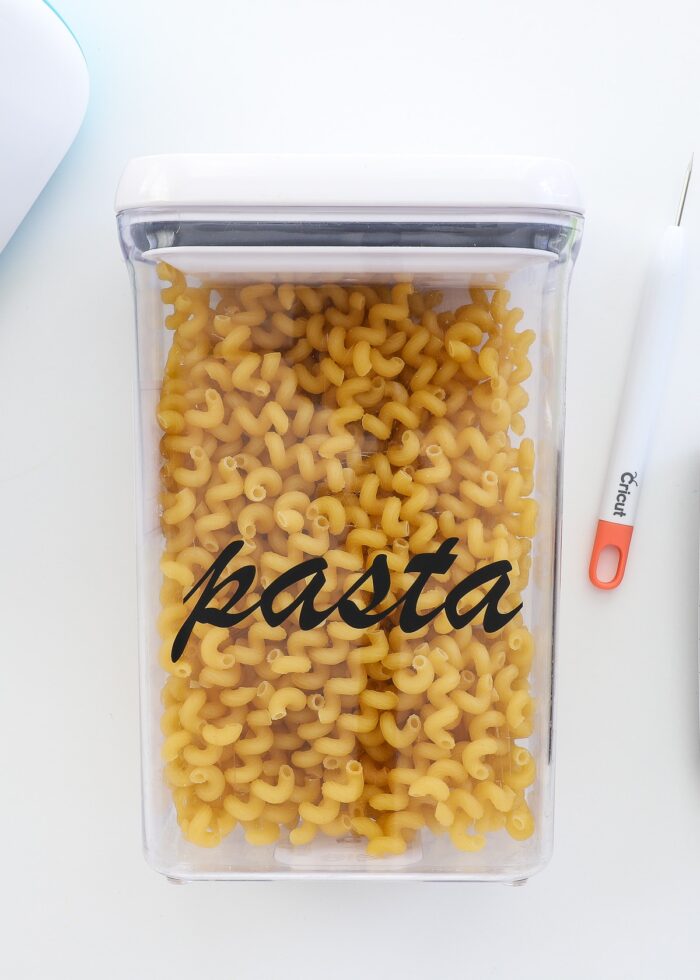
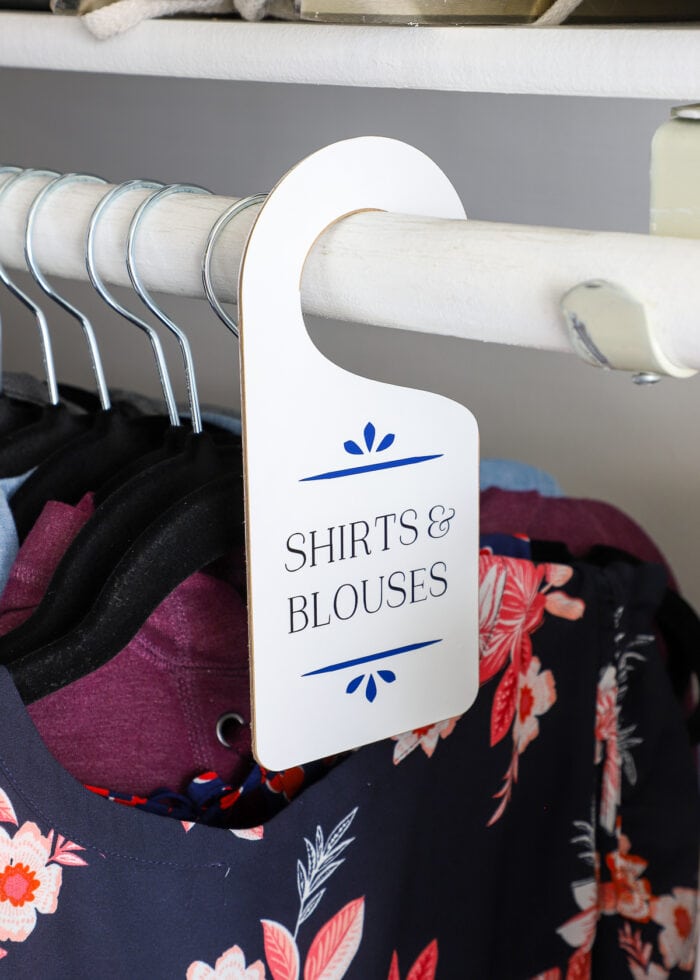
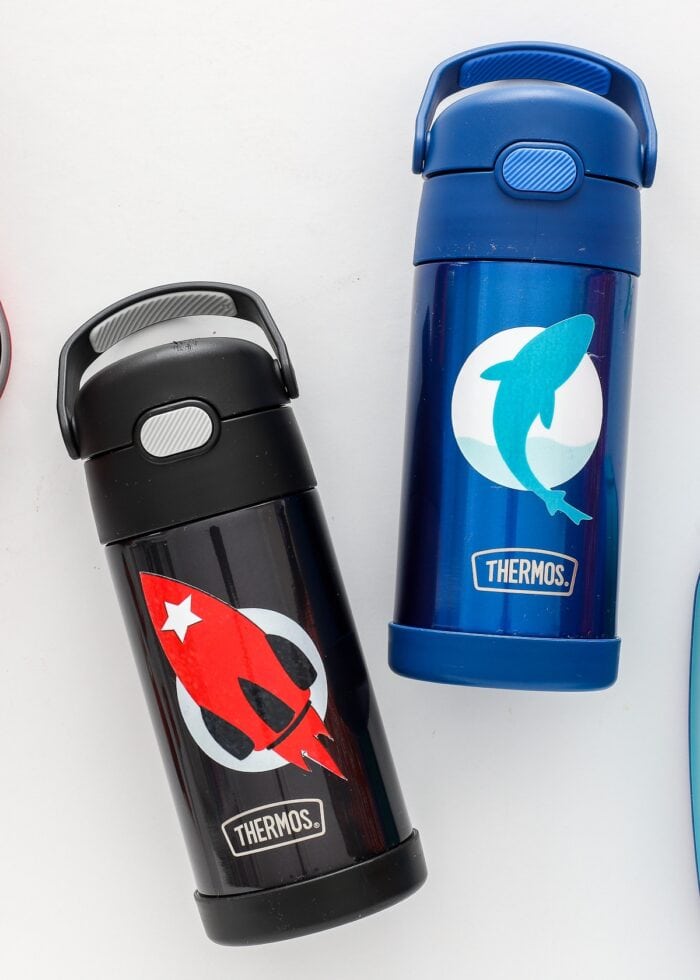
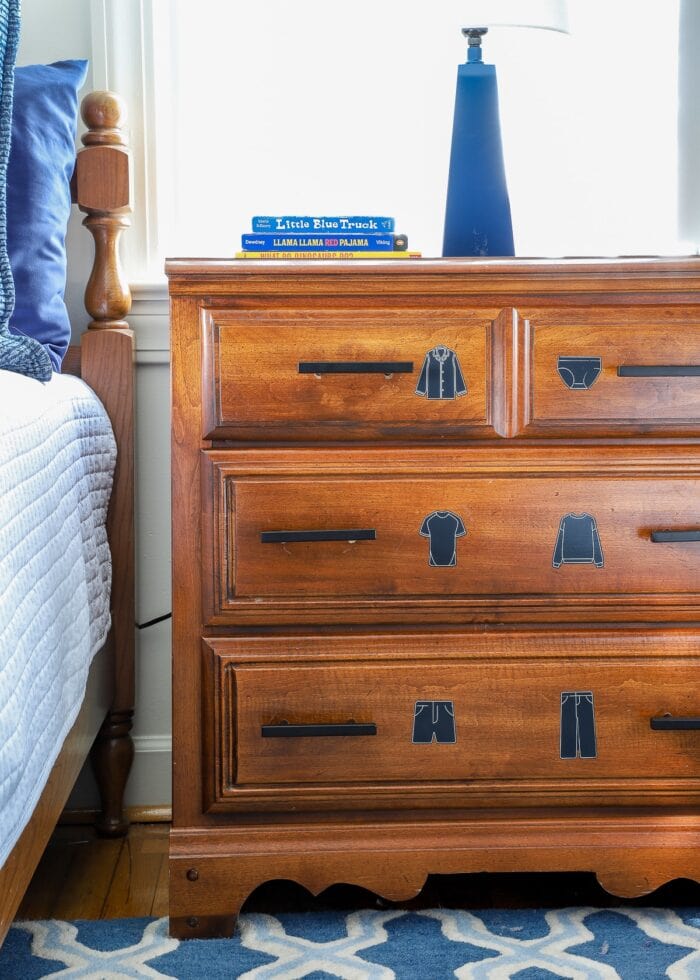
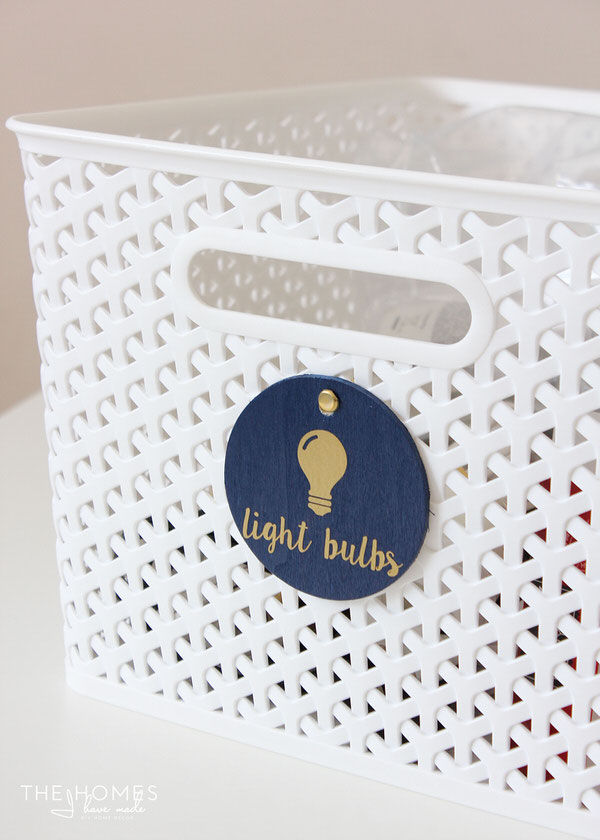
Although these DIY custom toy bin labels have been my preferred playroom labeling method for YEARS…I’ve actually never broken down the entire process for you! I hope what I have here helps you identify the right method for your particular storage boxes and give them vinyl picture labels with ease! Your kids (and your play space!) will thank you!
Megan



22 Comments on “How to Make Picture Toy Bin Labels with a Cricut”
Darling. The unit that now holds your Target Yweaves what is it? I've been looking for something similar. Thk
These bins are amazing and a good option to store things. And most which I liked about your post is that how beautifully you have put label on these bins. This really helps a lot in finding items.
These are so cute! I love the color!
Those are awesome! Such a great way to keep things organized. Thank you so much for joining us and sharing at Best of the Weekend! Pinning to our party board. Have a wonderful weekend and please join us next Friday.
It looks great! I love this idea! I'm even more in love with your floor pillows. Where did that fabric come from?
Great idea!! Your bins are perfectfor for toys. Please link-up this terrific post at our rules free Blog Strut Link Party/blog hop, Thursdays at 5:00 PM PST. Our Blog Strut isn't your average blog hop, it offers many ways to promote and give exposure to your blog and posts. We pin all links, featured posts, as well as offer free co-host spots and button/logo redesign, plus free social network link ups. Join us and show what you’ve got!! http://www.mypersonalaccent.com/linkyparty/
I am in love with the color and the labels! I wish could do this right now… Not in the budget but I will pin it for the future!
Thank you for posting! I'm visiting from A Well Crafted Home linky party 😉
all the best!
Ursula, blogger at
http://kraftmint.com
{a journal of modern crafts}
I really liked the boxes being used to store the toddler's toys here. the most important thing I liked here is the color of these boxes. Too sober to watch.
I have a question about your y weave containers from Target…could you tell me the dimensions. I found some on line but they only give 2 dimensions I am really curious about the length and width, if you have the time to answer…I love you linen closet!
Hi Caroline,
My Target y-weave baskets are the XL size and measure 11"w, 11"h, and 12.5"d. I had a reader just let me know Target has them back in stock: http://www.target.com/p/room-essentials-y-weave-x-large-storage-baskets-set-of-4/-/A-13946299#prodSlot=medium_1_3&term=Room+essentials+y-weave+XL Hope that helps!
Hi Megan! I LOVE your bookshelf and both your luggage tag labels and the new blue container/label system 🙂 But what I REALLY love is that bookshelf – would you mind sharing where you purchased it? Thanks for the great inspiration this morning!
Hi Lisa!! Thank you so much for your nice comment! Unfortunately, I don't have a great answer for you about the shelf – we bought that shelf at an auction while living overseas in Japan. As such, I don't really have a maker/store/manufacturer for you. I'm really sorry I can't point you in a useful direction 🙁 Good luck!
I love this idea for organizing toys! It’s beautiful! But I’m wondering, can the heat transfer vinyl be removed? The problem that I have with our toys is that we are constantly rotating, removing toys, and adding new toys in. So I would change the labels on the bins every so often. Do you rotate, add, and remove toys? How do you go about that with your cute labels?
Hi Sydnee!
Thanks for writing, I’m so glad you like my toy bin project! I actually made the labels out of regular old white contact paper/shelf liner. It’s not adhered with heat at all and is therefor totally temporary and easily removed. I rotate/re-organize our toys all the time. All I do is peel of the label and make a new one! I think I’ve re-done them 2-3 times by now!
Hope that helps, and let me know if you have any more questions!
Megan
Try this: 🙂
ID card holders and pacifier clips. Could be changed fast and easily.
http://pin.it/bHYmm4F
Pingback: DIY Toy Bin Labels
Wow it looks so nice,very easy to store the toys,i also like the colour,well done.
Thank you so much!
Pingback: 29 WAYS TO DECORATE YOUR RENTAL WITH CONTACT PAPER | Grillo Designs
This is exactly what I was looking for. Thank you!
Pingback: Cricut Home Decor You Can Make with Your Explore - Makers Gonna Learn
Lovely stuff – I’m looking to do exactly this with the same fabric IKEA bins. I see you used contact paper – in Cricut terms, I think that suggests removable rather than permanent vinyl, right?