How to Layer Vinyl on Cricut Projects | 4 Easy Methods
Today’s post is not filled with the prettiest of pictures or the most inspiring projects. However, if you like (or want) to make layered vinyl projects with your Cricut (or other electronic cutting machine) and just haven’t been able to find a method that work wells, I’m here to help! Today, I am going to break down exactly how to layer vinyl on Cricut projects. I’ll be sharing 4 different methods, all of which yield great results for projects both big and small. So if you’ve been frustrated with getting your designs lined up juuuuust right (and without bubbles!), this guide is sure to help!
If you’ve ever created a multi-color vinyl design, you are likely familiar with the exasperating experience that is layering it all together. Why? Vinyl decals are essentially stickers, and if you’ve ever tried to put a sticker (or even contact paper, wallpaper, or shelf liner) down in a very specific spot without a single wrinkle or bubble, it can quickly go very wrong.
I will be the first to admit that I am NOT a perfectionist when it comes to my vinyl deigns. “Done is better than perfect” for 99% of my projects. That said, whether you’re quickly throwing something together or you’re very particular with how your designs lines up, all four of these methods are quick and yield great results!
Supplies Needed for Layering Vinyl Designs
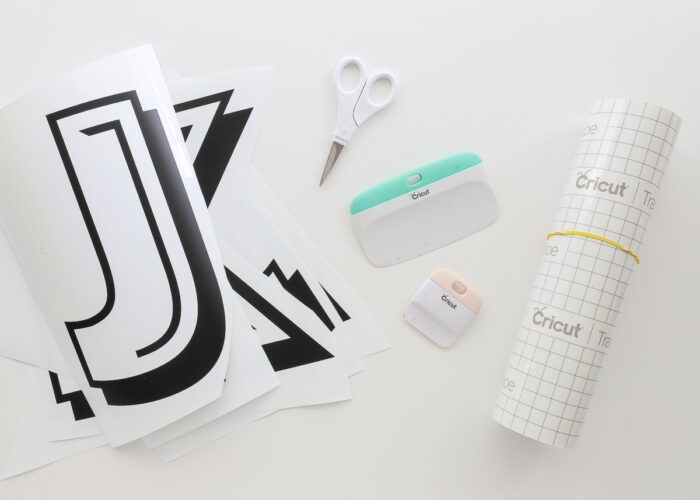
The right tools make all the difference in getting your vinyl designs to line up just right. Here is what you will need:
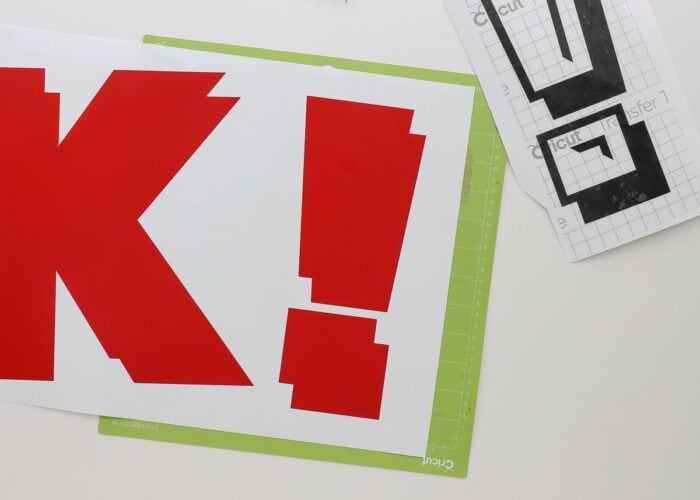
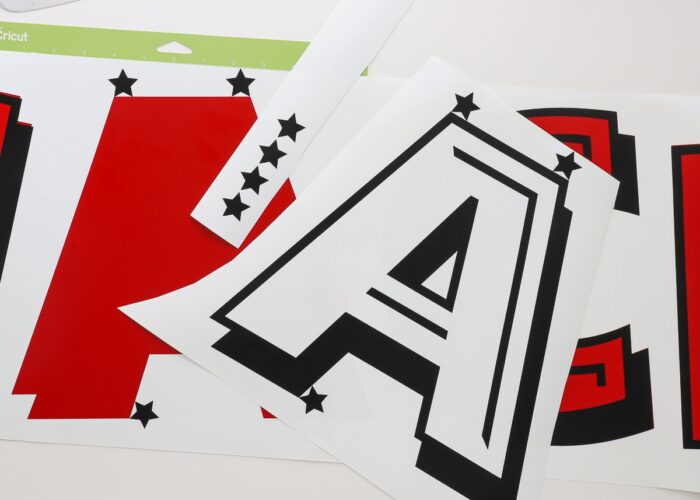
- Cut and fully weeded vinyl designs (you can see how and why to weed HERE)
- Scrapers – a standard-sized scraper is fine for small projects, while the XL scraper is better for large designs
- Scissors
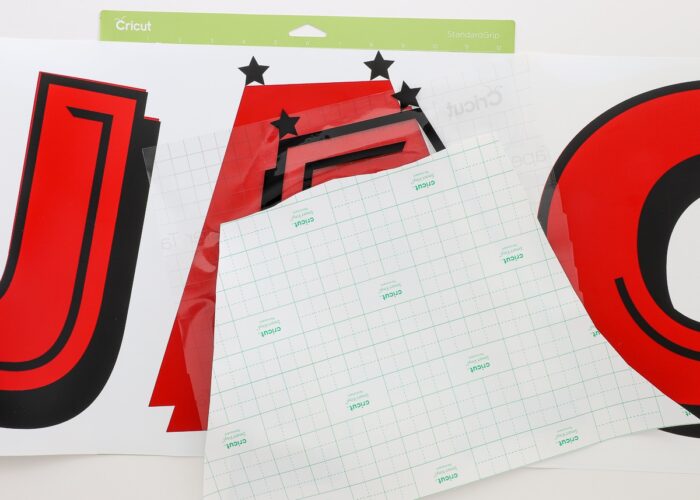
- Transfer Tape
Prepping Vinyl Designs for Layering
Weed
Before you can layer different colors of vinyl, there are a few critical steps that must happen first. Start by using a weeding tool to fully weed your images. This is the process of removing all the negative (or unwanted) elements of your design. You can learn more about how and why to weed HERE.
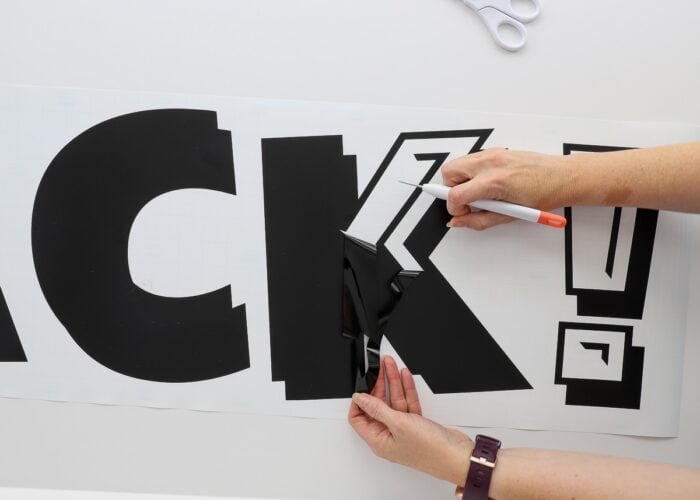
Trim
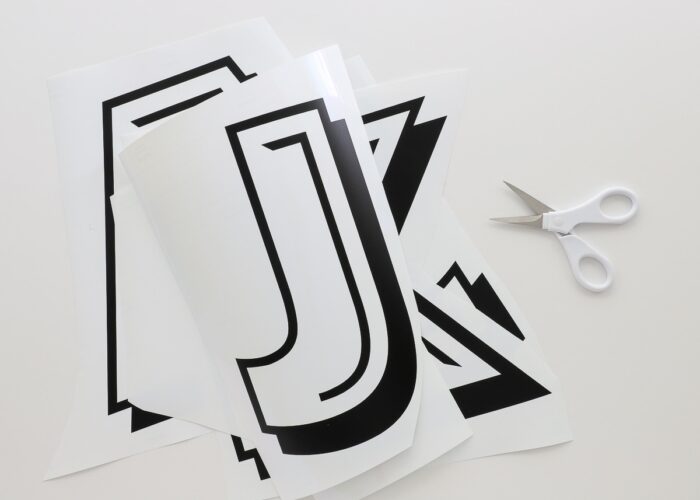
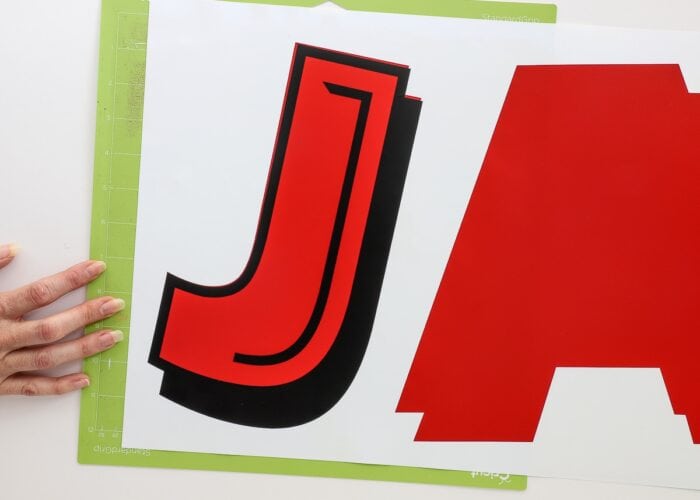
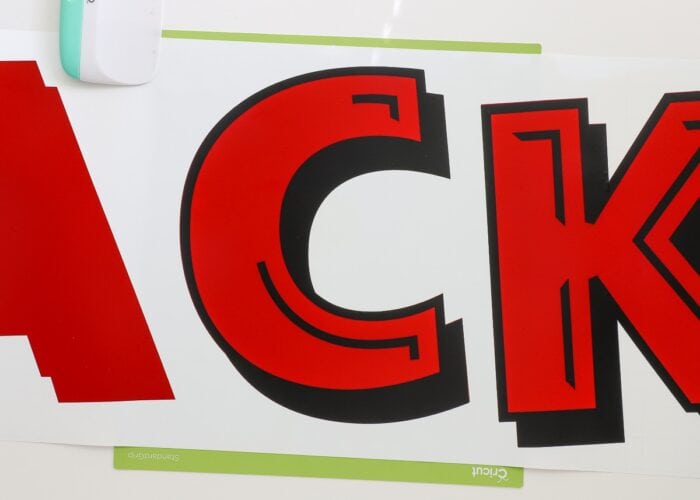
Next, you will have the best luck layering individual components of your design separately (if possible). For my really large “Jack” banner, I certainly could have done the whole name at once (and sometimes I will). But layering each letter separately guarantees more precise placement across such a large design. As such, I trimmed down my individual layers AND removed as much excess paper from around each cut as possible.
Secure
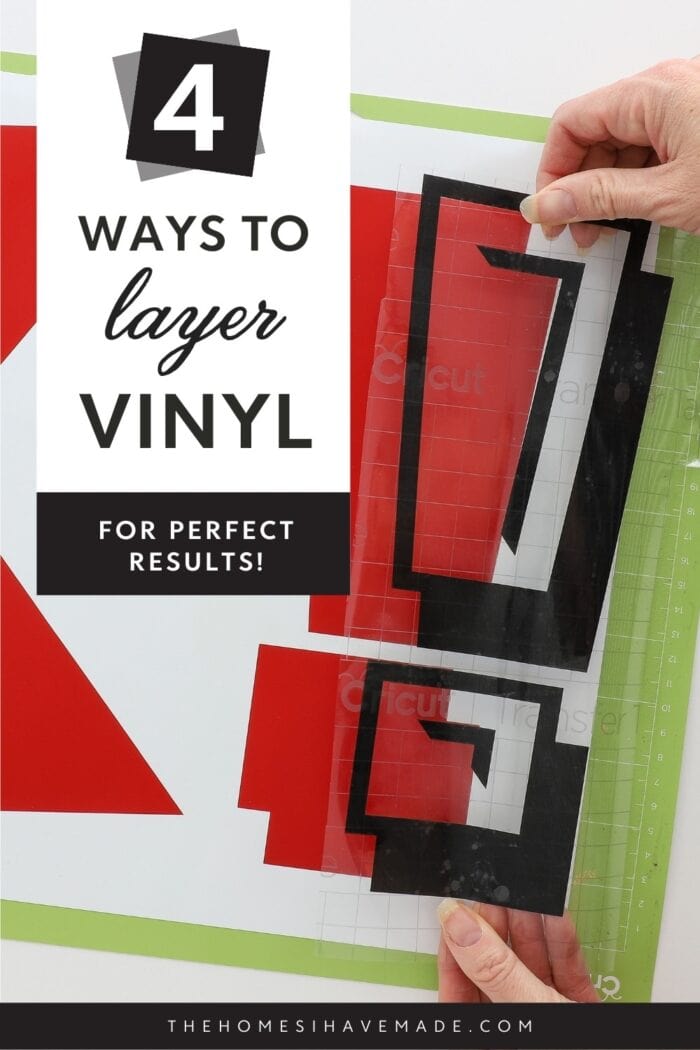
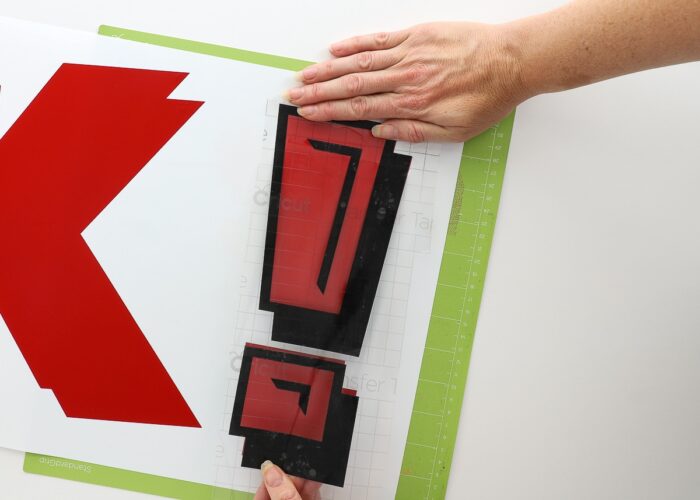
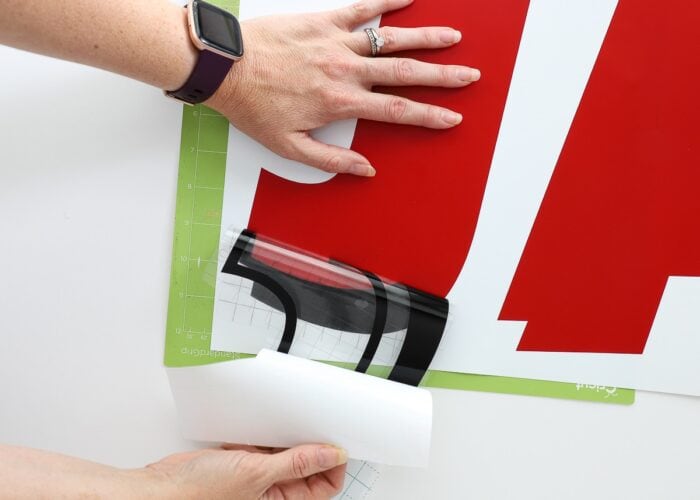
Finally, before attempting to layer your vinyl designs, here is one of my favorite tricks! I strongly recommend securing your bottom layer to a sticky mat. Vinyl has a tendency to roll back up on itself and has a lot of static cling, both of which make it tricky to layer precisely. To keep your base layer nice and flat, smooth it onto a sticky mat just while you’re working (as shown below!)
Layering Order
When layering, no matter how many layers you are stacking, you will want to work from top-to-bottom. For example, when layering two colors (as I am in this post), pick up the very top layer first and place it on the bottom one.
If you are layering a design with 4 colors, do it as follows:
- Layer 1 onto Layer 2
- Layer 1 + Layer 2 onto Layer 3
- Layer 1 + Layer 2 + Layer 3 onto Layer 4
- And so on
Using Transfer Tape
Layering vinyl deigns very precisely will require transfer tape (also called transfer paper). This slightly sticky paper allows you to pick up vinyl designs (without distorting them) and lay them down onto another area (either your final project or another layer). Unless you are working with very small designs, I don’t not recommend layering your vinyl deigns without transfer tape.
I’ve covered this process many times here on the blog, but I’m putting it here again for reference:
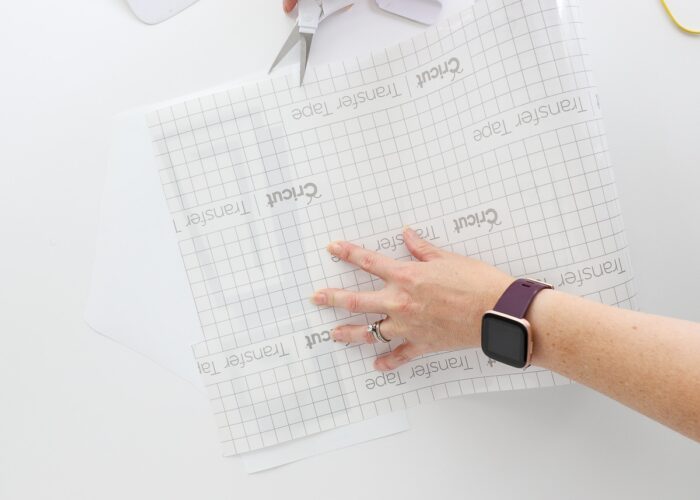
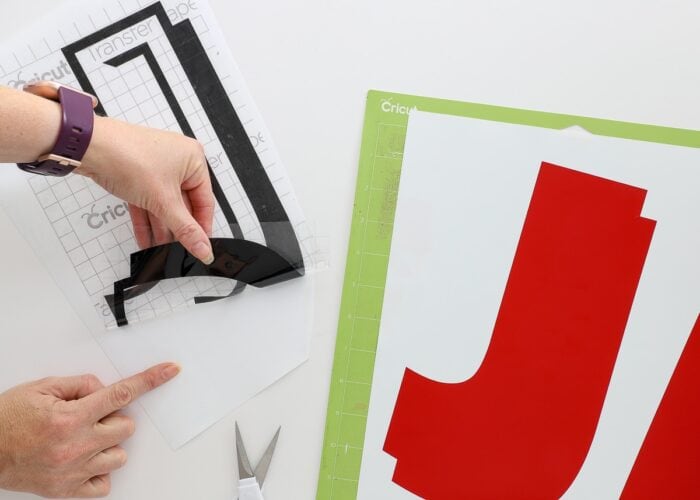
1. Cut Transfer Tape
Cut down the transfer tape into a size that fully covers your vinyl design.
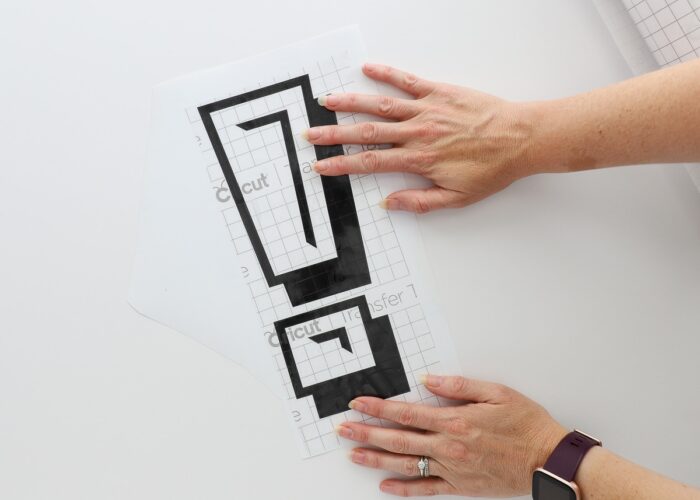
2. Apply Transfer Tape
Remove the paper backing from the transfer tape and lay it, sticky-side-down, onto your weeded vinyl design. I recommend laying it slowly from one end of the image to the other in order to reduce the risk of bubbles and wrinkles. If your transfer tape is not perfectly smooth, you will most likely end up with bubbles or wrinkles on your final project.
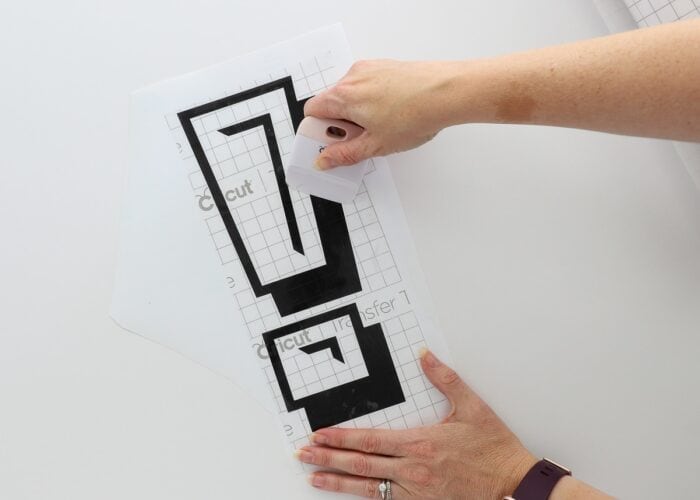
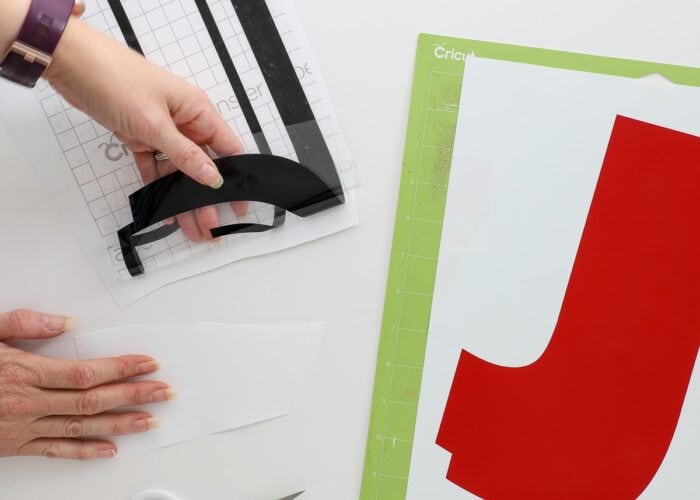
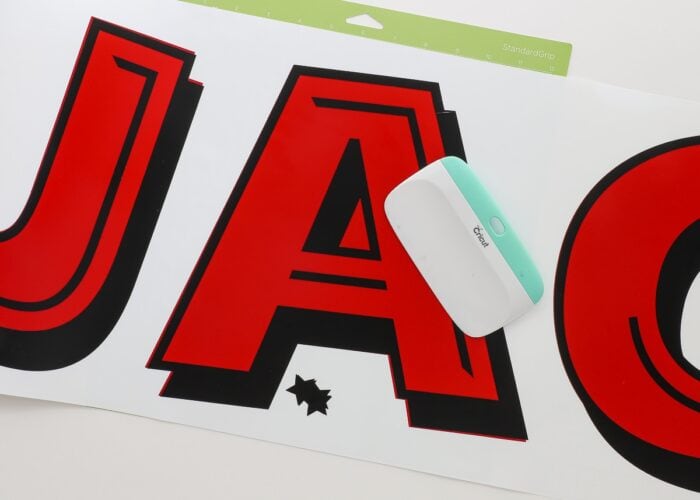
3. Scrape
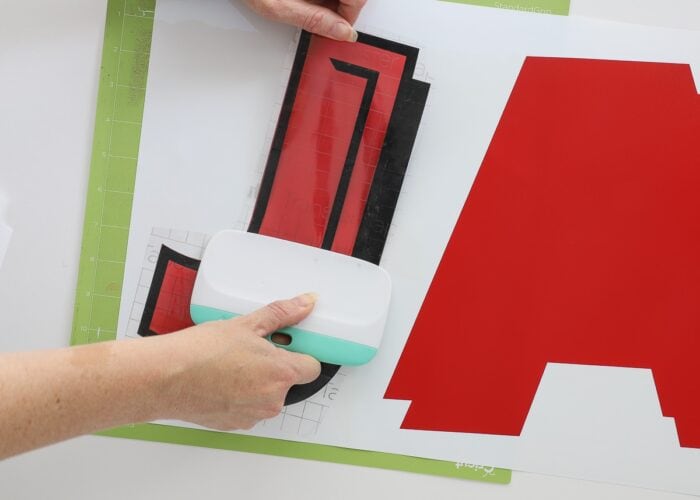
Use a scraper to firmly rub ALL over the vinyl+transfer tape combination. Depending on the intricacies and size of your design, you may need to rub a lot in order to get the transfer tape fully adhered to the vinyl design.
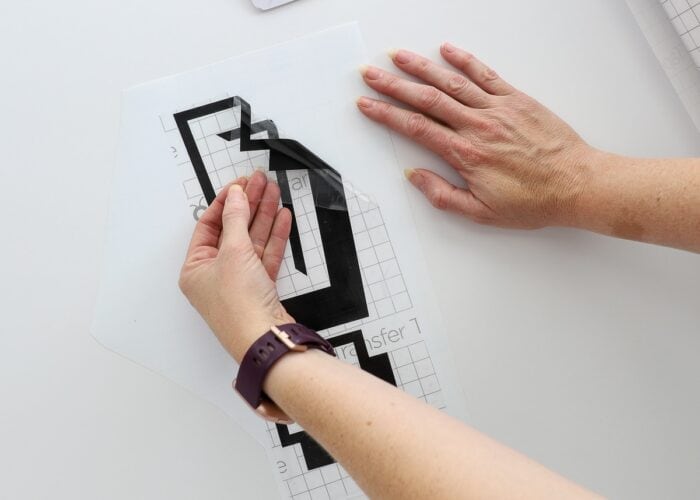
4. Pick Up the Vinyl Design
If you have rubbed the transfer tape sufficiently onto the vinyl design, you should be able to pull up the transfer tape and the vinyl will come along with it (detaching from its paper backing). I always recommend pulling up from a corner and moving very slowly to ensure the entire design comes up together. If the vinyl does not easily come off the paper backing, you need to go back and scrub more with the scraper. Once you have the vinyl design picked up off the paper backing, you are ready to layer it!
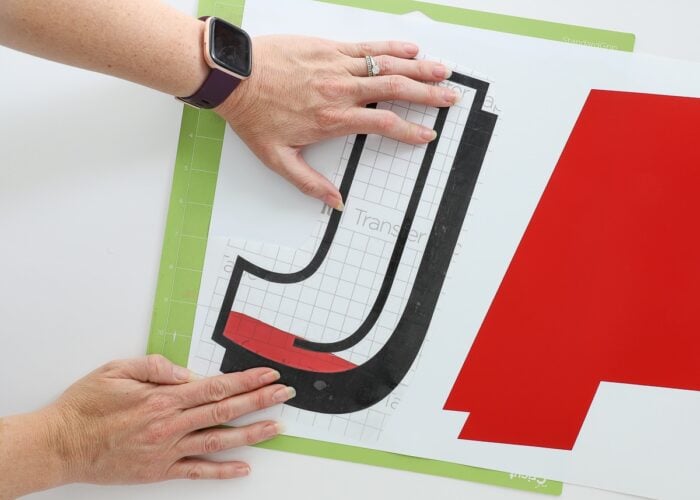
5. Lay Down the Vinyl
The next step is to lay down the vinyl onto its base/next layer or final destination. The rest of this post will cover the 4 best methods for doing this!
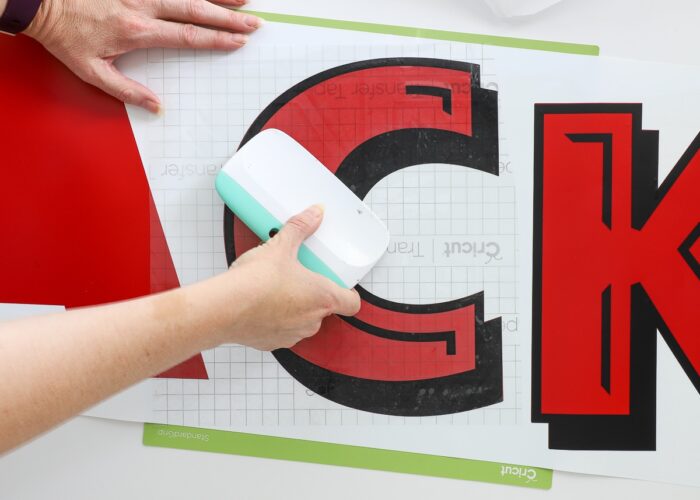
6. Scrape & Remove
Once the vinyl+transfer tape combination is in place where you want it, you will reverse the process. Start by scrubbing the entire layer with the scraper again, this time with the goal of adhering the vinyl to the bottom layer. Once you’ve rubbed a lot, peel up the transfer tape to leave the vinyl design behind. To get the transfer tape to “let go,” I recommend pulling super slowly and on diagonal.
Alright, with all those basics covered, let me show you how to layer vinyl on Cricut projects!
Method 1 | Eye-Ball It
I will admit, this is the method I go to almost every time. The “eye-ball method” is the quickest and easiest of the bunch, and works best when you do not need to be super precise and/or are working on smaller designs. That said, it’s also the riskiest; but the more you do it, the better you will get!
In this method, completely remove the paper backing off the vinyl+transfer tape combo. Hold the entire design taught with two hands.
Still holding up most of the design away from the bottom layer, lay down just one edge of the design so it lines up as needed. Because only a small section of the top layer is in contact with the bottom, you should be able to pick it back up and re-place it if needed. With that edge in place, then smooth the rest of the top layer down, letting the design naturally fall into place. Don’t attempt to match up other edges because you’ll end up with wrinkles.
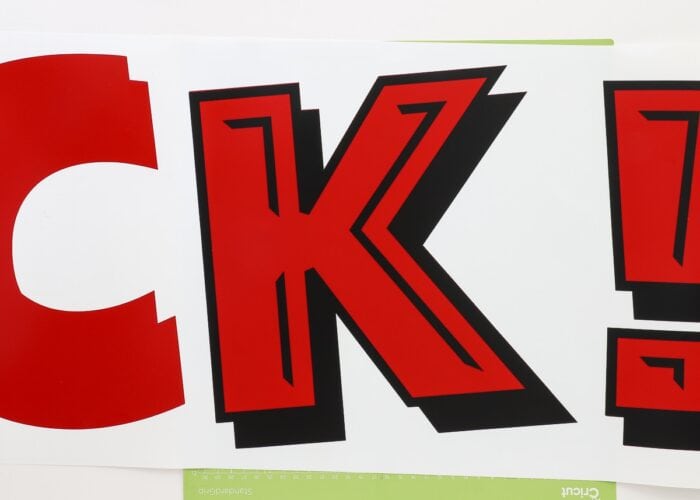
By lining up just one edge as-close-to-perfectly as you can, the rest of the design should end up mostly matched up. Below is the result of the “eye ball” method, with only a tiny margin of base layer showing on one side. I’ll take it!

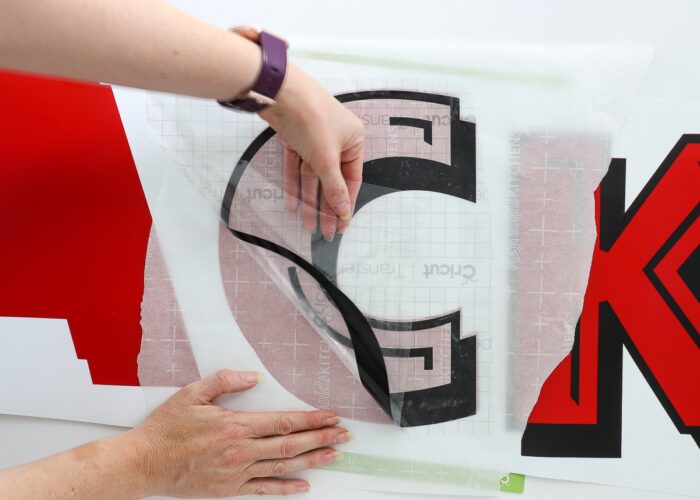
Method 2 | Cut & Place
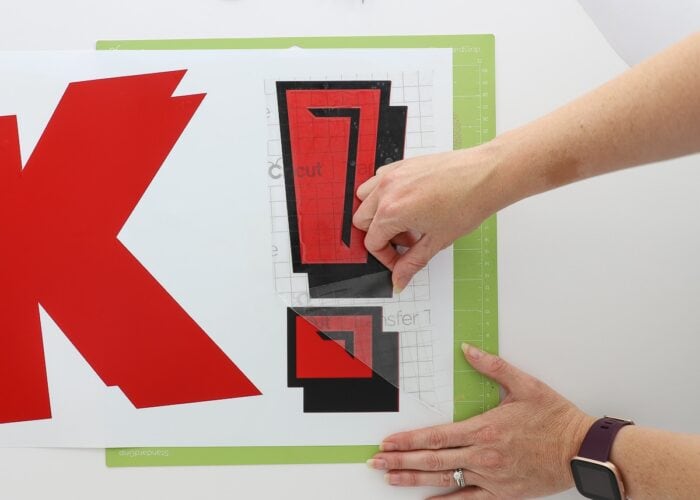
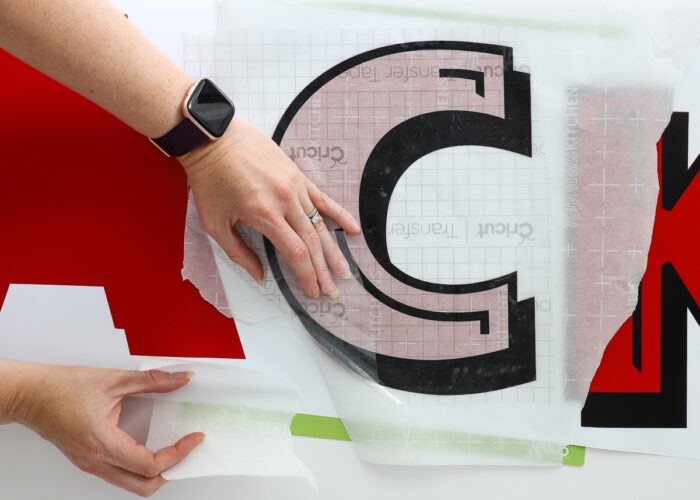
This next method is almost as easy as the eye-ball method but gives you a little more control over placing that leading edge. In this method, do not remove the entire paper backing off the layer.
Instead, peel up just 1″ or so of the vinyl design and trim away the paper underneath that area.
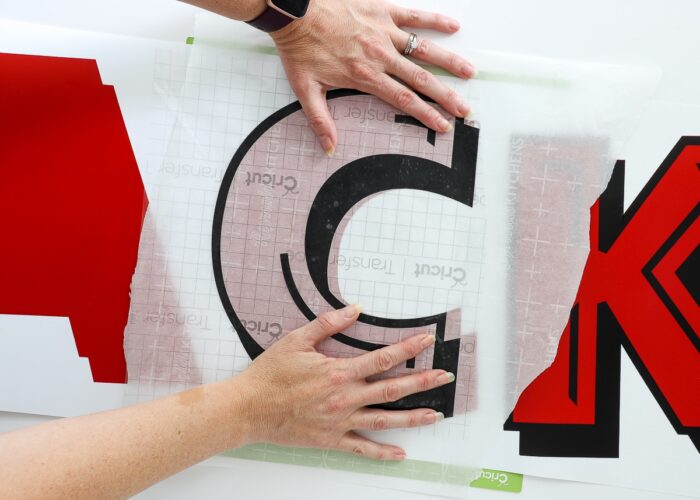
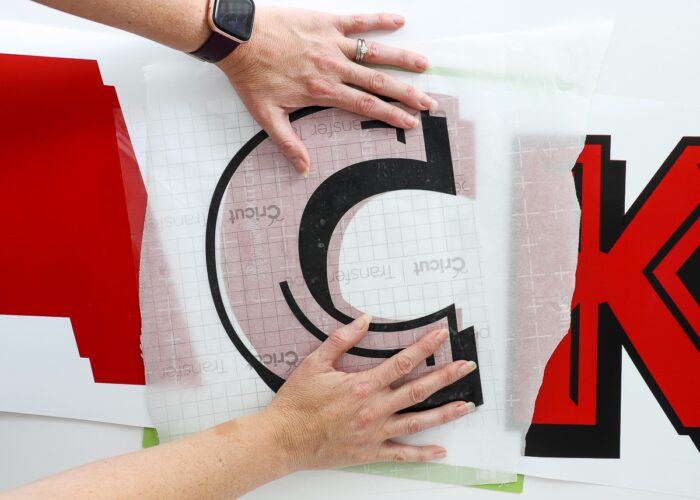
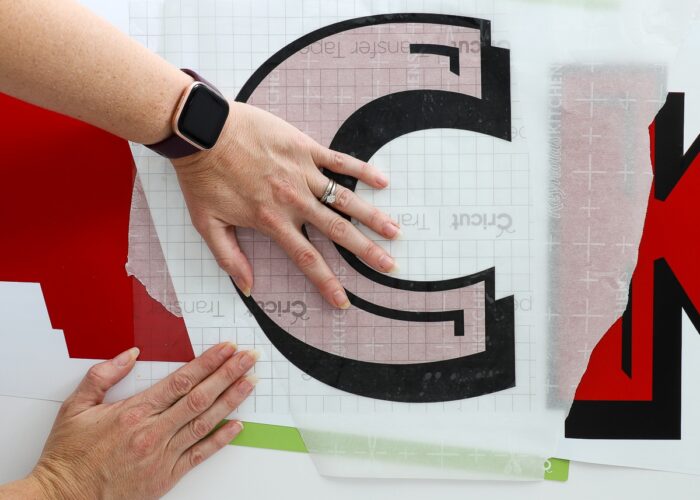
With paper backing still on the majority of your design, you will be able to place the leading edge with much more accuracy (since you can essentially lay down the entire design). Once you’re satisfied with the layer’s placement, secure that leading edge to the bottom layer.
Want to save this post?
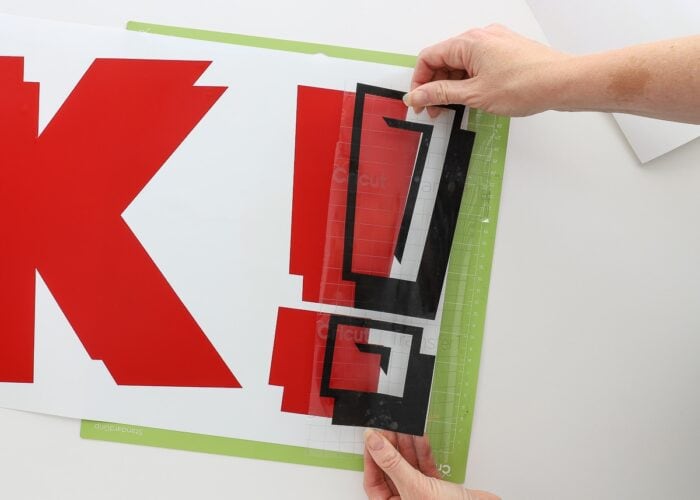
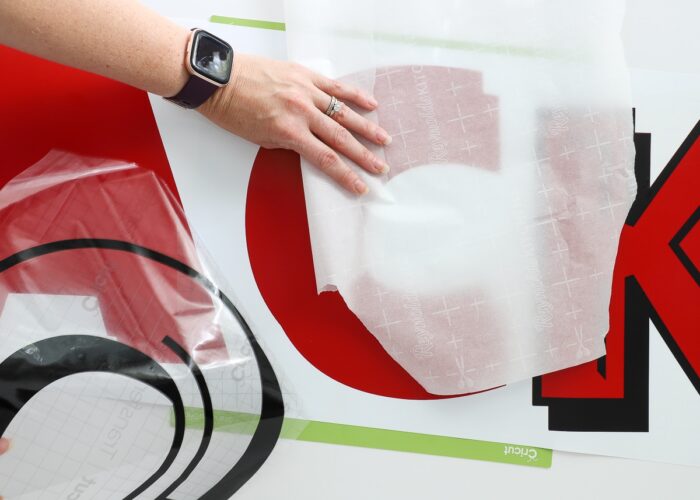
Keeping that bottom edge fixed in place, remove the rest of the paper backing.
Then same as before, let the rest of the design naturally fall into place based on that original placement. You might want to use the XL scraper to force designs to lay down flat.
Again, don’t attempt to match up additional edges or you’ll end up with bubbles. Once that lead edge is placed, let the rest of the design lay out smoothly. Because you can’t really readjust, it’s important you get that lead edge exactly where you want it.
Method 3 | How to Layer Vinyl with Registration Marks
This next method is very similar to the previous method, but uses “registration marks” to enhance the accuracy of laying down that leading edge. Registration marks are shapes/symbols that exist in the same place on every layer. Once each layer is cut out, you simply line up all the symbols for each layer. Technically registration marks should be set up within Design Space to ensure your layers are placed perfectly, but even I find the process of creating registration marks sooooo tedious that I never do it. Instead, I’ll use manually placed registration mark to guide my layering.
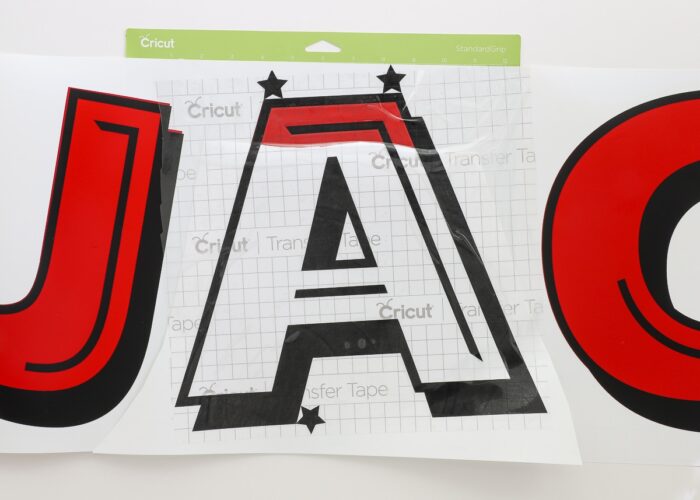
Whether you set up registration marks in Design Space or place them manually, I always recommend using stars. With 5 points to line up, you increase your chances of your layers being positioned correctly.
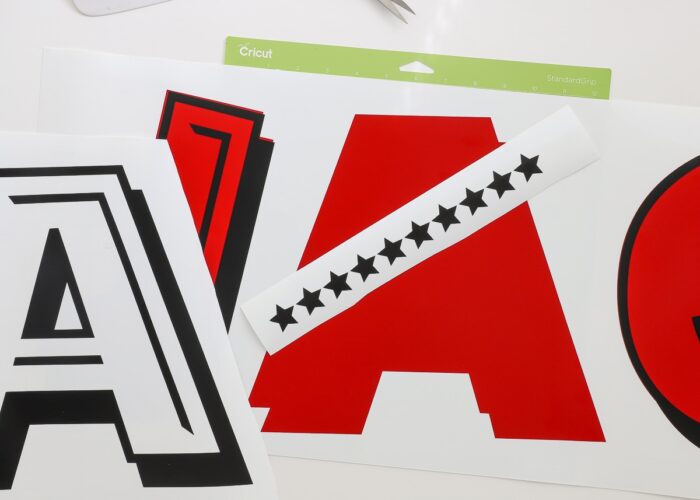
To manually place registration marks, cut a strip of stars out of vinyl. Then place stars in the exact same places on every single layer. Below you can see why stars are so ideal. By lining up the points of the stars to each corner, and making sure each point is in contact with the edges, you can be sure your registration marks are in the same place on every layer.
NOTE: Manual placement works best when you have outside edges that stack on top of each other. If your layers are “offset,” it’s best to create registration marks within Design Space.
From here, you can place the top layer just as you did in the previous method: cut away a small strip of paper backing under the registration marks…
…then line up the stars on the top and bottom layers. If your registration marks are in the same spot on both layers, the multi-color design should fall into place perfectly.
Once you have all the layers down, you can peel up the registration marks.
NOTE: This method actually works far better than what is shown in the picture above. I was rushing to finish (baby was crying in his bed!) and you’ll notice I didn’t have my transfer tape perfectly smooth when picking up the black layer. As a result, there were wrinkles in my layer which resulted in un-matched edges.
Method 4 | How to Layer Vinyl with Parchment Paper
Until very, very recently, I relied on the three above methods to layer my vinyl projects. But then I saw my friend Angie share this super clever hack and had to give it a try. Sure enough, if you want the absolute BEST and EASIEST way to layer vinyl designs, you should use parchment paper.
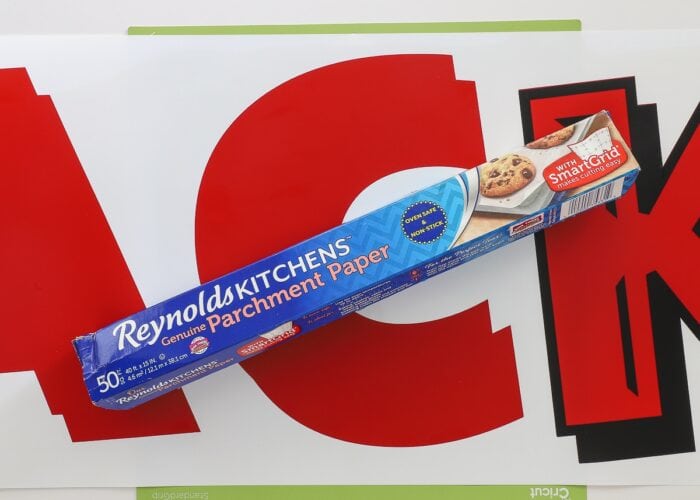
By design, parchment paper is 100% non-stick. Which means you can lay your full vinyl design onto it AND peel it back up without it sticking, distorting, tearing, wrinkling, etc. It’s also semi-transparent, so you can easily see your bottom layer through the paper. As such, it gives you a foolproof way to match up multiple layers without anything sticking or wrinkling accidentally.
Start by cutting a sheet of parchment paper big enough to cover most/all of your base layer.

Completely remove the paper backing off your vinyl+transfer tape combo and lay it onto the parchment paper. It doesn’t matter where (because it won’t stick!), but do make sure the design is entirely on the parchment paper.
From here, you can move the top layer all around, lining up edges or centering your layers however you need.
Once you identify your placement, tear away just a small section of the parchment paper underneath the transfer tape.
Then stick the transfer tape to the white paper backing of the base layer (right where my bottom hand is in the photo below). Make sure you stick enough transfer tape down in place to hold the design steady while you remove the parchment paper.
While keeping that leading edge of transfer tape firmly stuck down to the paper backing of the base layer, lift up the rest of the vinyl design and remove the parchment paper completely.
Then, like every method we’ve done before, once you have that lead edge down and the parchment paper removed, you can simply allow the rest of the design to fall back into place. Like before, don’t try to re-match up edges or re-direct the placement. With the leading edge down firm, the rest of your design should end up back where it started.
Once you smooth down the design and peel away the transfer tape, you’ll find the parchment paper method gives you practically perfect results!
Having worked with vinyl a lot over the years, I can firmly say that you will get the absolute best results with the parchment paper method. If you don’t have any on hand, your next best bet is Method 2 (Cut & Place). That said, if you are simply trying to place a simple vinyl decal onto a label or open surface (with no tricky edges to line up), there’s no need to over-fuss…just eye-ball it! Learning how to layer vinyl can indeed be a really frustrating experience, but you will get better over time. Practice and patience make perfect; and if you still end up with horrible results, there’s zero shame in peeling it off and starting over!
Megan

One Comment on “How to Layer Vinyl on Cricut Projects | 4 Easy Methods”
Thank you! Thank you! Thank you! To finally find somewhere to help me with straight forward, simple answers that is not full of non relevant info is such a relief! Although I appreciate anyone who spends time posting how to info, those just make me crazy. This is awesome. Bookmarked for next time!