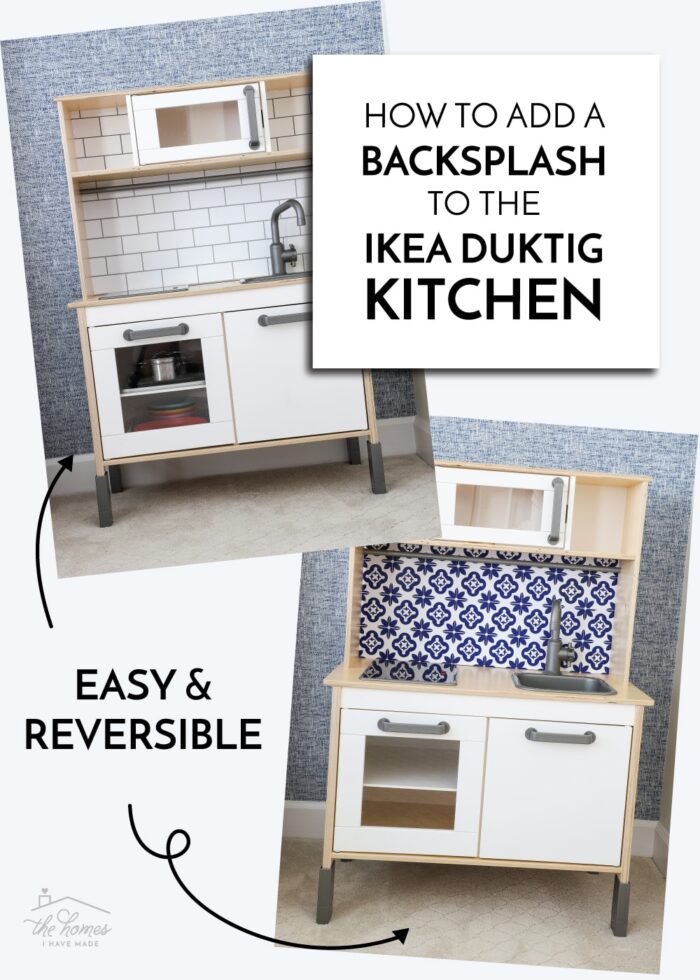
How to Put a Backsplash on the IKEA DUKTIG Play Kitchen
A few weeks ago, I showed you how to make a vinyl backsplash with a Cricut as part of an update to our play kitchen. However, that tutorial didn’t explain exactly how I cut and attached the backsplash itself. Since this particular IKEA hack is a popular one, today I want to show you how to put a backsplash on the IKEA DUKTIG Play Kitchen. This project could easily be over-complicated, but I’ve got some clever hacks that make it a simple 30-minute DIY. Let me show you!
Our Play Kitchen | Before & After
Below is how the IKEA DUKTIG Play Kitchen looks, fully assembled without any updates. A quick search of this adorable kitchen on Pinterest or Google will yield all sorts of creative hacks, including painted cabinets, new light fixtures, covered counters, fancy hardware, and so much more. However, most of these updates need to be made before the kitchen is assembled. And since Santa both assembled and brought this kitchen on Christmas Eve, none of those adorable updates were made. (Mrs. Clause was not on her game, obviously!)
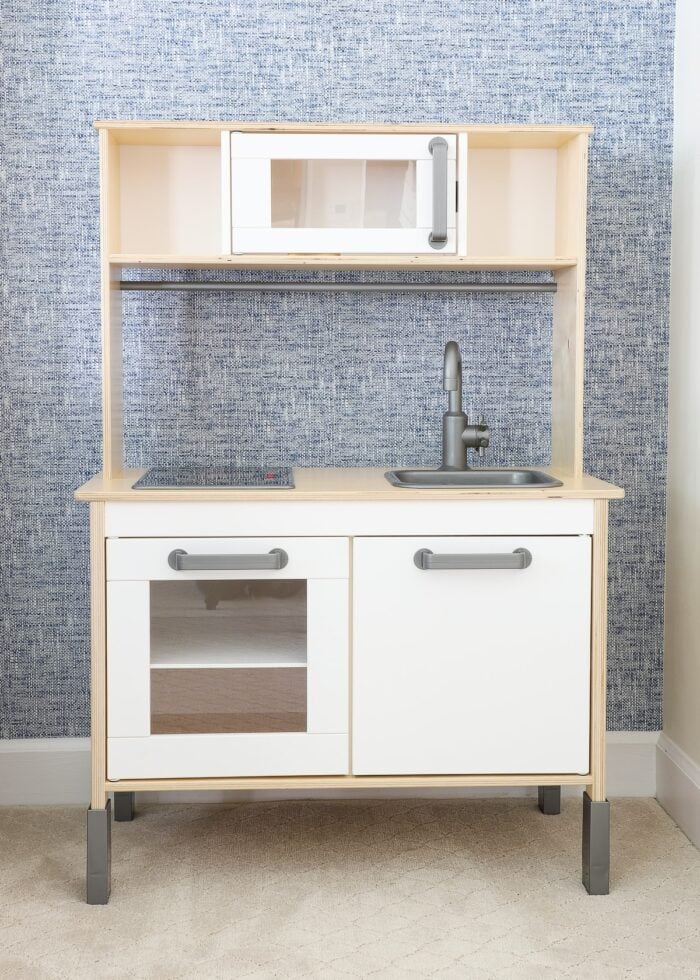
Although I could swap out some hardware, most of the bigger updates just aren’t possible unless you take apart the kitchen…#nothappening. The backsplash though, is a dramatic upgrade you can do after the kitchen is assembled. In fact, it’s so easy to tack the backsplash onto the back that you can make it flippable!
I made our backsplash two-sided, which means we can (relatively) easily give our kitchen a different look whenever the mood strikes!


Supplies Needed
Here is what you need to put a backsplash on the IKEA DUKTIG Play Kitchen:
- Foam core board
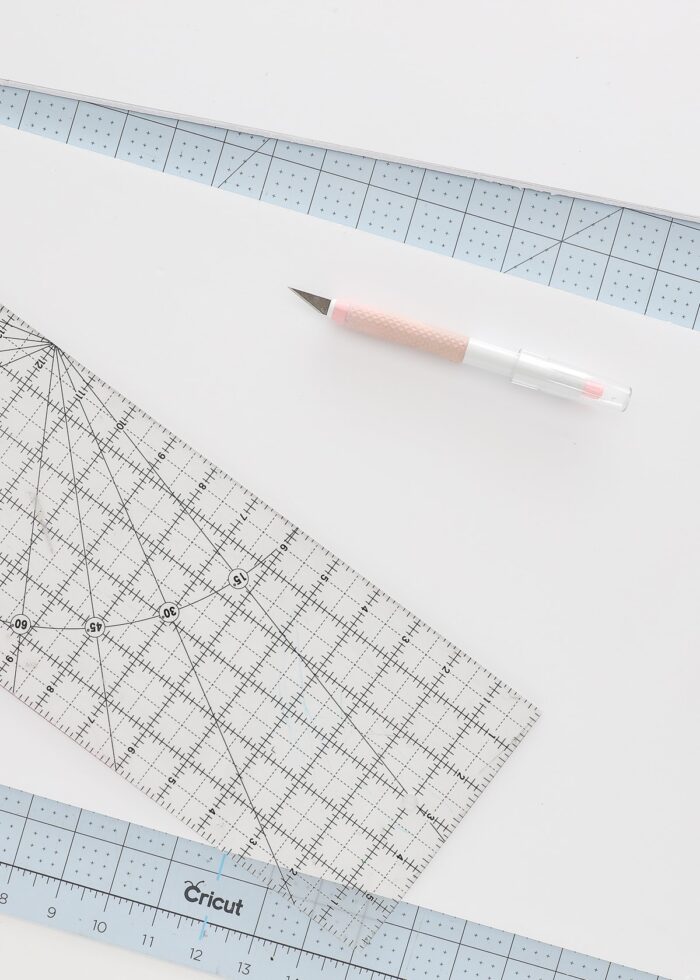
- X-acto knife
- Ruler
- Peel-and-stick tile (or make some yourself)
- Staple gun with staples
Step 1. Cut the Foam Core
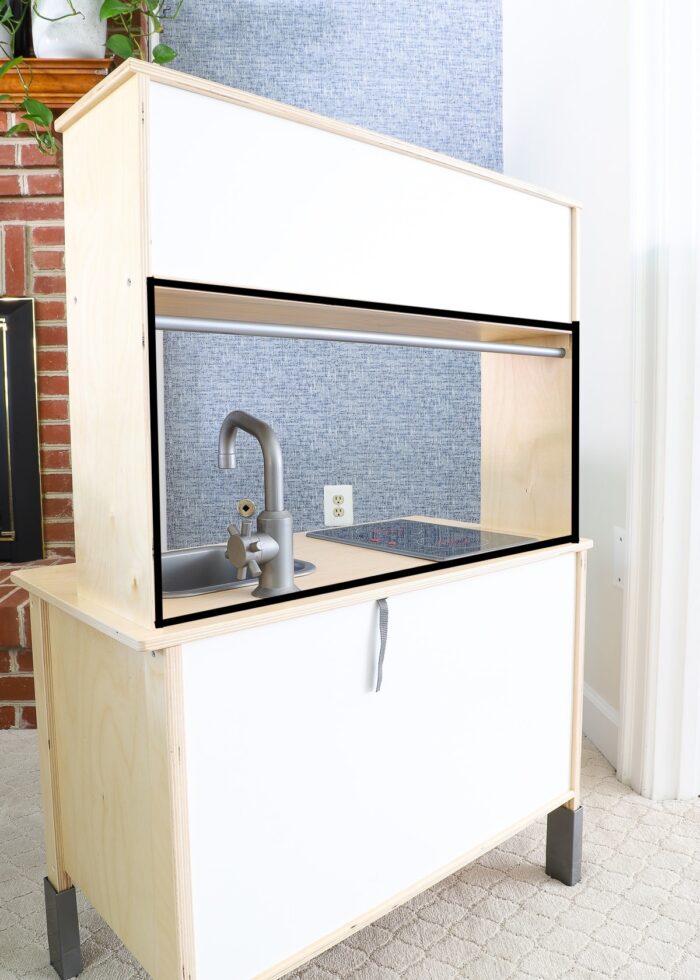
The first step is to measure and cut the foam core board to fit the back of the play kitchen. Because the counter extends passed the hutch along the back, you can cut a piece that sits on the counter and then reaches to the wooden side supports. Although you could cut the foam core to fit the entire hutch height, it would require larger foam sheets or piecing smaller sheets together. A cut of 26.5″ x 12.5″ fits on a standard board and perfectly fills just the backsplash area.
Use a ruler and very sharp craft knife to trim down the foam core into the correct dimensions.
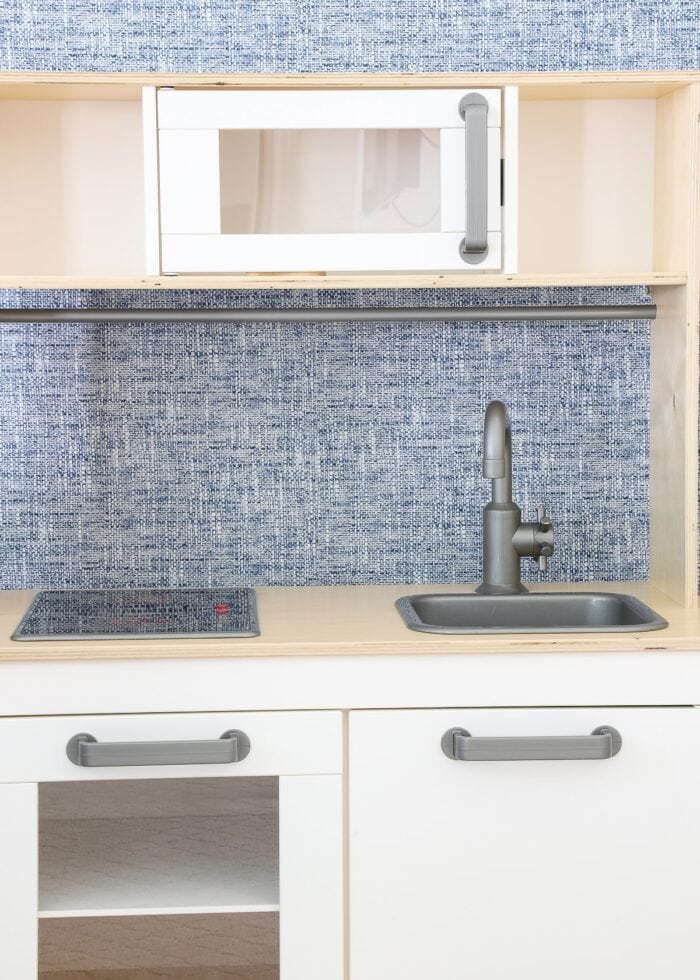
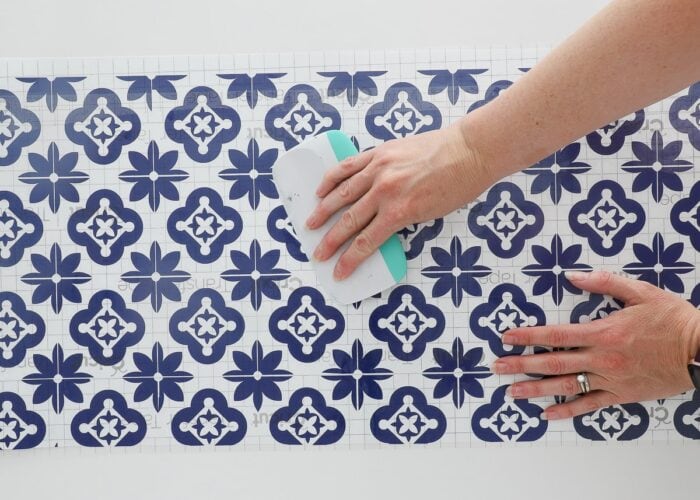
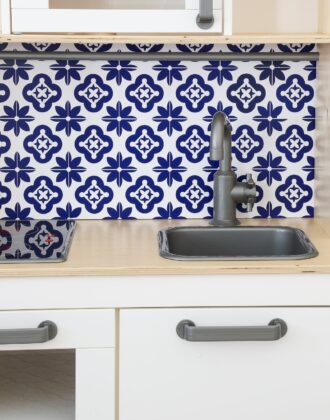
Step 2. “Tile” the Backsplash
Next, add a backsplash design to the foam core sheet. The most “real” way to do this is with peel-and-stick tile that now come in all sorts of different designs, colors, and textures. However, these products can be a bit pricey even for just a few feet. To keep this project more budget-friendly, consider using wallpaper that looks like tile or making your own pattern with vinyl stickers. However you add tile to the foam board, take some time to ensure it is spaced, centered, and laid out exactly as you want it from the front!
Want to save this post?
TIP! If you use thicker/real peel-and-stick tile, I recommend leaving a 0.5″ border around the top and side edges of the foam core so the board sits flush with the hutch. If you use wallpaper or vinyl, you can “tile” all the way to the edges of the foam board.
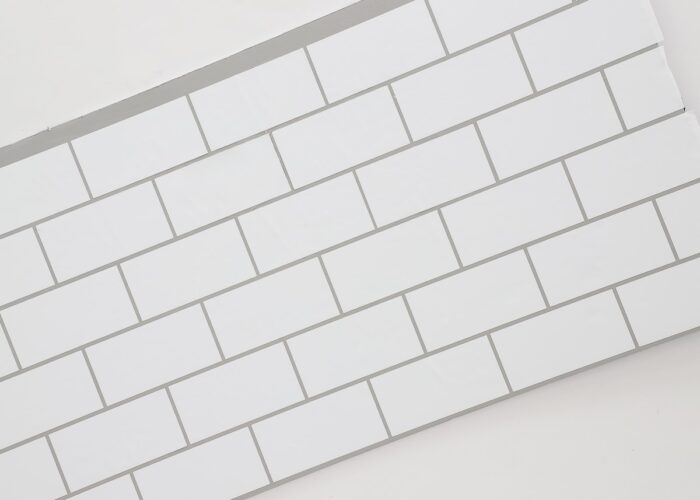
Also consider “tiling” both sides of the foam core board! Since this backsplash installation is pretty easy to un-do, you can switch the board around if/when you need a change. I added the subway tile (above) to one side and the moroccan tile (below) to the other.
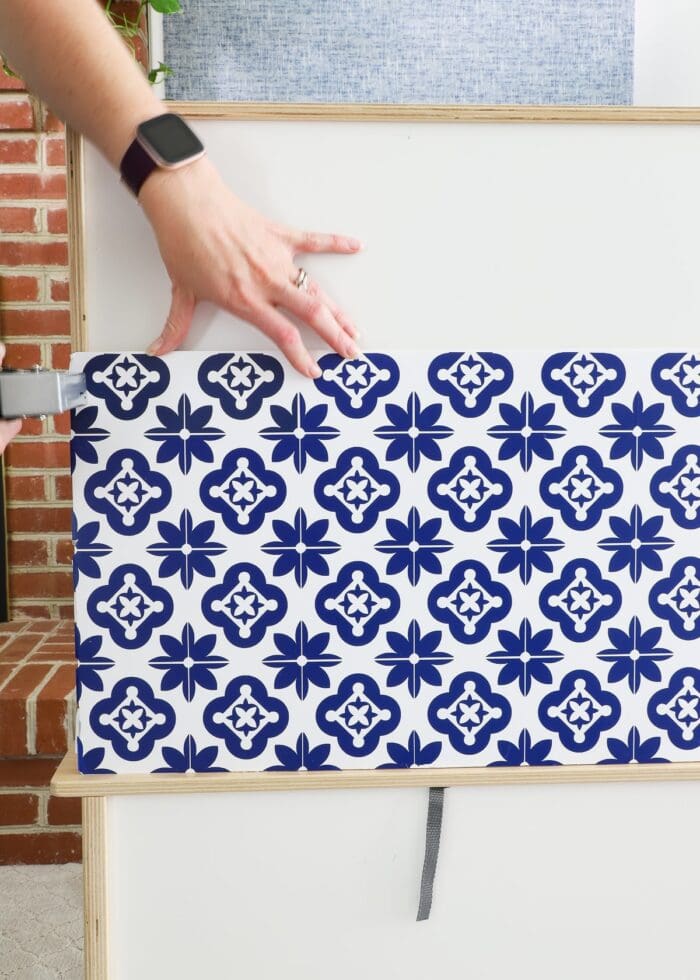
Step 3. Attach the Backsplash
Once the tile is attached to the foam board, all that’s left to do is secure it into place! I have a tendency to make these kinds of things far more complicated than necessary. But to hold this foam core backsplash in place, a staple gun works just great. Simply go along both sides, as well as the top, right where the foam board meets the wood edge. Take care to hug the edge of the foam core board as much as possible (while still going through to the wood frame of the kitchen) or the staples might show from the front.
TIP! When attaching your backsplash, make sure the factory-cut edge of the foam core is downward, along the countertop. Foam core is very tricky to cut perfectly straight; and the slightest imperfection in the edge can allow sunlight to pop through.
Stapling on the three sides will more than sufficiently hold the backsplash in place. If/when you want to flip the backsplash around, you will need to remove the staples and re-attach it.
Step 4. “Tile” the Shelves
The IKEA DUKTIG Play Kitchen has two little shelves on either side of the microwave. Once I was done with the backsplash area, it felt very incomplete to leave them bare, so I decided to run the tile pattern all the way up.
To do this, repeat the entire process of foam core board + tile but on a smaller scale. Cut and tile foam core squares that are just shy of 6 1/8″ x 6 3/4″ and then squeeze them into the backs of the cubbies. If you cut them snug enough, they should stay put. Otherwise, you can use some command strips to hold them in place.
NOTE: You can technically just tile the white plastic backing of the cubbies. However, it can be tricky to squeeze certain tile designs back there and trim it down perfectly, plus it wouldn’t be reversible. Cutting small sheets of foam and tiling one or both sides is a cleaner and easier way to get the tile design just right!

Although not necessary, it really is easy to put a backsplash on the IKEA DUKTIG Play Kitchen. Funny enough…of all the projects I’ve done in this home, the backsplash gets some of the most comments from visitors. While I didn’t completely trick it out like most DIY bloggers (check out this one and this one and this one), adding this simple backsplash took less than an hour and definitely gives it a “real life” detail. Plus, it’s super helpful that cooking tools and play food can no longer fall behind the kitchen. Yay for style and function!
Other Stylish IKEA Hacks
- Functional & Stylish Inserts for the IKEA Kallax
- Make a Sofa Table in 10 Minutes Using IKEA Parts
- IKEA Kallax Hack With Wallpaper
- How to Put a Backsplash on the IKEA DUKTIG Play Kitchen
- How to (Affordably) Store Craft Paper on IKEA Kallax Shelves
- Creative Ways to Label IKEA DRONA Bins
- DIY Wallpapered Stool (An IKEA BEKVÄM Hack)
- How To Add Feet to an IKEA Kallax
- "Stenciled" IKEA Table with Cricut Vinyl
- 1 IKEA Dresser | 4 Totally Temporary Transformations

Megan
9 Comments on “How to Put a Backsplash on the IKEA DUKTIG Play Kitchen”
I’m in the market for a play kitchen for my almost 3-year-old. Would you recommend this IKEA one?
Hey Jill!
I totally owe you a comment on my house tour post but I’m super behind. But…I did want to answer this for you quickly!
We love this kitchen. It provides plenty of opportunity for the kids to pretend and play, but at least to me, it doesn’t look plastic and junky. Its smaller footprint is nice, and I love the wood and white design of it. Although you have to assemble it 100%, you can’t beat the price!
Hope that helps!
Megan
What size rectangles are your subway tiles? 2”x4”? Thx
Hi Jen!
My tiles are in a 1:2 proportion, but I ended up cutting sizing them to just about 3.75″ width to fit onto my Cricut vinyl a little more naturally. But yes, I started with 2:4″ and then made them a bit smaller.
If you haven’t seen it yet, you can see exactly how I designed and cut the vinyl Subway tile here: https://thehomesihavemade.com/how-to-make-a-vinyl-tile-backsplash-with-a-cricut/
Good luck with your project!Megan
What is bordering the back of the kitchen in the beginning steps? Velcro? If not, would that work for an easier switch out?
Hi Jess!
I’m sorry that picture is confusing. That black line around the back of the kitchen is just one I “artificially” drew on the image to show how to measure the back of the kitchen. There is nothing there. You certainly could try Velcro or Command Strips – the backsplash may not sit perfectly flush, but it would certainly be easier to swap!
Hope that helps a bit!
Megan
Thank you for the instructions!! Super simple to follow and definitely did it in less than an hour
Where did you get the paper with the white and grey ‘grout’?
Hi Crystal,
The two patterns on my IKEA kitchen backsplash were both made with my Cricut machine. You can see here: https://thehomesihavemade.com/how-to-make-a-vinyl-tile-backsplash-with-a-cricut/
Hope that helps!
Megan