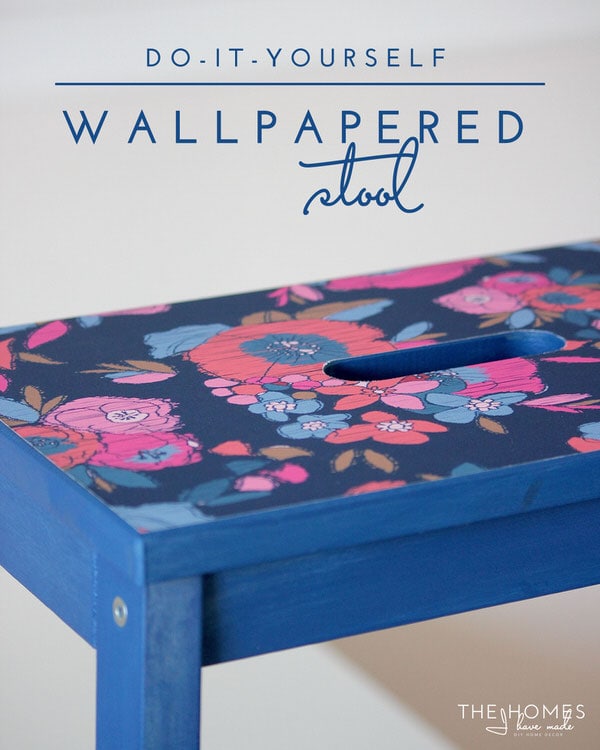
DIY Wallpapered Stool (An IKEA BEKVÄM Hack)
In my 6-months in home tour last week, I mentioned I had a few projects up my sleeve to tie the pink and blue sides of my home office together in order to help it feel like a more coherent and intentional space. Well…nothing like proclaiming that plan to the world to get my gears in motion (the clock is ticking after all)! I’ve been wanting to do this project for ages; I am so excited to have it done and beyond smitten with the result. Come on in and see the latest addition…
This sweet little wallpapered stool has literally been on my To-Do List for ages. I first got the idea HERE…and loved the wallpaper concept so much (of course) that I grabbed a BEKVÄM stool the next time I was at IKEA. It has literally been sitting in our garage, still in its packaging, for at least 2 years…waiting for both inspiration and opportunity to come along.
There are so many awesome makeovers of this very stool all over the web. With its unfinished state, sturdy construction and compact size, the possibilities for making it your own and customizing it for your home really are endless. I use stools all the time in my office, but I usually snag them from the neighboring playroom. I knew this unfinished gem was the perfect candidate for tying the office color scheme together while providing me with a dedicated office stool. Finding this wallpaper on Spoonflower was exactly what I wanted…and what luck I stumbled onto it within minutes of starting my search (anyone else waste HOURS searching the endless patters on Spoonflower?)

This stool makeover was a one-day project that I really wish I had done sooner! If you need a handy step stool with major personality, here is what you need to pull off a similar look!
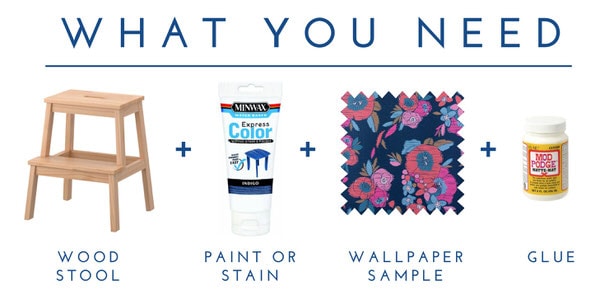
- Wood Stool – You really can’t beat this one from IKEA. The price is great, it comes unfinished, and sure is a sturdy little sucker!
- Paint or stain in the color of your choice – I used Minwax Express Color Gel Stain in Indigo

- Wallpaper Sample – For this specific stool, you only need about 15″x17″ of paper so a sample might be all you need! Spoonflower lets you order as small as 1×2′! A 2×2′ piece ($10-$15) is sufficient!
- Mod Podge
- Tools: Scissors/rotary cutter/x-acto knife, cutting mat, paint brush, rags (for staining)


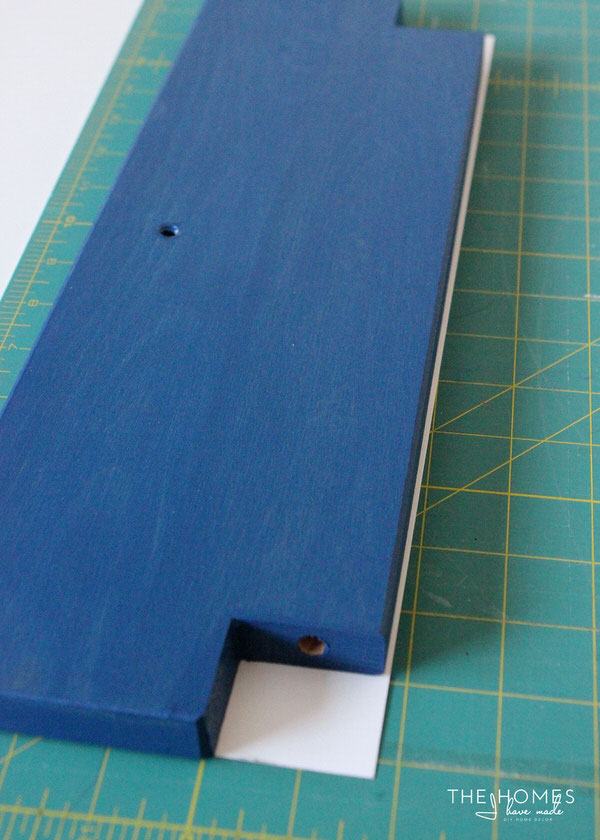
It is certainly a personal preference whether to paint/stain/paper your stool with it assembled or disassembled. Since mine was brand new, I chose to keep mine in pieces, and only assembled it after it was fully stained and my papers were cut to size. Either way you go, start by painting or staining the stool…
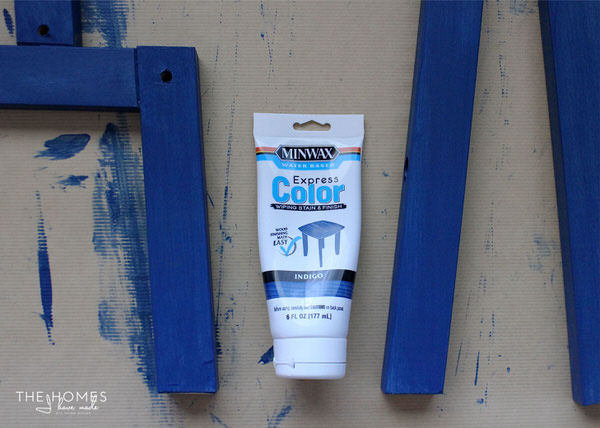
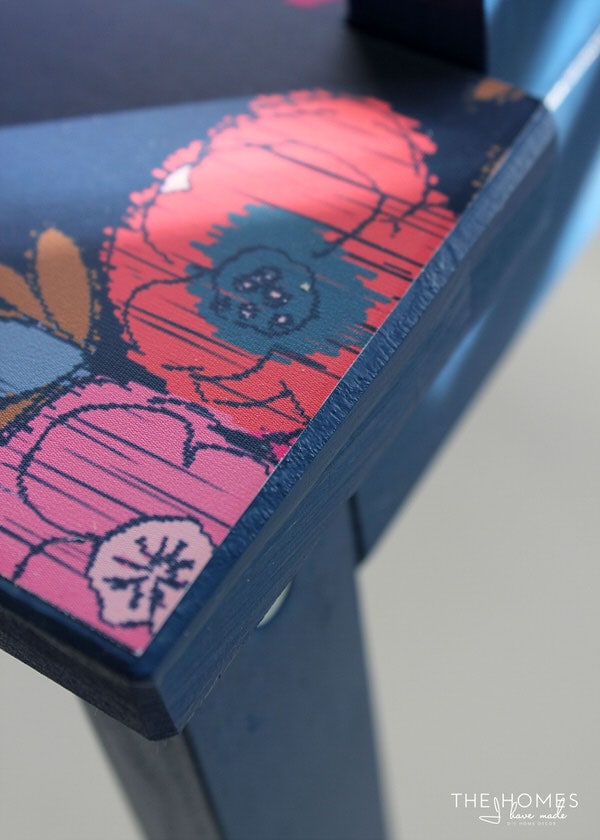
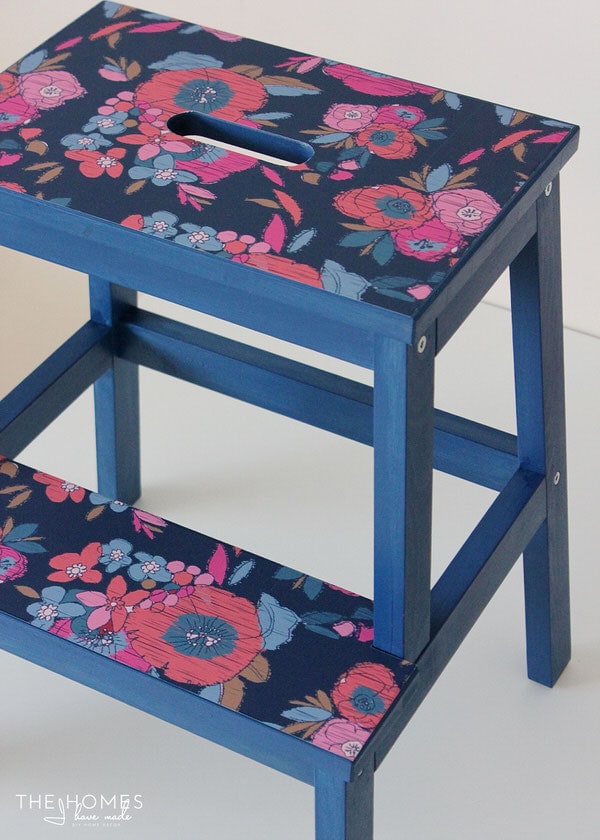
I chose stain for a few different reasons. First and foremost, I already had it! Second, it’s COOOLD here in Kansas, so spray paint (which is normally my first choice for projects like this) was completely out of the question. (Even if I used my cold-weather painting tips, I wasn’t confident I could get a nice finish in such frigid temps!) I also liked that the stain provides saturated color but still lets some of the woodgrain show through. It matched the wallpaper so beautifully, and it dries super fast…so all in all it was a no-brainer solution for this project! I gave each surface of the stool three coats of stain using a rag, letting it dry to the touch between coats.
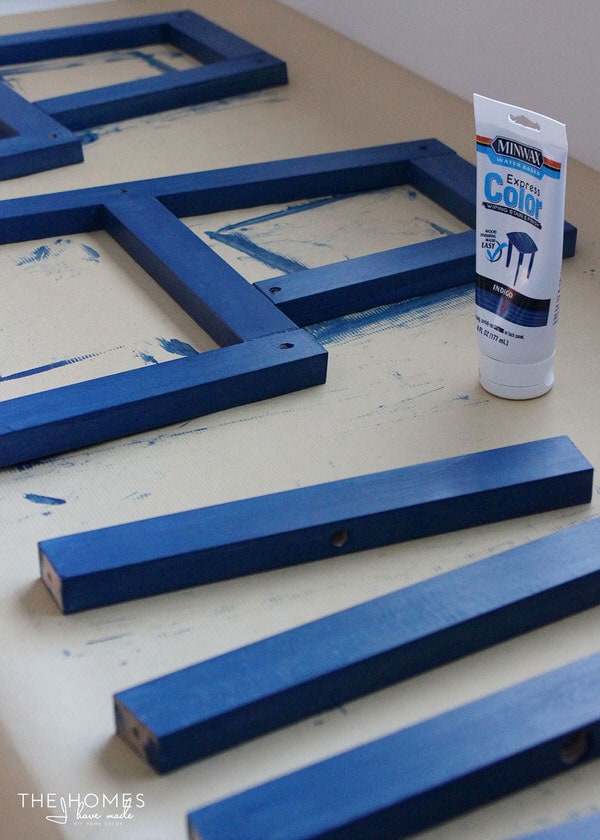
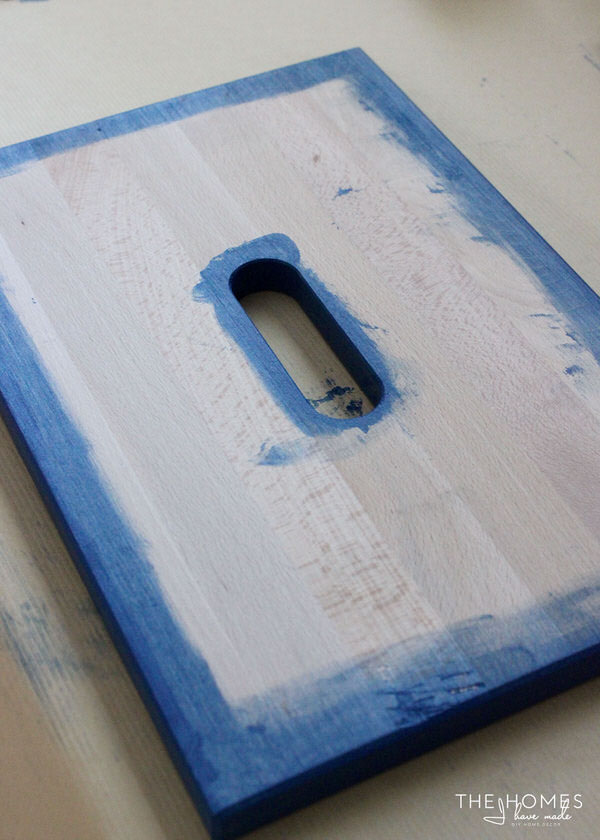
Since you’ll be papering the tops of the step surfaces, don’t bother wasting stain or time on those areas. However, since getting the paper to line up perfectly along the edge of the stool can be challenging, I do recommend staining all the edges before papering.
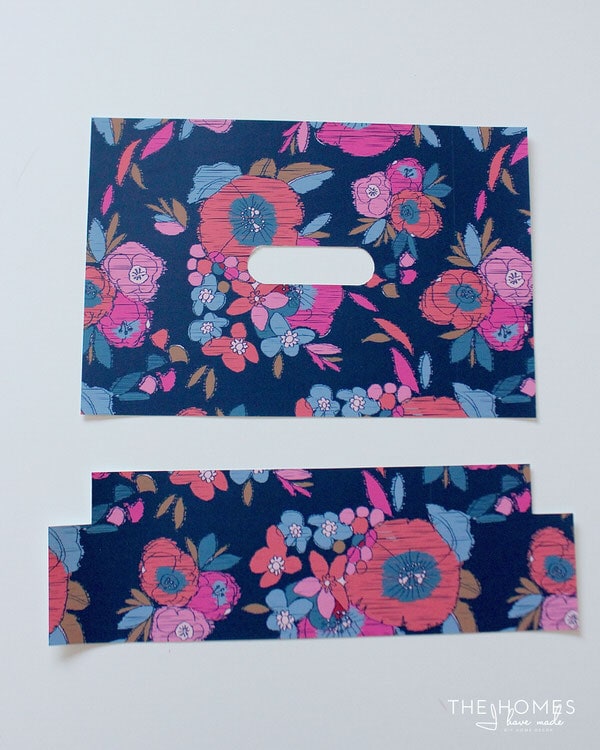
While the stain/paint dries, trim down your wallpaper.
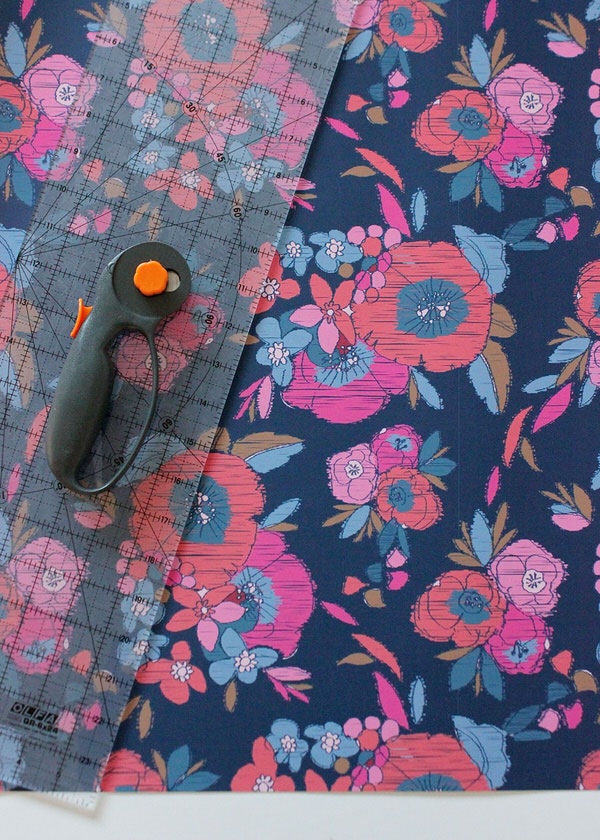
The stool has a slight beveled edge, so outright tracing the step surfaces won’t give you a perfect fit. I chose to measure my cuts initially, and then gradually trimmed each one down to the fit the tops nicely.
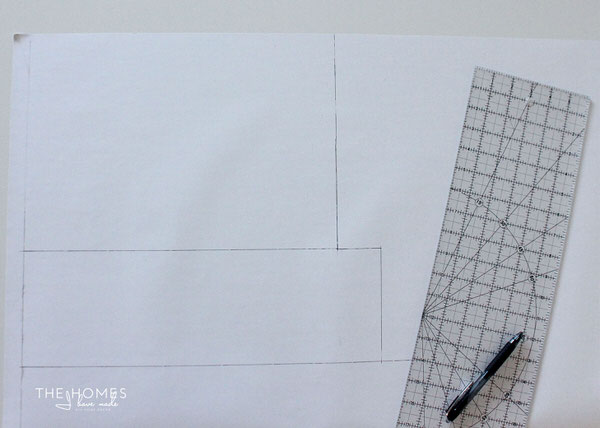
To get the corner shape of the bottom step and the handle shape of the top step just right, I did trace them onto the back of the wallpaper.
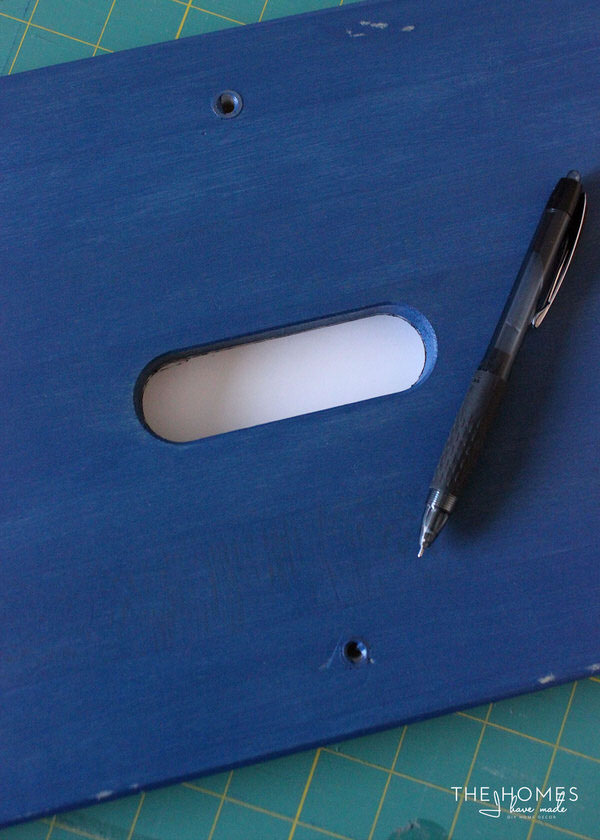
However, even with the shapes right, it took several trims to get all the edges fitting perfectly. I recommend an x-acto knife for cutting out these smaller shapes with precision.
Want to save this post?
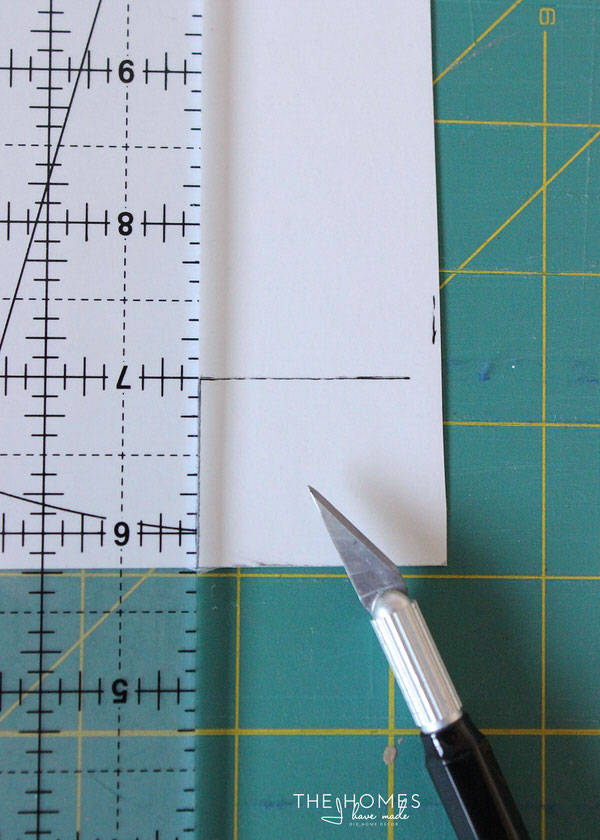
With some patience and constantly fitting the paper to the stool, you should end up with two cuts of paper that fit atop the step surfaces perfectly!
Once your paint/stain is dry and your paper is trimmed down and ready to go, assemble the stool according to the directions.

Although I bought the type of wallpaper that has an adhesive backing, I wanted to make sure it wouldn’t lift up or pull off over time. Our wallpapered trunk has held up great, so I used the same method for adhering the paper here. To secure the wallpaper, first spread the top surfaces with Mod Podge. Then remove the wallpaper backing (if there is one) and smooth the paper onto the step, ensuring there are no wrinkles.
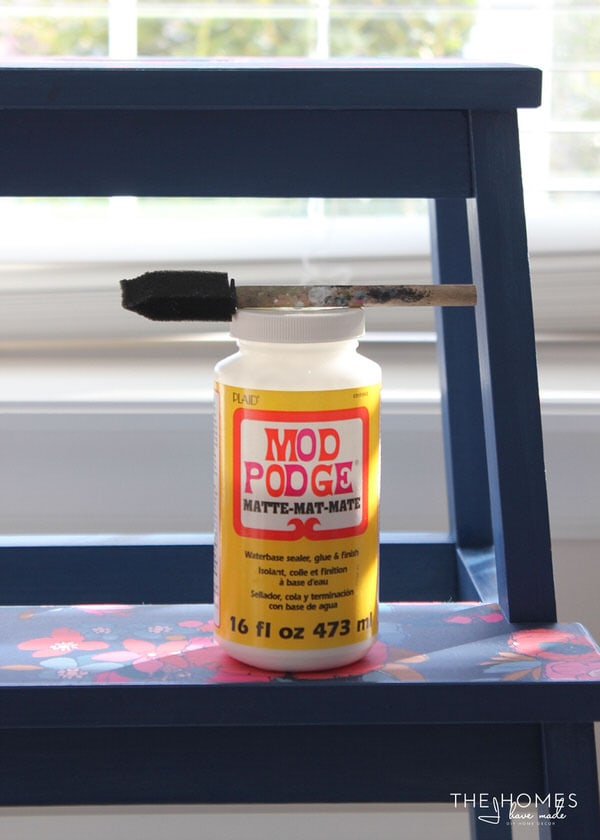
Next, go around the entire perimeter of both steps and add an extra thin layer of Mod Podge just where the paper meets the wood. This seals the edge and prevents the paper from lifting or curling up over time!
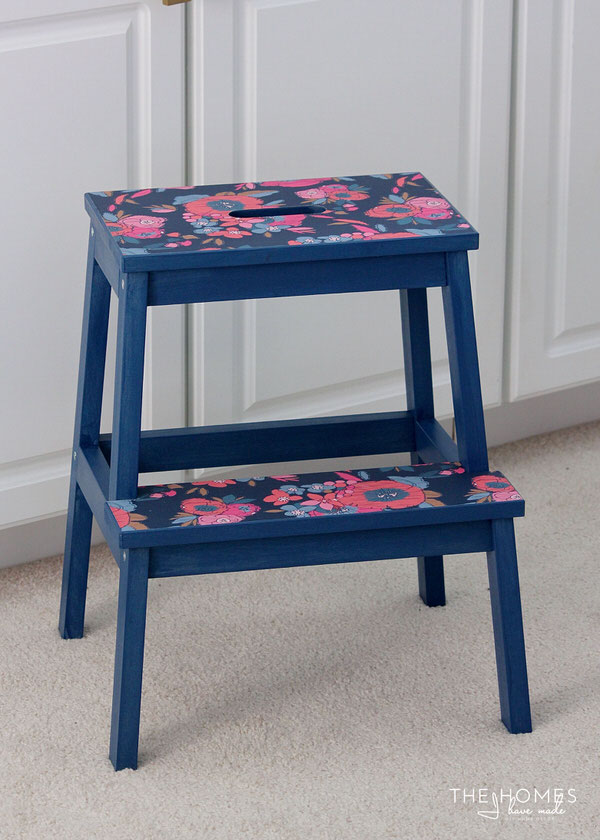
After letting the stool dry and cure overnight, it was ready for action!
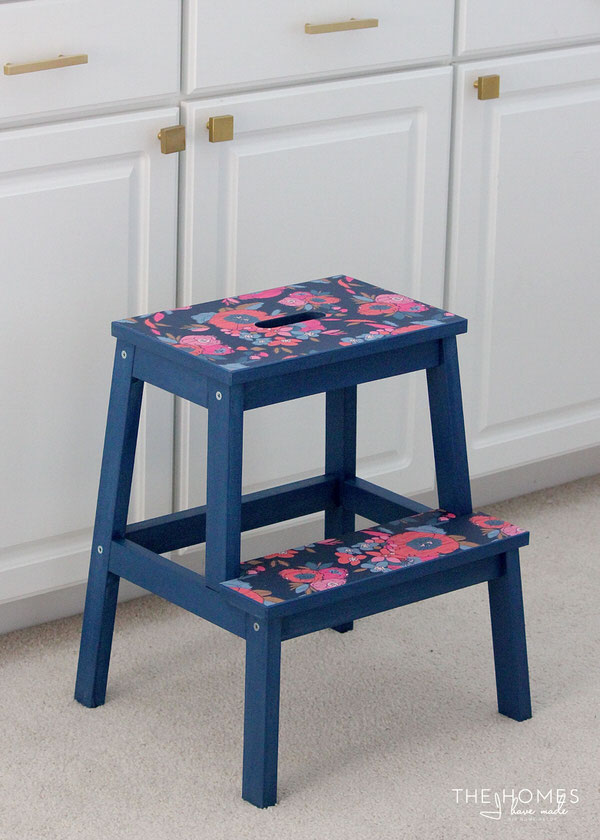
And what action might that be? As you might guess, I need to get up high to take a lot of my overhead shots of projects and tutorials. Now I have the perfect stool to do so! (By the way, I specifically chose the Woven Peel-and-Stick paper for this project since it has a reeeeaaally durable and wipeable finish (same one I used on our lamps). I have no heartache about stepping on this paper and no worries about it ripping!)
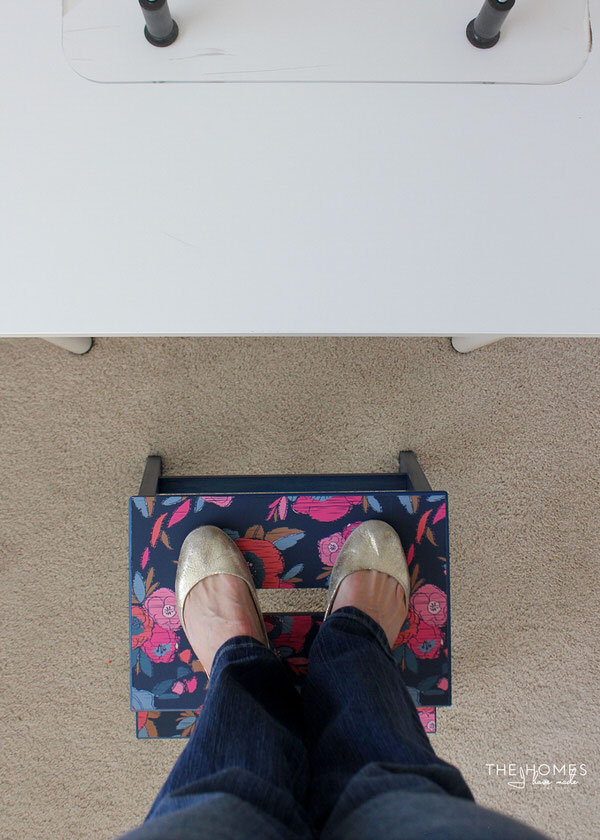
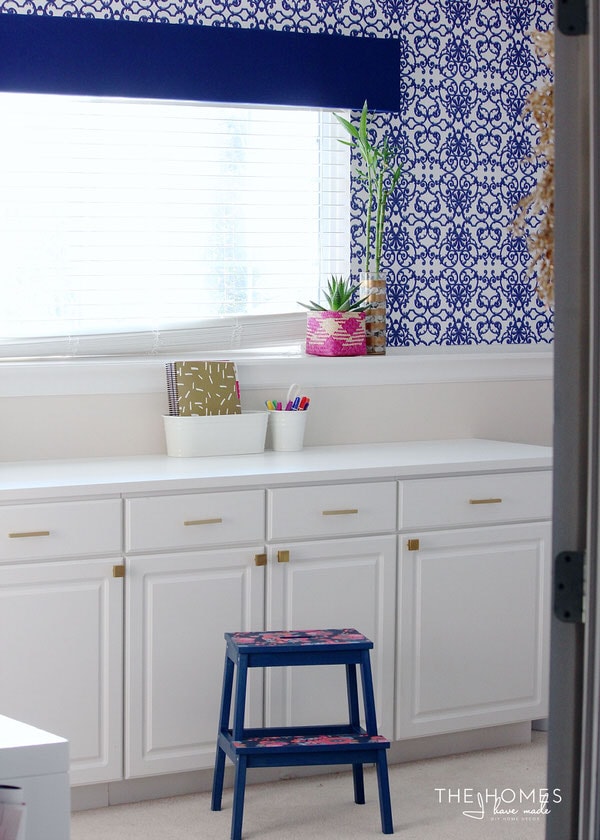
When not in use, the stool tucks right underneath my sewing table! It’s easy to pull out when I need it, and put it back when not in use to free up floor space. (You can see another upcoming project peeking out on the chair there!)

I never would have thought that adding a single element would change the entire feel and cohesiveness of the space. Yet with the presence of just this pretty flowered paper, suddenly all the different elements in the room (like the huge pink pin board!) work together! Of course, a few more pink accessories certainly help and are just the jolt this space needed to feel more complete!
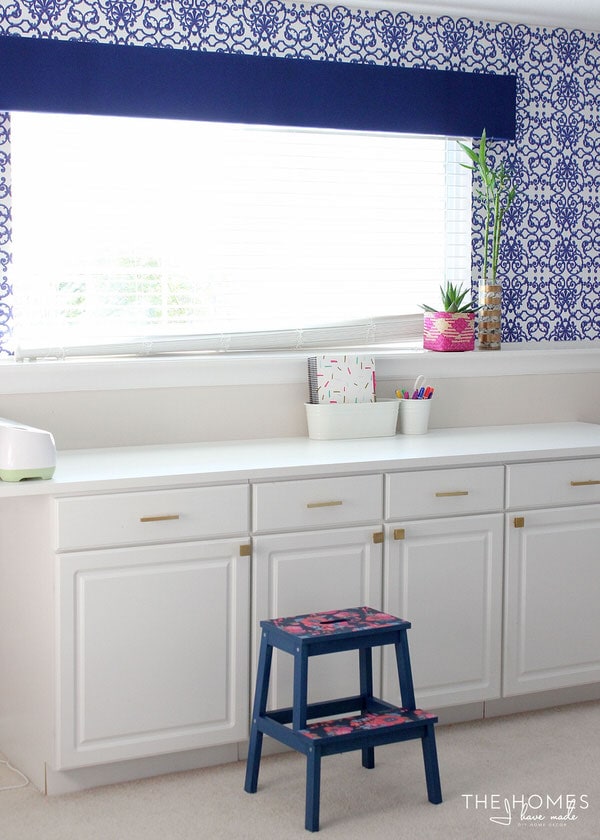
If you having some elements in a room that just don’t seem to be jiving together, try to unify them and make them feel intentional by adding another element that combines them both. In this case, the stool brings together the pinks, golds and blues from around the room into a single spot! With a unifying piece to connect the dots, all of a sudden each element makes more visual sense!
I’m officially obsessed with this floral pattern and am looking for ways to use more of it around the room. This office/studio is quickly shaping up to be one of my most favorites ever…here’s hoping I can take everything with me when I go. I never repeat spaces, but I just might with this one!
More Great Information on Wallpaper In Your Home
Ready to tackle more wallpaper projects in your home? Check out some of my other favorites!
- How to Hang Peel and Stick Wallpaper
- Does Peel and Stick Wallpaper Damage Walls?
- A Complete Guide to Updating Furniture with Wallpaper
- Can You Use Peel & Stick Wallpaper In a Bathroom?
- Can You Put Wallpaper on Textured Walls?
- How to Wallpaper the Back of a Bookcase | Step-by-Step
- Wallpapering a Stairwell | Tips You Need to Know!
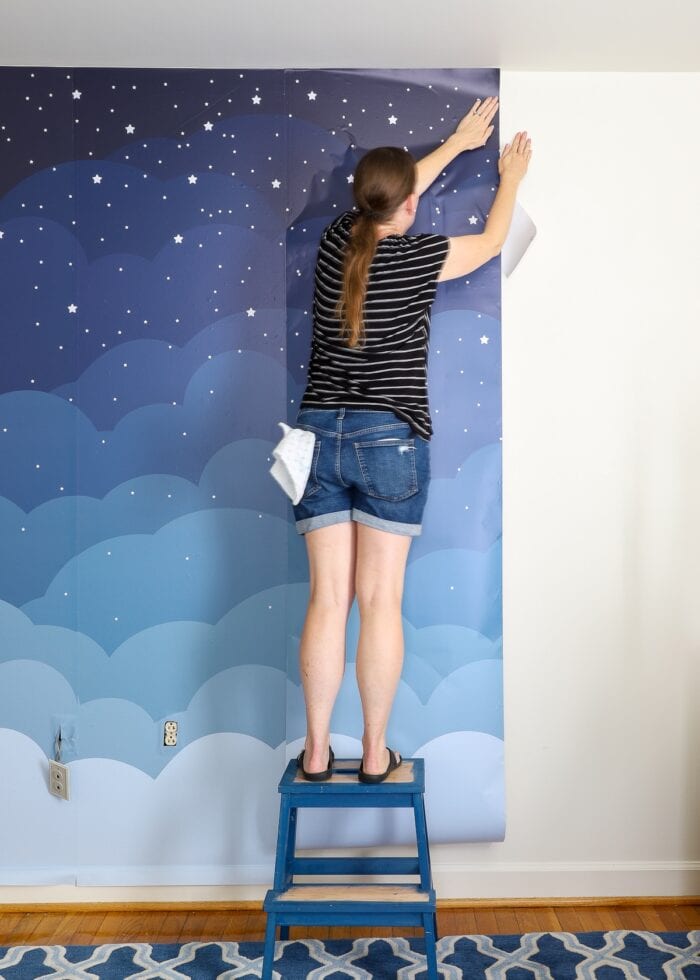
- How to Hang a Wallpaper Mural | Tips & Tricks for Great Results
- How to Wallpaper a Backsplash
- The Best Wallpaper for Your Kitchen Backsplash
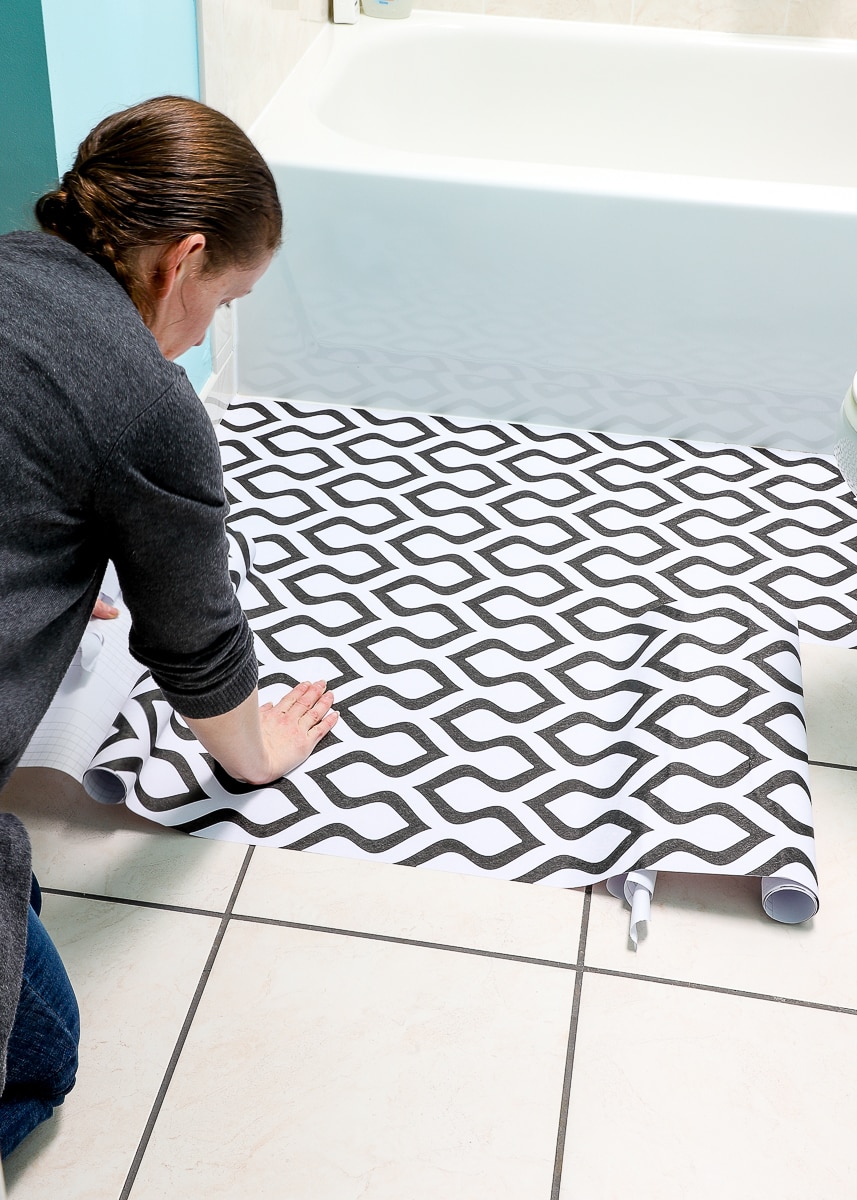
- Can You Put Peel and Stick Wallpaper on the Floor?
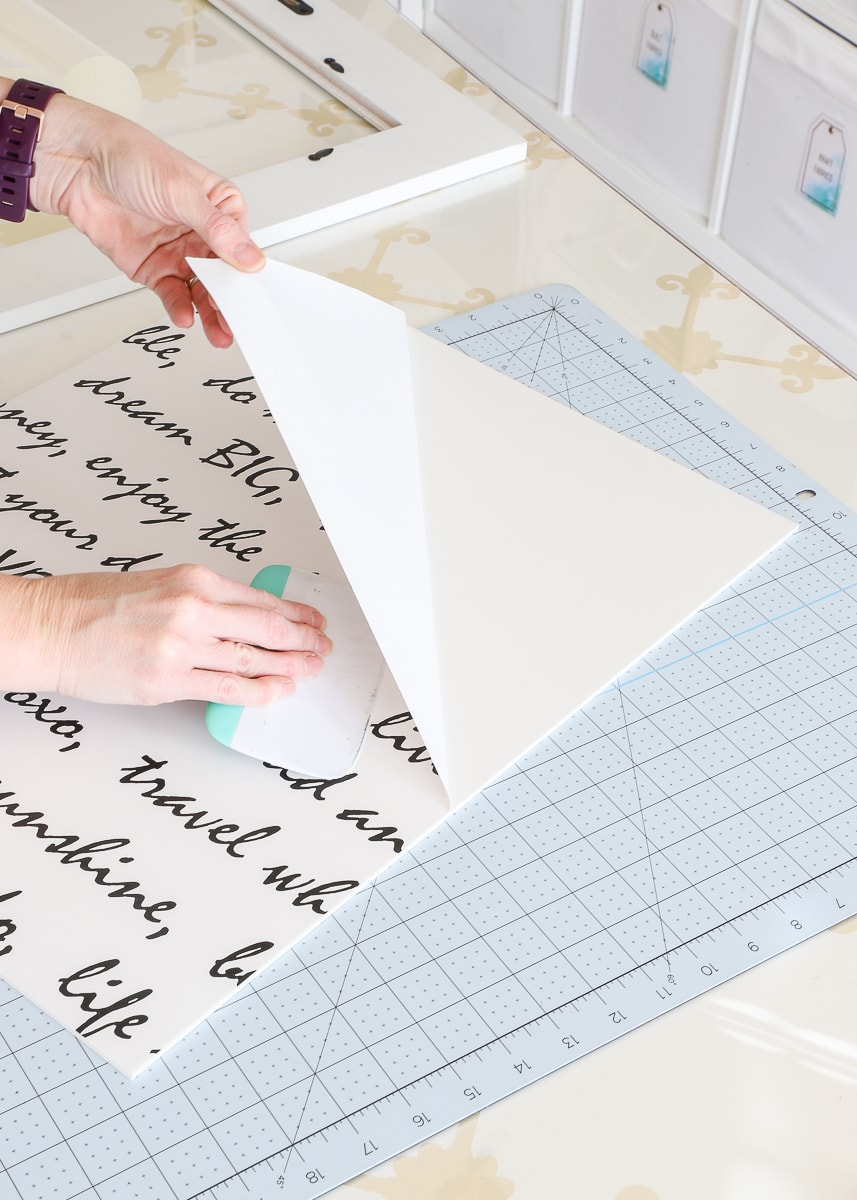
- How to Line Drawers with Wallpaper
- Solid Wallpaper | What It Is + Ideas for Using It
- Wallpapering a Whole Room Versus an Accent Wall | What I Learned
- How to Frame Wallpaper as Art
- How to Use Wall Decals to Look Like Wallpaper
- How to Wallpaper the Inside of Wall Molding Frames
Megan
7 Comments on “DIY Wallpapered Stool (An IKEA BEKVÄM Hack)”
My husbands hobby is wood. He is very good at building and making things out of wood. So painting is not really an option for me. Unless it is pine. But I love this idea of tintable stain. I love to see the wood grain looking back at me.
I love what you did with the stool. Thanks for sharing an easy update! This weekend at my house is going to be spent on the laundry room. I finally admitted that I don’t love the paint color on the walls(he hated it from day one), so we are out to repaint and totally finish the room. So off to clean out/get rid of everything that doesn’t belong in that room!
Hey Kristie!!
I am SOOO jealous you have a hubby who can build things out of wood. There are so many times I have a vision and neither Greg or I have the skills to pull it off. Thankfully, he lets me paint whatever I want though. My brother-in-law is a woodwork too and cringes every time I paint something…so i get it, lol!
How fun that you are taking on a laundry room project. I bet changing the paint color will be so worth it! Keep me posted on how it turns out!
Hope you had a great weekend!
Megan
LOVE IT and love the floral wallpaper. You definitely have a knack for finding beautiful paper 🙂
Great work! The colors are so bold yet work so well.
Lauren Baxter | Lovely Décor
http://www.lovelydecor.co
xx
Hi Megan
I do love your stool ! I don’t paint, oh sorry stain, I learn new words in English too with your blog, I don’t put wallpaper but I love to see what you’ve done. The colors, I love the blue, are so lovely. I will use your trick to unify a room with an object who uses all the different colors around. You have really great ideas, it could seem it’s easy but it’s a skill to be able to think of all these improvements. Have a nice week-end, here after 10 days of rain we had snow yesterday. Michèle
We had snow last night too…it was actually a bit unexpected and we were surprised to wake up to a blanket of white stuff all around!
I am so glad you enjoyed this project and seeing new uses for some basic supplies! I hope some day you will give it a try!
Megan
I just adore that stool! Never thought of wallpapering a stool before. I love how it matches the colors in your office. Definitely pinning this project!
Thank you so much for such a kind comment, Georgia! I am so smitten with this little stool, I’m so glad you all love it too!
Thanks for following along, and I hope you had a great weekend!
Megan