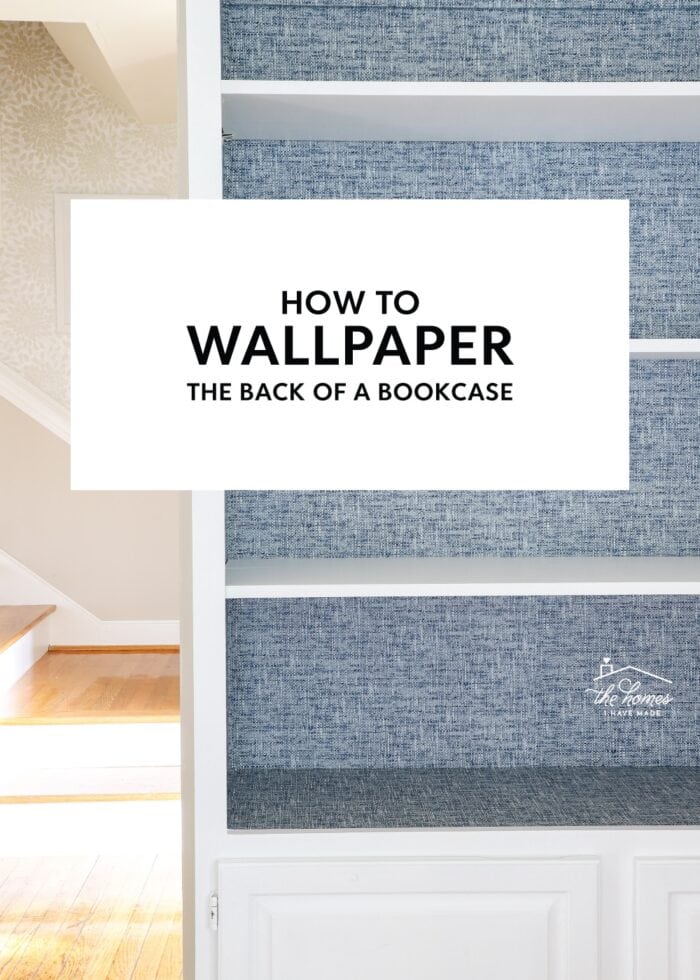
How to Wallpaper the Back of a Bookcase | Step-by-Step
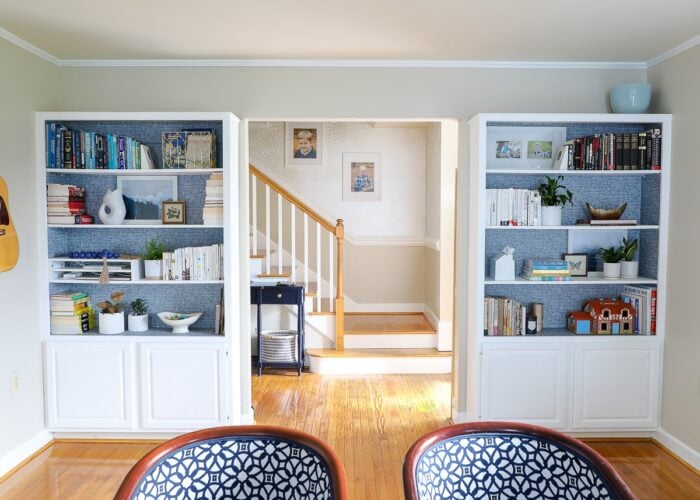
Long before we even moved into this home, I was eagerly anticipating making over the built-in bookcases in the family room. Stretching just about floor-to-ceiling and sitting on either-side of the cased opening to the foyer, these bookcases not only provide a ton of architectural interest in this room, but were also a prime location to add some color and serious style. Adding wallpaper to the back of the bookshelves was the obvious choice, since it’s a completely removable, budget-friendly, mess-free upgrade. But even I didn’t expect to achieve such a stunning update in a few short hours. Today, I want to teach you how to wallpaper the back of a bookcase, so you can easily freshen up the look of any shelves in your home too!
Before & After
Before I jump into the full step-by-step process, let me show you where our bookcases started out and how they’re looking now!
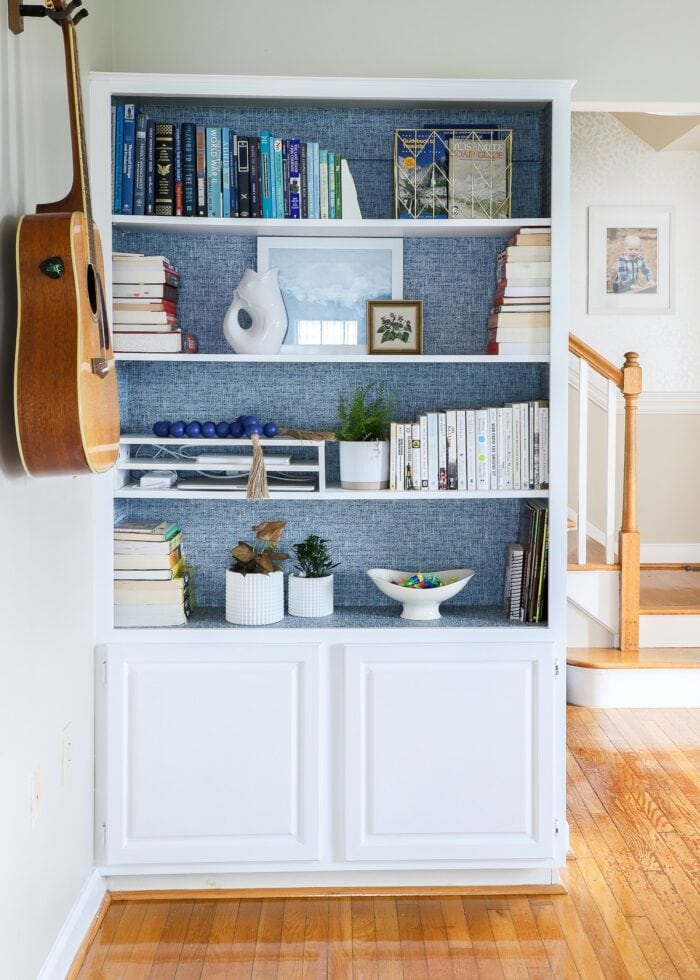
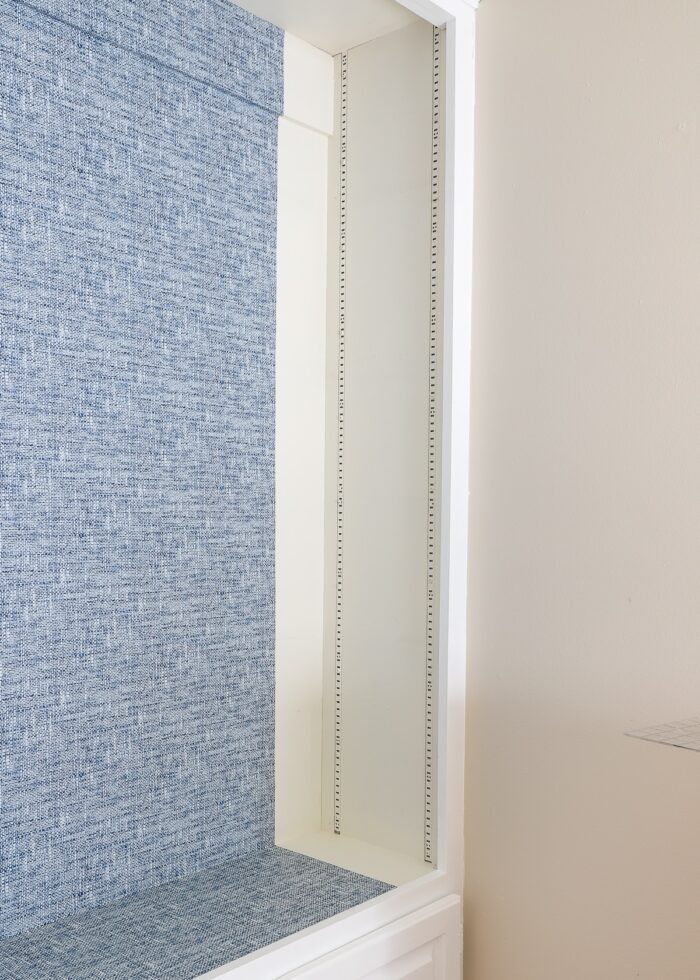
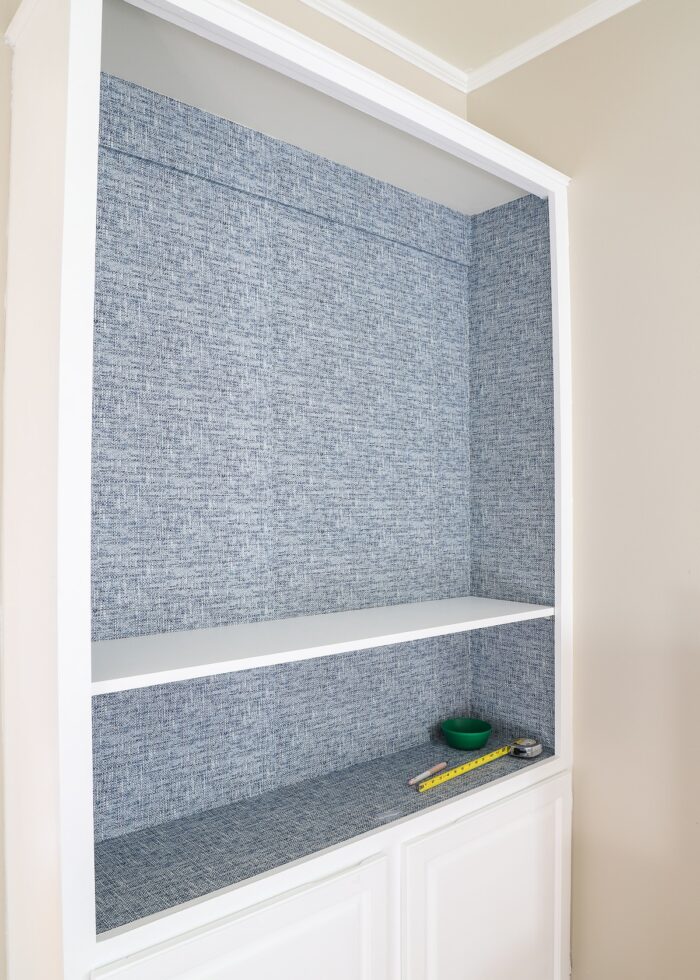
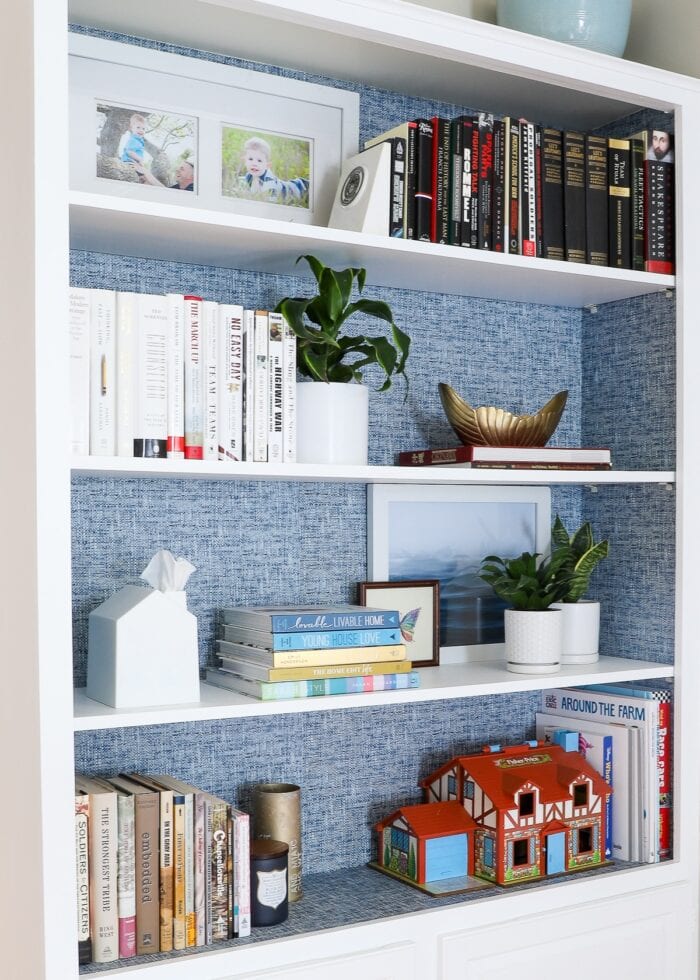
Below are some shots of the built-in bookcases shortly after we moved in. Aside from being painted the same yellow-ish white color as the rest of the house, they were very much filled with a random assortment of toys, baskets, books, movies, flower pots, and other clutter that just sort of landed there after the moving boxes were gone.
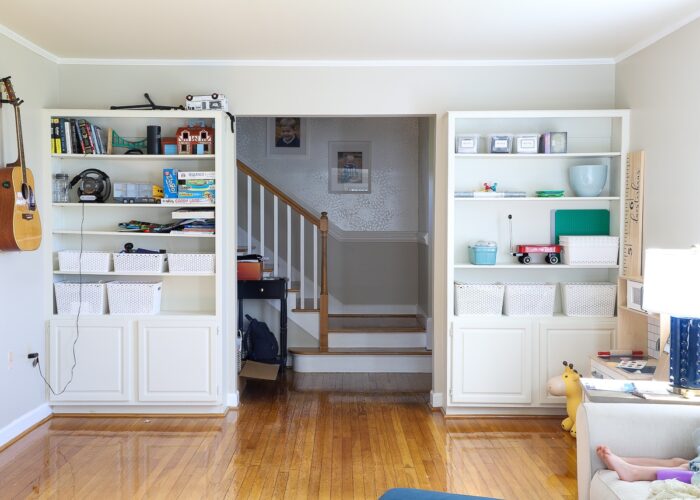
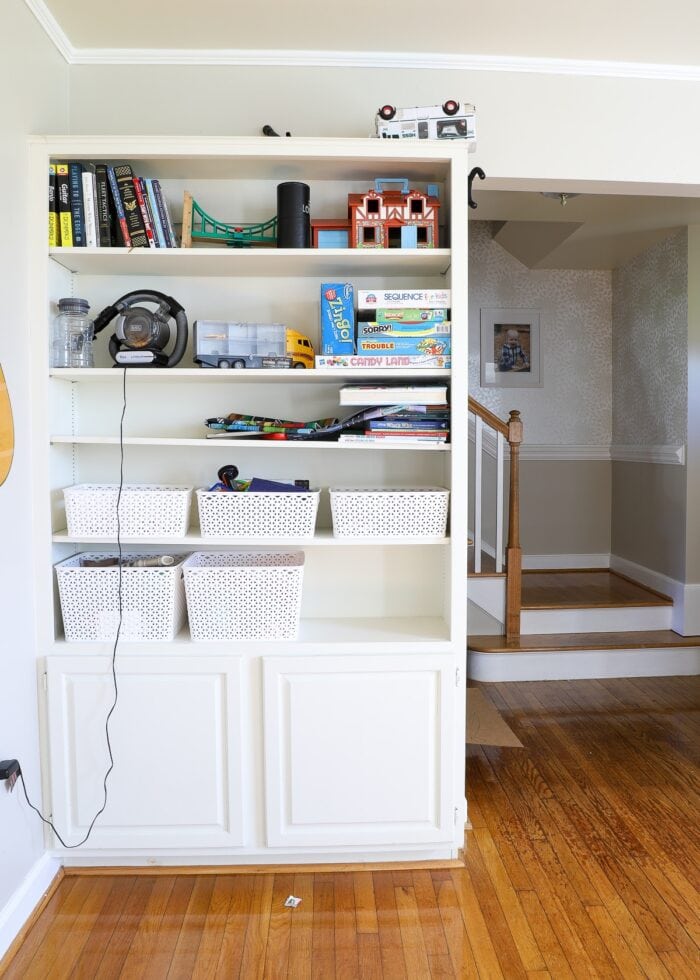
Transitioning these shelves from “catchers of all the random things” to “stunning focal points” took not just some considerable DIY effort but also some serious organizing. But it was all very much worth it, because now this view…
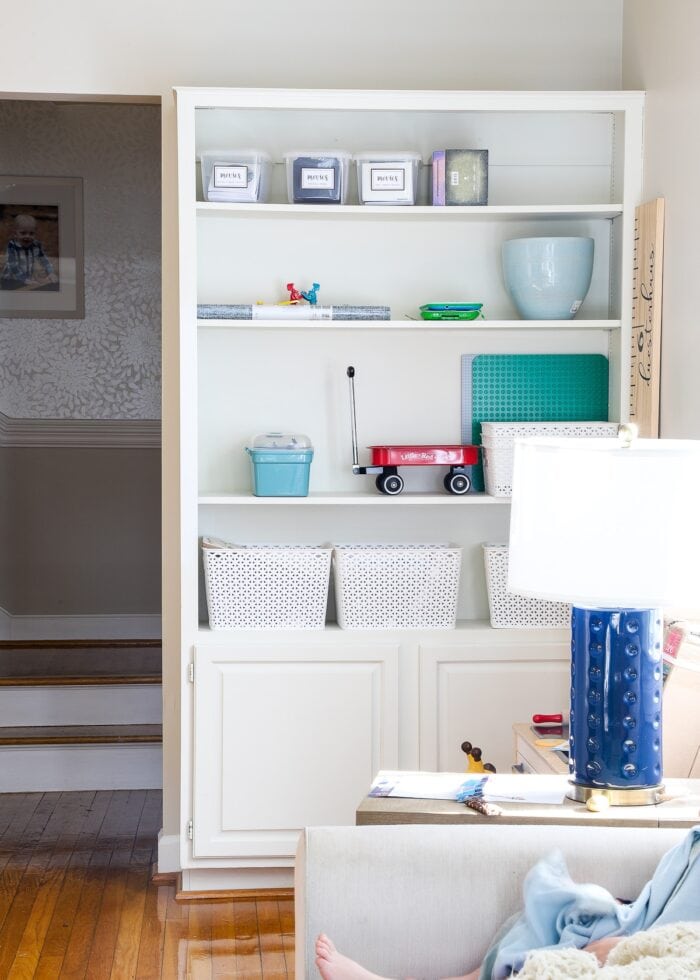
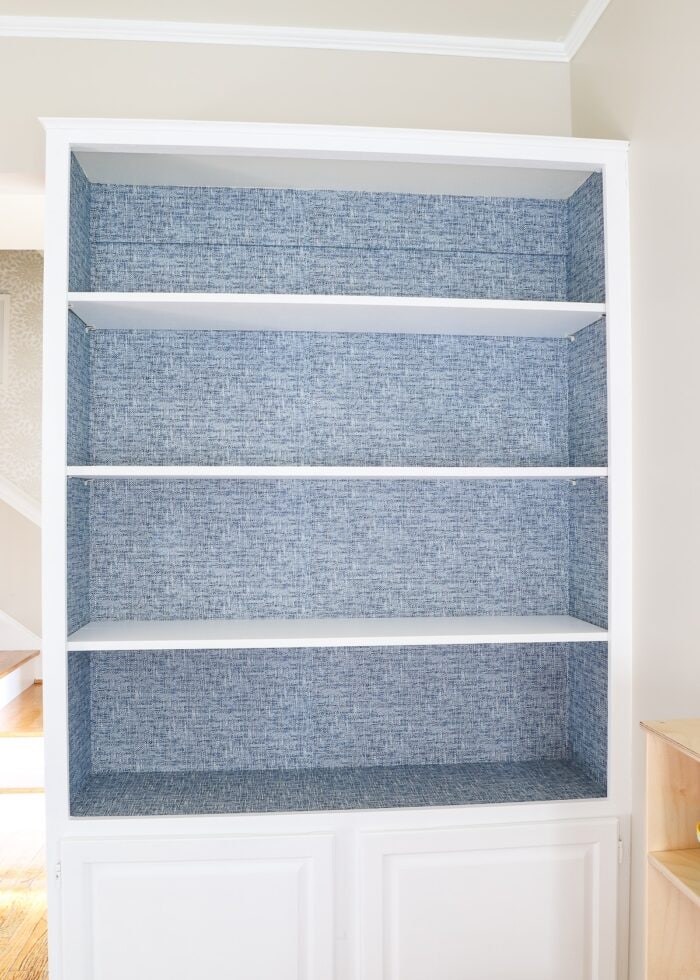
…looks like this!
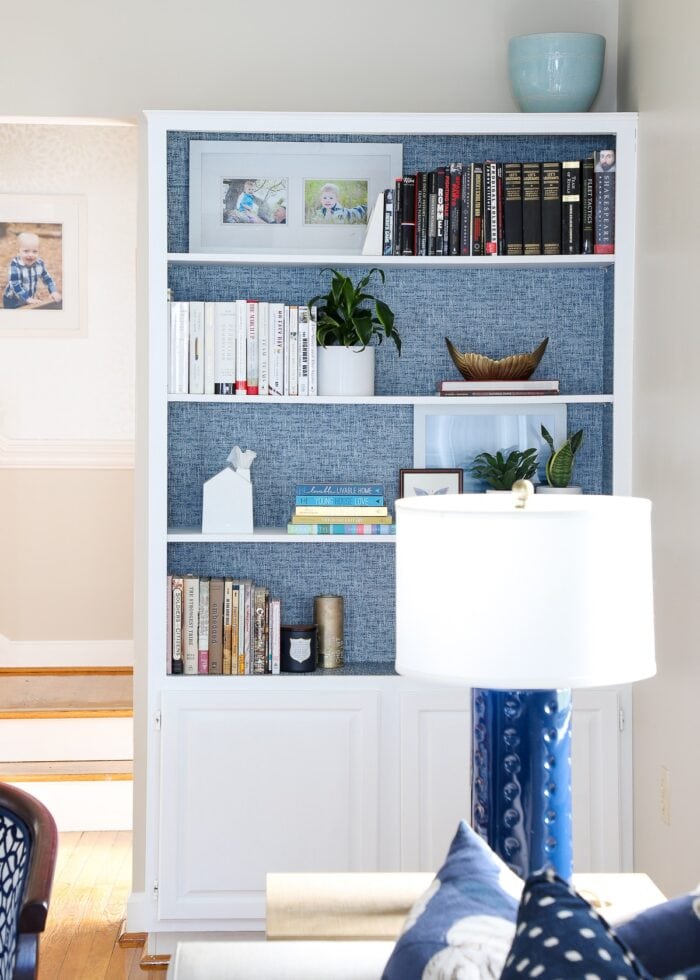
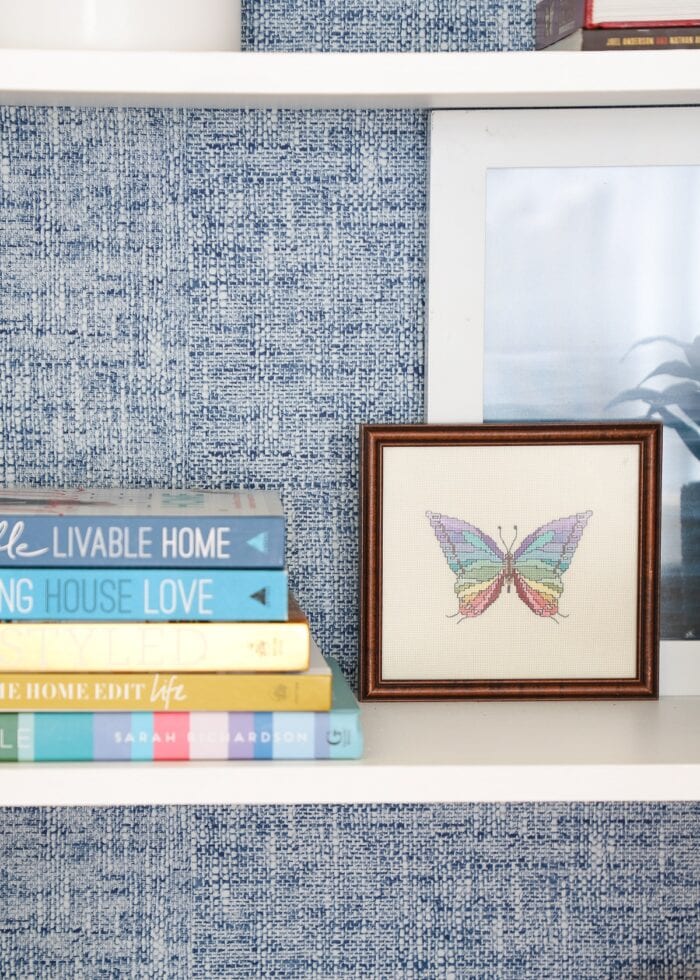
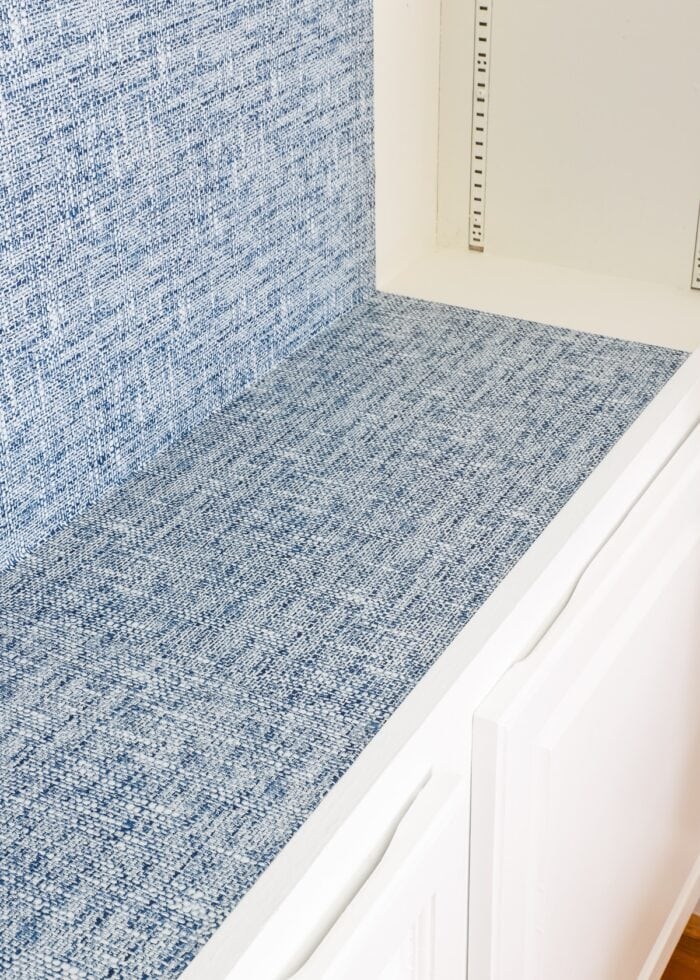
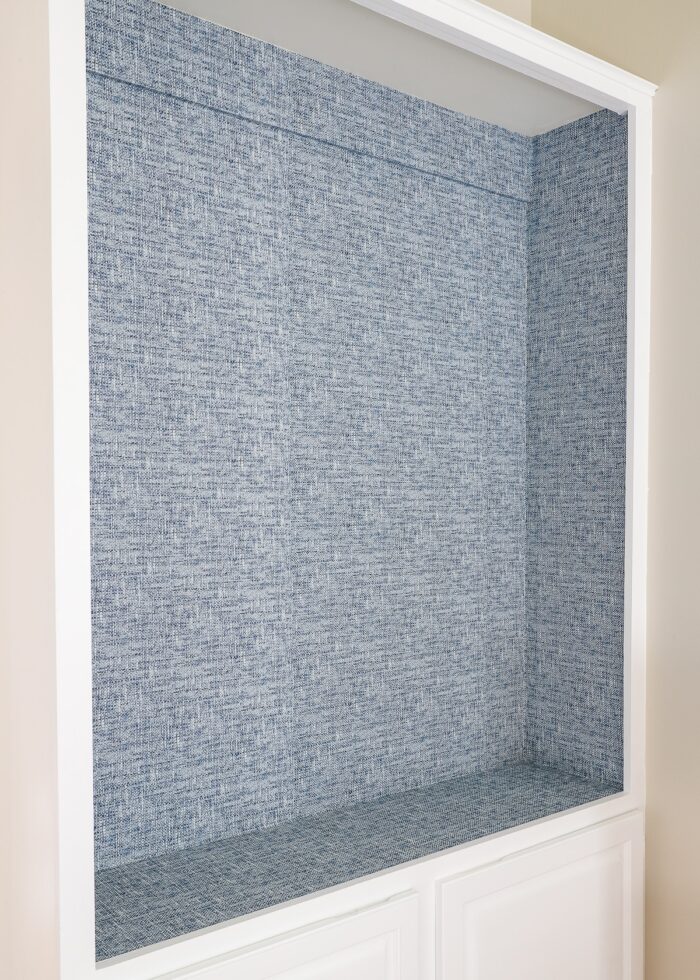
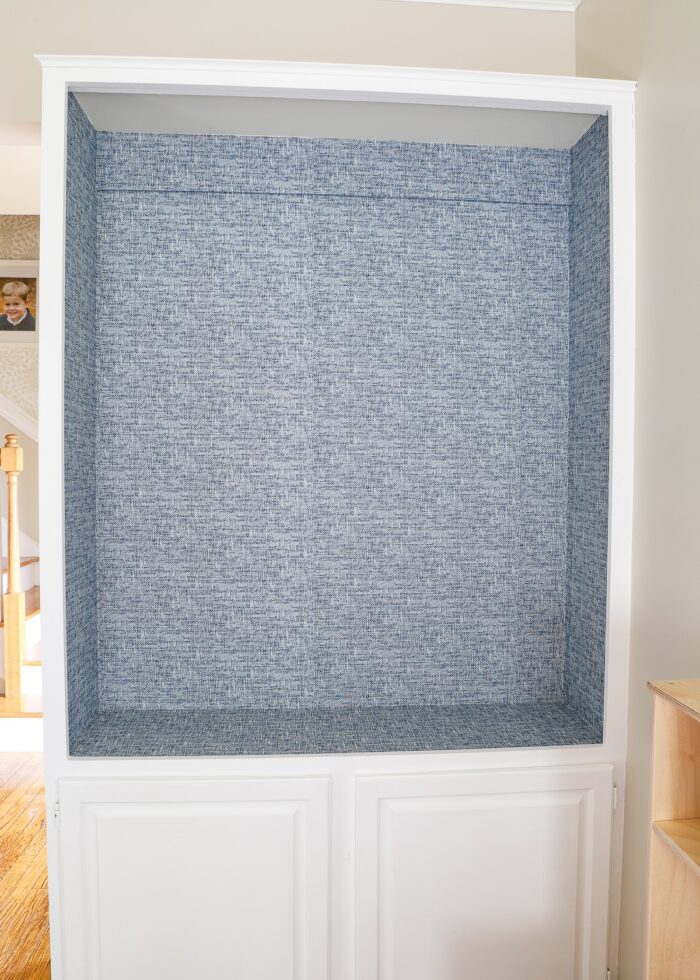
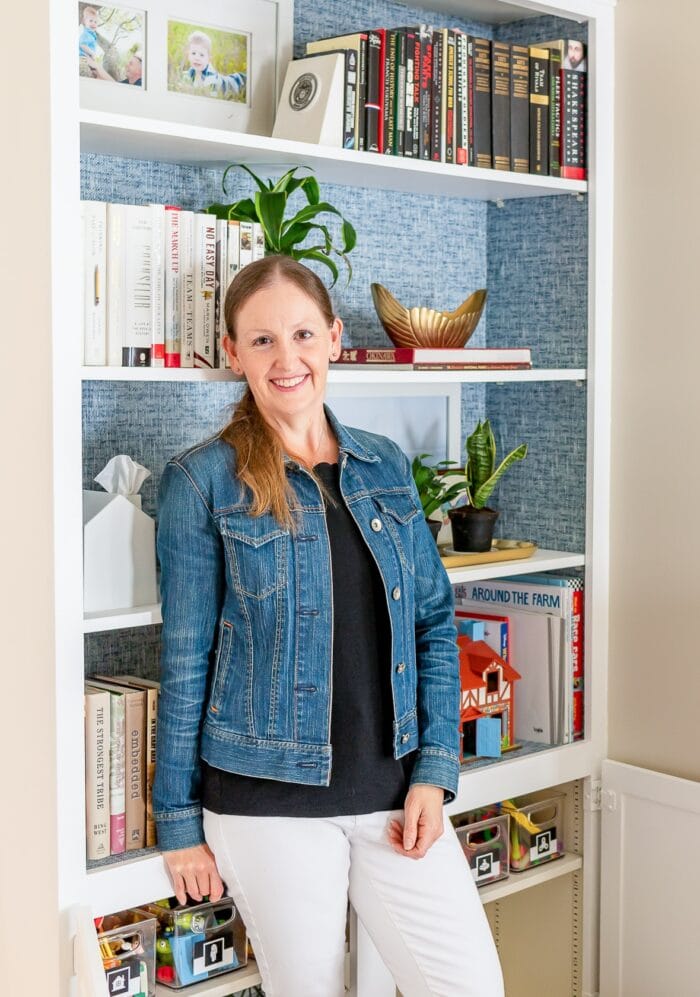
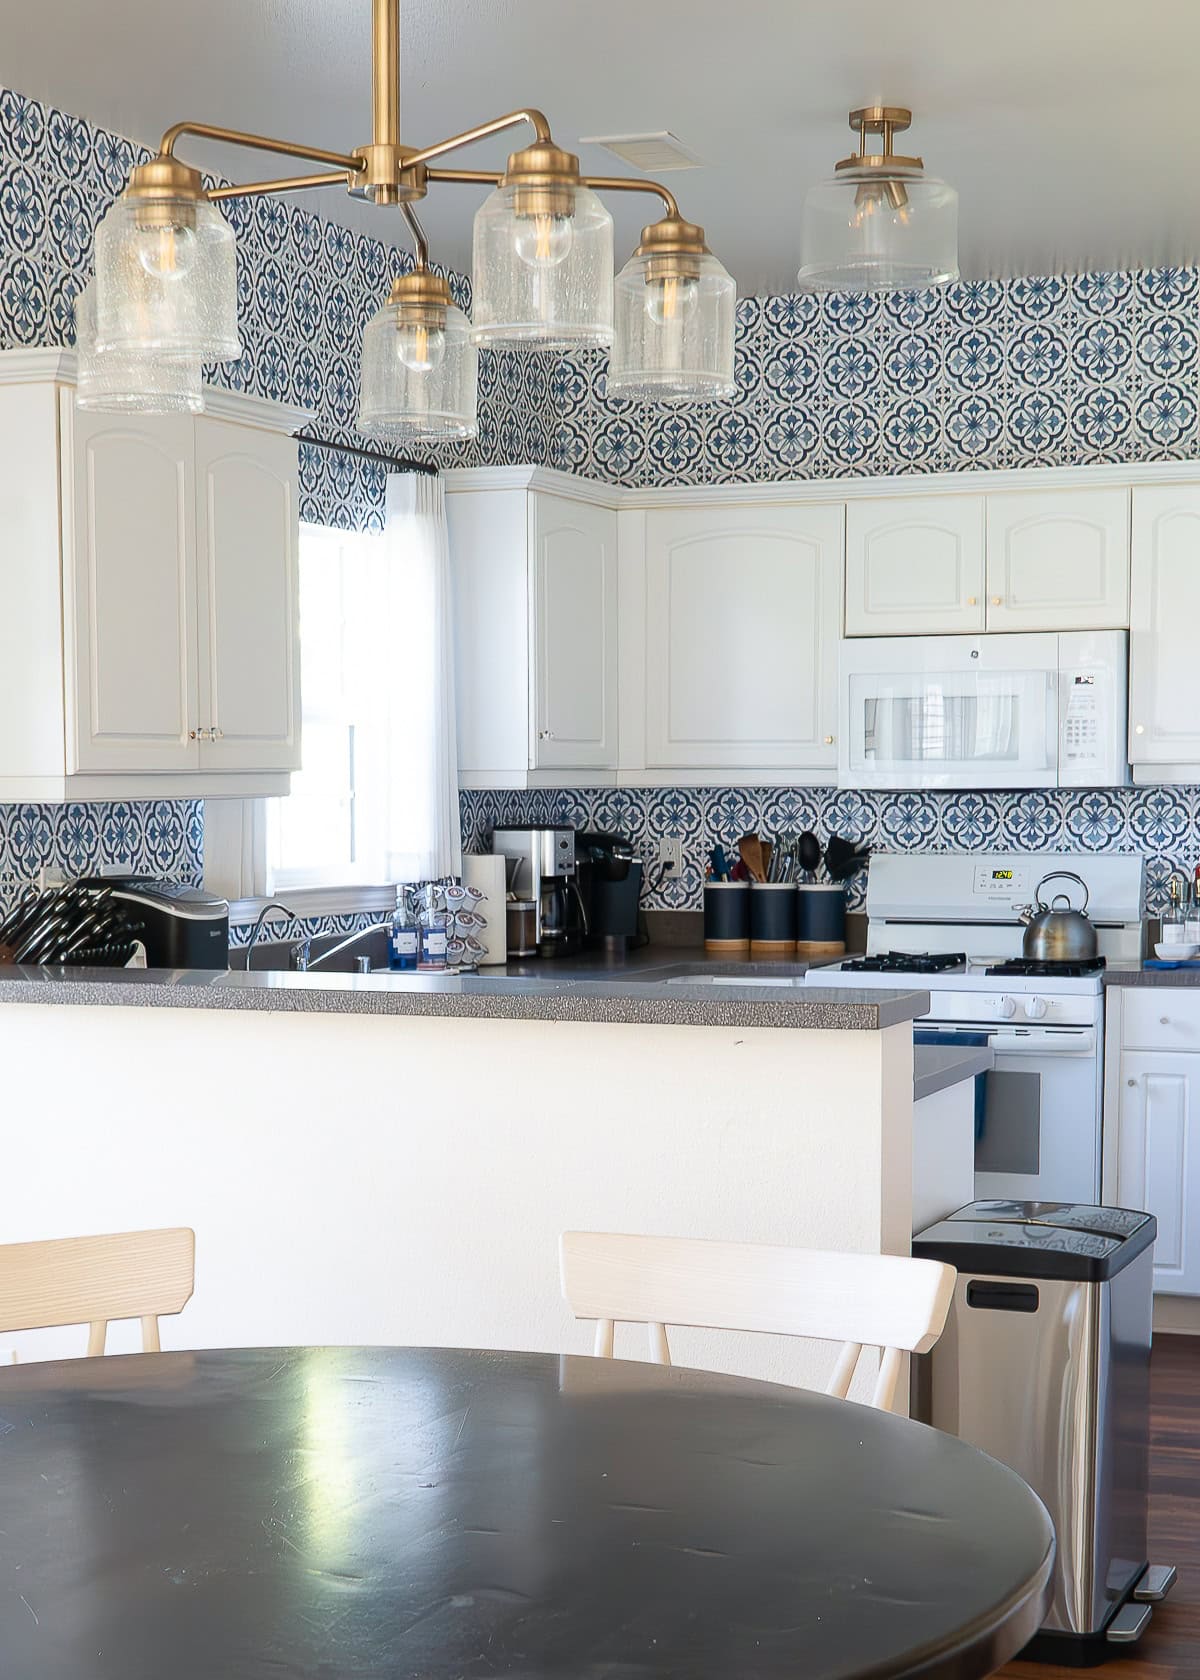
The most dramatic change obviously comes from the now bright-white shelving paired with the crisp blue wallpaper on the back of the shelves.
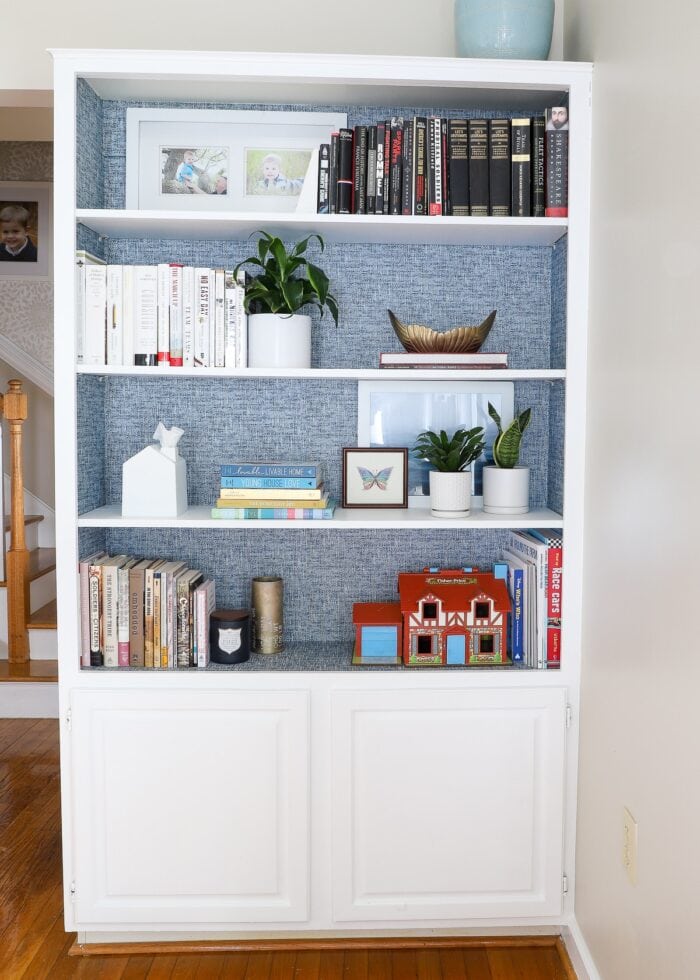
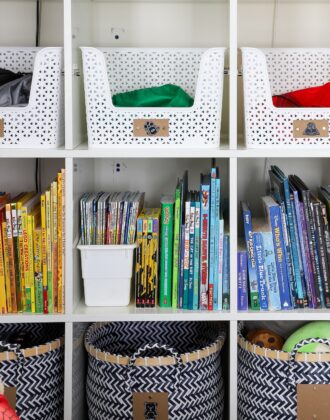
However, re-imagining our toy storage into the bottom cabinets certainly also helped transition these shelves from “all work”…
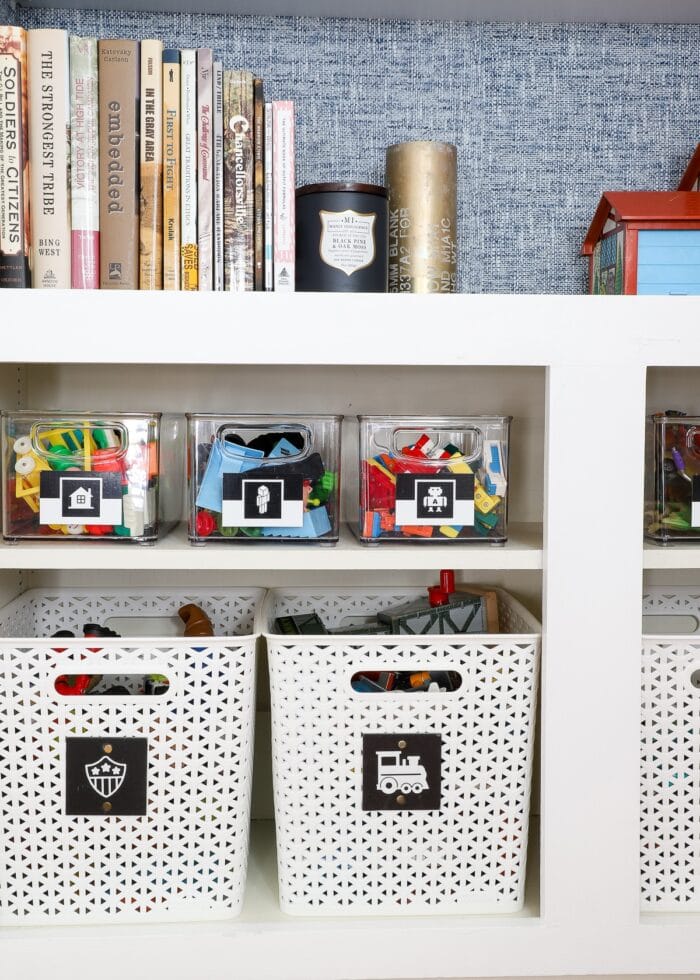
…to hardworking underneath with some lovely style up top!
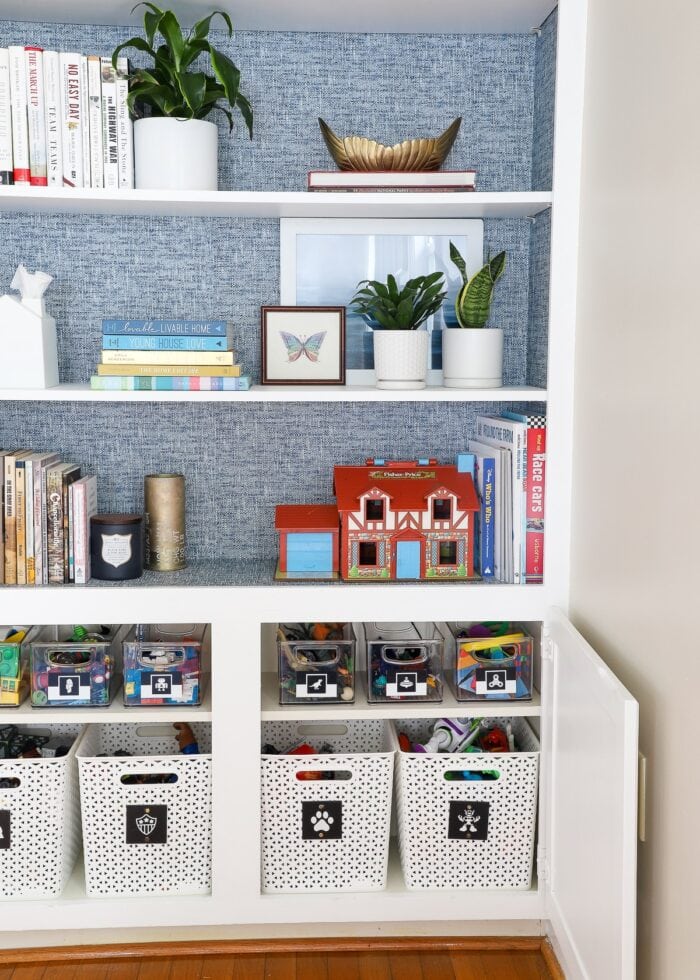
In fact, getting these shelves re-organized and made over finally allowed us to bring many of our books and decorative items in from some of the remaining moving boxes still out in the garage. Wins all around! (See more: How to Style Bookshelves with Real Life Stuff!)
Thanks to the infusion of a subtle blue pattern on the back of the bookcases, this new view is mighty fine indeed!
Supplies Needed
Wallpapering the back of a bookcase is a single afternoon project that involves little-to-no mess. You’ll need the following supplies to pull it off:
- A Bookcase (or hutch, cabinet, or similar shelving-type unit) – Any furniture item that has a solid backing can be wallpapered. Although it will be easier if it has removable shelves, you can still do this project if the shelves are fixed.
- Peel and Stick Wallpaper – While you can technically do this project with pre-pasted wallpaper, using removable wallpaper will keep it mess-free and easily changeable.
- Tape Measure
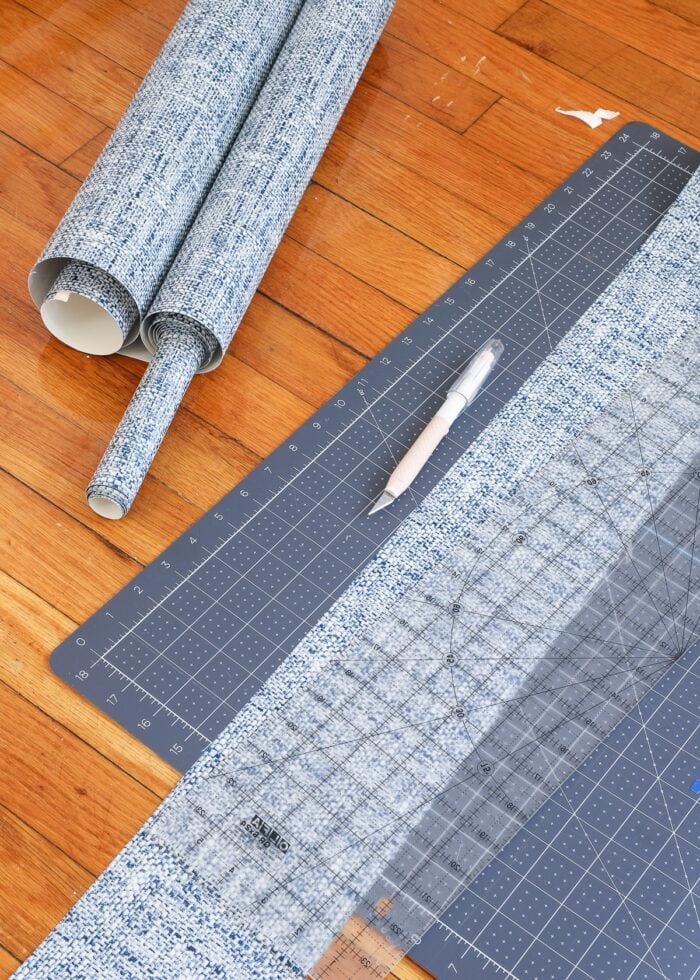
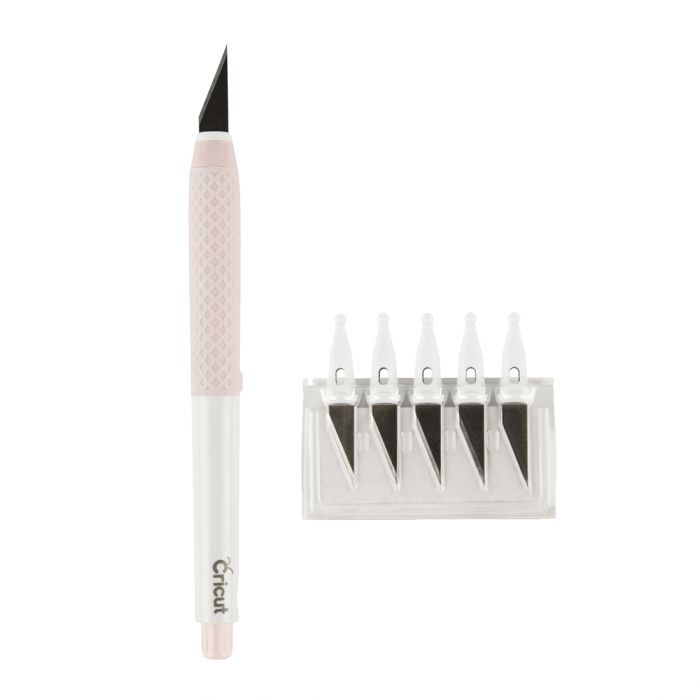
- Sharp Craft Knife
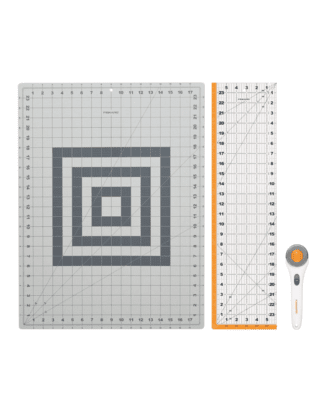
- Long Ruler
- Scissors
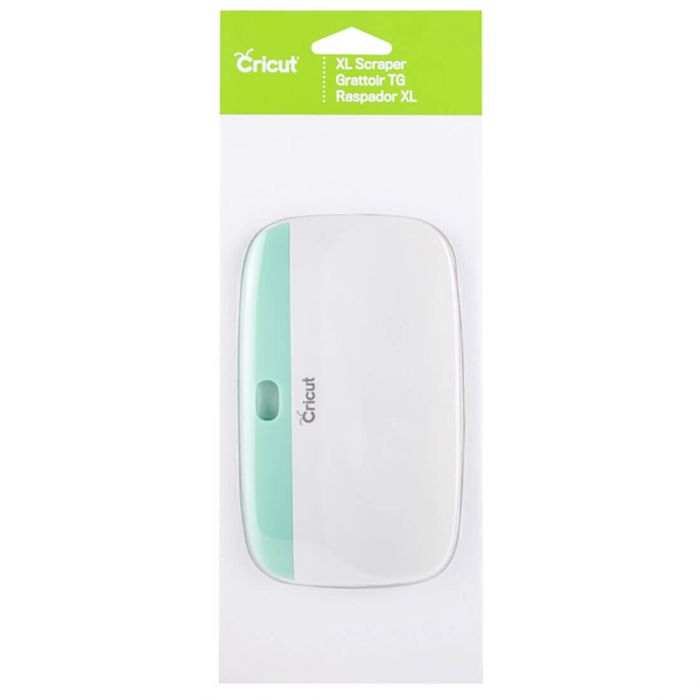
- Paper Towels or Scraper – I find both work well when smoothing wallpaper down.
What Is the Best Wallpaper To Use On a Bookcase?
How easy this wallpaper project will or won’t be is directly influenced by the pattern you pick. Maneuvering wallpaper around corners or up-and-over ledges is tricky enough. But when you’re trying to do so with a complicated pattern, this project gets infinitely harder.
In general, I recommend small-scale, all-over, random patterns instead of large-scale designs that require really precise matching. Additionally, large-scale patterns will waste more paper (because you will have to match up each panel) and can sometimes look really busy with styled items in front of them.
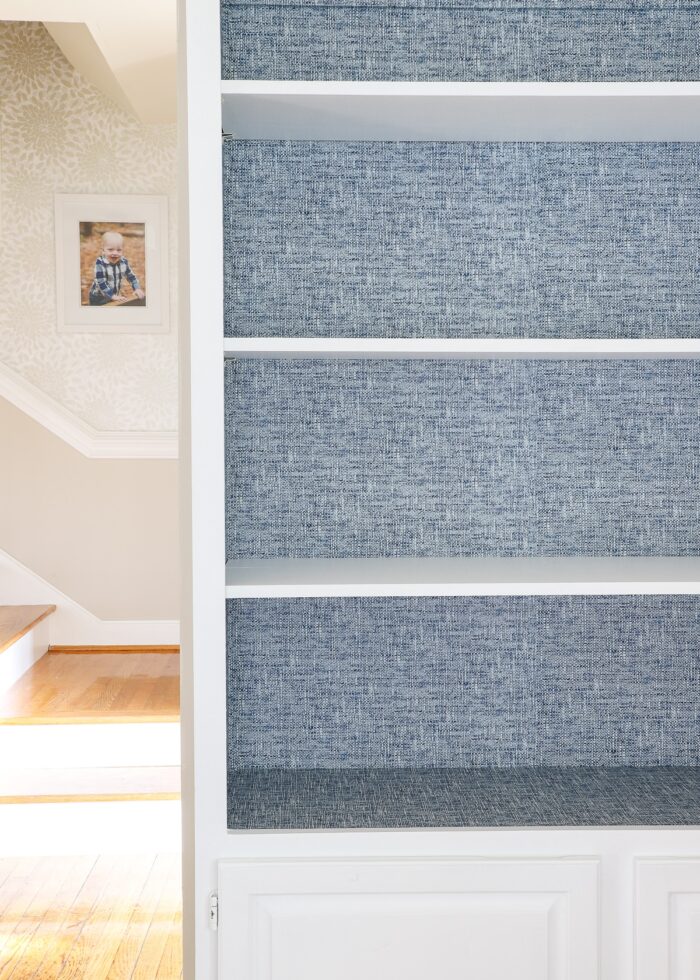
I couldn’t help but pick the same navy poplin texture wallpaper I’ve used over and over again on similar projects. For starters, this paper is stunning it its simplicity and totally affordable; but it’s also the easiest wallpaper you will ever put up (and I’ve put up a lot of wallpaper!) The pattern is so tight and so random, that you don’t have to match it up…at all. If you overlap edges or the pattern veers funny, it’s practically imperceptible. This paper comes in several colors, but you could also achieve the same ease in application with grasscloths, solids, or other tiny scale papers.
How Much Wallpaper Will You Need For a Bookcase?
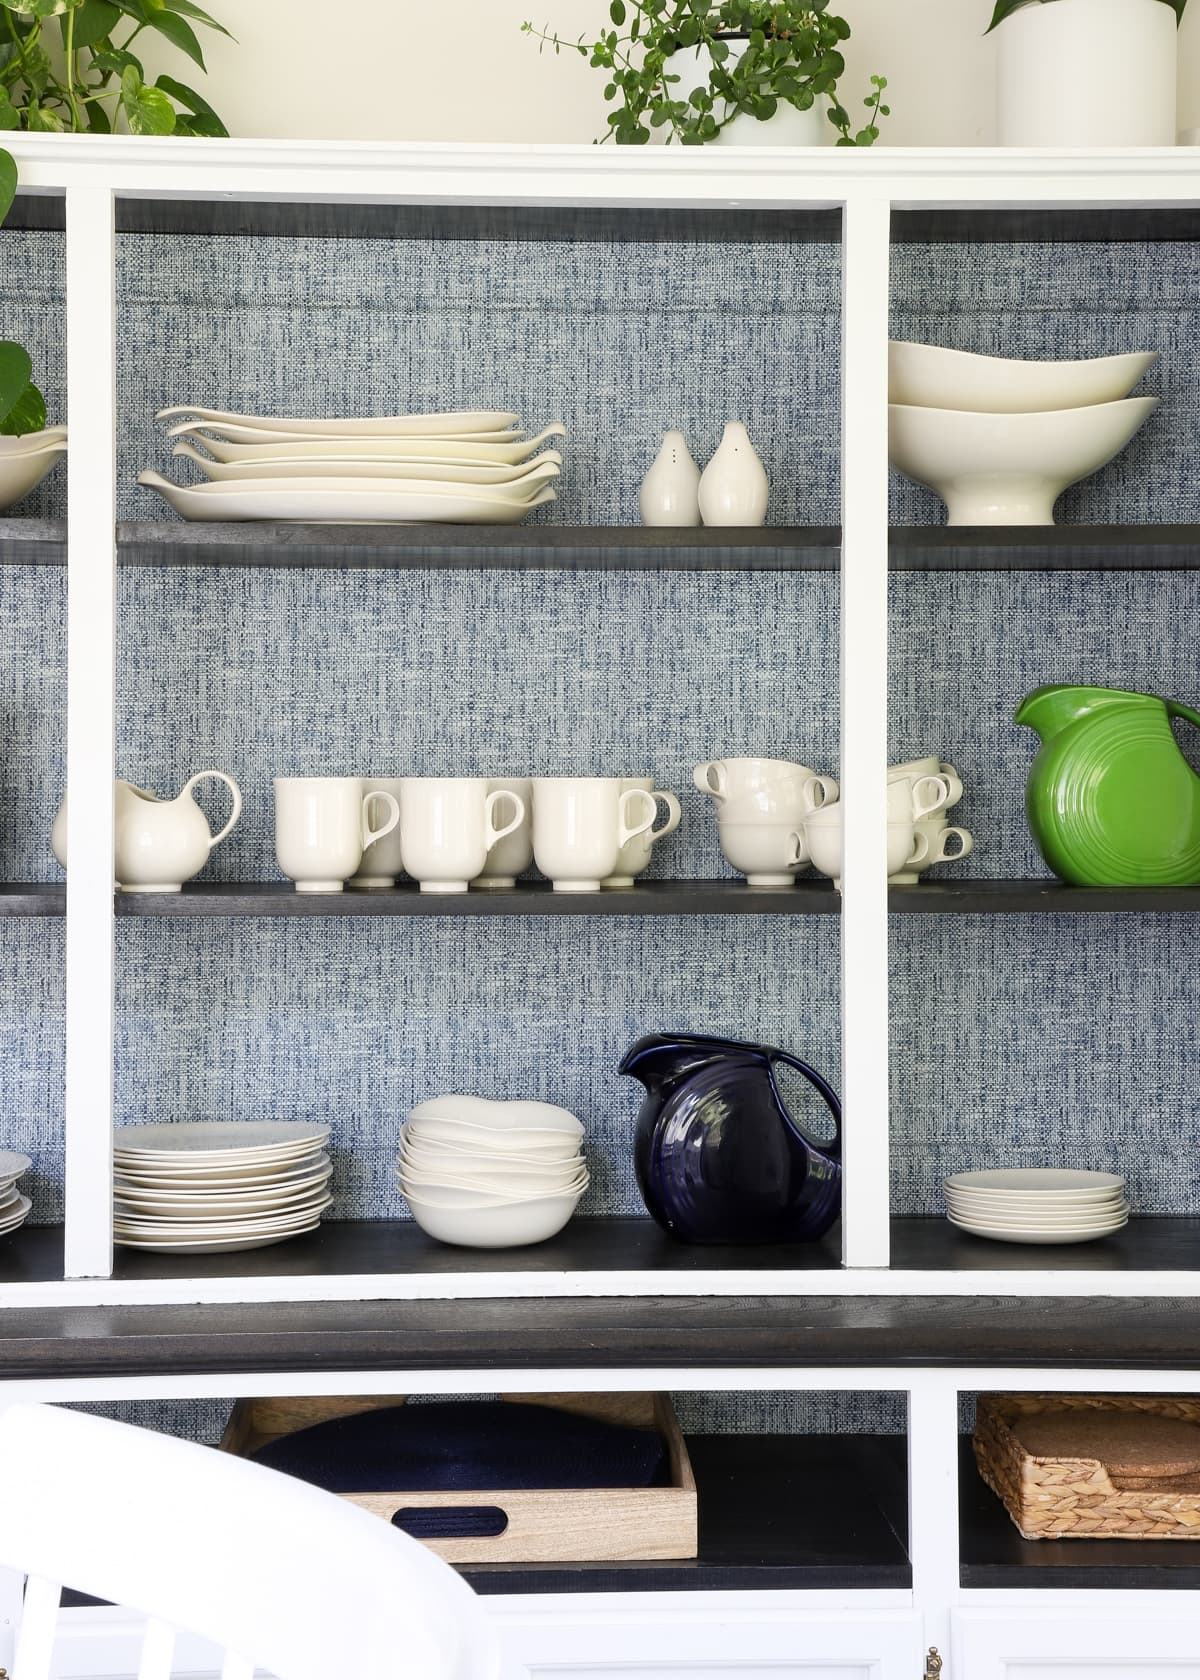
The amount of wallpaper you need will be determined by how big your shelves are and which parts you want to cover in paper. Over the years, I’ve learned that wallpapering both the back AND sides really creates a stunning, custom look. As such, I recommend getting enough paper to do these two areas at a minimum.
Then, based on your particular shelving unit and style preferences, you might also consider wallpapering the base (e.g., my lowest shelf directly above the cabinets) or even the shelves themselves.
Wallpaper never seems to go as far as you think it will, so I recommend taking precise measurements and calculating how much you’ll need (don’t forget to factor in pattern repeats!) These bookcases took a full roll each, with almost no leftover. So although I initially wanted to paper the shelves as well, it just wasn’t worth having to buy another 2-3 rolls in order to make that happen.
Prepping Your Bookcase
Let me make one final point before we dive into the step-by-step tutorial.
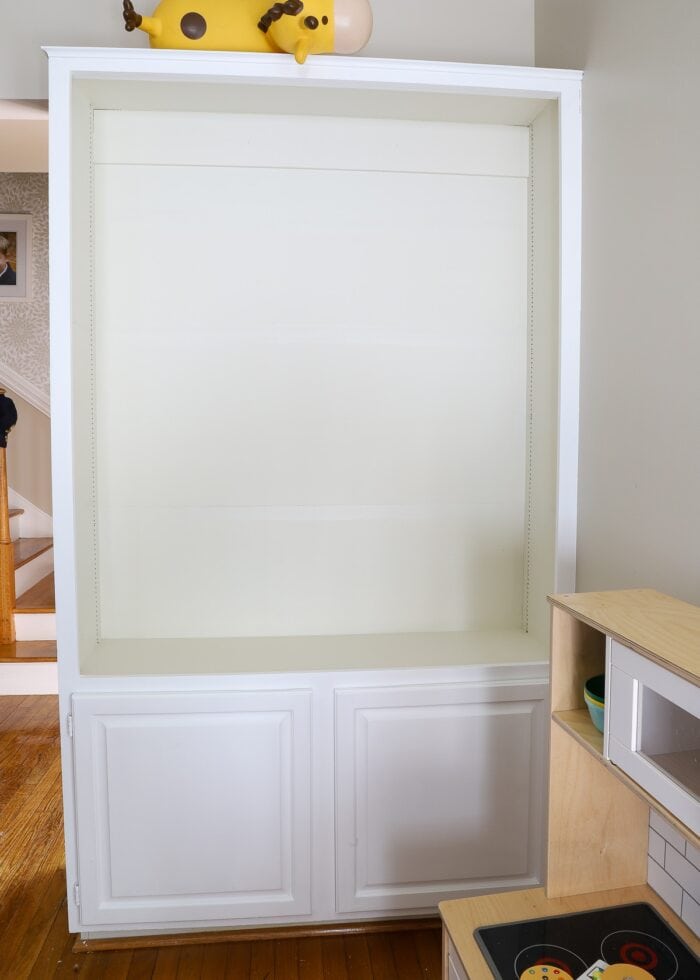
If you are doing a larger bookcase makeover, adding wallpaper to the back should be your very last step (before styling the shelves). Because paint can be really difficult to get off some papers, I recommend doing any repairs, hole filling, sanding, and painting before adding the wallpaper.
I knew the original yellow-tinted paint on the bookcases would look even more yellow next to the blue paper, so I painted the box frames and cabinet doors bright white before papering the backs.
Watch Me Wallpaper the Back of a Bookcase!
Every step is detailed out via text and photos in the remainder of this post. But if you’d like to watch this transformation come together in just about three minutes, watch the video below! Video not loading for you? Watch it here!
How to Apply Peel and Stick Wallpaper to the Back of a Bookcase
Step 1: Remove the Shelves
When adding wallpaper to the back of a bookcase, it will be considerably easier if you can remove the shelves. Even if this means you have to deal with nuisance pegs or awkward hardware, go ahead and take everything out (if you can).
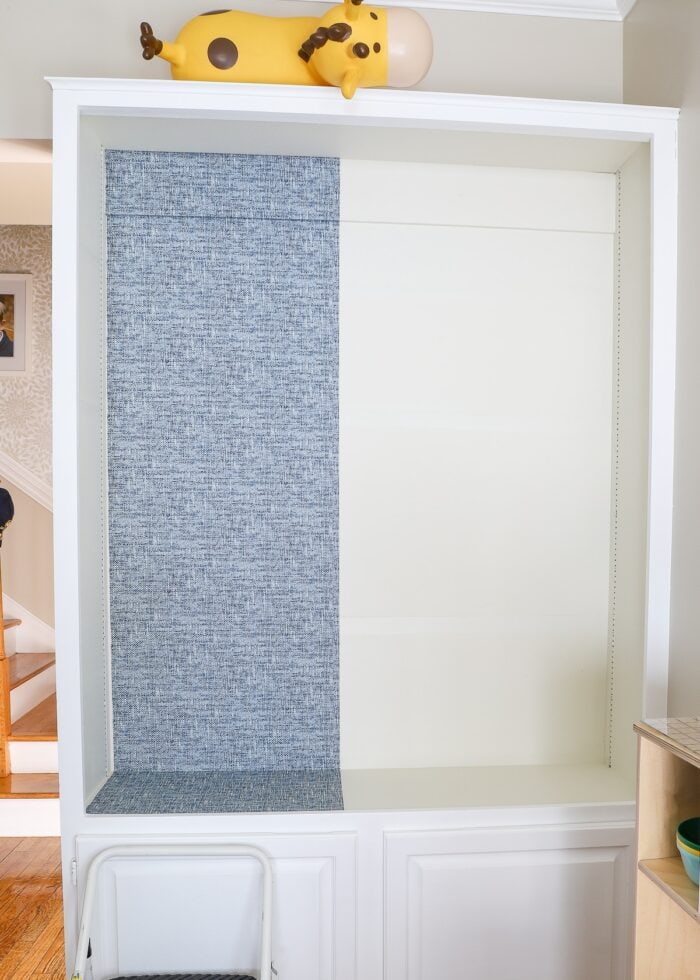
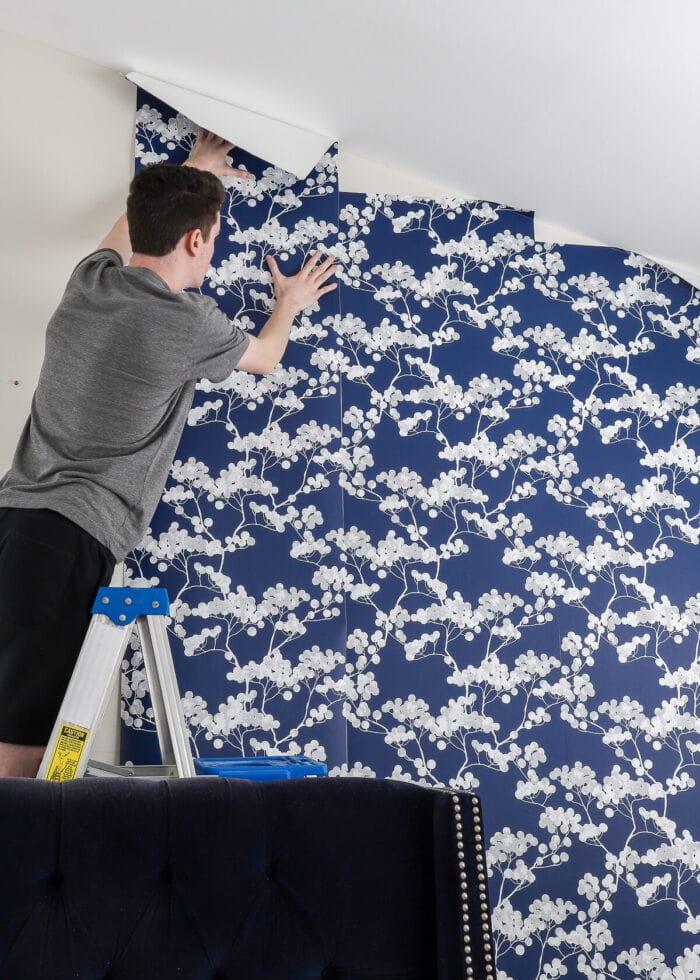
Step 2: Hang the First Panel
Once upon a time, I used to pre-measure and pre-cut my wallpaper panels to the exact size that fit my particular surface. I’ve since determined these are both unnecessary steps and can sometimes result in too-short cuts and wasted paper.
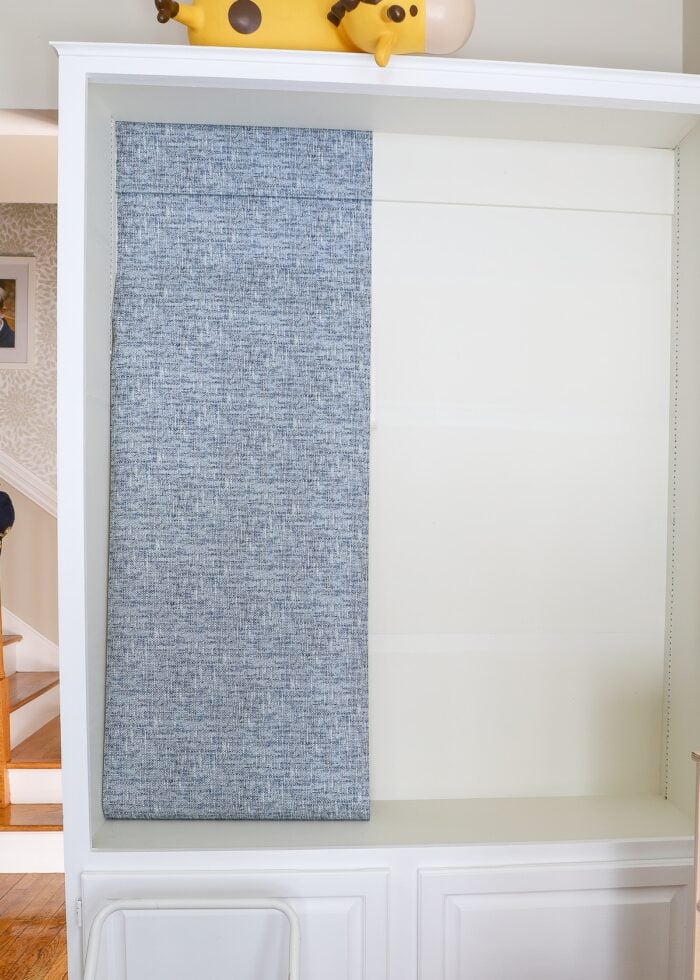
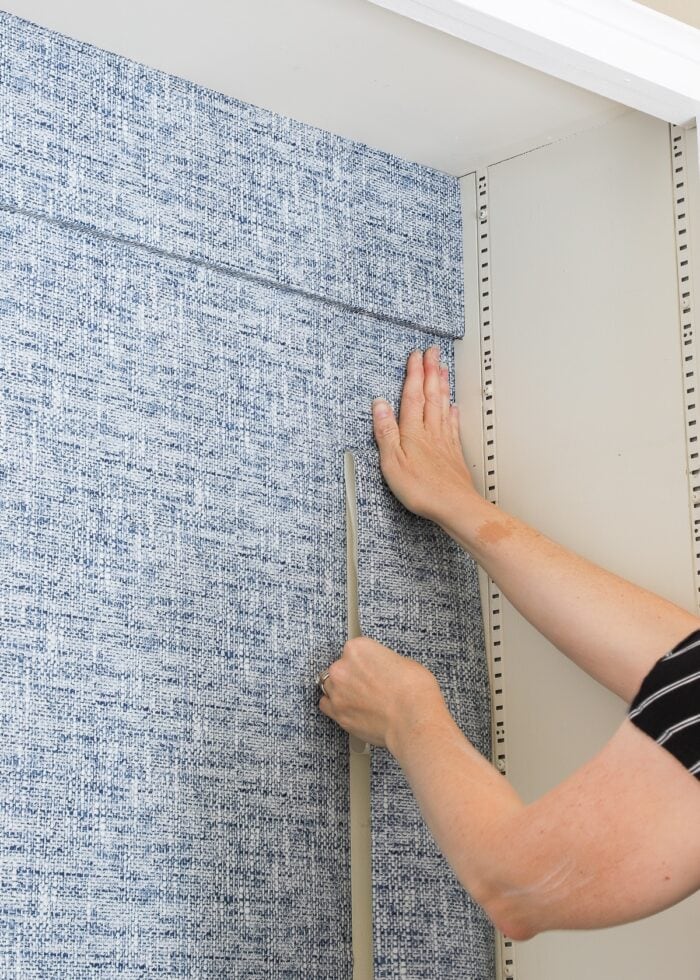
So to hang your first panel, start in the back left corner of the bookcase. Peel off just a few inches of the paper backing and secure the top of the roll to the top of your bookcase backing.
TIP! Since my pattern doesn’t have any defining characteristics, I just lined up the top of the roll with the top of the backing. However, you might want to trim the leading edge of your paper so that the right part of the pattern is at the top (based on your preferences).
Once you secure the top of the panel to the back of the bookcase, you can let the rest of the roll fall away to the floor.
Then, using either a scraper or even just a paper towel, adhere the exposed paper down onto the back of your bookcase, smoothing from the middle out to the sides. Only peel away the back of the paper as you move down the panel, constantly smoothing the paper into corners/edges and working out any air bubbles or creases that pop up. If you do find that your paper is veering badly or you have a wrinkle you just can’t smooth out, simply peel it up and re-lay it down.
If you need more help hanging peel-and-stick wallpaper, see my guide here: How to Hang Peel and Stick Wallpaper
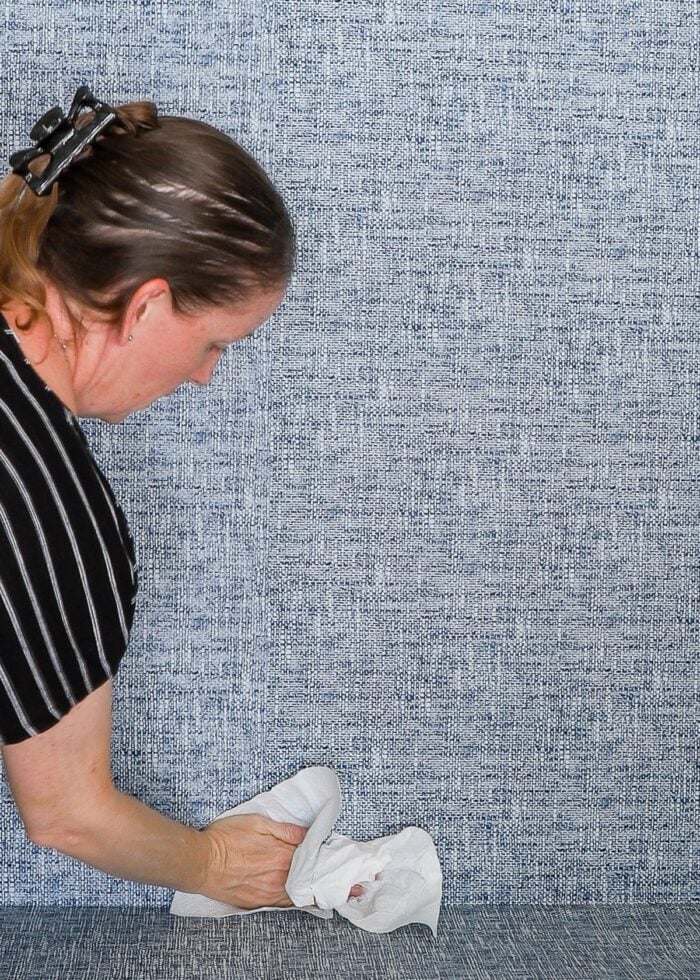
TIP! If you need to bend the wallpaper over grooves or into corners, I find a paper towel really works the best because it allows you to force the paper without causing dramatic creases or rips.
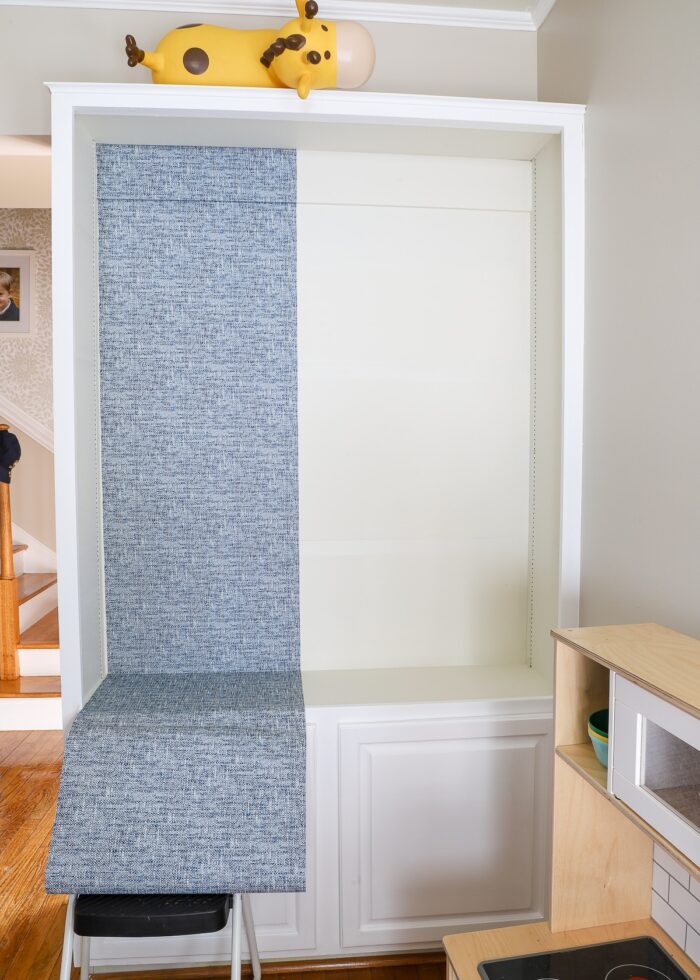
Keep working all the way down the back of your bookcase until you reach the bottom/base.
Want to save this post?
Step 3: Trim Off Excess
Once you reach the bottom and your panel is perfectly in place, go ahead and cut the roll.
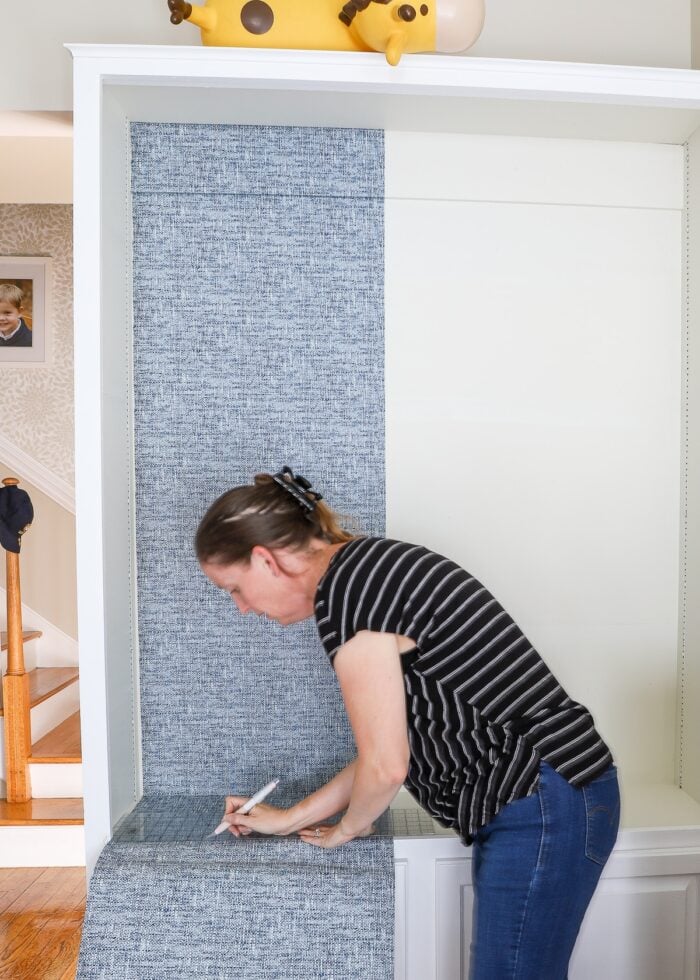
To create a nice straight line, use a long ruler and very sharp craft knife and slice the paper clean off.
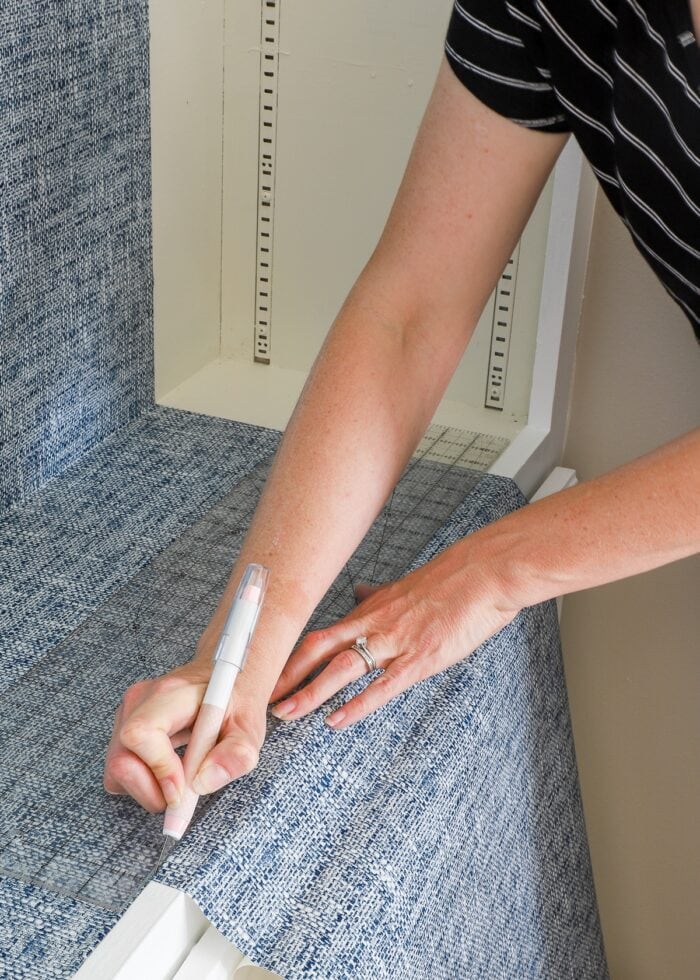
Phew! Your first panel is now in place!
Step 4: Repeat With Additional Wallpaper Panels
Keep working across the back of your bookcase using the same process, matching up the pattern along the seams as needed.
I didn’t have to worry about pattern matching, so I just secured the top of the roll back at the top of the bookcase and kept working downward.
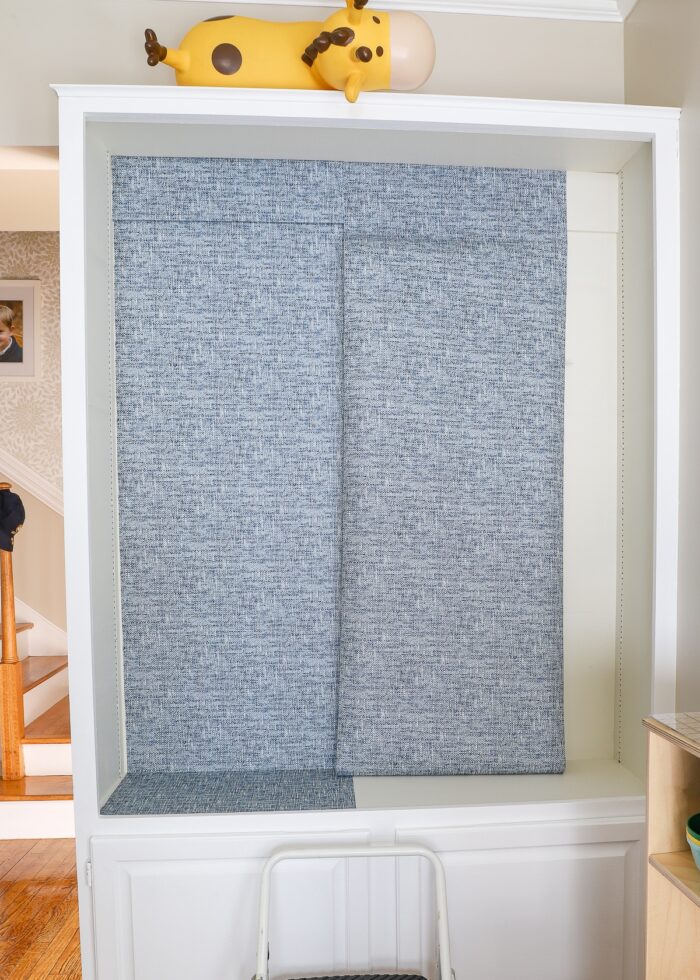
Step 5: Finishing the Back of the Bookcase
If the widths of your panels perfectly cover the back of your bookcase without any excess, consider yourself lucky! Because more often than not, you will end up with an area skinnier than your wallpaper. While you can technically lay a full panel and trim off excess once it’s up, I find too-wide paper harder to manage in corners. It’s easier to just trim it down.
TIP! Even if you plan to turn the corner and paper the bookcase sides, I recommend slicing your panel down anyway. Making wallpaper turn a full 90 degree angle and remain smooth and straight is very difficult. More often than not, it is easier to finish the back surface and then start fresh along the sides.
In order to cut the paper down to the correct width, you will now need to measure both the width and height of your remaining area. Then use a long ruler and craft knife to repeat the dimensions on your wallpaper. Don’t forget to account for pattern matching; and including a few extra inches on the top and bottom is usually a good idea!
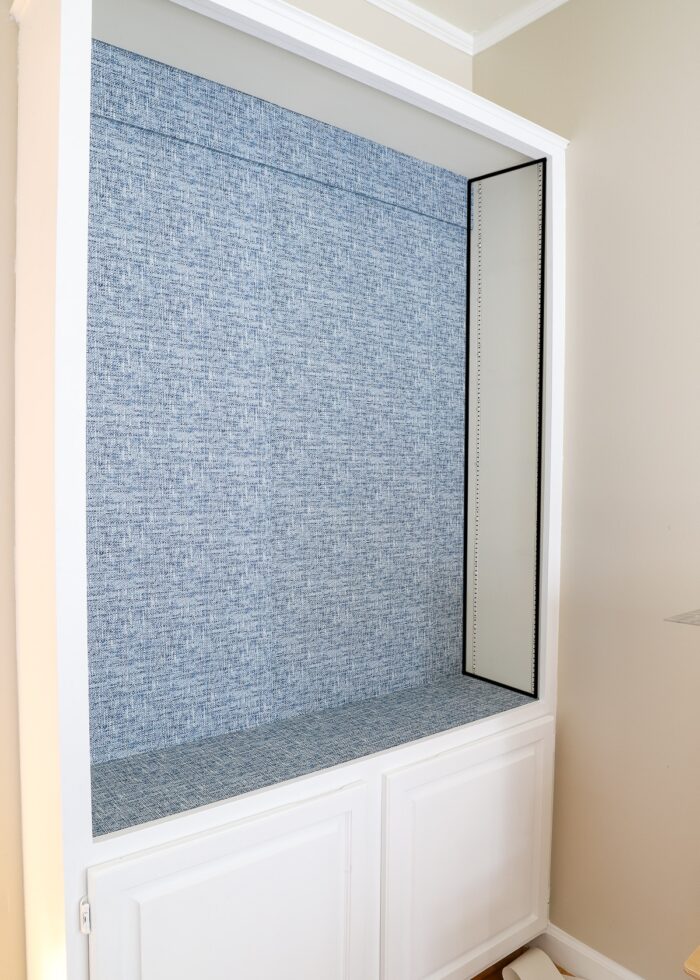
With your final length trimmed down to the correct dimensions, you can then fill in the remaining area of the bookcase’s back panel, using the same smoothing method as described above.
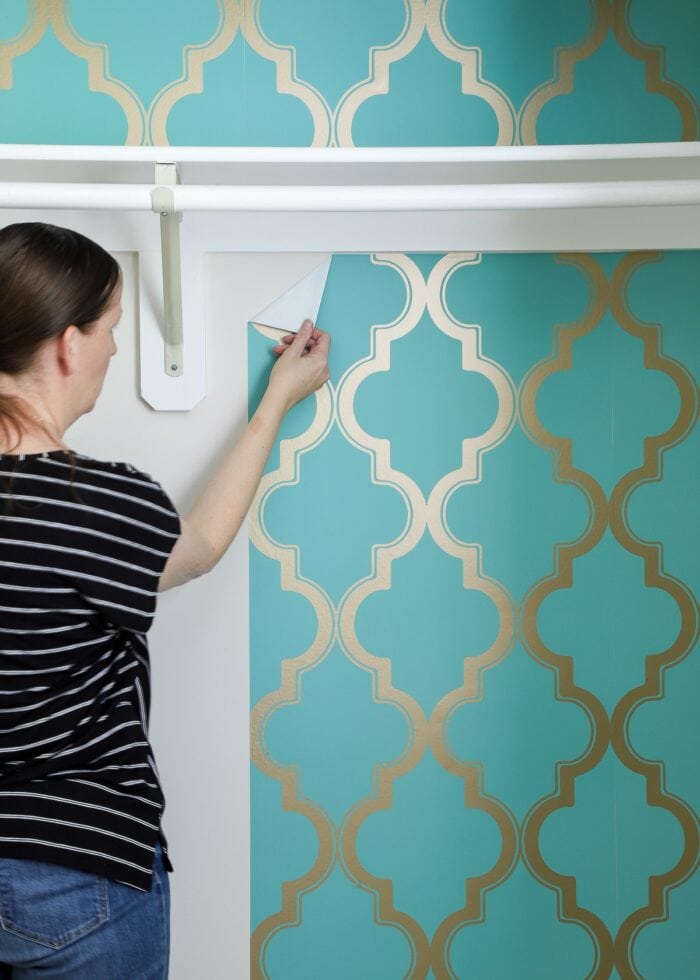
Step 6: Wallpaper the Sides of the Bookcase
If the sides of your bookcase are really recessed and no one will ever see them, then you can probably skip this step and save your paper. However, if the sides of your bookcase are easily visible, this extra step will instantly elevate the entire final result.
To paper the sides, you will most likely need to measure the height and width of the side panel as shown below and cut out a strip in those dimensions. Don’t forget to account for pattern matching; and a few extra inches along the top and bottom will help ensure you aren’t left with any exposed areas. Use a sharp craft knife to clean up any edges after application, as needed.
Why not hang a full-width panel along the side and trim afterwards? You certainly can. But this wastes paper; and oftentimes, maneuvering wide paper in a narrow area is tricky.
Once you repeat on the other side, your wallpapering is complete!
Step 7: Re-Place Shelves
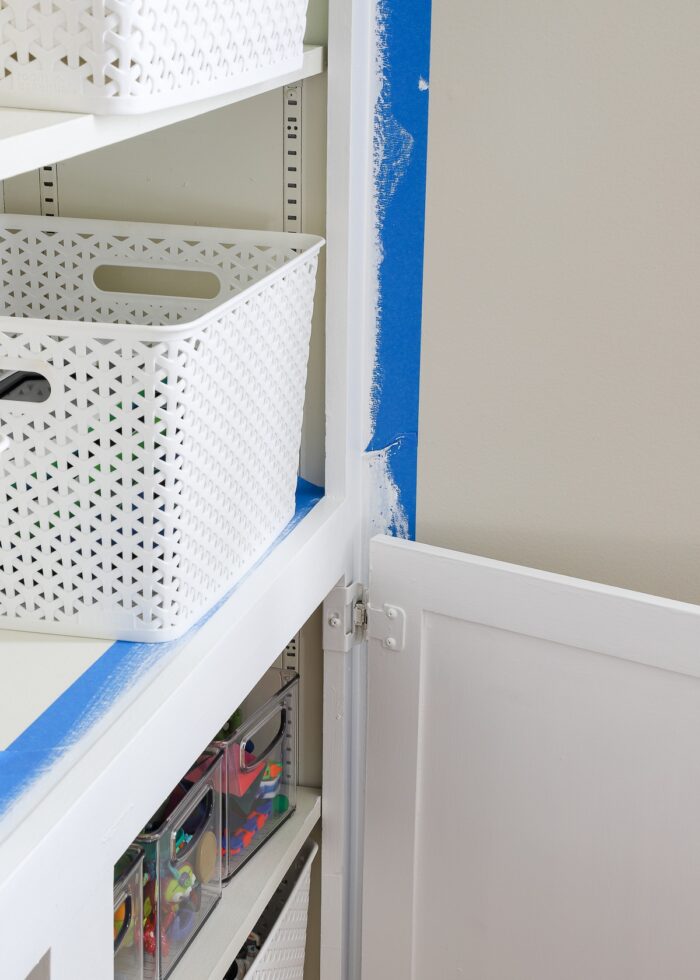
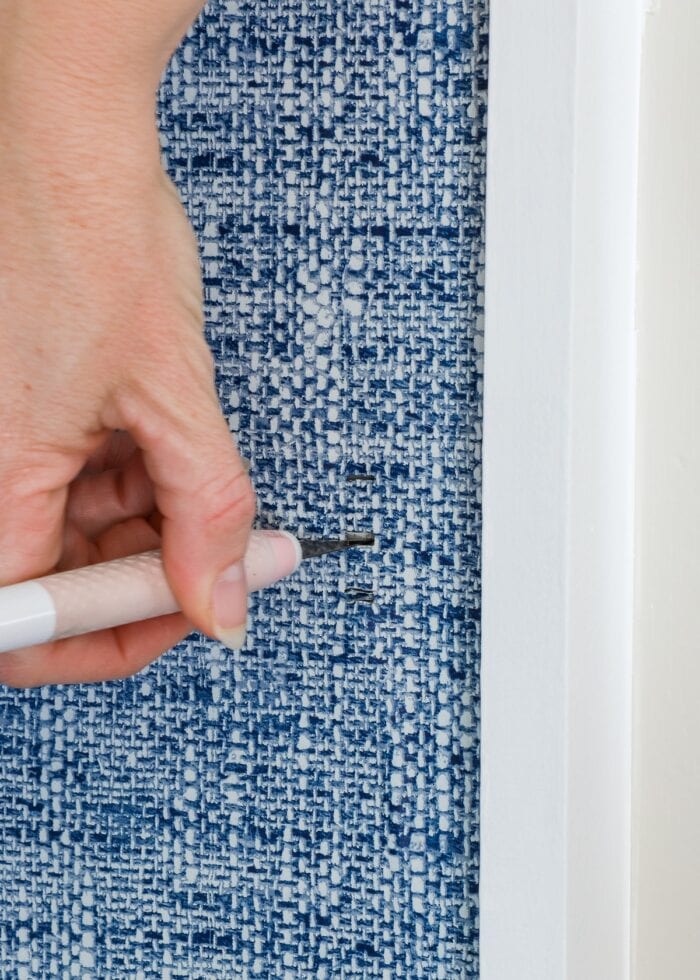
When papering the sides of the bookcase, notice I didn’t bother marking placements for the shelves and just papered right over the bracket holes. That’s because you will most likely be able to feel for them through the paper.
Once you have the side panels hung, just press through the paper until you find the right holes for your desired shelf placement. Use your craft knife to puncture through the paper as shown below. Then you should be able to push your pegs/hardware back into place.
Peg placement can be deceiving, so usually a tape measure is the easiest way to ensure all your hardware is at the same height.
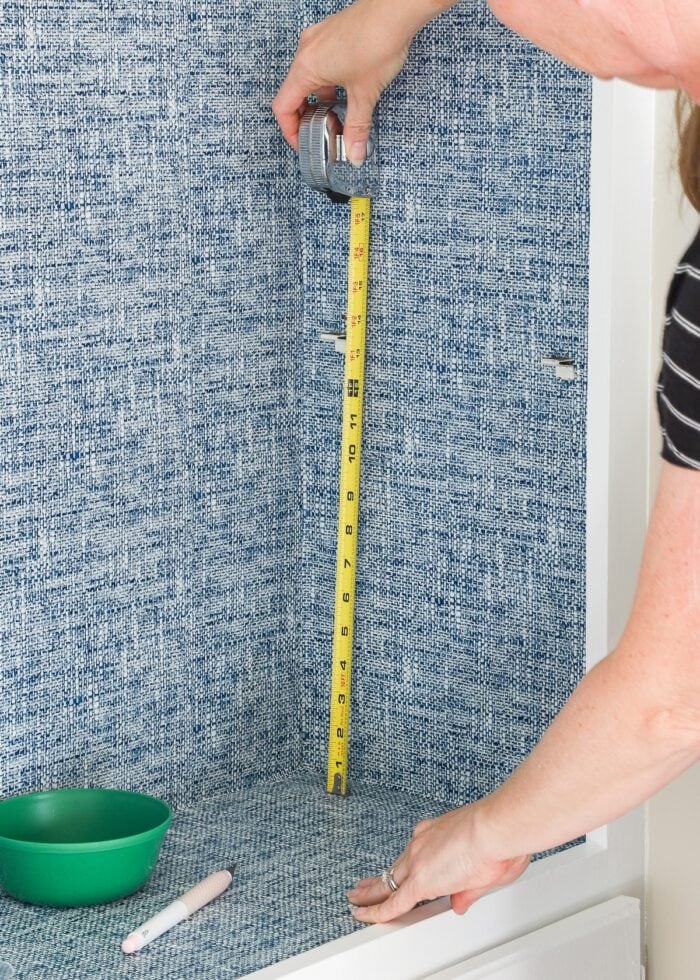
Then re-place your shelves onto the original hardware.
Repeat until all your shelves are back in place!
Step 8: Style the Bookshelves
The wallpapering job is now complete and your shelves likely look ah-mazing! The final step is to re-load your shelves with whatever items you want to put on display.
I wish I could say that getting these shelves to look right took me just an hour or so. But truth be told, styling takes me forever…so it was more like 3-4 hours spread over a weekend!
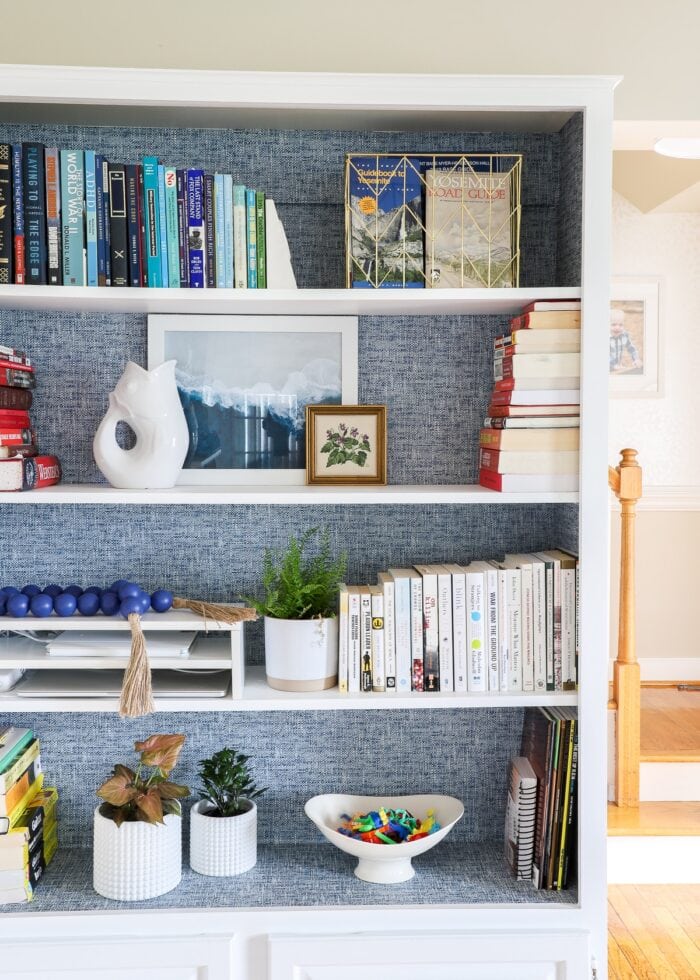
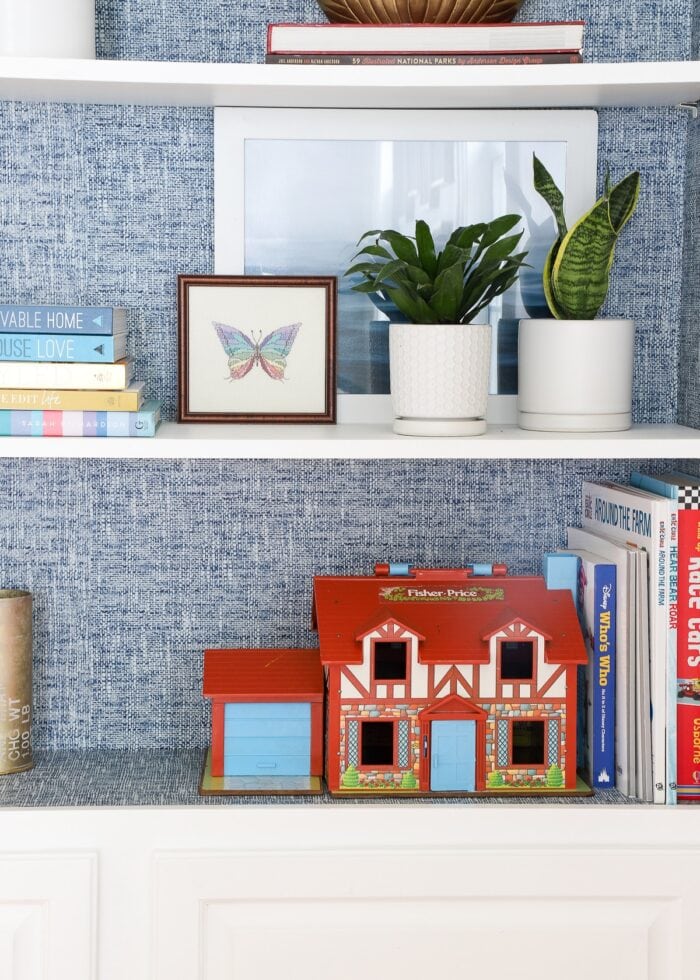
But the final result is a display of some favorite items, simple plants, and a whole lot of books. I think I am finally happy with how everything is situated!
Learn More: Why Color Sort Your Books (& A Few Other Things Too!)
More Great Information on Wallpaper In Your Home
Ready to tackle more wallpaper projects in your home? Check out some of my other favorites!
- How to Hang Peel and Stick Wallpaper
- Does Peel and Stick Wallpaper Damage Walls?
- A Complete Guide to Updating Furniture with Wallpaper
- Can You Use Peel & Stick Wallpaper In a Bathroom?
- Can You Put Wallpaper on Textured Walls?
- How to Wallpaper the Back of a Bookcase | Step-by-Step
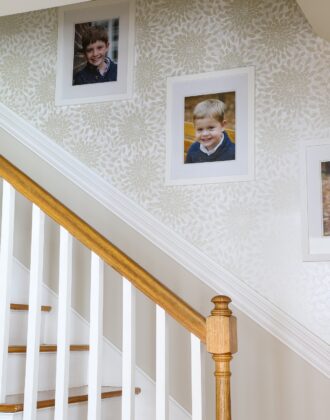
- Wallpapering a Stairwell | Tips You Need to Know!
- How to Hang a Wallpaper Mural | Tips & Tricks for Great Results
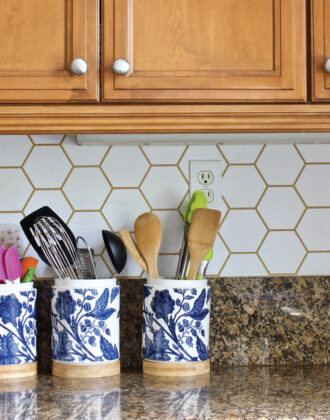
- How to Wallpaper a Backsplash
- The Best Wallpaper for Your Kitchen Backsplash
- Can You Put Peel and Stick Wallpaper on the Floor?
- How to Line Drawers with Wallpaper
- Solid Wallpaper | What It Is + Ideas for Using It
- Wallpapering a Whole Room Versus an Accent Wall | What I Learned
- How to Frame Wallpaper as Art
- How to Use Wall Decals to Look Like Wallpaper
I knew I wanted to do something fun to these bookcases, long before we were handed the keys to this house. Although my choice of bright white shelves paired with blue peel and stick wallpaper is maybe a touch predictable, it doesn’t make this any less of a really gratifying bookshelf makeover!
Whether you have stand alone units, built-ins, or even a hutch-like piece of furniture, adding wallpaper the back of a bookcase is an easy, affordable, and mess-free update. And best of all…when you’re ready for a change: just peel off the paper and try something new! I hope the process I outlined here gives you the confidence to try this fun DIY!
Megan


11 Comments on “How to Wallpaper the Back of a Bookcase | Step-by-Step”
You mentioned painting all the trim to a bright white from a yellowy white. Will you have to paint all of it back when you leave? That would be a shame!
I am counting on not having to. (Fingers crossed!) You’re right, it would be a total shame.
If you paint anything, the rule is that you “prime” it back. So at a minimum, these shelves are technically primed white.
That said, I think this house was “sprayed” all one color just as part of the turnover process to fix a lot of issues. I have a hard time believing they will spray right over it again, but you never know!
Would love to hear if you have found the latex paint on the shelves to remain a little sticky when you lift your items? My experience is it is tough to get latex to fully cure for flat surfaces. I gave up after too many sticky rental bookshelves and now buy the gallon of Rustoleum oil white at Home Depot; cures hard as a rock.
What a transformation! It looks wonderful with the hall as well. Can’t wait to see more of your work on your home.
They really look fabulous! You have a great sense of style, and I love how you combine it with practical storage solutions. Bravo! 😁
These look great! I’m glad you were able to get your books out of boxes and onto shelves.
This looks amazing! Even for just using items you already had, it just looks awesome!!
It takes a lot of skill to style Playskool and a tissue box so well! Gorgeous styling, job done, and love the grasscloth look of the wallpaper!!
I had shelves like these in a rental and had to periodically flip them over to keep them from bending in the middle. A tip is that you can take a piece of 2″ stock and attach it with tiny nails to the front of the shelf to beef them up / make them look thick / cover any bend.
Love love love the plants. I’m a houseplant expert and could not live without Bonide Systemic Insect Control Granules every 2 mo. to kill the bugs that multiply in the soil (and have learned the hard way that your fern will be happiest with bottom watering & sitting in a dish of water 24/7).
How easy is it to peel this up after a year or two? I am renting a home I’d love to do this in, but I’m worried that it won’t come up easy or that it’ll damage the paint/wall underneath somehow.
Where did you get the wallpaper for the bookshelves? Its lovely!
I have noticed a lot of small plants in your various homes. Are they real? If so 1) How do you keep them small enough to fit in the allotted pot and space and 2) How do you keep from getting water overflow and dirty saucers/pot bottoms?