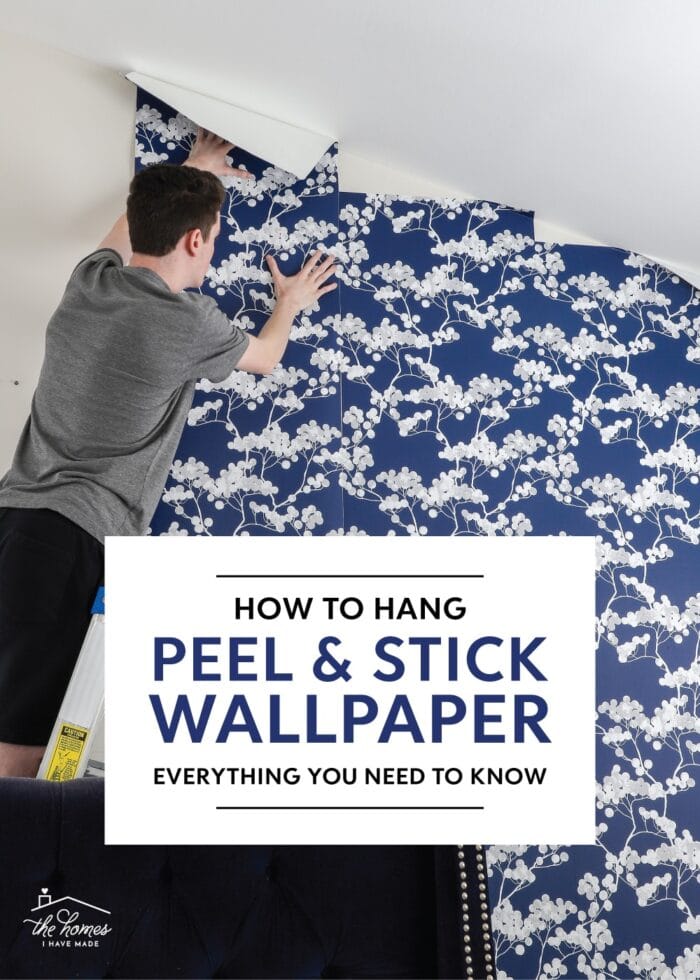
How to Install Peel and Stick Wallpaper | Step-By-Step for Beginners
To date, I’ve wallpapered well over a dozen walls across our various rental homes, as it’s really become my absolute favorite way to quickly and dramatically change the look of our spaces in a damage-free way. And while wallpaper doesn’t intimidate me anymore, I can well remember my potent hesitation when embarking on my first few projects. I don’t want you to feel scared giving this awesome solution a try; so today, I’m breaking down my tried-and-true process for installing peel and stick wallpaper. Is this the most “professional” or “perfect” method out there? Probably not. But this easy approach helps me move beyond the nerves and actually get some gorgeous papers up on our walls!
Why Use Peel and Stick Wallpaper In Your Home?
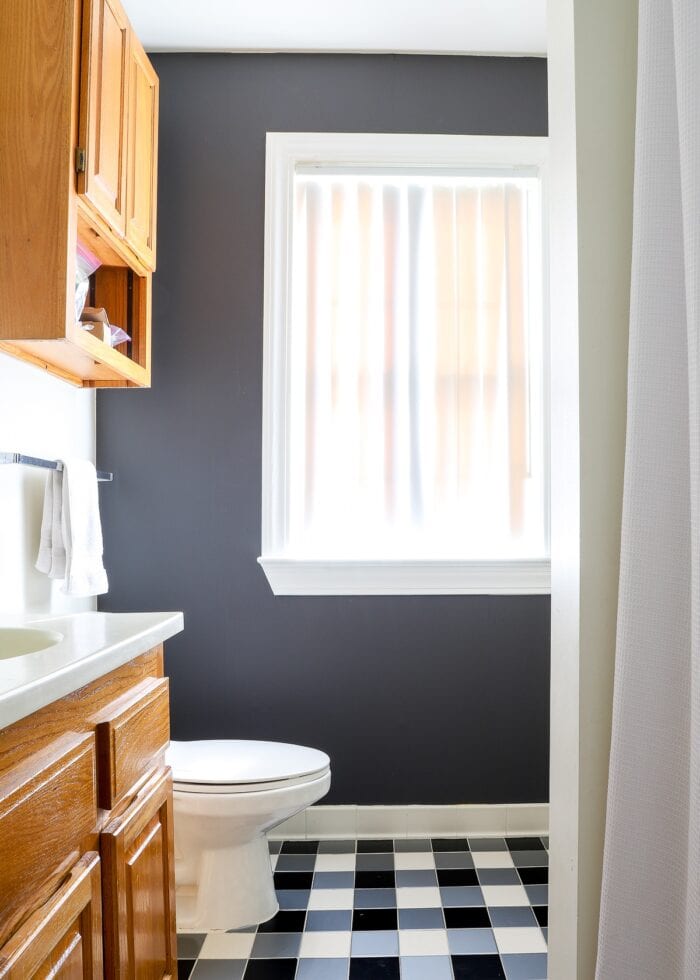
Once upon a time, paint was my tried-and-true method for personalizing our rental homes. But painting is messy and time consuming. Plus, having to repaint walls before moving out is always a process we never seem to have the time or energy for.
Although peel and stick wallpaper can be more expensive than a gallon of paint and a little trickier to hang, the overall process of putting it up and pulling it back down is, generally, much faster.
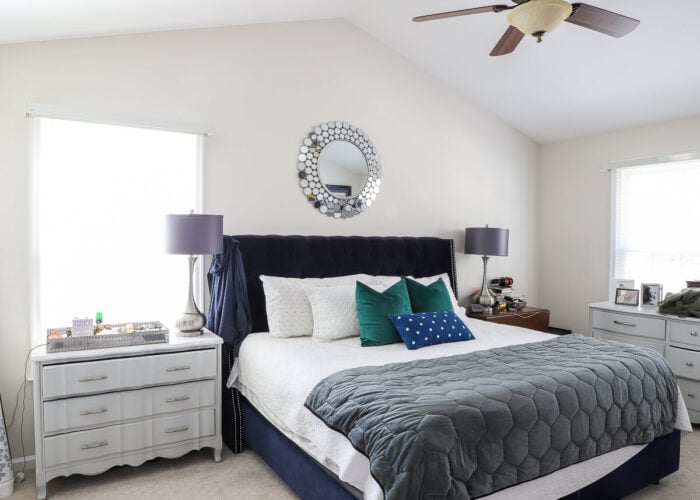
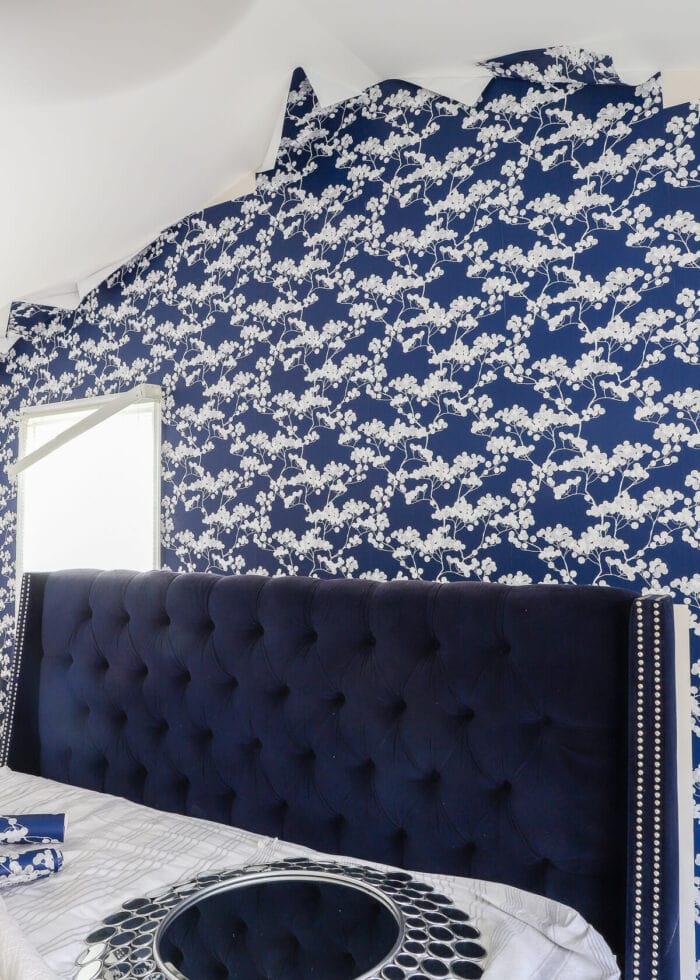
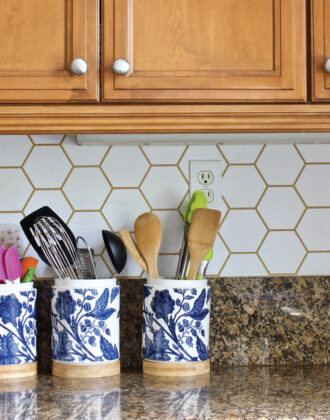
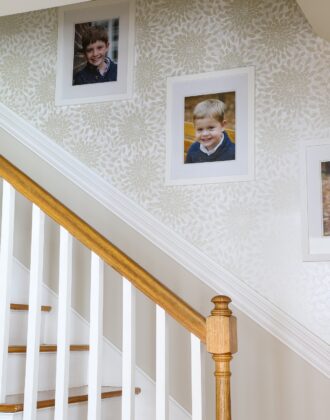
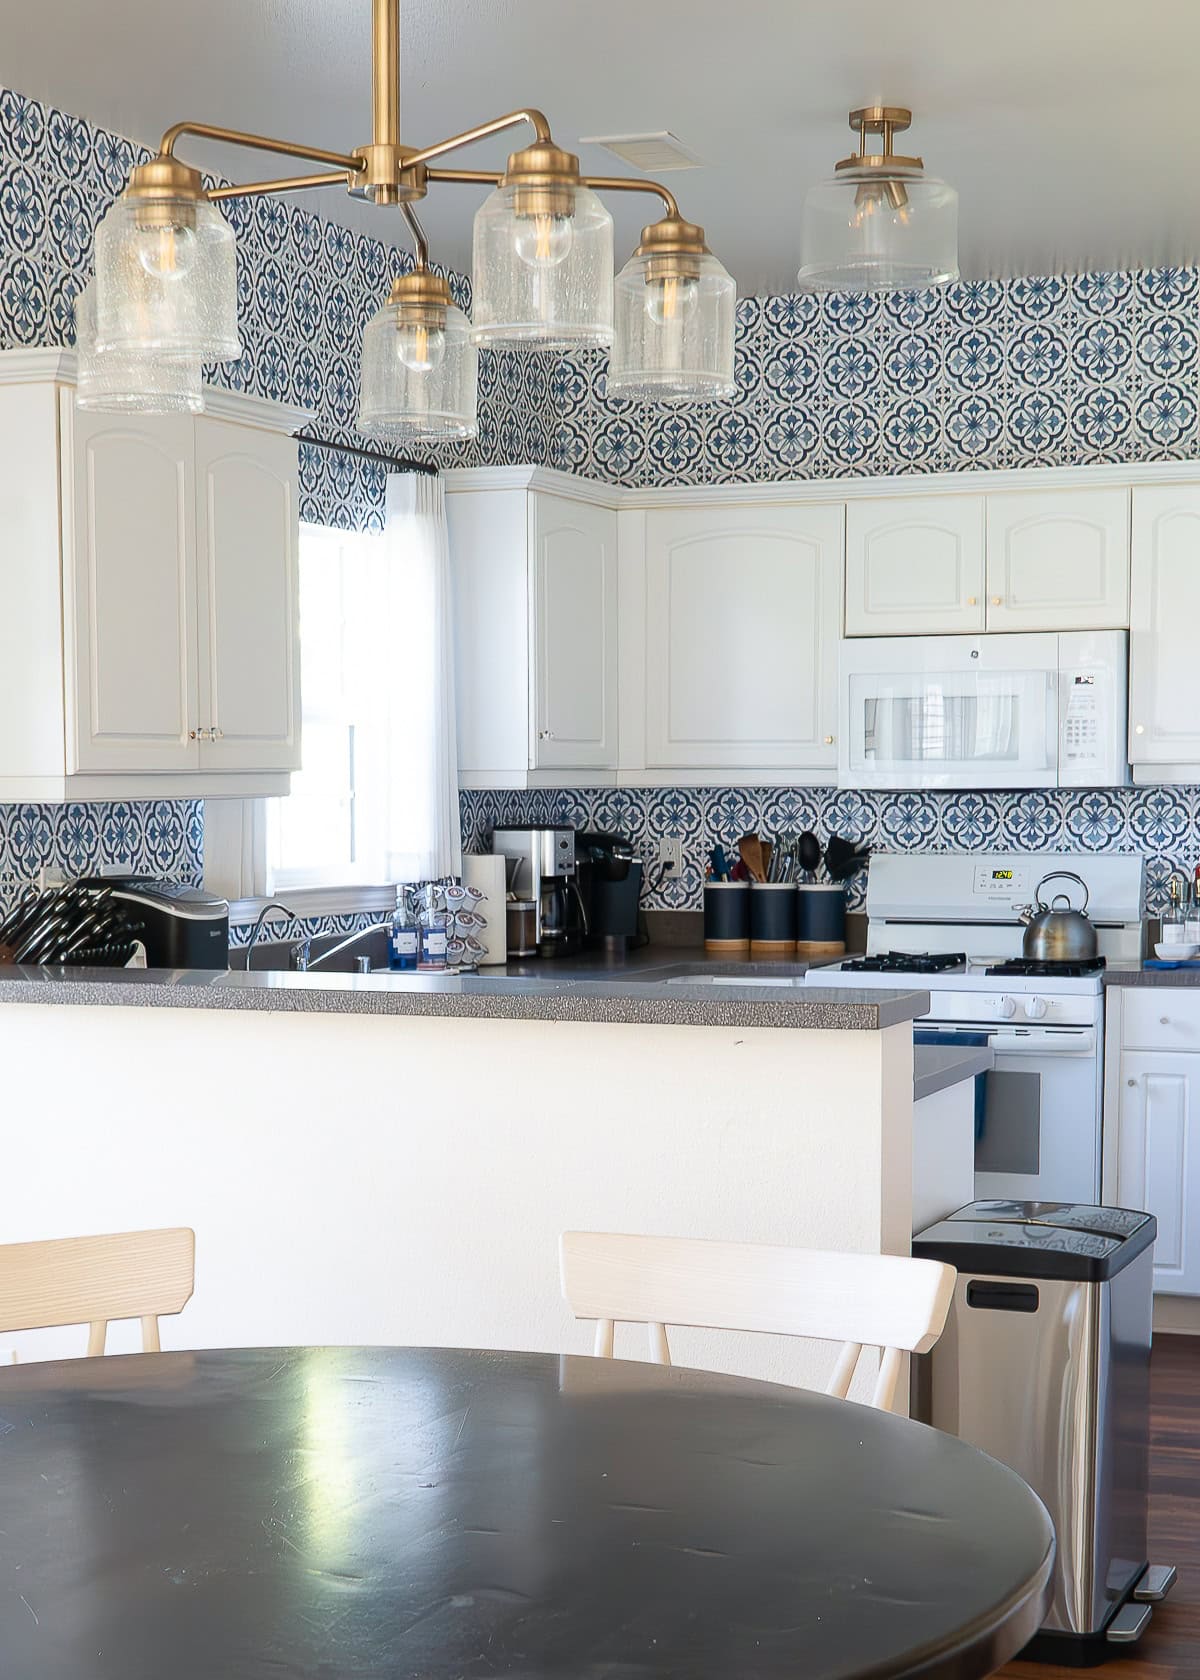
These days, I choose wallpaper over paint (almost) every time. Here are just a few snapshots of some wallpapered spaces across our various homes.
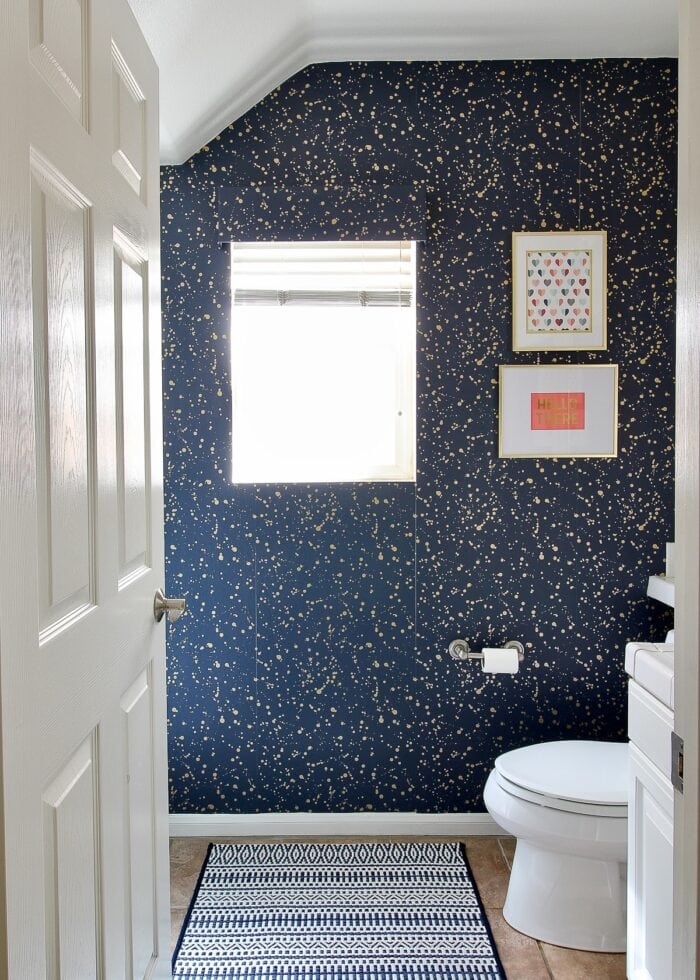
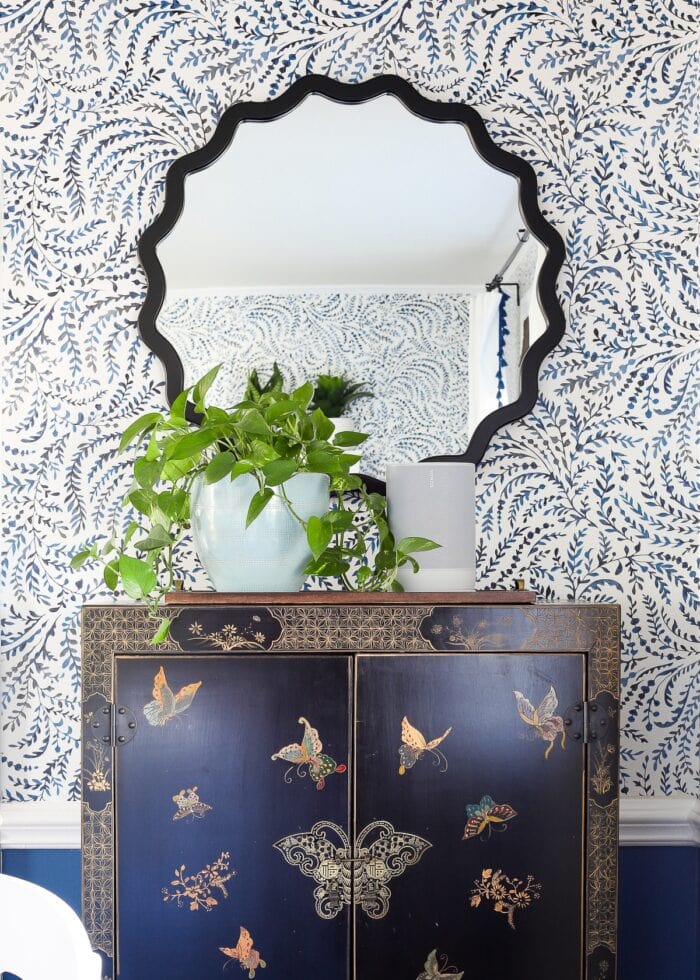
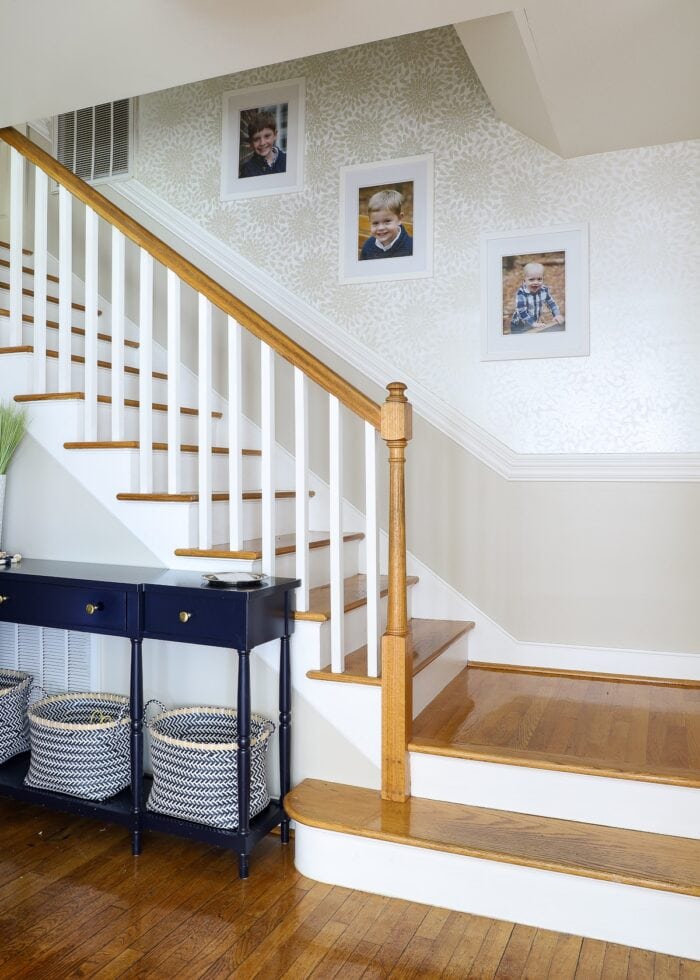
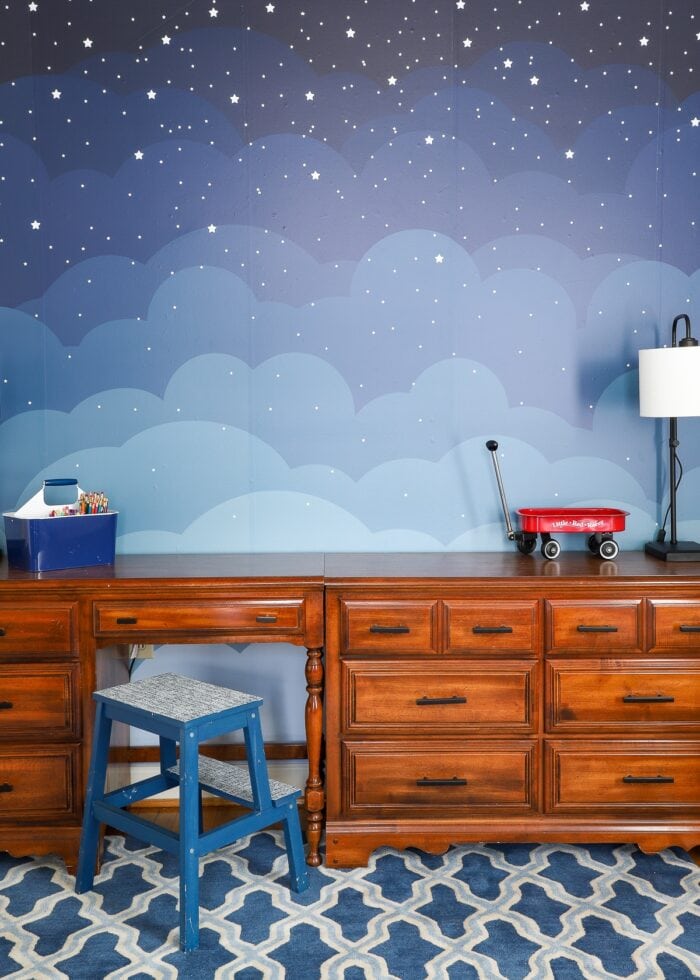
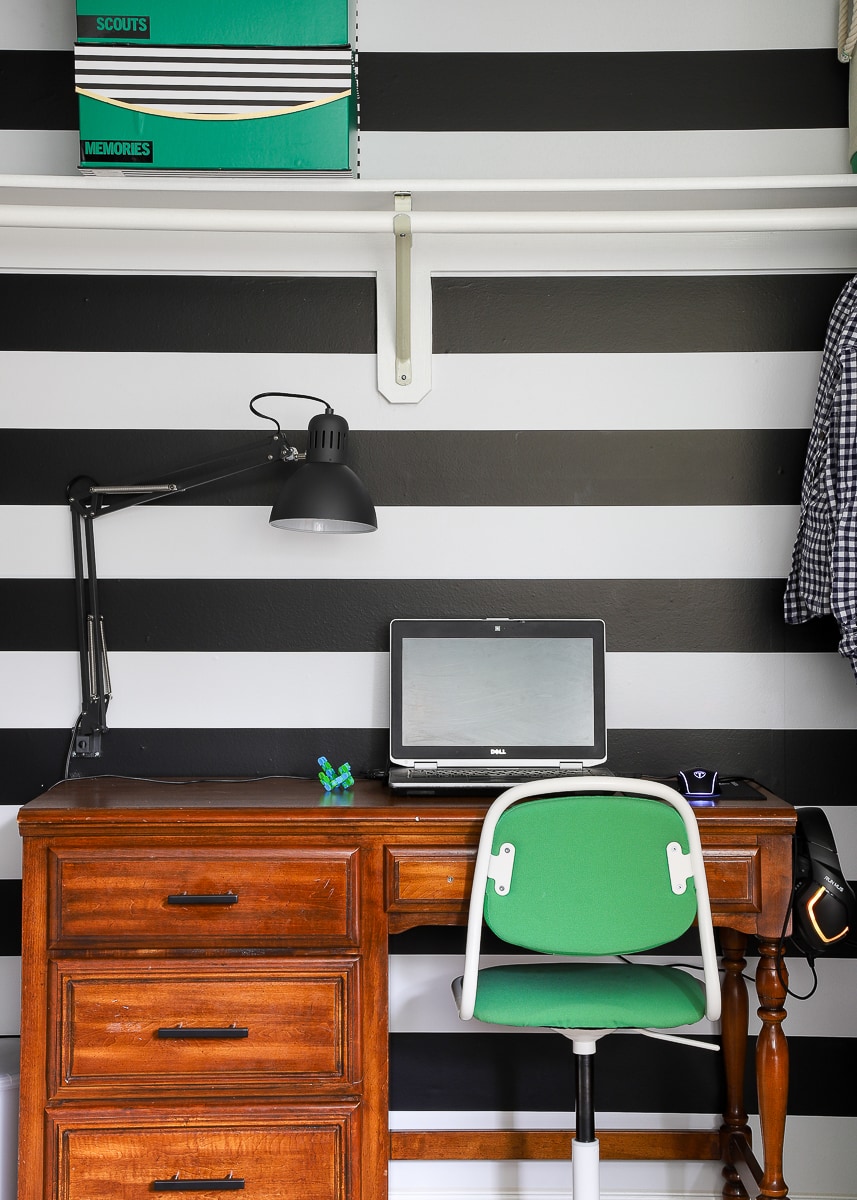
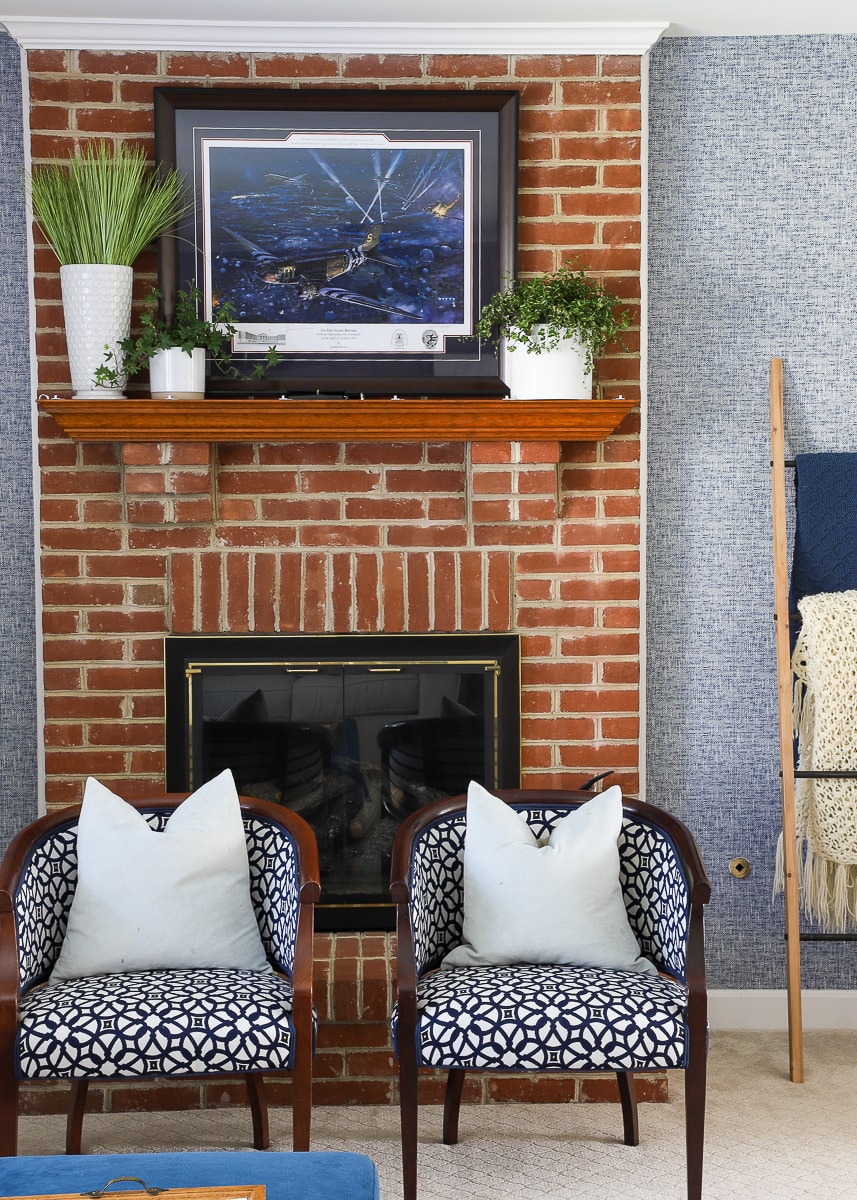
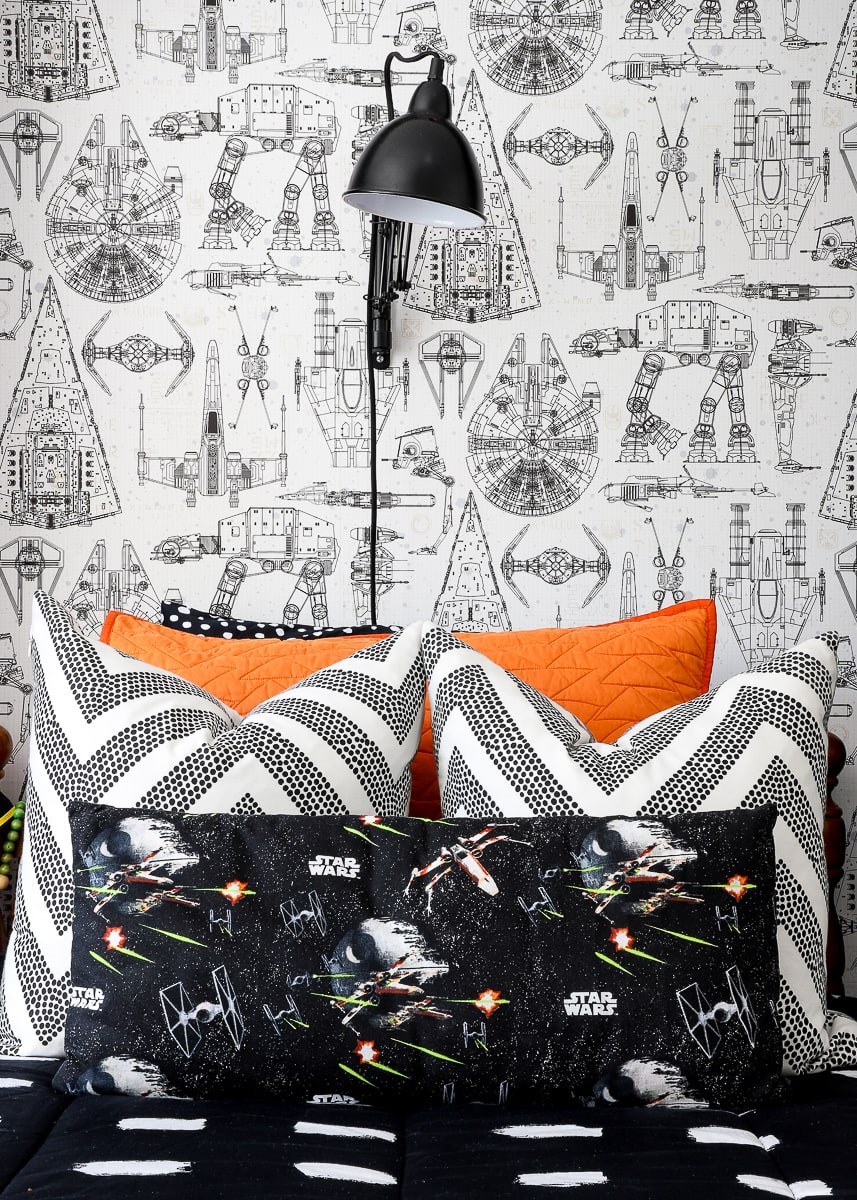

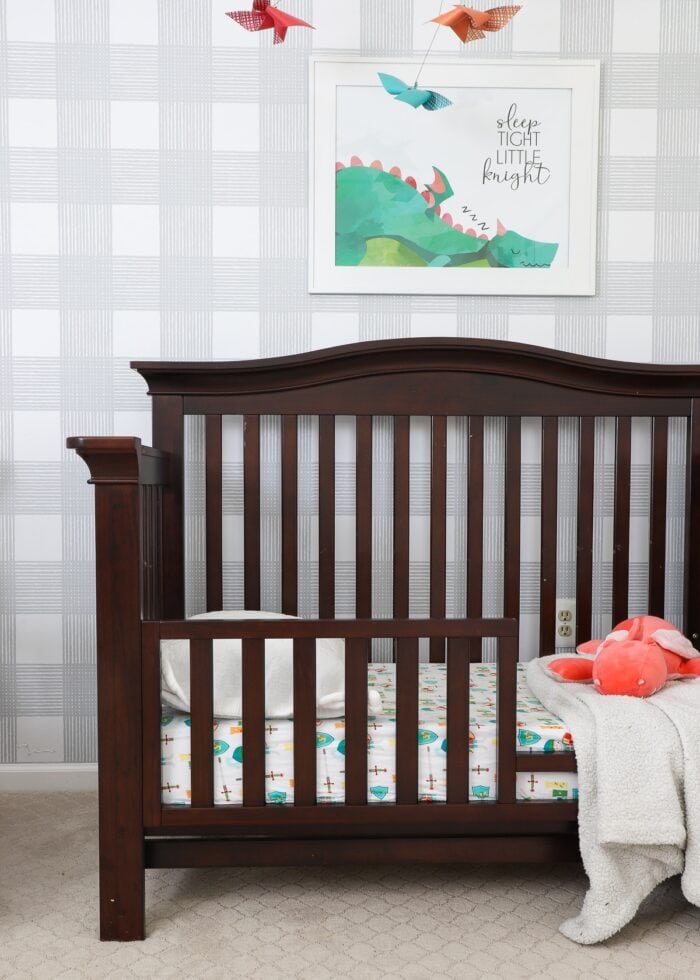
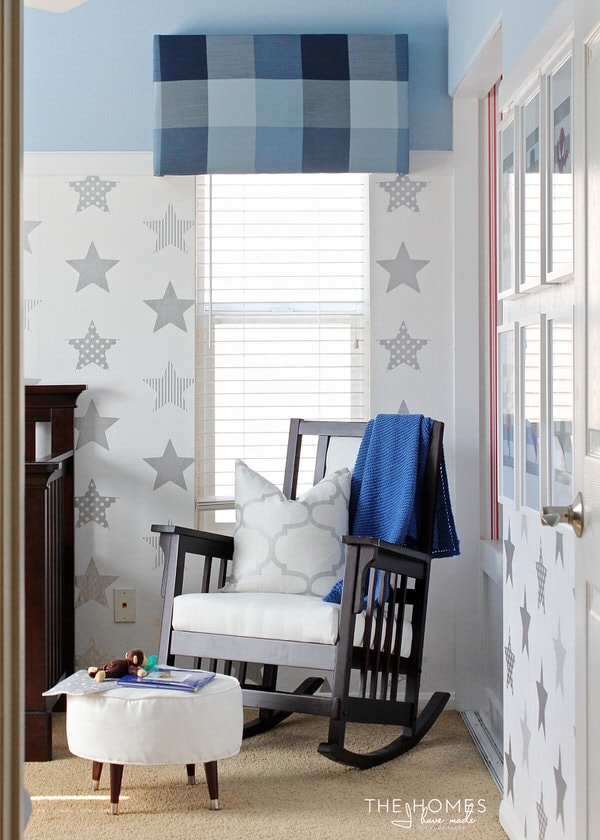
The other reason I love wallpaper so much? With so many amazing patterns now available, you get a lot of bang for your buck. With just a few rolls of paper, you can totally transform a room without replacing anything else.
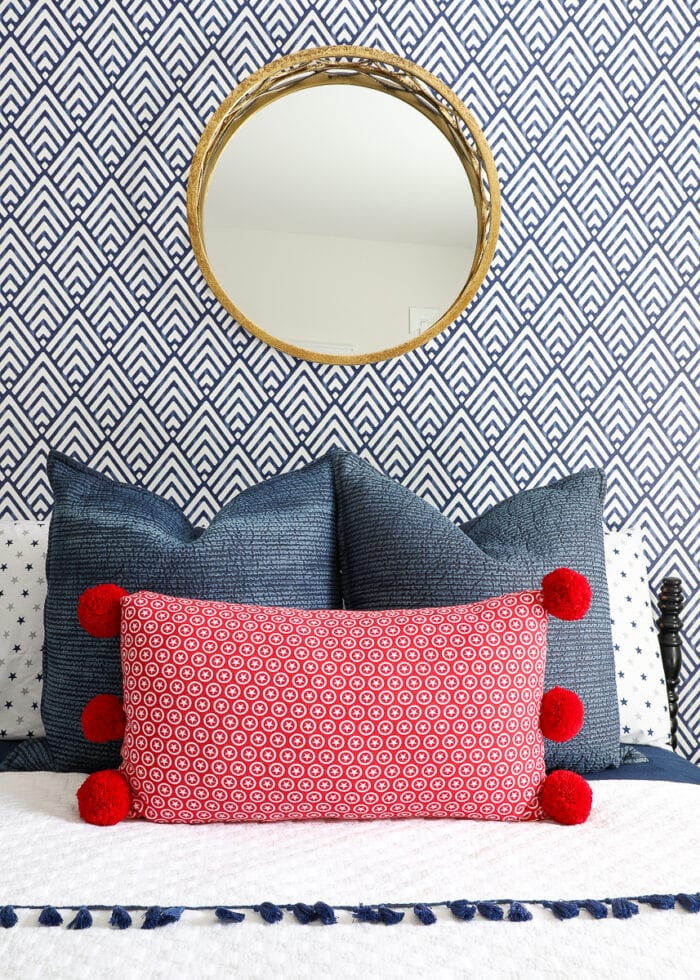
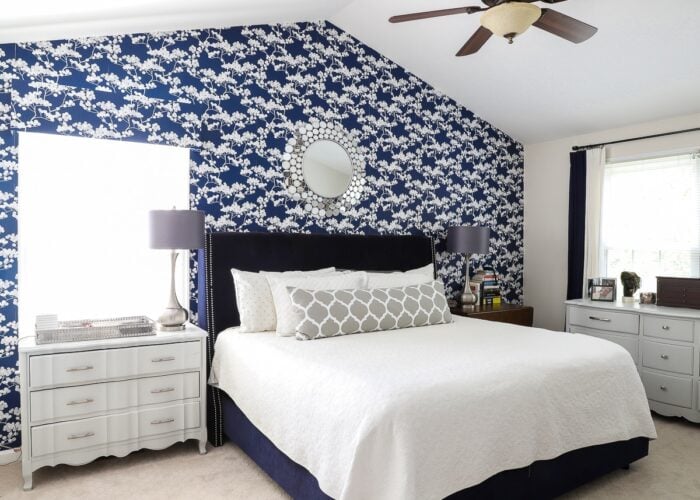
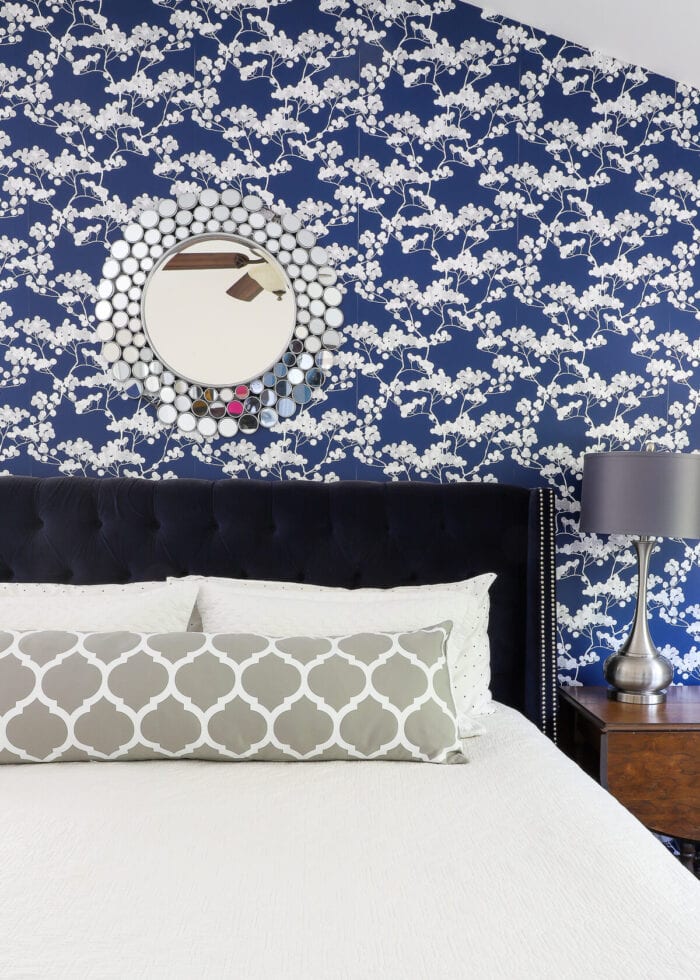
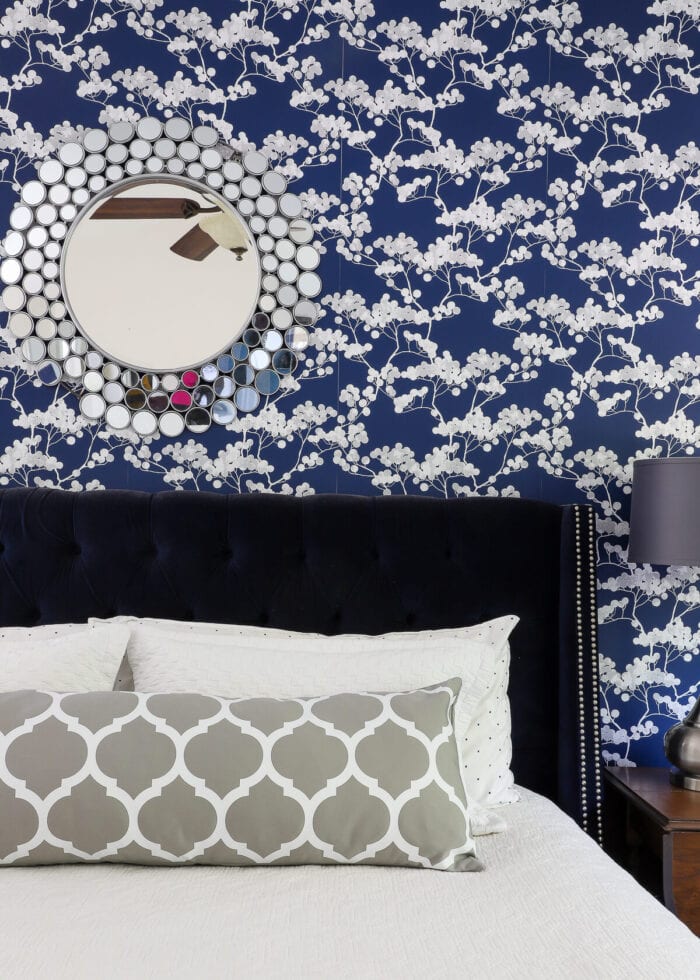
Case in point, below is the before/after of the wallpaper installation I’ll be demonstrating in this post. With just the addition of the blue floral wallpaper (and a new lumbar pillow), the entire room was completely transformed!
Whether you rent or not, using peel and stick wallpaper can provide an instant refresh and will be well worth the sweat and frustration usually involved in hanging it. Let me break the whole process down for you!
Supplies Needed
One of the best parts of hanging peel and stick wallpaper is that no fancy tools or messy pastes are required. Here are the supplies I rely on over and over:
- Peel and Stick Wallpaper
- This is the paper featured in this post.
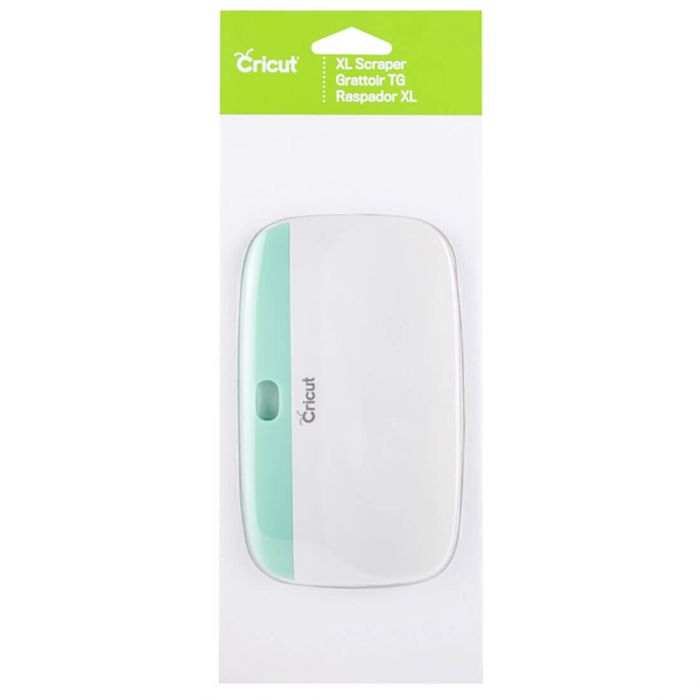
- XL Scraper – Many rolls of wallpaper will come with a smoothing tool, but I really prefer the wide width of this one for smoothing out bubbles and creases.
- If you don’t have a scraper handy, oftentimes a cloth or wad of paper towels will work too.
- Tape Measure
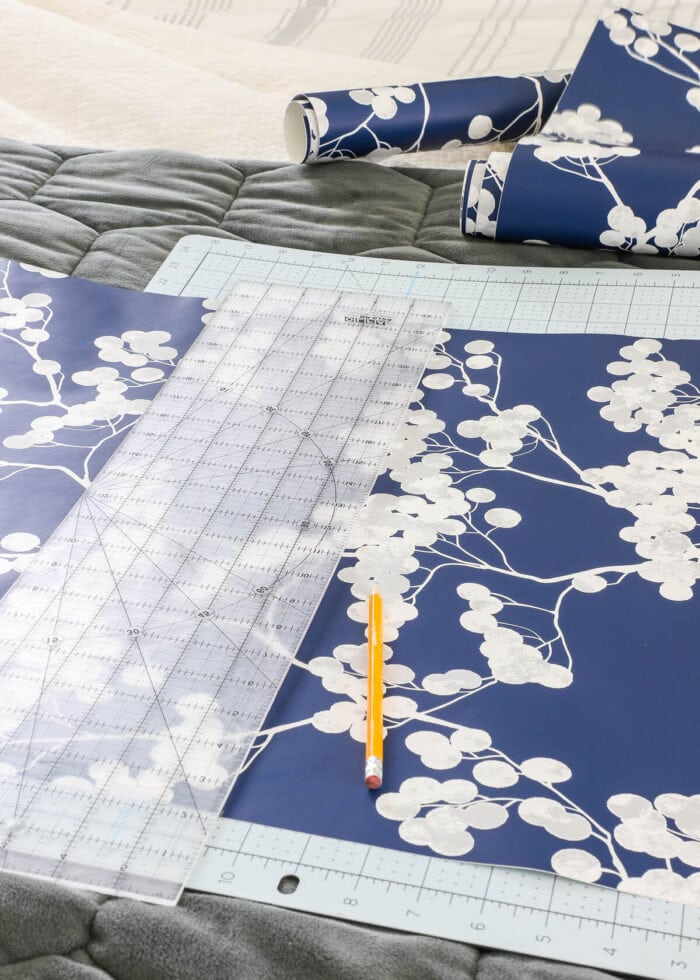
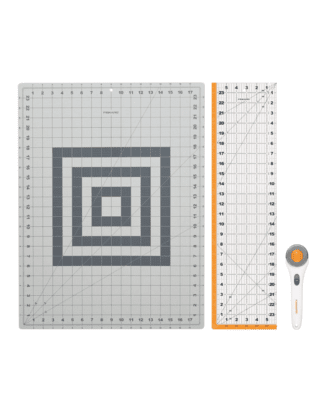
- Scissors and/or Rotary Cutting Set
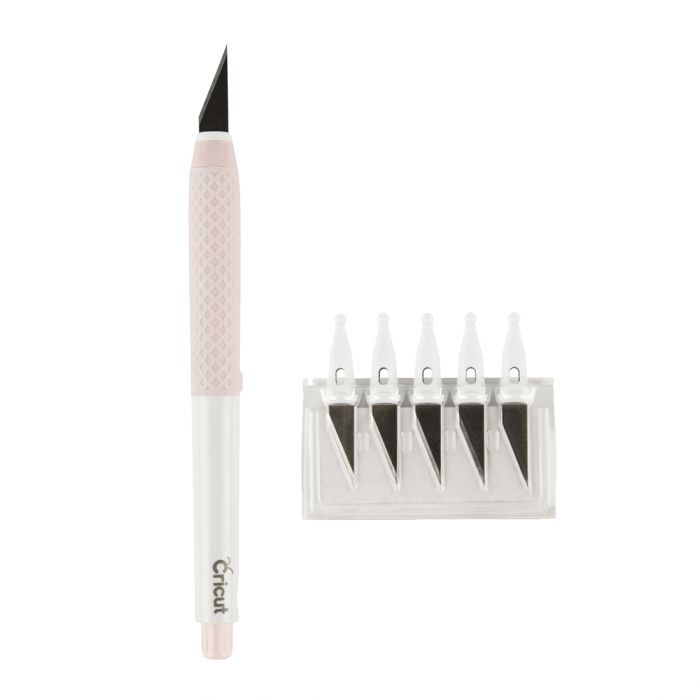
- Craft Knife – A sharp craft or utility knife is a must for getting a clean, straight edge.
- Ladder or Step Stool
- A Helper* | Patience – not required but highly recommended.
*The young lad seen in these photos is my awesome nephew. He happily helped wallpaper 3 rooms when I was 9 months pregnant, and is now a wallpaper pro himself. I couldn’t have snapped all these photos or tackled this huge wall without his help!
How Much Wallpaper Do You Need?
I’m not kidding when I say that figuring out how much wallpaper you need is one of the trickiest steps (especailly if you’re math challenged like me!) Many wallpaper sites have calculators built in, but THIS is a good one to reference. Whether you do your own calculations or rely on a tool, make sure you account for these factors:
- Wall Height
- Wall Width
- Pattern Repeat
- Roll Width
- Roll Length
You might also want to account for areas that won’t be papered (such as doorways and windows) and subtract those measurements from your final calculation.
If you are certain of your furniture placement (like we are…there is only one wall our bed can go on!), you can also choose not to paper behind large furniture items. I opted not to wallpaper behind our 60″ tall, King-sized bed, easily saving us 1-2 rolls of wallpaper!
Need some other ideas for bringing down the cost of your wallpaper? See my budget tricks here: 5 Ways to Cut the Cost of Removable Wallpaper!
I always recommend ordering 1 more roll than you think you need. Like yarn and fabric, wallpaper is printed in lots. If you discover mid-project that you need one more roll, tracking down paper from the same lot can be difficult if not impossible. (And yes, you’ll be able to see the difference if the lots don’t match #beentheredonethat). Returning an extra roll (or better yet, using the leftovers to line drawers or shelves!) is a safer bet!
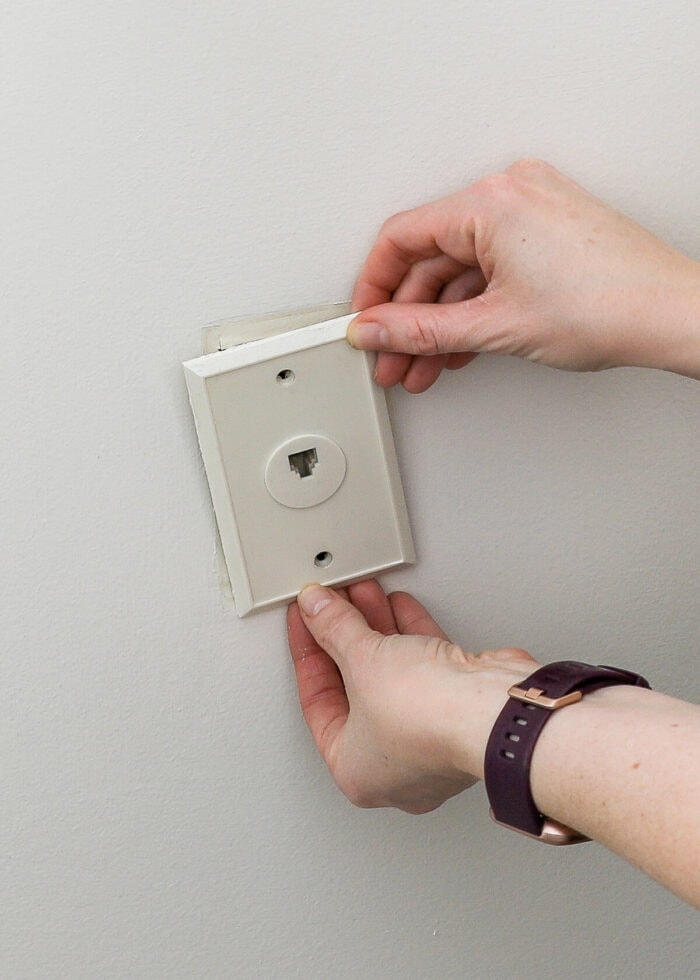
Step 1: Prep Your Walls for Peel & Stick Wallpaper
Unlike traditional wallpaper, there isn’t much you need to do to prepare your walls for peel and stick wallpaper.
I do recommend removing all outlet covers and switch plates where possible, and wiping down the walls and baseboards with a microfiber cloth to eliminate any dust, dirt, cobwebs, etc. In my experience, there is no need to freshly paint, sand, or clean your walls.
Wondering about walls with texture? See my experience here: Can You Wallpaper Textured Walls?
Step 2: Hang the First Panel
I’d love to say that hanging the first strip is the hardest; but really, each strip will be uniquely challenging. That’s just the nature of this project. However, the placement of your first strip will dictate how the rest of your wall will go, so take your time!
I tend to choose tight, all over patterns so it doesn’t really matter where I place my first strip; as such, I always start in one of the corners. However, if your wallpaper has a particular pattern that you want on a specific part of the wall, you might want to use that placement as your starting spot.
If you are starting from a corner, measure the distance in from the corner of your wall:
Your Paper Width – 1″
Why? You will find that most corners and ceilings are not level. So if you hang the edge of your paper right along the corner or ceiling edge, there’s a very good chance the panel will eventually move toward or pull away from the corner (horizontally) as it lays down the wall. This can create an awkward, unslightly gap.
Placing your paper 1″ into the corner allows you to eventually trim away the overlap in a perfectly straight line, ensuring you end up with paper all the way to the edge, the full height of the wall.
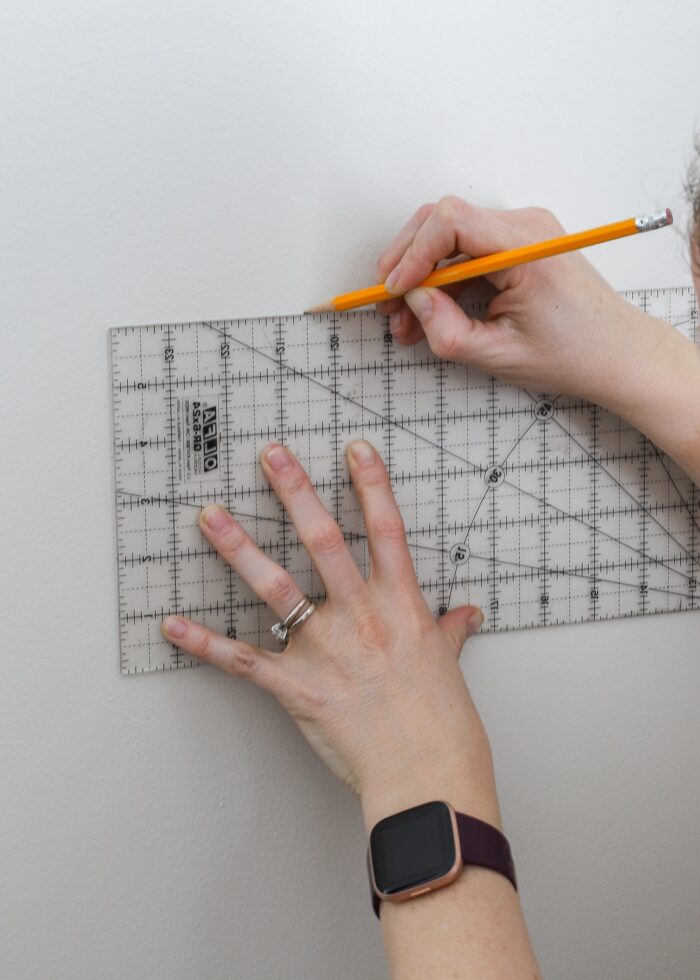
With that mark in place, use a level or laser level to create a vertical line the entire length of the wall.
We try to use a laser level so we don’t mark up the wall, but it can be tricky to hang paper against it since the paper often blocks the light. If you don’t mind marking your walls, a light pencil line is usually easier to see.

Next, use that line as a guide to measure the height of the wall to determine the length of your first cut.
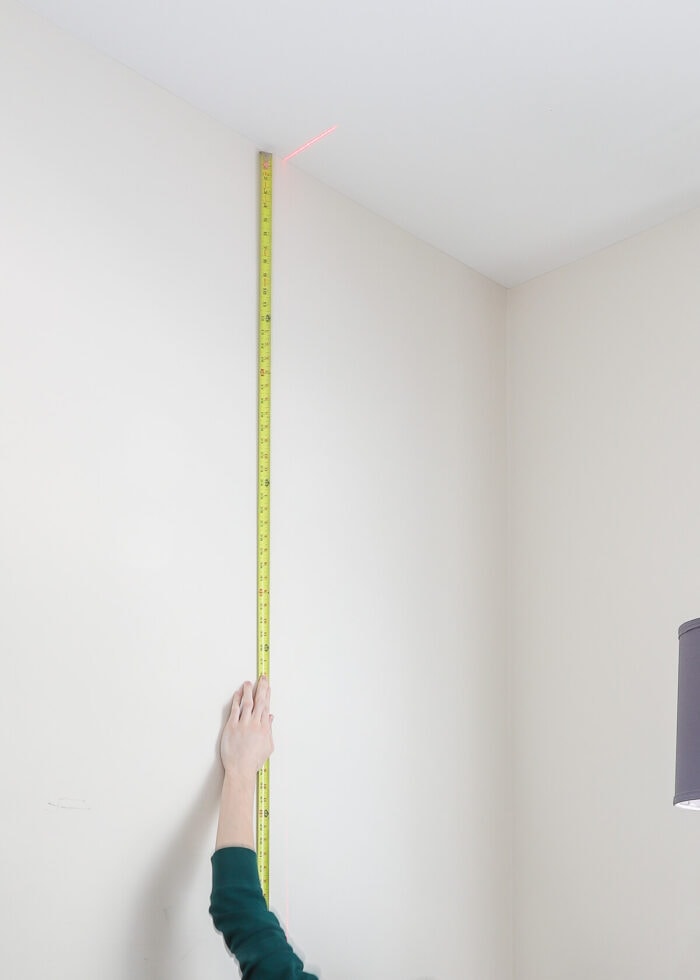
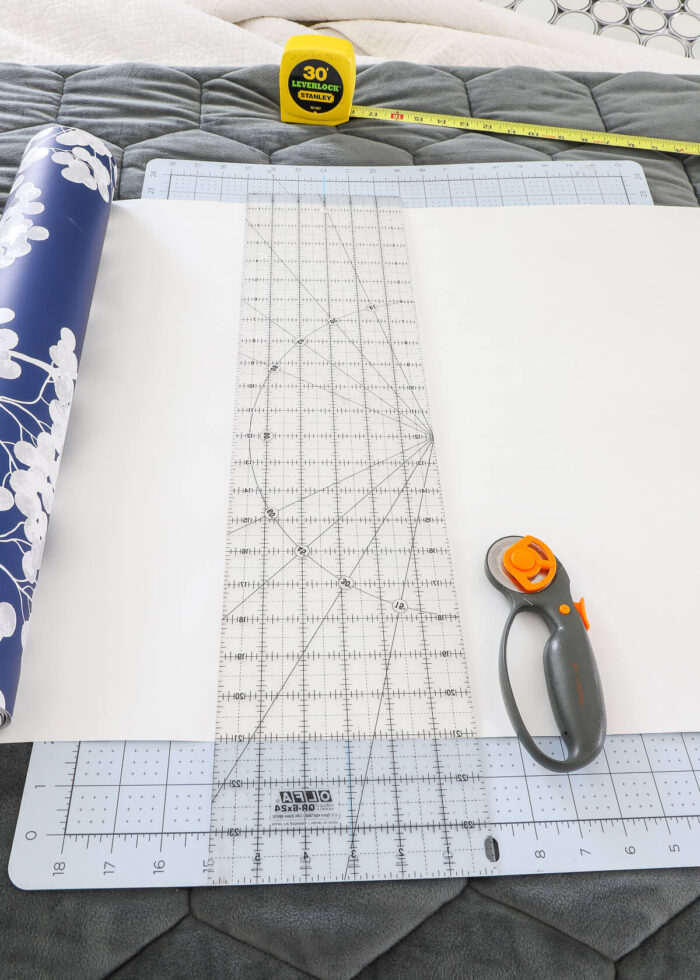
With that first measurement in hand, cut your wallpaper down accordingly. I recommend adding about 3-5″ to every length to give yourself some wiggle room.
Again, my pattern is an all-over pattern so it didn’t matter where on the roll I cut this first length. However, if there is a certain part of your paper that you want at a certain place, make sure you account for that in your measurements.
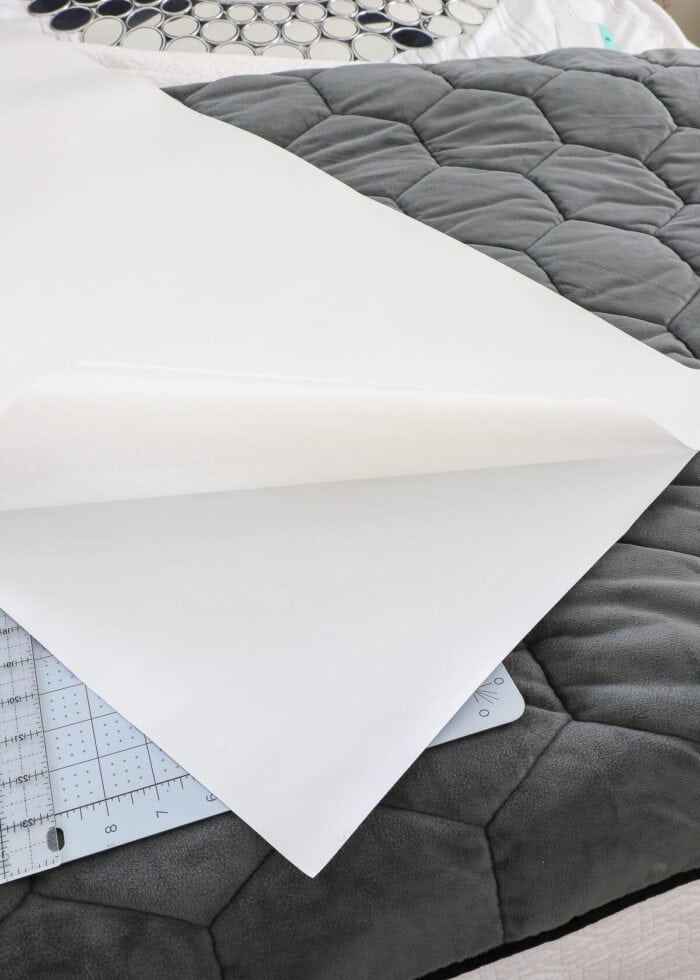
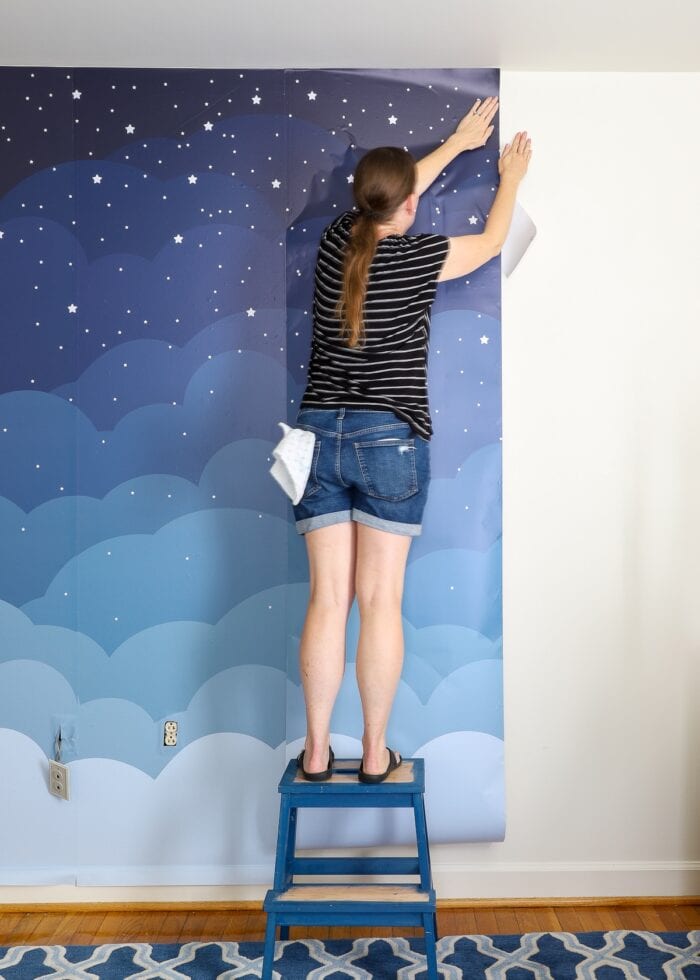
Next, peel the paper backing off the first 20-30″ of the wallpaper panel. Okay…this is where it gets scary, so let me share a few tips:
- Peel and stick wallpaper is called repositionable for a reason. If it sticks to something…anything…you CAN peel it off. This includes the wall, itself, furniture, your hair, etc. Don’t be scared of it. If you bought good wallpaper, it won’t rip as you pull it apart/away. Yes, even if it is SUPER wrinkled or creased, you will be able to smooth it out flat. I promise.
- I’ve experimented a TON with keeping the paper backing partially on or taking it all the way off at the start. While I don’t recommend completely removing the backing off the entire panel, you will need a good length of paper to start with. I recommend pulling the paper backing off 20-30″ from the top and getting the panel into place before removing the rest.
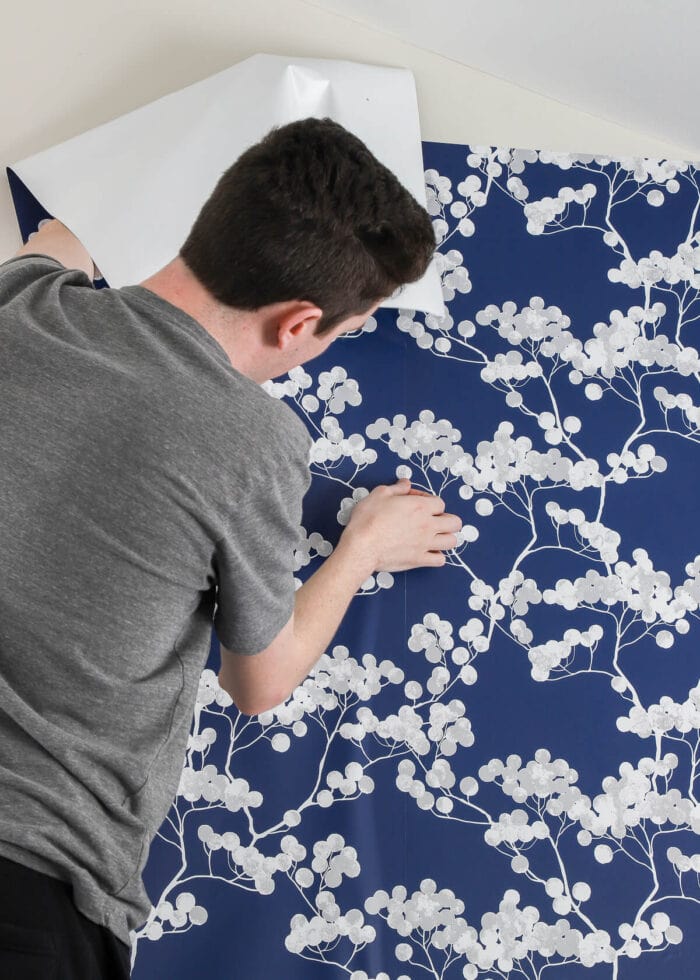
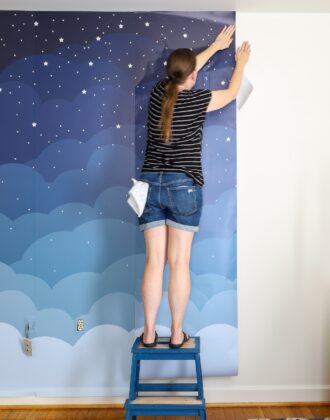
With the paper backing partially removed, line up the side edge of the wallpaper with your level/pencil line (in my case, the left side of the panel). I recommend first placing the side of the wallpaper down along the line, then smoothing the panel out, horizontally at first and then upward and downward.
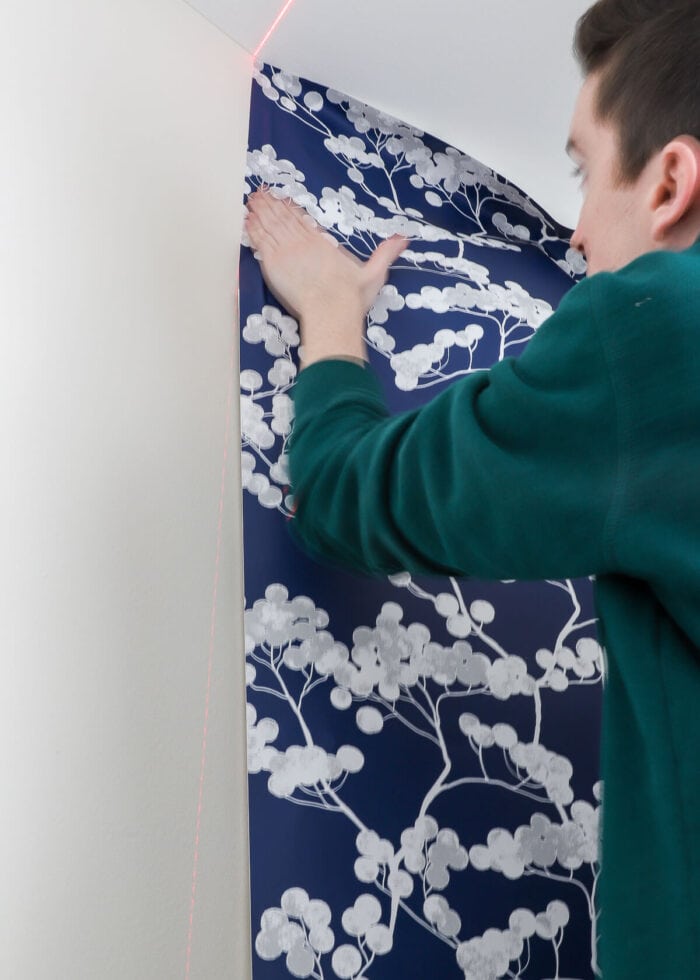
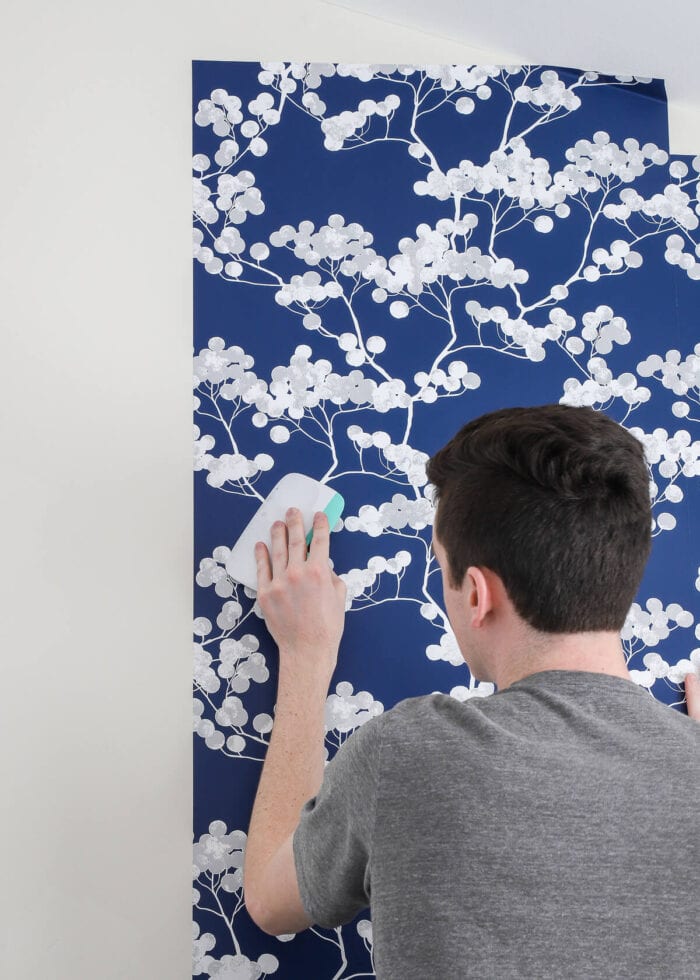
The static, vinyl nature of most wallpapers will cause them to lay down pretty smooth and flat. If not, use a scraper to smooth out air bubbles and work the paper tightly into corners and edges.
With the initial 20-30″ of wallpaper in place, continue pulling away the paper backing and smoothing the paper down as you go.
Again, my favorite technique is: smooth the paper down the center of the panel and then spread and smooth outward toward the sides.
If your paper is veering, it will only continue to do so as you move down the wall. At any time, don’t hesitate to pull the panel up in order to re-direct it or smooth out large wrinkles.
Keep moving down the entire wall until the first panel is in place.
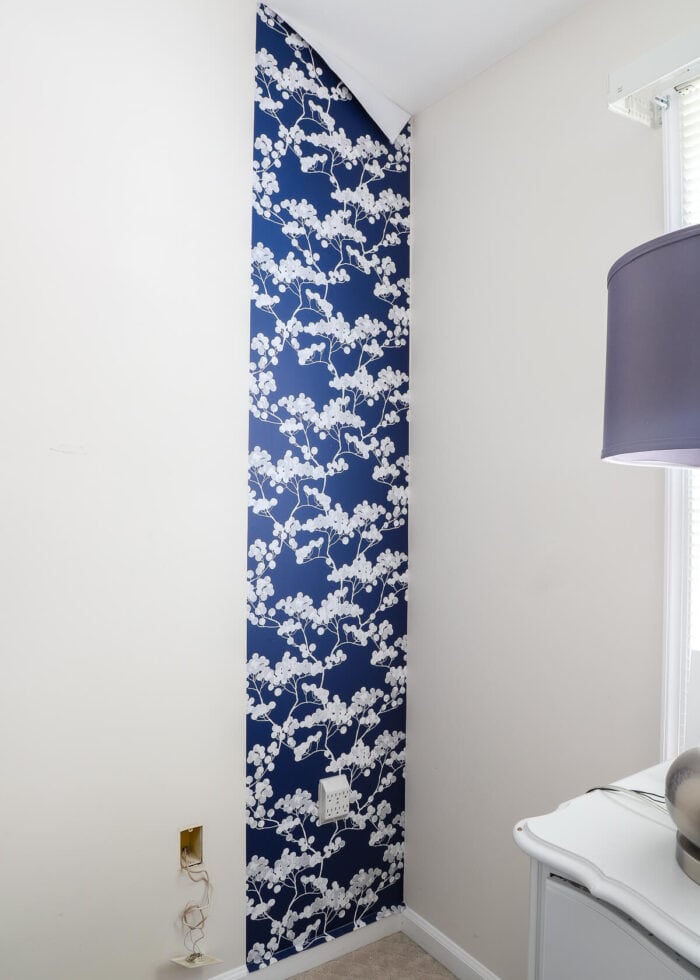
You’ve got the first panel up! Take a deep breath…there’s more work to be done!
Step 3: Hang Follow-On Panels
In general, you will follow the same process to hang additional panels across your wall. However, there is one major factor you will need to take into account each time: pattern matching.
Wallpaper panels are NOT designed to overlap. Your goal is to hang panels perfectly edge-to-edge so that the pattern appears continuous across the entire wall.
How to Match Wallpaper Patterns
Most wallpapers are not designed in a way that you can just pre-cut strips a standard length and hang them side-by-side. Each wall is a different height and each paper has a different pattern design/repeat, so you will need to “manually” figure out each strip as you go (unless you’re great with math and patterns, of which I am not!)
I have pre-cut sooooo many strips wrong over the years in attempts to short-cut the installation process. So I can say, without a doubt, that the best way to know if you’re cutting the right part of the paper is to figure it out fresh each time.
With the paper backing still on, hold the roll of paper up to your previously installed strip. Locate where the pattern matches up and then mark the wallpaper along the ceiling AND the baseboard/floor (a crease is usually sufficient). These folds will (generally) be your next panel measurements.
Want to save this post?
Always add a few extra inches before trimming down the paper.
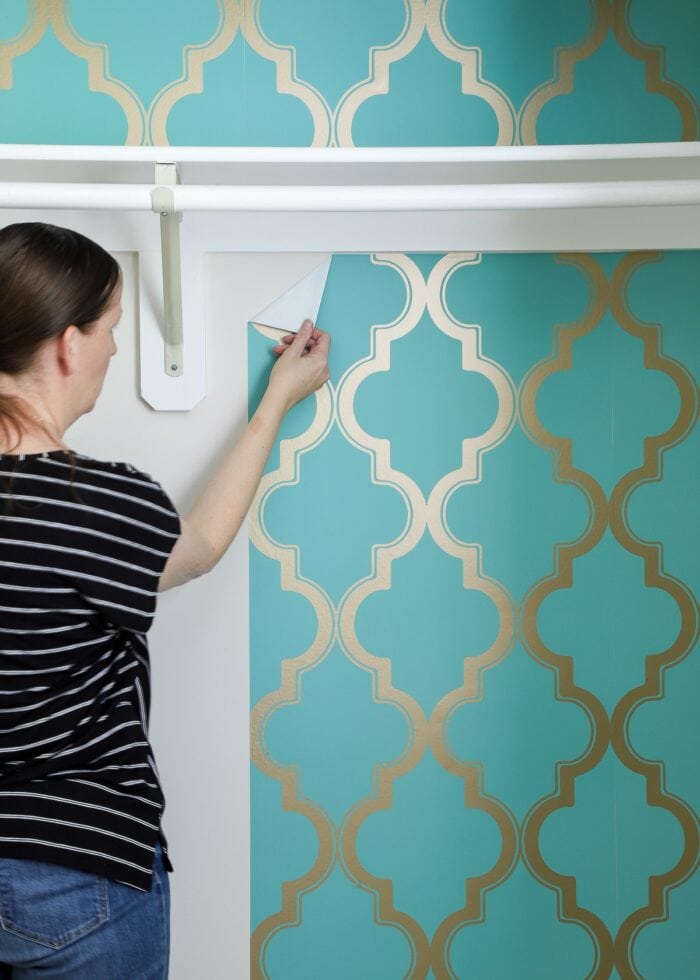
With your paper trimmed, again remove 20-30″ of paper backing. Then, just as you did with your pencil/laser level line, match up the edge of the wallpaper with the previous panel, right where the pattern matches. I recommend getting the vertical edge matched up before smoothing the paper down.
If you are working alone, you can gently stick the far edge of the paper to the wall to essentially “hold up” the panel while you work on the opposite edge.
Once the edge of your new panel lines up with the previous panel, then use the scraper to smooth out the rest of the panel, again working out horizontally at first, then moving up and down the wall. With persistent smoothing, you will be able to get most bubbles out.
If you find yourself with a really open seam between panels or bad wrinkles that will not smooth out, peel up the panel (yes, all of it) and lay it down again.
Continuing working across the entire wall in the same fashion:
- Hold up the roll of paper to your previous panel to identify the pattern match.
- Use the ceiling and baseboard to “finger crease” the panel measurements.
- Cut the panel with +1-2″ on both the top and bottom.
- Remove the paper backing off the top 20-30.”
- Match the pattern along the seam first.
- Smooth the panel flat across the center, then up and down.
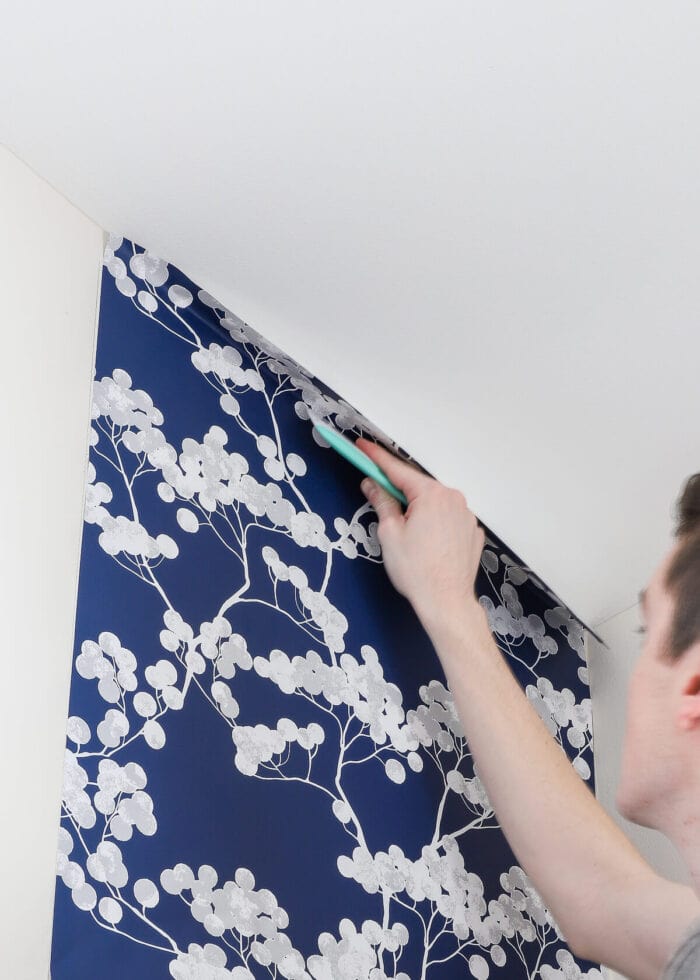
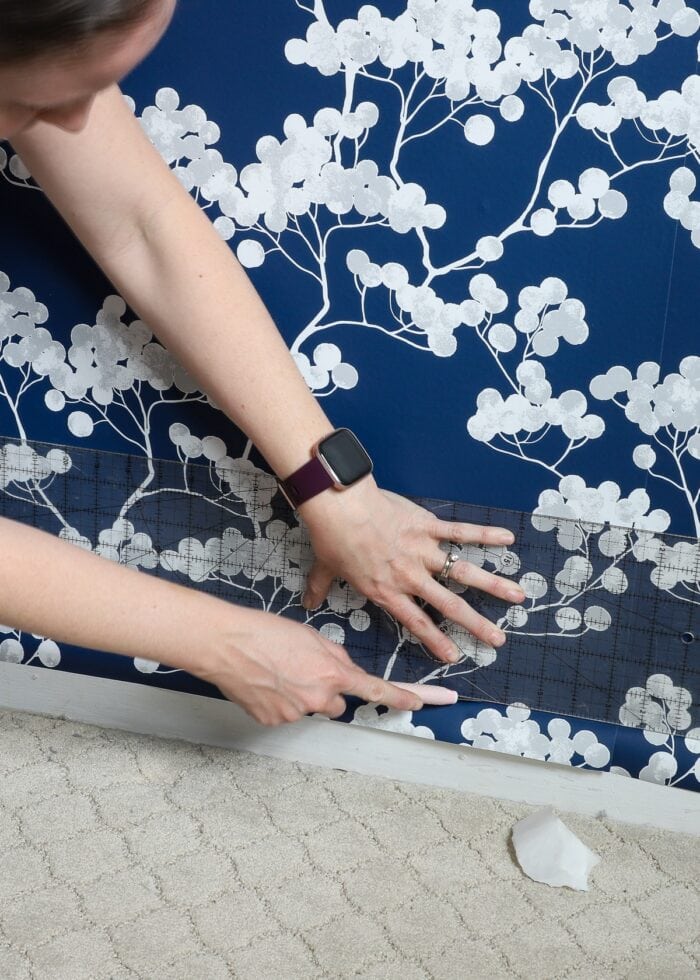
Step 4: Clean Up the Edges
Once you have all your panels hung, the finishing step is to use a sharp craft knife along the baseboards, ceiling, corners, windows, etc to remove excess paper and create clean edges.
The best way to get really clean cuts is to to use a VERY sharp blade. While a ruler can be helpful, often you can just run your blade across the baseboard/trim.
My Top Tips for DIY Peel and Stick Wallpaper Installation
Take It One Panel at a Time
While I’ve outlined my basic process here, I can’t over state how much wallpapering involves constant problem solving. Because every room has different features and each wallpaper pattern is so unique, it really is a “one panel at a time” project.
You may have to cut away parts of your panel to fit around an outlet or AC unit. Or perhaps use scraps to patch up a shorter area below a large window. You may need to cut a panel in half vertically to go on one side of a door and then use the second half to re-start the pattern on the other side.
Take it one panel at a time, and don’t hesitate to get creative in order to make the paper work the way you need it to.
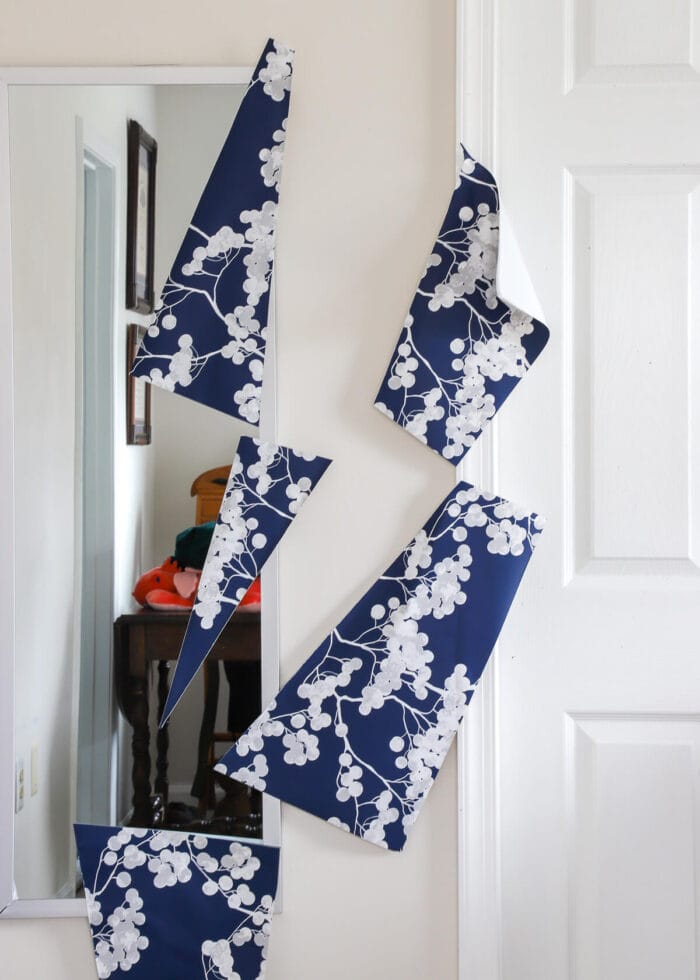
Don’t Hesitate to Patch
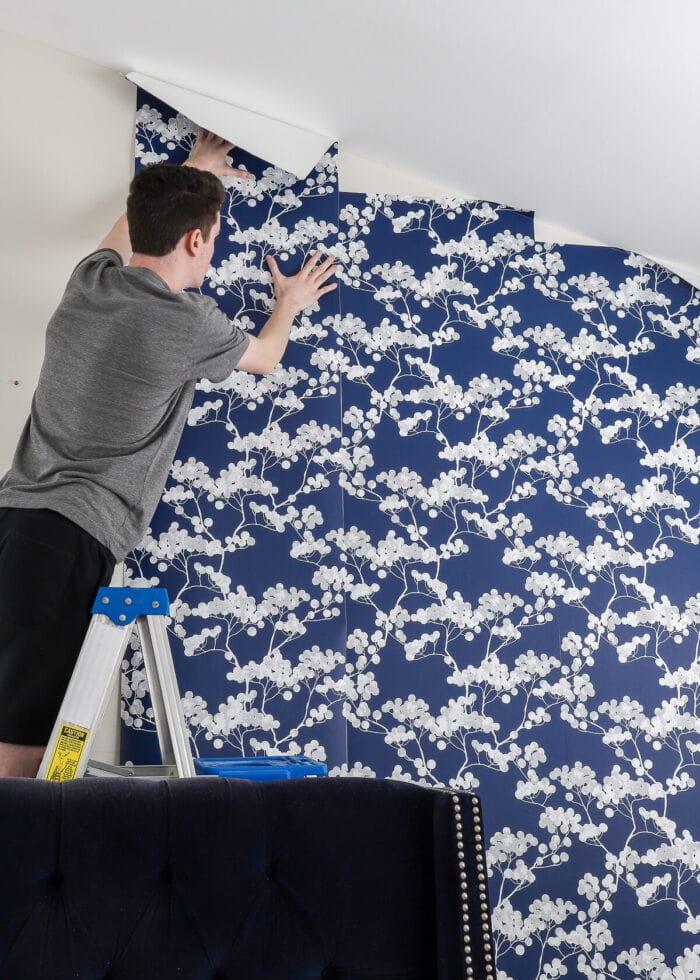
The pattern repeat of my specific paper was about 30″ (that’s a lot!) You’ll notice in the photo below that on some panels we chose to cut long and let the pattern extend over the ceiling edge; while on other panels, we opted to cut short, leaving bare wall.
Having wallpapered enough, I knew we’d be able to patch those blank top edges with the excess from the other panels (and that they’d be practically impossible to notice, especailly from the floor.)
Sure enough, once we trimmed away the excess paper off the longer panels, we had more than enough paper to patch up the other panels in order to create a seamless design all the way to the ceiling.
Never ever get rid of scraps until you’re completely done. You’ll be amazed where these smaller cuts come in handy!
I will admit that this is most certainly not the “professional” way to do it. But I try REALLY hard to keep the cost of our wallpaper installations down. By patching with scraps (instead of wasting up to 30″ of paper on each panel), I was able to save tons of paper and money!
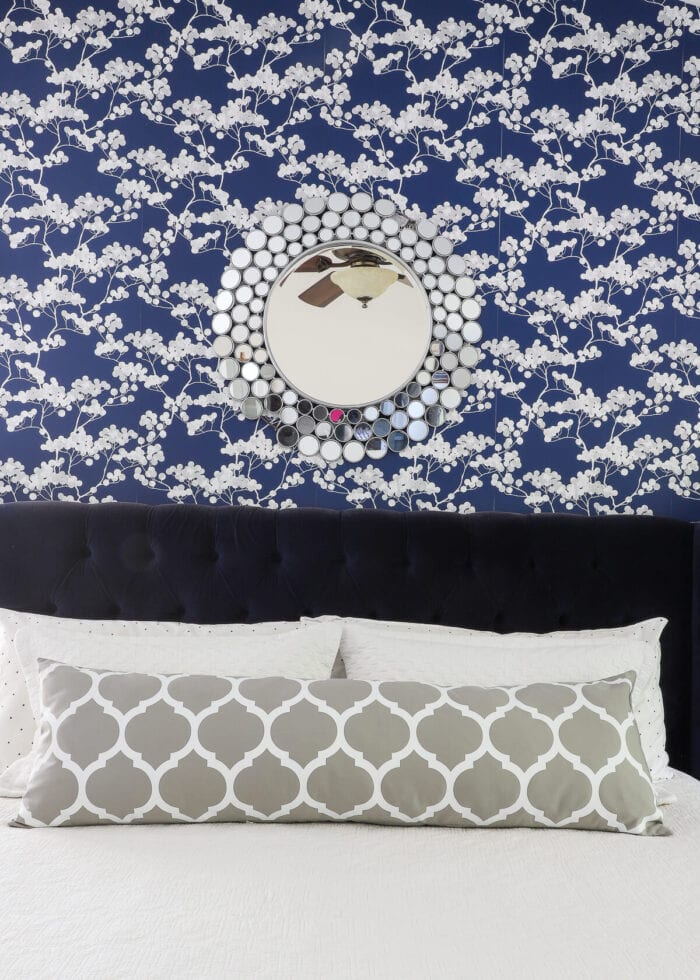
Go Light
In general, lighter papers are easier to install compared to darker papers because the seams don’t show as easily. This is one of only a few dark paper I’ve ever installed, and I was struck by how noticeable even the slightest seams were. Sure, some of my other walls have teeeeeny tiiiiny seams too, but thanks to light paper on light walls, they are practically camouflaged.
Go Small (Scale)
Small scale patterns will require less paper than large-scale patterns. The pattern repeat can waste A LOT of paper, so if you’re looking to keep waste and cost low, pick a tight pattern.
Don’t Panic About Wrinkles
The paper WILL smooth out. I can’t tell you how many times I’ve gotten my paper stuck to itself (sticky side to sticky side) and I’ve had to work really hard to pry it apart, resulting in a wrinkly mess. But once it’s smoothed up on the wall, all those creases and wrinkles disappear. Seriously.
If you find yourself with a mess of a panel (which you will when you’re first getting started), DON’T throw it out. Put it up, smooth it out, and step back. If it’s still in bad shape, replace it, but my bet is it will look just fine!
Step Back
Like any project (such as sewing or painting furniture), it may seem like an awful mess when you’re in the middle of it. You’ll be hyper aware of every crooked panel, mis-matched pattern, and overlapping panel. But I can guarantee once it’s hung and you step back, you won’t notice all those imperfections. And in your everyday living, all those tiny details won’t even catch your eye!
Take a Break
I’ve hung peel and stick wallpaper in well over a dozen rooms now; and without fail, there is always (at least) one panel that gives me trouble. And every single time, I find myself frustrated, sweaty, and ready to pull it all down.
But I’ve also done this enough to know that it will look amazing if I just keep at it. And so after taking a little break, I come back and keep going. Peel and stick wallpaper IS frustrating to work with. But the results are amazing…so take breaks when you need them and then come back to finish the job.
Will Removable Wallpaper Damage Your Walls?
Maybe, but probably not. I wrote an entire post answering this frequently asked question about removal: Does Peel and Stick Wallpaper Damage Walls?

More Great Information on Wallpaper In Your Home
Ready to tackle more wallpaper projects in your home? Check out some of my other favorites!
- How to Hang Peel and Stick Wallpaper
- Does Peel and Stick Wallpaper Damage Walls?
- A Complete Guide to Updating Furniture with Wallpaper
- Can You Use Peel & Stick Wallpaper In a Bathroom?
- Can You Put Wallpaper on Textured Walls?
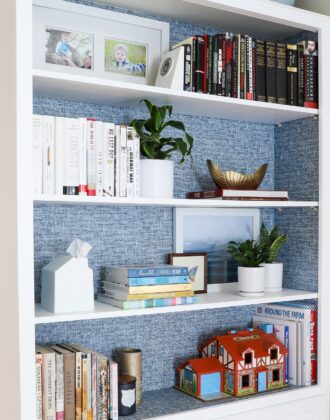
- How to Wallpaper the Back of a Bookcase | Step-by-Step
- Wallpapering a Stairwell | Tips You Need to Know!
- How to Hang a Wallpaper Mural | Tips & Tricks for Great Results
- How to Wallpaper a Backsplash
- The Best Wallpaper for Your Kitchen Backsplash
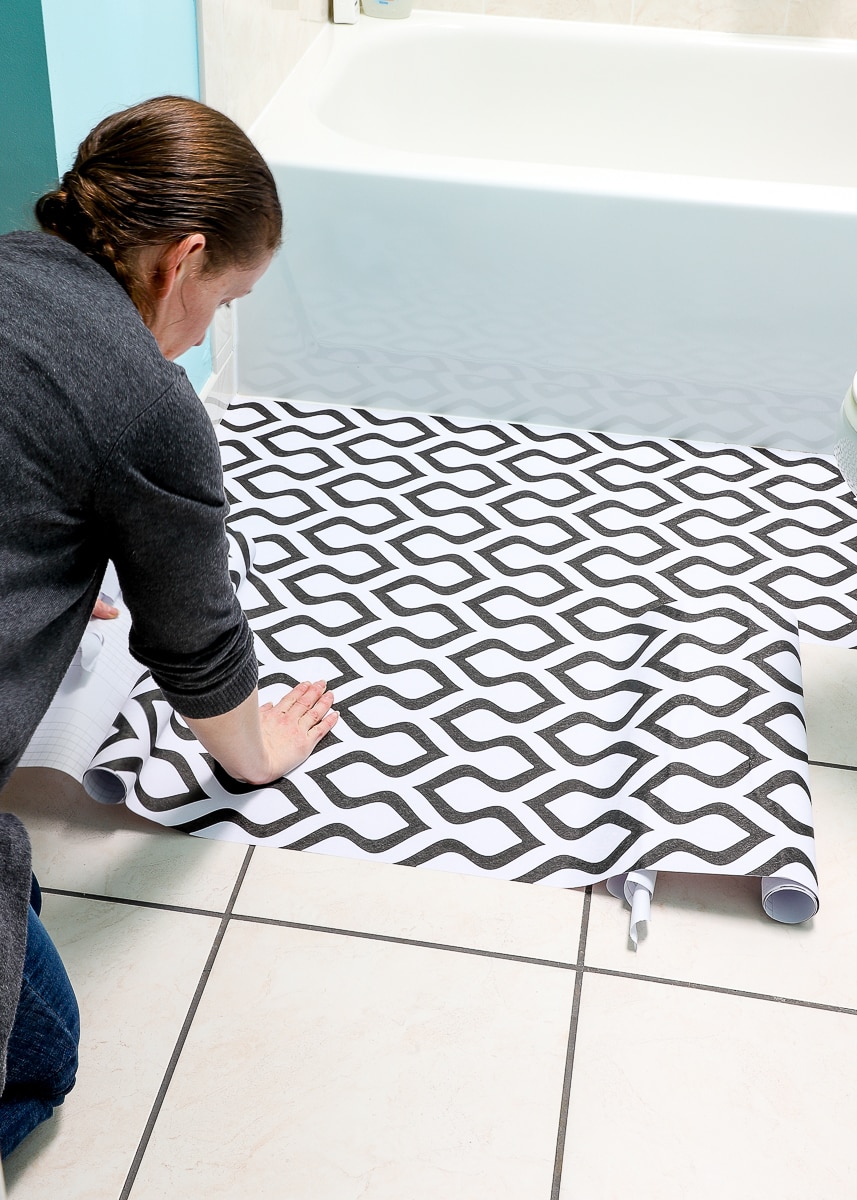
- Can You Put Peel and Stick Wallpaper on the Floor?
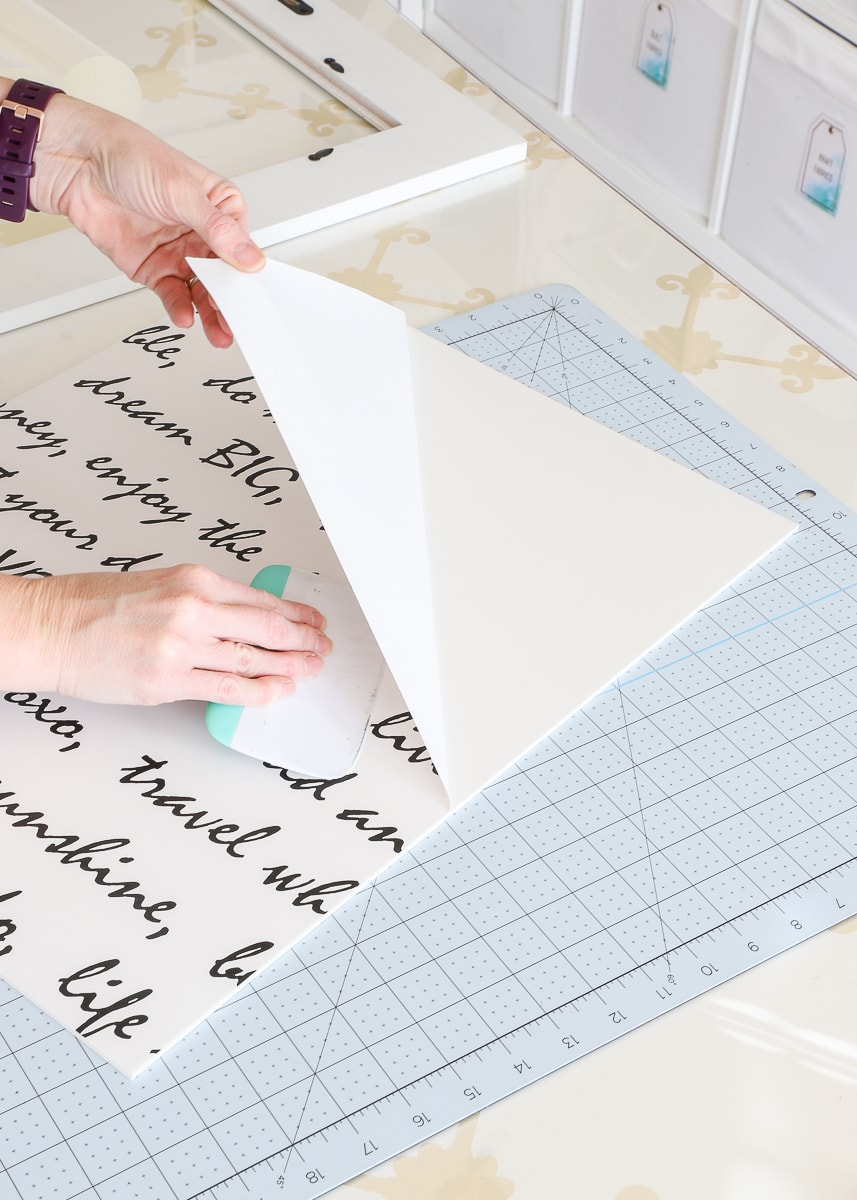
- How to Line Drawers with Wallpaper
- Solid Wallpaper | What It Is + Ideas for Using It
- Wallpapering a Whole Room Versus an Accent Wall | What I Learned
- How to Frame Wallpaper as Art
- How to Use Wall Decals to Look Like Wallpaper
- How to Wallpaper the Inside of Wall Molding Frames
Phew! I’m not sure what was more exhausting: wallpapering this huge bedroom wall or writing this post!
I hope what I’ve shared here not only inspires you to give peel and stick wallpaper a try (because it really is so transformative!), but also thoroughly helps you take your project from start-to-finish with as little frustration as possible. You can do it!
Megan
6 Comments on “How to Install Peel and Stick Wallpaper | Step-By-Step for Beginners”
Such a beautiful transformation Megan!
Thank you so much, Jennifer!
You are AMAZING when it comes to making your walls look AMAZING!
Aren’t you the blogger who always makes the walls behind your shelves,
ex: pantry, always look pretty with wall paper, wrapping paper etc…
When seeing your master closet in your bedroom, (was impressed for sure!),
my jaw dropped when I did not see any “pretty” behind the shelves. Tell me
you may put the beautiful pattern behind your bed on the middle wall in the
master closet…please, please….like a little kid acts in the store inserted here!
Just giving you a hard time today, smile, I am sure I will live without seeing
your master closet with the peel and stick wallpaper in it, and you will too,
right? Good luck on completing the projects you have left and how N-I-C-E
it will be to ‘only’ have to clean and enjoy your master bedroom. sigh!
Ha! I LOVE this comment!
Yes, you are correct – I am the blogger who almost ALWAYS adds pretty paper inside drawers and to the backs of closets. And yet, I am SO sorry to disappoint you – I have not added this pretty paper to the back of our master closet (although I do LOVE that idea!).
Here’s why…I almost always use “cheap” papers for closets and drawers. (Papers I either find on clearance or paid less than $10/roll for.) It may not seem like it, but a closet wall can easily take 2-3 rolls; and in a non-forever home, I just don’t want to splurge $60-90 on a closet wall…especially since we are due to move out next summer.
Now that I’ve made my case though, you’ve definitely got my brain somewhat obsessed with the idea. I never say never…but not sure that one will get done…at least in this house 😉
Thanks for leaving a comment that brightened my day!
Hello! Thanks for the tutorial. I am getting ready to take on my very first peel and stick wallpaper project. I’m going to be doing a wall, ceiling, and adjoining wall in a stairwell…very ambitious, I know.😅😬 Essentially, the side walls as you go down the stairs will be white, and the far wall, ceiling, and doorway wall will be papered. I think it’s going to be really cool…if I can pull it off. My question for you: do you think using peel and stick on the ceiling will be okay? Should I add paste to the edges to make it adhere better (thinking about gravity here)? Do you ever overlap a tiny bit to prevent seams from showing? The wallpaper I’m using is a dark botanical print, with black background.
Thanks so much!
Dear Megan, thank you for an awesome blog with so much good advice. My question, if you able to help I am not sure, is that based on your blog and many other blogs too, is that the removable wallpaper really needs to be of good quality and many use specific brands. However I don’t find these in Europe. Whenever I try to search for the same brand name in any amazon European stores or just online, I don’t find them, and it costs so much to have them shipped and imported to here even if I would find a store that sends to Europe. Can you recommend any wallpaper, flooring, stick-on-tiles etc for Europe especially perhaps – I am sure there are more than me in all of this continent that would appreciate it, haha! Thank you!