How to Use the Cricut Roll Holder for Smart Materials
One of the most exciting features of both the new Cricut Maker 3 and Cricut Explore 3 is the ability to cut without a mat. And with vinyl now available in rolls up to 75′ and iron-on in rolls up to 9′, it can be really tricky to manage all that material while the machine is cutting. Which is precisely why, alongside the two new machines, Cricut is also releasing a compatible roll holder! Today I’m breaking down exactly how to use the Cricut Roll Holder with Smart Materials so you can fully enjoy the amazing benefits of matless cutting!
What Is the Cricut Roll Holder?
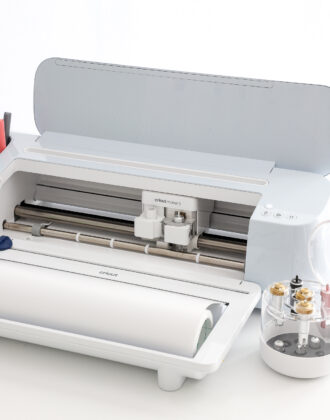
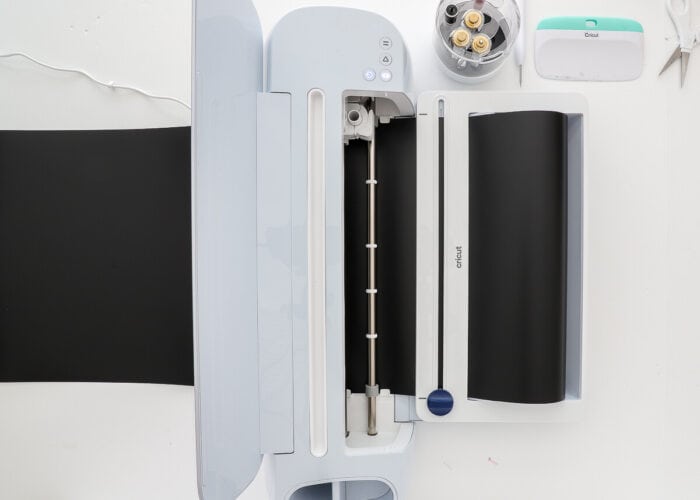
The Cricut Roll Holder is an attachment designed specifically for the new Cricut Maker 3 and Cricut Explore 3. It is an accessory that slides onto the tray of both machines and holds a single roll of Smart Material (up to 75′).
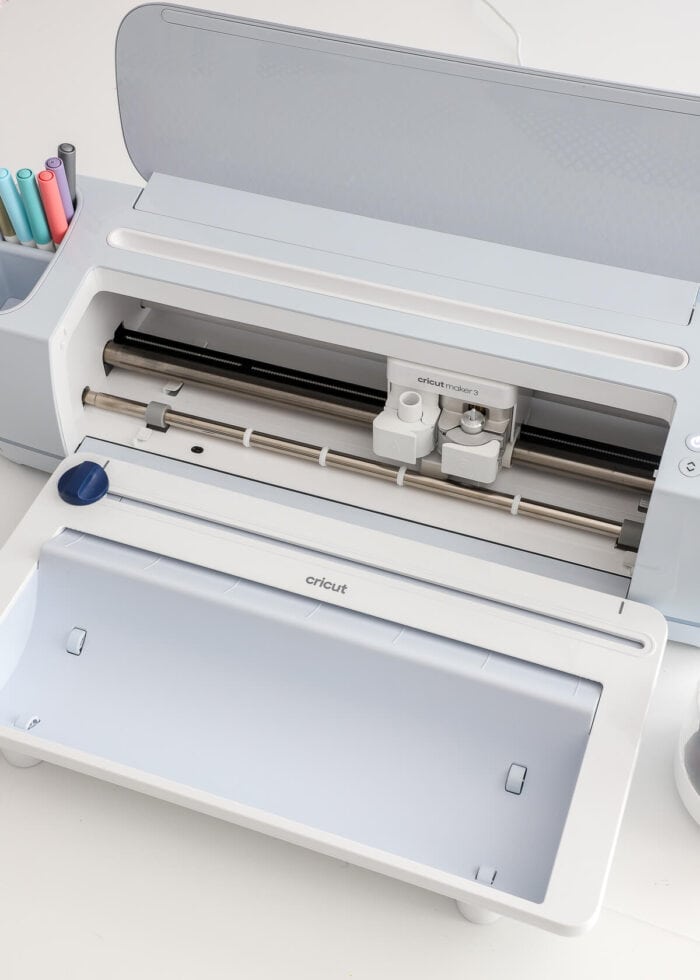
Not only does the roll holder control and manage your vinyl or iron-on while cutting really long projects, but it also features a built-in trimmer to slice down the material when the machines is done cutting. Currently, the roll holder is only available in the same gorgeous icy blue as the Cricut Maker 3.
Watch the Cricut Roll Holder In Action!
I like to provide step-by-step instructions with photos so you can follow along at your own pace…but nothing beats watching the Cricut Roll Holder in action. Check out the short video below or click HERE if it doesn’t load for you.
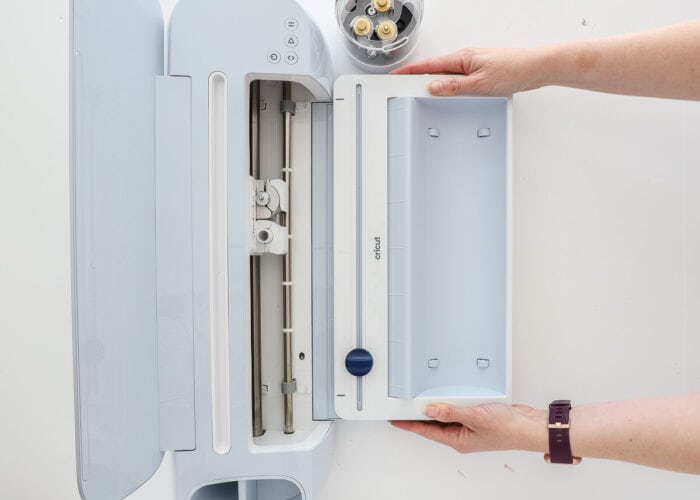
How to Attach the Cricut Roll Holder
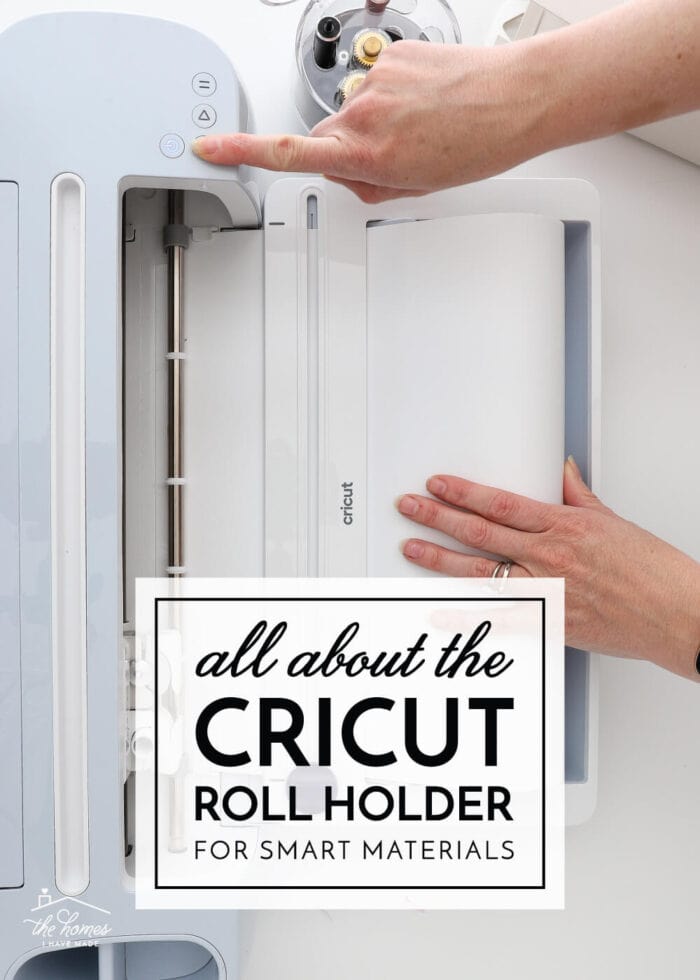
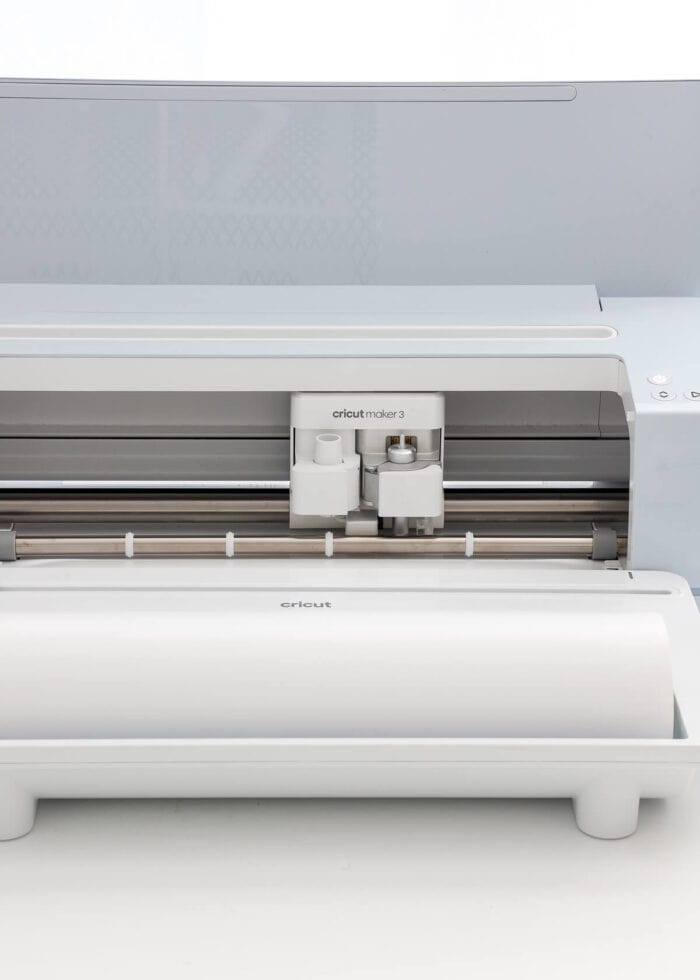
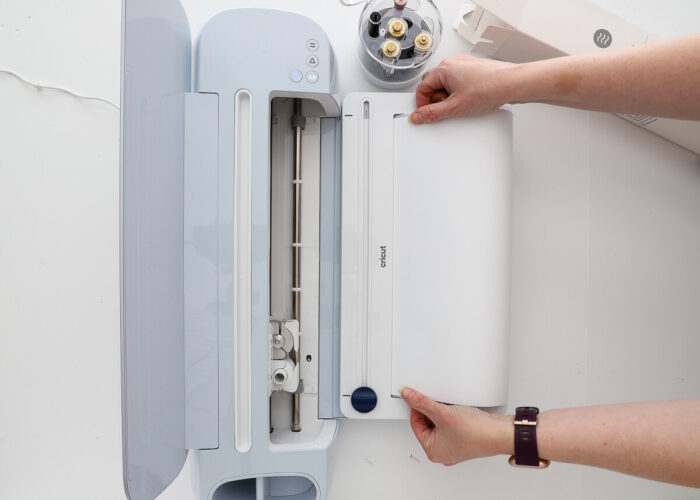
When I first opened my Cricut Roll Holder, I was looking for instructions on how to attach it. I didn’t find any because no instructions are needed! It simply slides right on to the tray of either the Cricut Maker 3 or Cricut Explore 3.
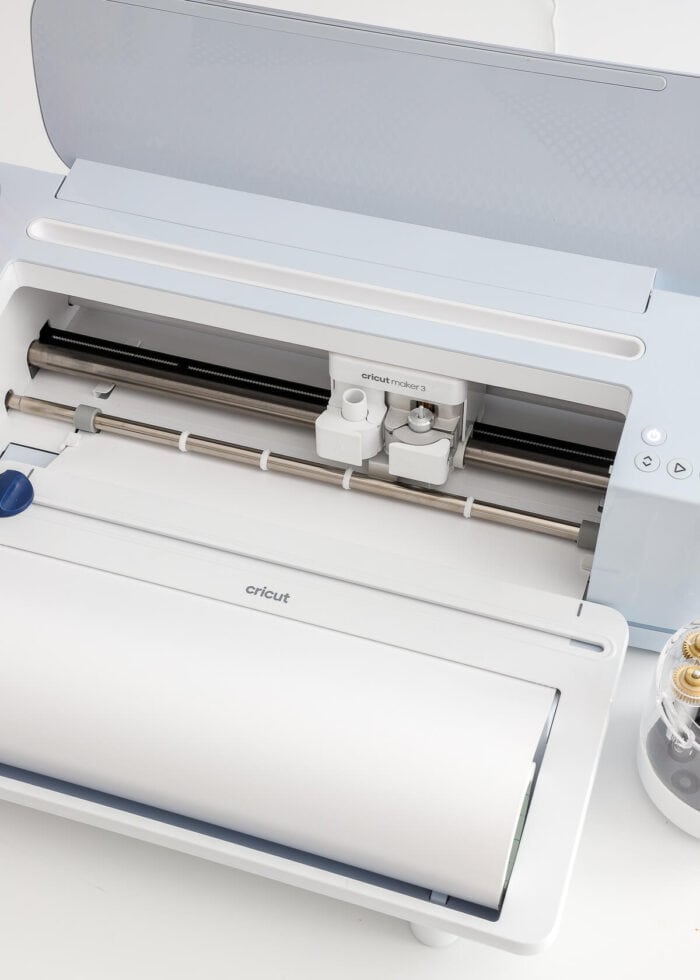
In the photo below, notice how the Cricut Maker 3’s tray has two protruding guides on top of the lower tray. These guides line up with the markings on the Cricut Roll Holder.
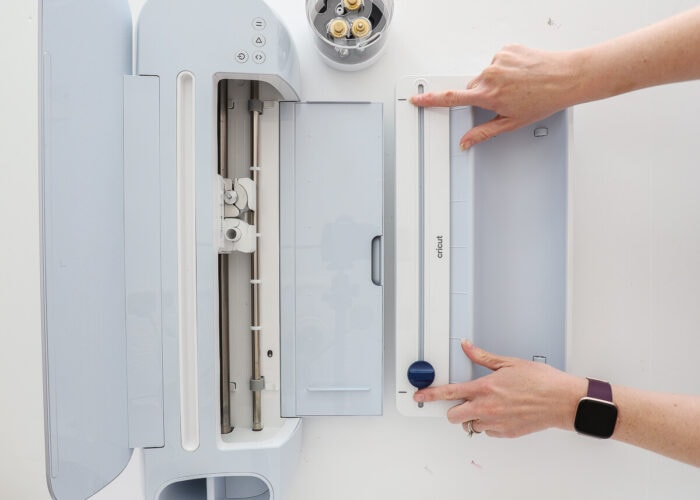
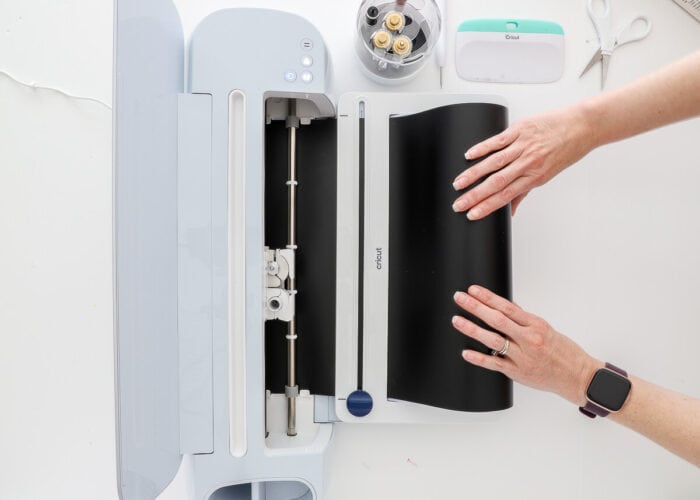
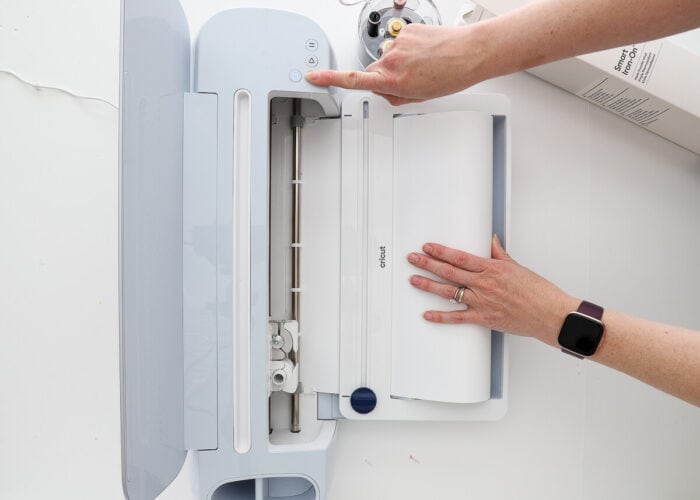
Simply line up the guides on the roll holder with the guides on the tray and slide it forward. If you wiggle the roll holder from side-to-side, you will be able to tell instantly if you have it positioned on the guides or not.
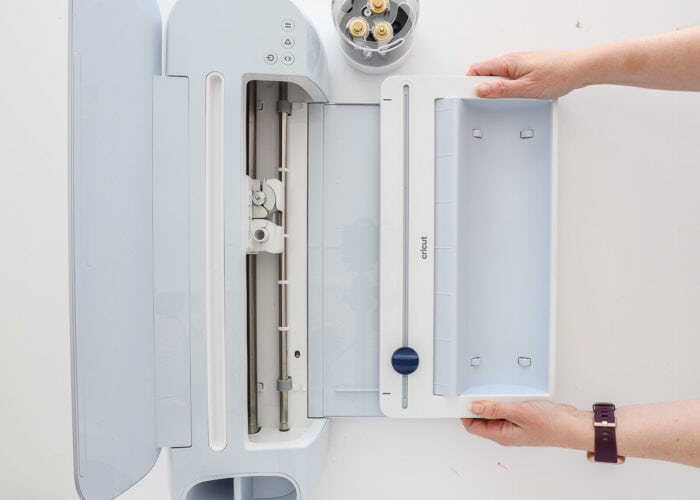
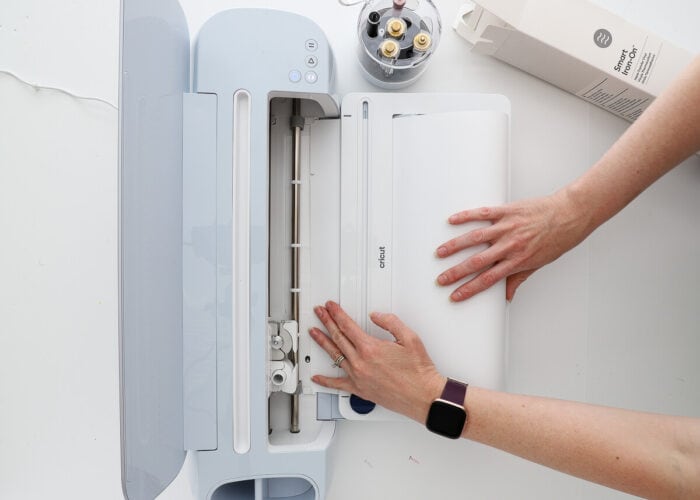
Then just slide the roll holder forward as far as you can. There will be no click or other indication that it is in place. It will just sit positioned over the machine’s lower tray.
With the roll holder in place, you can then insert any roll of Smart Vinyl or Smart Iron-On for your next project!

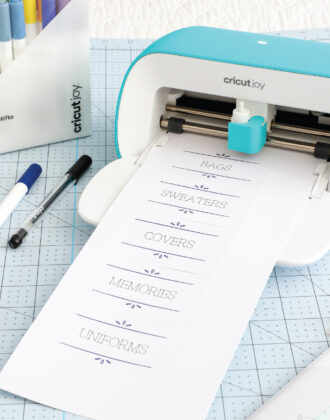
How to Load Smart Vinyl Into the Cricut Roll Holder
When cutting a project longer than 23.5″ on either the Cricut Maker 3 or Cricut Explore 3, you will need to select “Matless Cutting” from the cut options in Design Space and use Smart Materials for your project. While you don’t HAVE to use the roll holder, it definitely helps keep control of your vinyl.
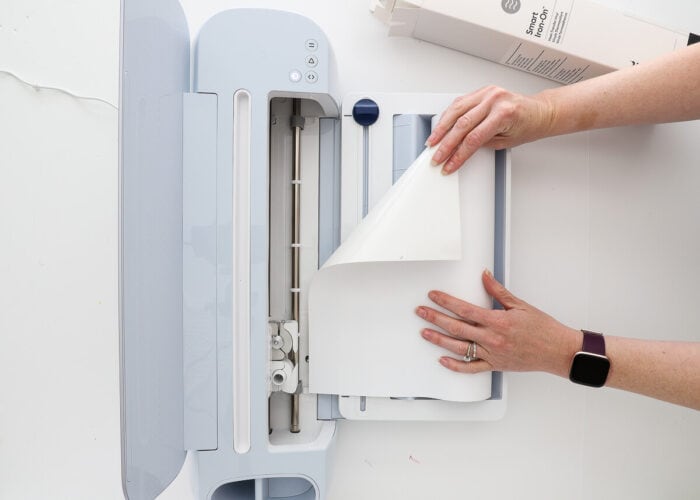
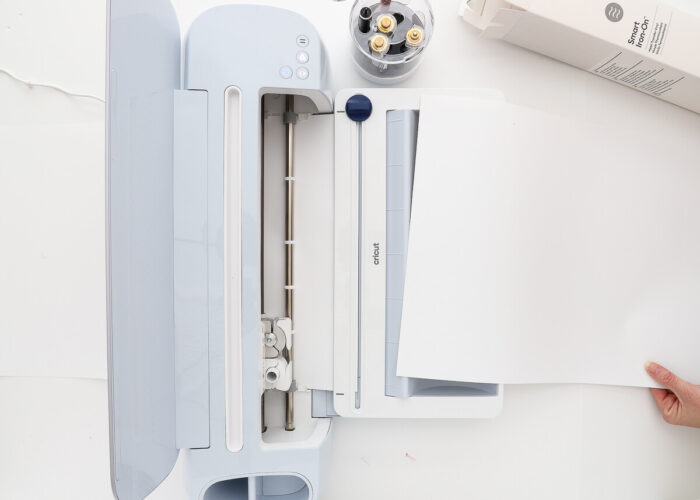
To load Smart Vinyl into the Cricut Roll Holder, place the roll with the wrong side facing up on the right side of the roll holder (away from the machine), as shown below:
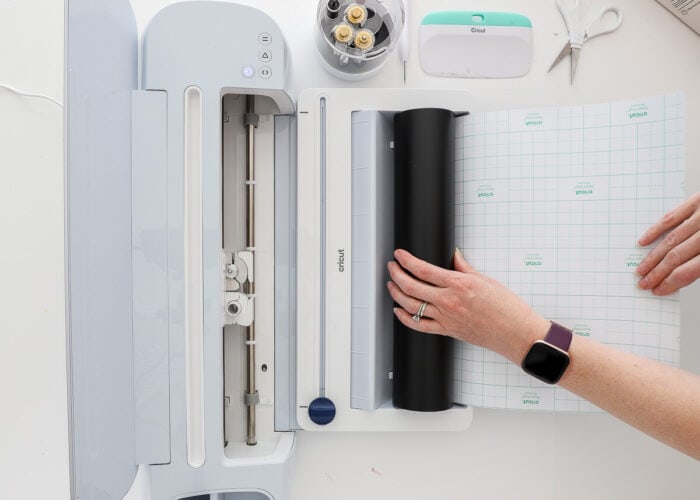
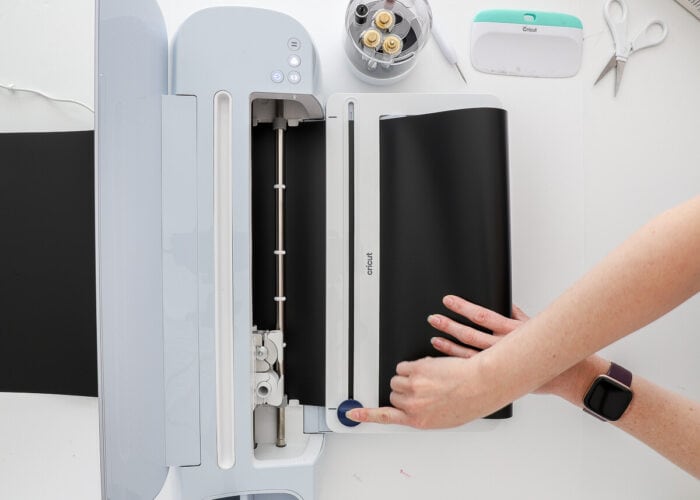
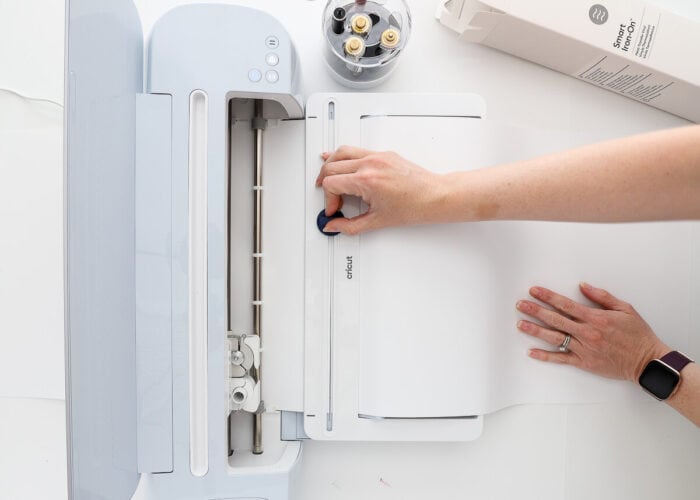
Make sure the trimmer (the blue sliding button) is all the way to the left. Then take the leading edge of the vinyl and feed it under the top part of the roll holder.
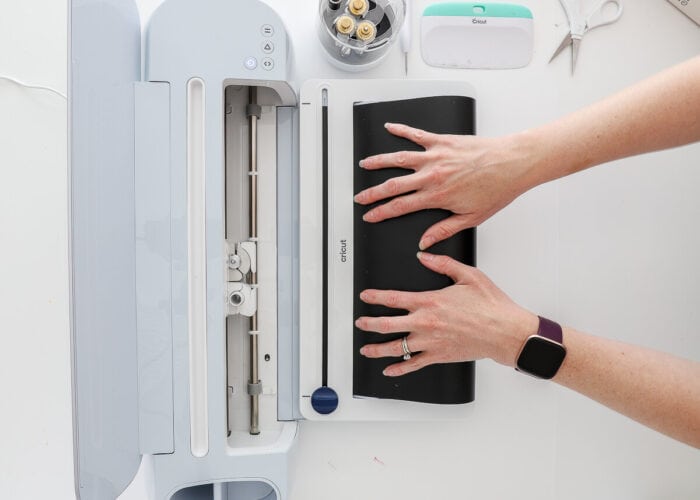
Push the vinyl all the way forward, toward the machine, and guide it under the material/mat feeders on either side.
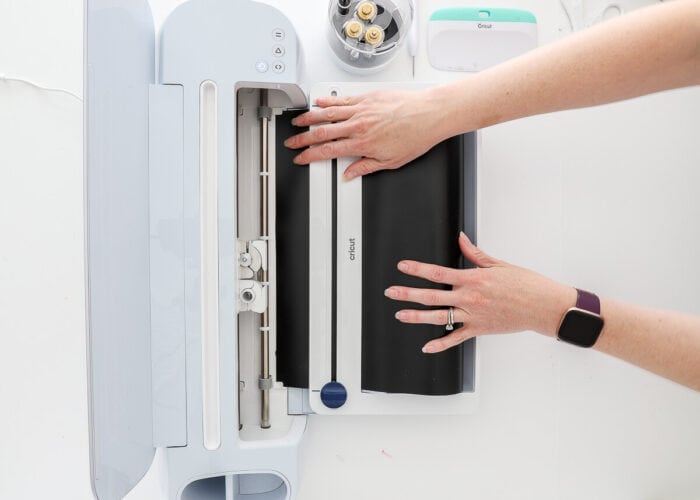
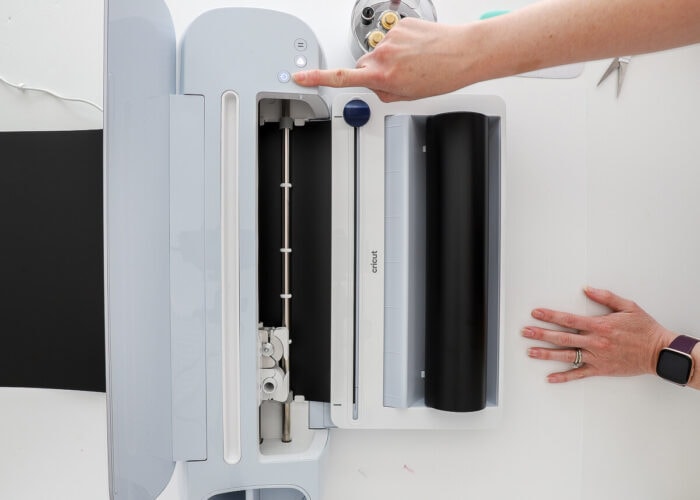
Once the material is positioned under the feed guides on either side, click the flashing Load/Unload button to bring the vinyl fully into the machine.
NOTE: Loading Smart Vinyl into the Cricut Maker 3 and Cricut Explore 3 is identical to loading a mat: via the button. This IS different from how Cricut Joy loads Smart Material, where you just push it in and it catches.

Immediately upon loading Smart Vinyl into your machine, it will automatically pre-measure for your specific project. Make sure you have your machine positioned to accommodate the excess vinyl immediately (even letting the vinyl roll off a table or counter works well!)
Want to save this post?
As the Smart Vinyl rolls back to the start (to begin your project), you will need to manually help it re-roll back up. The roll holder does not have any gears or guides to help it re-roll material backwards, so simply place your hands (lightly) on the roll as it feeds backwards to help roll the vinyl back up.
When your project is done cutting, use the built-in trimmer to slide across your Smart Vinyl and slice off your project.
With the vinyl cut, you can simply unload your vinyl (again, via the button) and get to work assembling your project!
How to Load Smart Iron-On Into the Cricut Roll Holder
The process for using Smart Iron-On with the roll holder is practically identical. After creating your long project and selecting both “Matless Cutting” and “Mirror” from the cut options, place your roll of Smart Iron-On into the Cricut Roll Holder with the shiny side facing up. As you feed the iron-on under the top part of the roll holder, the shiny side should be face down.
Slide the Smart Iron-On under the top of the roll holder…
…and then under the feeds on the machine.
Use the Load/Unload button to “catch” the Smart Iron-On and begin the measuring process.
Once your project is done cutting, use the built-in trimmer to slice the Smart Iron-On at just the right spot…
…and unload your project using the Load/Unload button.
FAQs About the Cricut Roll Holder
What machines are compatible with the Cricut Roll Holder?
Only the new Cricut Maker 3 and Cricut Explore 3 are compatible with this accessory. The older machines do not have guides on the lower tray, nor are they compatible with Smart Materials.
Can you only use Smart Materials in the Cricut Roll Holder?
While you can theoretically load any roll of vinyl into the Cricut Roll Holder, Smart Materials are (currently) the only materials wide enough (13″) to line up with the Cricut Maker 3 and Cricut Explore 3 feed guides.
Do I have to get the Roll Holder to cut matless?
Nope! The roll holder is definitely a “nice to have” accessory when working with really long rolls…but you can absolutely cut Smart Materials (without a mat) without it. Just place the vinyl on your table/counter in front of your machine.
Are there any other easy ways to cut the wider Smart Materials?
It’s super convenient that the roll holder has a built-in trimmer that can easily slice down these wider materials. If you don’t want or need the roll holder though, the brand new 13″ Portable Trimmers fully accommodate these newer materials too!
When is the Cricut Roll Holder available for purchase?
The roll holder will be available for purchase on Cricut.com alongside the new machines on June 10, 2021. Look for this accessory to hit shelves at your favorite craft store on or around June 27th.
If you work with vinyl or iron-on a lot AND like to make really long projects, the Cricut Roll Holder is a great accessory for your Cricut Maker 3 or Cricut Explore 3. It truly makes managing these larger projects so much easier and can save you time when it comes to measuring and cutting your projects. If you have any additional questions about this latest accessory, leave them in the comments!
Megan