DIY | Grasscloth-Covered Trunk (with Walls Republic!)
Happy Monday, Friends! Boy oh boy, do I have a treat of a post for you today! I’ve been so giddy to share this one with you so let’s get right to it!
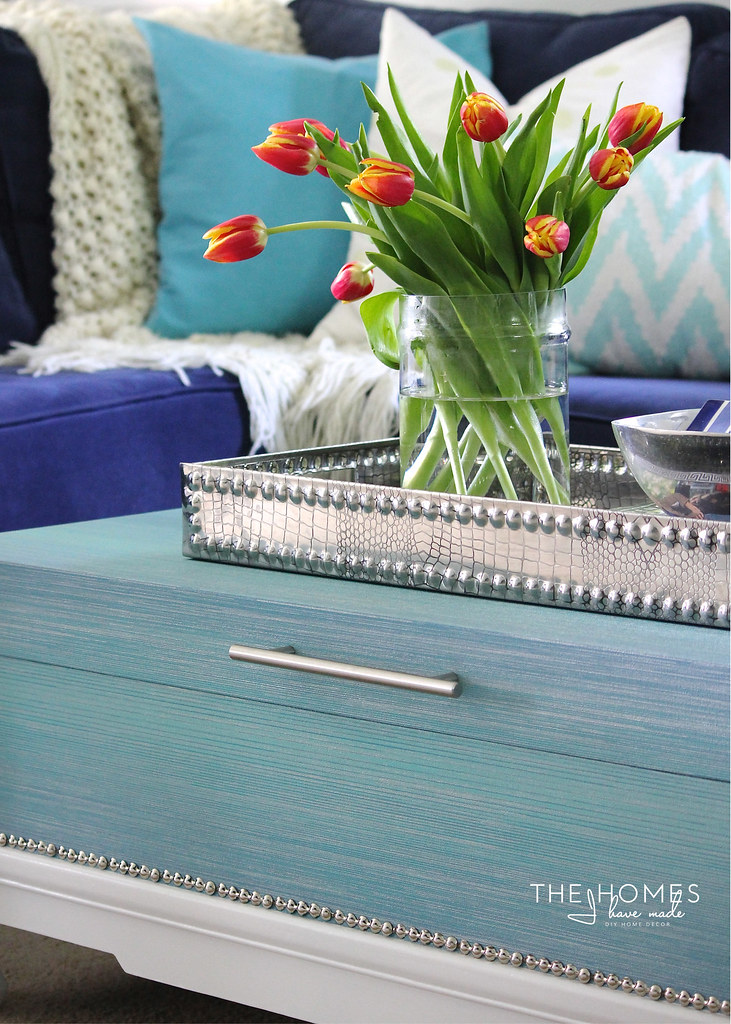
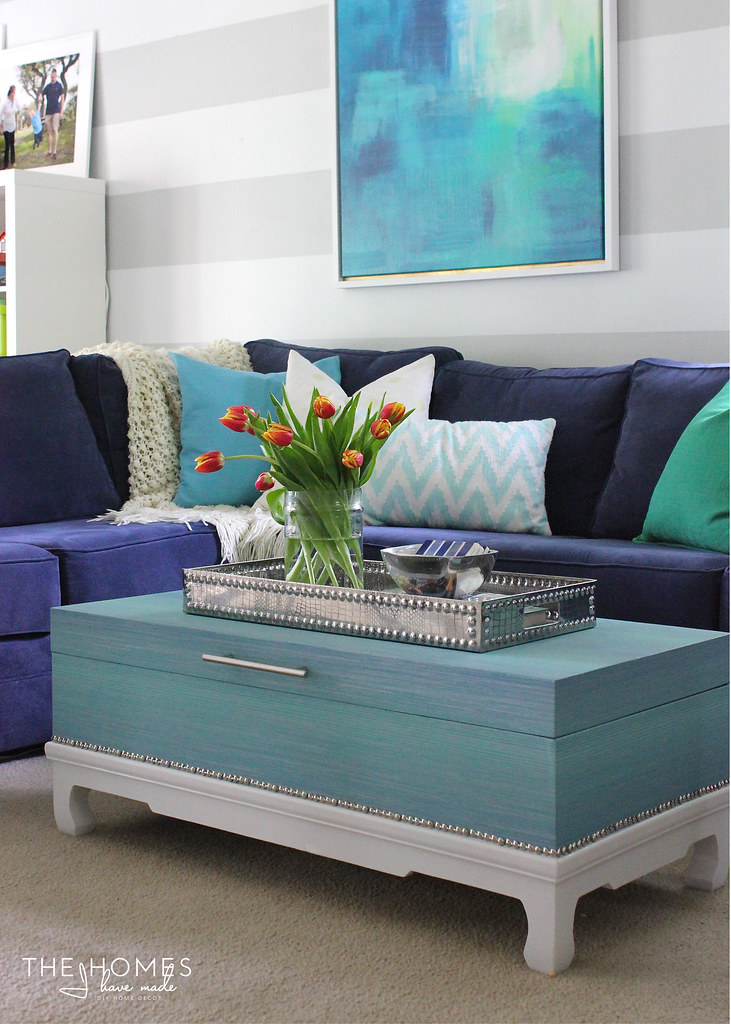
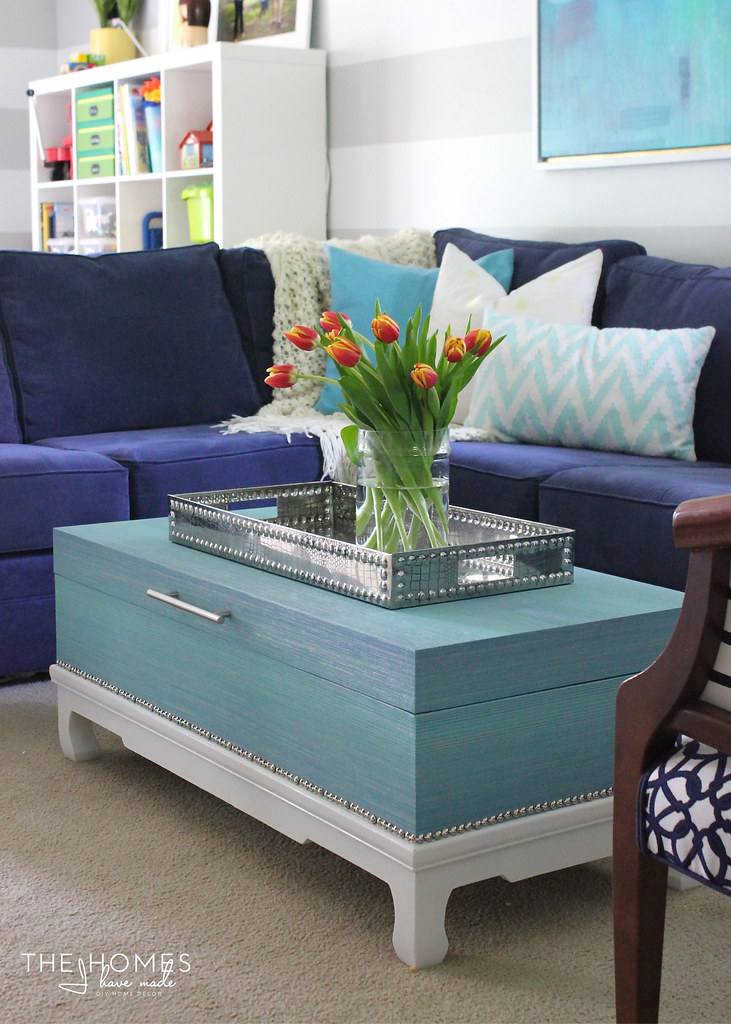
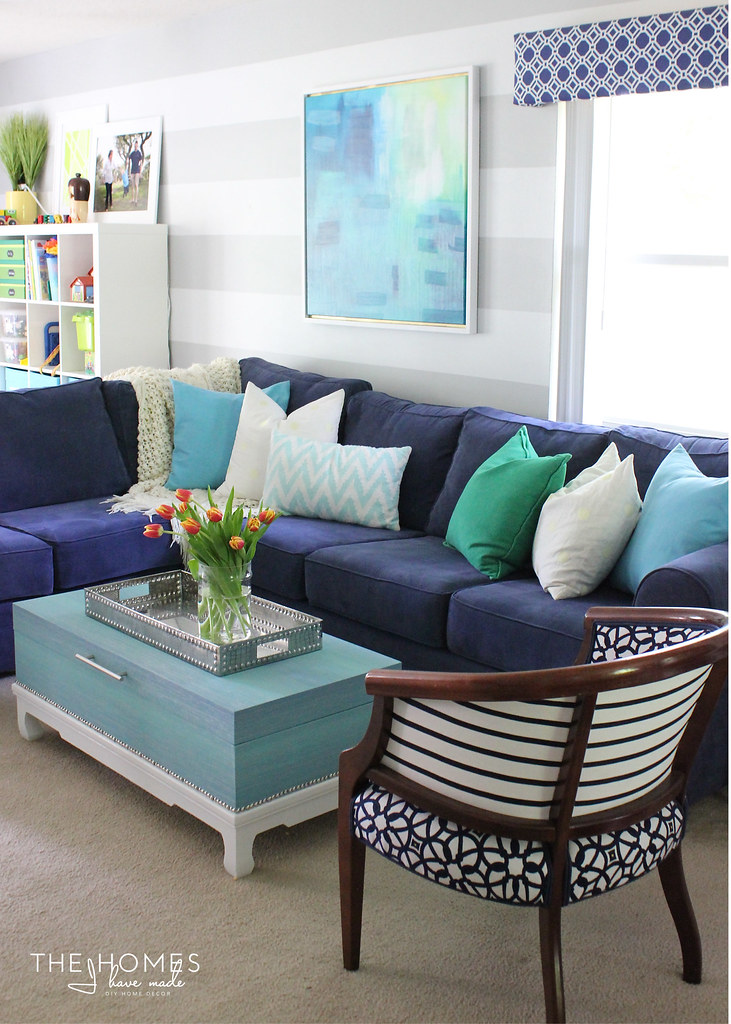
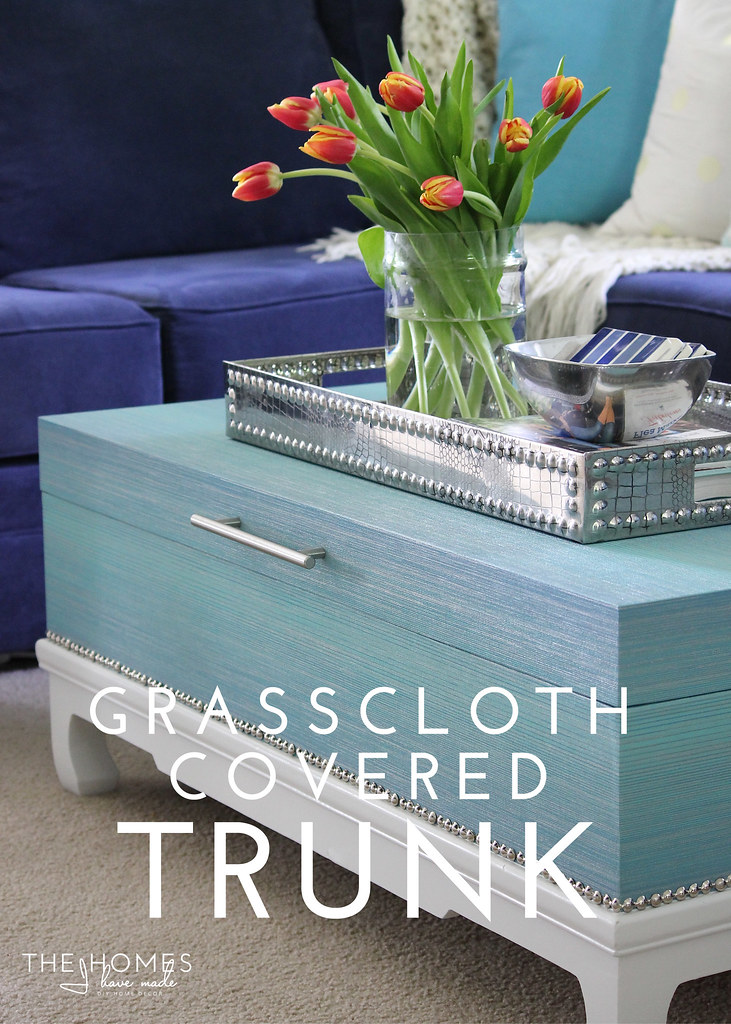
It’s been a long, cold, rainy winter here, making it difficult to make over furniture – one of my favorite hobbies. With warmer temperatures finally here, I kicked off my furniture revamping season with a bang. Take a look at our new grasscloth-covered trunk/coffee table! I am so smitten with this piece, I’m going to let the photos do (most of) the talking!
I mentioned a few weeks back that I was partnering with Walls Republic for a few projects to introduce you to their amazing line of quality wallpapers. (Be sure to check out my Wallpaper Silhouette Art here!) I LOVE wallpapers and wallcoverings, but being renters, its traditional use is not really a viable option for us. However, there ARE ways to use wallpapers to bring color, texture, and so much style to your space that are totally renter-friendy and completely movable!
One of the best (and easiest!!!!) ways is to use gorgeous, textured wallpaper to cover an unsightly piece of furniture. You won’t believe how easy this project is, and I can’t wait to show you!
FOR THIS PROJECT, YOU WILL NEED:
- A piece of furniture with relatively clean lines
- Wallpaper of your choice – I used this gorgeous aqua and blue grasscloth (I ordered one roll and used not even half of it!)
- Mod Podge – I used matte finish
- Paint – in the same color as the background of your wallpaper (as necessary)
- Spray paint and primer – as necessary
- Decorative accents – hardware, nailhead trim (always necessary 😉
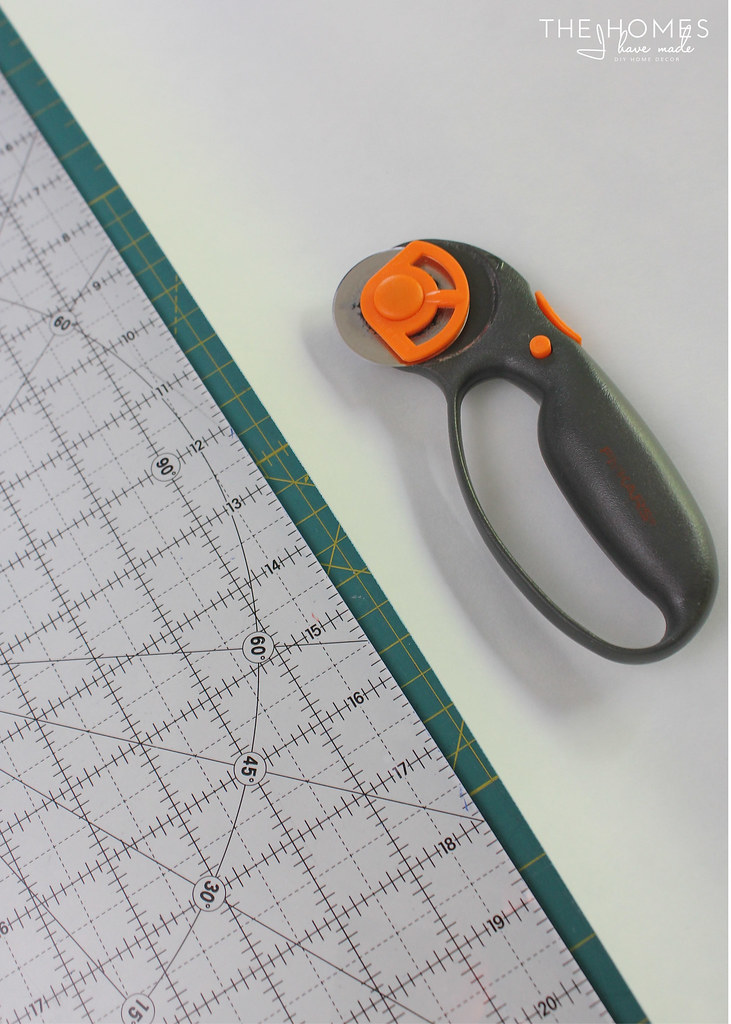
- Tools: Scissors, cutting mat with ruler and rotary cutter, foam brush, paper cups, screwdriver
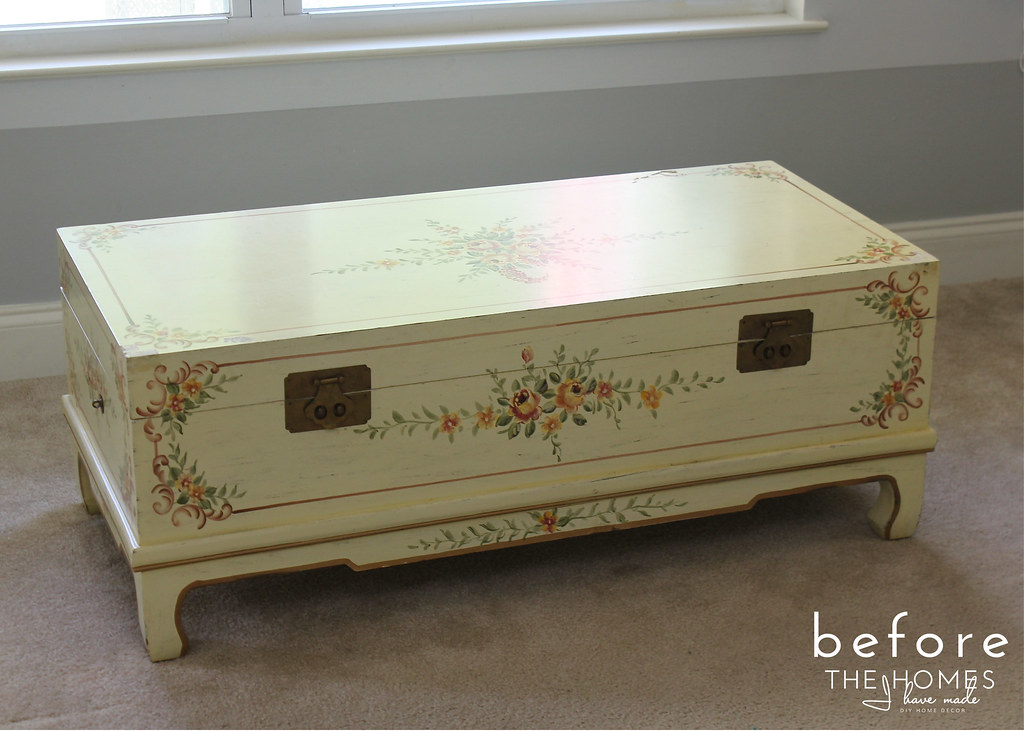
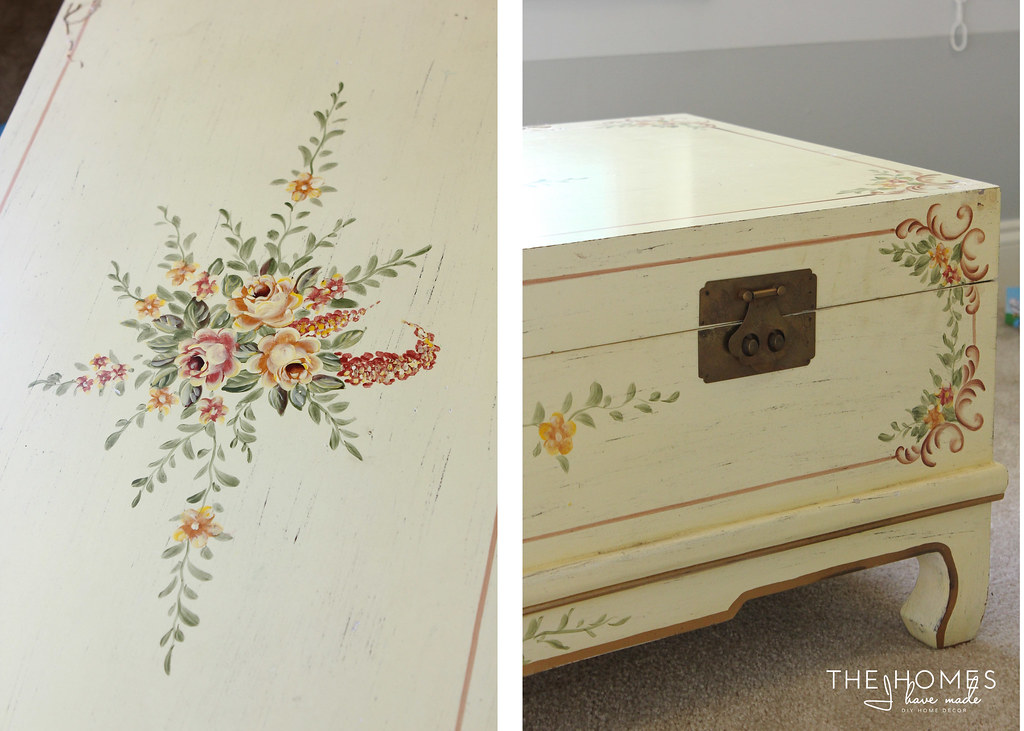
I started with this old, quite ugly trunk that we’ve had for YEARS! We bought it at an auction in Okinawa, Japan (there may have been wine involved 😉 We’ve held onto it because it’s super functional (hello, storage!), but its color and style never really worked for me. I always knew I’d give it a makeover, but since it was made of MDF and had a ton of chipping paint, neither painting or staining it were really options. This piece was a perfect candidate to cover in wallpaper…hide all those imperfections!
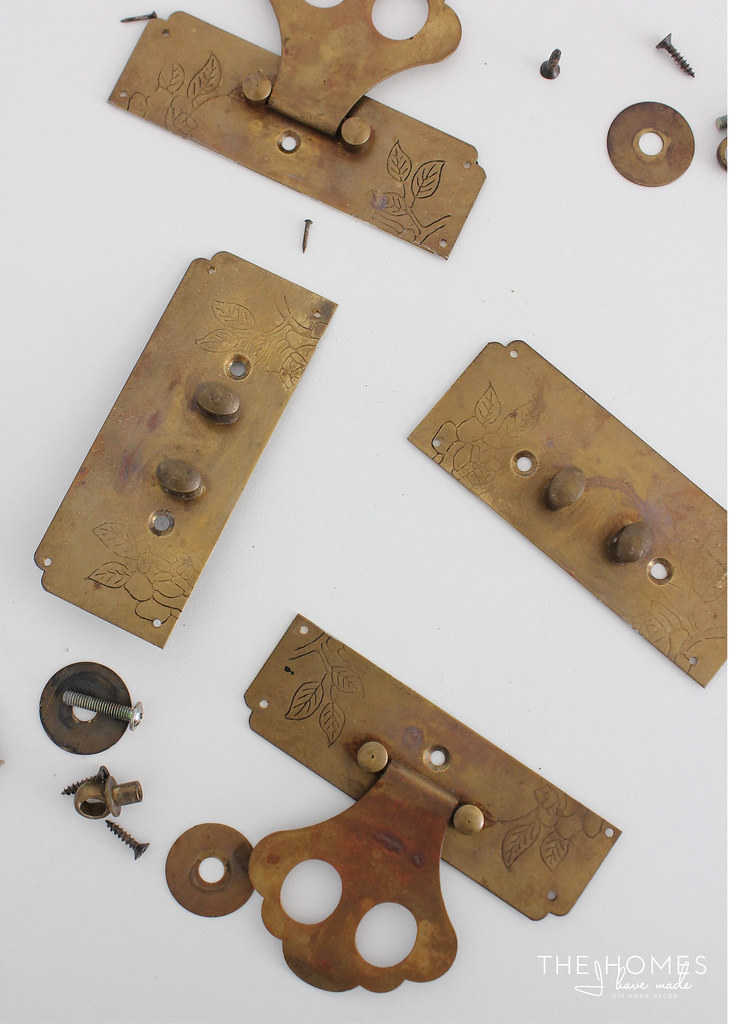
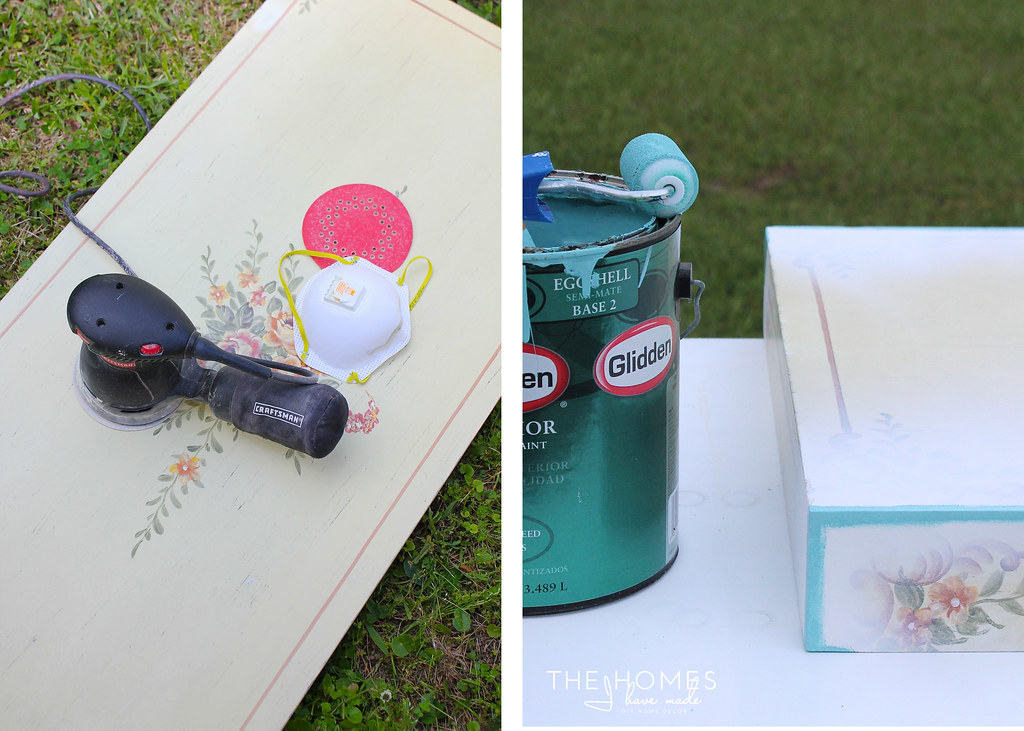
Like with any furniture makeover, start by removing all the hardware and taking the piece apart if it has drawers, lids, etc. I removed all the hardware, and then removed the lid from the base of the trunk by taking off all the hinges.
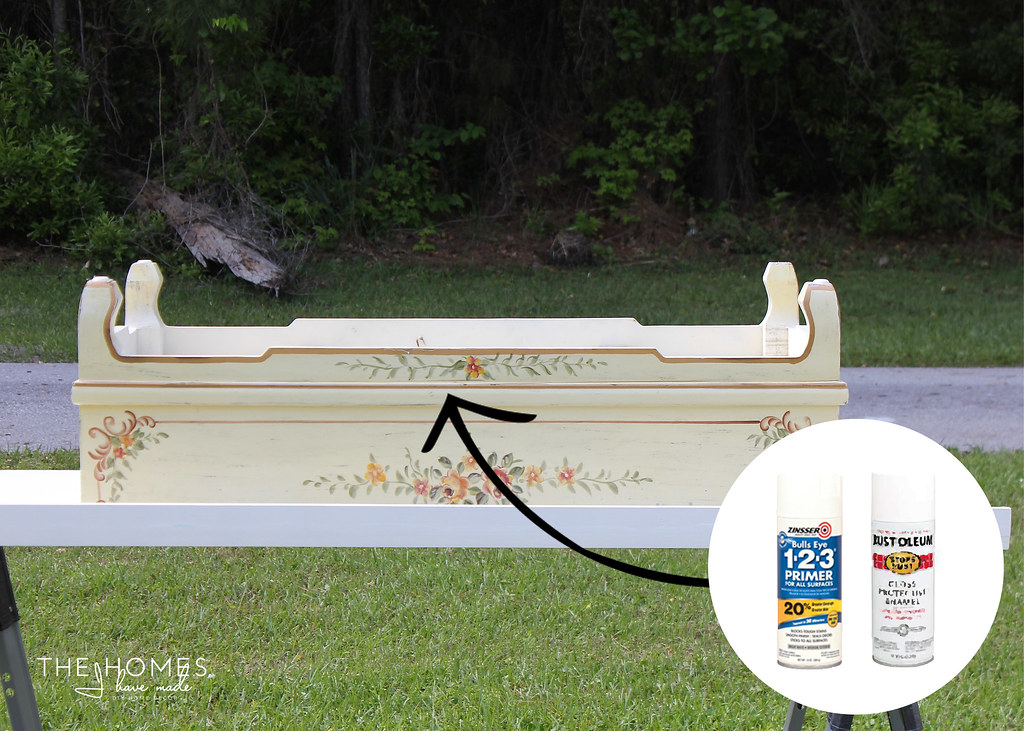
The bottom edge of my trunk was curved and had some tricky decorative edging on the legs. While I possibly could have papered the base too, I really wanted a simple clean look around the bottom. After a very good cleaning and light sanding, I flipped the base of the trunk over and gave the very bottom of it my favorite durable white paint treatment: Zinsser 123 Spray Primer followed by Rustoleum Gloss Protective Enamel in White.
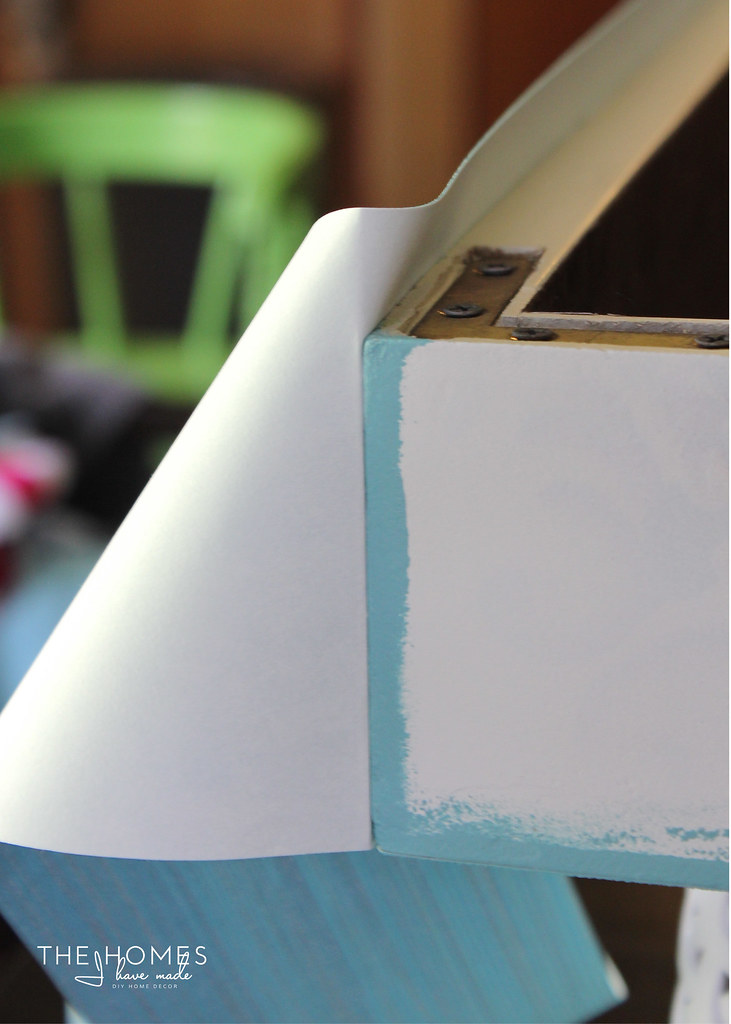
With the base drying, I sanded the lid lightly to remove dirt and some sticky residue buildup. After taking some measurements of the lid and the wallpaper itself, I knew I was not going to be able to cover the lid and fold the wallpaper down over all the edges (essentially, wrapping the lid). Since I was going to have to have seams somewhere, I decided to paper the top and sides separately. So that the yellow trunk wouldn’t show through on the corner edges where the seams would be, I painted all the edges with matching paint (that I had one hand). In hindsight, this was a really good call, because it really camouflages where the paper edges meet!
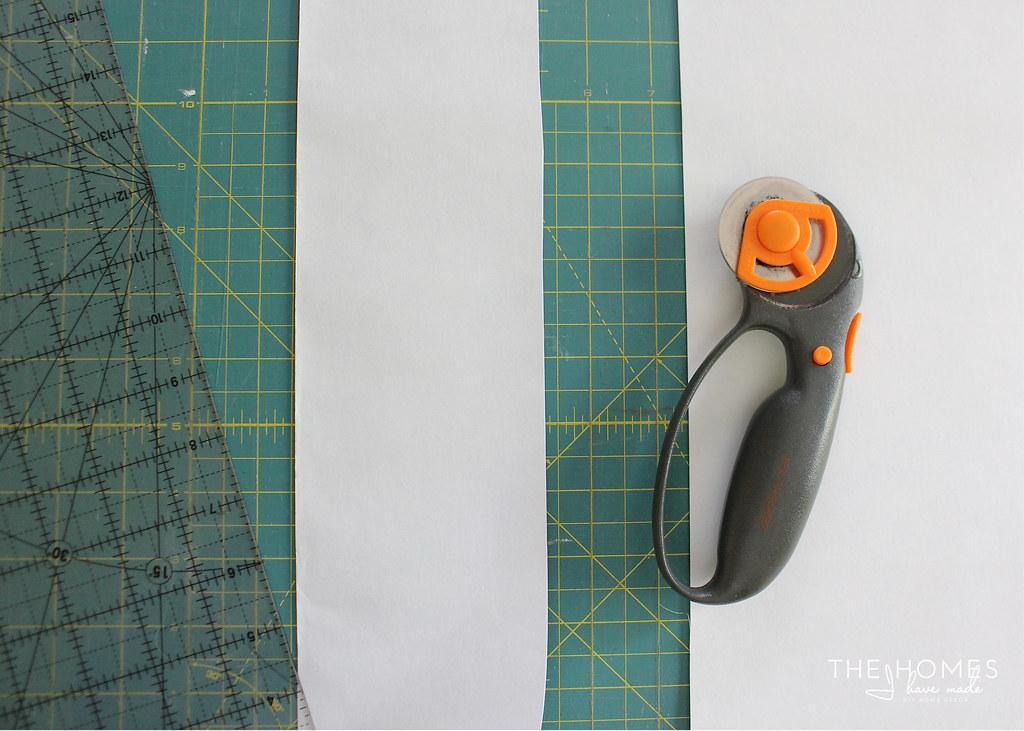
With the paint dry, it was time to apply the wallpaper. I started by measuring the dimensions of the top of the lid and cut a single sheet to cover the entire thing. I double checked all my measurements before cutting, and got nice clean cuts by using a rotary cutter (highly recommended!)
A note about wallpaper pattern: Although I honestly picked the grasscloth because I LOVED the colors and texture, it turned out to be a perfect paper choice for this kind of project. Matching patterns on and around various furniture angles can be quite tricky. The grasscloth was varied enough that matching patterns from the lid to the sides to the base was very seamless (ha!). When picking your paper pattern, be sure to keep in mind how often you will have to line up the patterns on your piece. Also, when determining how to cut and paper your furniture, spend some time figuring out the best way to cut it and line it up so that the pattern reads the same direction for all angles, as applicable!
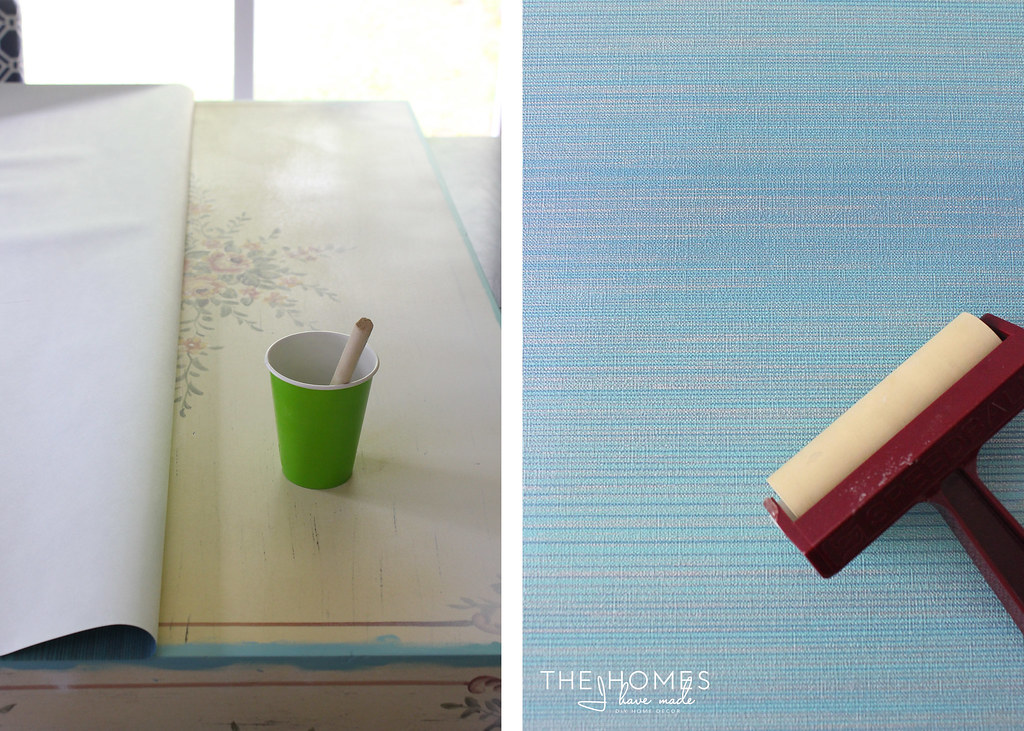
I went back and forth about how to secure the wallpaper (which does not come pasted) to the trunk itself (debating between wallpaper paste and Mod Podge). After reading several other tutorials, I gave the Mod Podge a go (because I had it!) and it worked beautifully!
To secure the paper to the top, I worked on half the trunk first, secured the paper, then worked on the other side. Start by coating a section liberally with Mod Podge. Lay the paper onto the Mod Podge (wrong side down, obviously), lining up all the edges as best you can. Use a brayer to vigorously smooth out any wrinkles or bubbles. This wallpaper was nice and thick so I could tug and position it as I needed to without worries of it tearing!
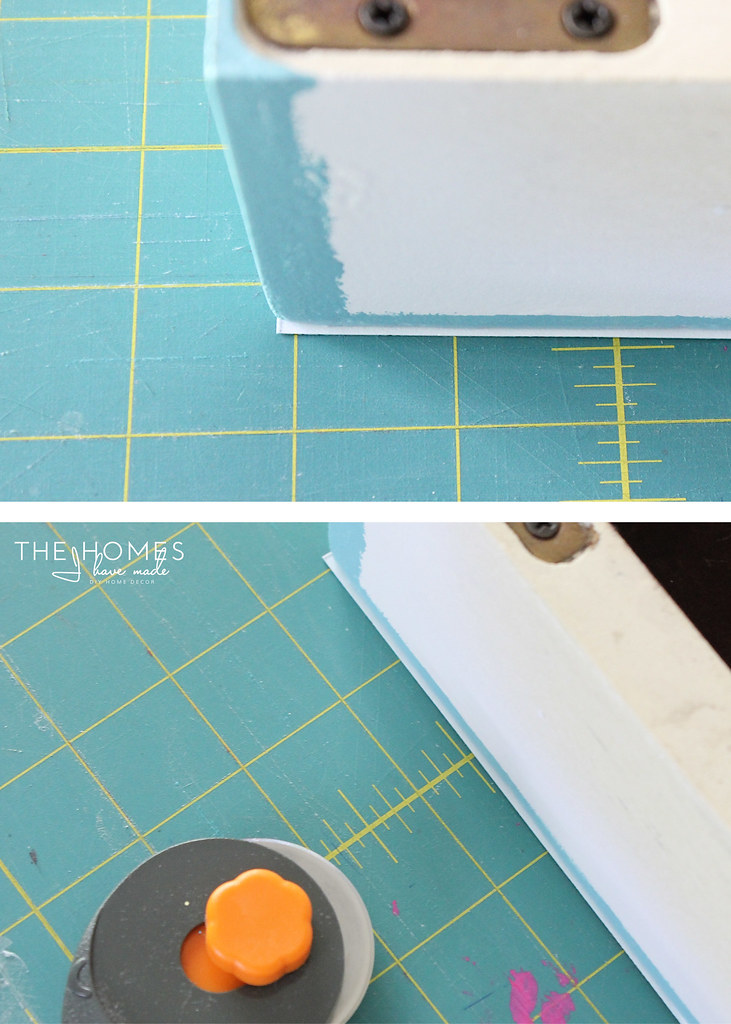
Although I cut my paper as accurately as I could, I still had a teeny tiny bit of paper overhang the edges. I flipped the lid over and then very carefully used the rotary cutter along the edge of the lid to trim away the excess paper. Worked perfectly!
With the top papered, I measured the height of the side of the lid and added an extra 3/4″ to wrap the paper under the edge of the truck (toward the inside).
I was able to cut one long continuous piece to wrap the entire circumference of the trunk (a benefit to using wallpaper: you can make really long cuts!) I applied it the same way as above: one section at a time, applying Mod Podge generously, lining up the edge of the paper with the top edge, and then rolling it all smooth and taught. Work slowly and diligently, because once the glue dries, you can’t get wrinkles out!
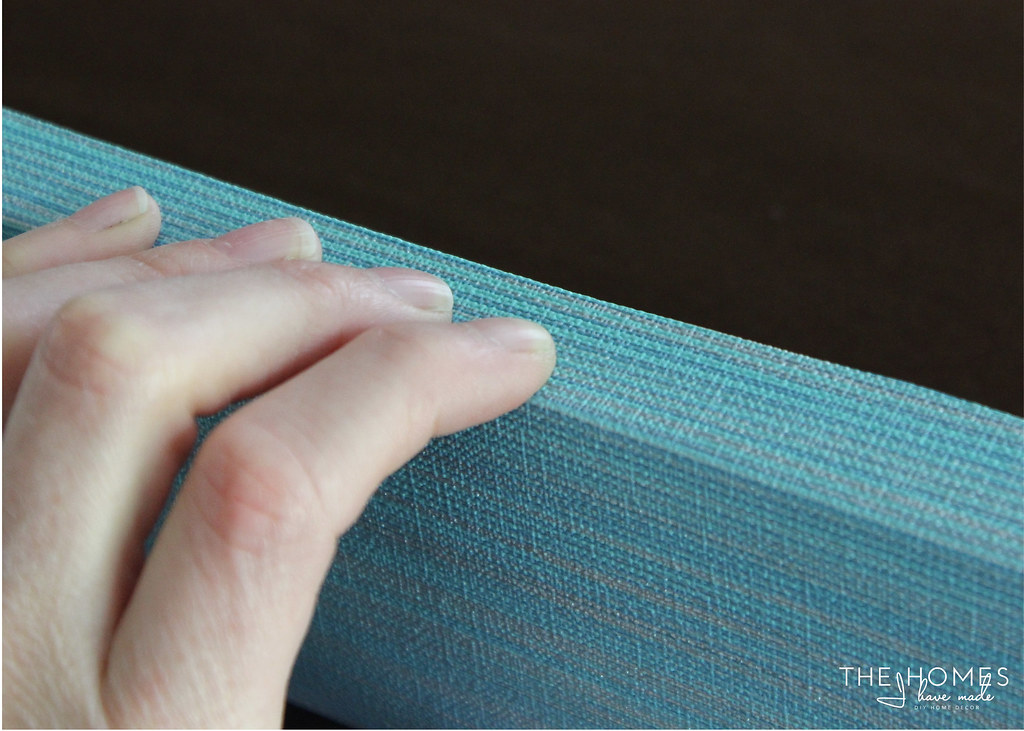
Once the paper was attached all the way around the edge of the lid, I folded over the excess paper to the underside of the lip, securing it with more Mod Podge all the way around.
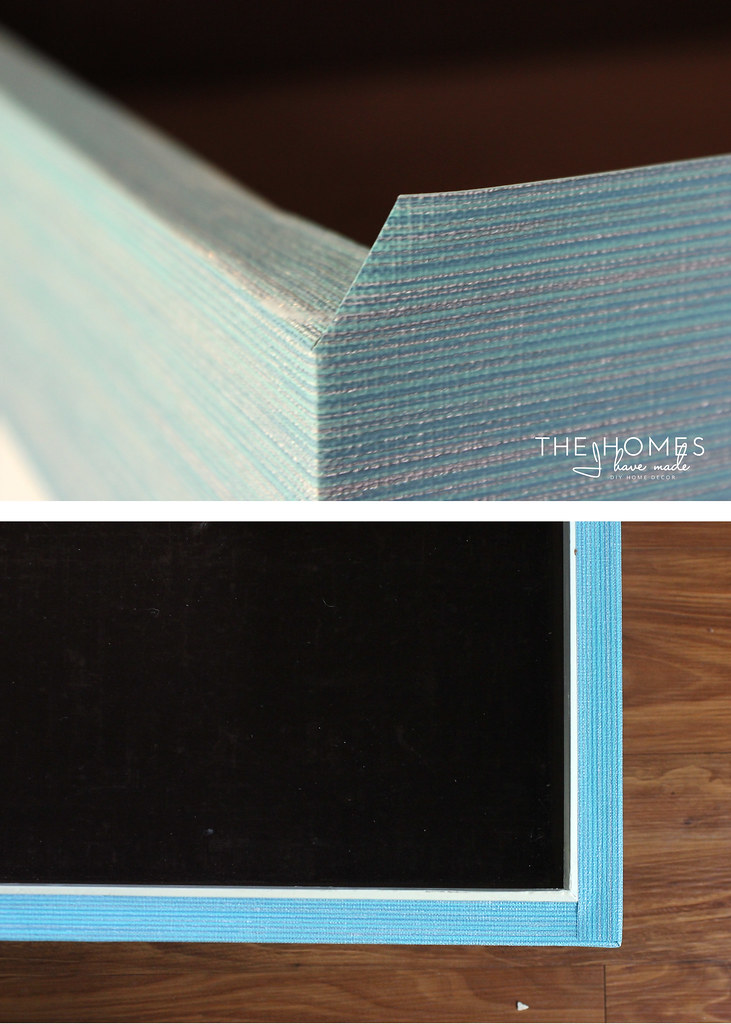
At the corners, I clipped the paper (on diagonal), which allowed me to make a nice corner fold. To get the paper to stick and lay nicely, you may have to use a lot of Mod Podge, and secure it with tape while it dries.
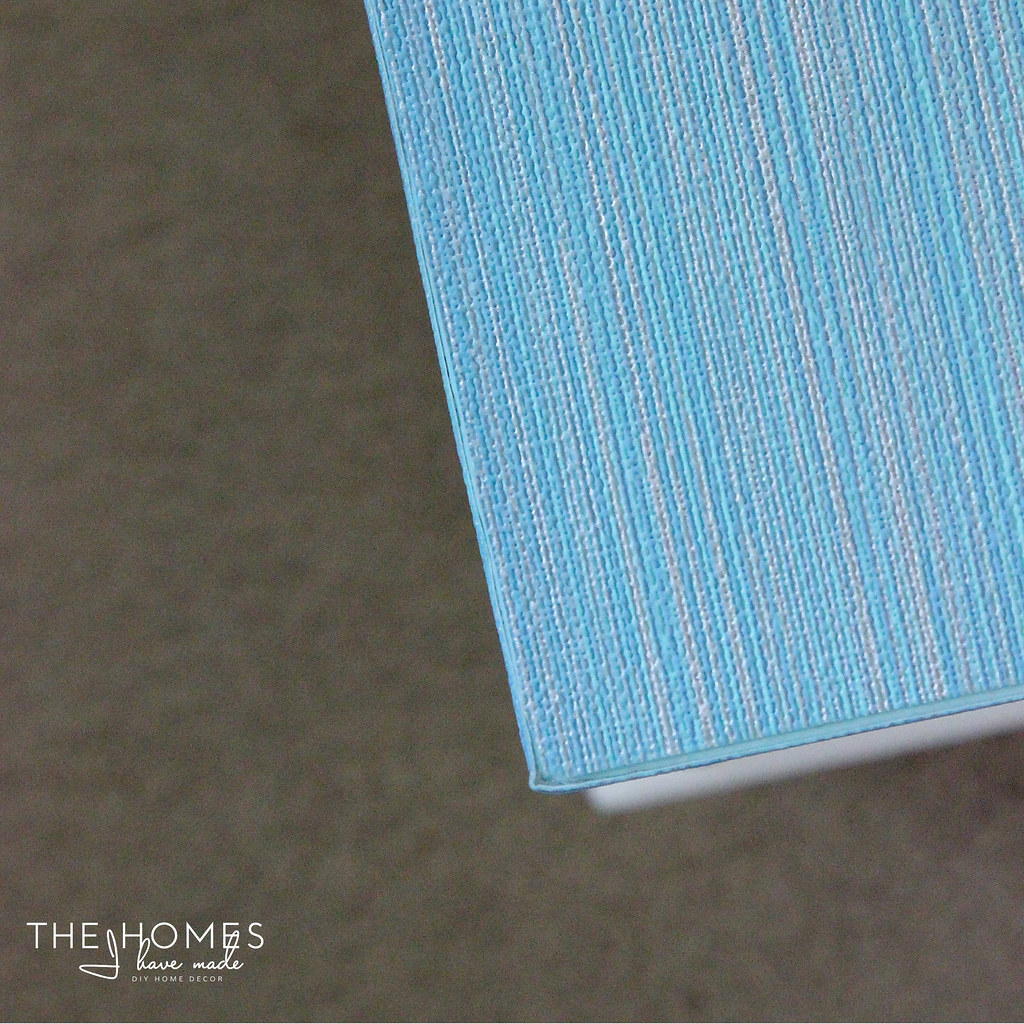
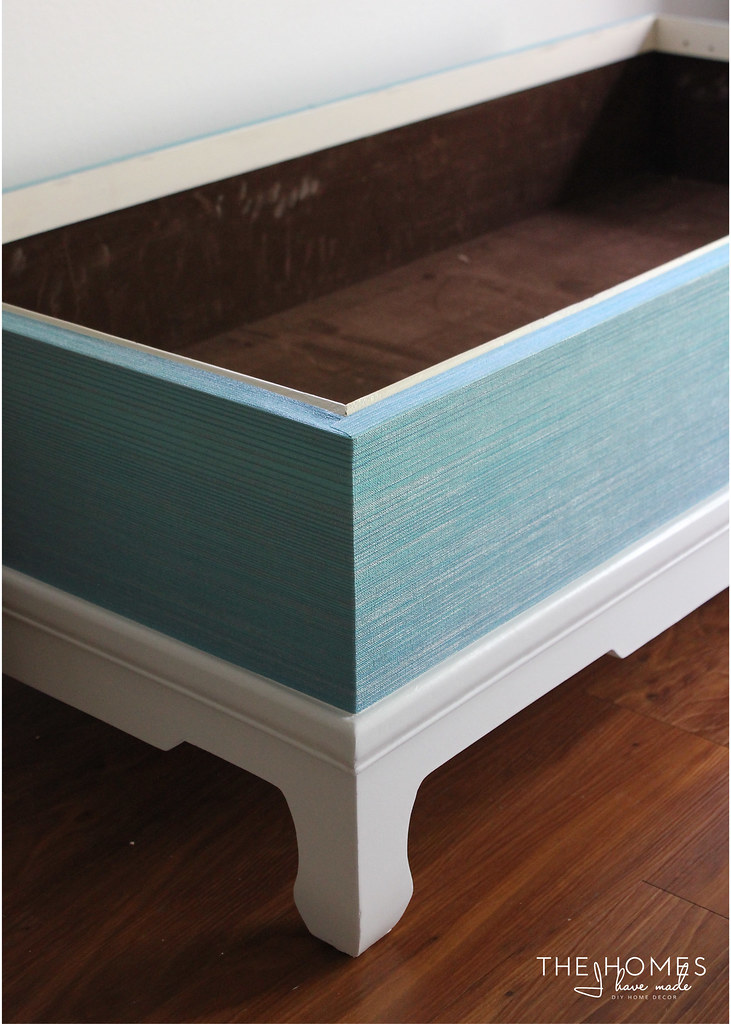
Above is a shot of the underside lip of the trunk with the edges folded over nicely. Below is the view of the top of the trunk. You can see how nicely the paper lines up at the corner edges, and how thanks to the blue paint, you can hardly notice a seam. To ensure the paper doesn’t peel up over time, I added 2 very light coats of Mod Podge just at the seam to seal up the corners. Use a tiny paint brush to do this, as the matte of the glue can slightly change the look of the wallpaper. Note: I did not seal the entire trunk, just the edges where the papers met.)
I essentially repeated the exact same process for the base of the trunk. I wrapped a single cut all the way around the trunk, papering and smoothing once side at a time. I then folded over and glued the paper onto the top lip to create a nice finished edge, just as I did on the lid.
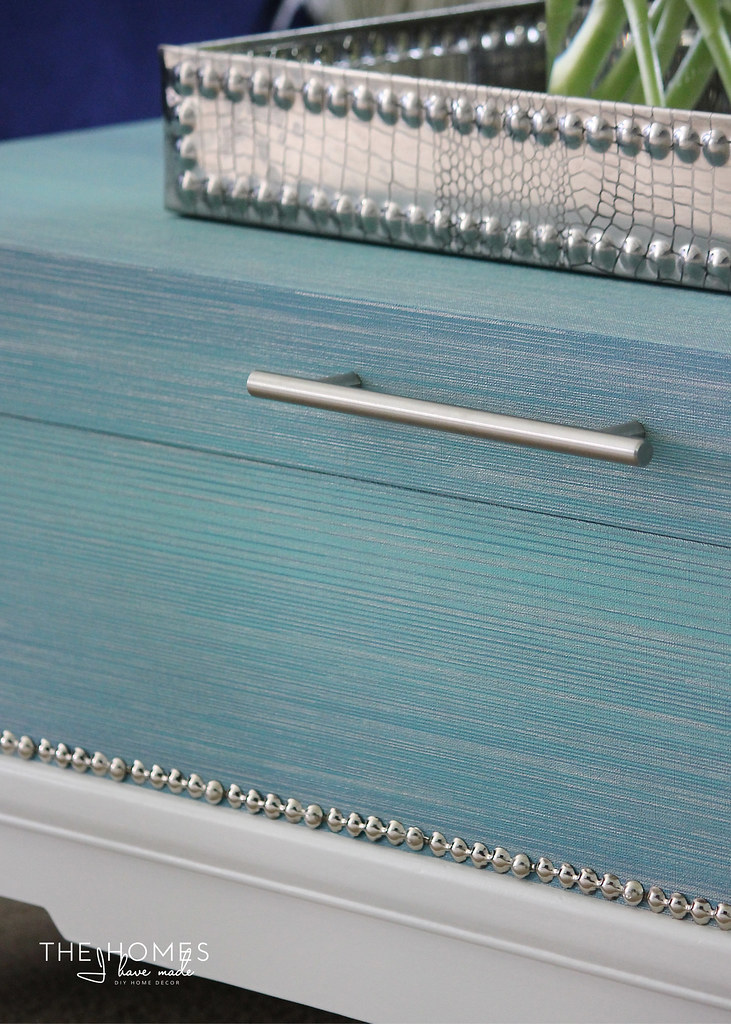
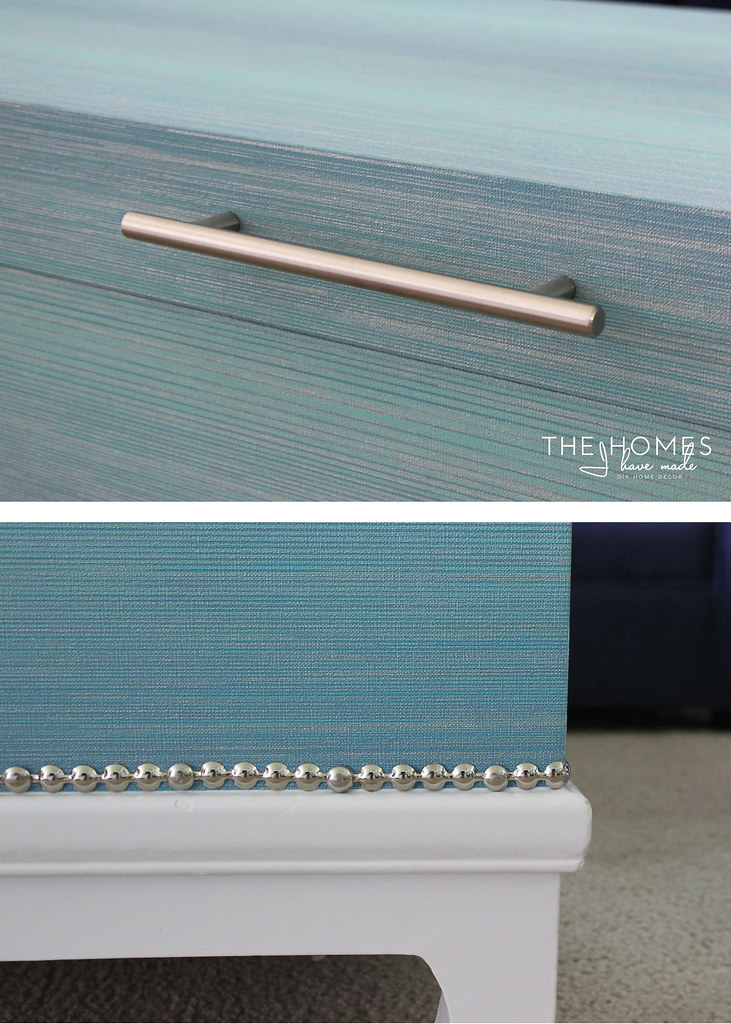
With all the sides papered, we re-attached the lid to the base with the original hinges. The final step was to add a new nice, large silver handle (so we can open the trunk!) to the front and some nailhead trim around the base. I wasn’t sure if I’d use the trim; but once I held it up, it finished off the piece so nicely, I knew we had to do it (I had an awesome helper!)
And with that, our ugly duckling of a trunk turned into quite the gorgeous swan!
I know I say a lot of projects are “easy,” but I have to tell you that even I was surprised at how truly easy this one was. You do have to start with a nice simple piece that lends itself to papering. But once you figure out just how to cut your paper so that the patterns line up, it’s a matter of cutting, gluing and smoothing. No sanding, no filling holes, no messy paint, no waiting for paint to dry or applying top coats. Once the spray paint on the base was on and dry (admittedly), we were able to move onto papering and hardware, and this whole thing was done in about a day! It is truly a doable and durable way to makeover a piece of furniture and give it a whole new life!
With every furniture makeover, I say “this one is my favorite.” But I really mean it this time. Never did I think our ugly yellow trunk would have turned out so beautiful. Working with the grasscloth wallpaper was an absolute dream. It was easy to cut, easy to apply, has gorgeous color and texture….and the result is so high end. Greg and I keep looking at it over and over, not believing we actually did it ourselves! As a renter, I would never be able to have this kind of look in our home, but by applying gorgeous wallpaper to an old piece of furniture, it has completely changed the look and feel of our whole space in a way that can come with us!
Dare I say, I like this here better than the ottoman I’ve had all these years?
What was going to be a garage sale cast off has become one of my favorite items in our entire house. You better bet this baby is coming with us to our next home! And I am so smitten with this technique, I want to wallpaper all our furniture now! #kiddingnotkidding
I’d love to hear what you think? Do you love that blue grasscloth as much as I do? Have you ever used wallpaper to cover a piece of furniture? I am anxious to see how it holds up – I’ll be sure to report back in the coming months!
See you back here Wednesday with some more fun projects using wallpaper!
I did not receive compensation for this blog post; however Walls Republic did provide the beautiful grasscloth wallpaper for me to use and review. Please remember that I only work with brands and products I fully support and that make sense for my home, my family, and this blog. All opinions are 100% my own!
Megan




15 Comments on “DIY | Grasscloth-Covered Trunk (with Walls Republic!)”
After reading this I'm trying to decide which piece of furniture I'm going to do this too. You make it look and sound so easy. Thanks for the awesome ideas!
I love your trunk! It is so beautiful and you did a wonderful job.
Hi Megan,
Did you seal the grasscloth after the application? Curious how it is holding up since I see this post was made 8 years ago.
Thank you
Hi Mia!
Sorry for the delay in getting back to you! We never did seal it because I wasn’t sure how a polyurethane would do on the textured wallpaper.
Had this trunk stayed in an “adult” space, I think it would have weathered just fine. We chose to put it in a playroom and the edges (corners) started wearing away. After several years, we ended up getting rid of it just because it would have been too much work to strip.
Hope that helps a bit!
~Megan
This look amazing! It fits perfectly to the interior at the room,love this colour.
Tenancy cleaning Wimbledon
Love the grass cloth color. It looks A M A Z I N G!!
This is an unbelievable makeover! So gorgeous!
This is beautiful! Great job. I've been trying to decide what type of nightstand I want in our bedroom, maybe I'll look for a simple-lined piece to cover in grasscloth 🙂
Lora
That is beautiful, what a transformation!
Lauren Baxter | LB Designs
xx
How is the table protected from spills? Is the grasscloth water resistant? If it isn’t, could one use a light spray coat of acrylic sealer?
Hi Shannon!
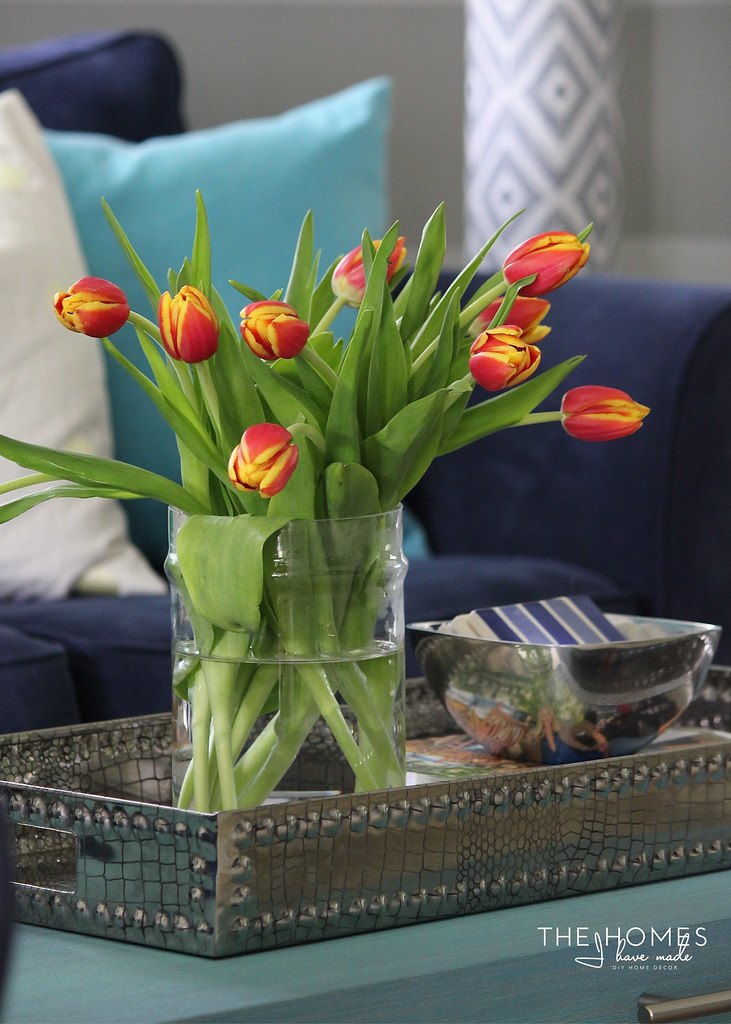
Thank you so much for your comment. Right now, the trunk is not at all protected from spills (eek!). We are using a tray on the table, so cups/glasses aren’t put right on the grasscloth. I have seen other people “seal” their grasscloth with some sort of acrylic/poly but chose not to for the time being. I noticed that the color of the paper changed where the Mod Podge touched it, so I figured I’d have to seal the entire thing if I wanted the colors to be consistent. It might be something I do someday, but haven’t had any issues so far!
Hope that helps! Have a great weekend,
Megan
I’ll do some testing before any important projects then. Thanks for the quick response! 🙂
Love grass cloth and your piece. It’s stunning. I want to try this so much!!
That is an absolutely beautiful redo of an outdated piece! You are truly amazing! I’m hooked! Intending to get my daughter hooked on your organization skills and decorating pizzazz! Hope to get her organized and get her home redone in a way that will make her happy with her nest! Thank you for your ideas.
Did you top coat or Laquer the grass cloth? If not what about spills?