Navy & Turquoise Family Room Reveal
With our move out of this house inching closer and closer, it’s time for the final room reveal: the family room! For those of you who have been reading here for a while, you know that this room has been the hardest for me to get right and pull together. It’s had several different design schemes and a variety of projects that have come and gone, all in an effort to make this a bright, fun, fresh and cohesive space for our family to hang out in.
There’s a reason this is the last room I’m showing you: it has literally taken me all three years to get to this point. In the spirit of complete honestly, I’m still not 100% satisfied; and if we were living here longer, I’d probably continue to work at it. The striped walls, the blue couch, and the patterned cornice boxes….all of which I LOVE separately…proved a good challenge in getting them to play nice with each other and other elements I brought into the space. Still, there is a TON I am proud of in this room, and I am seriously so sad to have to take it all apart.
Ready to see the full “final” room tour? (As usual, all the project tutorials and product sources are compiled at the end of this post!)
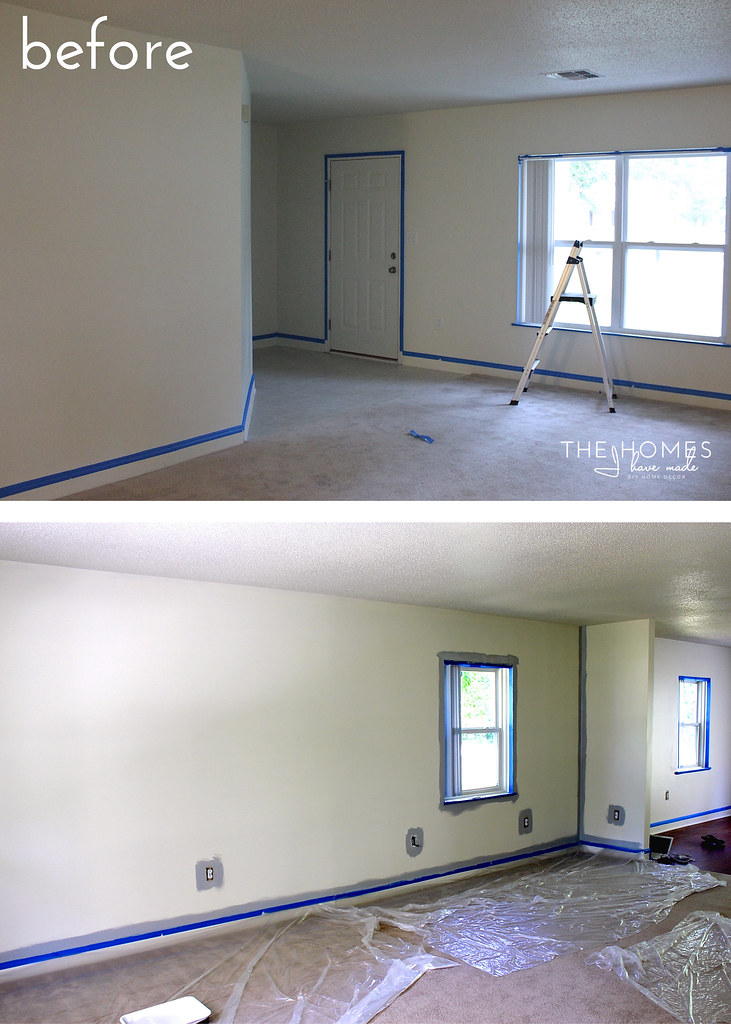
Here’s the room the day we got the keys, right before we started painting. It’s a HUGE room, measuring about 14×20′. There is only one window in the front of the room and one on the side, with no overhead lights. It opens up right to our dining room, creating somewhat of an open floor plan. Because the room is so large, we split it into three zones: entryway, playroom, and family room. I’ve revealed both the entryway and playroom before…so today, we’re focusing on that final piece of the space!
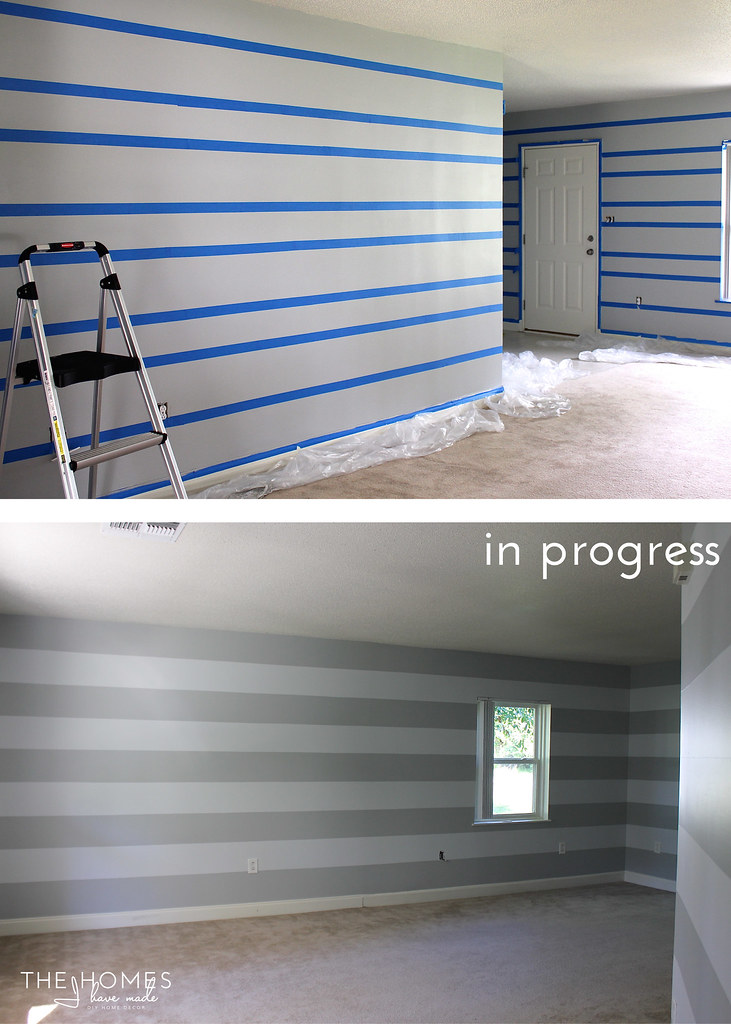
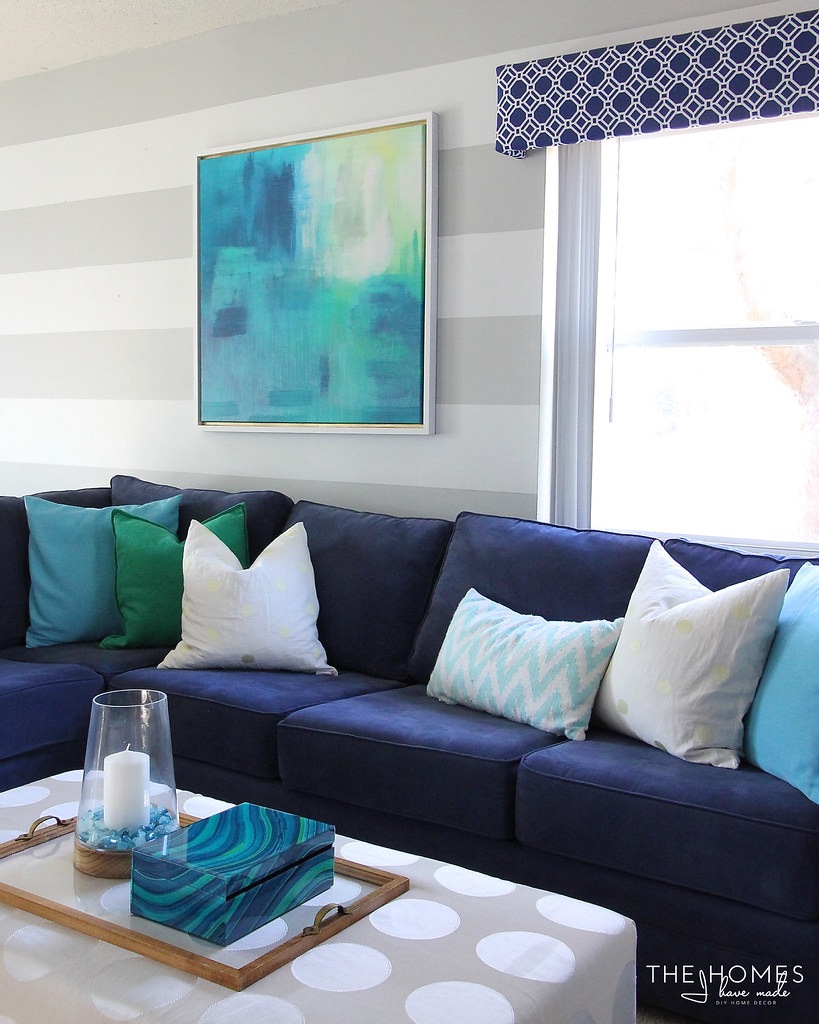
I got the crazy idea to paint tone-on-tone stripes all the way around this entire (HUGE!) room. We started by painting all the walls Martha Stewart’s Driftwood Grey, and then came back and added 12″ light grey stripes in Martha Stewart’s Cumulus Cloud. The stripes were a total game changer and a major WOW factor in this room. I think everyone and anyone who as visited our house over the years has commented on the stripes!
Months and months of project after project and hunting down just the right things ultimately lead to here:
Wow! Doesn’t look like military base housing, does it?!? 🙂
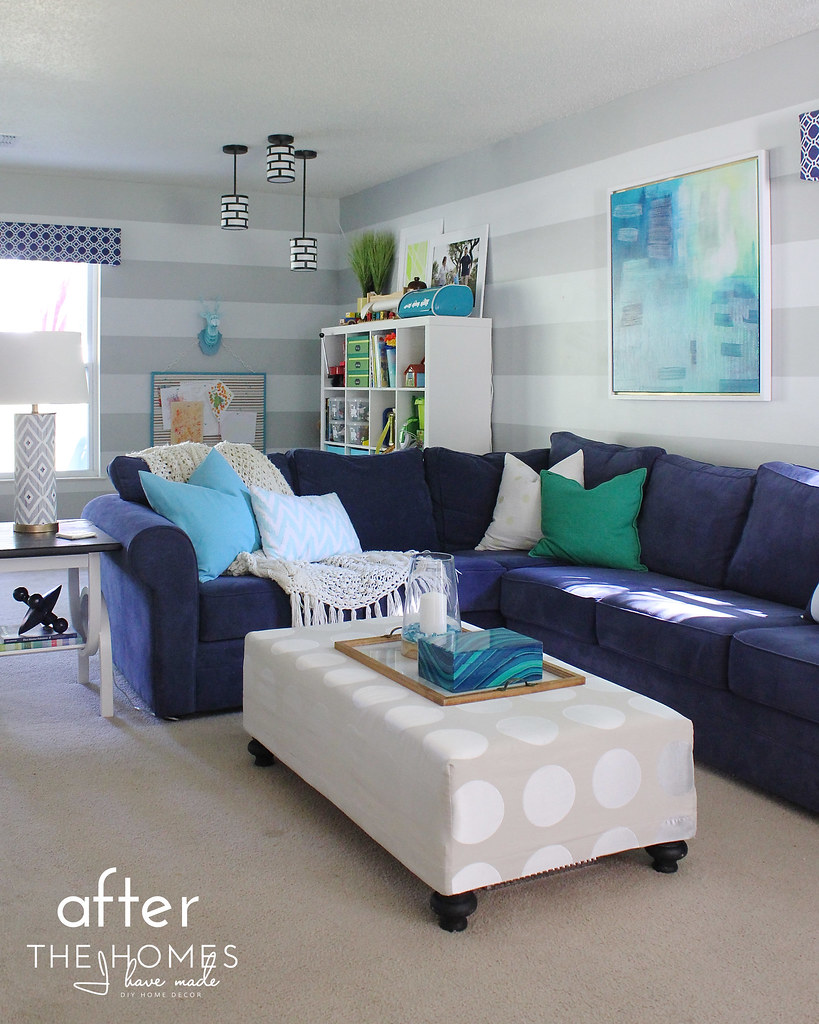
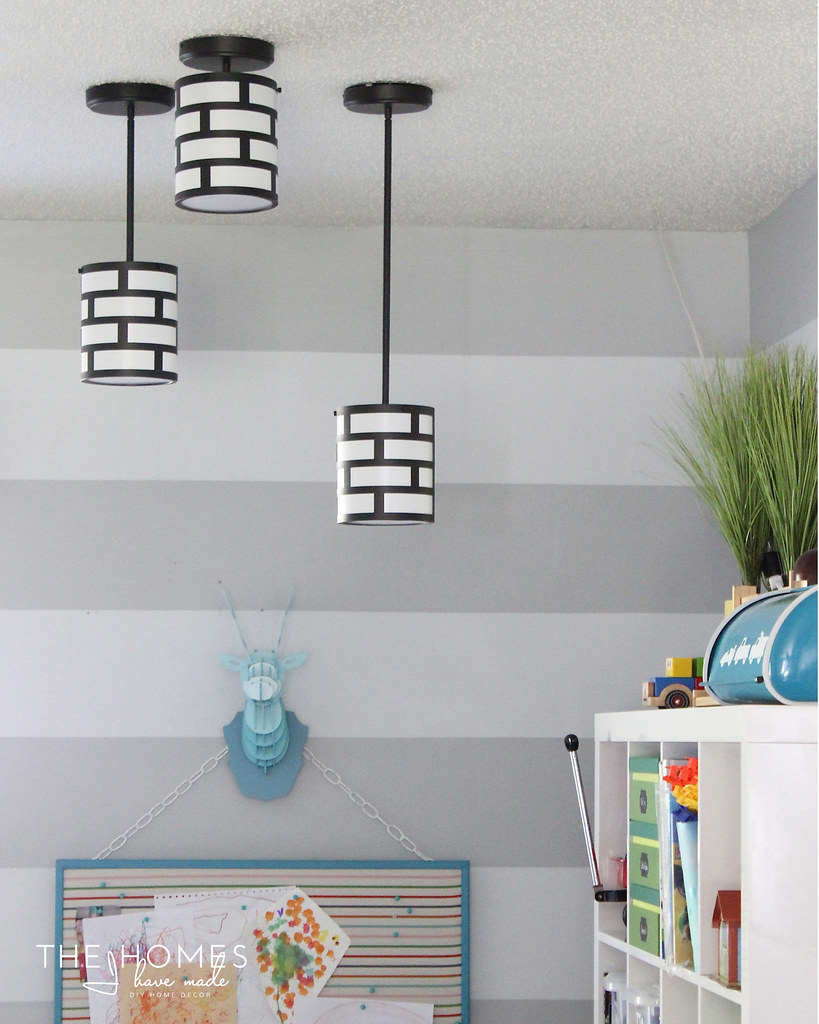
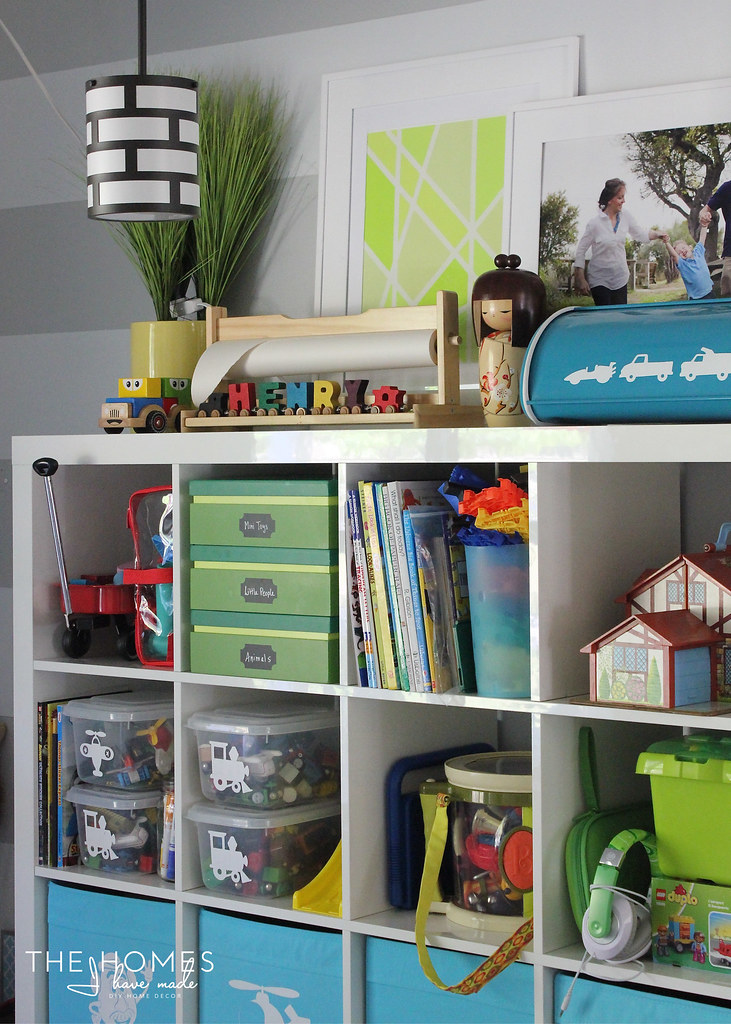
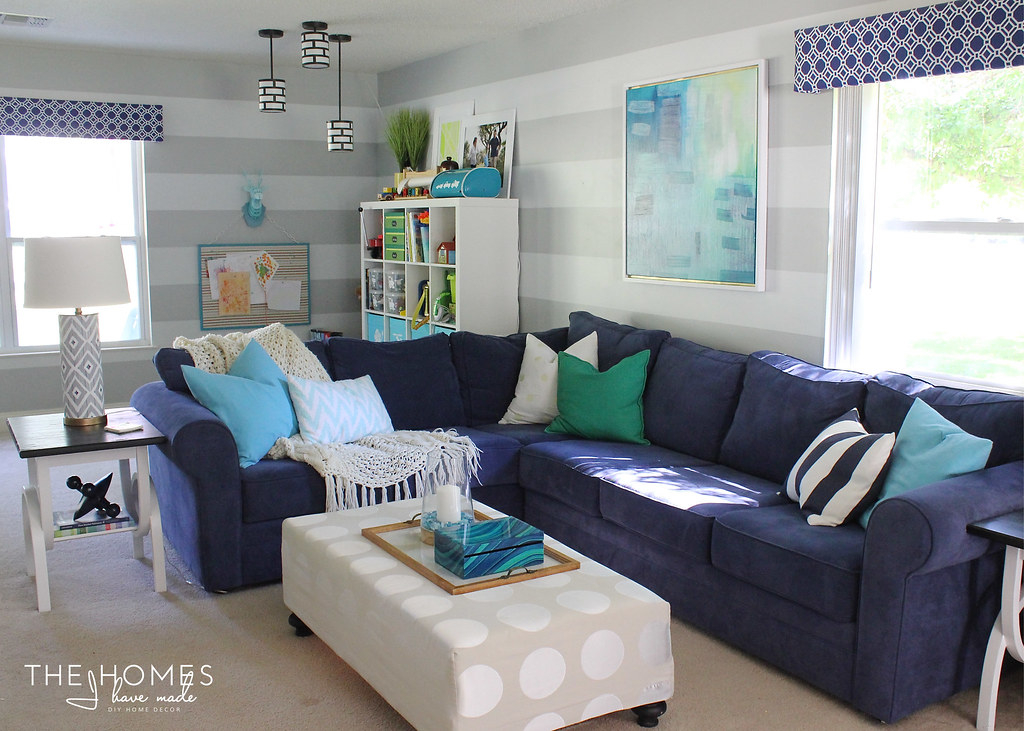
The blue sectional couch serves as a room divider between the play area and the family room, helping make the most of this really large space. Because of the lack of overhead lights, the play area was really dark, especially in the evenings. Greg is super light-savvy and we had access to our attic, so we installed these really inexpensive pendant lights. The Expedit shelving unit helped keep the toys organized and tidy, since we had clear sight lines of them from the family room (and even from the dining room!)
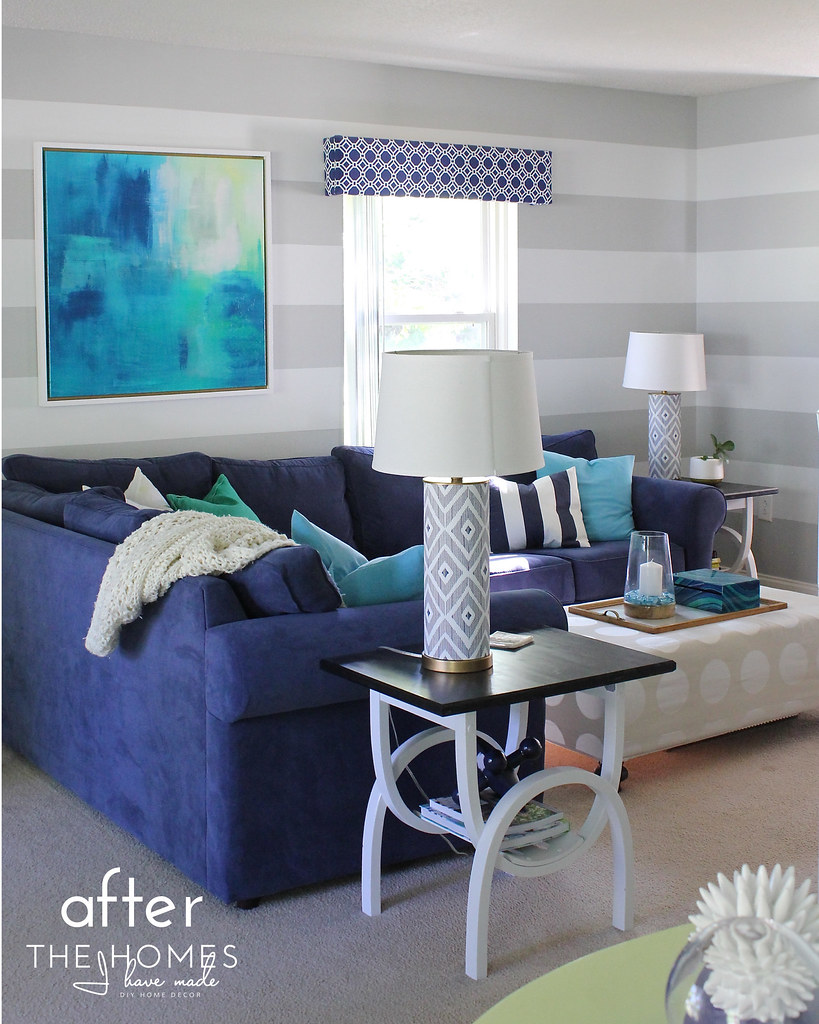
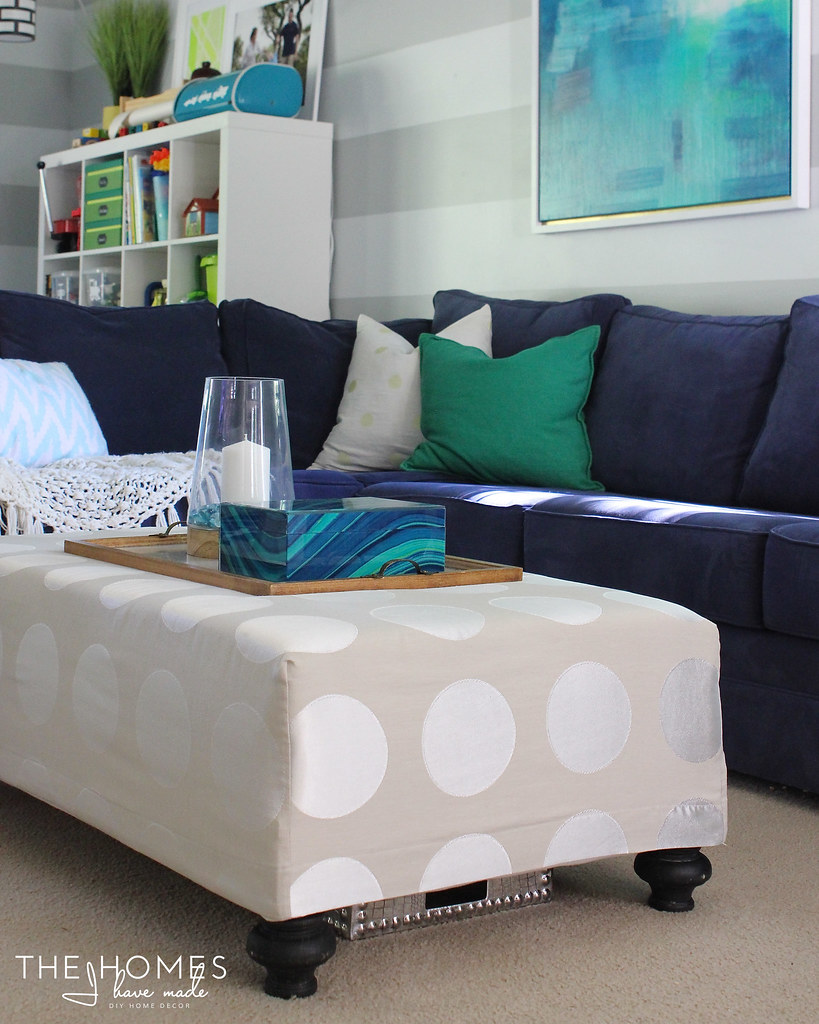
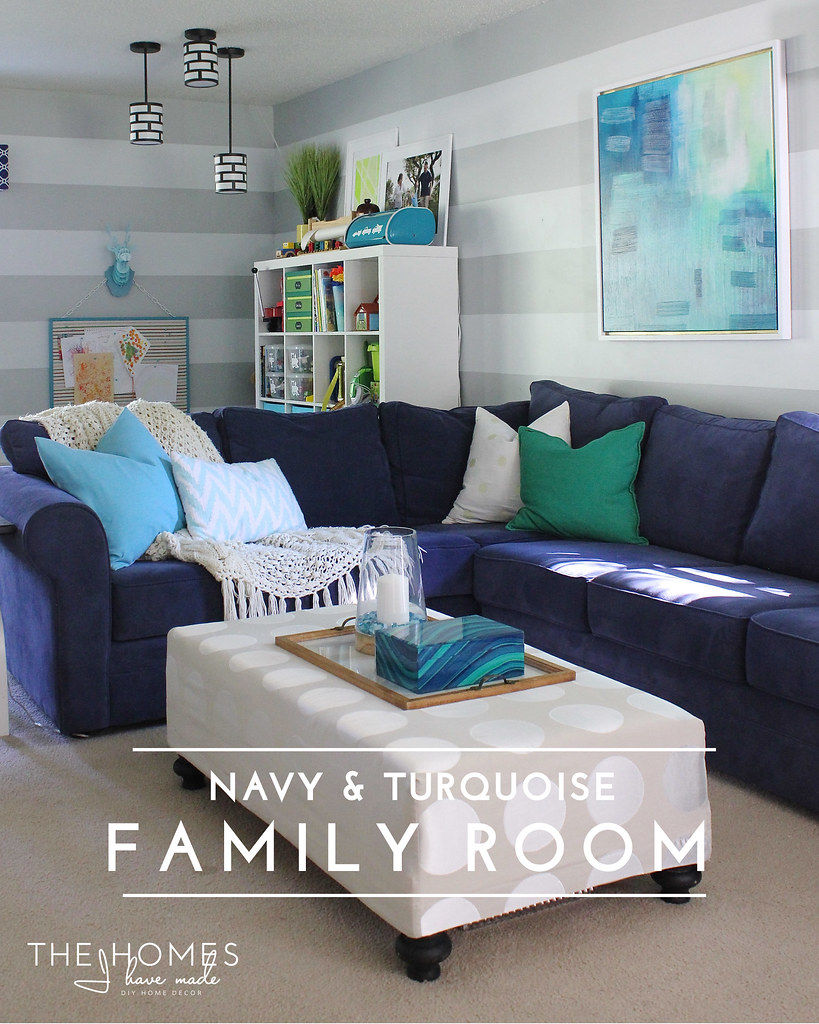
The blue sectional turned out to be a huge, dark focal point of the room, which I wasn’t expecting and wasn’t sure how to handle. Lightening up the couch with pillows, colorful accessories, and an oversized ottoman helped brighten up the center of the room.
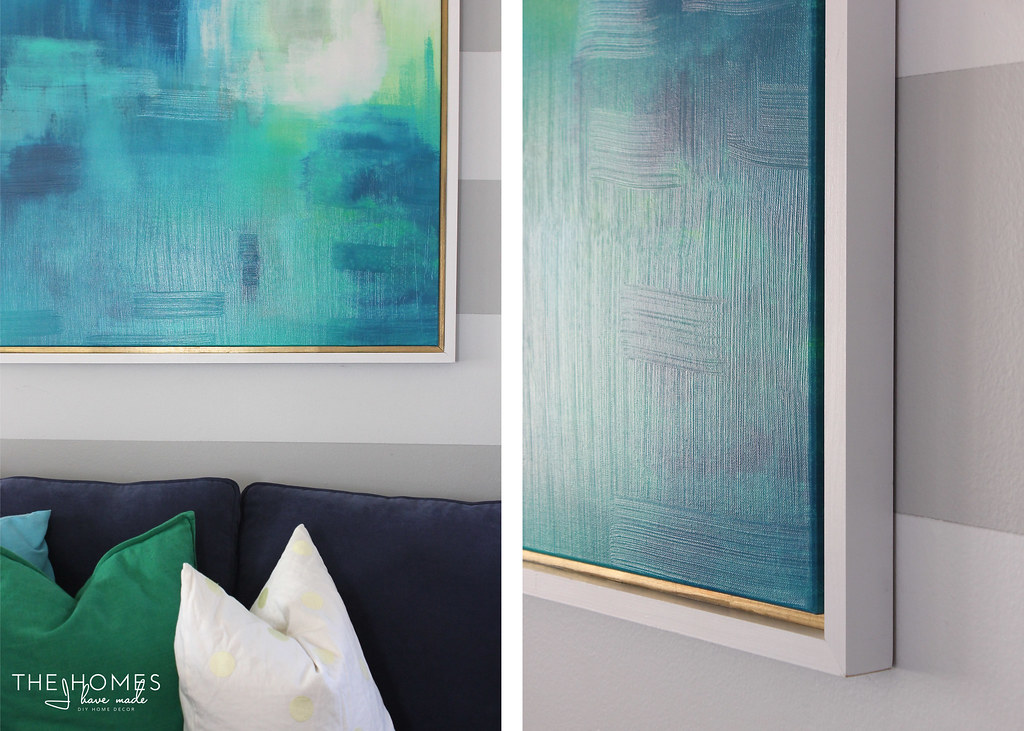
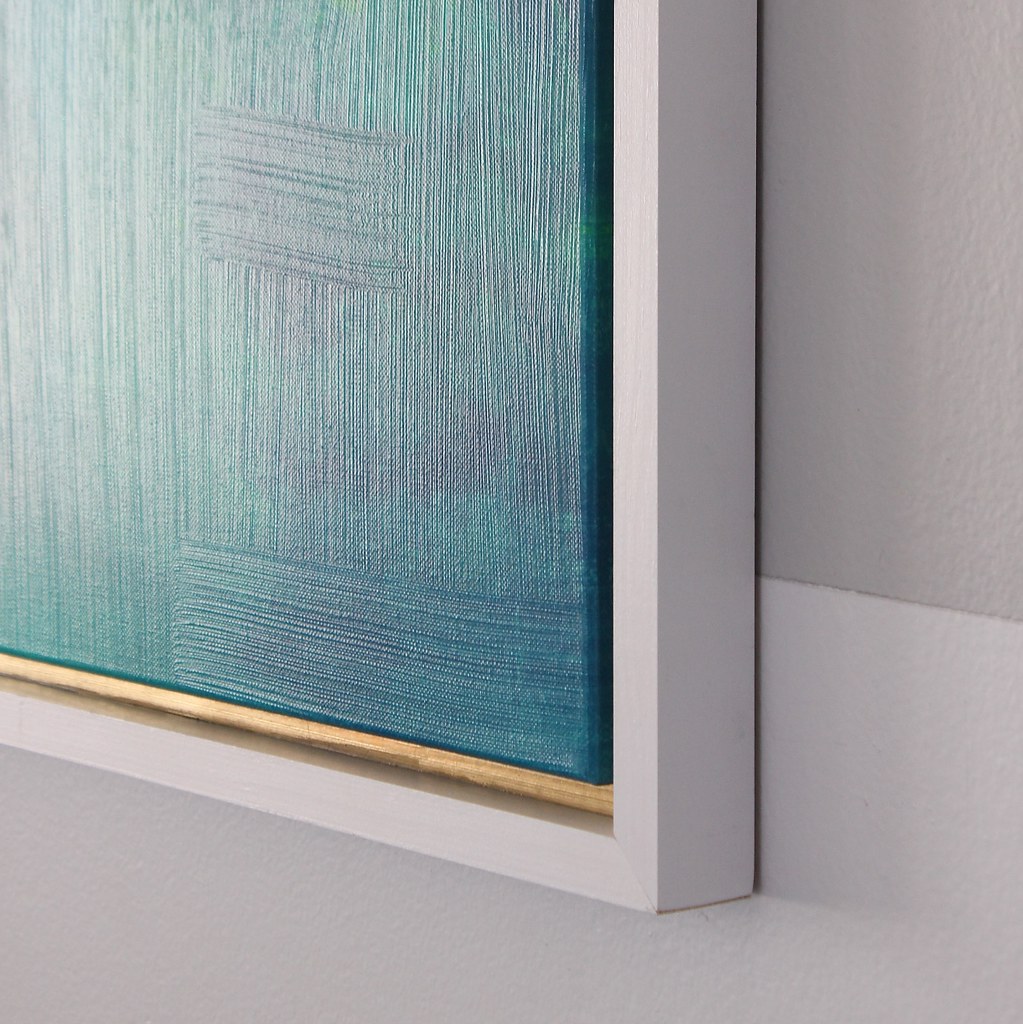
I actually picked the color palette based on some paints my neighbor gave me and some I found in the miss-tint section of Home Depot. As such, it took me forever to find something for above the couch that unified my entire color scheme. After months of hunting, I finally found the right piece, and it worked wonders in bringing the entire space together! Lesson learned: starting with and building from the art would have been so much easier!
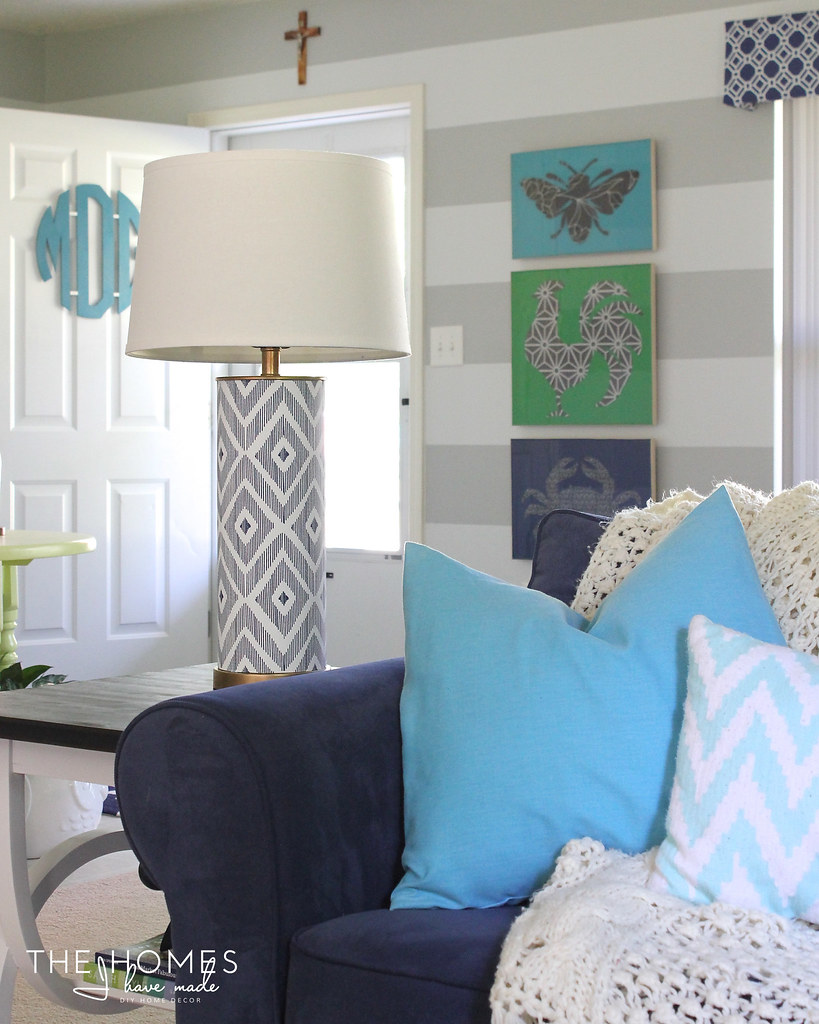
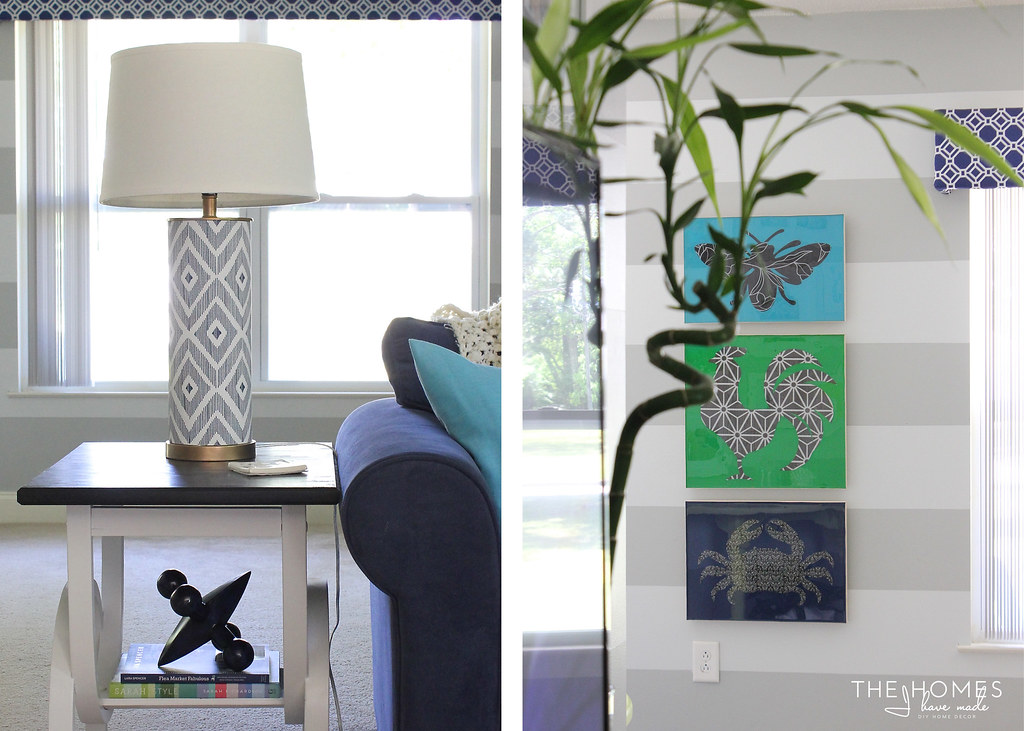
I never miss an opportunity to add in patterns and colors where I can. The lamps were given a (temporary) wallpaper treatment to dress them up a bit (still one of my favorite projects in the room!) and the artwork was made from wallpaper samples (our final project in the space, completed just last week!). Admittedly, the patterned cornice boxes on the windows proved a bit of a headache for me. They were just too busy and too small of a pattern to be so dominant in the room. I never could get myself to re-do them, but they are one of the elements I still don’t think is quite right.
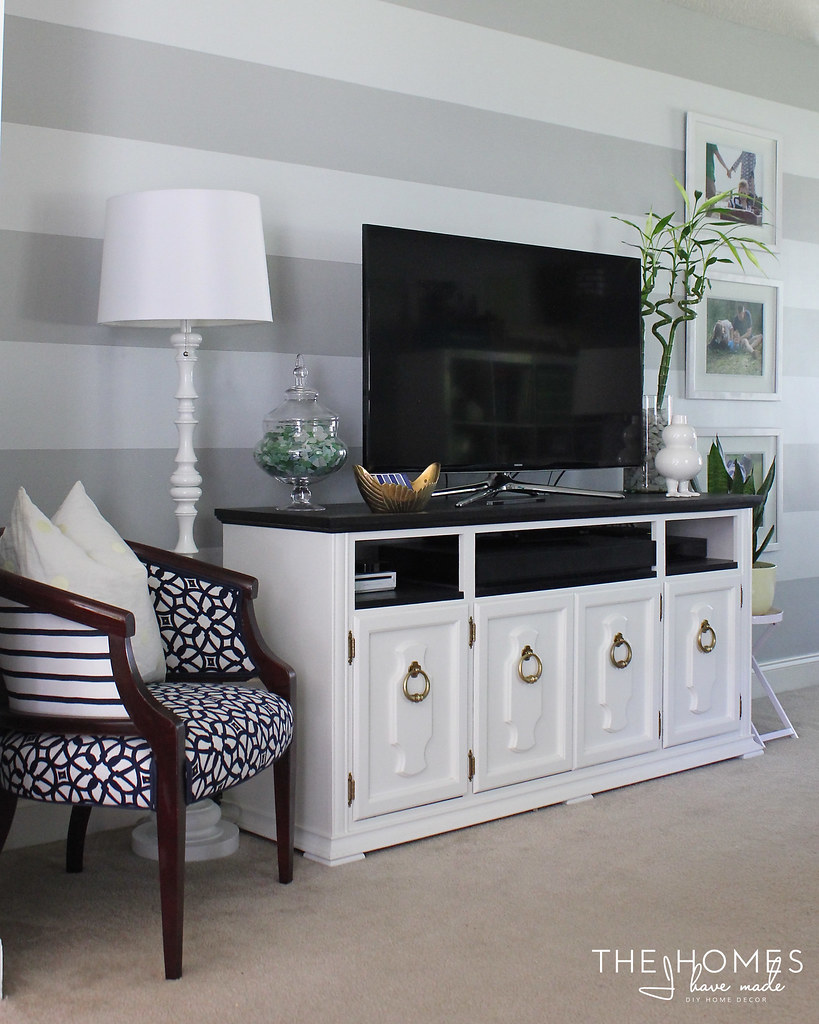
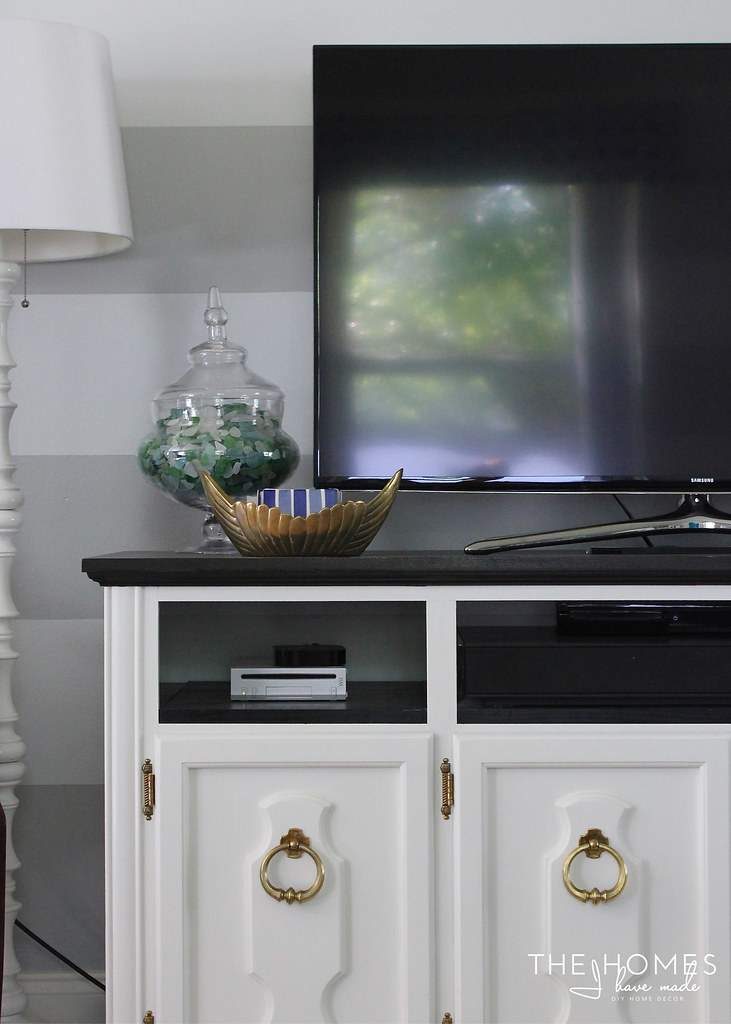
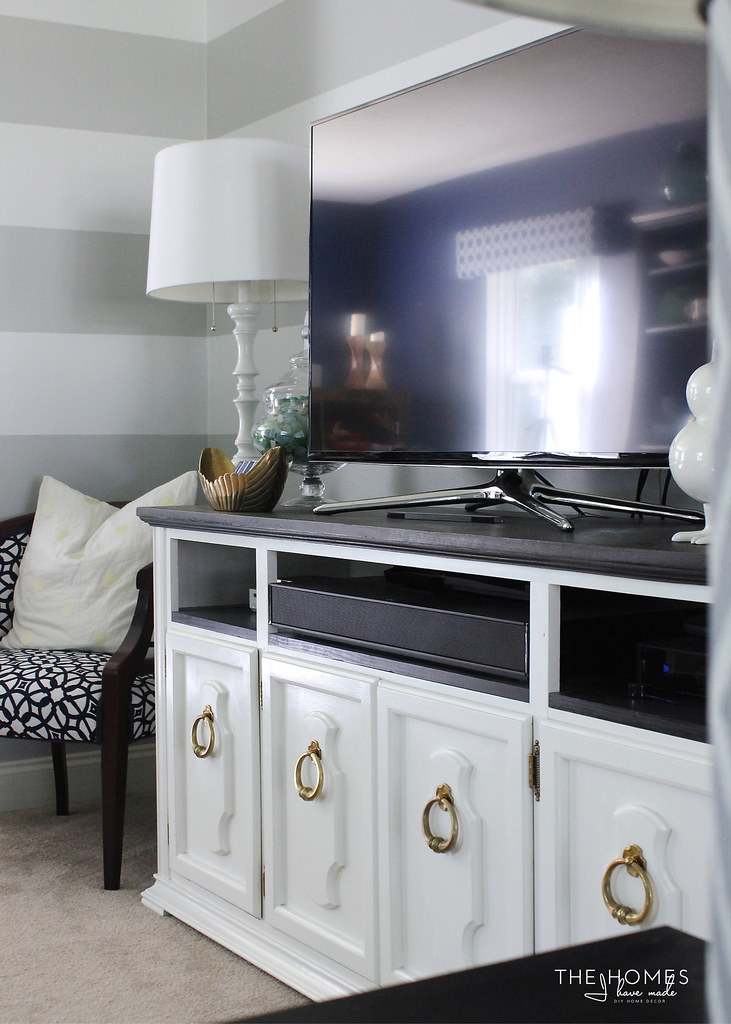
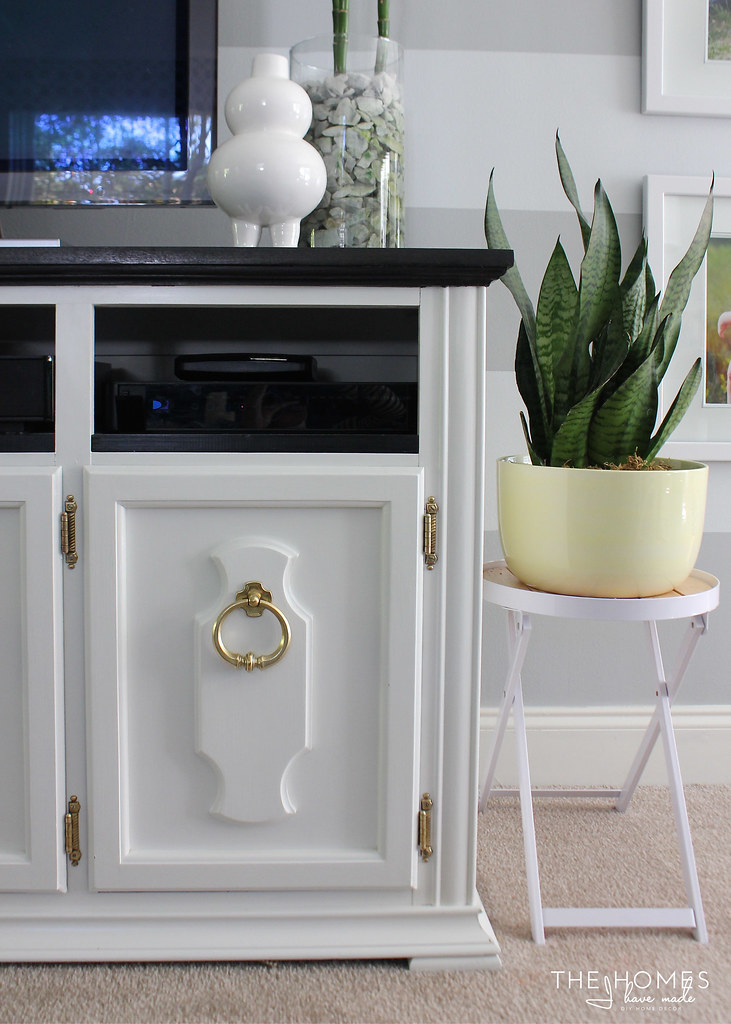
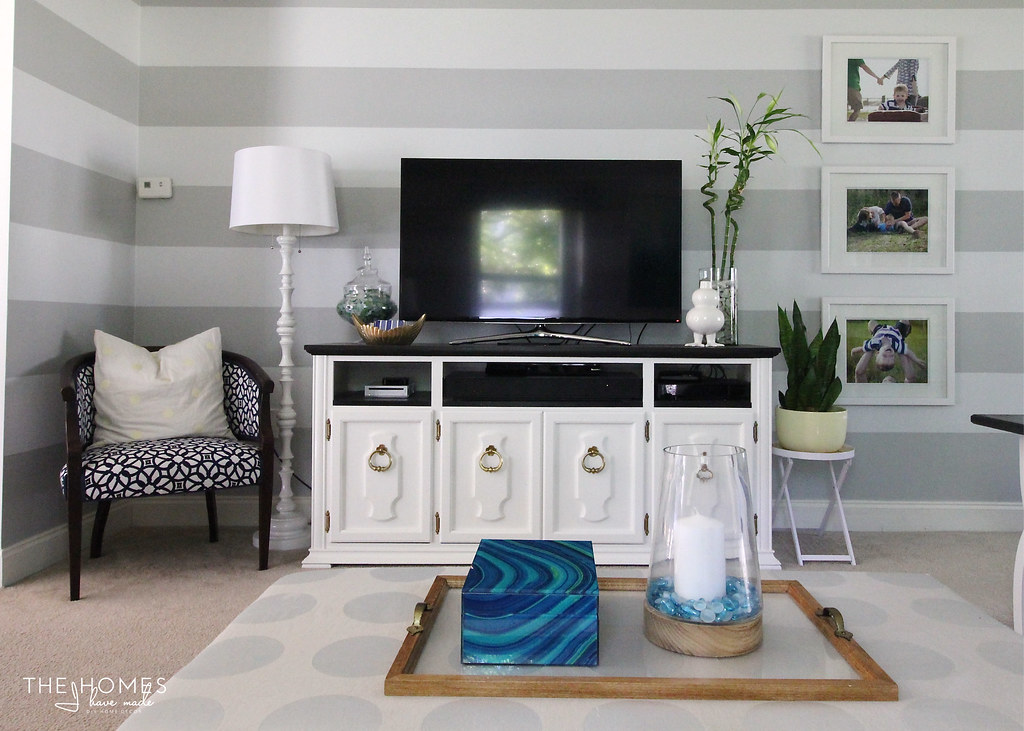
Opposite the couch is my favorite “view” in our entire house. The TV stand is an old china cabinet that we transformed and is still one of my favorite projects we completed here. Paired with shiny (original) brass pulls, some great plants, and funky decorative accessories, it’s a really decorative and eye-pleasing way to store and display electronics.
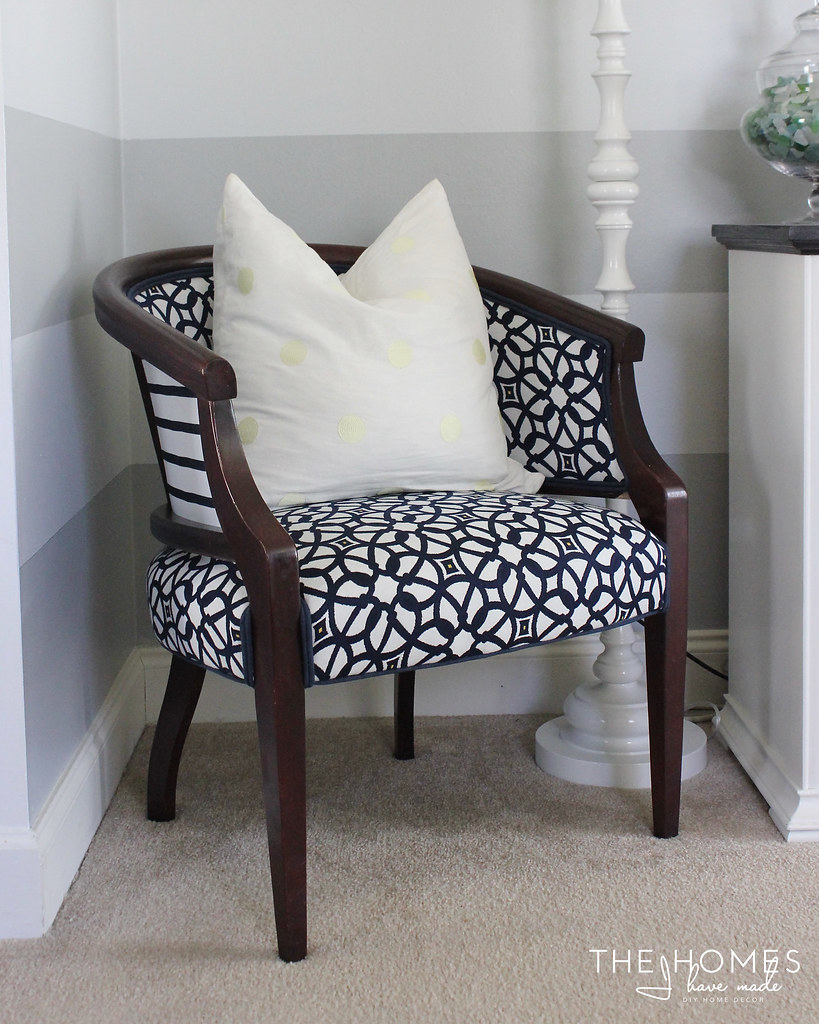
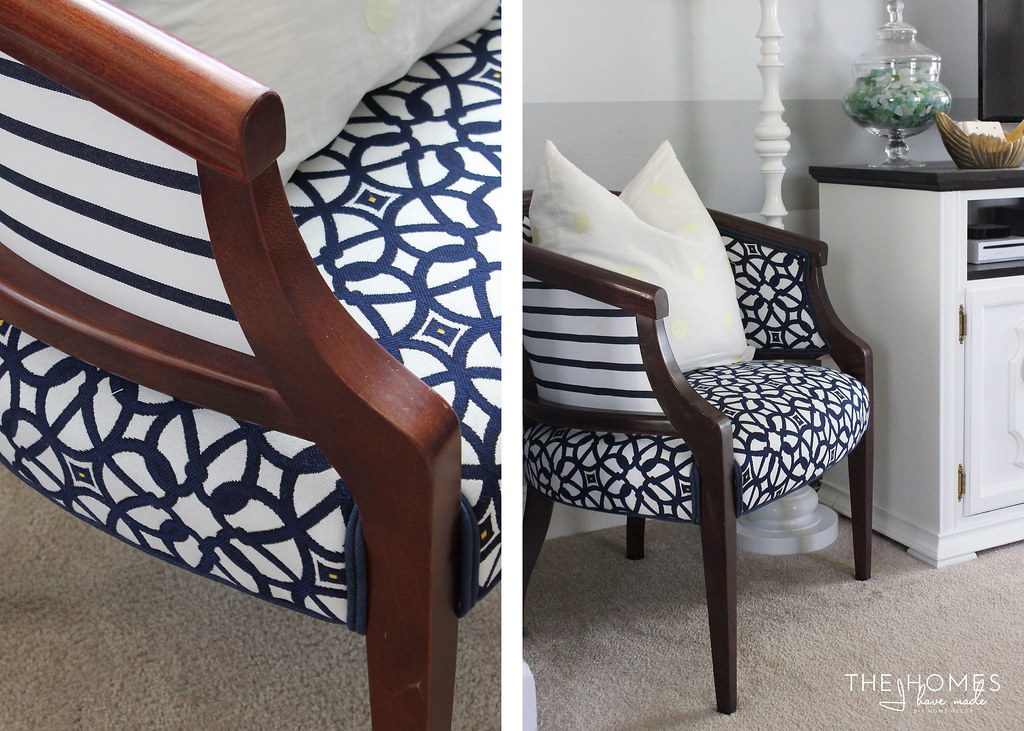
Next to the TV stand is one of my “new” upholstered chairs. I can’t wait to better situate this one with its match in the next house! For now, this is a great spot for one of them! Those stripes on the back still get me every time!
While this room didn’t turn out ANYTHING like I originally thought it would three years ago, I think I did succeed in creating a family-friendly, happy, fun space to spend as a family! Nothing here is overly precious, and all the fabrics and accessories are (mostly) kid friendly. While there were some mis-steps and heart-aches along the way, I am sure proud of this final space!
This space has been a long-time coming and includes lots of DIY projects and items from a variety of stores. I’ve done my best to provide sources for everything below. Leave a comment if I’ve left something out that you’re curious about!
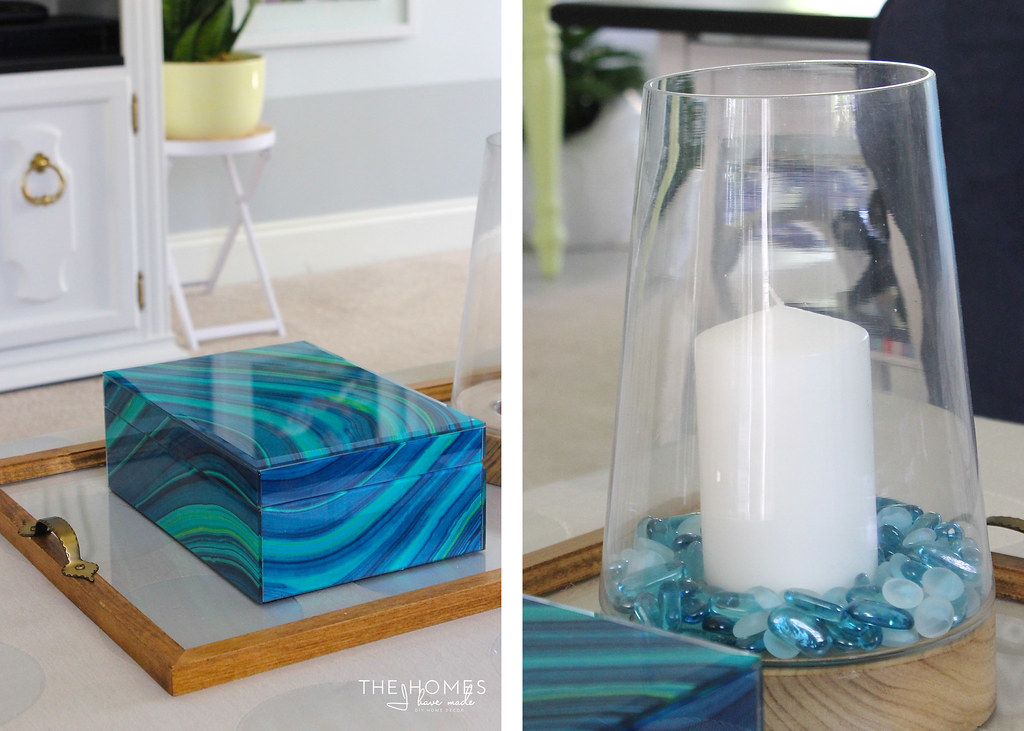
Couch: local store, made by Carleton / Ottoman: DIY, see below / Ottoman slipcover: DIY using a curtain from IKEA, see below / Table lamps: Target with Spoonflower wallpaper, see below / White floor lamp: Target / Cornice boxes: DIY, see blow / Blue jax: Hobby Lobby / Side tables: DIY with wood tops from IKEA, see below / Wood tray: DIY, see below / Blue marbled box: HomeGoods / Glass hurricane: Marshalls / Chunky knit blanket: Homemade by my Mom / Turquoise pillows: DIY / Striped pillow: DIY / Green pillow: Marshalls / Polka dot pillows: Marshals / Blue chevron pillow: Marshalls / Large abstract art: Marshalls with DIY frame, see below / Pendant lights: Lowes / TV stand: DIY, see below / Plant stand: Target / Yellow bowl: Target / Blue & white upholstered chair: thrifted and upholstered with Sunbrella fabrics, see below / Glass vessel: overseas in Okinawa, Japan / Seaglass: found on the beaches of Okinawa, Japan / Brass wing bowl: vintage / Footed vase: Marshalls / Coasters: DIY, see below / White picture frames: Michaels / Silhouette Artwork: DIY using samples from Walls Republic, see below
All the tutorials and in-depth look for the projects in this room can be found here:
PHEW! So what do you guys think? All the projects and all the anticipation over the months years (at least for me!)…I hope it was worth it 😉 I’d love to hear your favorite parts, what you think went right, what you think went wrong!
And that, believe it or not, wraps up the room reveals for this house. I am planning on updating the “Our Homes” page soon and am planning on a full house tour post in the next week or so. I can’t believe we are coming to a close on this chapter of our lives.
Hope you’ve enjoyed the ride and be sure to buckle up, because this move/house year is going to be a good one too 🙂
Happy Monday!
Megan





2 Comments on “Navy & Turquoise Family Room Reveal”
Wow, this room is so beautiful that it makes me want to move back into base housing!! Well, almost… I love the colors! And the accents are wonderful – a treasure every place you look. Well done!
I've been following you for just a little while (found you via I heart decorating), but have a comment on your cornice box which you don't seem to love. If you try them again, consider making them longer. My husband built a cornice box for our glass slider and it is longer than I requested and that length makes it look much richer and more elegant than I would have dreamed. I think a longer cornice box starting closer to your ceiling would be fabulous. Love, love, love your color scheme.