If At First You Don’t Succeed, Try Try Again – My White Ottoman Lesson
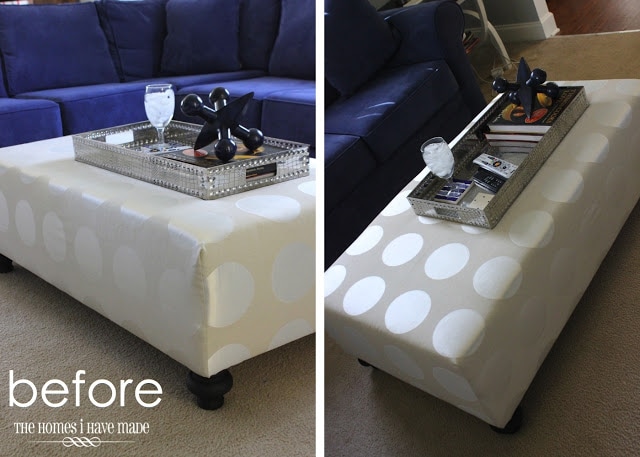
My friends – I am so excited about a small victory I made in our family room that I had to take a quick minute to share. My victory is over our white/silver ottoman that we made last fall. Do you remember it? You can find the ottoman reveal HERE and the full tutorial on how we made it HERE. Anyway, this is the last you saw of this beauty here on the blog. New, clean, glamorous, and wonderful…
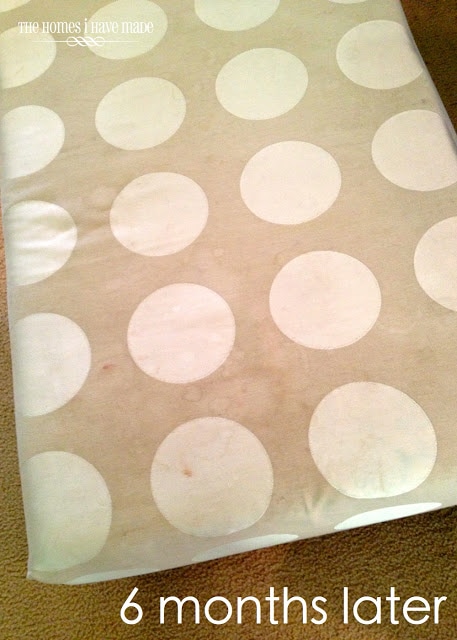
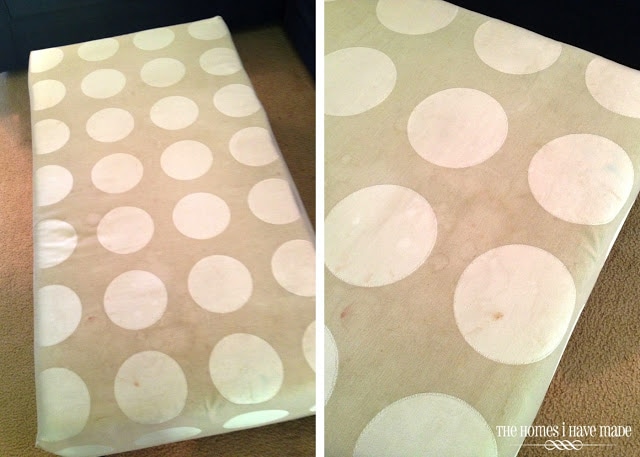
Well, here is that same ottoman 6 months later. Boo.
The alternate title for this post was “What Crazy Mother of a Toddler Upholsters Her Ottoman in White Fabric?” Oh friends, what was I thinking? In the few months since we made this awesome piece, it has been jumped on, snacked on, spilled on and more…and has not survived well. The ottoman was badly stained with jelly hands and water spots, and the fabric had become “loose” from serving as a trampoline. What was once my favorite piece in our house quickly became the biggest eyesore and my latest conundrum!
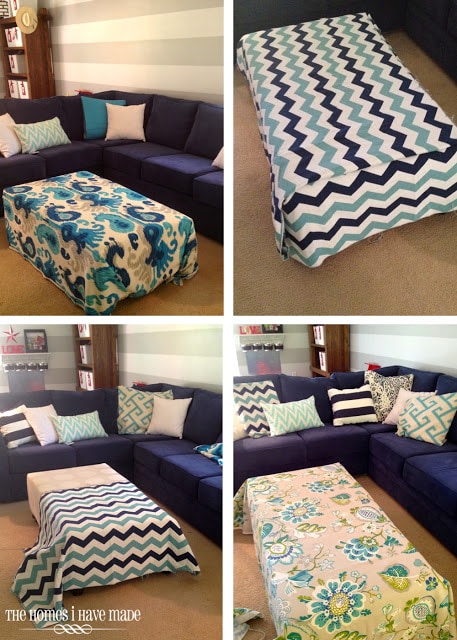
I realized I was crazy to have an all-white ottoman with a toddler, so I set off on a major search to find new fabric that would camouflage the stains that accompany toddlers while still providing me with the look I wanted. I tried all sorts of options…
But the truth is, I still (despite the stains) really, really wanted a light, bright, WHITE ottoman in our family room. Our awesome blue couch is…well, blue, and at times, feels very heavy. Our ottoman is large, takes up a lot of floor space and desperately needs to be light and neutral for other elements in the room to work. I had ultimately decided I was going to re-do the ottoman in the chevron (above), but I wasn’t really, really sold on such a bold pattern on such a big piece.
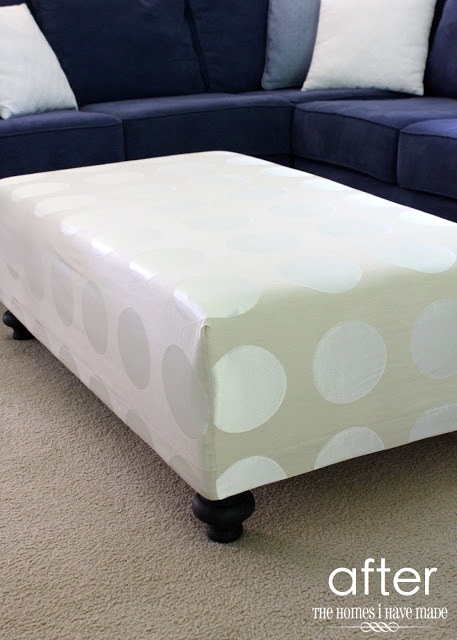
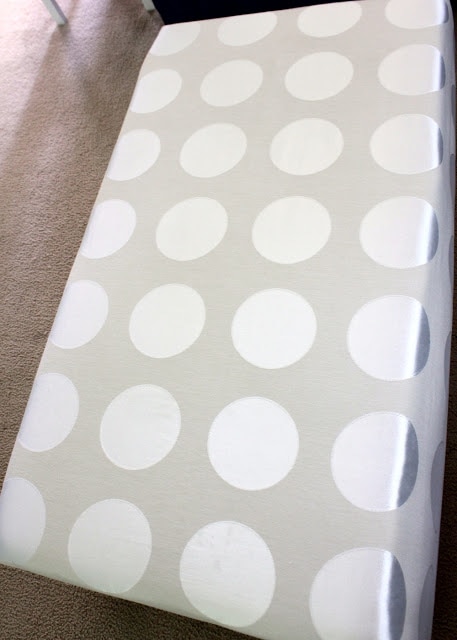
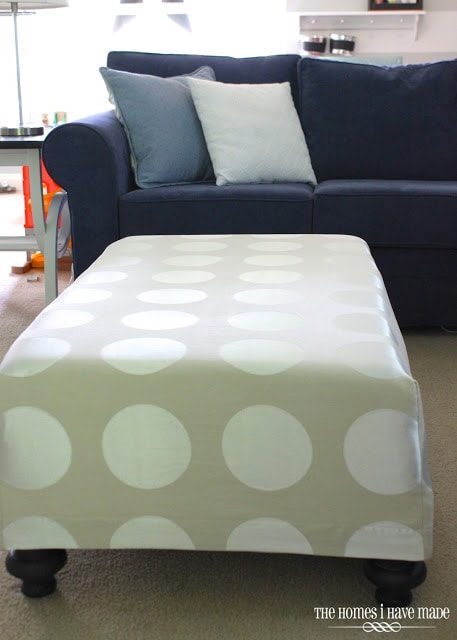
Before I re-did the ottoman (and used up my awesome chevron fabric), there was one more option I wanted to try: washing the current ottoman fabric. What did I have to loose, it was getting replaced anyway? Well, it was the best experiment and use of 20 minutes EVER…here’s my ottoman now!!!
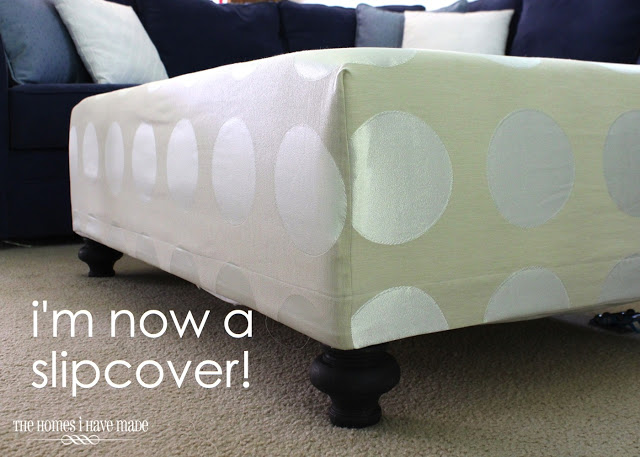
What did I do? My fabric, once upholstered to the ottoman frame, is now a slip cover that can be washed weekly (or as needed!) in the washing machine!!! Woooo hooooo!!!!!
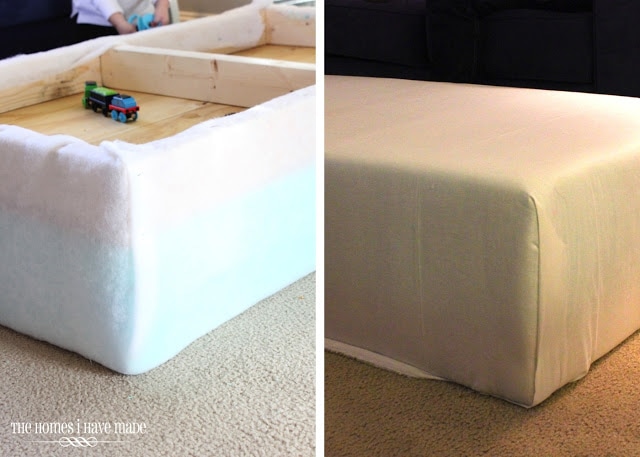
Just to recap for those who are new, this is how the ottoman came together:
- The wooden frame and foam were first wrapped in two layers of quilt batting,
- …and then wrapped in a layer of white drapery lining.
- My fabric (a curtain from IKEA) was then sewn at the corners (like a fitted sheet) and stapled taught around and under the wooden ottoman frame.
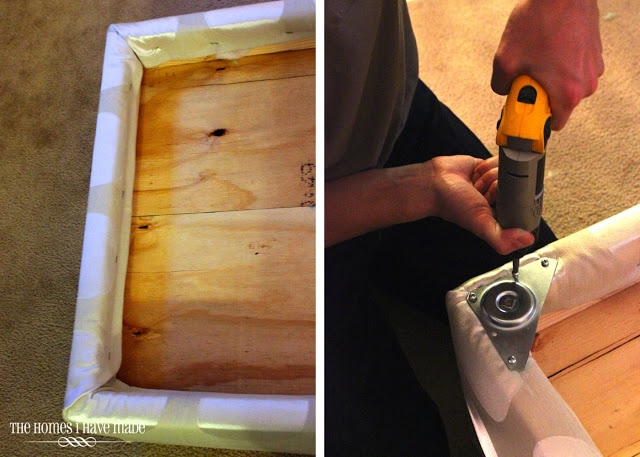
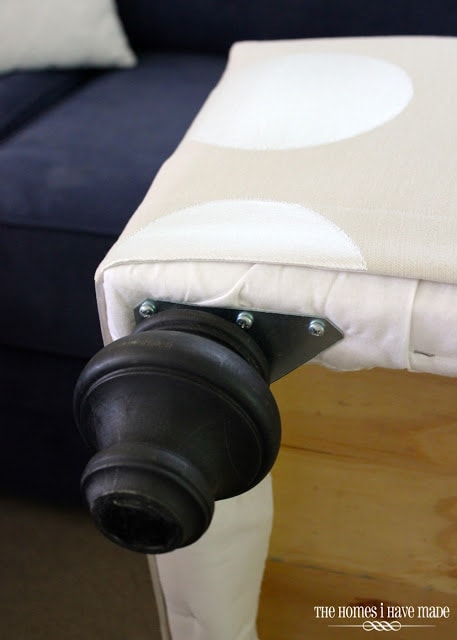
- Metal feet plates were screwed right over the fabric and into the frame to hold the wooden feet in place.
I had thought about taking the fabric off many times, but since the feet were screwed in OVER the dotted fabric, I kept putting it off. When Henry took an unusually long nap the other day, I went for it. Within minutes, I had the feet plates off, the top layer of fabric un-stapled, and the feet plates re-attached. I then placed the ottoman right-side-up and used the edge of the frame as my hem line (I marked it with pins). A quick iron, pin and hem later, the cover went into the washing machine and came out sparkly new!
And thanks to a bit of shrinkage and re-shaping in the wash, it actually fits better now than it ever did originally!
Thanks to wrapping the batting in white fabric, the underside still has a relatively finished appearance. The slipcover comes down just enough to cover the sides but still show off those great bun feet!
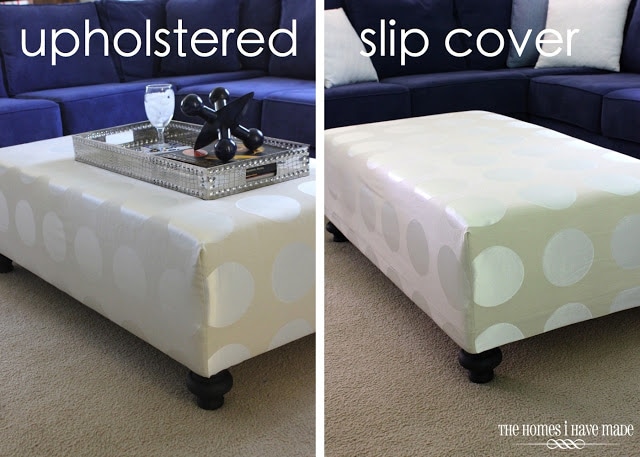
Here’s a shot of the ottoman upholstered (the day we made it) and now slip covered (using the same exact fabric). The only real differences are 1) there is a barely noticeable hem line on the slip cover, and 2) the fabric is now removable and can go in the wash – SCORE!!!
Some people may still think I’m crazy to have such a light ottoman with a little one running around. But honestly, washing this slip cover alongside my dining room chair covers or sheets or towels is no added work for me, and it ultimately gives me the look I wanted from the beginning!
I am so so so excited that I saved this project – I really wasn’t willing to let go of the light ottoman, and now I have a solution that works for our family as well! And, if I want to change out the look or use a more durable fabric (like an outdoor fabric) in the future, a slip cover is my way to go!
What about you? Have you had to change your decor plans due to your kids and sticky fingers? Have you had to re-think through a project long after you crossed it off your To Do list??
Megan




3 Comments on “If At First You Don’t Succeed, Try Try Again – My White Ottoman Lesson”
We got rid of our wood coffee table and replaced it with a leather ottoman. Best decision ever! But, our 98 lb fur baby loves to lay between the couch and ottoman and has scratched up the wood part with his crazy eagle talons (we really do a good job of trimming his nails!)- ugh! I still love it, but need to figure out a way to disguise those scratch marks.
I am glad you were able to salvage your ottoman cover and keep your original idea!
Great solution!! I was so sad at the beginning when you thought about getting rid of the white. I loved the white with circles in your living room. I'm so glad that you made it work! I'm rejoicing with you that the white ottoman is saved!! Whoo Hoo!!
Wow…it doesn't look like a slipcover at all! Great job. I feel your pain about having white with a toddler! Right there with you! Coming over from TT&J.