How to Make an Oversized Ottoman
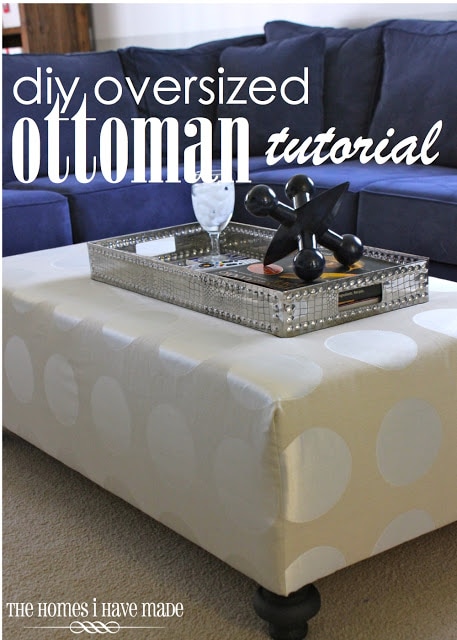
Happy Cyber Monday everyone! Hope you all had a fantastic Thanksgiving and weekend of holiday relaxing and shopping! Last week, I revealed to your our new DIY Oversized Ottoman and promised you the tutorial. I’m a few days behind, but I’m here today with the full step-by-step for you!
It wasn’t a hard project and took us one afternoon to get ‘er done. Let me show you what we did!
We sized the ottoman to fit nicely within our sectional couch. I then had to “balance” the ideal measurements with the size of some plywood we hand on hand (leftover from the sandbox) and available foam widths. Taking all these things into account, our ottoman size ended up being 28″x48;” all of our wood and foam was cut to this size.
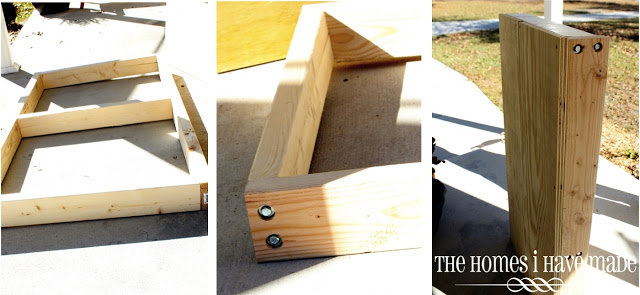
To start, we built a basic frame using 2X4s. We added a center brace for extra support because the entire ottoman was so big (bottom left). All of the junctions are held together with 3″ lag bolts and are counter-sunk with washers (bottom center). Once the frame was constructed, we added a rectangle of 3/4″ plywood to the top with 1.5″ wood screws all the way around (bottom right).
The wood for this project was cheap, but the real cost was the foam! I bought my foam from JoAnns during a holiday weekend; it was 50% off plus I had a coupon for an additional 20% off. The foam comes in 24″ widths, cut to any length…I bought 4 28″ lengths of 4″ foam, leaving me with 4 28″x24″ squares. I paid about $80 for all my foam – that’s a really good deal!
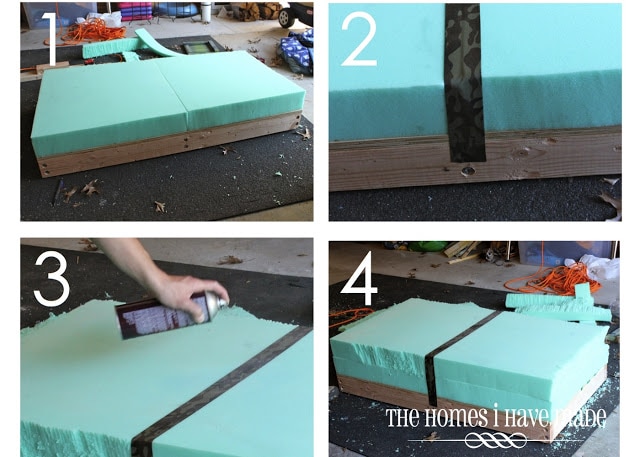
We started by trimming down the bottom layer of foam to perfectly match the wood platform with a sharp knife (NOTE – we must buy an electric cutting knife if we are going to cut a lot of foam again!).
- Once all of our edges matched up, we applied a layer of spray adhesive to the wood and then gently laid the foam down in place.
- I’m not sure if it’s necessary, but we wanted to make sure the foam never separated. We couldn’t find any upholstery tape, so we opted for duck tape – camouflage duct tape – down the entire seam.
- We repeated the trimming, spraying and laying with a second layer of foam.
- To finish off the foam phase, we taped the final seam with duct tape.
(Note – you may be wondering why we used two layers of foam…it’s because we wanted the ottoman to be at “coffee table” height (~16″). We certainly could have used the opposite ratio of wood to foam, but we wanted a nice cushy surface on as much of the ottoman as possible. You can certainly feel where the wood is versus the foam on the finished product, so we are glad we went with the extra foam choice!)
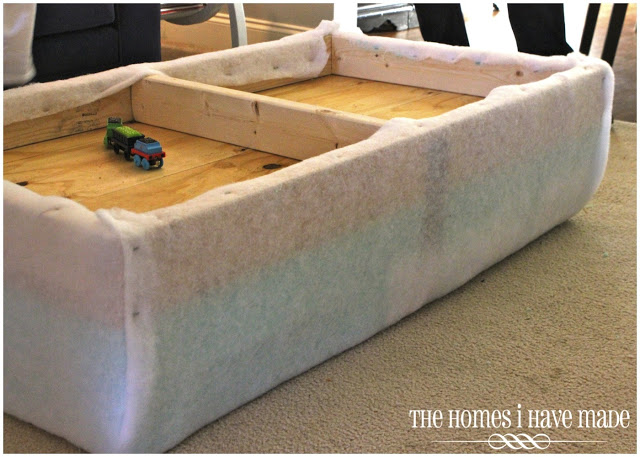
At this point, we moved the ottoman into the house so that it remained sawdust and dirt free as we applied the batting, fabric and feet. I bought a twin-bed size package of cotton batting (also from JoAnns on sale). Doubled over, it was the perfect size (no cutting or measuring required!). We simply tugged and stapled the batting to the inside bottom of the wood frame.
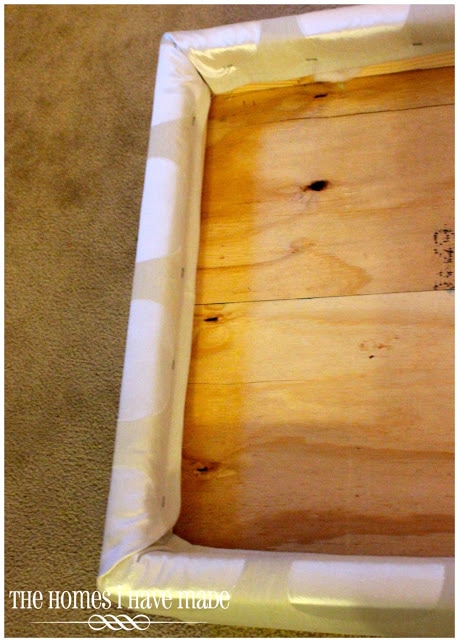
To avoid feeling the batting underneath our final fabric, we added a layer of plain white drapery lining fabric over the cotton batting. We essentially did the same thing with the white fabric as the batting: tug and staple…and at the corners, we folded it nicely to avoid bulk.
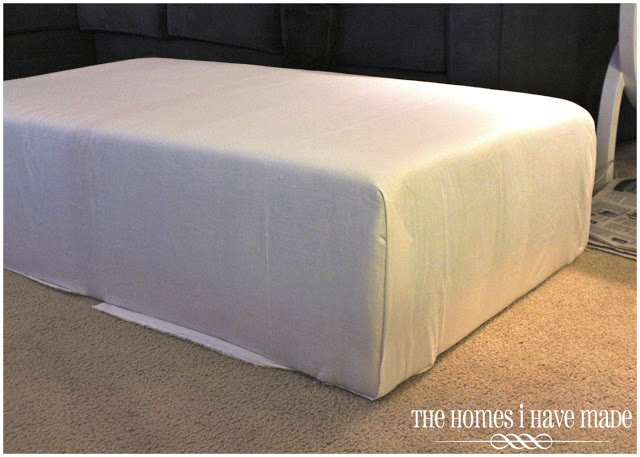
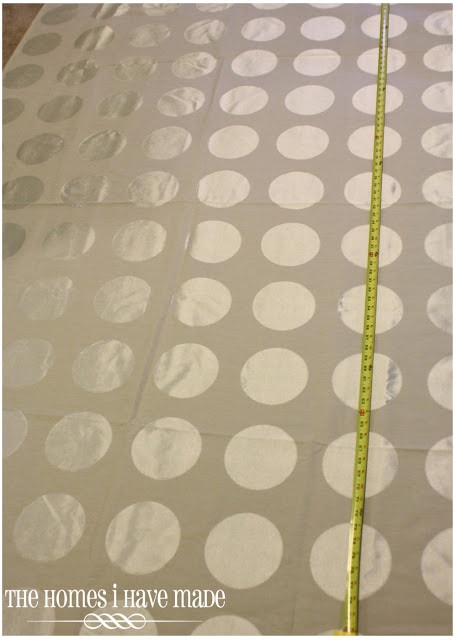
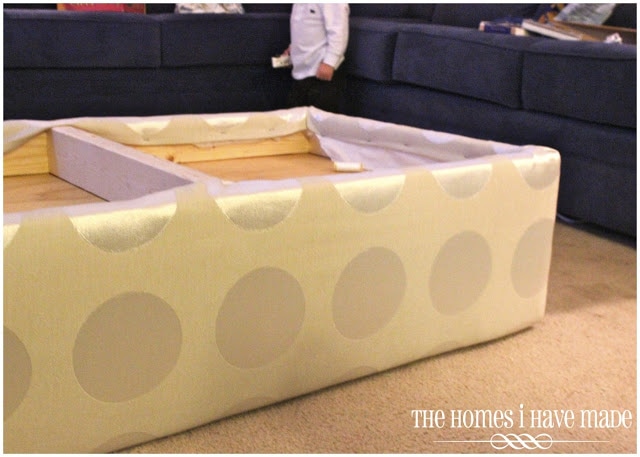
Next came time to add our final fabric layer. After weeks of searching for the perfect fabric, I finally remembered I had this curtain panel (from IKEA) in the linen closet. The panel measures 98″x”60″ – plenty of fabric to cover the entire ottoman. I didn’t want to just wrap and staple the fabric like we did the previous two layers, so I essentially made a fitted sheet for the ottoman (just without the elastic!).
Figuring out the right measurements was the trickiest part! I used this equation:
(L = length, W = width, D = depth)
L + 2D + 4″ (to staple around the bottom) = cut length
W + 2D + 4″ = cut width
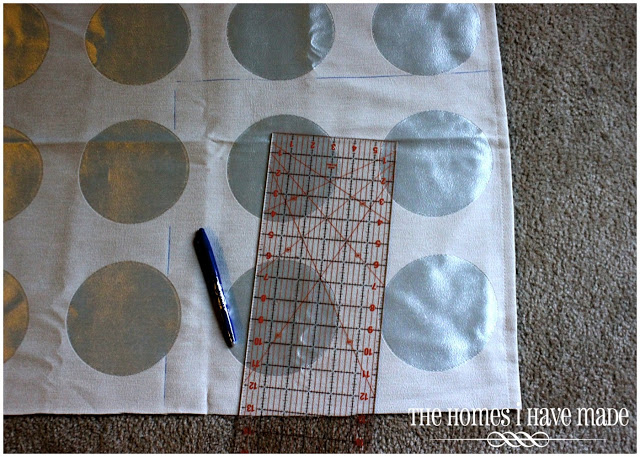
D + 4″ = corner square cut out
Once I knew the size, I used the geometric pattern on the fabric to help guide my cutting. I started by cutting a rectangle…I centered my rectangle cut on the pattern of the fabric so that the circles would be centered on the ottoman.
I then cut out 16″ squares from each corner…that was my D + 4″ measurement.
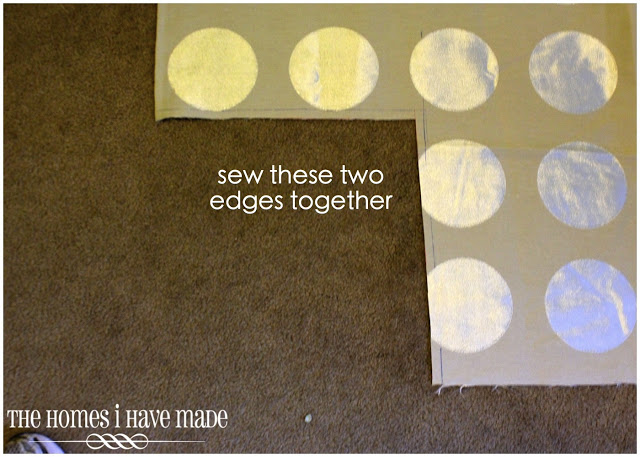
The last step was to sew the corner pockets by bringing the two edges together and sewing to the corner.
Once I had sewn all four corners together, we placed it on the ottoman and stapled down the edges to the wood frame…the same as the batting and the fabric.
(By the way – I recommend “trying it on” your ottoman after each corner and adjusting the width of your seems as necessary! You want it snug, but not so snug you can’t get it on!)
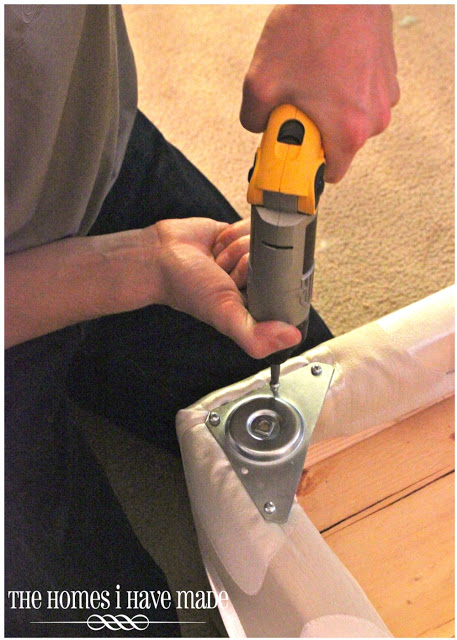
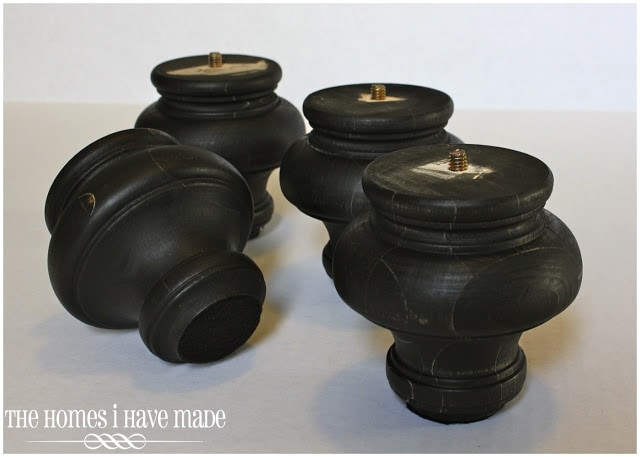
The last step was to add the feet! We purchased four feet and these “feet plates” at Home Depot. Aside from the foam, these were the priciest purchase for this project at $13 total per foot (wood foot plus bracket.)
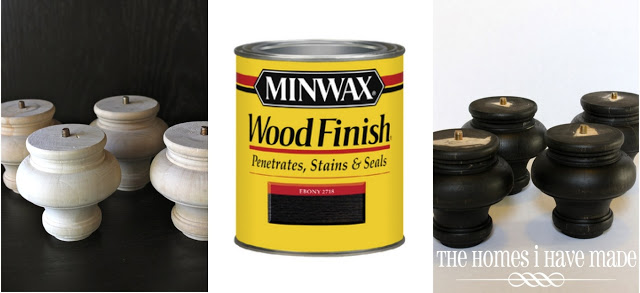
Before twisting the feet into place, each was given two coats of Minwax Stain in Ebony and finished off with some Briwax…
…and given a felt pad to prevent the fresh stain from bleeding onto the carpet!
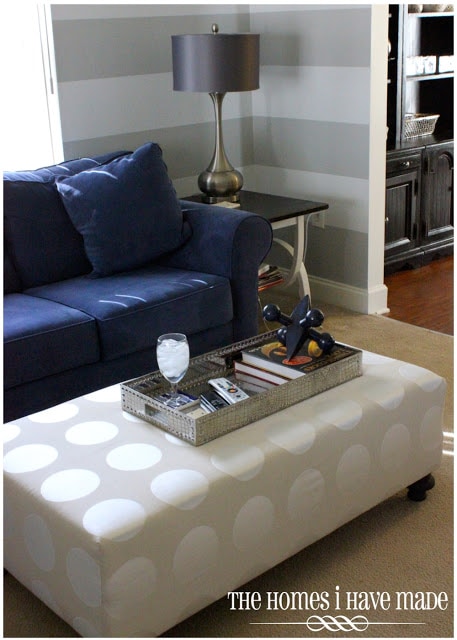
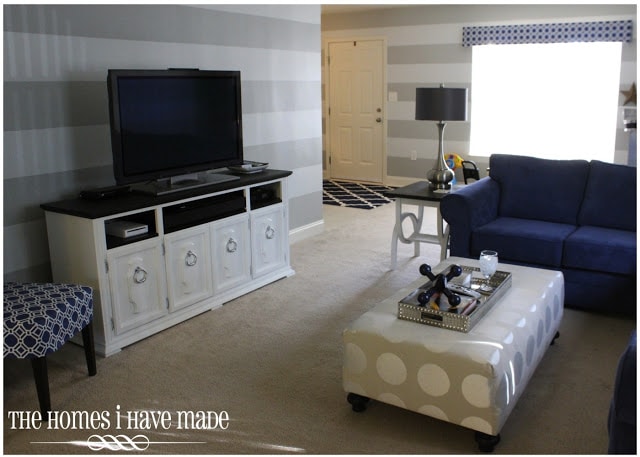
Once the feet were twisted on, our ottoman/coffee table was complete!
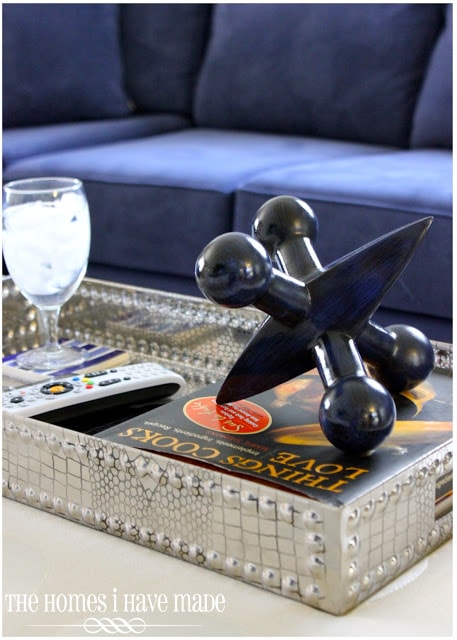
We gave it a few accessories, and called it done!
Again, this project took us a few hours (working together) to complete. In total, including lumber, hardware, foam, the feet/brackets, and curtain panel, the ottoman cost us about $120 – not bad for an ottoman over 2’x4′ big!!!
With this project checked off the list, this room is one step closer to being called “finished!’
And…with the Thanksgiving holiday behind us, our household has kicked into full-on Christmas decorating. I’m working through each space in our home pretty quickly this year…for a really good reason. I’ll share all the details and my first few projects of the season later this week!
Megan



4 Comments on “How to Make an Oversized Ottoman”
I love it! It's gorgeous and just what my basement needs… I wonder where I can find foam on the cheap to convince the hubs to make this asap 🙂 I totally want a corduroy one and they are SO darn expensive. Great tutorial 🙂
Turned out fab, Megan!! I've been wanting to try out a DIY ottoman but that will probably wait until my hubby gets home! That's a big project to tackle on my own.
Nice! Thanks for the tutorial Megan.
What a beautiful job you’ve done and it’s exactly the DIY I’ve been searching for. My sister paid someone to make this exact same thing and I’m sure she paid a lot. I decided it would be much more economical to build our own and my husband, being really handy, should be able to do it. Now, with your wonderful instructions, this will be his first project in the Spring. Thank you so much…and as a soldier’s daughter, thank you for the support and sacrifices you and your family make supporting your husband. The warriors often receive the accolades, but I know from personal experience, the wife and kids also pay a big price as a military family. Bless you all . Semper Fi.