Creating a Magical Turquoise, Blue and Silver Christmas Tree
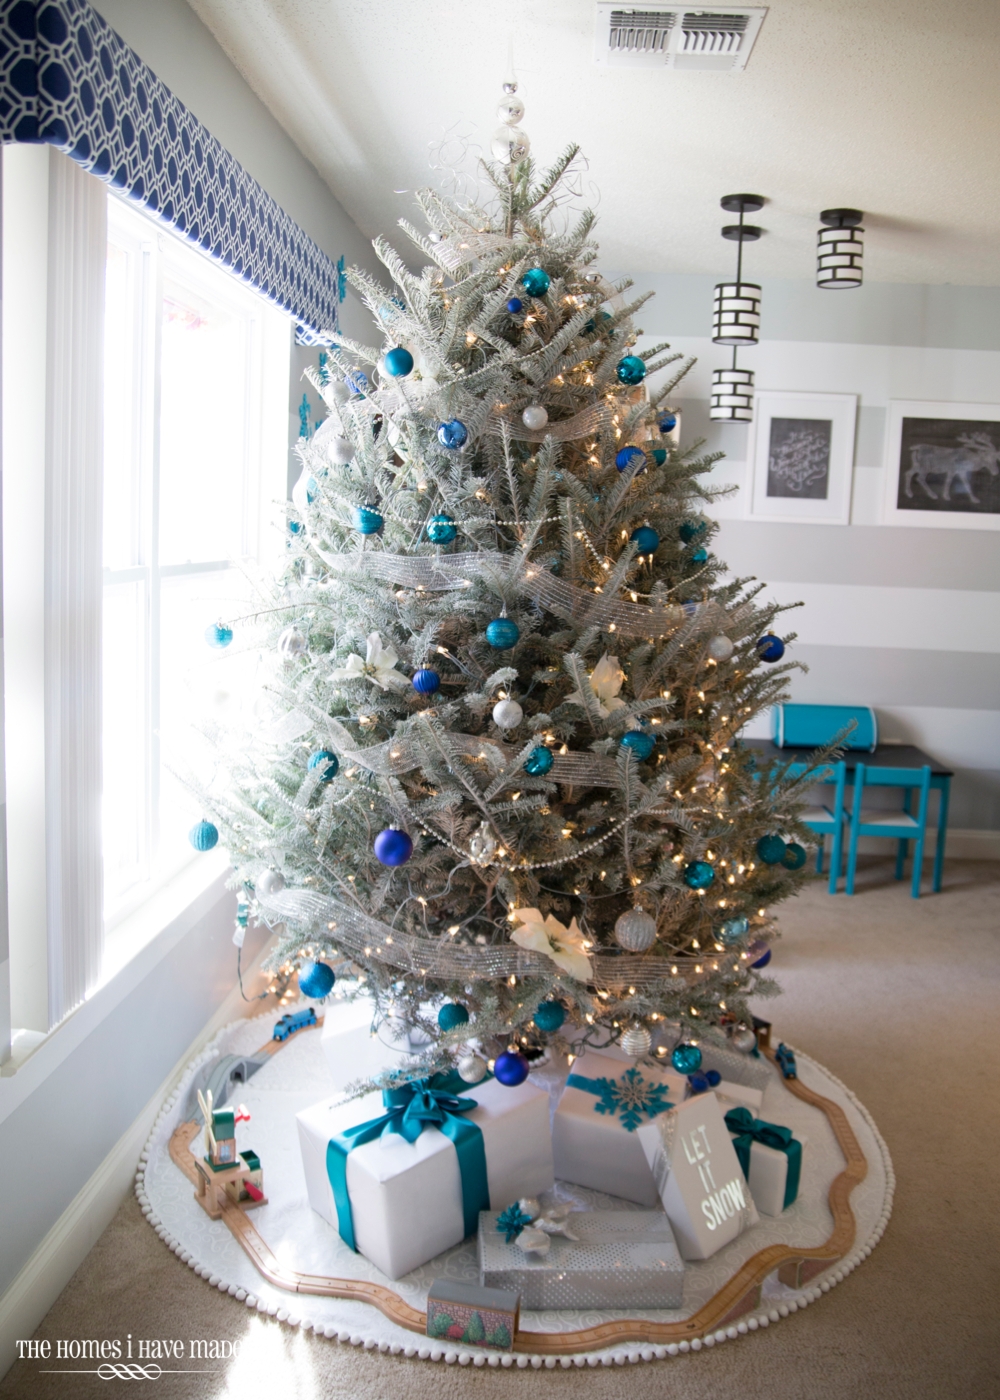
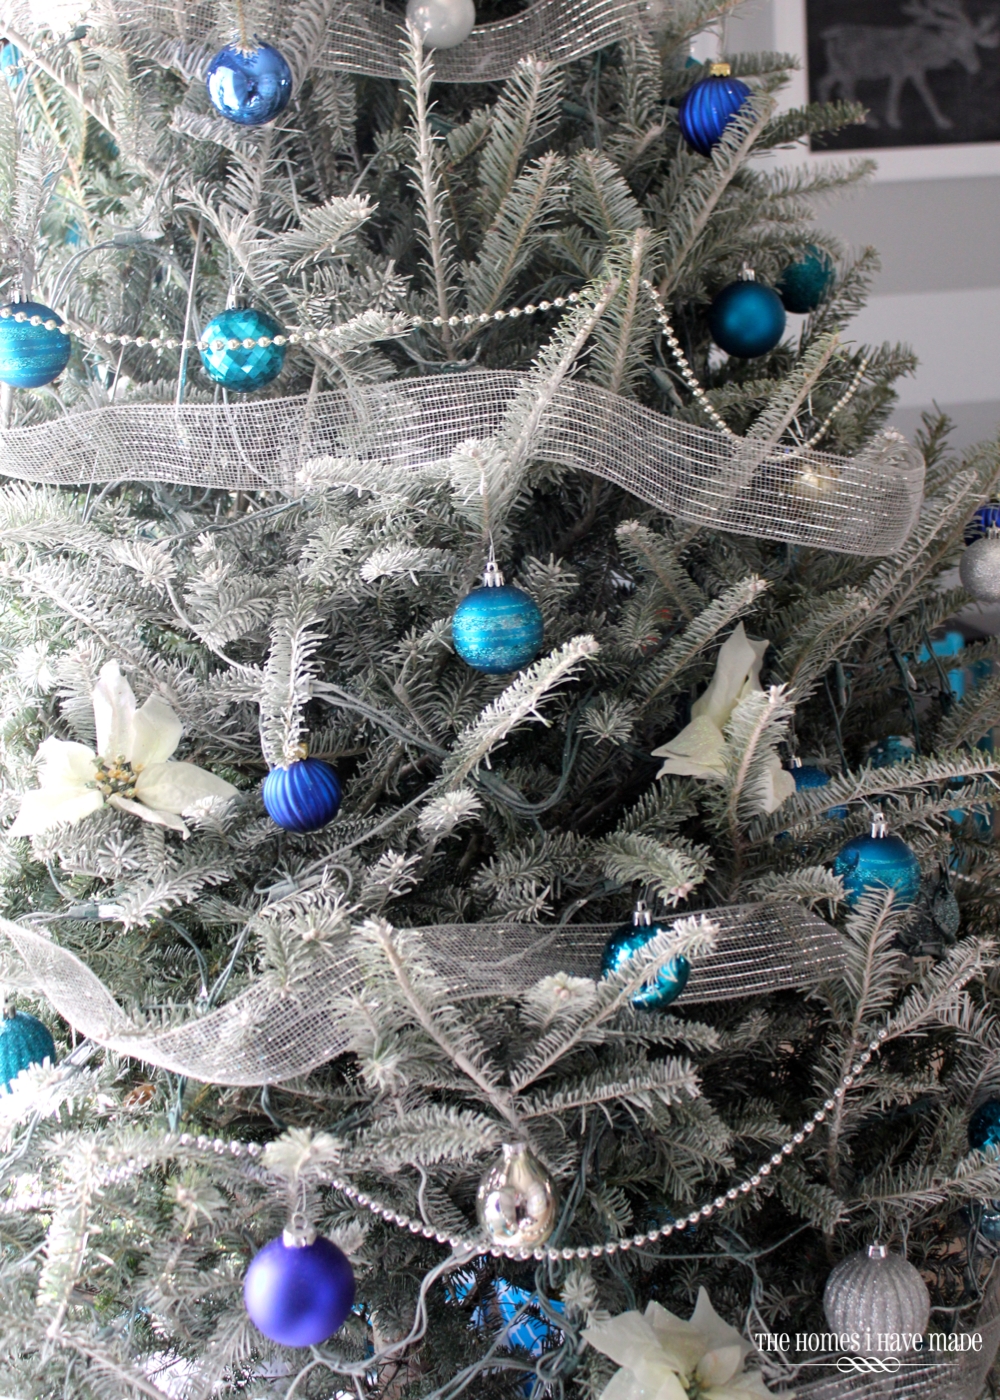
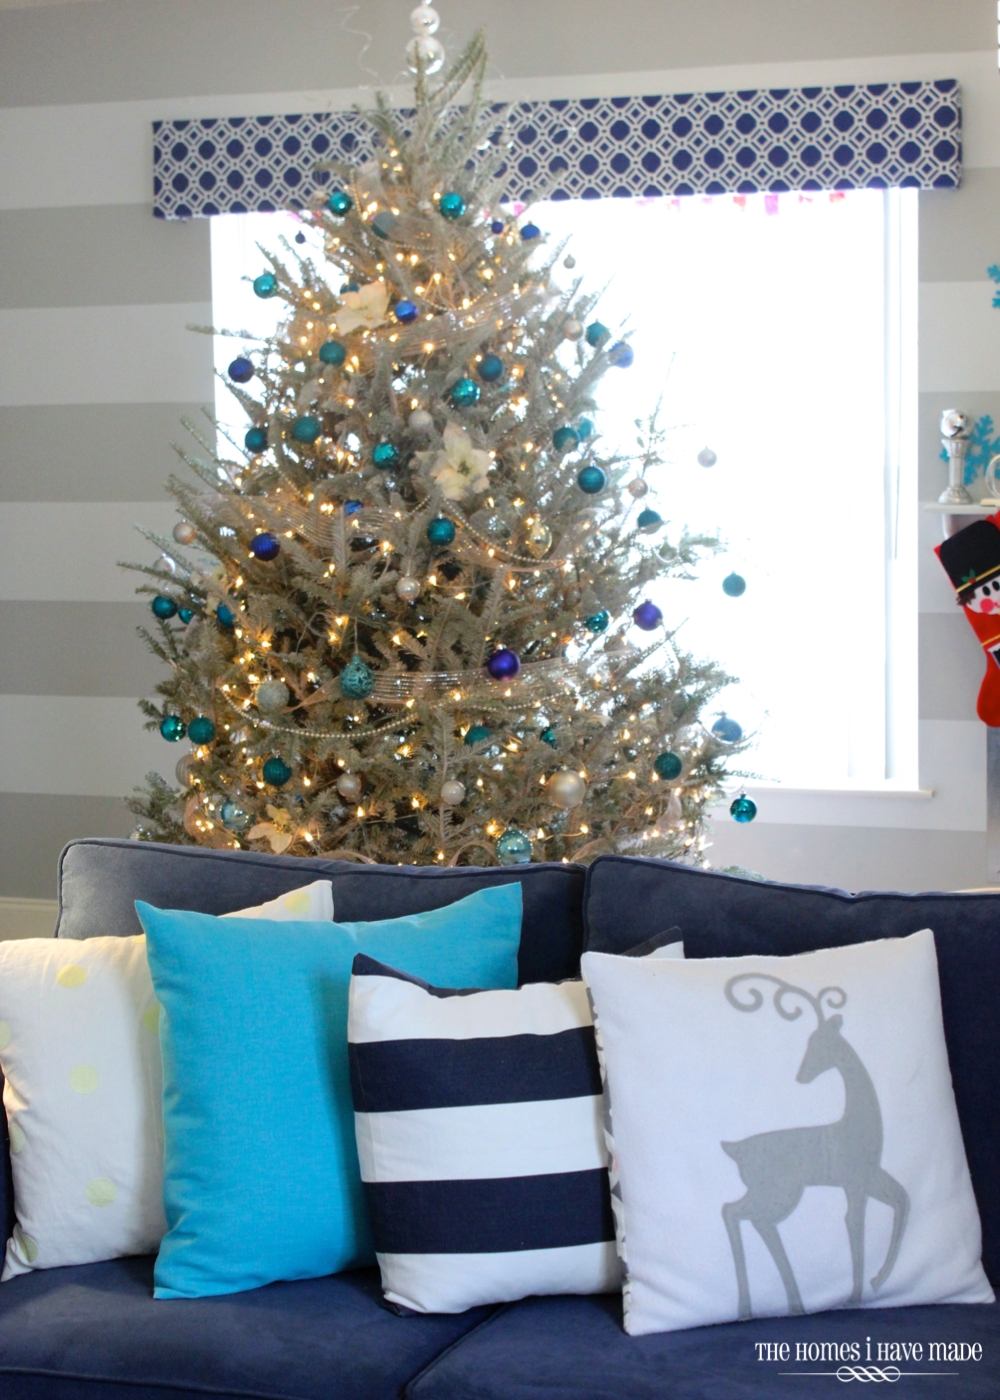
This is the view that greets you as you walk into our home! Our tree was round and bushy this year, and I covered it end-to-end with any and all royal, turquoise, silver and white ornaments, beads and garlands I could find in my stash.
And yes, your eyes do not deceive you. I sprayed our tree with spray “snow” from Home Depot. I was terrified to try it, fearing a gigantic mess. But it worked wonderfully, the mess was easily cleaned up, and the silvery-white tree worked so much better in our grey and white space!
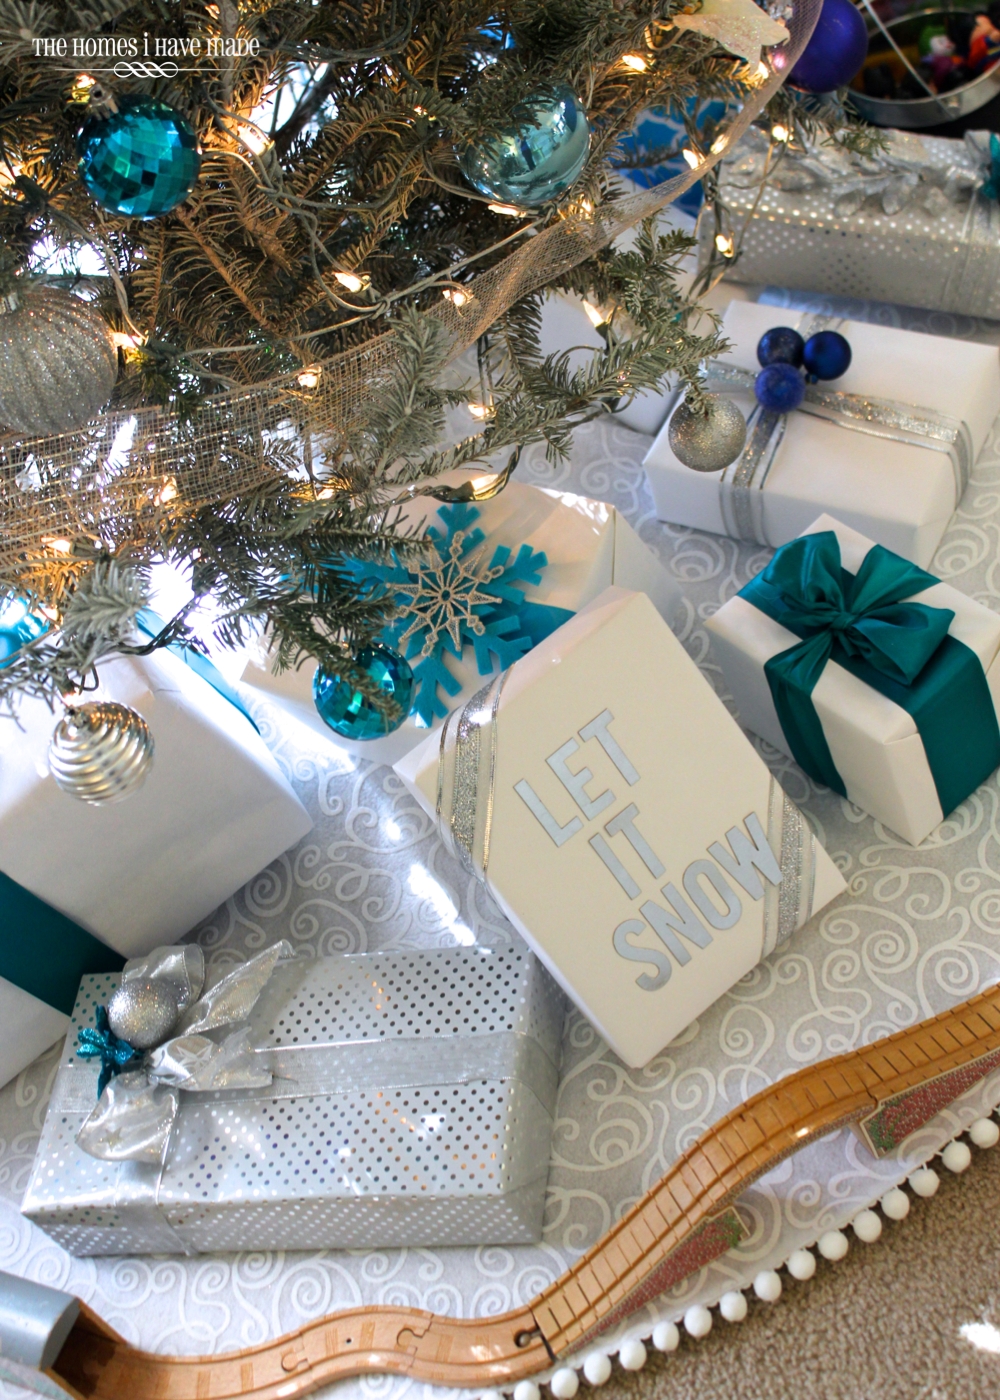
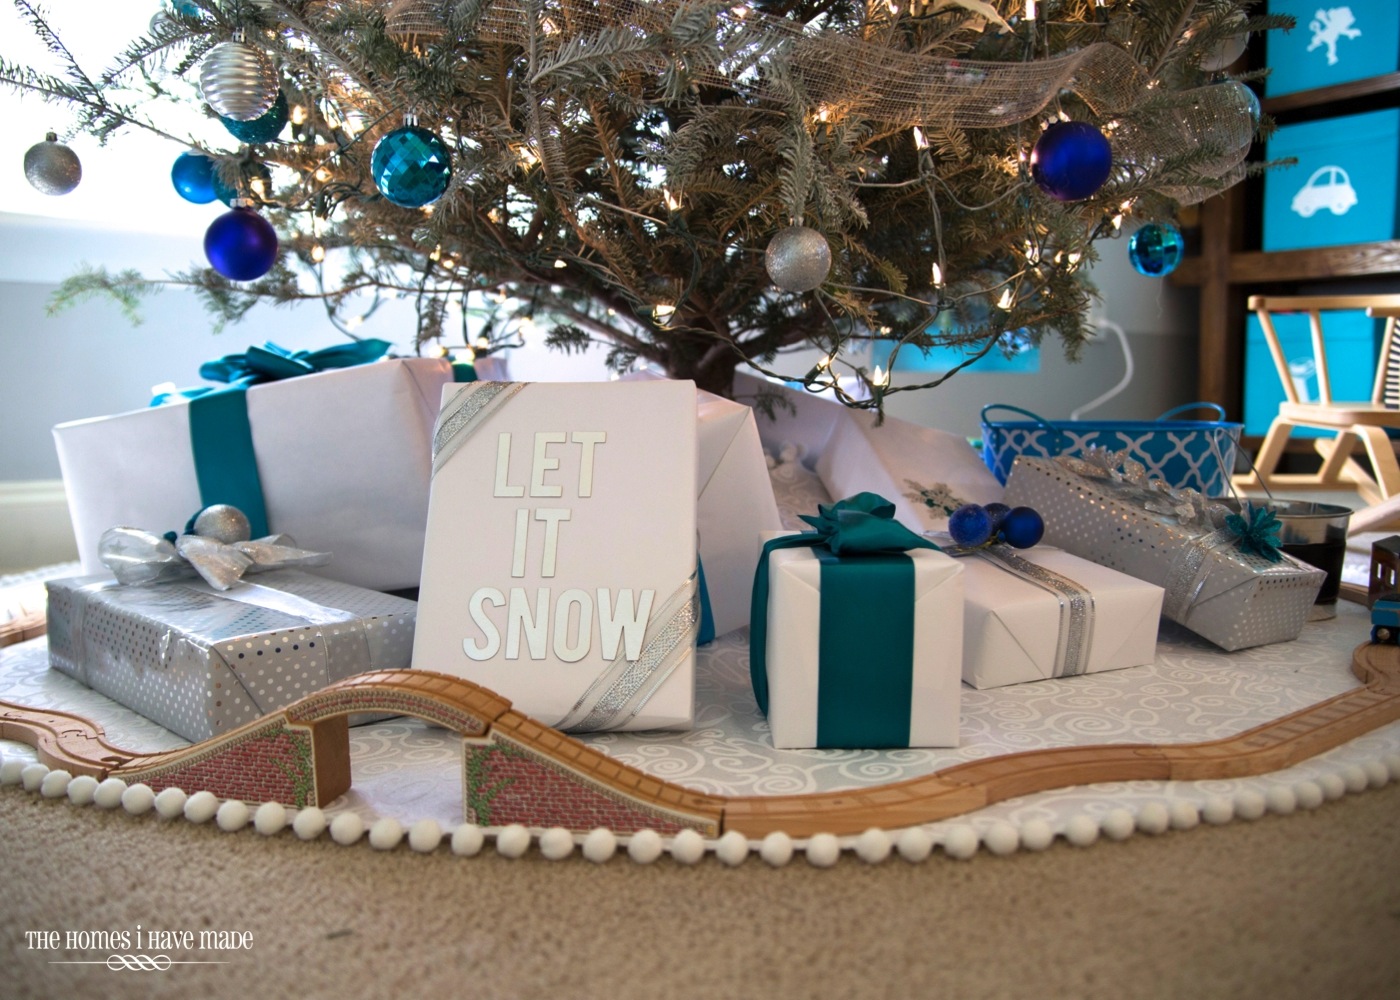
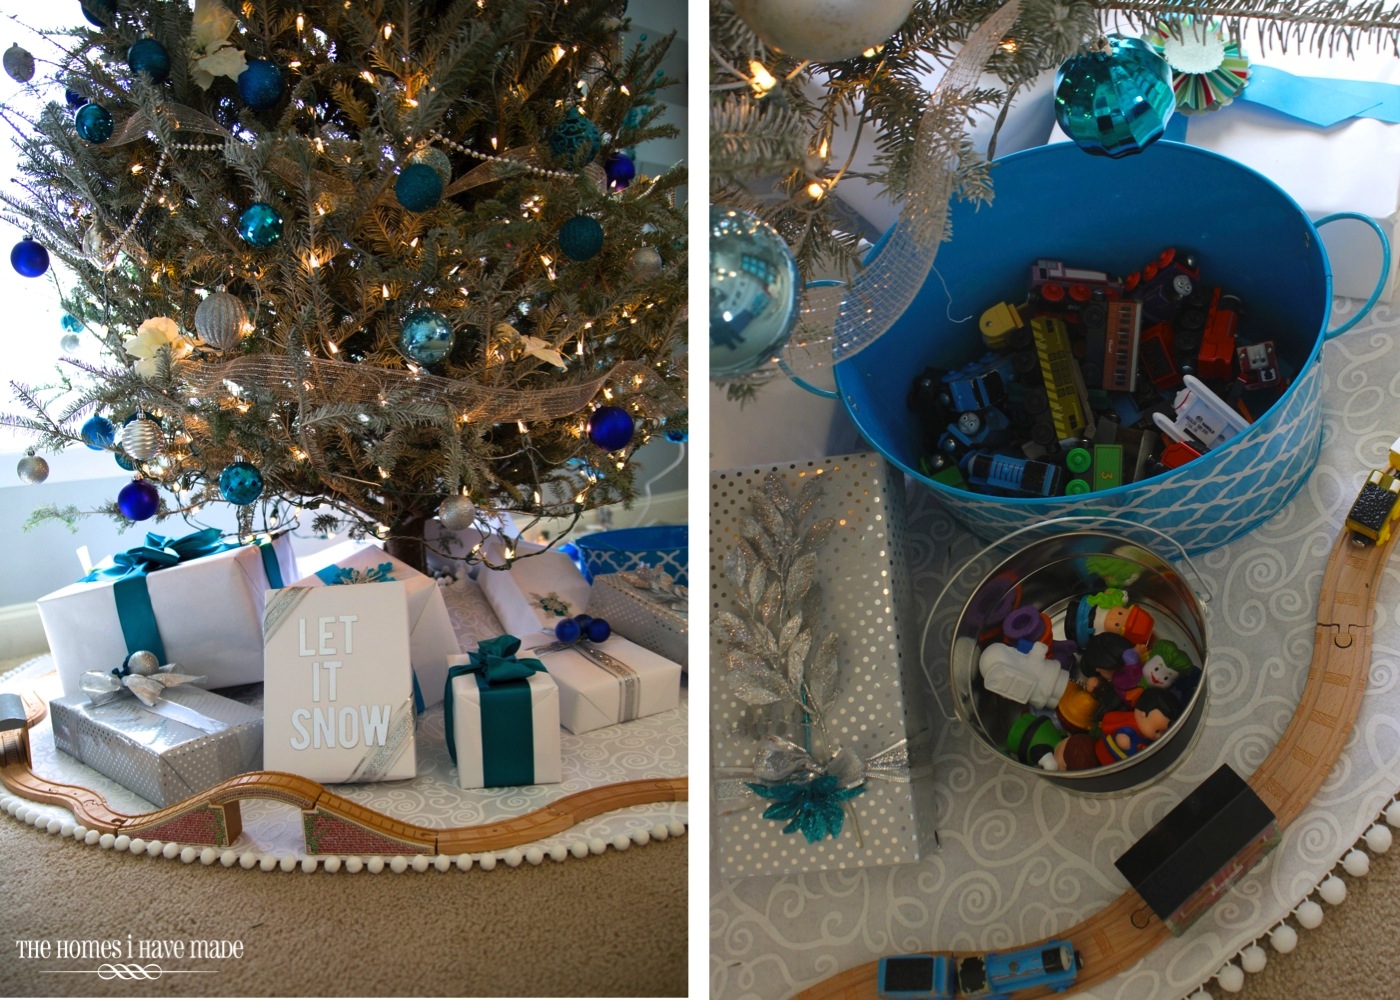
Under the tree went a brand-new extra-large tree skirt (tutorial on Friday!) and some beautifully wrapped presents. I stuck to all white and silver wrapping this year with blue and silver trimmings as accents!
And if you’ve been coming around here for a while, you know that our Thomas trains can’t be too far away at any one time. Because the train table went into the garage (just so the tree could go in front of the window), we placed our train track around the tree, and our Sodor Island friends await in a matching bucket!
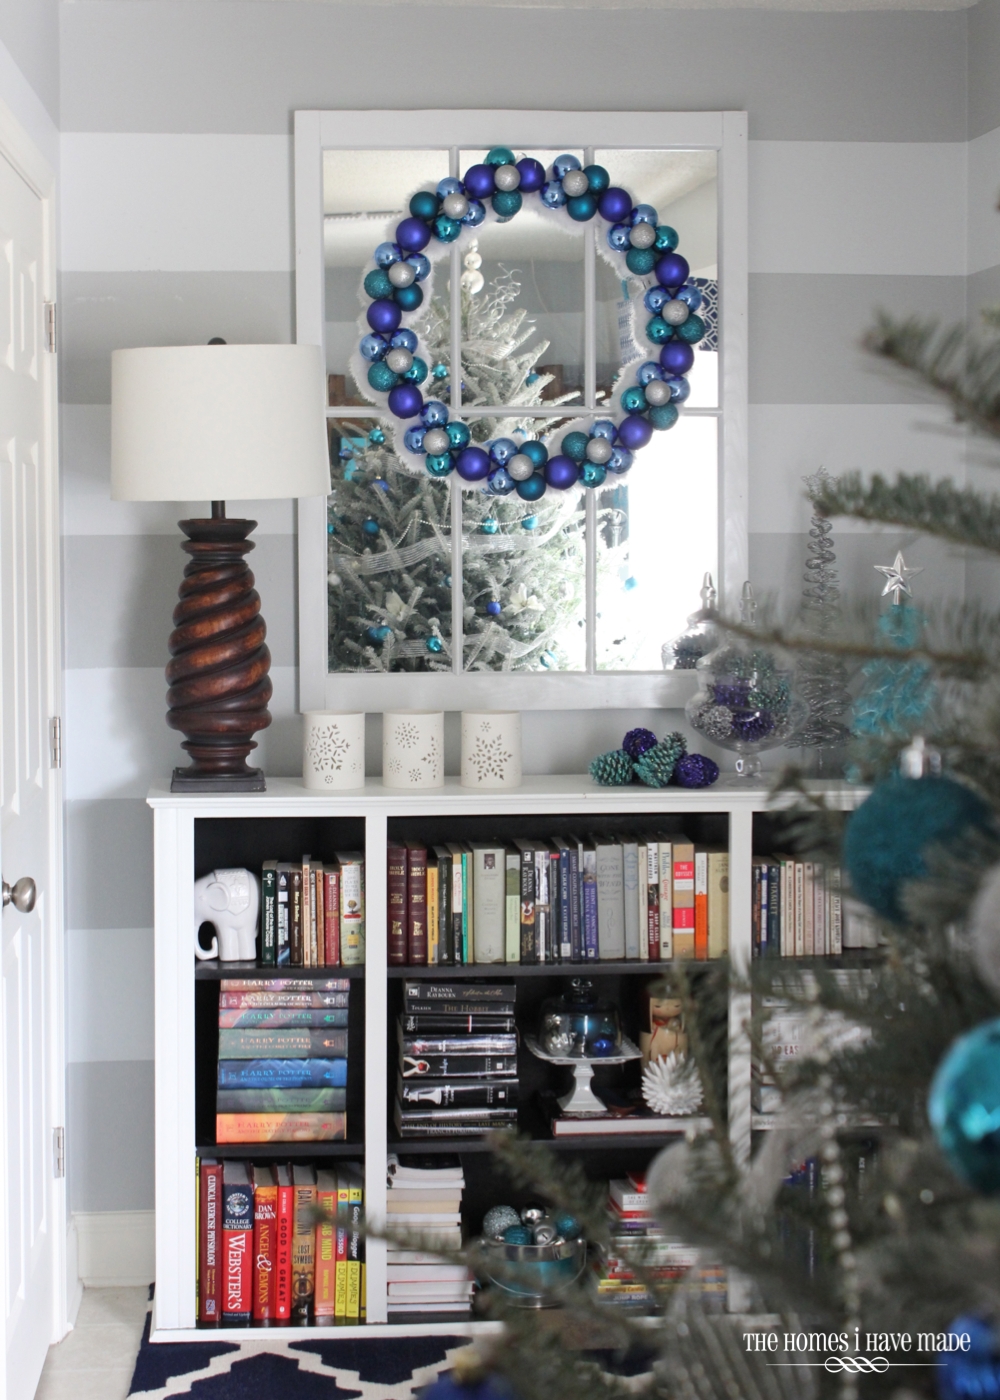
Back on the other side of the tree (and behind the front door) is a nook many of you have seen dressed up for various holidays, but this display might be one of my favorites ever!
On the other side of the tree, a bunch of Henry’s toys got put away (just for the season), and I added our cherished Christmas stockings and put a few holiday trinkets on display. The felt snowflakes on the wall were from JoAnns years ago, and I have used them over and over again in different ways each year. These are held on with scotch tape and haven’t budged!
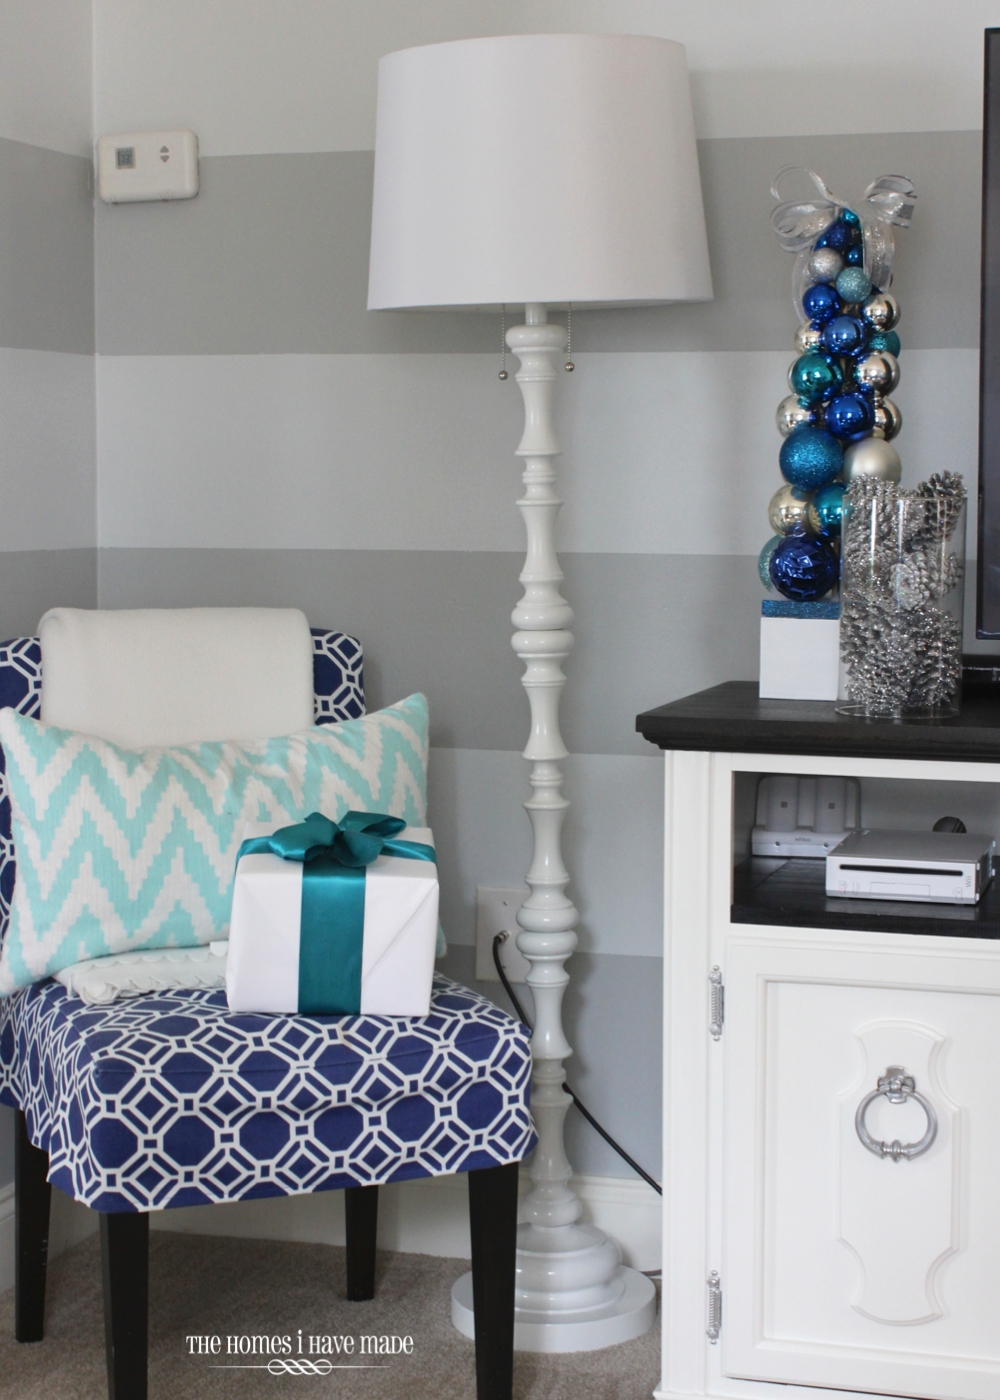
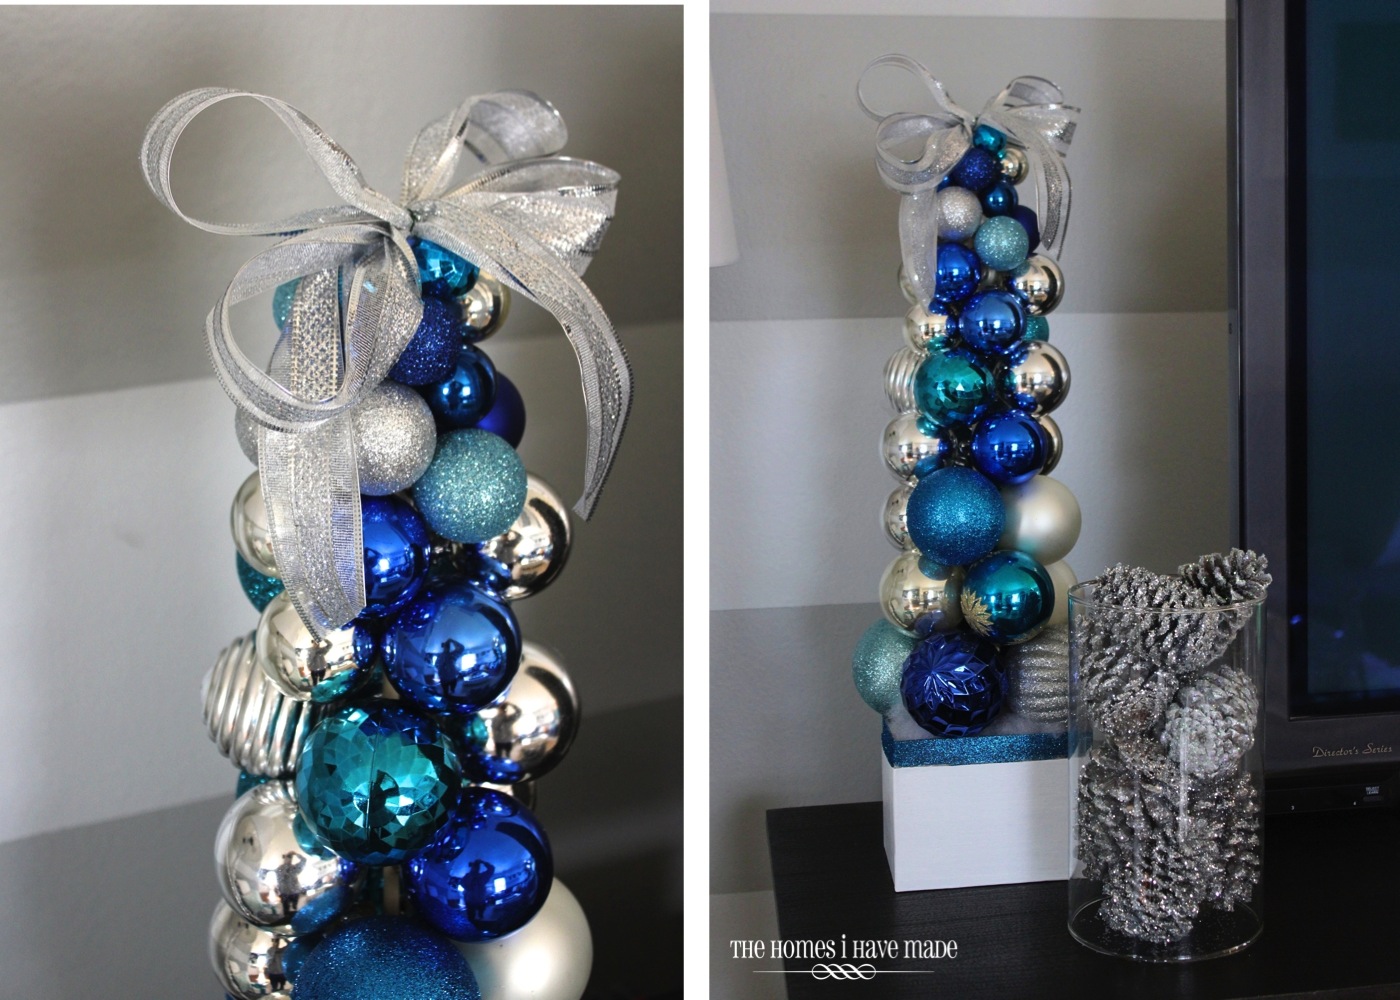
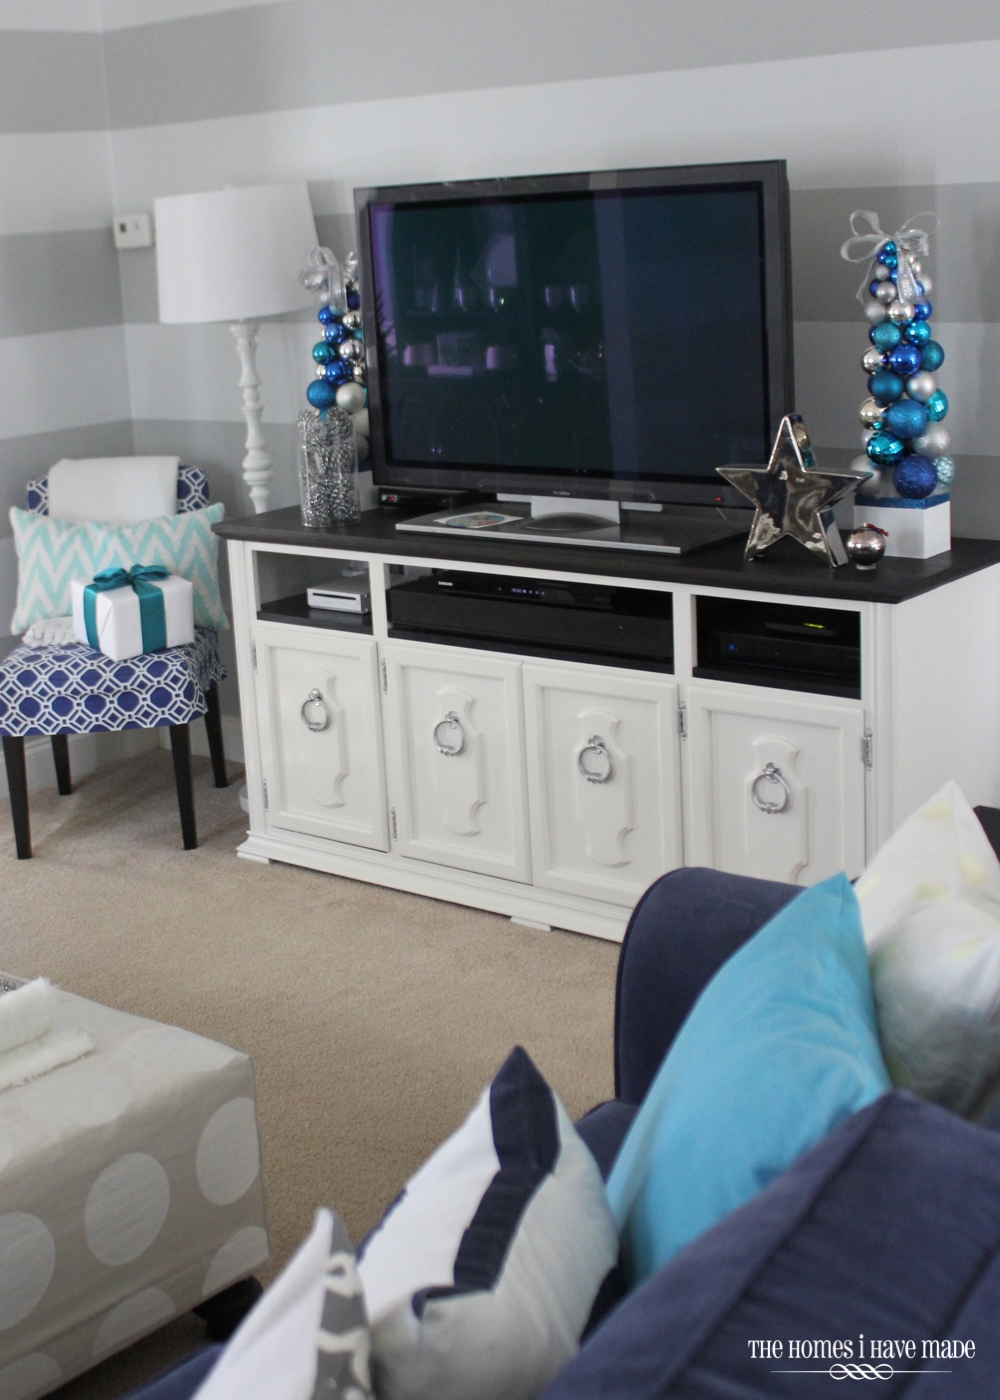
I made these ornament trees using this tutorial (only instead of knitting needles, I used skinny wooden dowels). I love that not a lick of glue is used on these, so I can disassemble them for easy storage! But boy, do they make a statement over on this side of the room, don’t they?!?
And on the ottoman in front of the couch, I added more of that furry fabric, a reindeer candelabra, and a votive full of matching candy canes (which my little guy can’t keep his hands off of now that he’s discovered they are not just one of my mom’s decorations but something very tasty indeed!)
Here’s a sneak peek many of you haven’t seen yet. I finally added some frames to our great striped wall (but the truth? I haven’t found quite enough things to fill them yet, so two of them are really just empty!) So, I had some quick chalkboard art printed at Staples to fill the frames for the season. This cost me about $12 total and received some of the most comments during our home tour. Best on-the-fly idea ever!
It’s been a long, long, long time since I’ve given you a glance at this full space. My friend Jessica snapped these photos and I love them. Not only can you get a good sense for how this huge room is laid out, but you can see how all these holiday items work together!
Phew! Are you exhausted? And that was just the entryway/living room/playroom! We have so much more to cover! On Friday, I am going to show you how easy it was to make that oversized tree skirt, and next week, we’ll continue with the home tour! See you then!
Megan



4 Comments on “Creating a Magical Turquoise, Blue and Silver Christmas Tree”
Plenty of marvelous ideas ! Great !
Beautiful!! I love all the shades of blues!! It looks beautiful!! Love it!! The chalk prints were a great idea!! Can't wait to see the rest of the house.
what a fun home- love the colors you used this year! everything feels so fresh!
It' beautiful! Where is your ottoman from? I am currently looking for one and that one is perfect. I love the circles on it!