Glossy Silhouette Wallpaper Art (with Walls Republic!)
For those of you who know me or have been coming around here for a while, you know (or can probably guess) that I am CRAZY about patterns. Stripes are (obviously) a favorite, but anything with a good, strong pattern makes me swoon. In recent months, I’ve been finding new and creative ways to incorporate more pattern into our spaces, and wallpaper has become an obvious choice (see my lamps and my drawers!). With the limitless colors, textures, and patterns available, it’s a pattern-loving-girl’s chocolate box! So when Walls Republic, a new wallpaper company, reached out to see if I was interested in doing a few wallpaper-related projects, I couldn’t say yes fast enough!
After spending hours combing through WR’s incredible selection, I ordered a bunch of gorgeous (and free!) wallpaper samples. While the samples helped me narrow down my choice for a yet-to-be-revealed project, the gorgeous samples (most measuring at 19″ squares!) were ideal for some sort of craft or art project. I am never one to pass up working with pretty papers…so I got to work.
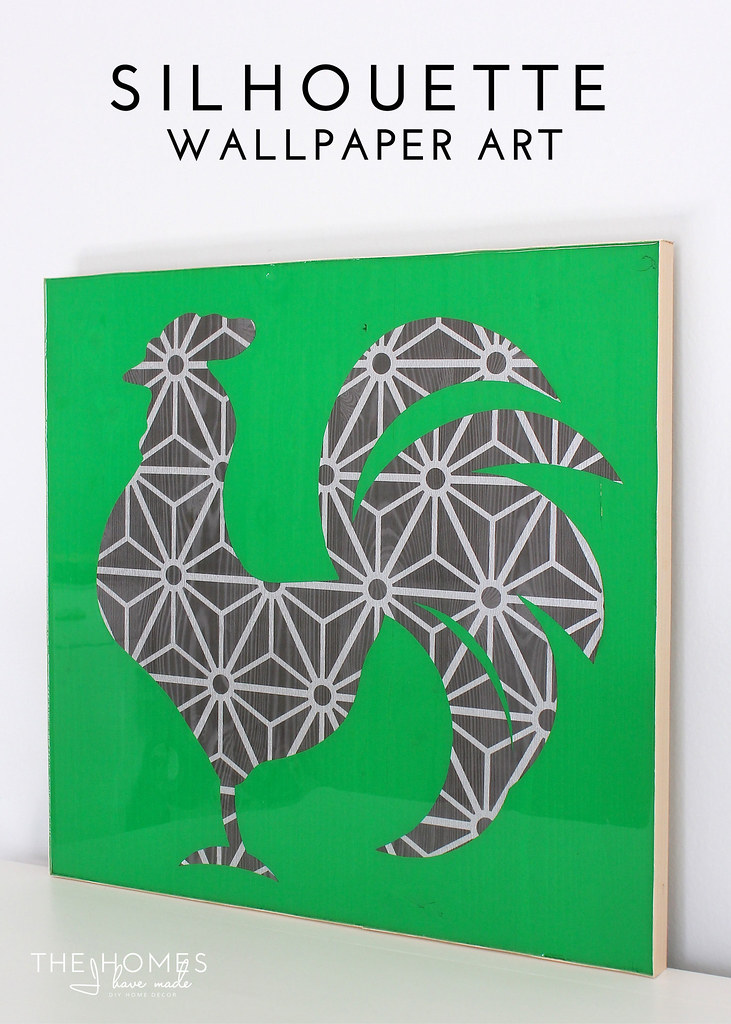
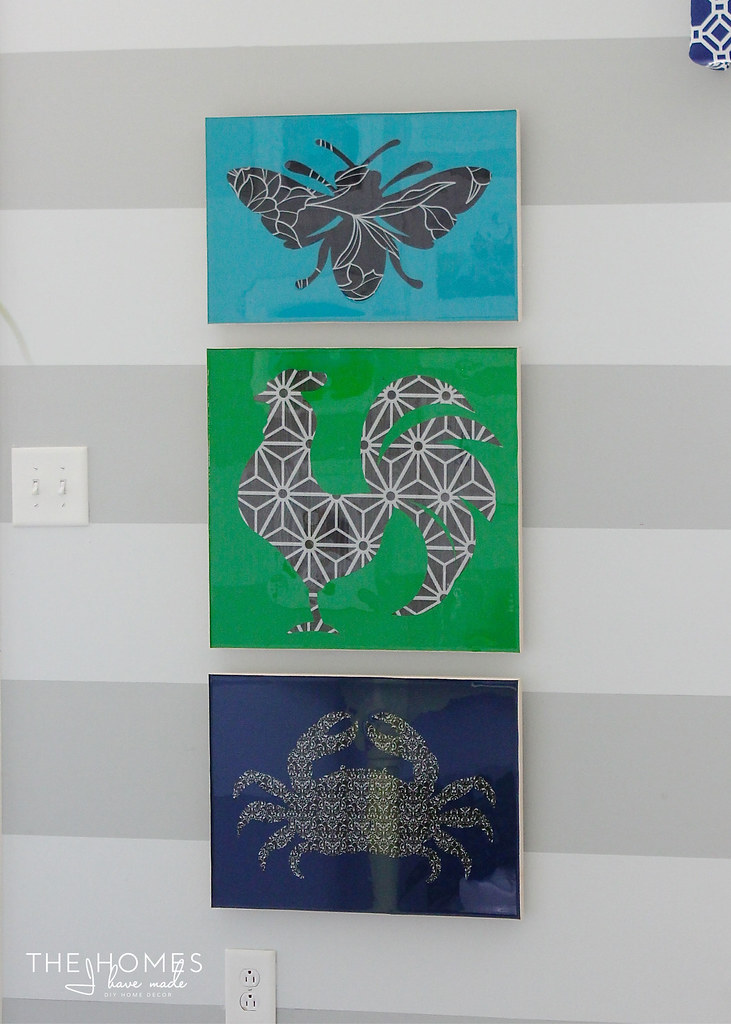
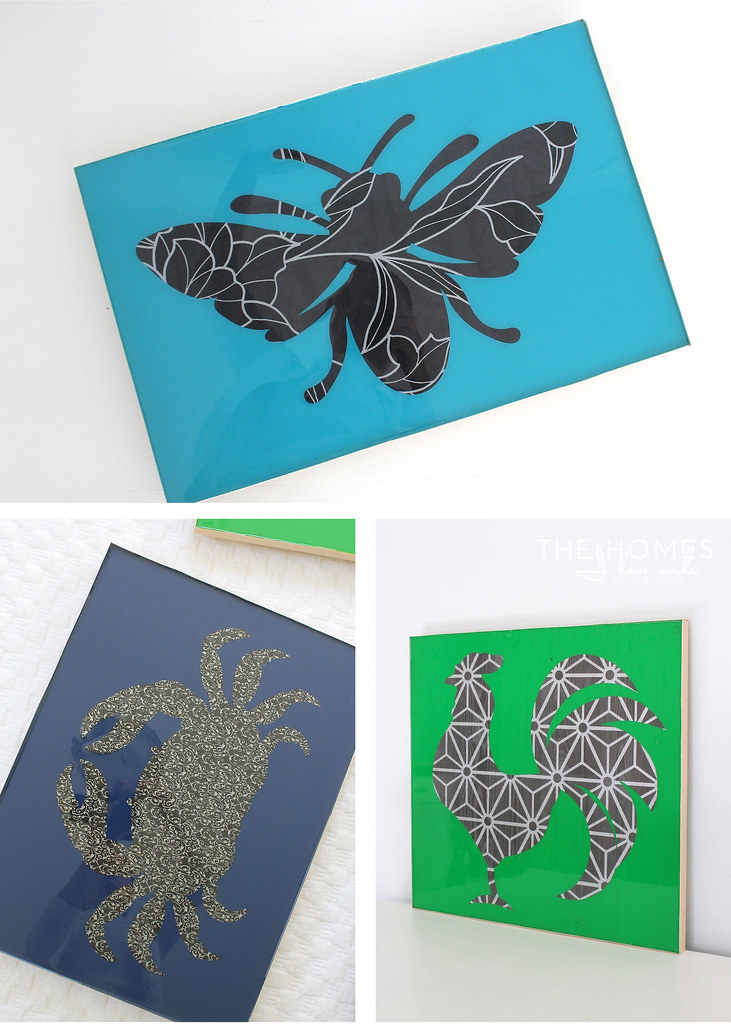
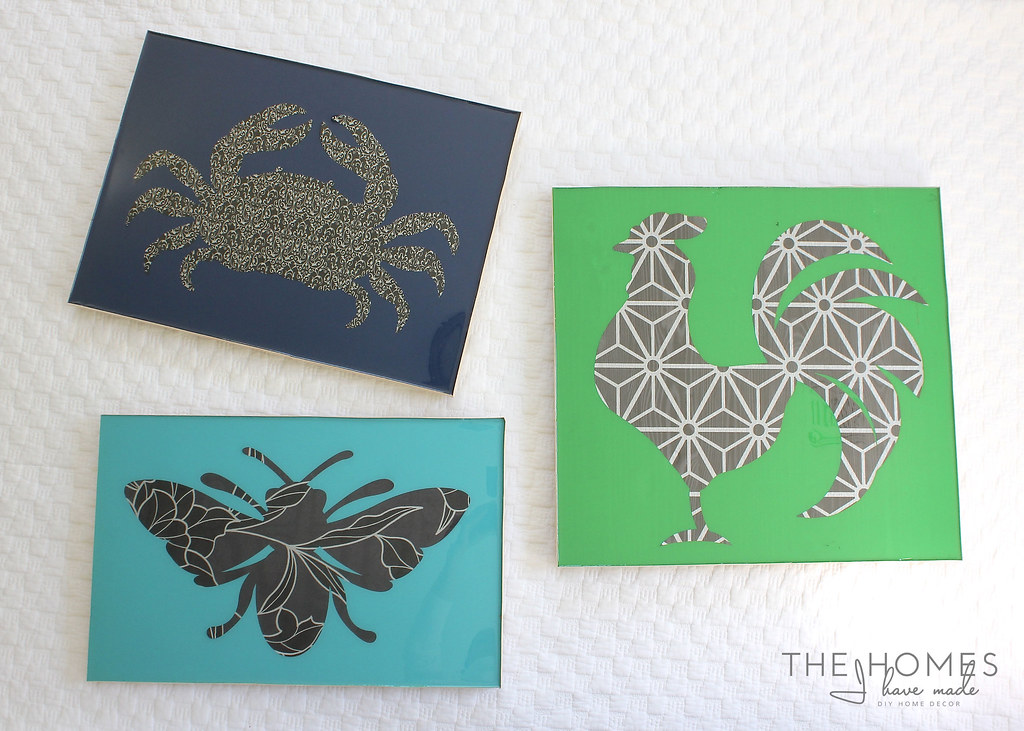
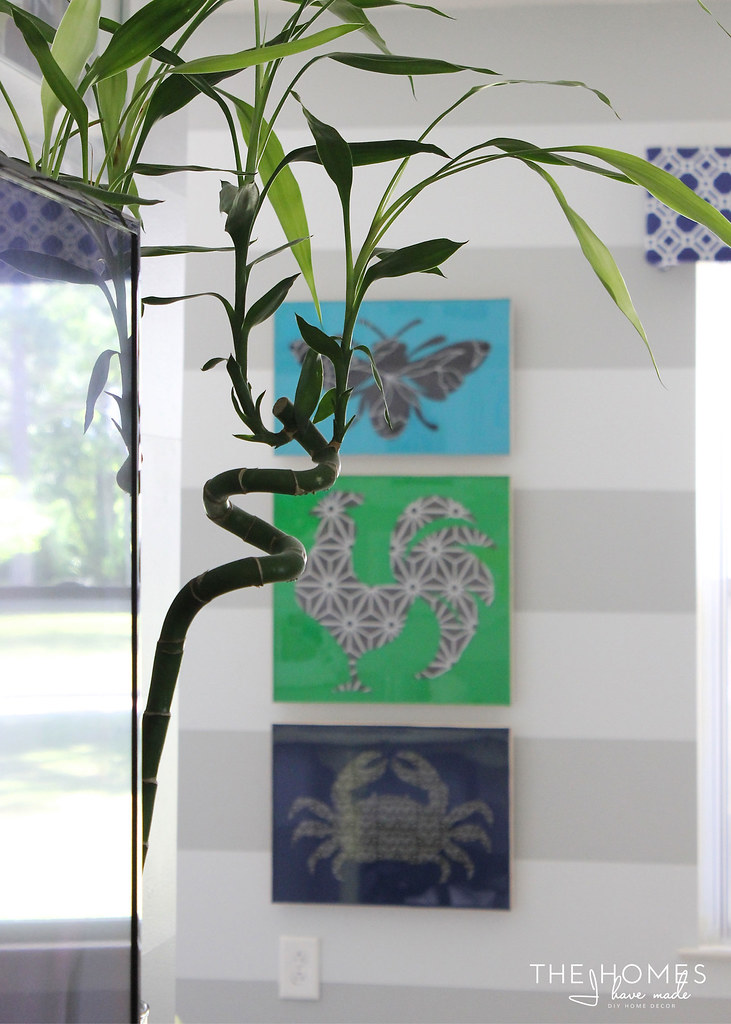
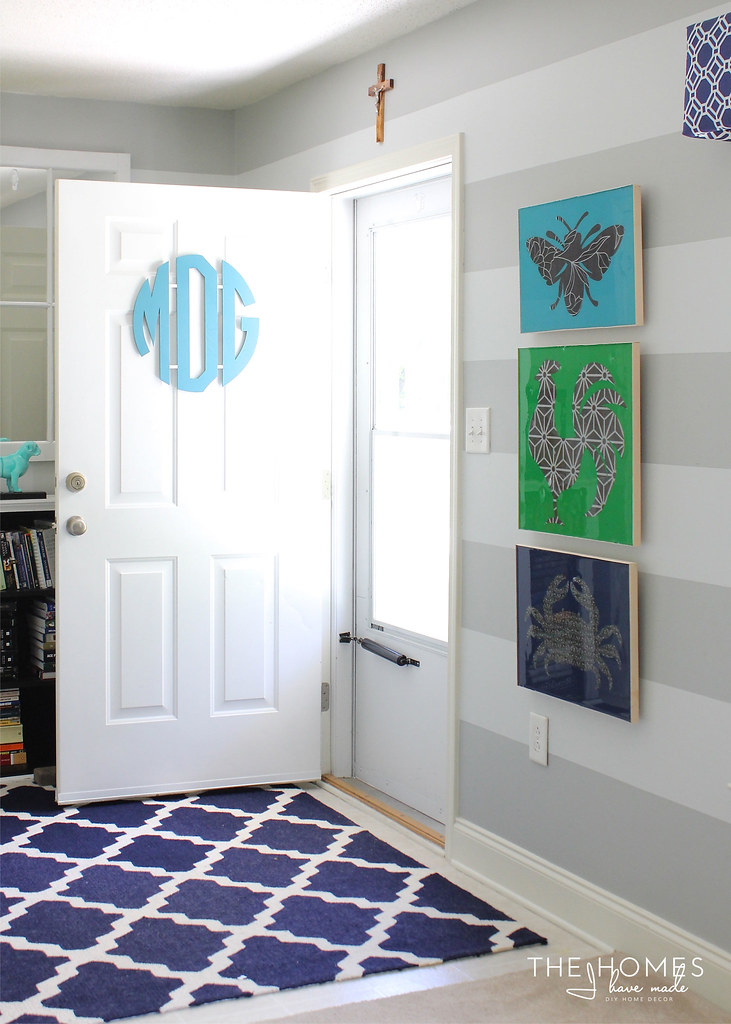
I knew instantly I wanted to make some sort of bold, graphic, fun (and renter-friendly!) artwork with the paper samples. Inspired by the work of David Bromstad, I came up with these oh-so-fun silhouette pieces that contrast bold colors with simple creatures cut from the patterned papers. Grouped together, they make a super eye-popping statement on the wall, and I am so so smitten with them.
My excitement might seem a bit much, but let me explain! These pieces of artwork are so much more than just wallpaper samples glue to pieces of wood. To elevate them and give them a true wow factor, I finished the artwork off with a thick, heavy coat of clear, pourable resin. The clear resin gives an almost glass-like finish the artwork while still allowing all the metallic elements and textures of the paper to shine right through.
Because of the super high-gloss finish on these pieces, they are admittedly really tricky to photograph (so many reflections!!!) In person, they are just so stunning and look as though they could have been purchased at an art gallery. Lesson learned: a high-gloss finish = instant wow factor.
Surprisingly, these were actually quite simple to make but do require a few materials. Thanks to my hefty craft stash, I had almost everything on-hand, making this whole art display very affordable. All three cost me about $25 total.
FOR THIS PROJECT, YOU WILL NEED:
- Wallpaper samples in coordinating colors and textures
- 1/2″ thick cuts of wood in the size/shape you desire
- 7/8″ iron-on wood veneer edging
- Paint in the color of your choice
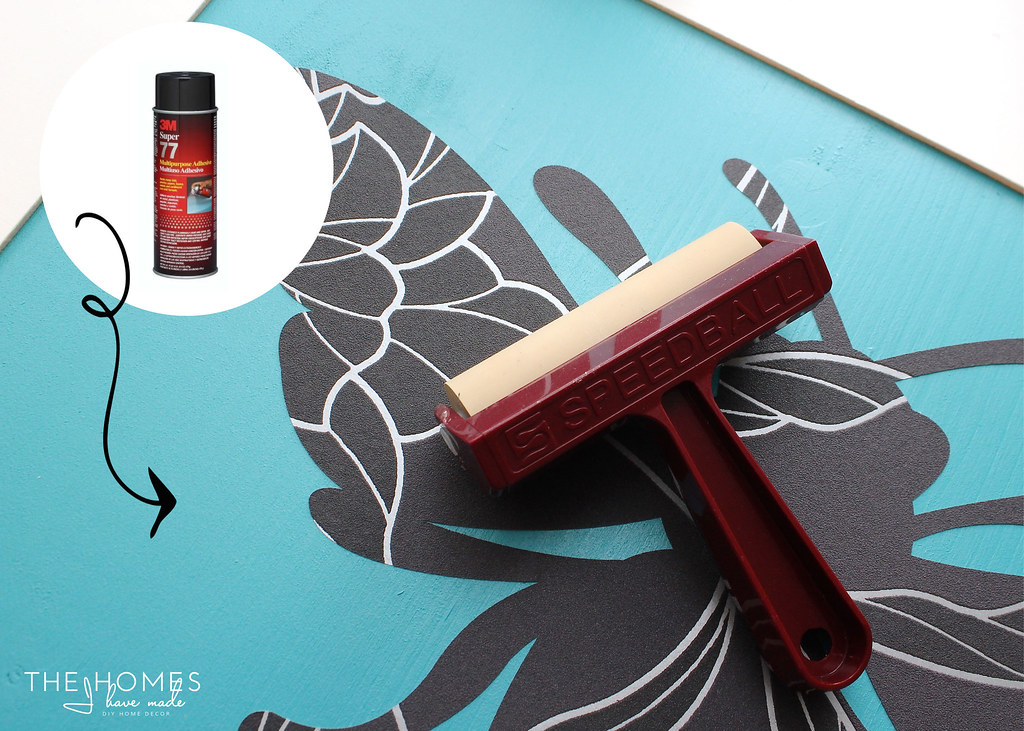
- Spray adhesive
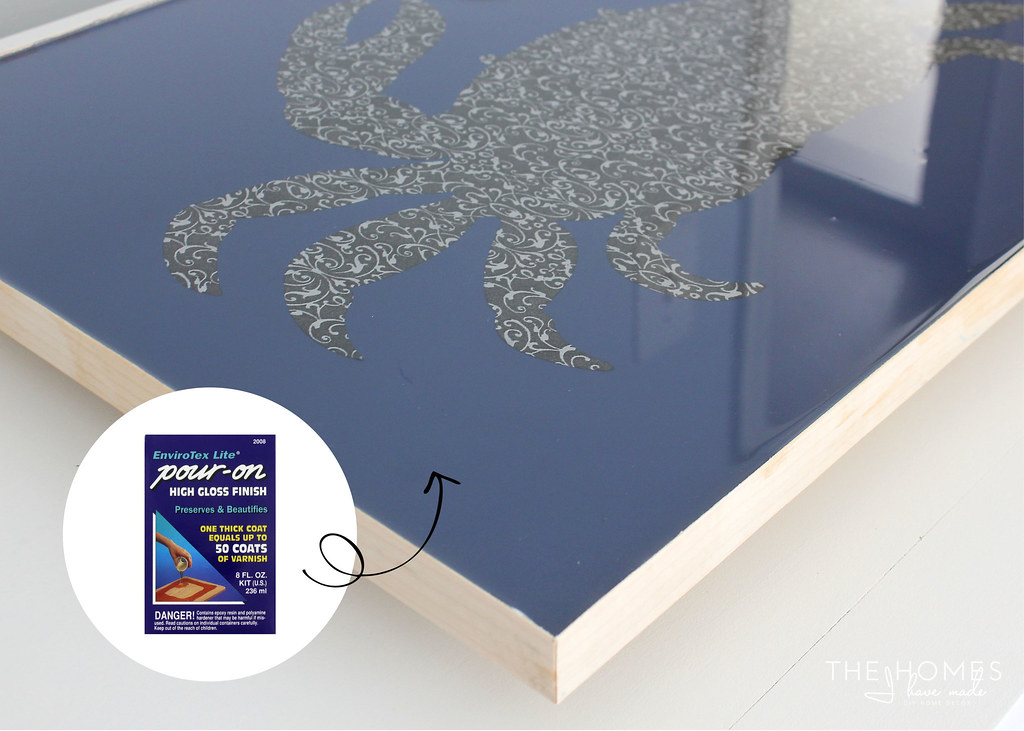
- Pourable clear resin
- Picture hanging hardware
- Tools: e-cutter (optional), brayer, power screwdriver, paint brush or roller, paper cups and spoons
Start by selecting which wallpaper samples you want to use. This in and of itself is no easy task. I mean…all of my samples were so gorgeous. All of them had amazing texture and designs. Clearly, I was originally going in the blue direction but ultimately went with the black and silver papers. You better bet you’re going to see those blue samples pop up again somewhere!
In all honesty, the longest and hardest part of this whole project was deciding what shapes and colors to do. No kidding, I think I spent a full day playing with different images and combos. I was making myself crazy trying to come up with just the right set of images that made sense for our family as well as a visual. Completely frustrated, I ultimately went with my three favorite images. They don’t really go together, nor do they have some secret meaning. I just loved all three of their shapes so I went with it. I’m so glad I did, because they honestly just make me smile!
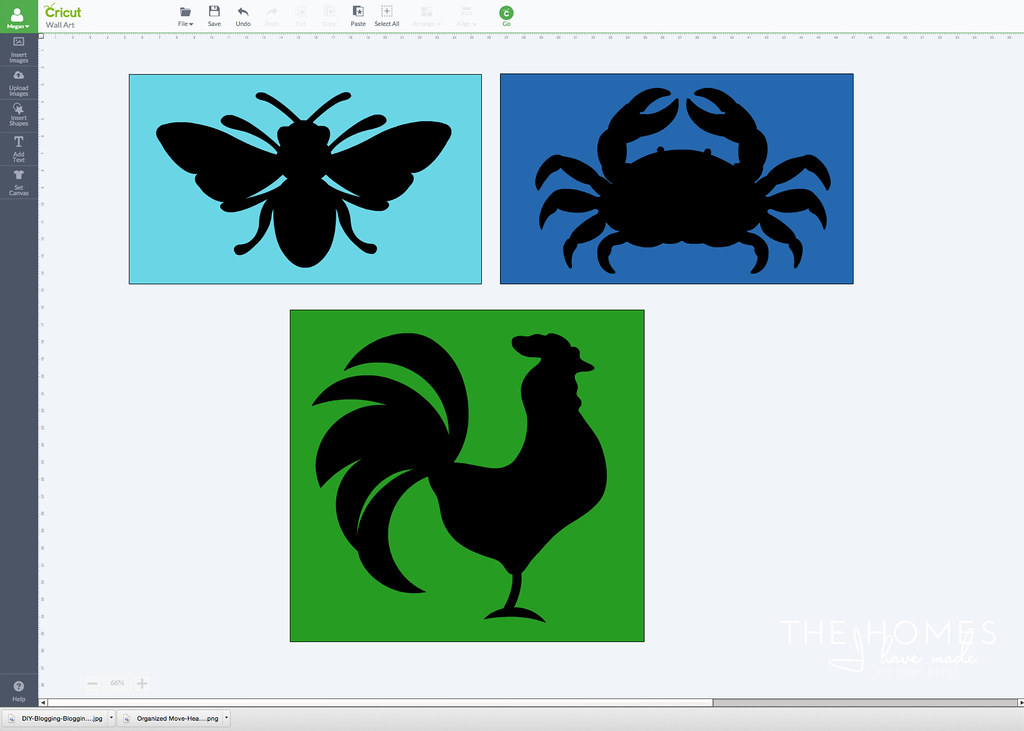
I played around with colors, shapes and sizing in the Cricut Design Space software to give me a good idea of how they’d look once completed…
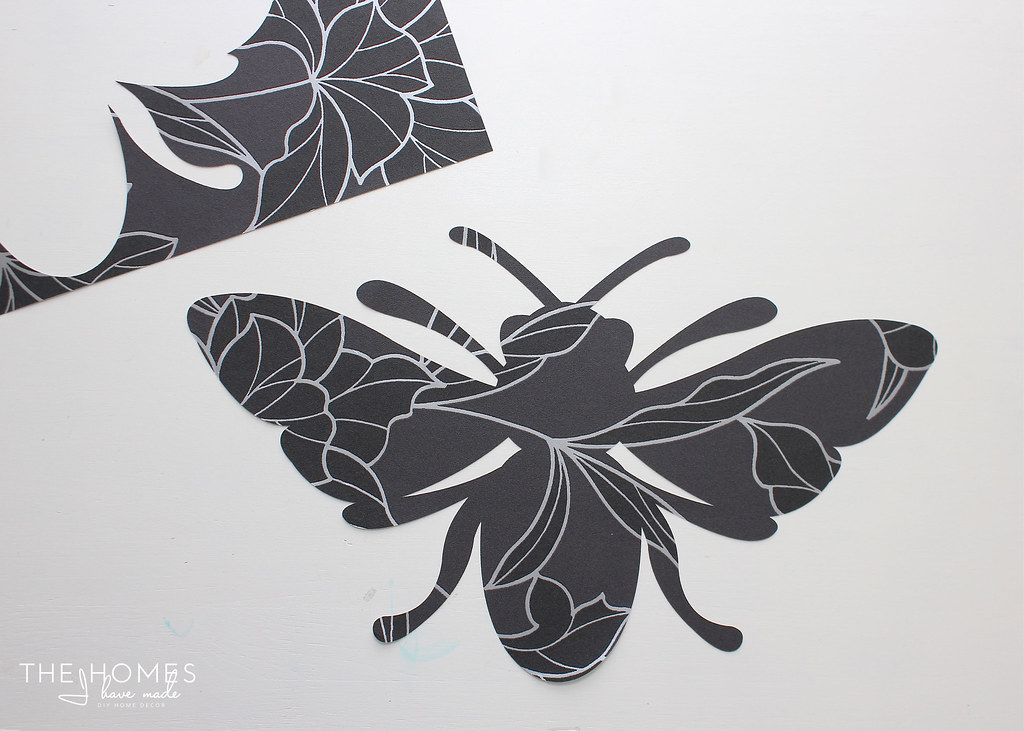
The nice thing about using the wallpaper samples (instead of just wrapping paper or scrapbook paper) is that 1) the paper is really thick and textured, and 2) it comes much bigger than 12×12, allowing you to cut nice big shapes. My crab and bee fortunately fit on my 12×24″ cutting mat, so I simply trimmed down my paper sample with a rotary cutter to fit the mat…
…and ran the mat through my machine to reveal nice, crisp and clean images ready to go! Oh that paper – isn’t it gorgeous!
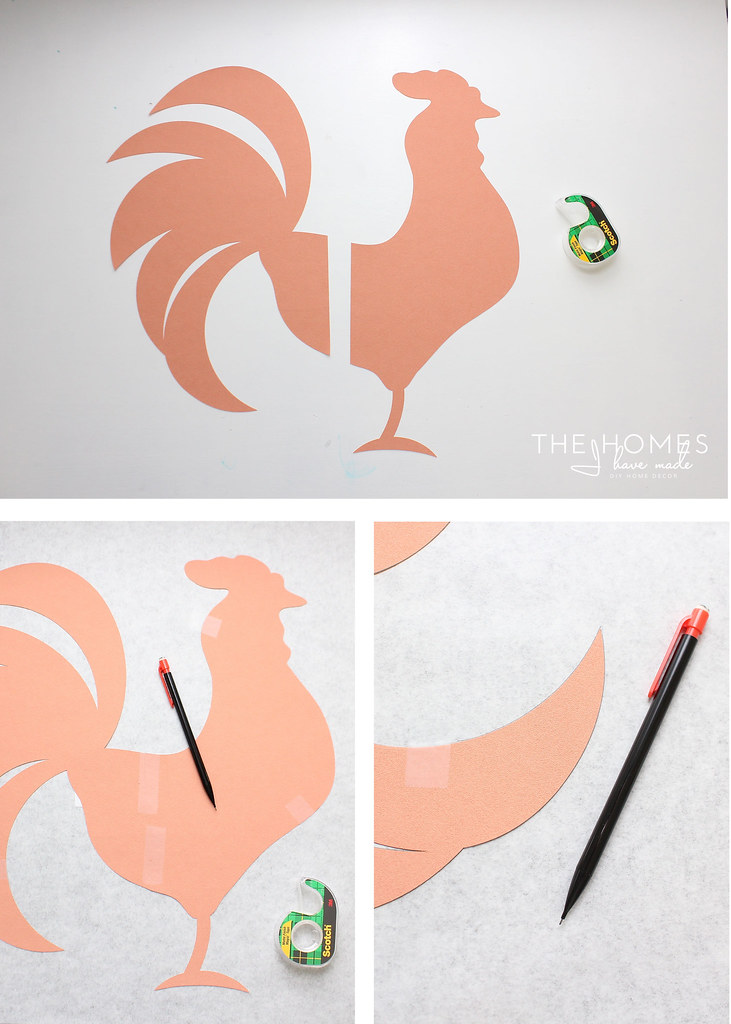
The rooster however, measured about 17″x17″ – too big for my cutting mat. This one was going to have to be done the “old-fashioned” way. I split my rooster image into 2 halves that could be cut on my 12×24″ mat and cut them out (from another wallpaper sample I wasn’t using).
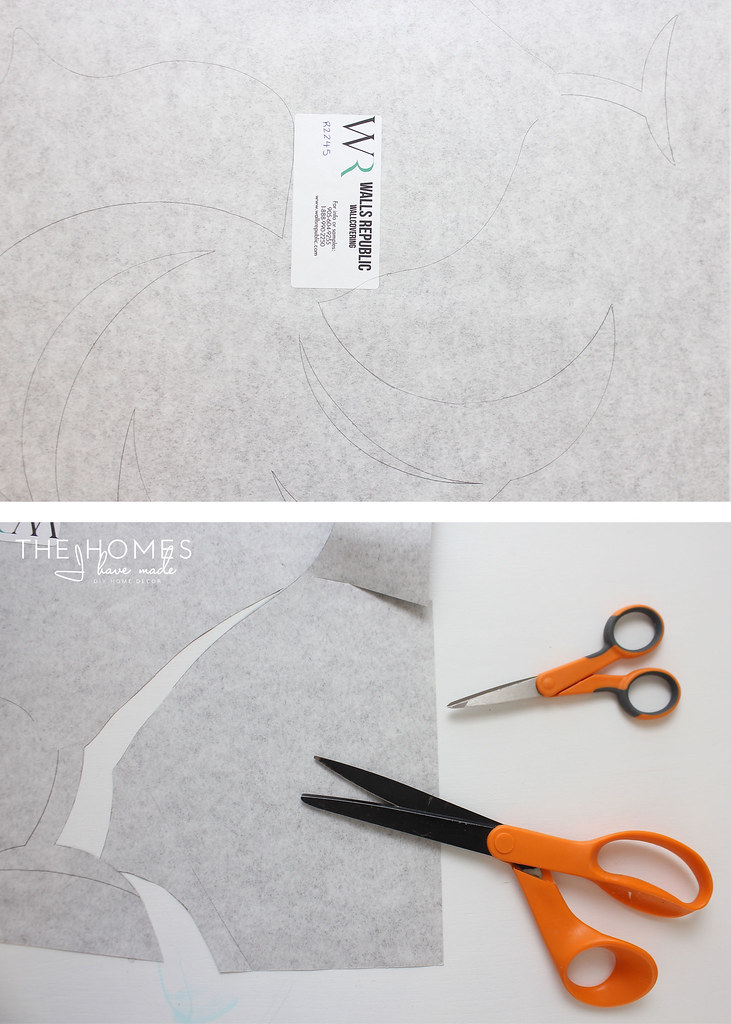
For those of you without e-cutters, here’s how to do this project too! Find images online, blow them up to your desired size, then crop them down to fit on several pages of 8.5×11″ printer paper. Print out the image components and cut down. Next, tape all the sections back together to create the full image and place onto the back of your wallpaper sample (centering if necessary). Tape the template in place and carefully trace around the entire image.
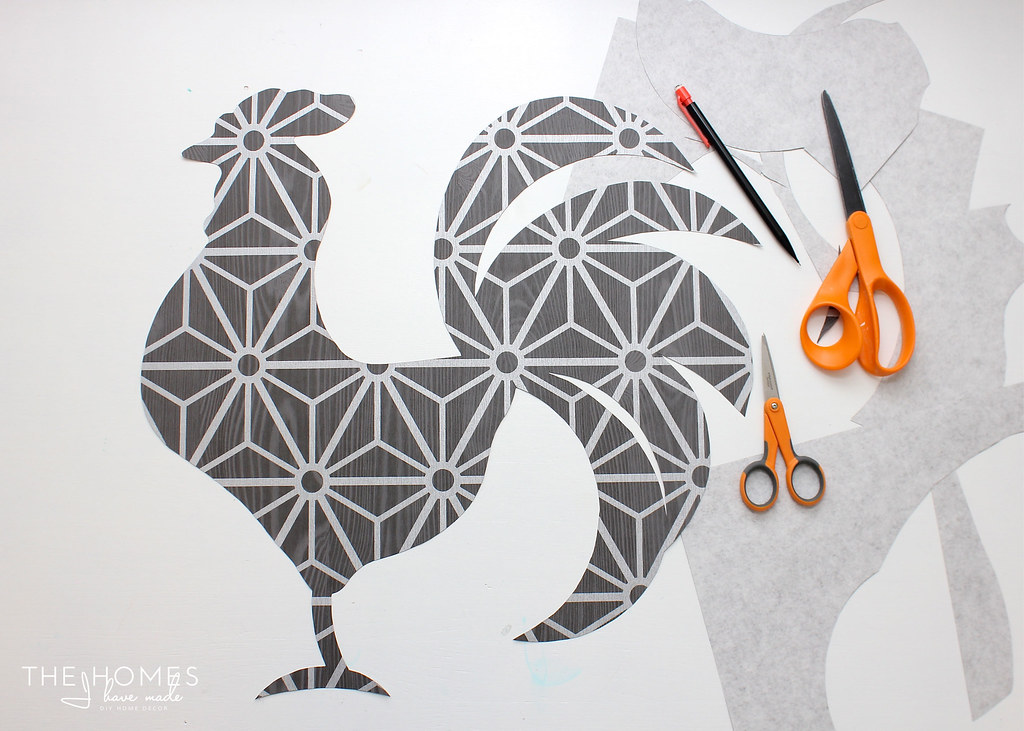
With the entire image traced, carefully cut out the shape using sharp scissors. Small, sharp scissors are helpful here to cut tight angles.
Whether cut by e-cutter or by hand, try to choose simple, clean silhouettes that will show off your paper pattern nicely!
When designing the size and shape of your image, also be sure to take into account the size and shape of the wood you will be mounting it to. My images were mounted to scrap wood from the garage, all measuring 20″ wide at varying heights.
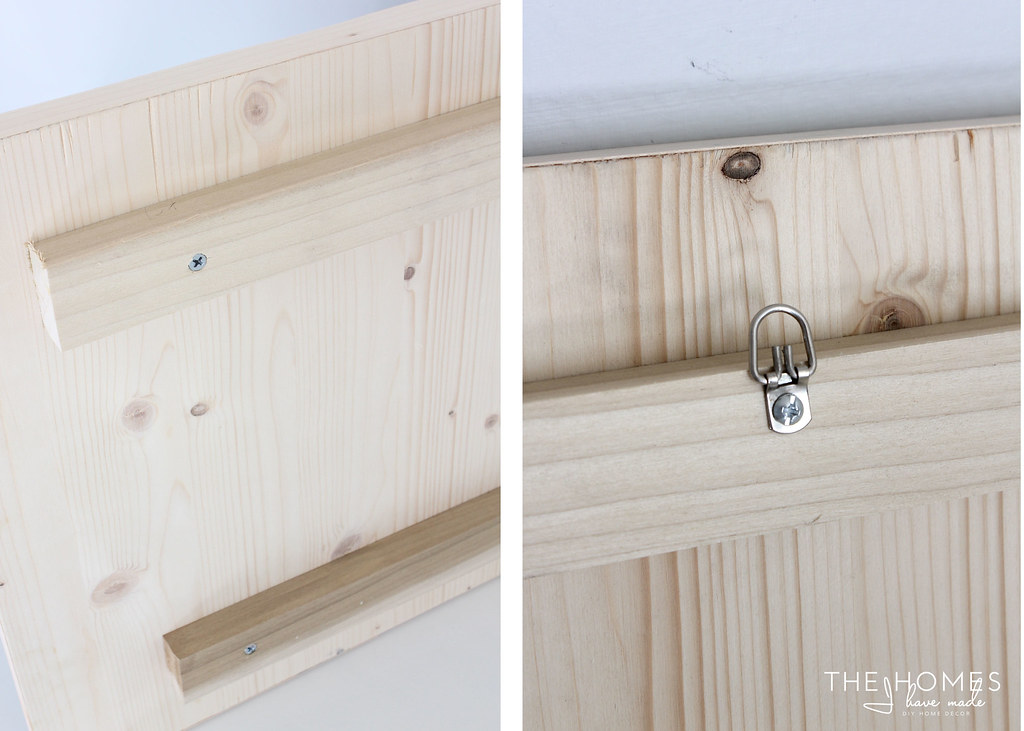
My wood was also a bit warped from being outside all winter. We added simple lengths of wood to the back of each wood board to create a flatter surface to work on. Not only did this work great in flattening out the board, but I ended up loving how the art floated off the wall! This is also a good time to add picture hanging hardware if necessary.
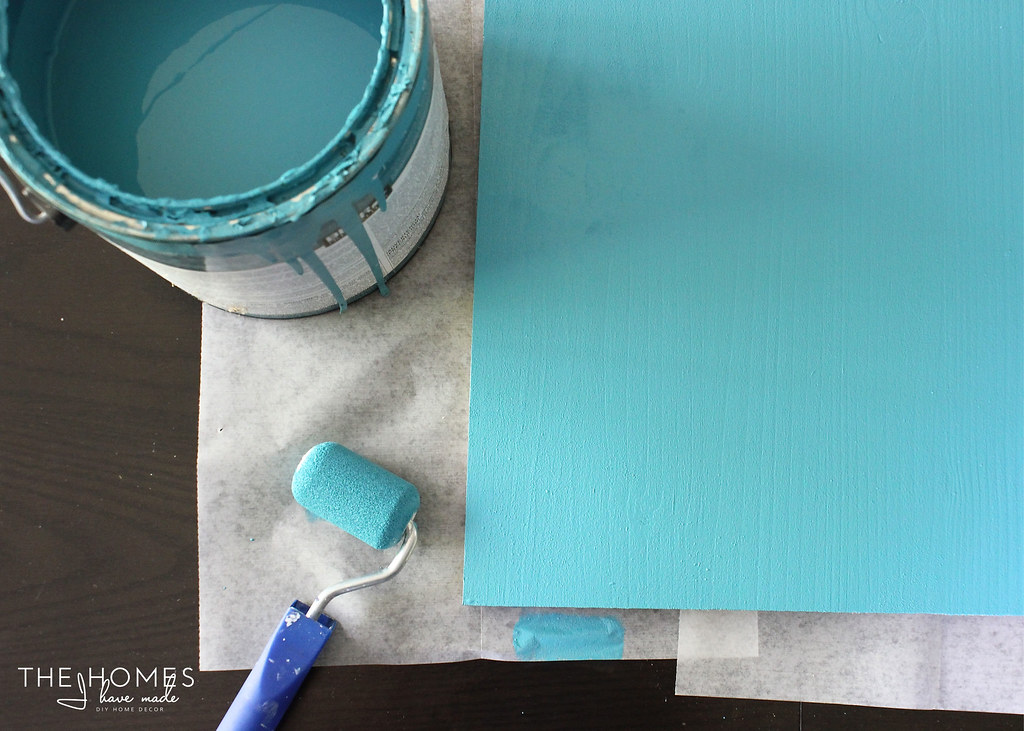
Once your boards are cut down and straighten out (as needed!), give each of them two good coats of paint (or use stain here instead!). Don’t make a big deal of this! Use paint you have on hand and don’t even worry about pouring it into a tray. Just dip a brush or roller in the can and spread evenly over the board! I love that the wood grain still shows through a bit. You can always use primer first to eliminate the wood grain look.
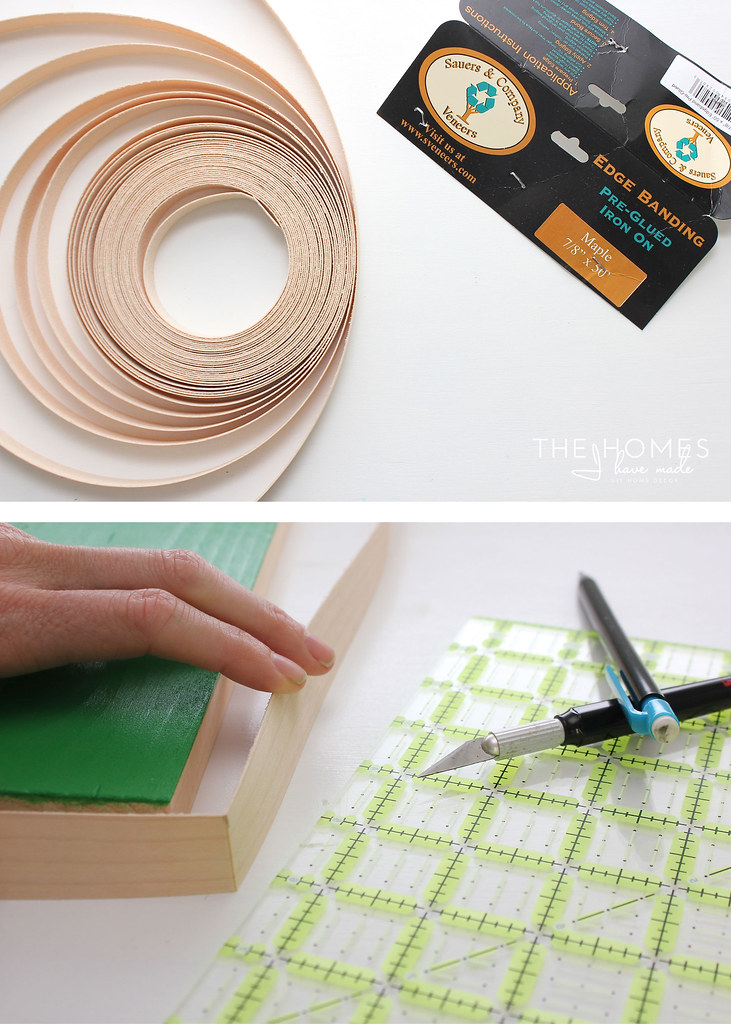
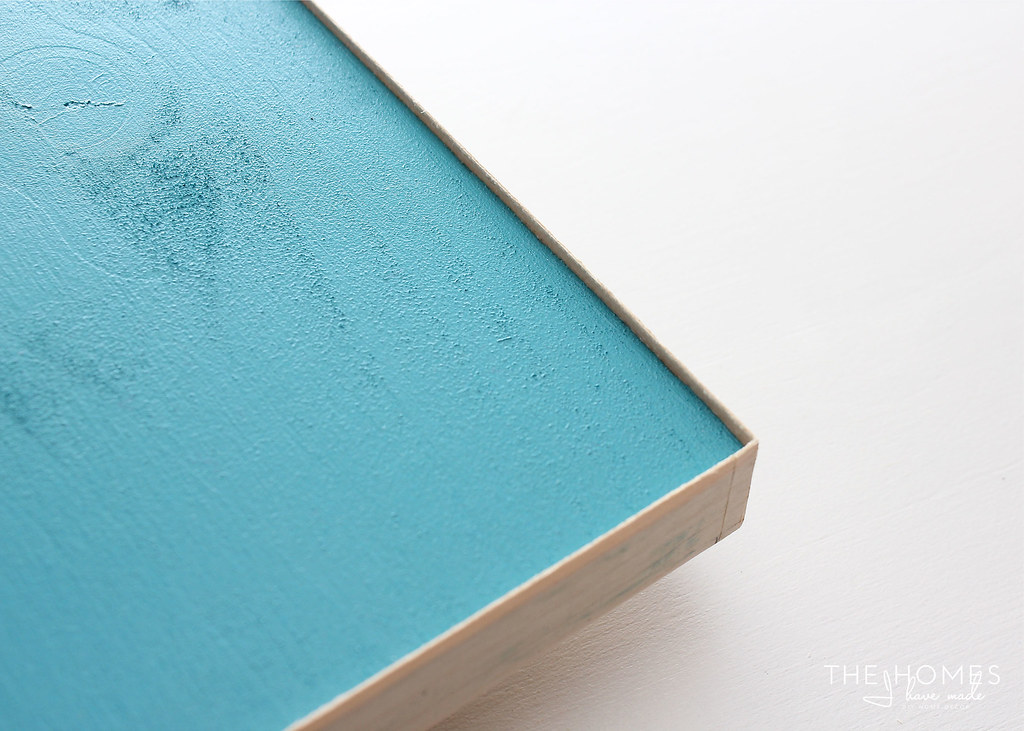
Once the boards are painted and dried, the next step is to add the veneer edging. No matter what thickness wood you use, be sure to buy banding that is just a bit wider than your wood. This will create a ‘well’ of sorts for the resin to sit in. I had to order this 7/8″ veneer from Amazon.
Instead of cutting strips the length of each side, simply measure then score the corners with an Xacto knife. With a gentle snap, you will break the veneer but not the adhesive coating. This allows for a single continuous strip all the way around the wood boards.
Using a hot iron, secure the veneer banding all the way around the boards, ensuring the the bottom of the banding is lined up with the bottom of the wood. This ultimately creates a little lip all the way around.
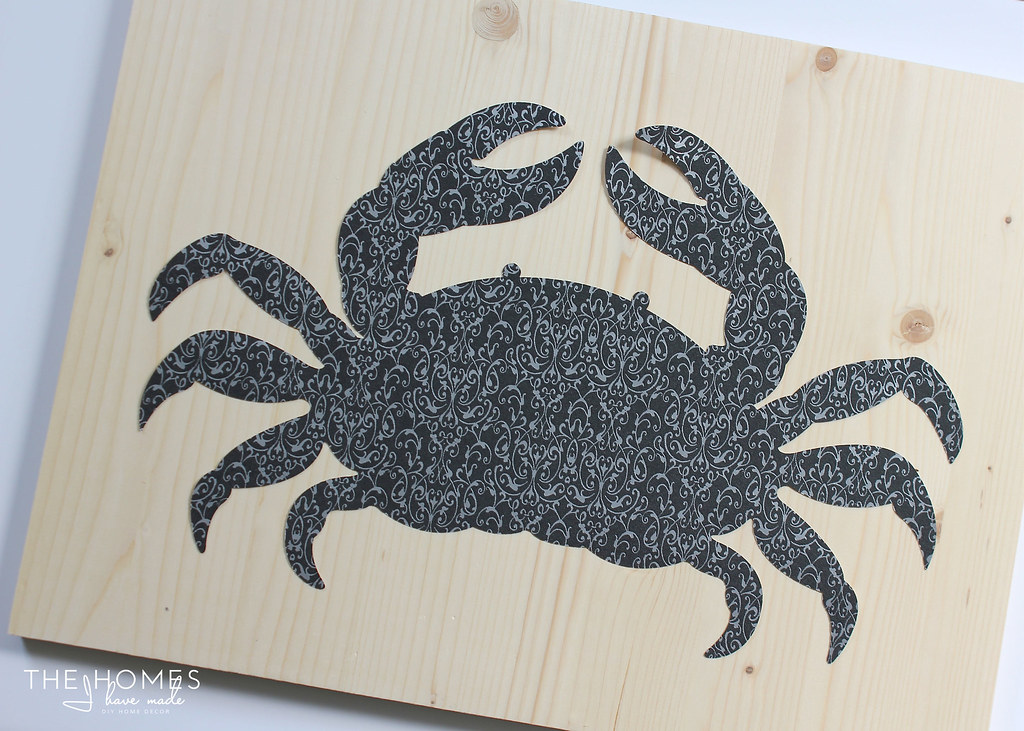
Next, secure your shapes to the painted wood surface with STRONG adhesive. I used spray adhesive which worked great. However, I did re-position my images a few times, ultimately decreasing the “stickiness” of the images. I didn’t realize this was a problem until we poured the resin and parts of the paper started floating to the top (boo!!). (If you look at Mr. Crab, his top right claw is poking out a teeny tiny bit!) To keep your papers nice and secure to the surface of the board, use really strong adhesive and ensure every area is fully secured down before moving on!
The last step is to mix and pour the resin on top of the wallpaper shapes. To ensure a clean, hard, bubble-free final result, follow the package directions very closely. Make sure you have lots of paper cups and spoons on hand to make this process easier; and a second set of hands sure is helpful (thanks, honey!). Because this product hardens relatively quickly, I highly recommend mixing and pouring for one board before moving onto the next.
This step might seem scary, but it’s not. You can find this product at your local craft stores; and if you follow the directions, you will get amazing results. Here’s a few lessons learned:
- Mix small single batches for each board (as mentioned above) and pour immediately after mixing.
- Pour quickly and with a thin stream all over the board to get the product equally distributed.
- While this product does harden quickly, you do have time to spread it evenly all over your board. We used disposable wooden coffee spoons (like popsicle sticks) to spread the resin. Work diligently and relatively quickly to get the full surface covered.
- This step is best done in daylight or really, really good light. While the resin spreads easily, it doesn’t pool/spread/fill on its own. You have to work it into the edges and to make sure it covers every last inch. We discovered the next morning, in the bright sunlight, that we had little “dimples” where the resin never got spread. When you’re spreading, look at it at the board from different angles to make sure it’s perfectly even.
I feel like this stuff is magic! You pour it on, and in about 8 hours, you have a mostly cured and perfectly clear topcoat. After another 24 hours, this stuff is smooth and shiny as glass! Just make sure you put it somewhere dust-free to cure so you don’t end up with particles in your finish. The gloss is so good – you can see my reflection taking the pictures!
This was a 1 day project top to bottom (once I decided on my images, of course!) I cut my images in the morning, painted the boards at lunchtime, ironed on the edging after dinner, and poured on the resin before bed. One more day of good cure time, and they were ready to go on the walls!
I never dreamed these would turn out so bold and fantastic. You all know we’re moving soon, but I HAD to get these up on the wall. And wouldn’t you know, they were the exact element we needed to finish this space (final room reveal coming soon!)
Admittedly, there is A LOT of pattern going on here…even a bit much for my taste…but I love these so much I’m overlooking it!
If you’re a renter or don’t have your own space, wallpaper doesn’t have to be off limits. There are so many fun, fresh, and creative ways to bring more pattern, texture, and pizzazz into your space in completely temporary and removable ways. I actually designed these art pieces to go in our new basement/playroom in the next house. All I have to do is take them right off the walls and bring them with me. I so can’t wait to see the room come together using these as my starting inspiration! This project can be customized in innumerable ways: size, shapes, colors, stain, papers. Visit Walls Republic and pick out your own set of FREE samples to make some for your own home!
I did not receive compensation for this blog post; however Walls Republic did provide the wallpaper samples for me to use and review. Please remember that I only work with brands and products I fully support and that make sense for my home, my family, and this blog. All opinions are 100% my own!
Megan







2 Comments on “Glossy Silhouette Wallpaper Art (with Walls Republic!)”
The best part of this project was the following statement: "I feel like this room is finally done!" Just got it in under the wire!
These art pieces look gorgeous! The bee is super cute, and this gloss effect is amazing!
Carpet cleaning London