How To Setup a Candy Buffet
A few weeks ago, I showed you Henry’s 4th birthday party reveal: a blue and orange, Planes-themed bash filled with lots of fun DIYs and projects. I covered a ton of details in my party reveal post (you can read it here), but I wanted to go a little more in-depth into one of my favorite aspects of the whole party: the candy buffet! If you’ve ever wanted to do something like this at one of your parties but don’t quite know where to start…I’ve got you covered with everything you need to know!
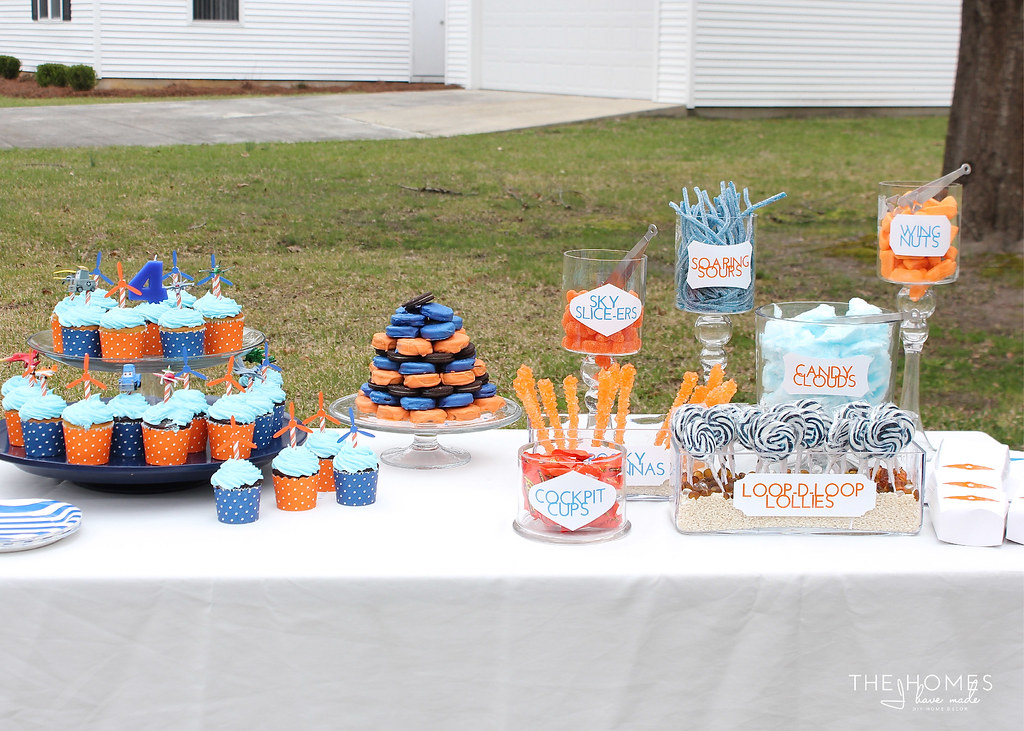
In addition to offering a slew of kid-friendly snacks and an easy lunch spread at the birthday party, we set up an entire dessert table. Packed to the gills with cupcakes, cookies, and sweets, this table was definitely the crowd pleaser of the party for both the kids and adults alike. So much tasty goodness on one table!
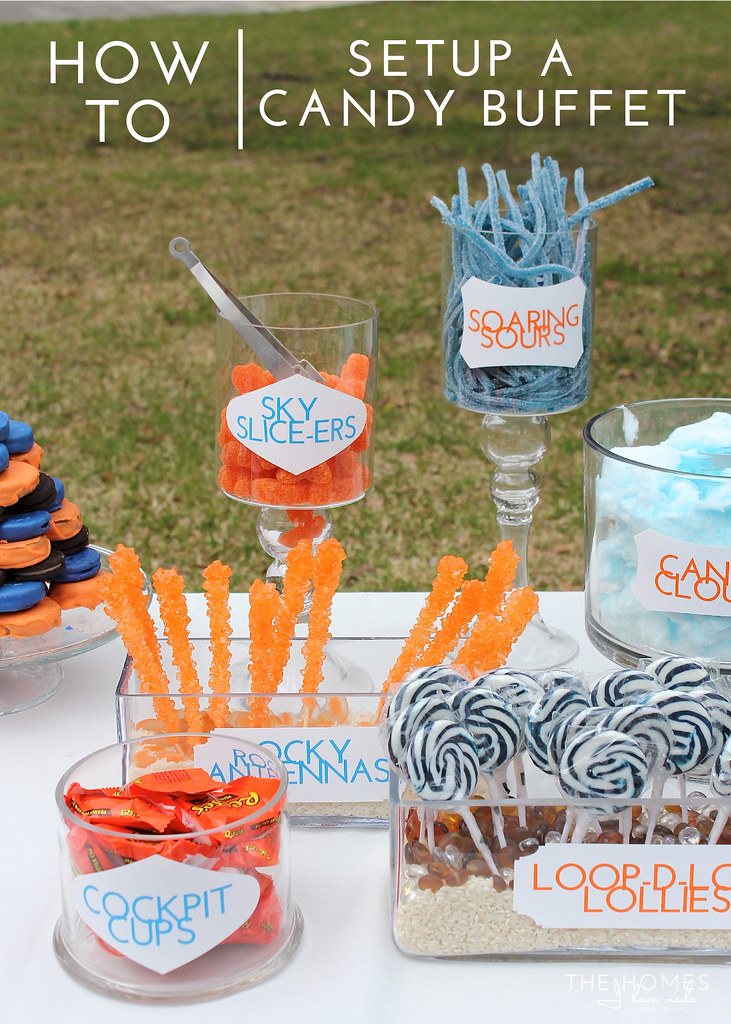
The highlight of the whole table, though, was absolutely the candy buffet! I have ALWAYS wanted to do a candy buffet at a party because…well…they are just so cute! I love seeing adorable and colorful candy-filled displays in store windows, magazine spreads, and on Pinterest but never attempted to do one myself. When Party Pail offered me some selections from their super fun candy buffet supplies for the party, I knew this was my chance to give this party trick a try!
Let’s go step-by-step through all the elements you need to make your candy buffet a simple and sweet success!
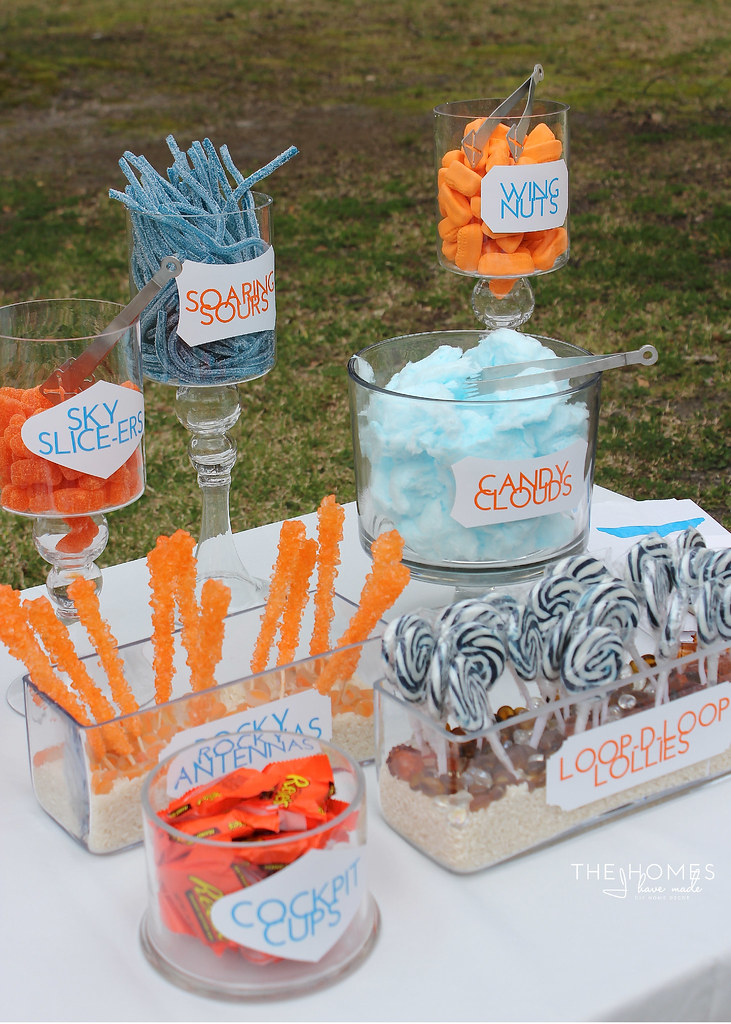
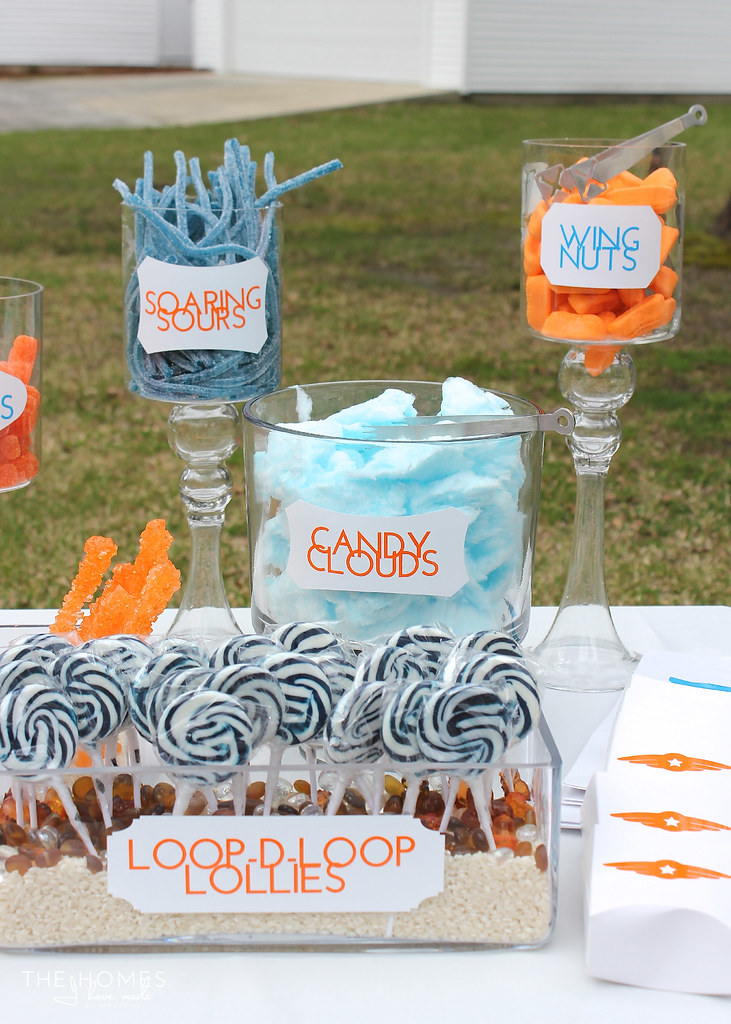
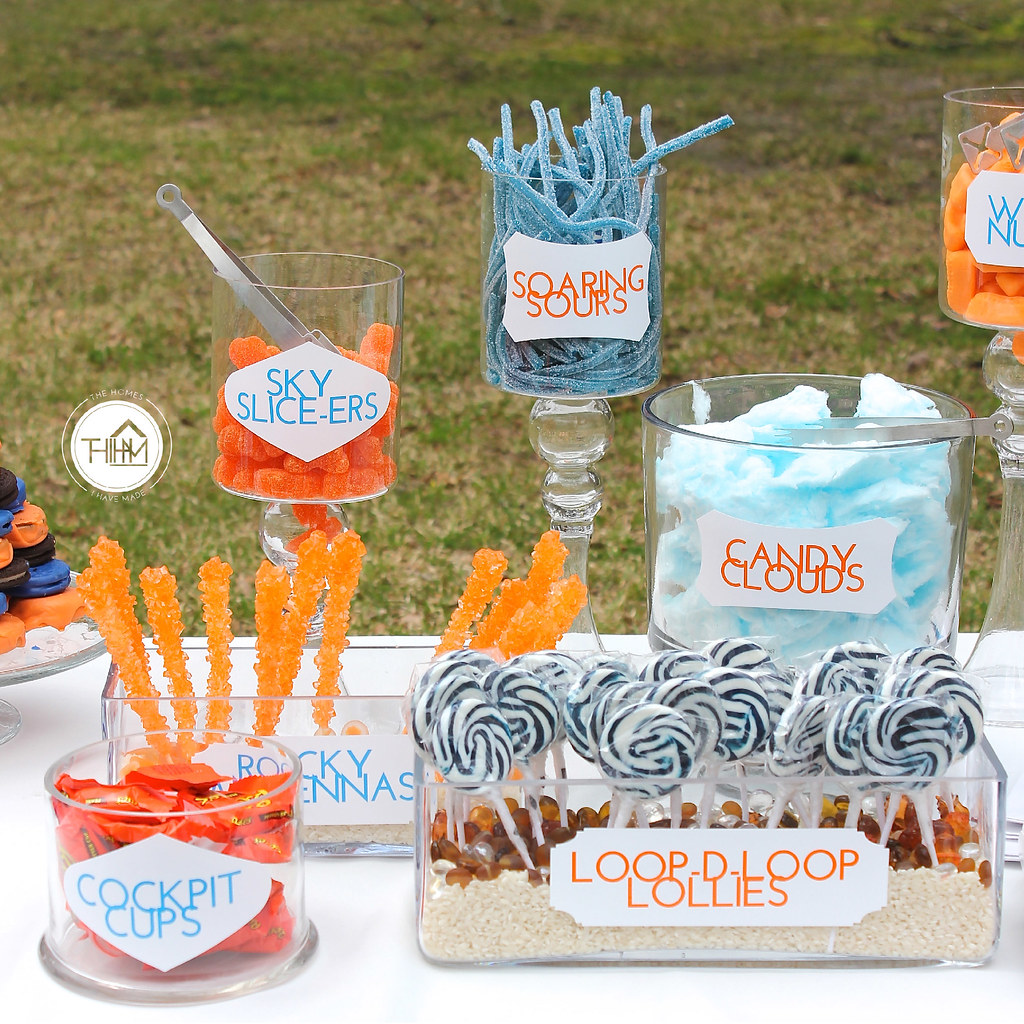
1 – CONTAINERS. The key to a candy buffet is to offer all sorts of candies. And if you’re going to offer a wide variety of candies, then you need to have a wide variety of containers to hold them in! To keep it visually interesting, try to vary the heights, sizes and shapes of all the vessels. Plastic or glass both work fine, but I really prefer clear containers so that the candy colors and shapes become the stars of the show! Over the years, I’ve accumulated a nice collection of glass jars and vases, so I didn’t have to buy a thing for this display. If you’re starting fresh, shop for unique jars and vases at great prices in places like HomeGoods, Marshalls/TJMaxx, Hobby Lobby and Michaels. In addition to vessels, if you are going to offer candies than need to stand up straight (like rock candy or lolly pops), be sure to have rice or glass pebbles on hand to fill the jars to keep items up right!
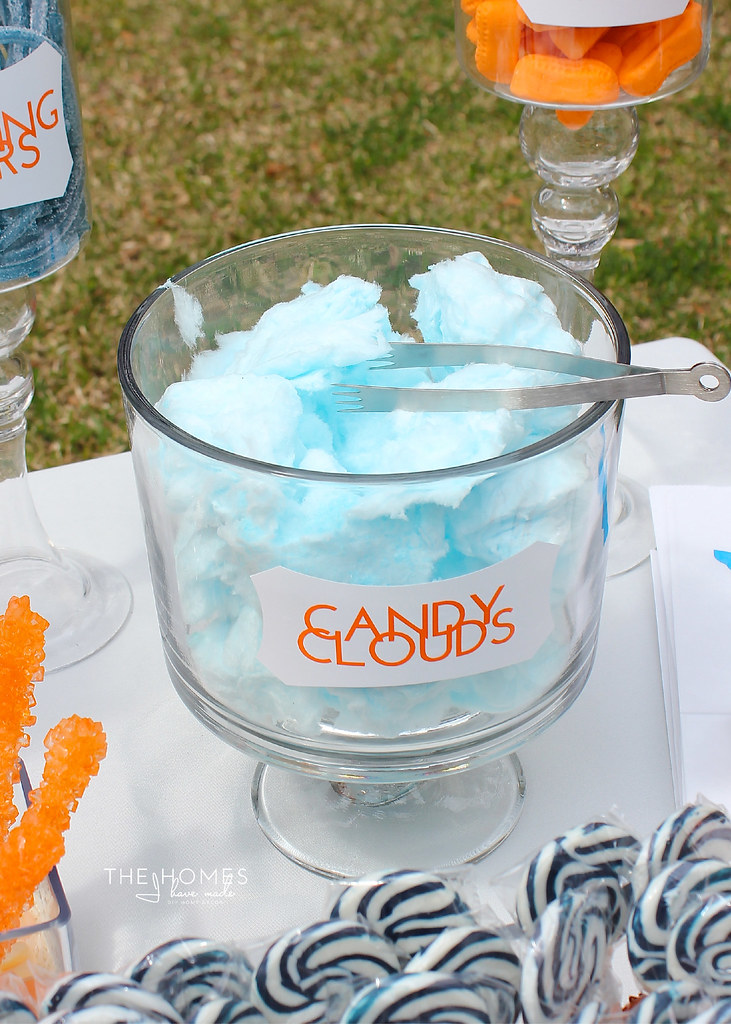
2 – SERVERS. Some candies can stay in their wrappers, but many candies included on a candy buffet are loose. To keep fingers (and germs!) from getting all over the candy, be sure to put out a variety of serving utensils to help your guests load up. Small-scale scoops and ladles are perfect for little candies that are scooped in multiples (like m&ms, gum balls, etc). Tongs work great for larger/longer candies (like cotton candy, large gummies, and string-type candy). I found these great mini tongs in sets of two at Walmart!
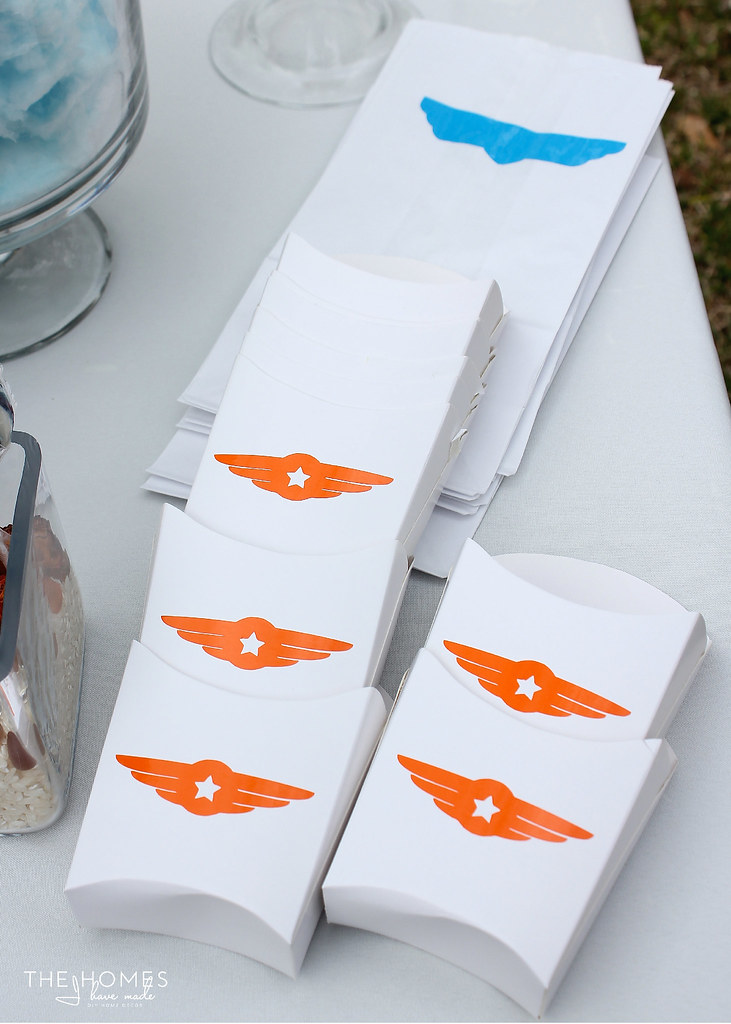
3 – TREAT CUPS or BAGS. The thrill of going to a candy store (or through a candy buffet!) is filling up a single bag/container with all sorts of candies to snack on. So that guests don’t have to eat from their hands, provide some sort of treat containers for your guests to fill up. Small paper bags or cups are easy to find, inexpensive and work great. Craft and party stores also carry all sorts of cute and clever paper containers that you can decorate or buy in colors to match your party theme. (One benefit to offering bags is that they can easily be folded or stapled shut, making them simple take-home favors!)
4 – FUN LABELS. In addition to offering tasty treats, having a candy buffet is another way to play up your party theme. Puns, plays on words, or movie/character references are all great ways to tie basic/generic candies into the party and amp up the fun factor of the whole display. If your brain locked, search the internet or brainstorm ideas with someone else. To come up with these names, Henry and I re-watched the Planes movie and I wrote down good word or phrases used during the movie. We then matched up the words with the candies in ways that sounded fun or worked really well. I made these labels out of white, orange and blue vinyl with my Cricut Explore and put them right onto the glass jars. Even if you don’t have a die-cut machine, you can still make fun and “punny” signs using pre-made decorative labels or wooden signs from the craft store.
5 – CANDY! This one is an obvious “must” for a candy buffet, but finding good candies can sometimes be a bit tricky (especially if you are trying to stick to a particular color scheme). My tips? Go to several different stores (grocery stores as well a places like Target, Walmart, etc) and just look for anything and everything in your color scheme. Don’t overlook wrappers or candies you don’t typically eat – someone might like them, and they can help round out the buffet. Also, keep your eyes out in un-suspecting places! Blue candies are not easy to find…I found the blue Sour Strings in the Hobby Lobby checkout line and the blue cotton candy at Target! Lastly, shop online to eliminate the hunting game and find just what you’re looking for at good prices. One of my favorite aspects of Party Pail’s site is that you can shop for candy by color. Not only are their prices super reasonable, but it makes putting together a stunning display truly a snap!
In addition to offering these sweets as party fare, the candy can also serve as your take-home favor! While we did have other fun party favors for the kids, I loved that I could package up goodie bags of all the extra candy and send it home with the guests! I certainly didn’t need all the leftover candy in this house!
Putting together this candy buffet really was a highlight of the party prep for me. From finding the candies and coming up with the cute labels to decorating the goodie bags and setting it all up, it was just too much fun and such a unique and festive thing to offer. I’m pretty addicted to this idea, so I think the candy buffet might become a staple at my parties from here on out!
I hope you all have a great start to your week! I’ve got a jam-packed few weeks planned for both here on the blog and in real life, so be sure to come back every few days for moving updates and new projects! See you back here Wednesday!
I did not receive compensation for this blog post; however Party Pail did provide many of the party supplies for me to use and review. Please remember that I only work with brands and products I fully support and that make sense for my home, my family, and this blog. All opinions are 100% my own!
Megan


