Kitchen Reveal | Making the Most of a Builder-Basic Rental
Happy Friday! Phew – we made it to the end of another week! Is it me or is time running on fast forward lately? There must be something about an impending move that truly makes it feel like time is flying by. With the arrival of the packers just weeks away, I’m am scrambling to finish a few final projects as well as photograph the last few spaces of this home…all when I should really be getting ready for said packers!
There are some parts of our home that I am eager to photograph and post here on the blog because I am so proud of them and can’t wait for you to see them. There are other areas, however, that aren’t the most glamorous or well-designed and I could just as easily not post them. But I like to show real life, and that not all spaces are gorgeous or fixable. I also like to fully capture all aspects of our homes, in all of their imperfect glory, not only so I can look back and remember them, but so other military families who might get stationed on this base can also see what housing looks like. I’ve got two spaces left to show you…today, we’re knocking one more out…let’s tour our kitchen! (Like with my other room reveal posts, all sources and tutorials are linked at the bottom of the post!)
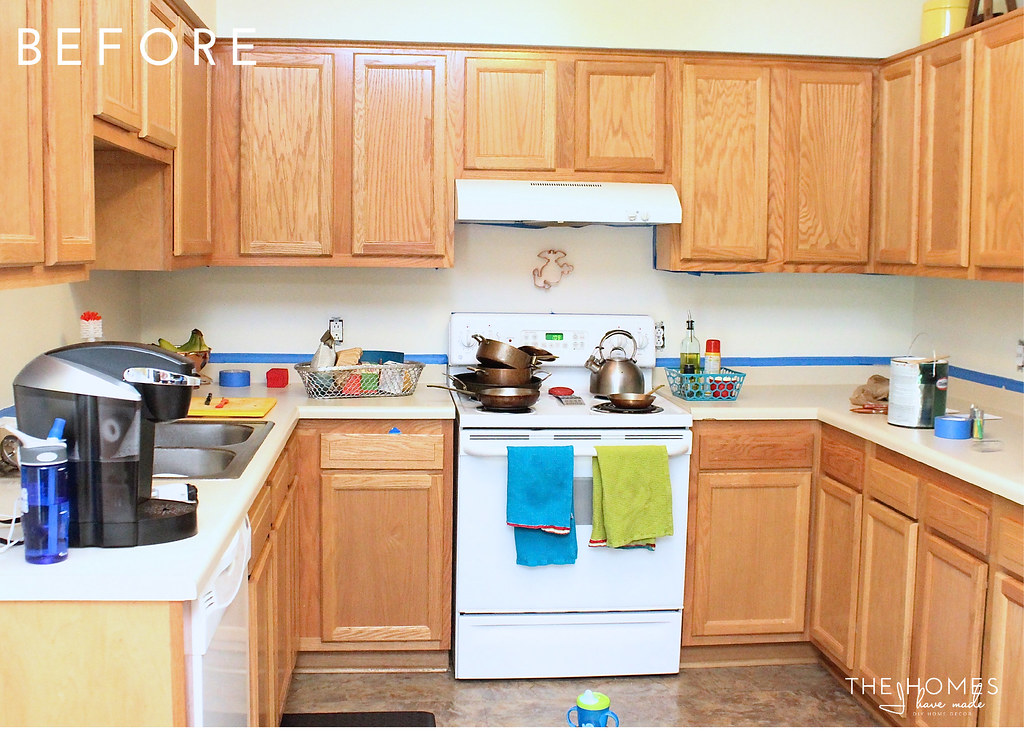
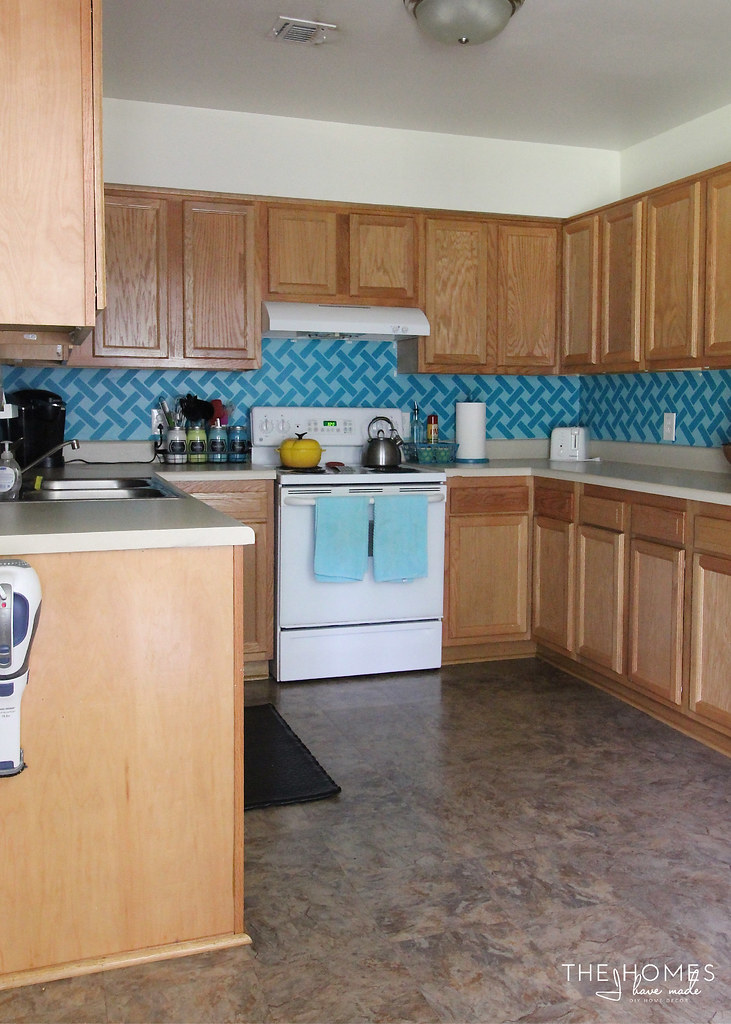
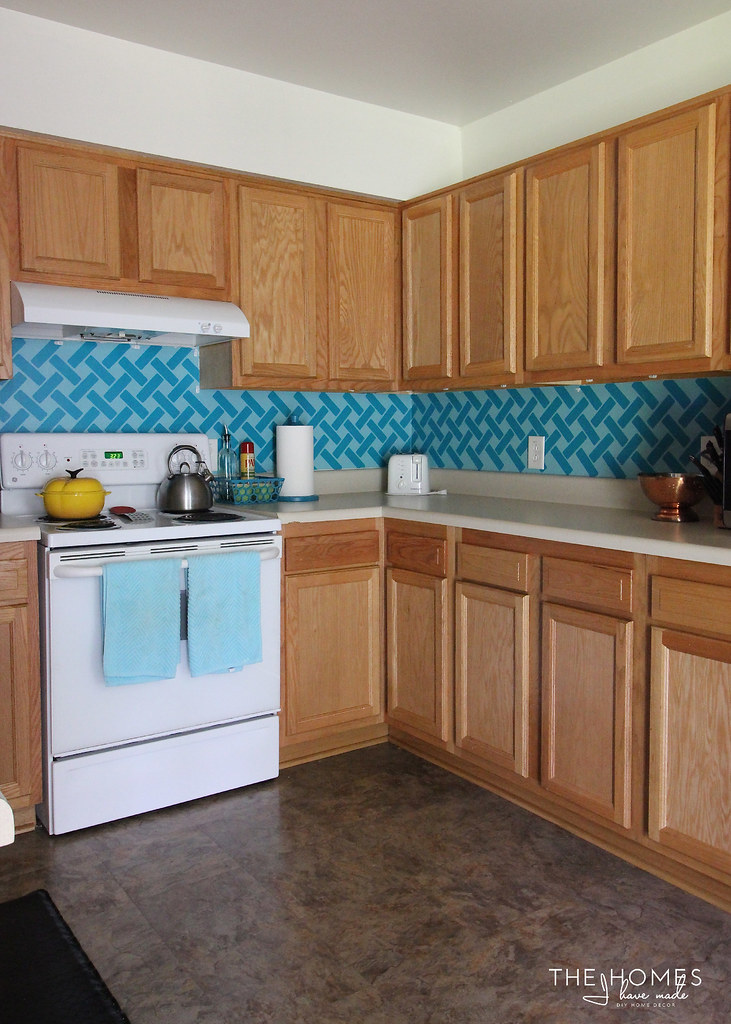
In the thousands of pictures I’ve taken of this home, I don’t have a great “before” shot of our kitchen. #badblogger This one (below) is from right before I “installed” the backsplash just weeks after moving in and is the best I have. I haven’t shied away from complaining about this kitchen here on the blog. I call it a “dungeon” for good reason. It’s blocked in on three sides with all oak cabinets, has no natural light, no pantry, mis-matched flooring, and is really set off from the rest of the house.
Despite it’s appearance, I really shouldn’t complain about it too much. Sure, I’d love white cabinets, a pretty tile backsplash, and a window, but this kitchen has functioned great with (more than) ample cabinet space and all the appliances and counter space we need as a three-person family. In the three years we’ve lived here, I’ve done my best to make this a cheerful and happy place to cook despite its design flaws. With a handful of DIY projects, it has a bit more personality than when we moved in. Take a look!
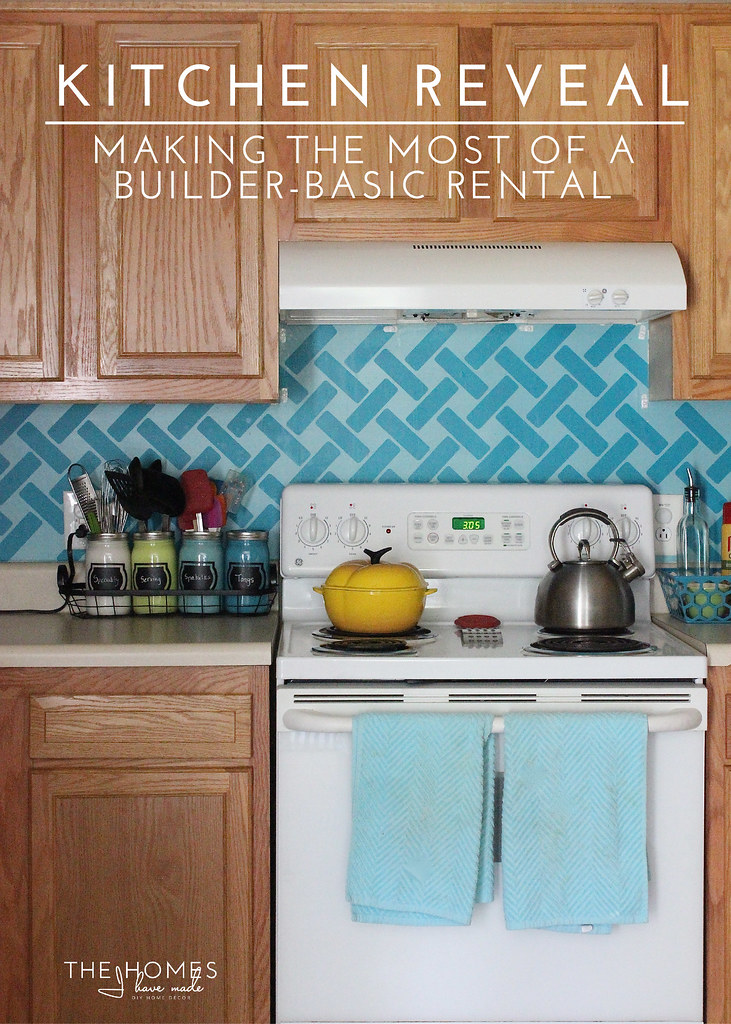
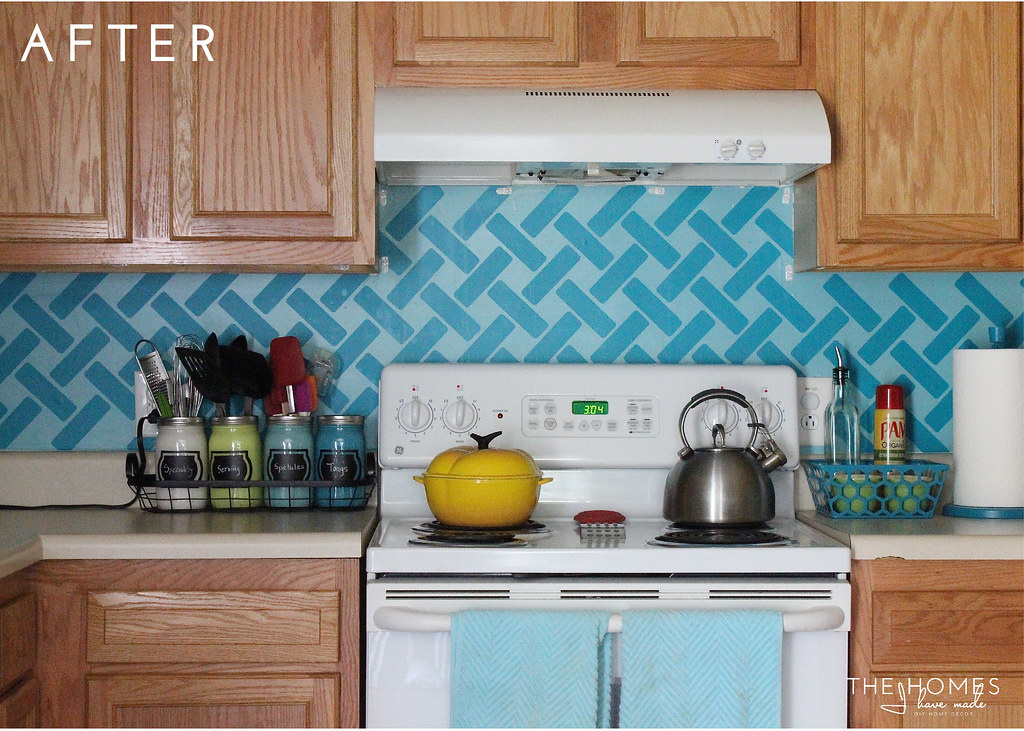
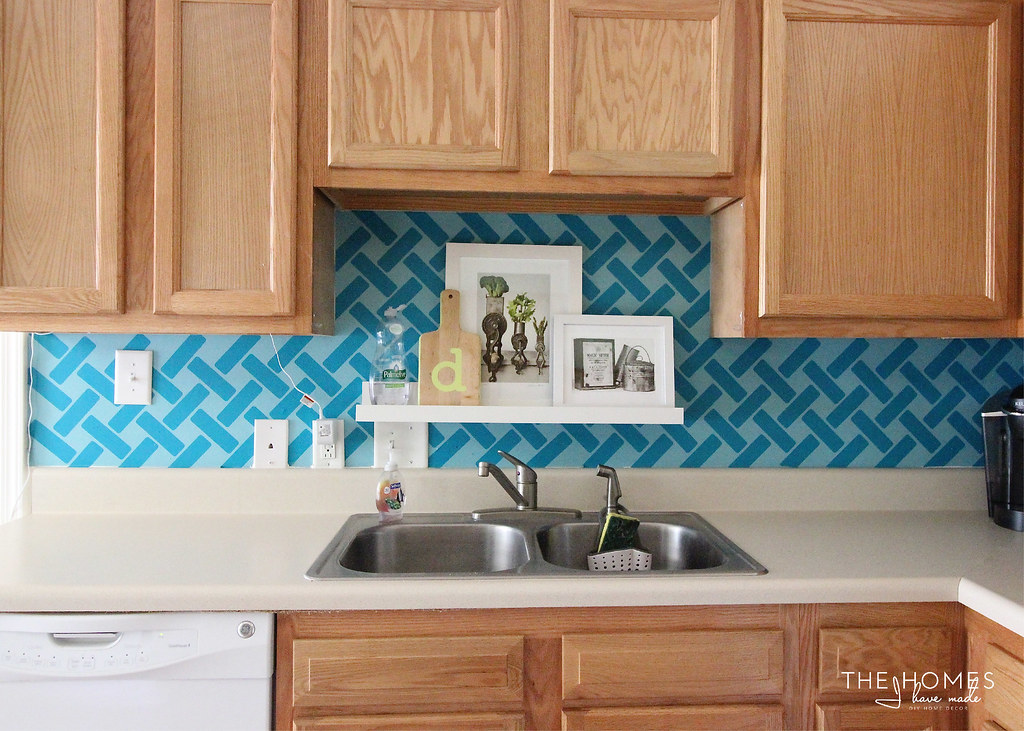
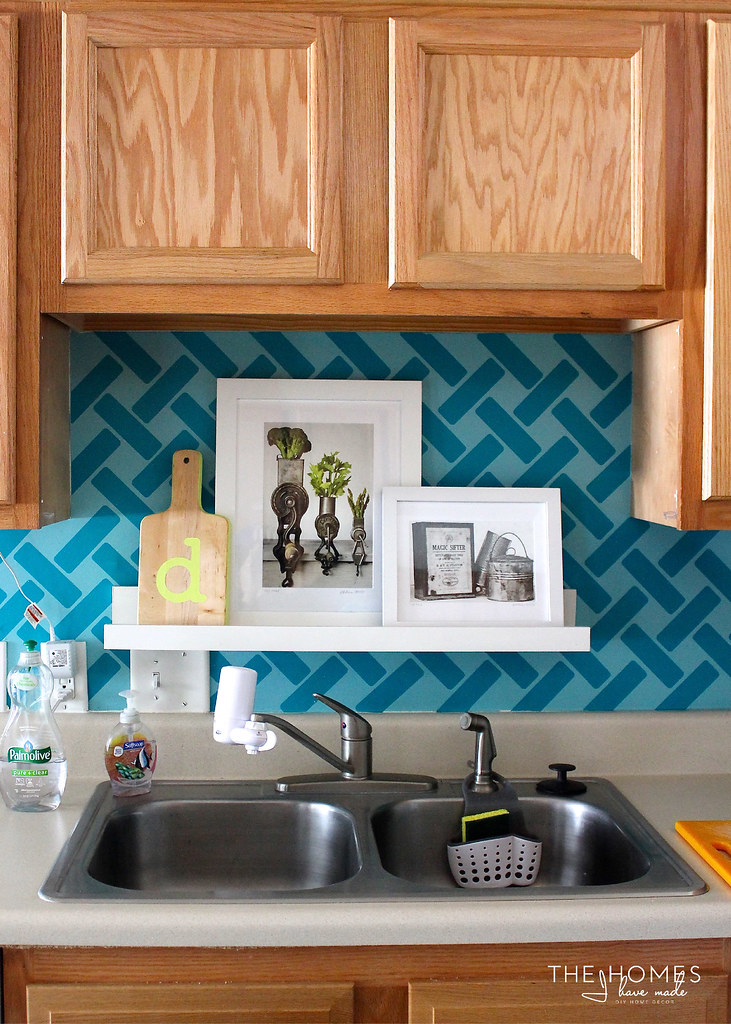
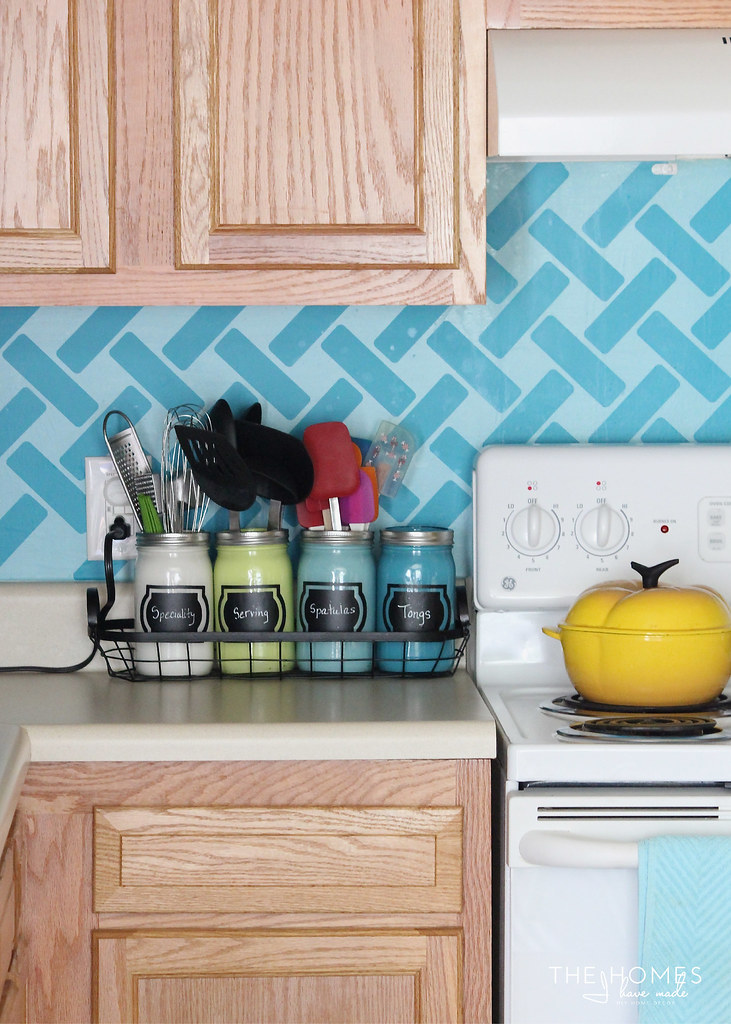
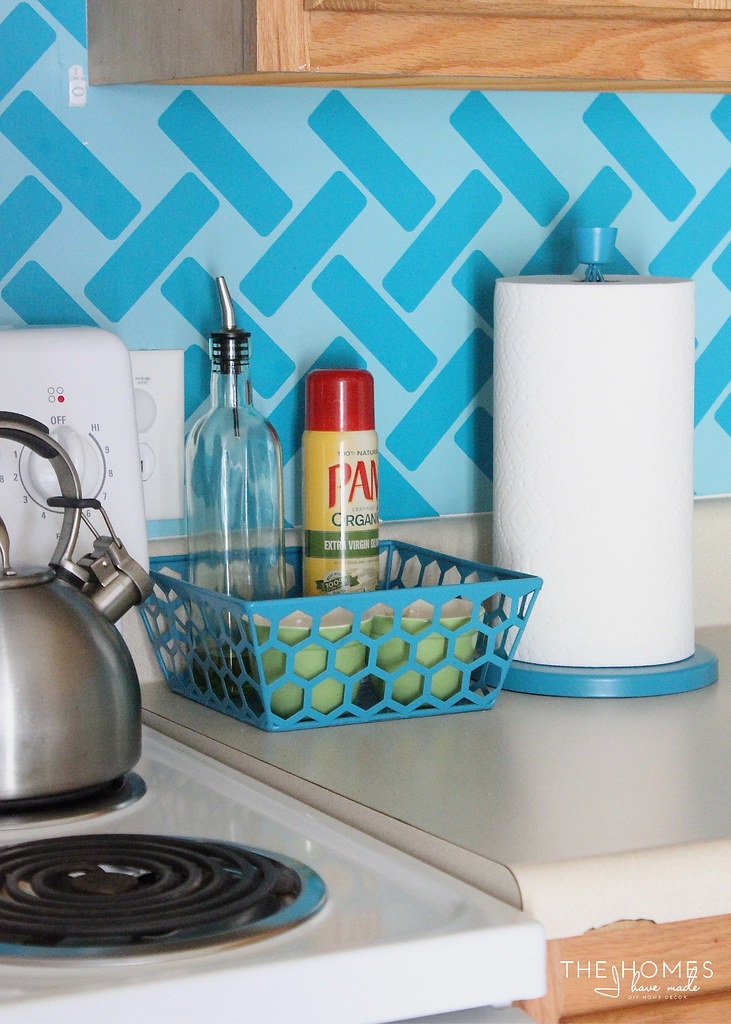
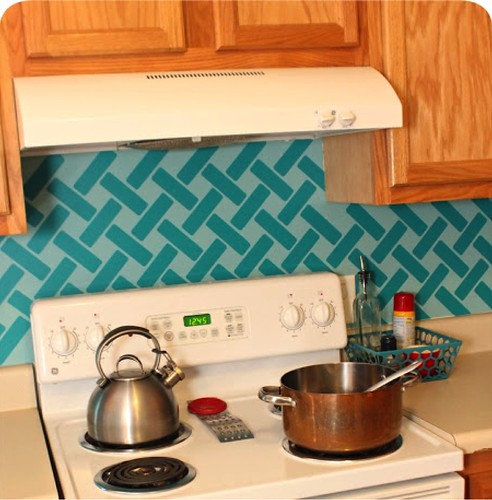
In a builder-basic kitchen comprising only of cabinets, countertops and appliances, there aren’t many opportunities to add in color and personality. The one spot that could be given a dose of color was the backsplash, and boy did I go for it! A paint+vinyl “tile” treatment gave some major pattern to this tiny space. Admittedly, I have a love-hate relationship with this vinyl tile treatment. While I love the clever use of vinyl here and am glad the kitchen has some color, it just feels busy and “cutesy” to me all these months later. I’ve come thiiiis close to peeling off the vinyl a dozen or so times over the years. However, I’m pretty sure I’d miss it if it were gone, so it has remained here until the end. Guests and friends really ‘ooo’ and ‘ahh’ over it every single time they come in the house, so at least it makes a statement!
On the left side of the kitchen is the sink with an awkward little cutout that I filled with a floating shelf and kitchen artwork from a local artist.
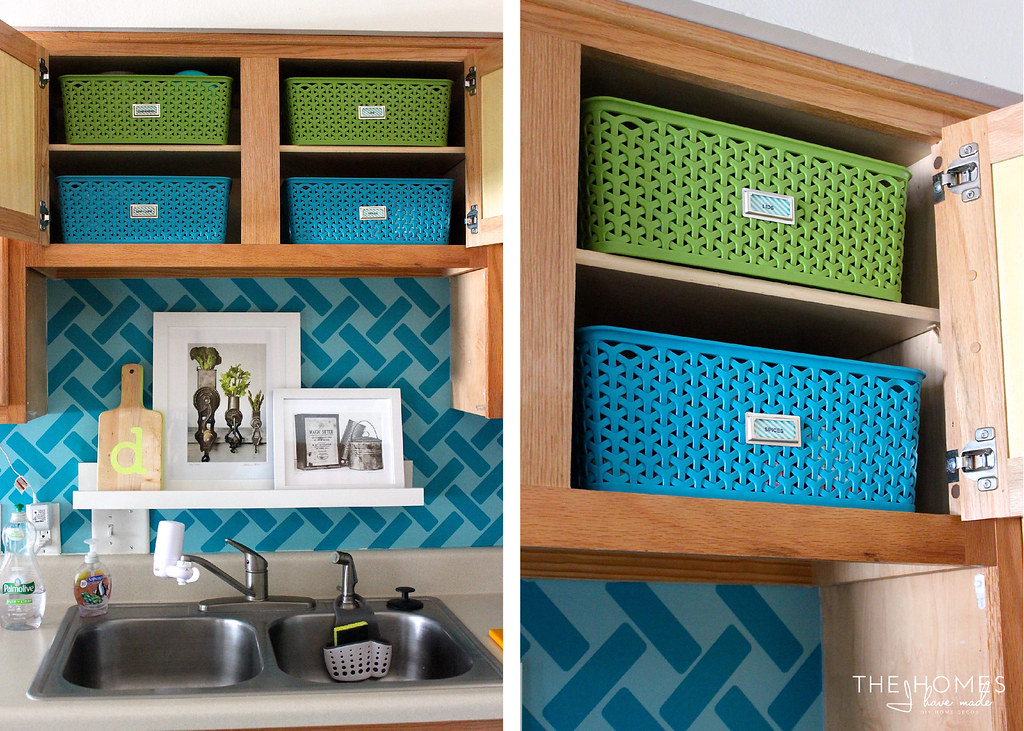
I found perfect-fitting baskets for the small shelves up above the cutout, which turned out to be one of my best uses of space in the entire house! These baskets hold sippy cups, tupperware containers and lids, and spices.
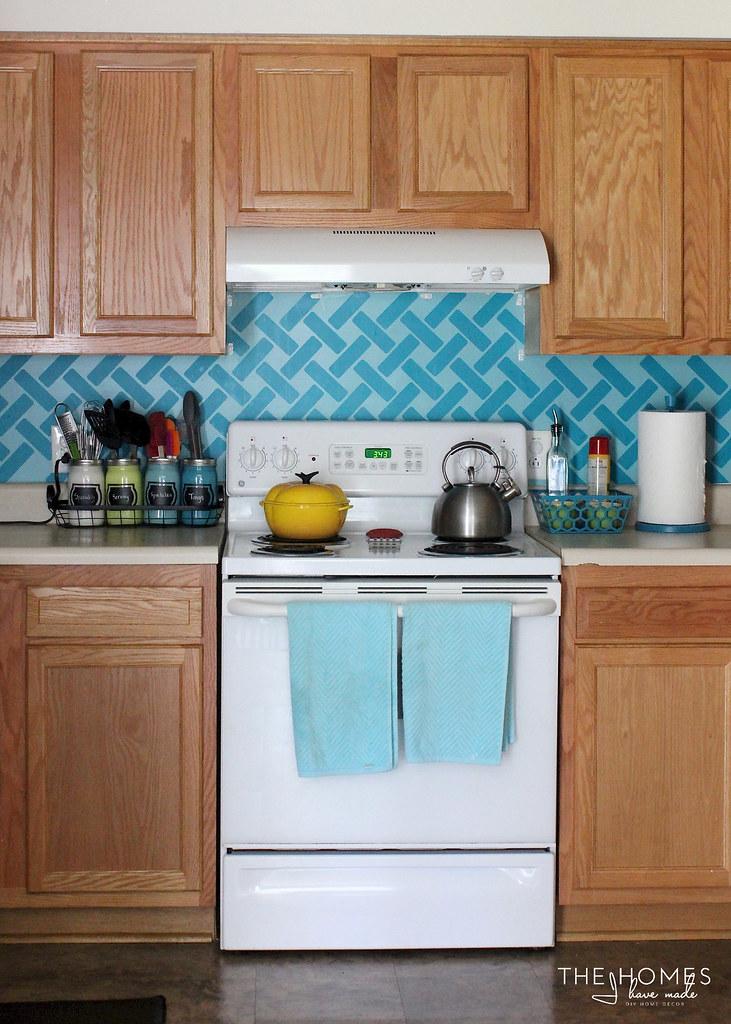
Our stove is against the back wall and serves as the focal point of the kitchen. All the tools and ingredients we use most often (corralled in baskets, of course) are situated on either side for easy access!
The mason jar utensil caddies are one of my all-time favorite DIY projects. They look as great as they did the day I made them and add a happy splash of color to this kitchen! To the right of the stove, a turquoise metal basket holds olive oil, cooking spray, and dishes filled with salt and pepper.
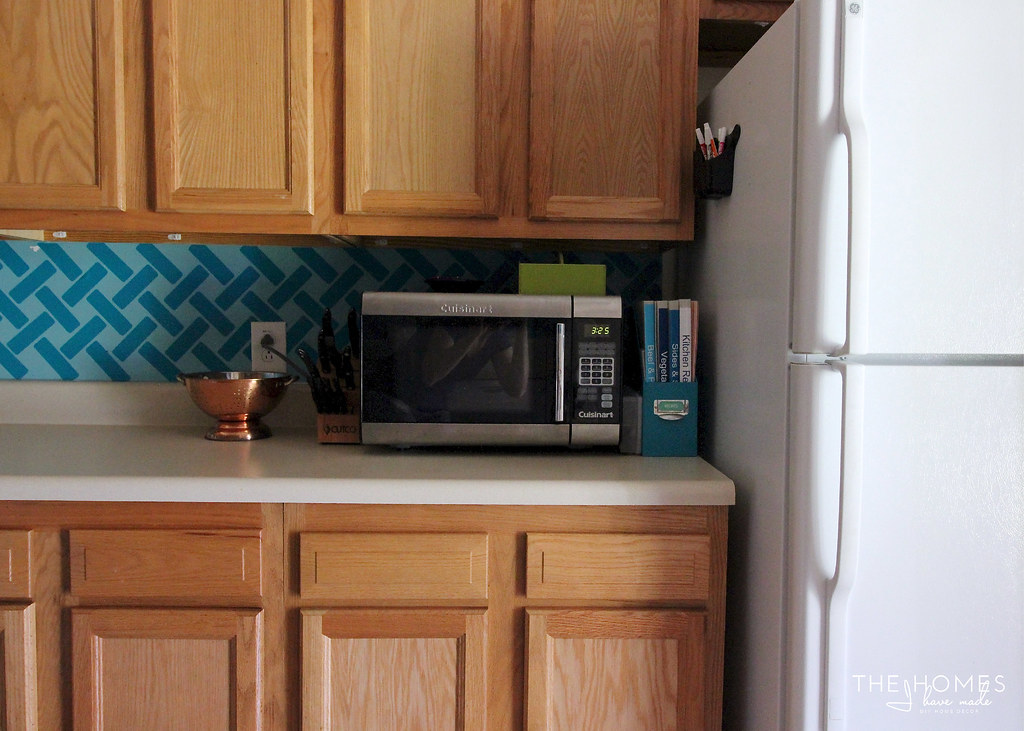
On the right-hand side of the U-shape are more cabinets, our refrigerator and our microwave….
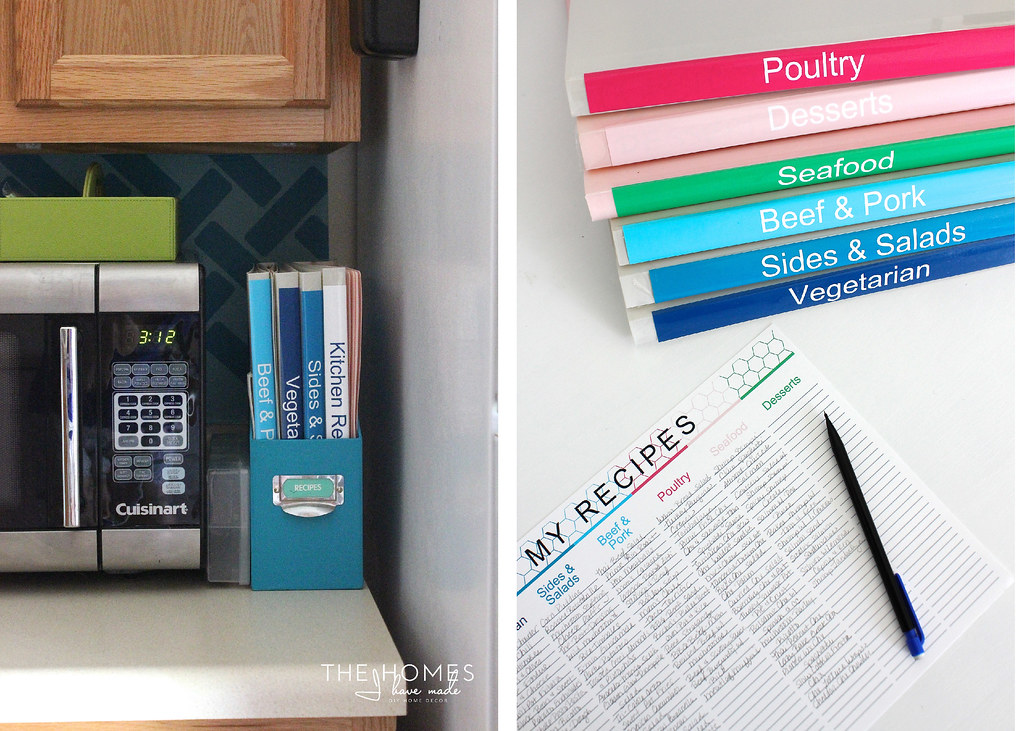
My meal planning materials and recipe books are tucked into a magazine file right next to the microwave for easy access! The copper colander holds our bananas and avocados, and the green caddy on the microwave holds pens and sticky notes.
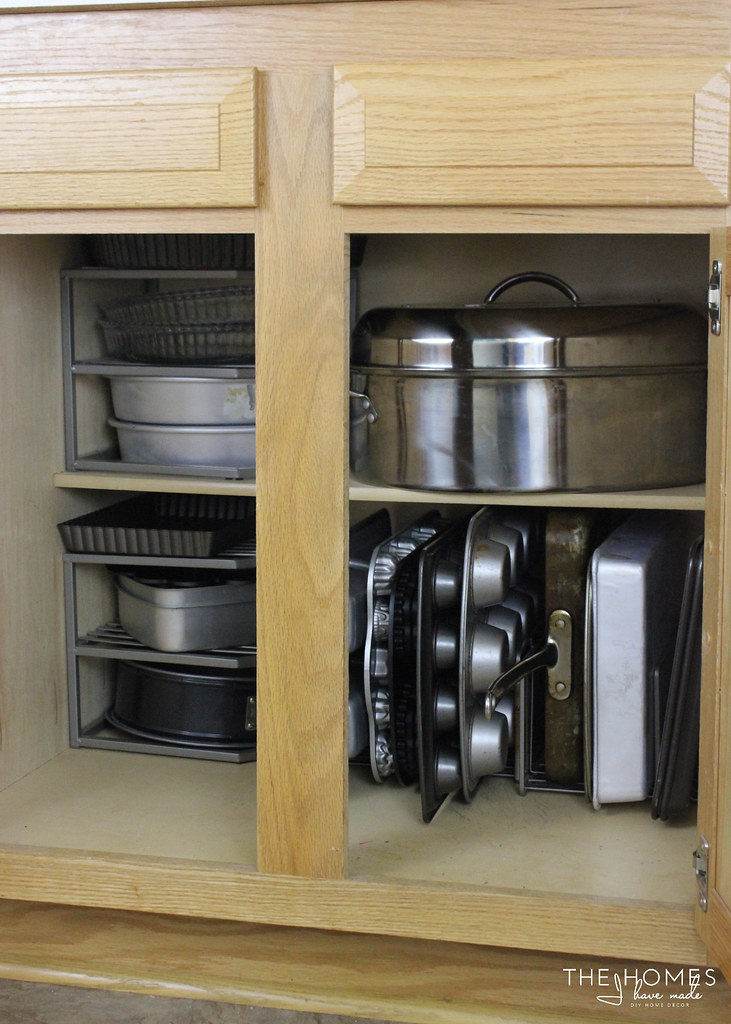
Most of our cabinets hold the basic stacks of dishes and nesting bowls…nothing fancy or picture worthy. However, our bakeware cabinet got a recent organizational makeover and I still looooove it!
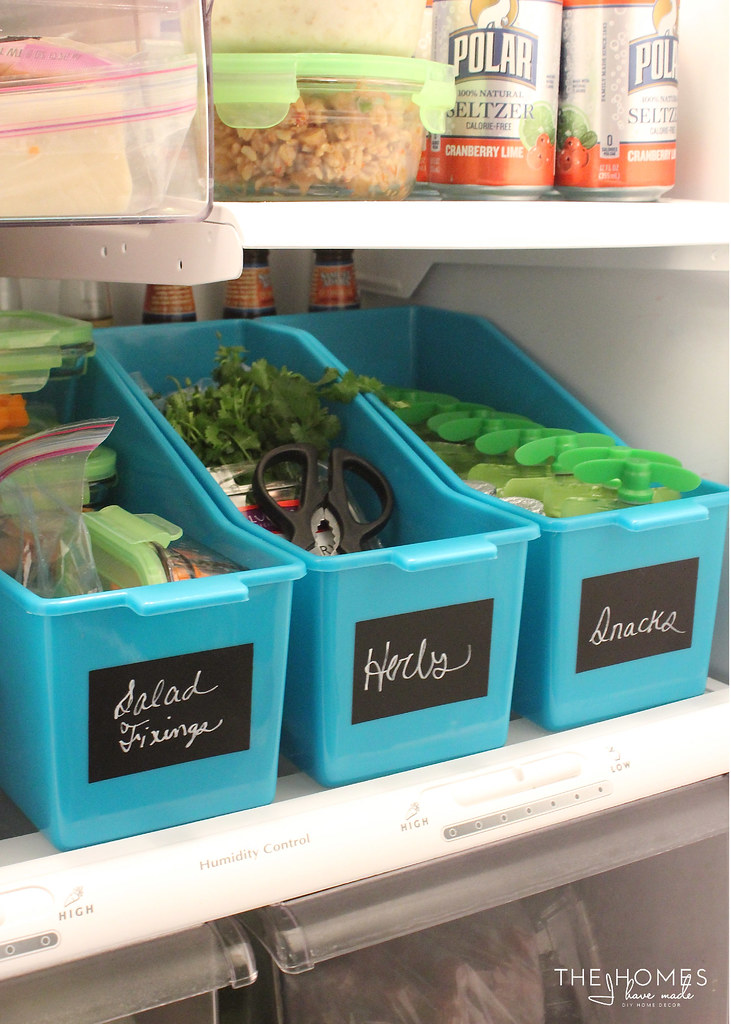
The refrigerator didn’t escape my basket-loving organizational system with simple caddies and tupperware holding everything from snacks to leftovers…
Over the years of living here, I tried to come up with ideas that would bring even more style to this space. I played with a variety of rugs and artwork, but they often felt fussy and in the way in such a tight and hardworking space. Little by little, I stripped away things that felt cluttered and unnecessary. At the end of the day, this space is a messy and busy kitchen; and everything left here simply is cheerful and useful…just as it should be!
I’ve done my best to remember where everything in these photos came from. If I left anything out, let me know!
- Paint color: Martha Stewart Lagoon
- Turquoise vinyl – Amazon
- Turquoise dish towels – Martha Stewart
- Turquoise metal basket – Target
- Turquoise paper towel holder – Target
- Mason jar utensil caddies – DIY
- Black basket holding mason jar utensil caddies – bought overseas while living in Okinawa
- Yellow pepper Le Creuset pot – from my Mom
- Copper colander – from my Mom
- Mini monogramed cutting board – DIY on an IKEA cutting board
- Kitchen art – local artist
- White frames – Michaels
- Floating shelf – DIY using Anna White plans
- Teal and green baskets in cabinets – Target
- Turquoise refrigerator caddies – Target (Dollar Spot)
- Recipe books – bought overseas while living in Okinawa
- Turquoise magazine file – Target
- Green caddy – Marshalls
- Black mat – Bed, Bath & Beyond
Tutorials for all my kitchen DIYs and projects can be found below!
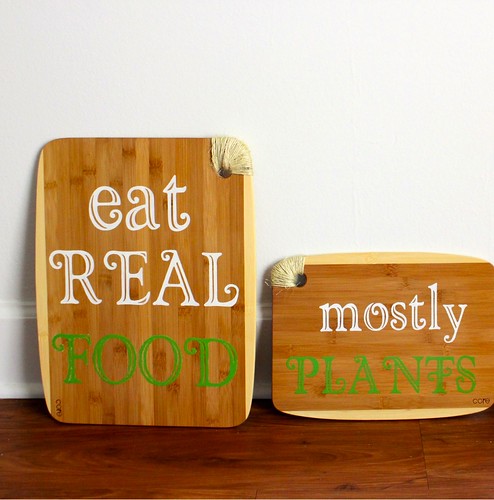 Cutting Board Artwork |
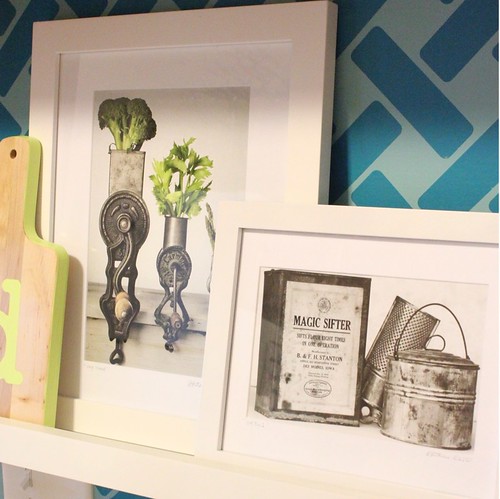 Display Shelf |
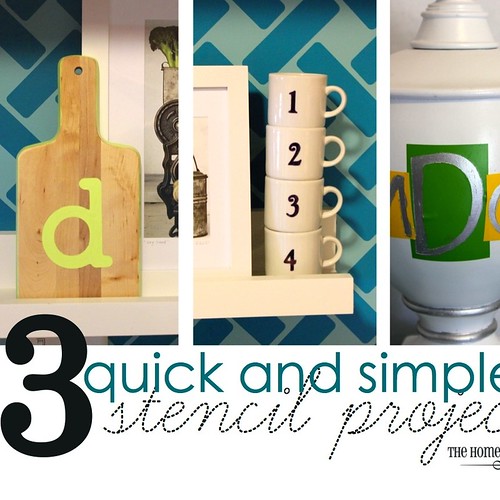 Monogram Cutting Board |
|
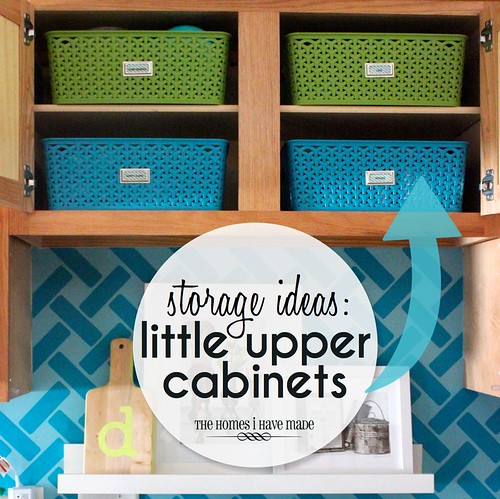 Storage Solutions for Little Cabinets |
|
 Christmas Ornament Magnets |
|
Getting decent light in the kitchen for photos has always been tricky, so I’ve been putting off and putting off photographing this space. We’ve had a bright sunny week with great afternoon sun, so I finally got it done. I hope you enjoyed the full and final tour of this space.
And don’t forget you can see all the final room reveals of this house here!
Megan




3 Comments on “Kitchen Reveal | Making the Most of a Builder-Basic Rental”
I'm a wife and mother of 2 and my family just started the move process from an apartment we've lived at for 5 years. I'll admit im a bit stressed..ughh. I was just browsing-looking for tips and I'm glad I viseted your page. I will definitely attempt to organize my kitchen..yours is just beautiful…I love it! Thank you for all the tips 🙂
Heading to CLNC and am curious to know how difficult it was to install/remove the backsplash.super cute idea but am afraid of how permanent it could be!
Hi Megan,
I love your blog! My husband retired from the Marine Corps after 31 years and I so wish blogging had been around when I was trying to make our homes cozy and pretty. Even though we live in our forever home, I still like to change things around and try to do it economically. I want to try your grasscloth covered furniture. That's next on my list.