Celings, Chair Rails, and Stripes, Oh My!
Today, I am really excited to show you the results of our four-day painting marathon! You’ve waited patiently enough while I babbled on all my tips and tricks for getting it done, so let’s just get right to the Before and After photos, shall we?!?!?
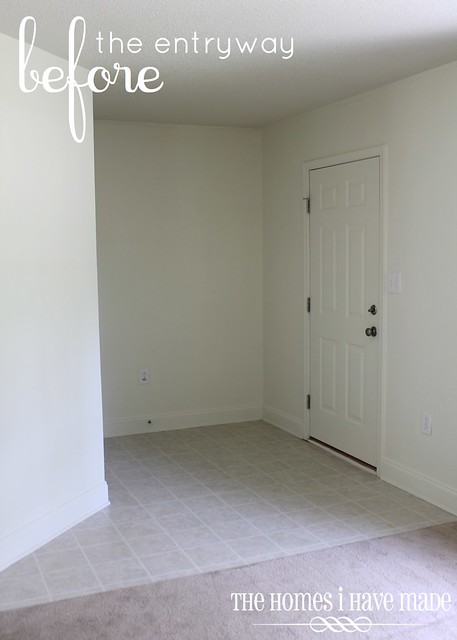
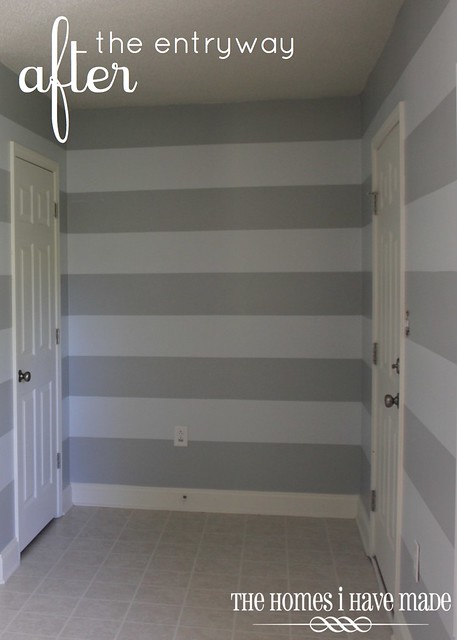
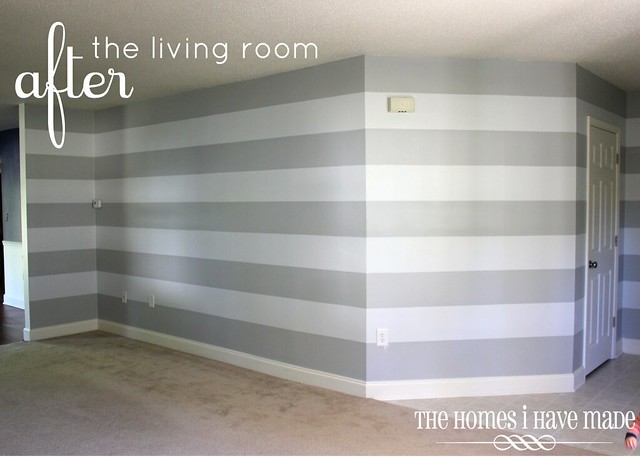
In the pictures on Friday, you got to see lots and lots of blue tape! Here’s how those stripes turned out!
Gorgeous, right? Eeek! I am so excited about these stripes! I have all the paint colors as well as lots more before and after photos after the jump so be sure to click through!
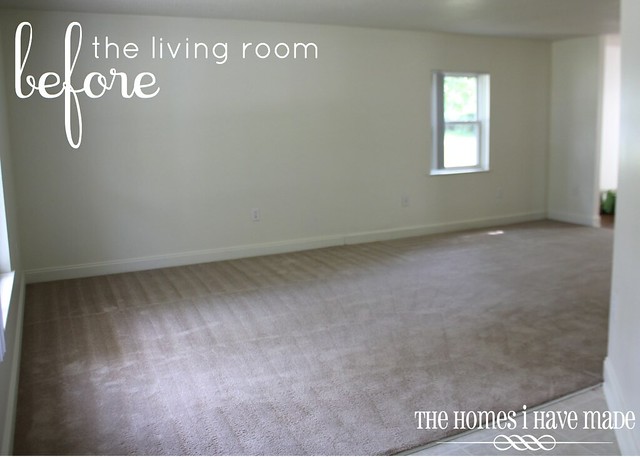
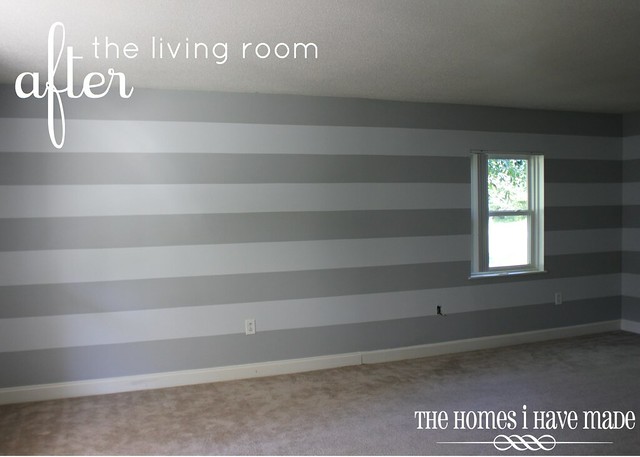
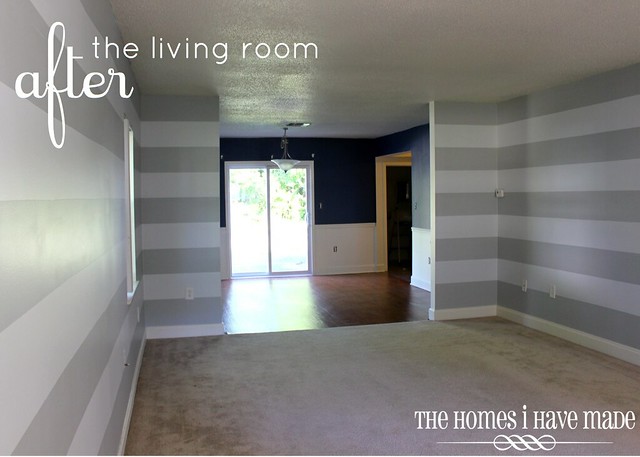
Because I am so in love with my grey-striped living room, let’s look at more photos!
Measuring and taping out the stripes in this huge room took some major focus, discipline and staying power. I was really passionate about doing horizontal stripes in this room, but all along the way, I was worried that it would end up looking like a fun house! I persevered, trusting in my design “plan” (which I will share with you later this week!); and even though it was 10:00 PM when we pulled all the tape down and could barely see them, we could tell we hit a home run!
I am not going to give you a full tutorial for how we achieved these stripes (mostly because there are tons of great tutorials out there!) But I will give you a quick run down of what we did. We first painted two coats of the dark grey on every wall. Three days later, we measured out and taped all the stripes (we actually measured the spacing once and then used a level the WHOLE WAY around), and then applied two coats of the light grey. Removing the tape while the paint was still wet was key to achieving nice and crisp lines!
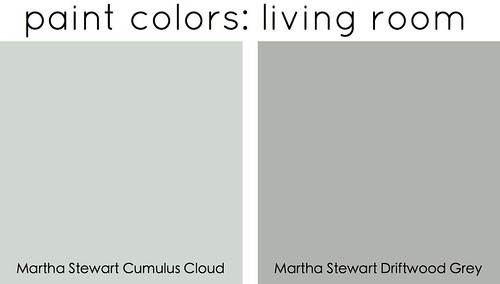
In choosing paint colors, we really oscillated between a tone-on-tone (semi-gloss and eggshell of the same color) stripe and a grey and white stripe. We were worried that the tone-on-tone would be too subtle, and the white and grey would be too stark a contrast. We finally decided on a light grey on dark grey stripe. I think we made the right call! Here’s our paint colors for this room!
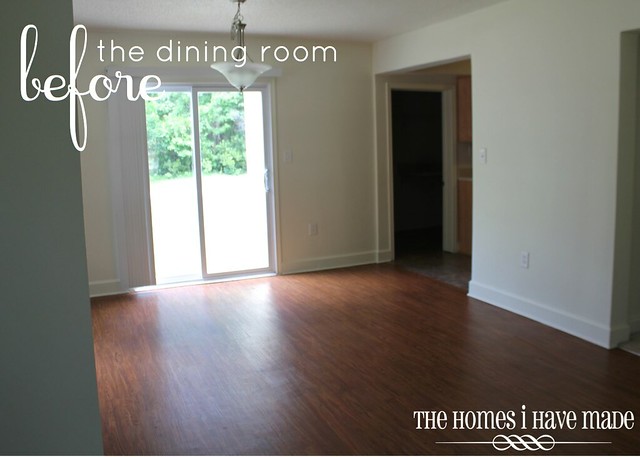
Let’s move on to the dining room!
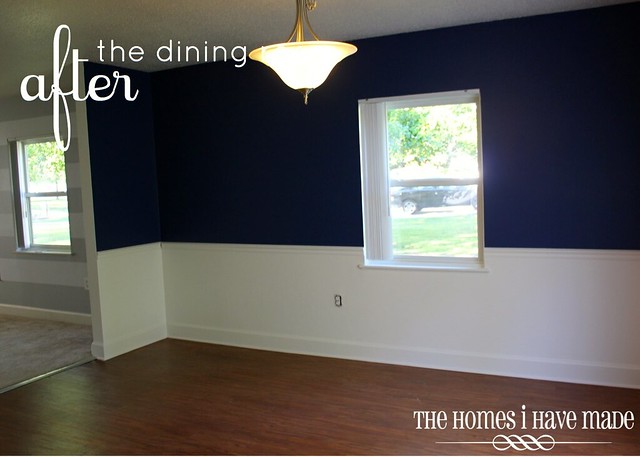
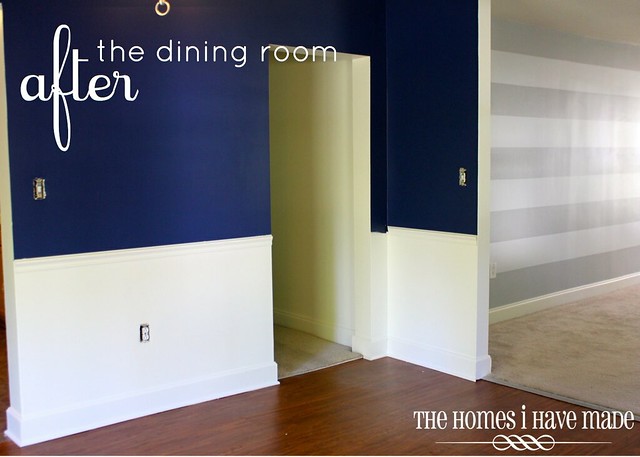
In the dining room, we split the wall into thirds and designated the chair rail line with a pencil. We painted above the line with Martha’s Azurite and below the line with Martha’s Tailor’s Chalk. Once dried, we nailed up the chair rail, added more tape to protect the blue wall, and painted the chair rail Tailor’s Chalk to match the lower portion. Adding chair rail really added that “architectural detail” that so many stock homes are missing. Although we didn’t fully succeed at mitering our corners properly (it’s okay, the corners will be behind furniture!) and the walls are no where near flat…it was worth the extra effort. The dry wall has helped to make our house feel different from the other (identical) homes on our street!
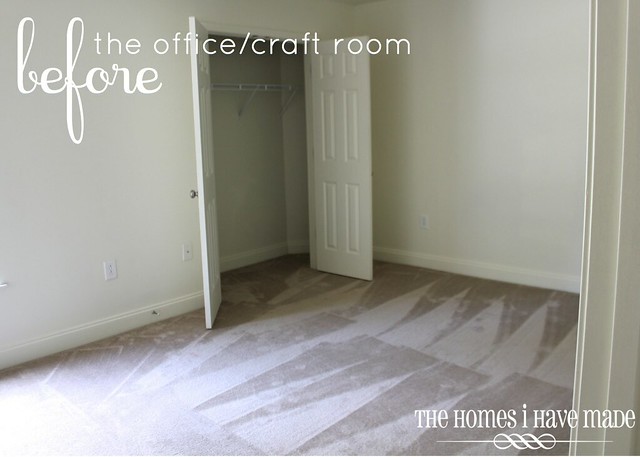
Moving down the hall, here’s a quick peak at the office/craft room before paint went up on the walls!
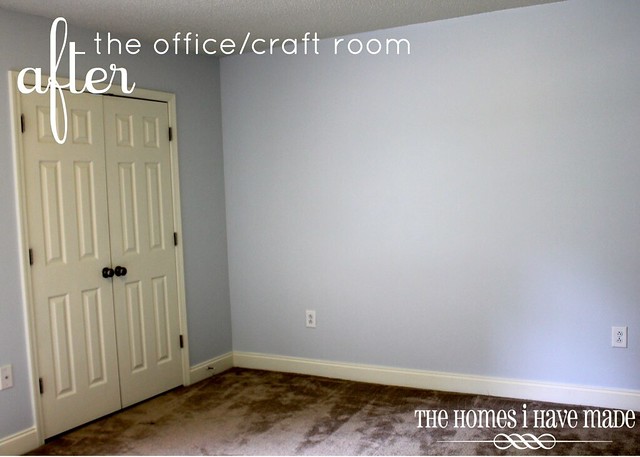
I am pretty proud to say that I painted this room all by myself during both the baby’s morning and afternoon naps. Even though it’s the same color as the light grey stripes in the family room, when all on its own, it has more of a blue tone to it. I am really enjoying this serene, calm, cool color in the office!
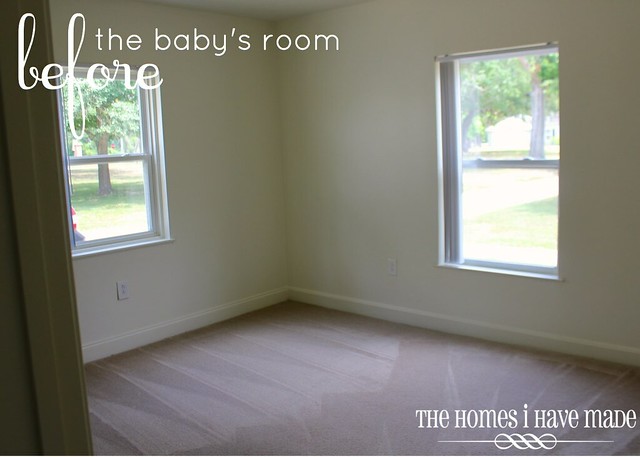
The other ambitious painting job was in the baby’s room. Here’s the before..
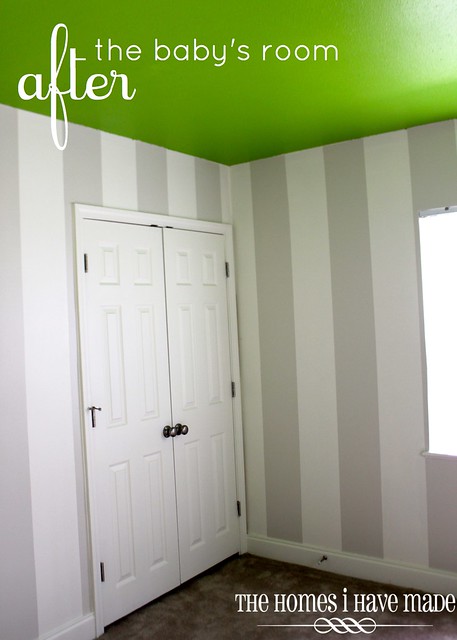
We started in this room by painting the celling green (two painful coats!). The next day, we taped out the vertical stripes directly onto the base coat already on the walls (Gull White). We then painted two coats of the Martha Stewart Sandpiper on the stripes, to achieve the subtle striped look. I love the neutral walls with the pop of color on the ceiling. It really brings a fun feel to the room without putting so much saturated color on the walls!
Last, but not least, is the master bedroom!
The master bedroom is a big room (although it doesn’t look like it!), and getting two coats of Martha’s Winter’s Day paint up took a lot of work! In the end, we were left with a very serene feeling in the bedroom. I am really excited to get our dark bedroom furniture and some crisp white linens in there to give it a spa-like feel!
So, there you have it! The results of our long four days of painting! What do you think? I am so excited about how everything turned out…it was worth all the taping, cleaning, painting, and extra trips back to Home Depot!
Next up, I am going to show you my Inspiration Boards for each room so you can see where I am going with all these paint choices! Thanks for coming by today!
See You Soon!
Megan
Megan











10 Comments on “Celings, Chair Rails, and Stripes, Oh My!”
I have been dying to do horizontal stripes! I'm gonna have to try and convince my hubby to let me!
Gorgeous! I especially love how the gray strips look, adjacent to that beautiful blue color of the dining room.
Hi! I'm stopping by from Positively Splendid today. Thanks for sharing the headband tutorial. Sounds like a great idea to tame my frizzies 🙂 Anyways, I'm just taking a peek around your blog. The green ceiling in the baby's room is awesome!!
Wow – what a marathon! Great work! I LOVE the bold dark color of the Navy dining room – I'll be bookmarking that color for potential future use!
That is a crazy painting marathon. It all looks so amazing! I'm a huge fan of gray, so your colors are right up my alley. Absolutely gorgeous job. Stopping by from Tater Tots and Jello
LOVE this! Hope you can link them up at my trendy tuesday party going on right now!! http://www.sweetlittlegals.com/2012/07/trendy-tuesday-10.html
Wow! So much work! (I really like the color of your master bedroom.) Wonderful job! Look forward to seeing them all decorated.
Man I feel your pain painting all of those stripes! I love them, though! I've only been brave enough to do a bathroom's worth! Navy wife here, never lived in housing….don't you have to paint it all back when you move? That would make me so sad. 🙁
http://www.VivaciouslyVintage.com
I love all your paint and you are so awesome for painting all those walls! We live in mil housing too and I just haven't gotten the courage to paint the walls knowing I have to paint them back!
Wow! I, too, live in the military housing in Eastern Carolina. Just moved, too! I have never felt brave enough to actually paint, but looking around I can see how much of a difference it could make. Our home has a lot of uneven ceiling, but you've inspired me to at least put some serious thought into painting! I don't know who posted your sandbox tutorial on facebook, but that's how I got here!