Modern Wood & White End Tables!
Do you ever find yourself working on a project, and you’re pretty certain you’re going in the right direction but just can’t see the end result in your mind? That’s how I felt about these end tables from start to finish! Thankfully, we WERE going in the right direction, and the end result is FABULOUS…but until they came together and were plopped into our new living room….I just wasn’t sure!
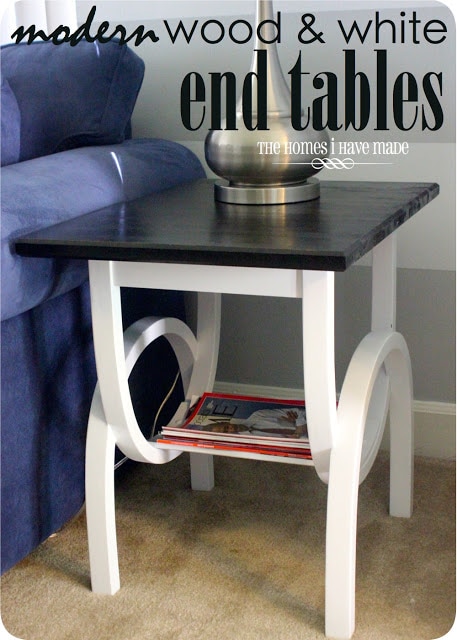
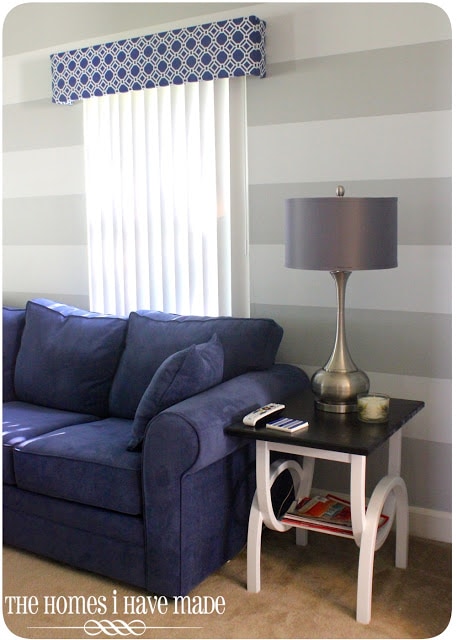
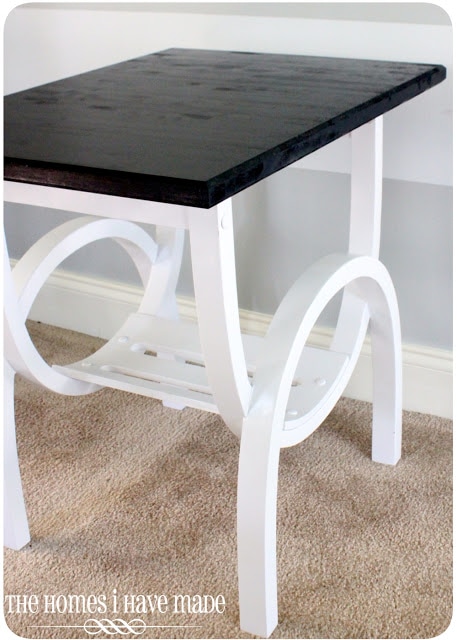
Meet our new, oh-so-curvy, and oh-so-cheap end tables….
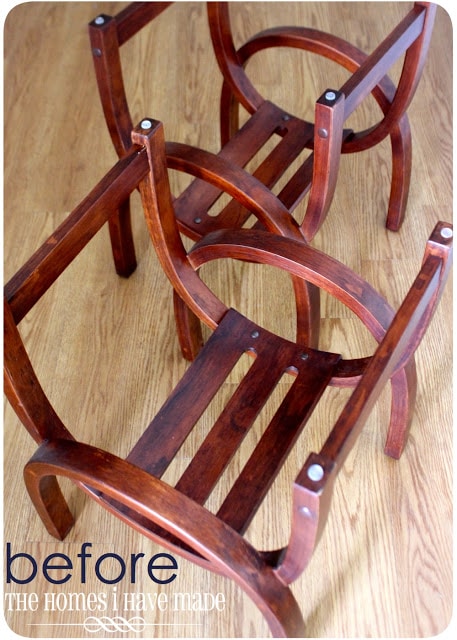
Here’s the quick backstory behind this project! You might remember that right before we moved, I scored these end table bases from one of those “Everything Must Go” closeout furniture stores. These were floor models and had glass tops, which I hated…both because they were ugly and because I have a young child (glass = not good!). Because “everything had to go,” I asked the sales clerk to sell me both bases for $75 total, and she agreed = SCORE!
I loved the round edges to these bases and knew they would look stunning painted bright white. The only conundrum I had was how to top the bases in order to make them…oh…you know…functional? Well…these bases sat in the garage for a month before we moved and then two months after we moved. Once we got our new pretty blue couch (oh, did I mention we got a new couch?!?)…the end tables became Priority Numero Uno!
After thinking of every complicated solution to our “top problem,” we decided that the simplest solution was the best. Let me show you exactly what we did!
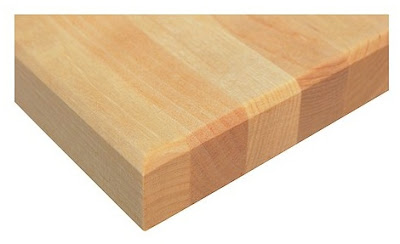
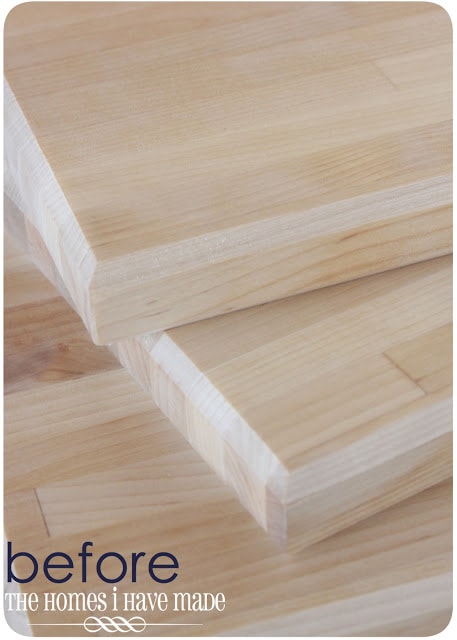
Somewhere along the way, I became fixated on the idea of butcher block tops to these tables. Not sure why, and I really wasn’t sure how I was going to pull that idea off! Butcher block is expensive and not-so-easy to find where I live. After doing some quick research (meaning: reading other blogs), I determined that IKEA had really affordable, unfinished butcher block counter tops.
(source)
However, you may recall that I mentioned here that our closest IKEA is 5+ hours away. Fortunately for us, my parents were planning a visit and their drive takes them right by an IKEA! Thankfully, they are awesome and didn’t mind stopping to do a little shopping for us!
We bought the 57″ slab for $80 (SCORE!), and Greg used our local wood shop to cut the slab into three equal pieces…each measures ~25″X19″. He even put these pretty mitered edges on each piece!
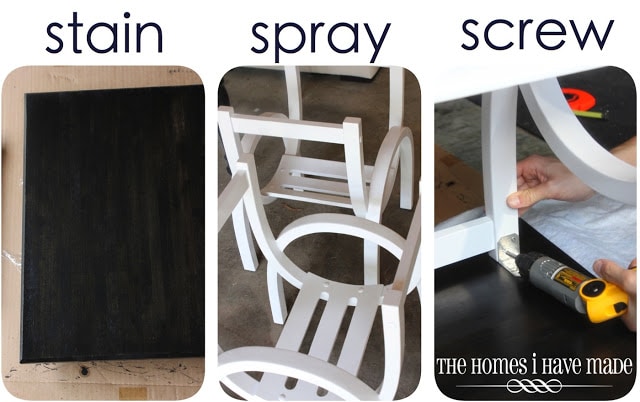
Once we had the tops figured out…getting the tables painted and assembled was actually pretty easy! All we did was stain the tops, spray the bases, and screw the two items together using basic L-brackets (leftover from this project!).
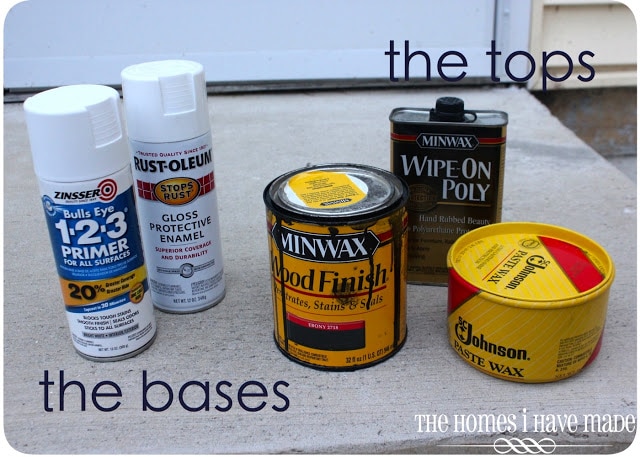
In case you’re wondering, here are the specifics:
The bases were each given 2 coats of the Zinsser 123 Primer with sanding and dusting in between; and then given 3 light coats of the Rust-Oleum Gloss White. At first I was really unsure about this version of Rust-Oleum (versus the Painter’s Touch), but am thrilled with the outcome. The bases now look high end lacquered!
The butcher block tops were given two light coats of ebony stain (yes, it killed us to cover up that pretty wood with the dark stain, but you can still see all the pretty patterns!). I then finished it off with some wipe-on poly, as well as extra furniture wax for added protection!
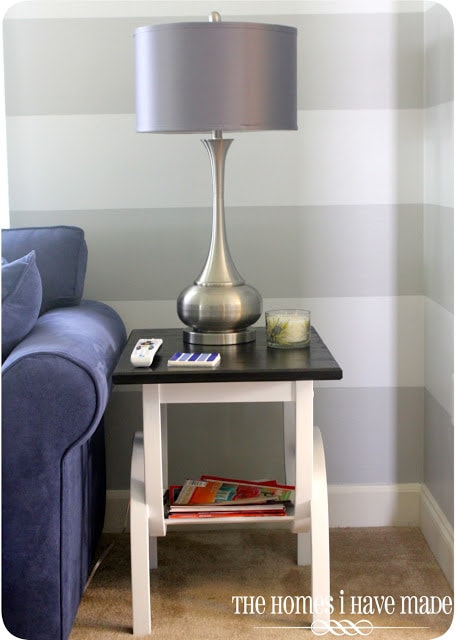
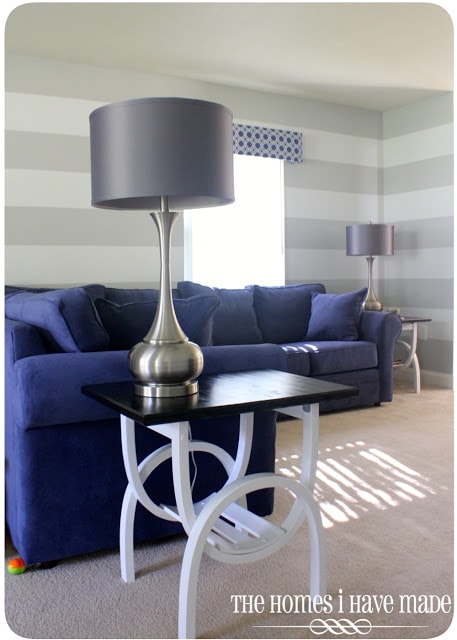
One of the big “cliffhangers” with this project was if both tables would make it into the room. We knew one would be perfect in the corner on the left end of the sectional. The other end of the sectional, however, hangs out in the middle of the floor. Thankfully, there is plenty of space between the wall and the table, so it fits for now. We’ll see how many times we run into it before we move it 🙂
By the way, what do you think of my GORGEOUS new lamps? Found them at HomeGoods for $50 a pop! I was super nervous about buying such dramatic lamps, but my girlfriends gave me a friendly nudge, and I went for it. I absolutely love the drama they bring the space!
(Oh, and don’t you love the weeble in the bottom left of the photo below? This is real life, people!)
Little by (very) little, our living room is coming together. This room was on major hold until our new couch arrived. With our striped walls, wild cornice boxes, cozy blue couch, and now some curvy new side tables…this room is finally starting to have some personality!
I am just thrilled with how these tables turned out. I was pretty excited about scoring the bases for so cheap, but was worried we wouldn’t be able to make them work out in the end! Not only do they work great it our space…but they were super thrifty! Each table cost about $65 plus the cost of paint…so probably about $75 each!
I’ve had a super jump in new followers over the past week or so, and just wanted to shout out a quick “hello” to all the new people coming around these parts! I’m so excited you found me and decided to follow along! Hope you continue to like what you see!
This weekend, I am putting the finishing touches on a new play “station” for my little one – I’ll have all the details for you Monday morning! Have a great weekend!
Megan





7 Comments on “Modern Wood & White End Tables!”
I love everything you have done in there. I haven't painted my living room in 5 years. We did it before my daughter's 10th birthday party and now she is going to be 15. I swear it was just yesterday! Anyways, since I've been reading your blog (at the most 6 months) you have painted so many times it's amazing. I have to admit I read about EVERY one of your houses. I just finished reading "The Great Santini" by Pat Conroy. If you don't know, it's about a Marine and his family. When I was reading the story I understood some of the jargon because of people like you and other blogs I have read. I really admire the family of service people and of course those in the service too. God Bless!
THese tables look fantastic! I love the lamps you have!
love those tables, the bases are so neat. good for you for asking to buy only them.
Do you sand your wood before priming? Thanks!!
Hi! Do you sand your wood before priming? ie these tables or the dresser you used for the entertainment center? Thanks!
Hi Anne!
The answer is yes and no! If I am painting the wood pieces (i.e., the bases to these end tables and the base to the dresser-ti-tv stand), then NO, I don't sand. I used all bonding primer that doesn't require sanding. If I am going to stain the wood, however, like the tops to these tables and the top of the tv stand, then YES, I sand the current stain/finish off down to the bare wood and start fresh.
Hope that helps!
Do you sand your wood before priming? Thanks!!