How to (Affordably) Store Craft Paper on IKEA Kallax Shelves
I have long loved IKEA Kallax shelves for storing and organizing everything in my craft room. But when it comes to craft paper storage, the 13″x13″ open cubbies have always proved challenging. I’ve seen lots of clever shelves, dividers, and hacks over the years; but many of them are incredibly expensive or just not practical for the casual crafter. When I recently discovered some 12×12″ plastic storage cases, I knew I had a cardstock storage solution that was not just budget-friendly but easy, stylish, and functional too! Let me show you my (new) favorite way to store craft papers on IKEA shelving!
My Craft Paper Storage | Before & After
One of the best things about the IKEA Kallax shelving units are their big, spacious cubbies. Measuring 13″x13″x16,” these cube shelves offer ample space for a wide variety of bulky household items including toys, clothes, dishes, books, and craft supplies!
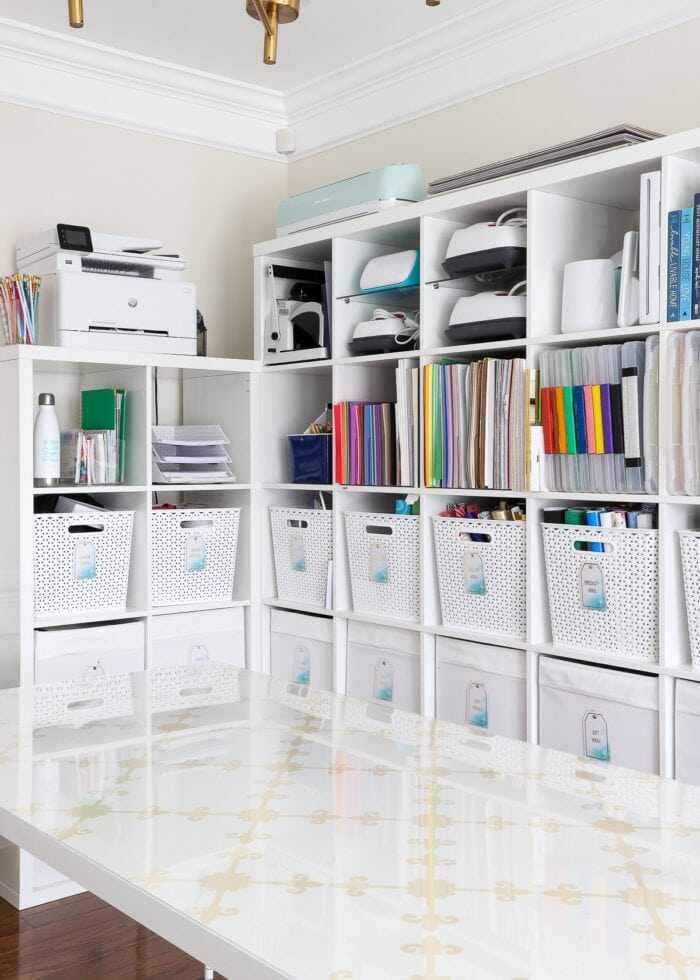
But that large, vacuous space doesn’t provide much structure for craft paper storage such as cardstock, paper pads, scrapbook paper, etc. Without some sort of trays, dividers, file boxes, storage cases, or paper organizer, there just isn’t really a way to store craft paper in a useable way.
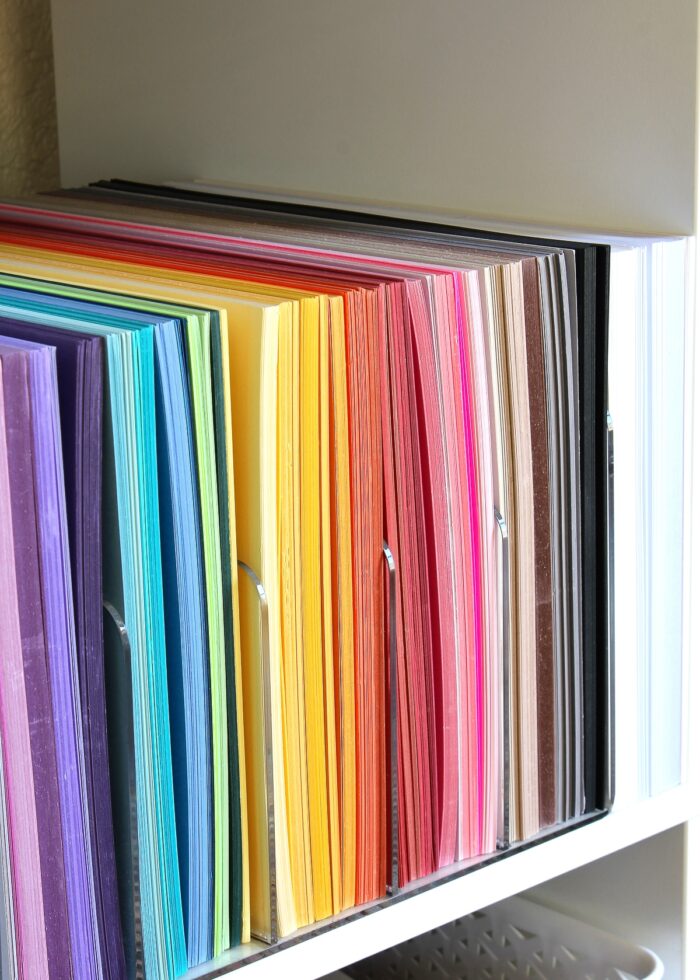
For a very long time, I have relied on simple acrylic dividers to keep all my craft paper organized on IKEA Kallax shelves. These sturdy and subtle dividers are just enough to keep cardstock color sorted, upright, and easy to get out. If you are looking for a truly budget solution, this one is indeed a great one to consider.
In recent months though, I found myself looking for an alternative because:
- Storing paper vertically works really well when you have a lot of paper to keep it perfectly up-right. But smaller collections/colors can start to bend and warp over time (especially the 12×12″ size). I recently decluttered my paper stash significantly and wanted something that would better protect the smaller amounts of paper.
- As I purged my paper, I noticed there was quite a bit of fading on the edges of some cardstock from sun exposure. Not enough that the paper was unusable, but definitely noticeable.
- The vertical storage made it difficult to peruse color options. I’d often have to pull an entire stack of one color out just to see the various shades I had on hand (and how much of it).
- Similarly, the vertical storage made it challenging to put (un-used) paper back in the right slots. Just as librarians don’t like people replacing books, it was often too tedious to figure out where an exact shade should go back. As a result, the paper (while sorted by overall color) became a bit of a jumbled mess over time.
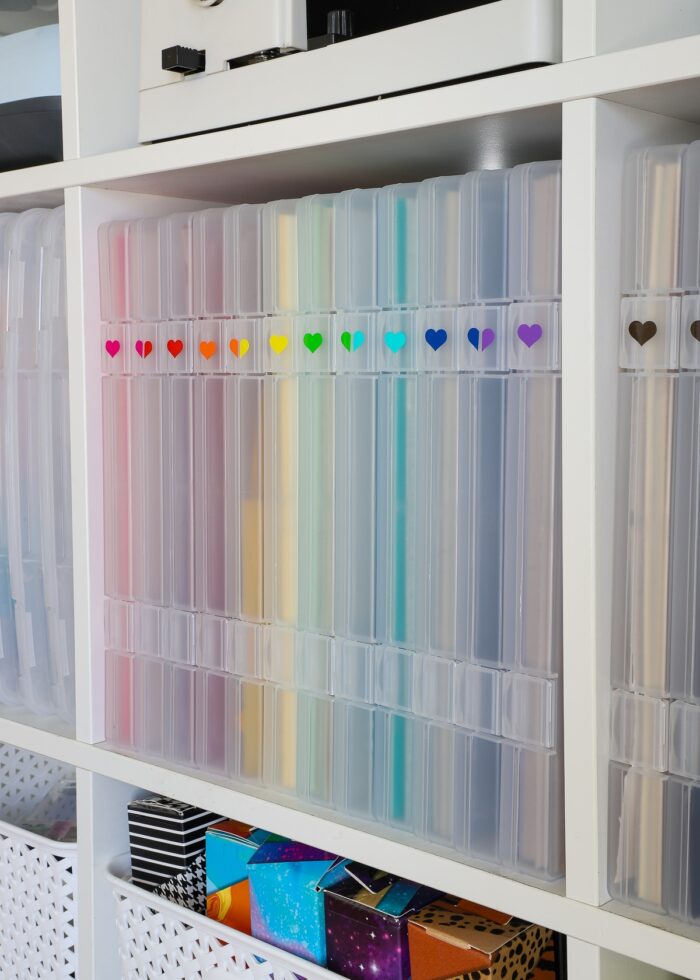
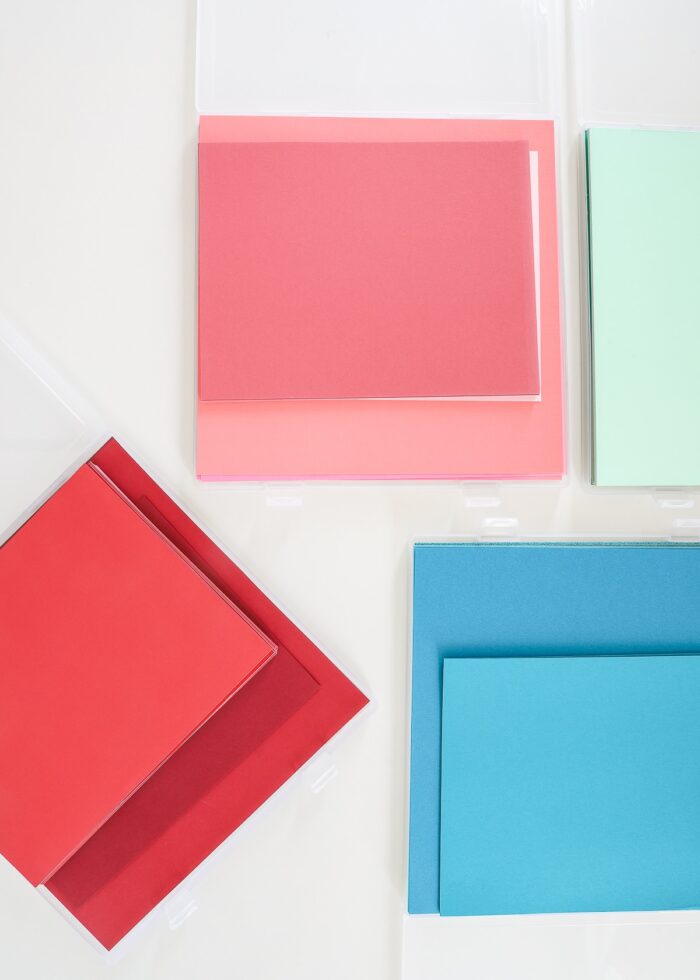
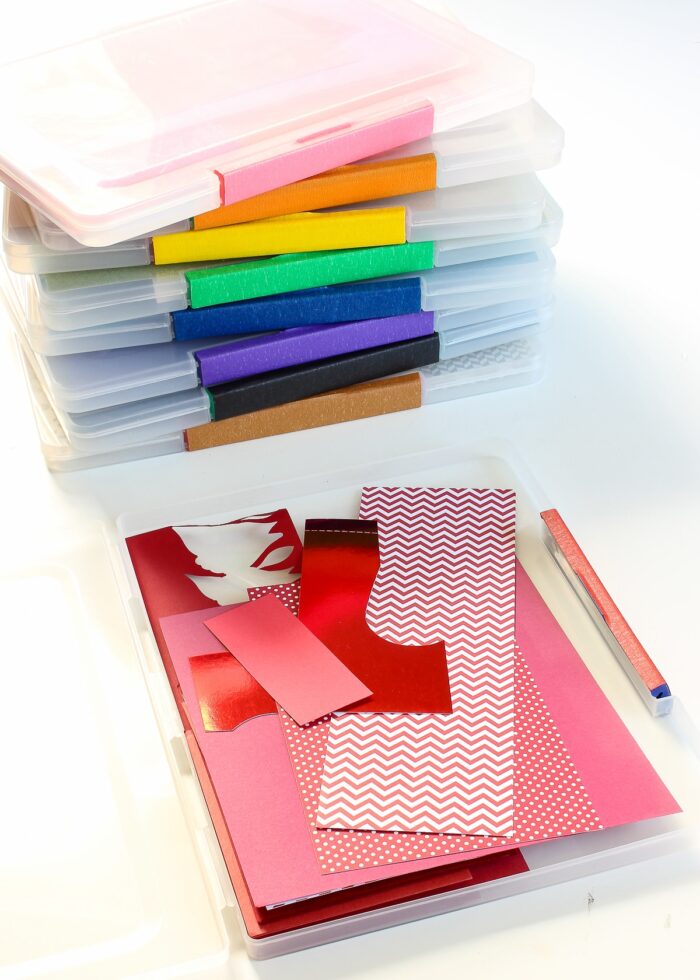
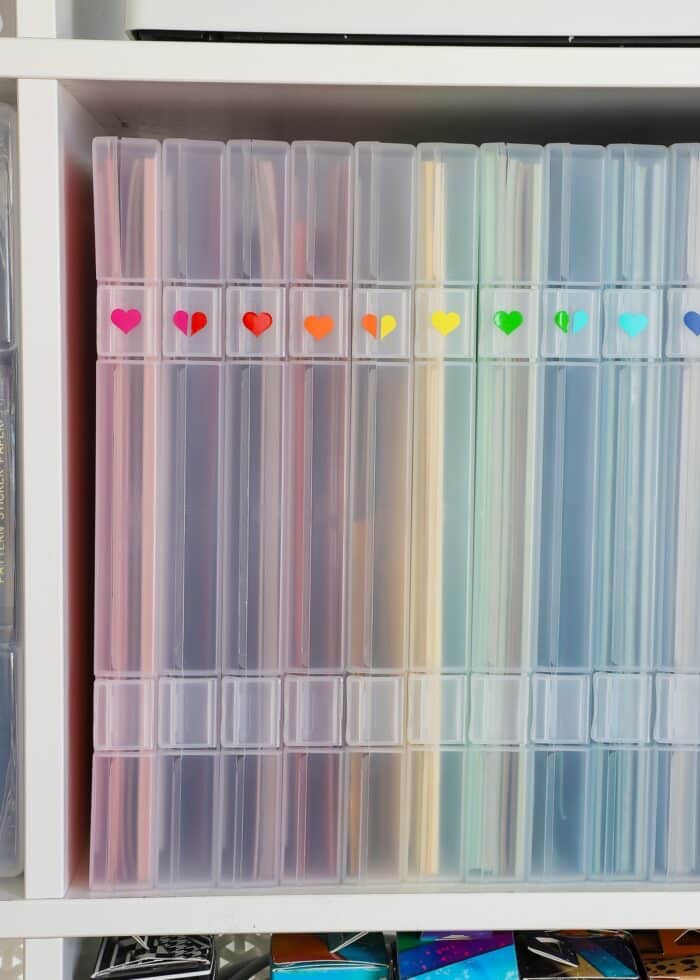
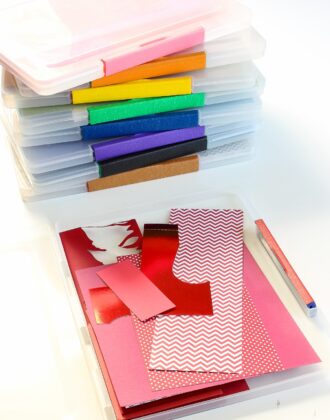
After weighing lots of options, I ultimately decided to store my paper in these new-to-me 12×12″ storage boxes.
Not only do I love that each color of paper is sorted into an individual, easy-to-grab box, but these boxes also perfectly fit inside the IKEA Kallax cubbies.
This solution has turned out to be easy, functional, and so pretty to look at! Let me break everything down for you in more detail.

Why I Prefer Plastic Boxes for Craft Paper Storage
Pros
Cost
If you look up craft paper storage options for the IKEA Kallax, most of the results will feature this 12-slot paper storage organizer. While these very short individual compartments are indeed ideal for cardstock storage (and are soooooo pretty to look at), I just couldn’t justify the steep cost of $100+ for a single cubby’s worth of shelves.
While not inexpensive, the plastic boxes priced out to about $80/cubby for a bit more storage space.
Ease of Use
Further, while I do use cardstock quite a bit, I just don’t need super quick-and-convenient access to my paper like those shelf inserts would provide.
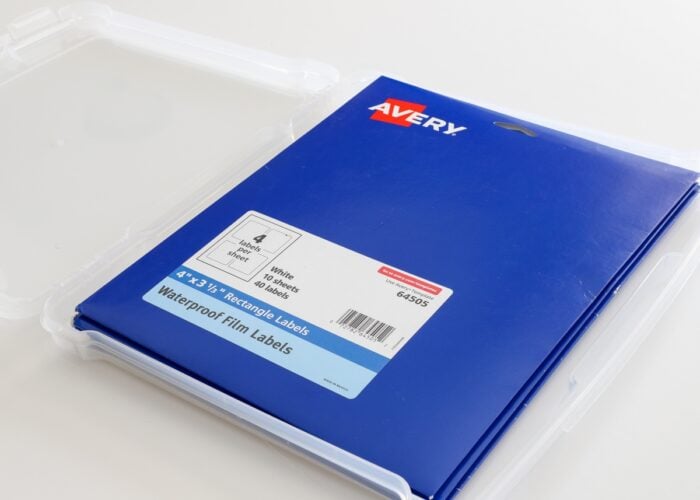
A long time ago, I moved both my paper scraps and my printable papers (like all my Avery papers) to clear cases; and I have truly loved being able to pull out the box I need, peruse my paper options, and easily close it all back up and replace it on the shelf with ease.
Smooth Moving
Every time we move, all of my cardstock is loaded into a big box, tousled about during transit, and then dumped out at our new home (keep in mind, we typically use professional movers instead of packing/unpacking boxes ourselves). Not only do I end up with quite a bit of crumpled paper, but it’s always a huge pain to sort through it all, tidy it all up, and get it back on a shelf.
Now with all my paper neatly tucked away into boxes, my paper should stay safe through our moves and unpacking it should be fairly seamless. This clearly isn’t a concern for most households; but if you too are a military family or someone who moves a lot, storing your supplies in easily-movable ways can be a sanity saver!
Cons
That said, plastic boxes might not be the best solution for you. Here are some cons to keep in mind:
- If you craft with paper heavily, you might do better with the easy accessibility of open shelves or drawers. Constantly opening and closing boxes could prove tedious.
- If you stock paper in large stacks by color and need to keep many shades separated, plastic boxes might not be able to give you enough room for delineation.
- If you have a lot of cardstock, these particular boxes are only 1″ deep. Finding thicker boxes that can still fit on cubbies/shelves can prove fruitless.
Products Featured
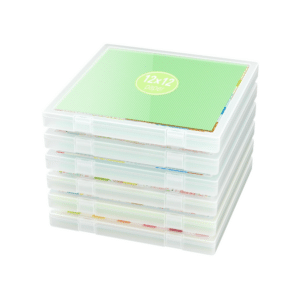
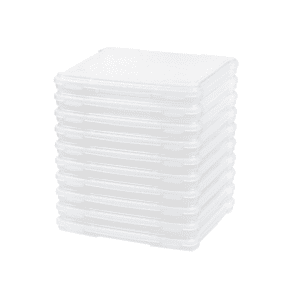
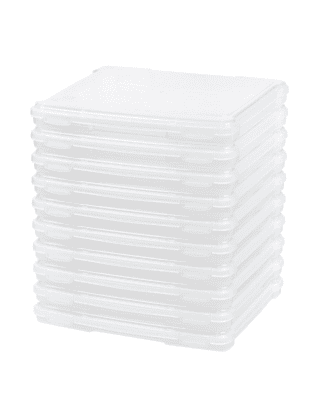
Craft Paper Storage Boxes
These sturdy boxes are ideal for storing 12×12″ sheets of paper (or smaller). The stand up on their own and fit nicely within 13″ square cubby shelves.
IRIS Thin Plastic Document Boxes
These document boxes are excellent for holding 8.5×11″ paper. This is my favorite way to store packages of specialty papers such as printable vinyl, Avery labels, etc.
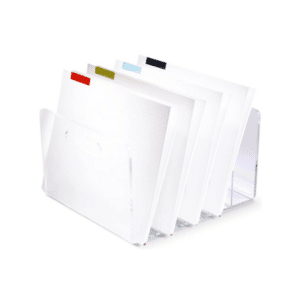
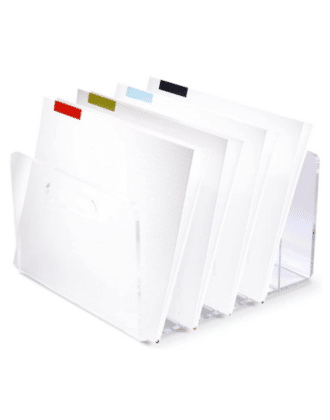
Acrylic File Divider
These dividers are sleek, sturdy, and stylish. I love using them to hold 8.5×11″ sheets of cardstock in an inexpensive and user-friendly way.
Video
If you’d like to watch me organize and store all my craft paper into boxes for my IKEA Kallax units, watch the short video tutorial below. (Video not loading for you? Watch it HERE.)
How to Store Craft Paper On IKEA Kallax Shelves with Plastic Boxes
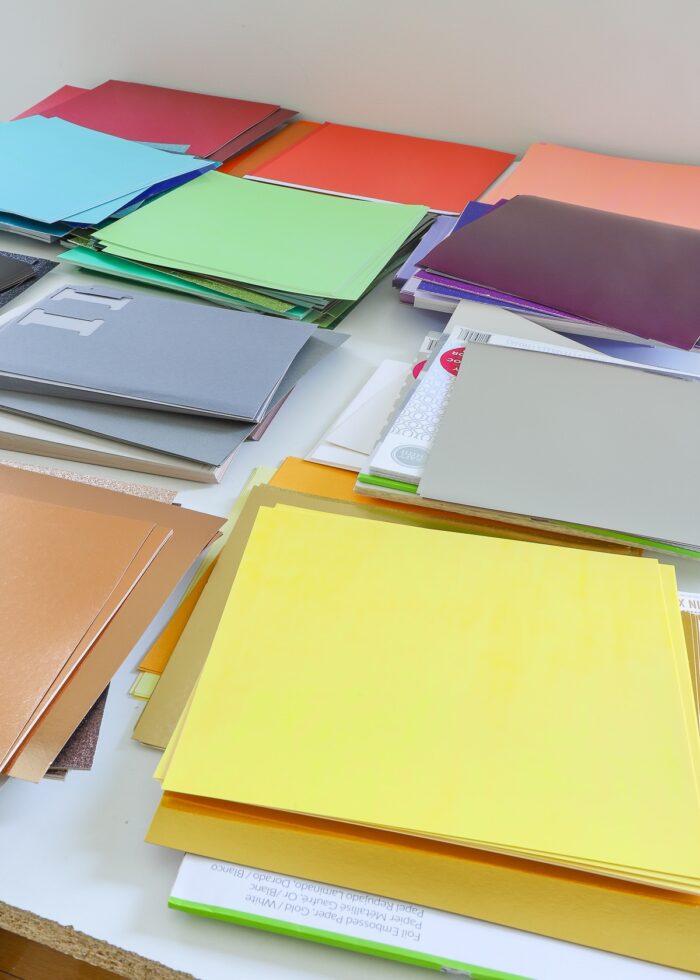
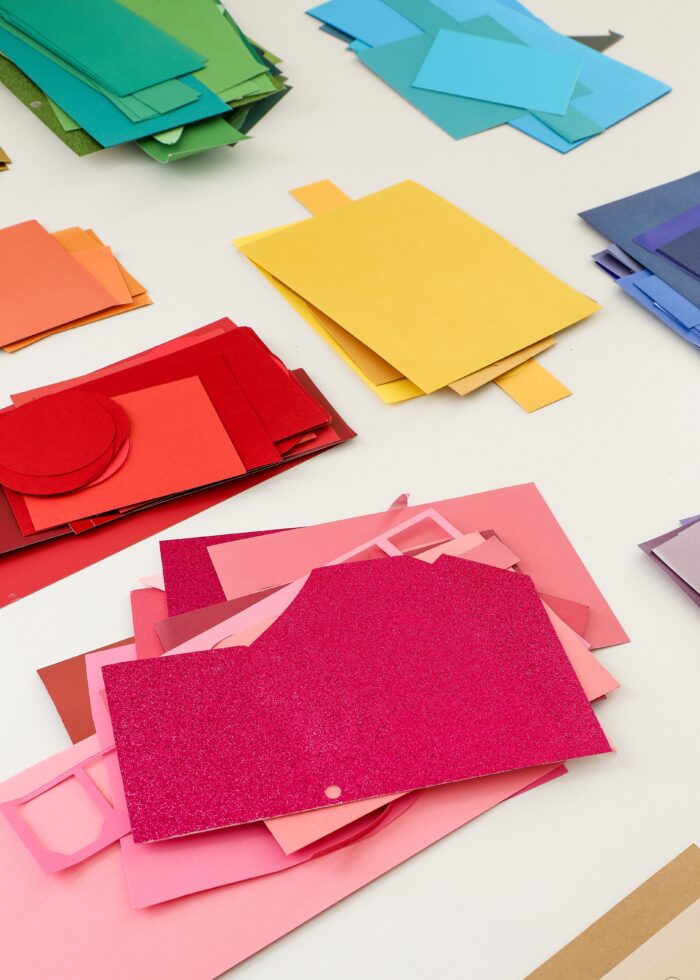
Step 1 – Sort Craft Paper Into Color Groups
Start by pulling out all your craft paper and sorting it into main color groups (e.g., reds, oranges, yellows, etc). As you sort, pay attention to what colors can be combined (e.g., browns with bronzes) and which colors might do better separated out (e.g., yellows and golds). This will very much depend on how much you have of each color and what colors you tend to use/stock most.
Want to save this post?
Once you’ve determined how many color stacks you have, order enough storage boxes accordingly.
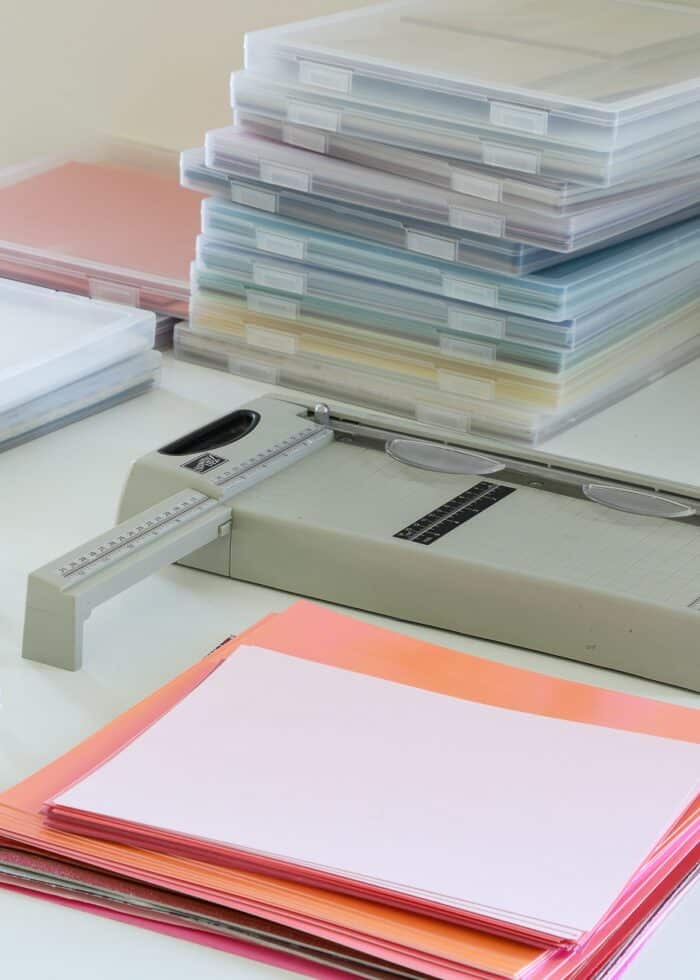
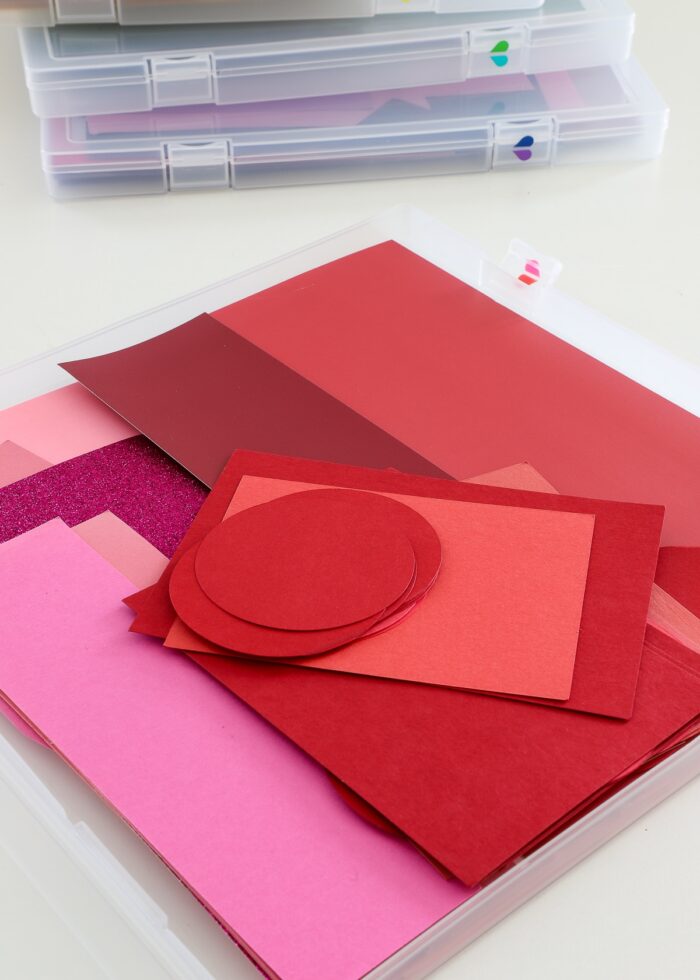
Step 2 – Load Craft Paper Into Boxes By Color
Next, load each color grouping into a dedicated plastic box, purging papers that are damaged, unusable, or out-of-style as you go.
These boxes will not hold anything bigger than 12″x12″ paper, so if your paper has an extra edge (like from paper packs or branding), you’ll need to trim it down.
NOTE: In an effort to streamline both my craft space and my actual crafting, I opted to load 8.5″x11″ and 12″x12″ craft paper into a single color box (as well as all textures: glitter, glossy, metallic, etc). When I need pink paper, I like being able to see all my options in one spot, at one time. This is a personal choice; and if you want/need to split your sizes, you’ll likely need more boxes.
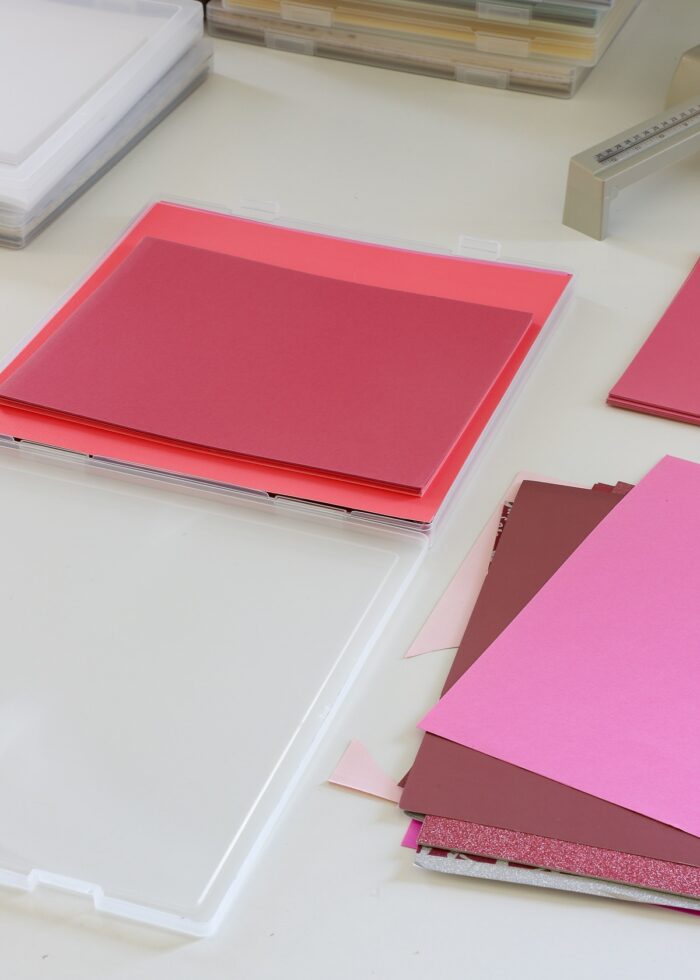
I want to point out that I’m super impressed with these 12×12″ boxes: their sturdiness, their latches, etc. But they are slim. Each box holds ~50-70 sheets of cardstock (depending on thickness). This meant I had to substantially declutter my stash. Truth be told, I very much needed to get rid of paper I’ve had for years (and have clearly never used); and I just don’t need to store more paper than this.
So while I very much like that these boxes force me to keep my stash in check, if you keep a lot of paper on hand or tend to buy large stacks/pads regularly, these boxes can’t hold really large supplies.
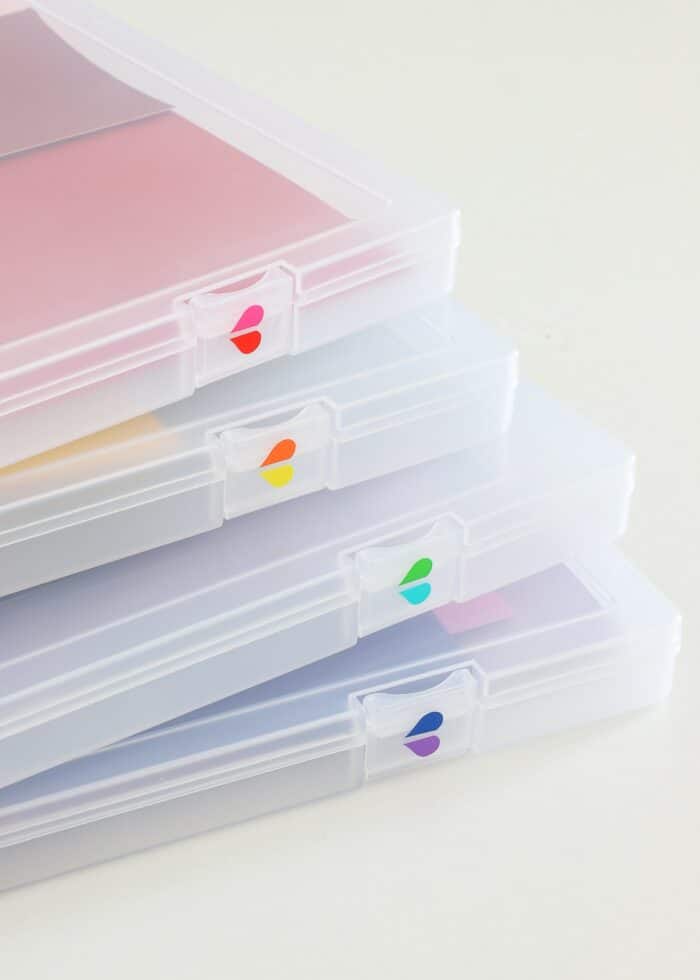
Step 3 – Create Color-Coded Labels
Although these boxes are clear, they aren’t opaque and differentiating colors isn’t as quick and easy as you might expect. As such, you’ll want to add some sort of label to the outside of the boxes.
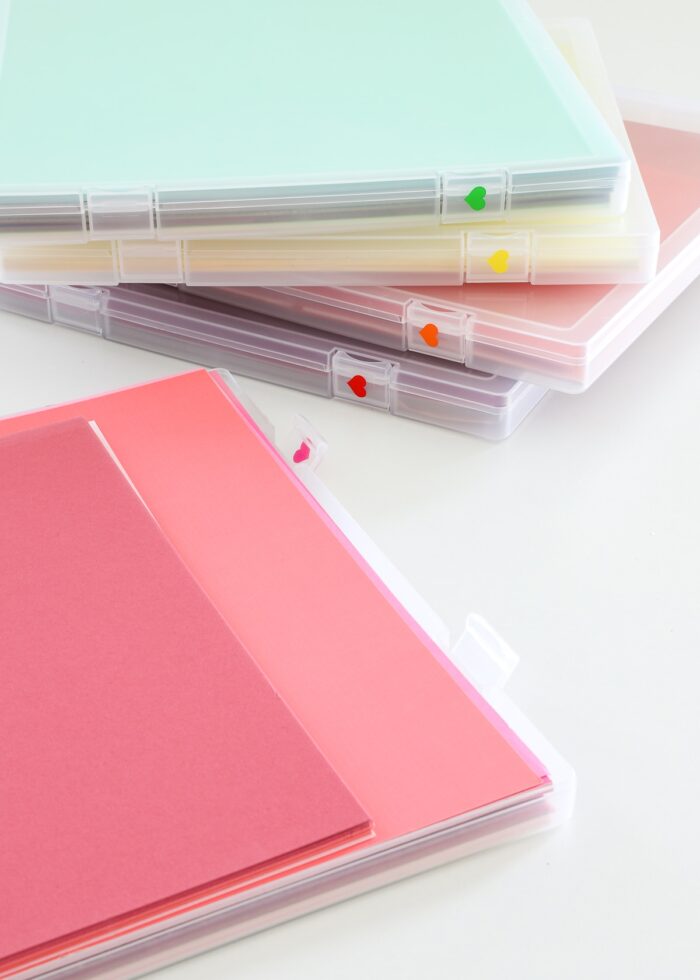
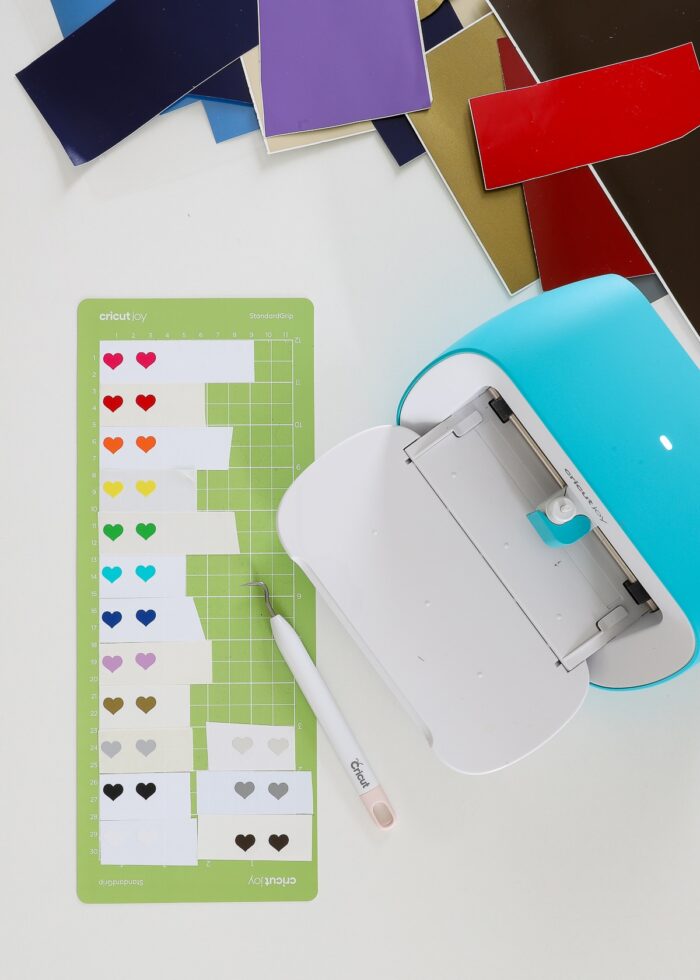
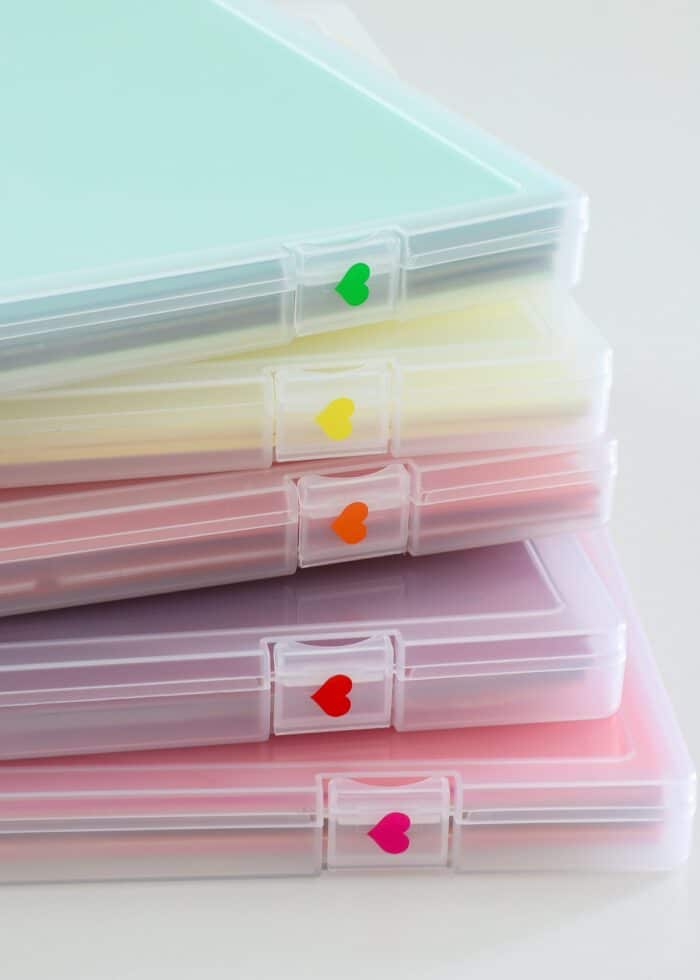
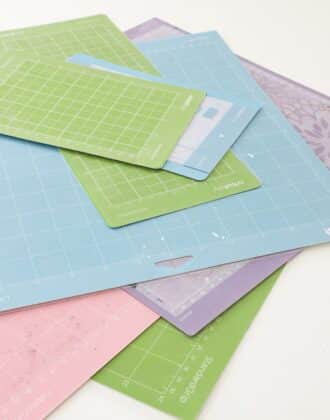
After considering lots of different labeling options, I ultimately determined a quick vinyl shape in the matching color would be the easiest and most intuitive. I used this cutting mat hack with different colored vinyls to quickly cut a bunch of heart stickers for my boxes.
Step 4 – Repeat with Craft Paper Scraps
If you keep paper scraps, I recommend organizing and storing them in a similar system. I’ve long had my paper scraps sorted by color in plastic document boxes. See more here: How to Store Scrapbook Paper Scraps
In an effort to streamline my craft paper storage even more, I purged down my scraps and loaded them into the same boxes…this time 2 colors/box.
I used the same labeling convention, this time splitting the hearts to indicate which colors are contained within.
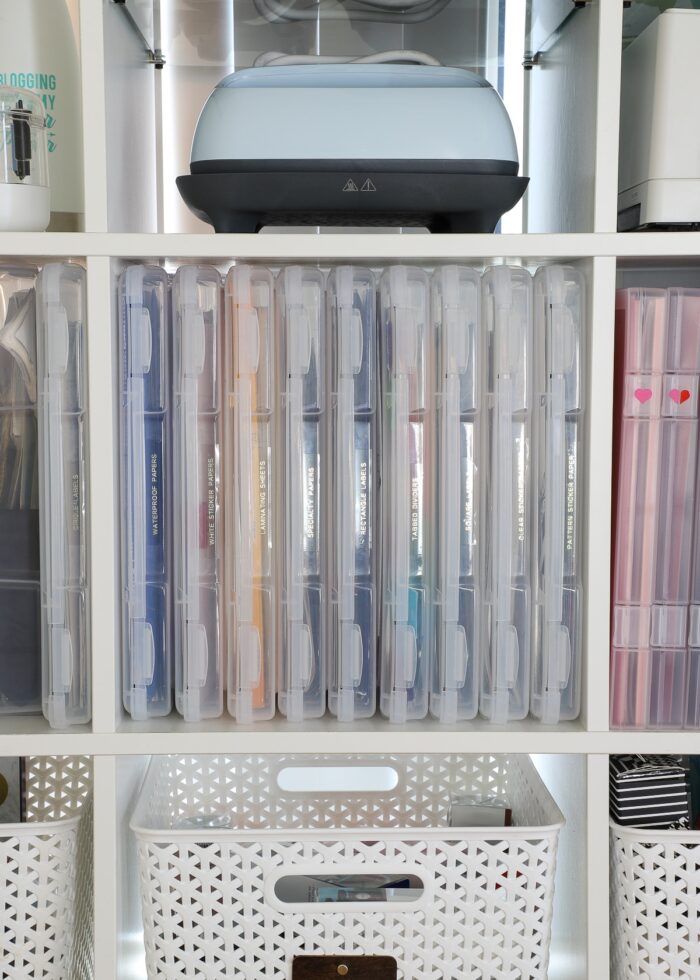
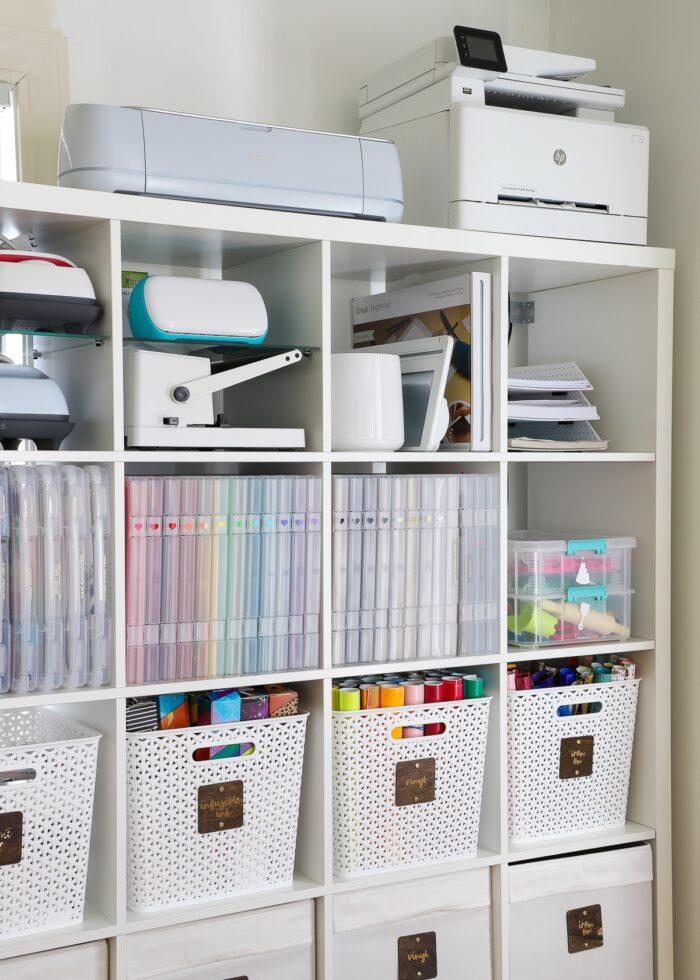
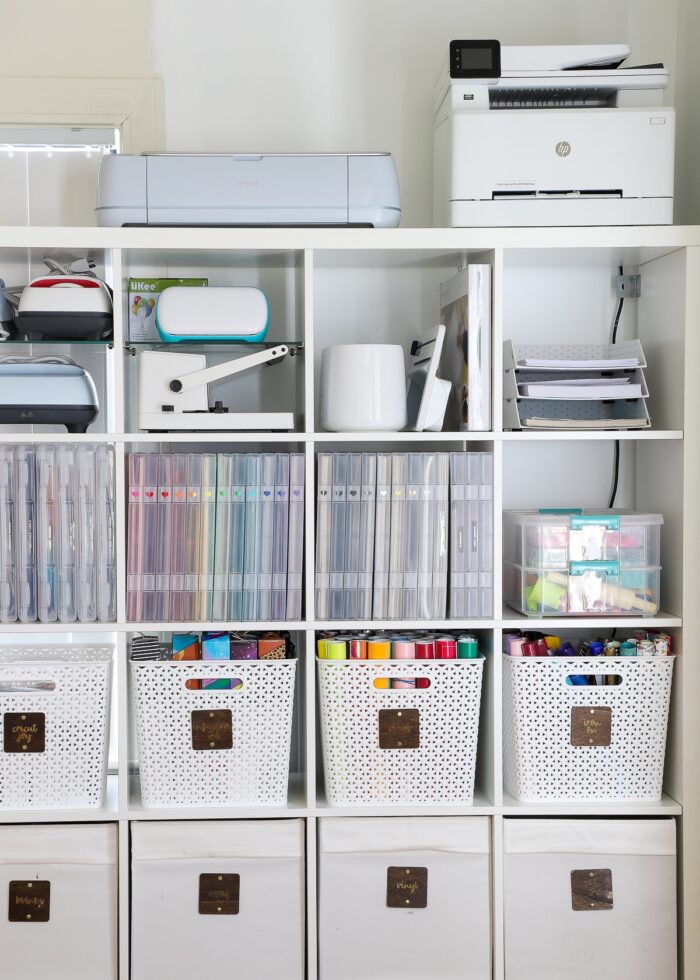
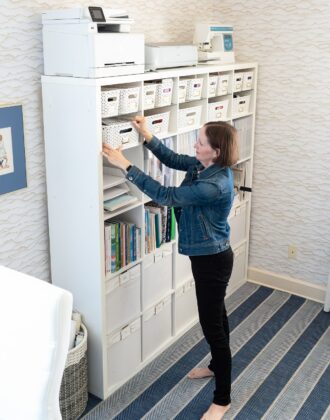
Step 5 – Load Paper Storage Boxes into IKEA Kallax Cubbies (Or Other Shelf)
Your craft paper storage is now all done and you can load the boxes into an IKEA Kallax cubby or other shelf.
While you can stack these boxes horizontally to keep your paper flat, they will be much easier to get in/out if they are stood up on their sides like books.
If your boxes are full, you won’t need to worry about paper bending or warping over time.
What was over 3 full cubbies of craft paper is now two Kallax cubbies outfitted with 24 paper boxes. While 20 of the boxes hold all of my cardstock (scraps, glitter, foil, Kraft…all of it), the final boxes are storing chipboard, Cricut foiling sheets, and vinyl scraps.
Other Craft Storage Solutions I Love
I pride myself on finding craft storage solutions that look good and work great too. Here are some other favorites for you to check out!
- Easy Sewing Machine Feet Storage Solution
- How Best to Store Craft Paper of ALL Shapes & Sizes
- How to Store Scrapbook Paper Scraps
- Easy & Practical Ideas for Storing Vinyl Rolls
- A Perler Bead Storage Solution That Works!
- An Easy (& Clever!) Way to Store Kinetic Sand
- How to Store All Your Cricut Supplies
- The Best (& Easiest) Way to Store Cricut Mats
- How to Organize Ribbon | My Favorite Solutions!
- How to Store Wrapping Paper (& All Your Gift Wrap Supplies!)
- How to Organize Sewing Thread
- How Best to Store & Organize Fabric
- How to Deflate Mylar Balloons (So You Can Save Them)
- I Downsized My Craft Room – Here’s How!
I can’t tell you how excited I am to now have all of my craft papers purged, sorted, and tidied into this single, compact spot. I love craft supplies, but I have to remember that more is not always better. While it’s nice to have lots of options when you’re making a project, more supplies also means more space to store it and more time sifting through it all. My paper crafting has become so much more efficient with this box solution…and if you store your craft supplies in an IKEA Kallax too, it’s definitely a great option to consider!
Megan


3 Comments on “How to (Affordably) Store Craft Paper on IKEA Kallax Shelves”
Thank you for your informative post. It is hard to craft when your supplies are not stored properly, especially if you also have mixed media projects. How do you store ink pads, alcohol inks, acrylic paints? Happy crafting. Irene
I love finding great storage solutions for my Kallax cubes! These boxes look a lot nicer than the 12×12 plastic cases I have been using for my kits that I get at Hobby Lobby. I also use the Iris cases you showed & they are great.
For general storage of scrapbook supplies, I have loved using the Simply Tidy 13″x6.5″ clear bins from Michaels. They hold all my paper, paper pads, metal dies (in 5×7 pockets on magnet sheets), embossing folders, stamps, sticker packs, and sticker pads. I can fit two in each cube, and easily pull out to take to my work surface. I also have acrylic drawers from Target: Brightroom 3 Drawer 12.25″x9″. Inside is less than 12″ but they work great for stickers, ephemera, and other items, with room to store things on top within the cubes.
Love this! Thank you for sharing these great storage ideas.