Our Virginia Home Office & Craft Room Reveal
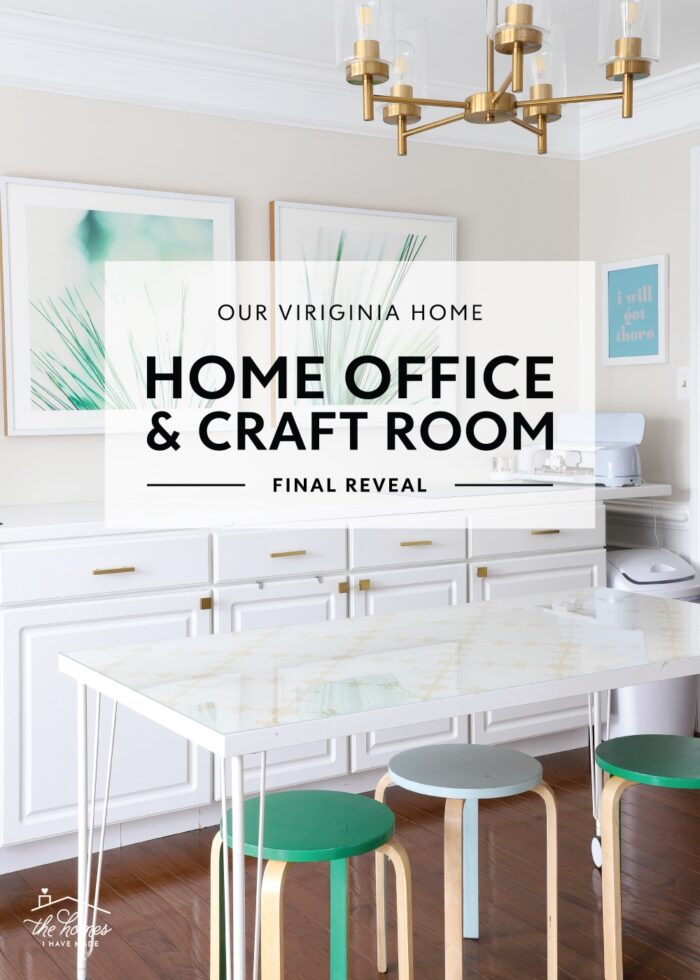
I’m so excited to give you the full “final” tour of our Home Office and Craft Room today! I use the term “our” very intentionally here. While this room is very much my office and crafting space, it is used heavily by the entire family. It is here where I create every project and write every word you see on the blog; but it’s also where we make Pinewood Derby cars, work through math homework, and play with kinetic sand. This room is as functional as it is beautiful, and has been one of the hardest-working rooms in our entire home. I can’t wait to show you around!
Before
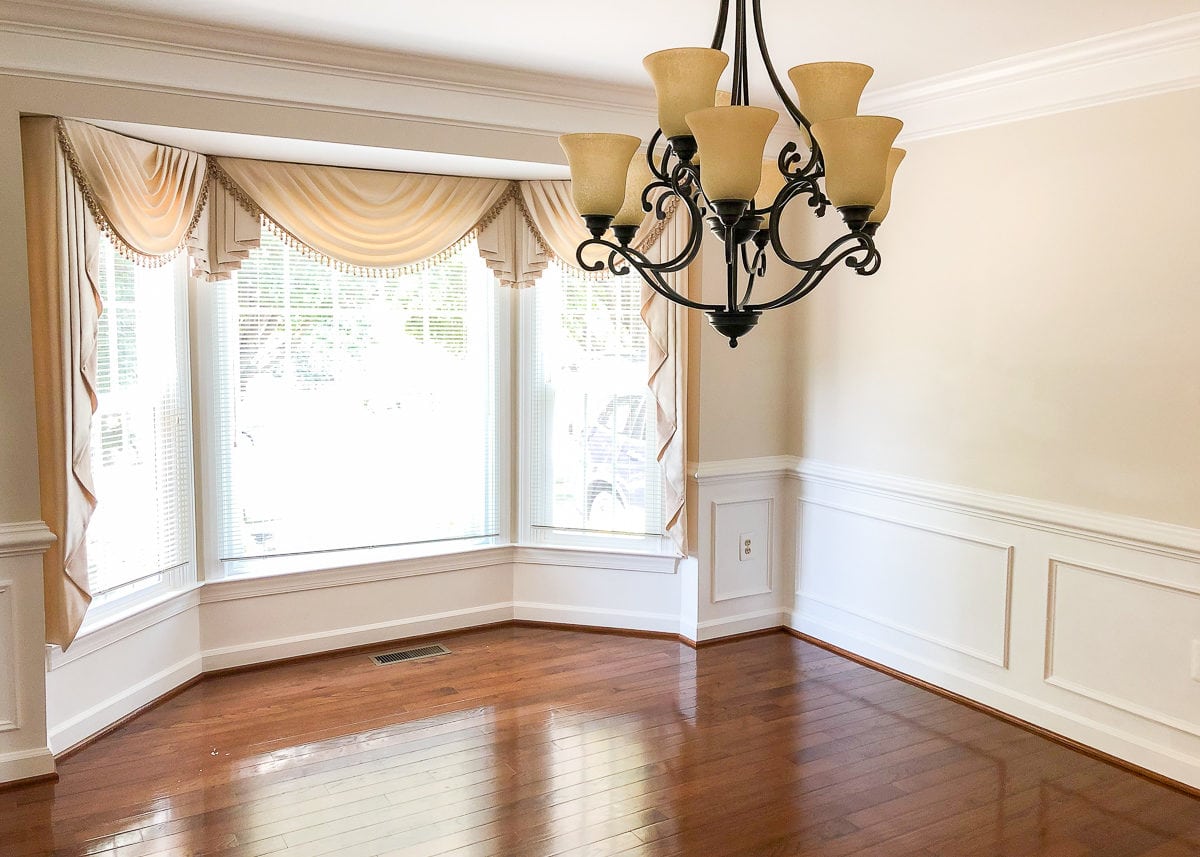
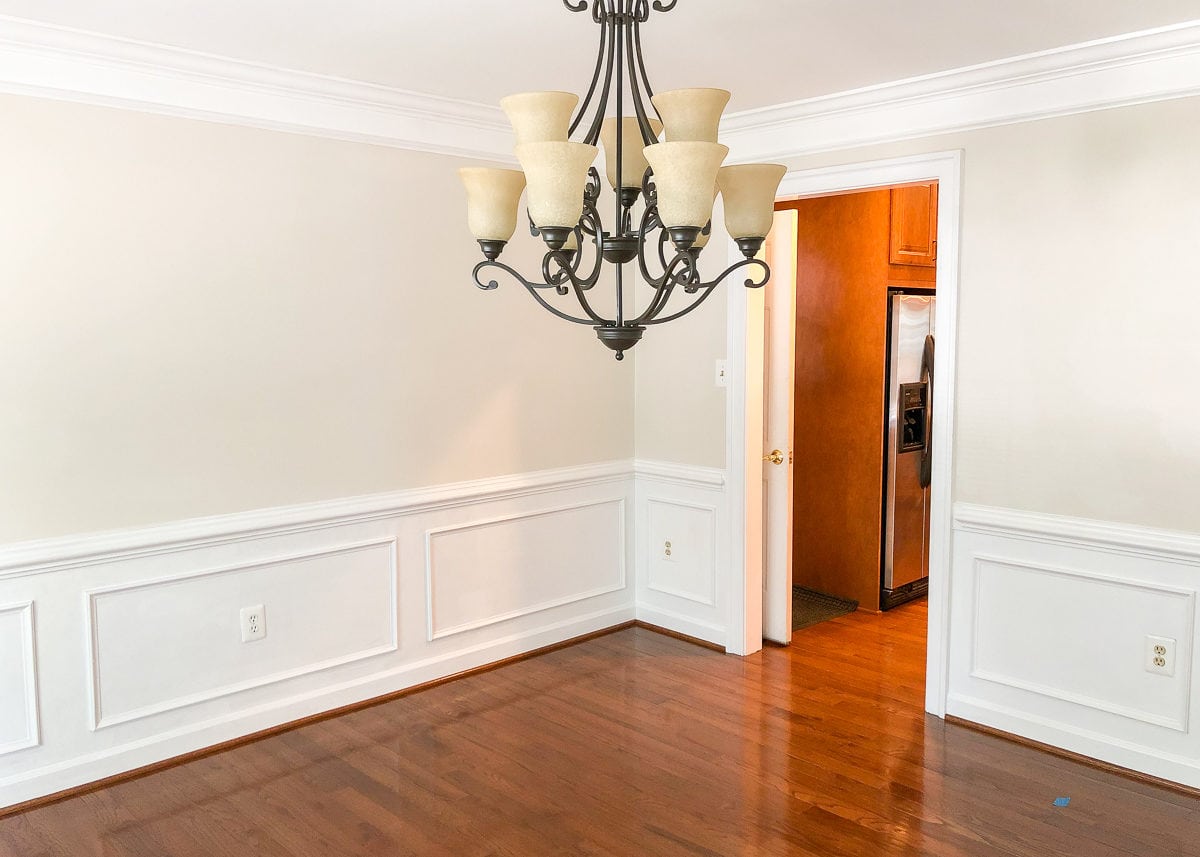
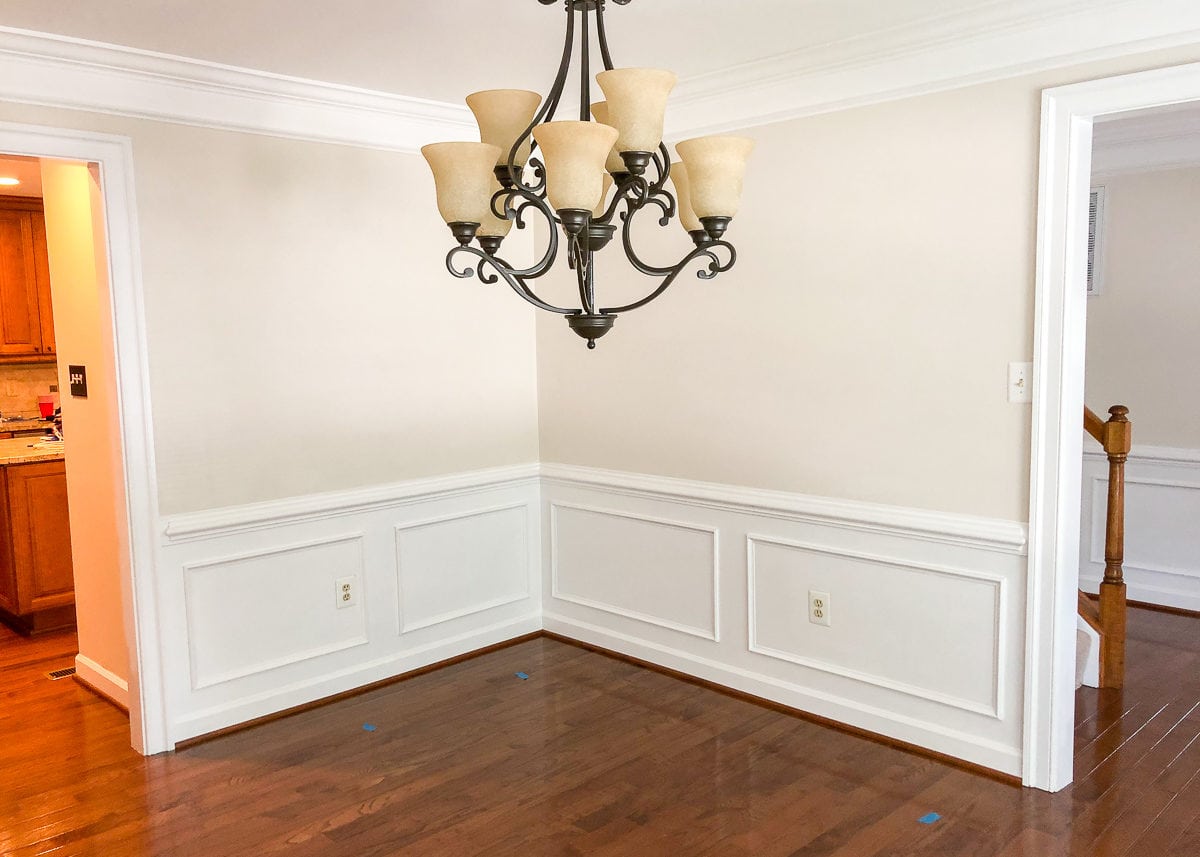
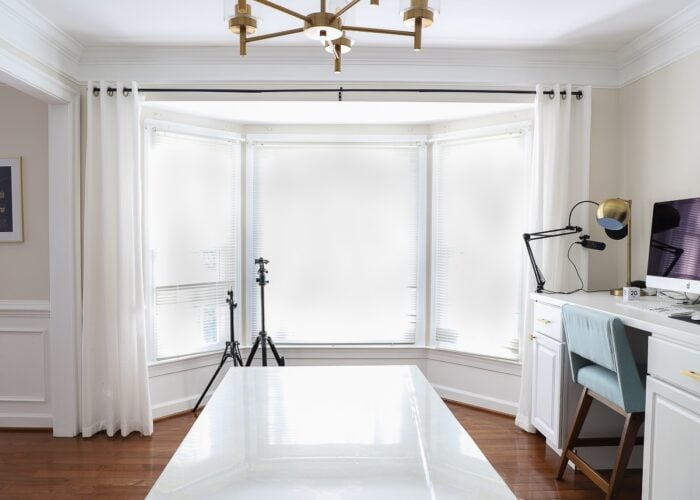
This room is actually the formal dining room in our traditional two-story rental home. It is situated immediately to the left as you walk into the foyer from the front door; and its large bay window looks out over the front yard. You can pass through this room directly into the kitchen via the rear doorway.
The room is painted the same light beige as the rest of the house, with prominent crown moulding, chair rail, and decorative trim contrasted in bright white. When we first moved in, it was outfitted with dramatic custom window treatments and an oversized light fixture.
After
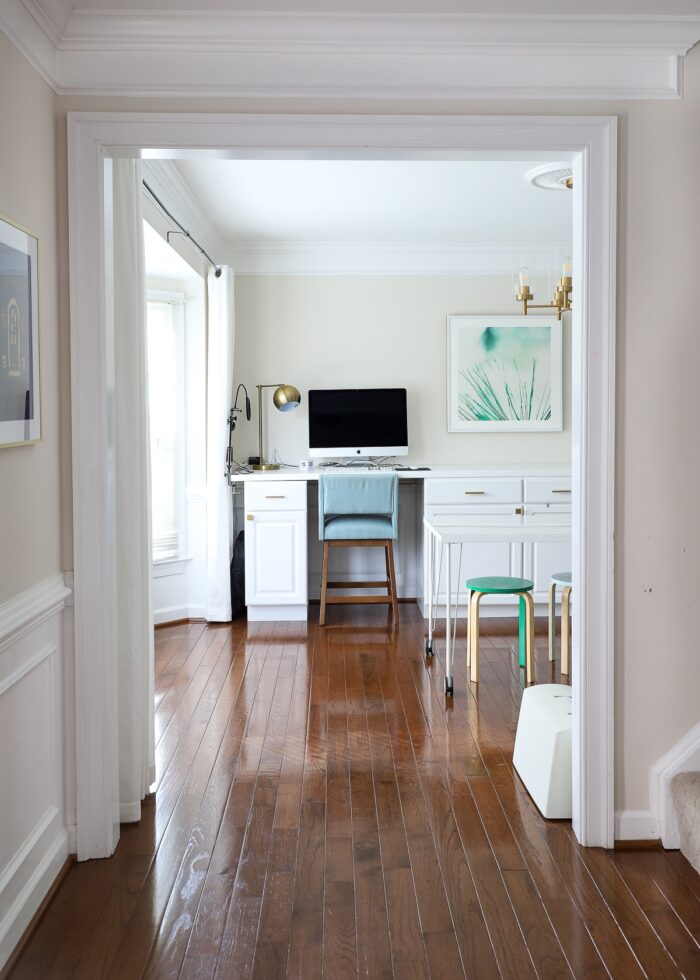
In terms of a “makeover,” we actually didn’t do much to this room. In fact, we removed more than we added! We took down the ornate window treatments and replaced them with crisp white drapes; and swapped the massive ugly light fixture for one that was much cleaner and more size appropriate. The rest of the style and function of this space was created through smart and really hard-working furniture, mostly from IKEA.
Come on in and have a look around!
I’m going to dive in deep to each area and show you why and how this room works so well for us, starting with my favorite corner not just in this room but in the entire house…
Video Tour
Before I give you the full tour in pictures, below is a video tour of this completed room. The short video gives you a good sense of how and where everything fits together. Video not loading for you? You can watch it HERE.
Craft Storage on IKEA Kallax Shelving
As much as I loved the decorative wall treatment in this formal dining room, we had no choice but to cover it all up with storage. Since this is a dining room, there are no closets or built-in bookcases. We had to rely on free-standing units to hold all my craft and business supplies.
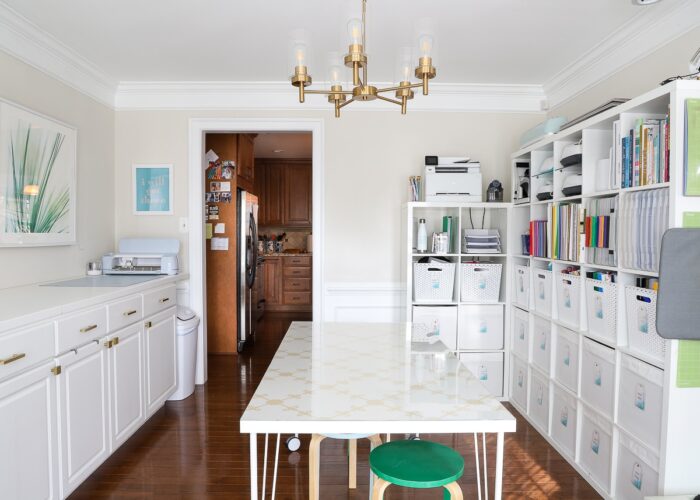
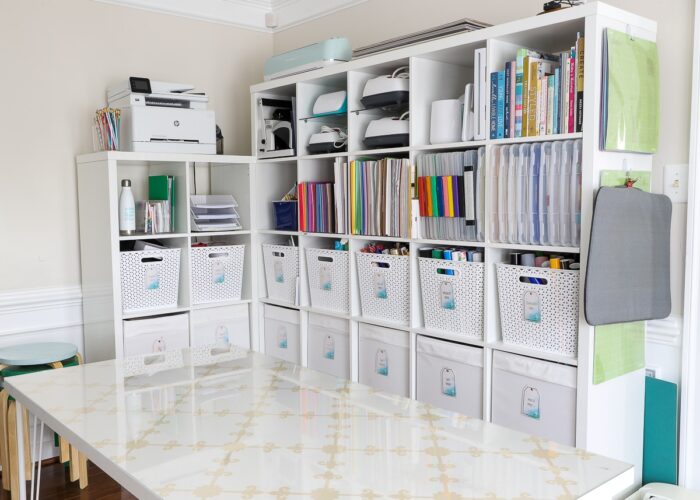
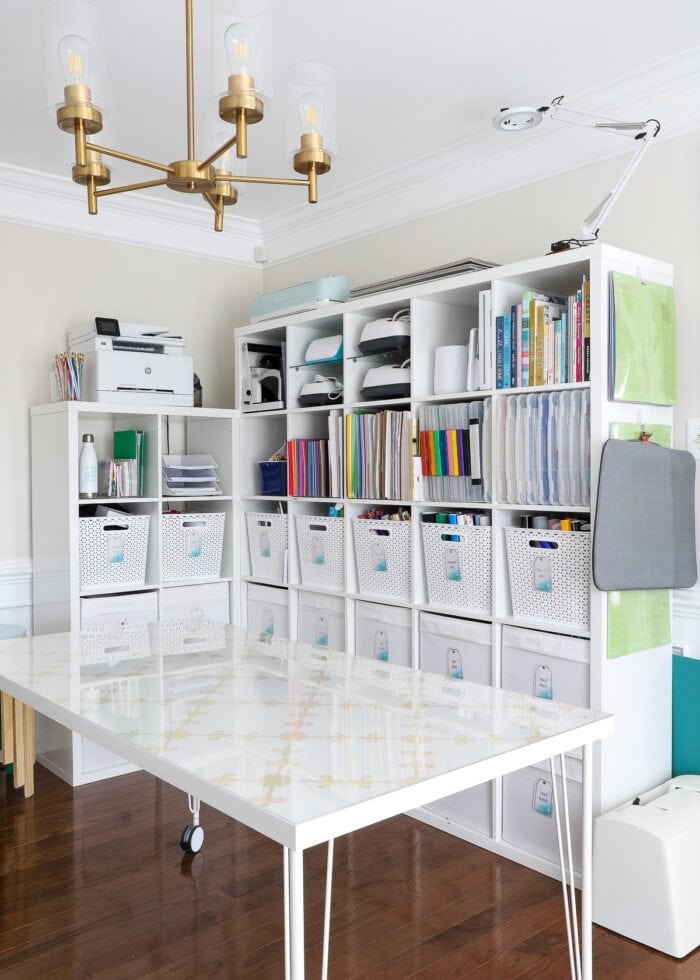
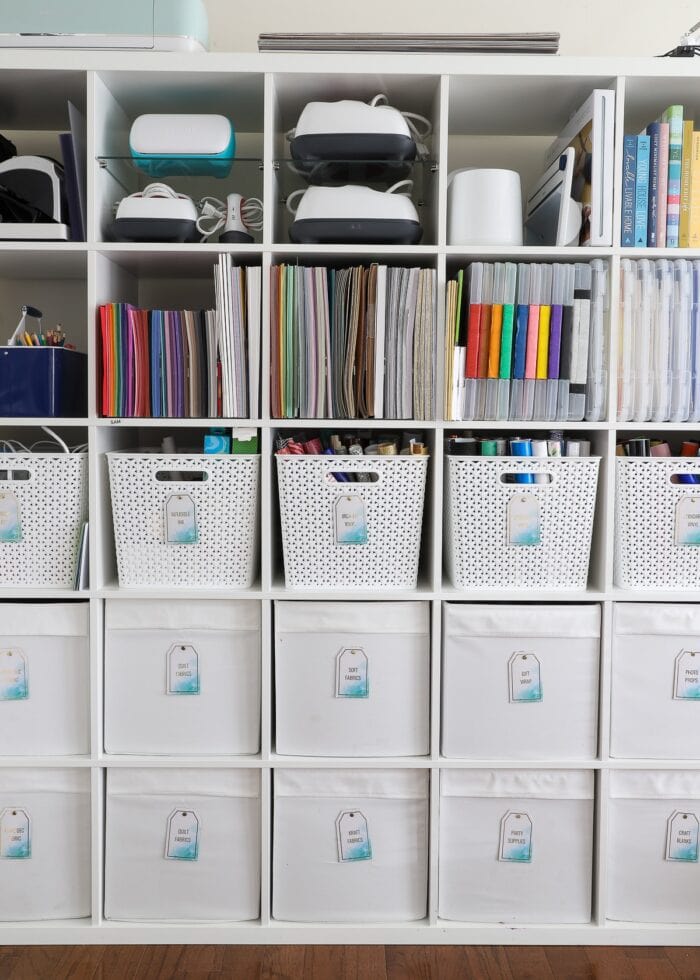
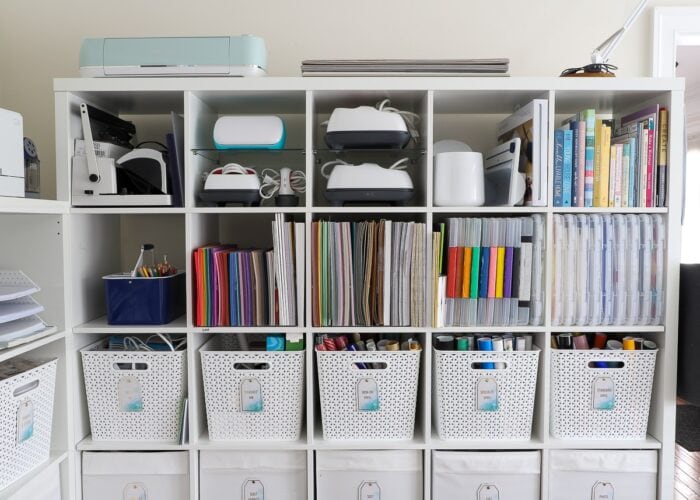
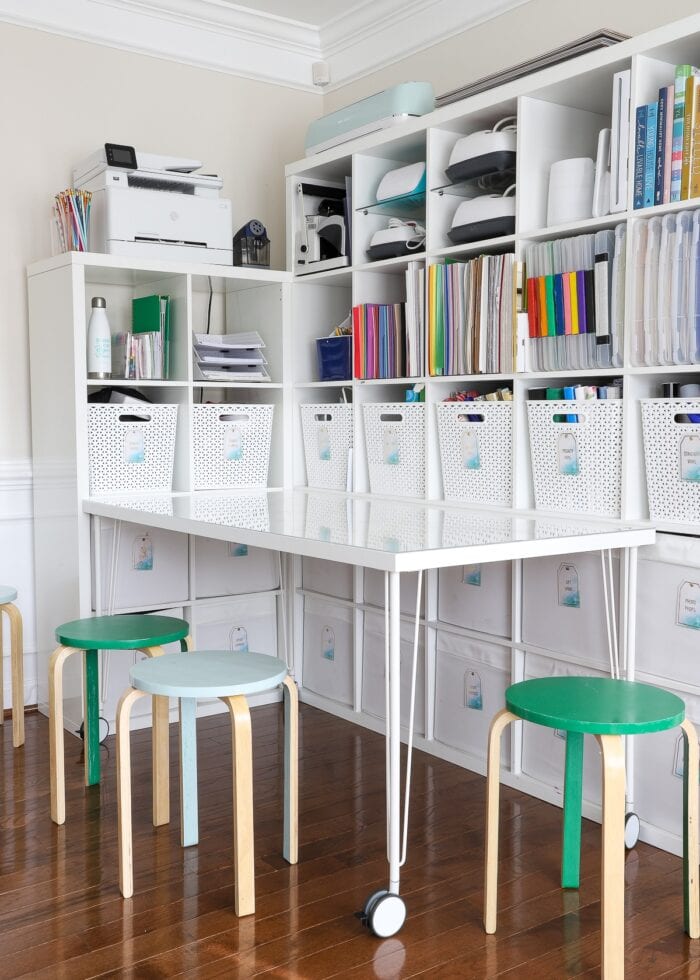
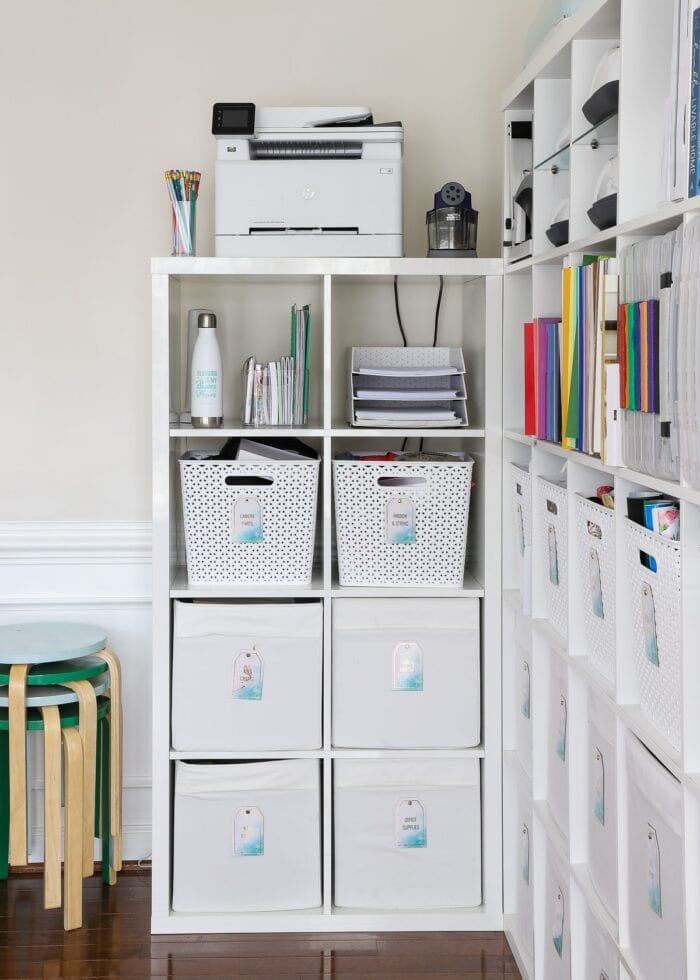
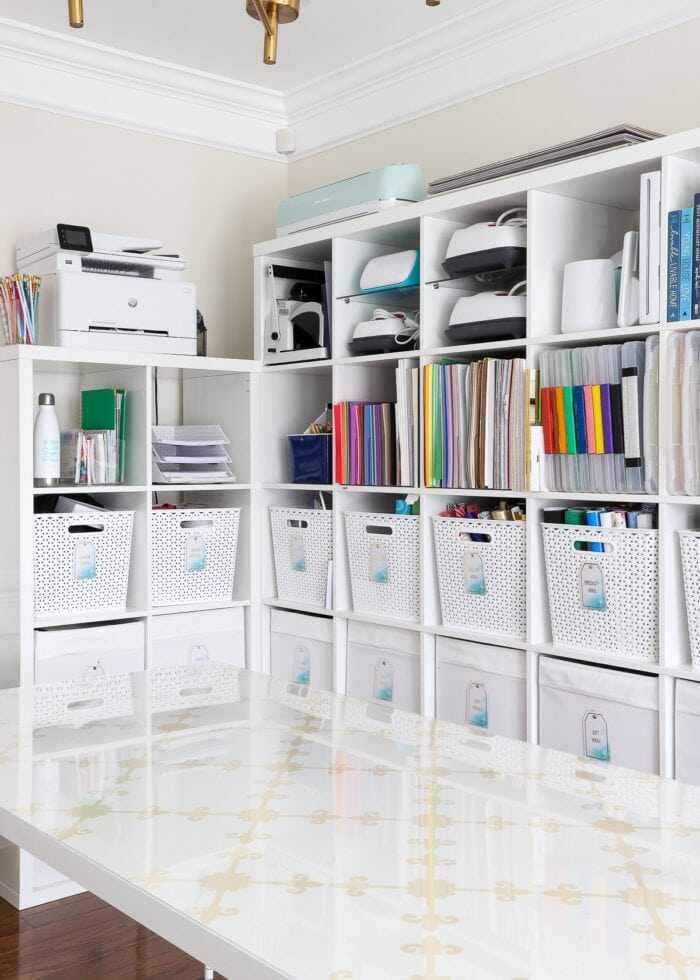
IKEA Kallax shelving has been my go-to craft storage solution for years, and placing a 5×5 unit perpendicular to a 4×2 unit was not only an ideal way to fill up this corner of the room but also provide plenty of space for my craft stash.
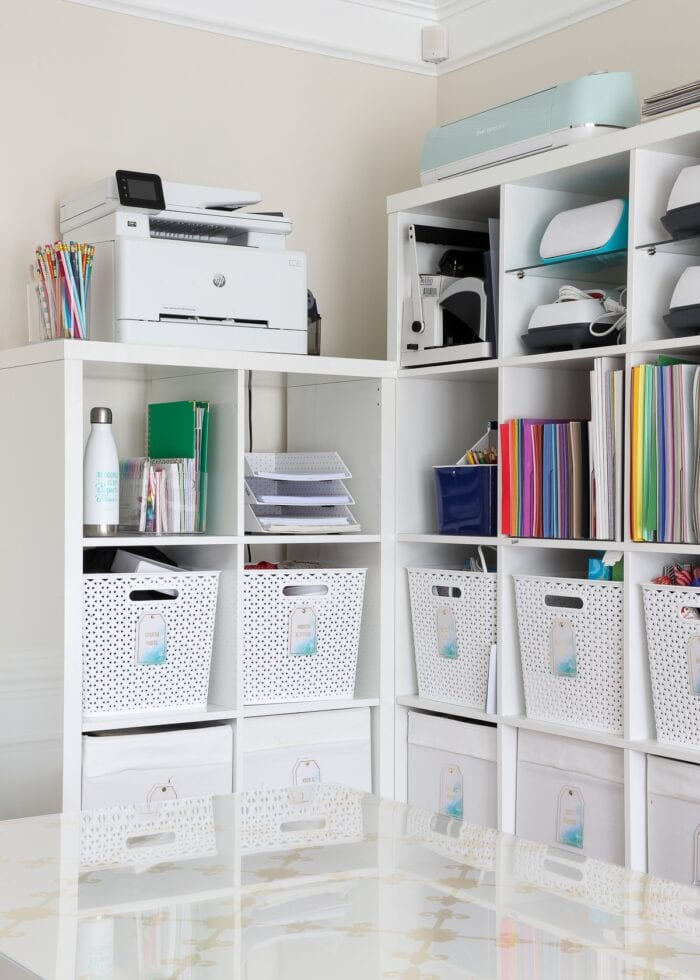
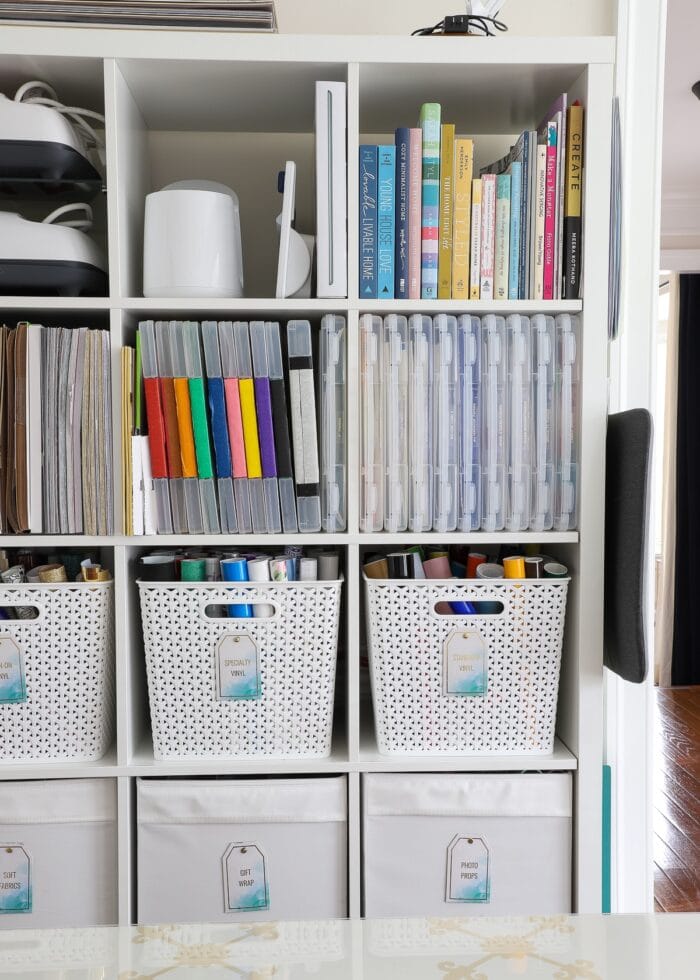
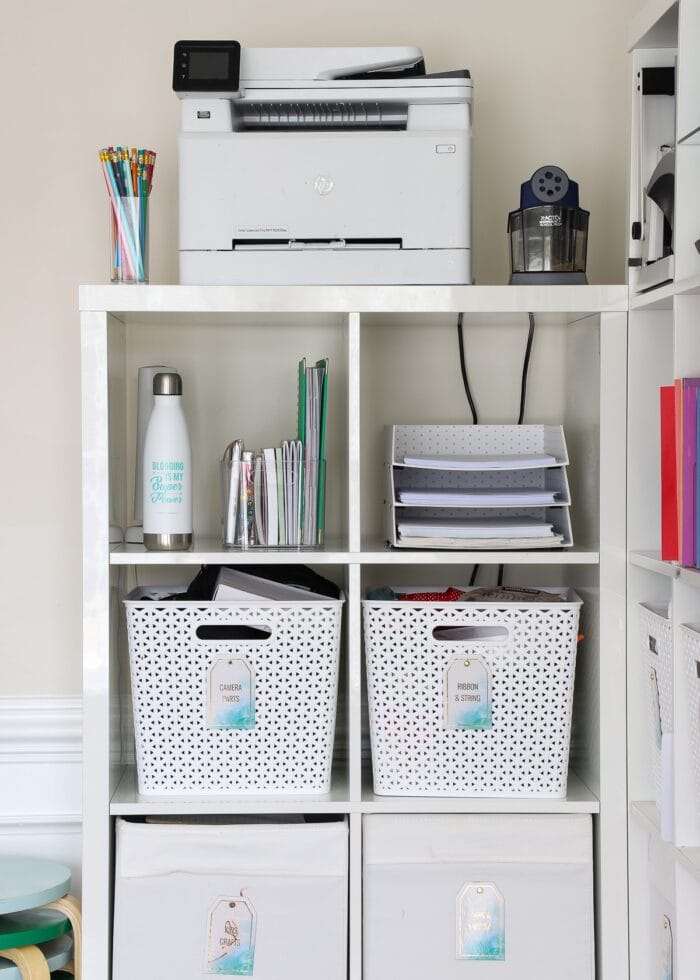
At first, I anticipated the “step down” between the two units to look awkward. But instead, it created a perfect spot for our printer and some other office supplies that need to be out of reach of little hands.
FUN FACT! The open corner behind the two units is our “Pit of Despair.” There is literally NO way to reach anything that gets dropped back there. So it may or may not be where toys get “lost” when they’re causing too much trouble. Who knows what we’ll find down there when the movers haul these shelves away!
If you’ve been following me for any length of time, the items on these shelves will look pretty familiar. The organization solutions currently in play are mostly the same ones I used in our last home. (See It: How I Store Aaaalll My Craft Supplies)
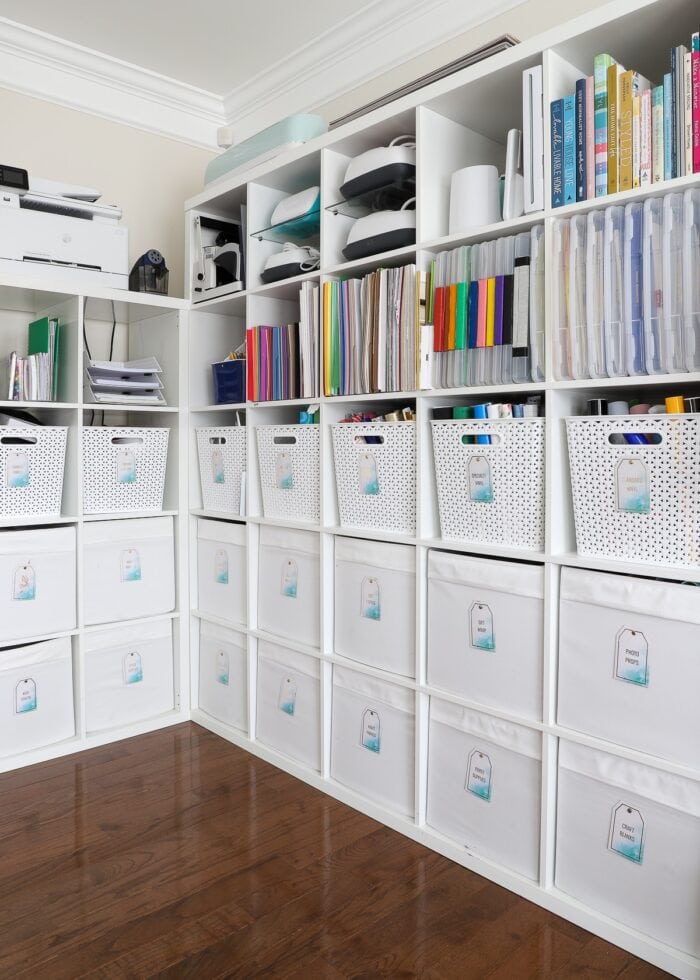
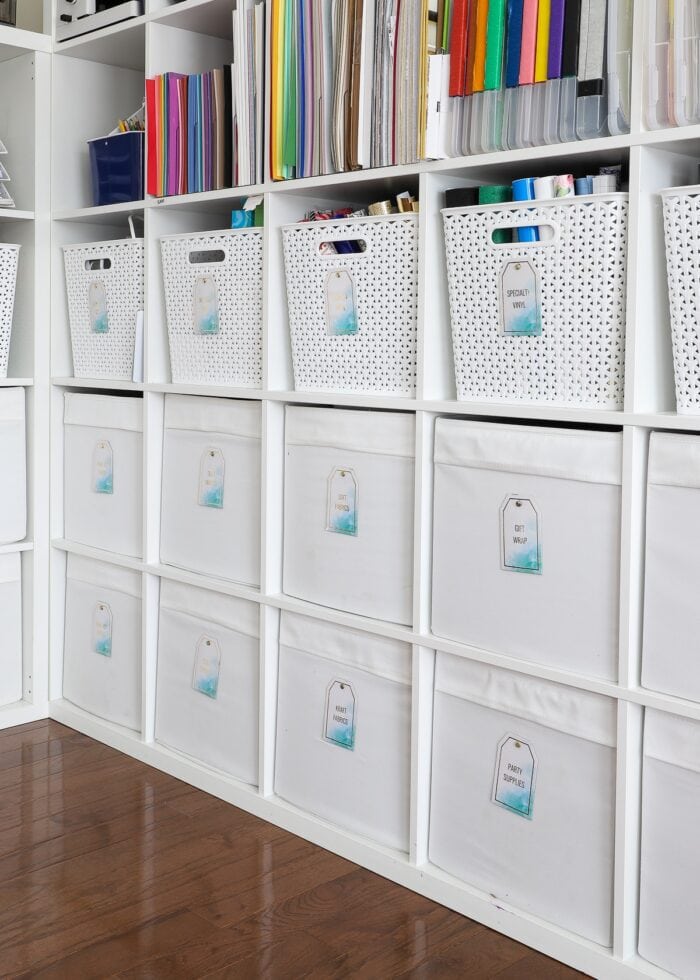
While I am constantly shuffling items around to make everything fit just right, I still rely on a combination of IKEA Drona bins, Y-Weave baskets, document boxes, and open shelving to store a wide variety of craft supplies.
IKEA Drona Bins
The IKEA Drona Bins have long been my favorite solution for storing bigger and bulkier items such as fabric, party supplies, and kids’ craft kits. I love that they use up every available inch within an IKEA Kallax cubby and have solid fronts so you can’t see the mess items inside.
Target Y-Weave Baskets
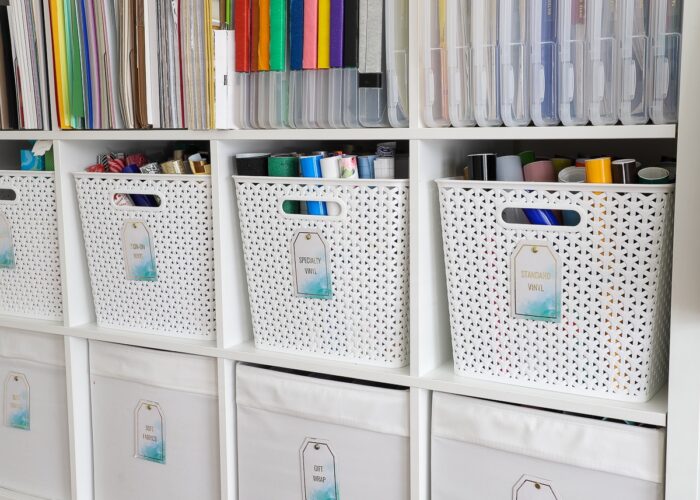
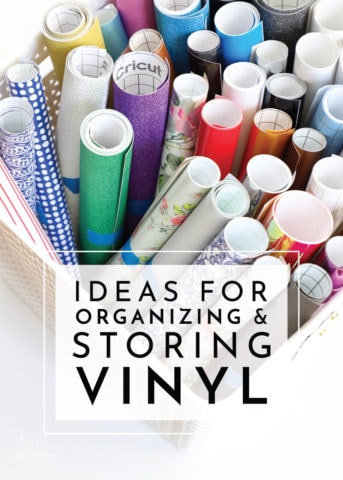
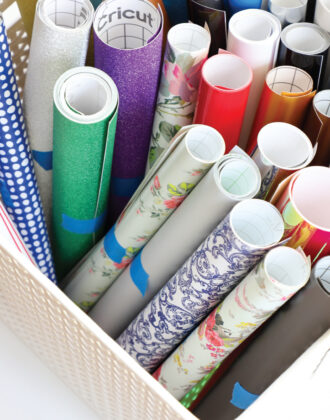
I like to visually break up the two rows of solid Drona bins with my favorite Y-Weave Baskets from Target. They look really crisp and clean and are a bit easier to pull in and out. As such, these baskets hold my vinyl, iron-on, Infusible Ink, and Cricut Joy supplies…all the things I reach for often.
Paper Storage
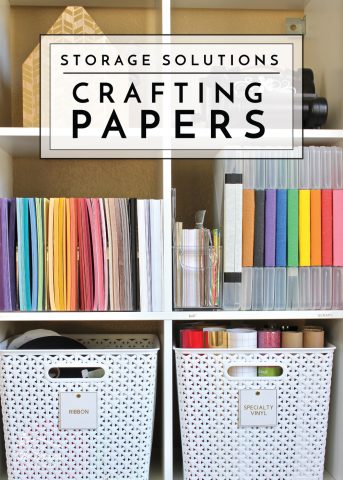
The second tier (all the way across) is all open shelving outfitted with various organizers to hold paper…yes, 5 of those 7 cubbies hold paper. Between printables, labelmaking, and tons of Cricut and kid crafts, paper is the number one thing I reach for; and having it perfectly sorted and stored on a prominent shelf has been one of the best solutions in this entire space!
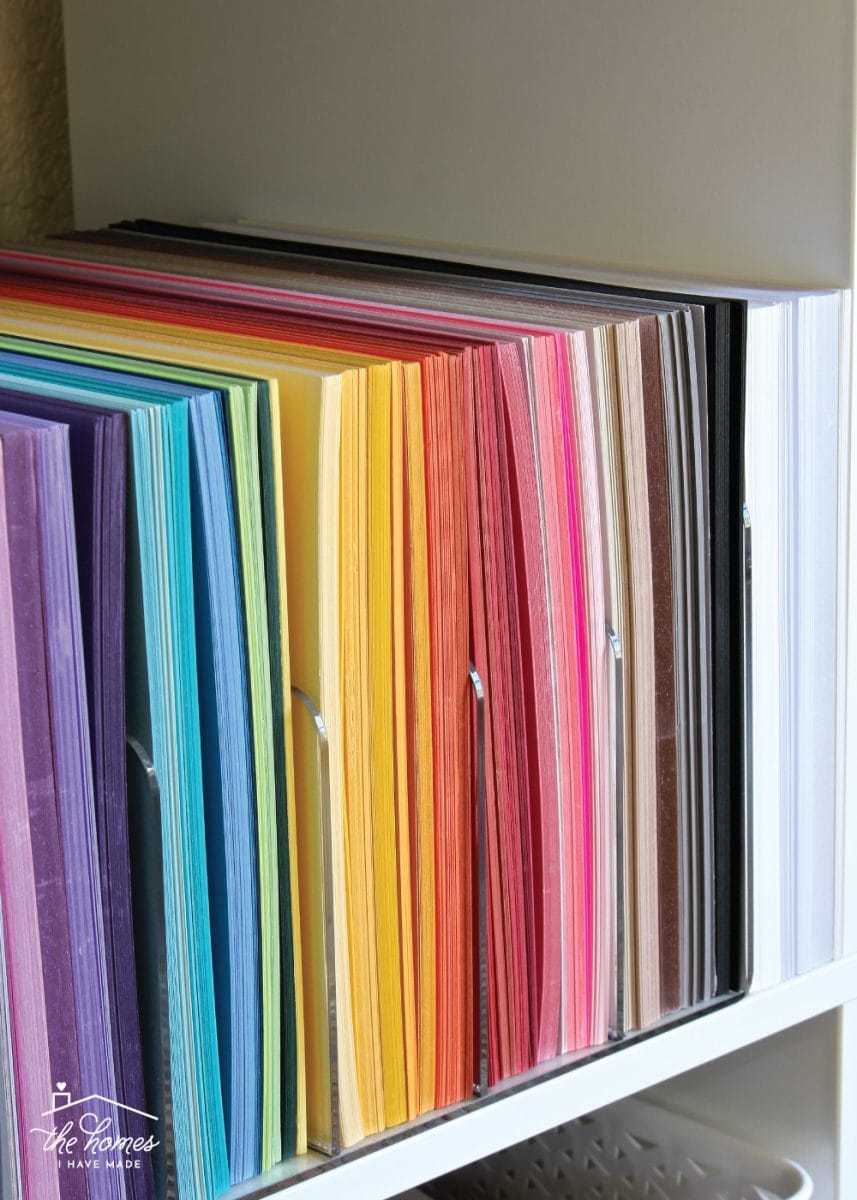
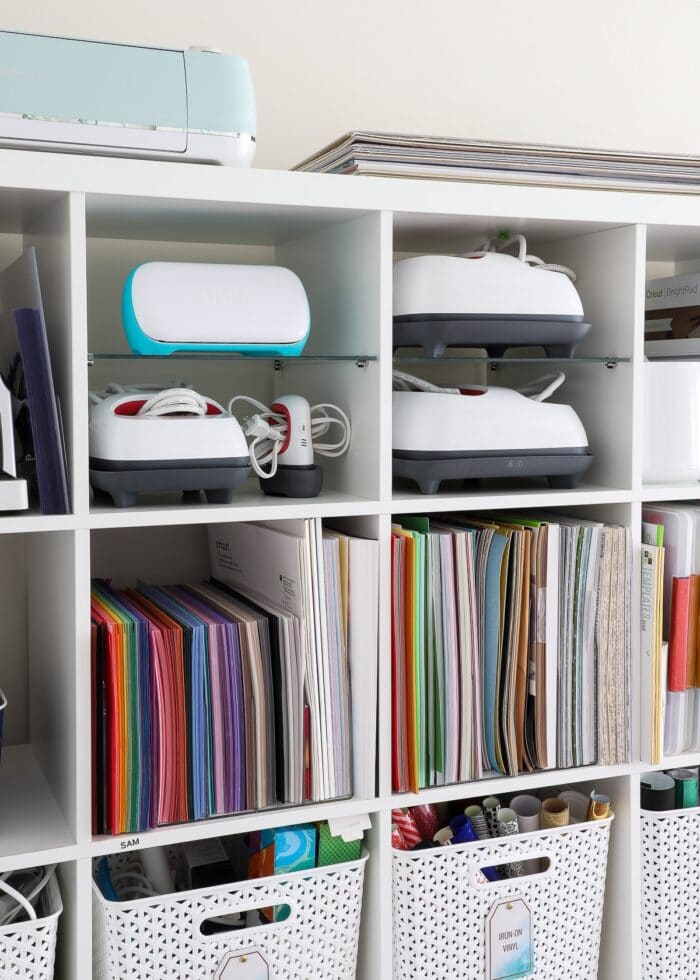
For basic cardstock (both 8.5×11″ and 12×12″), I use a series of acrylic paper sorters sitting right on the shelf.
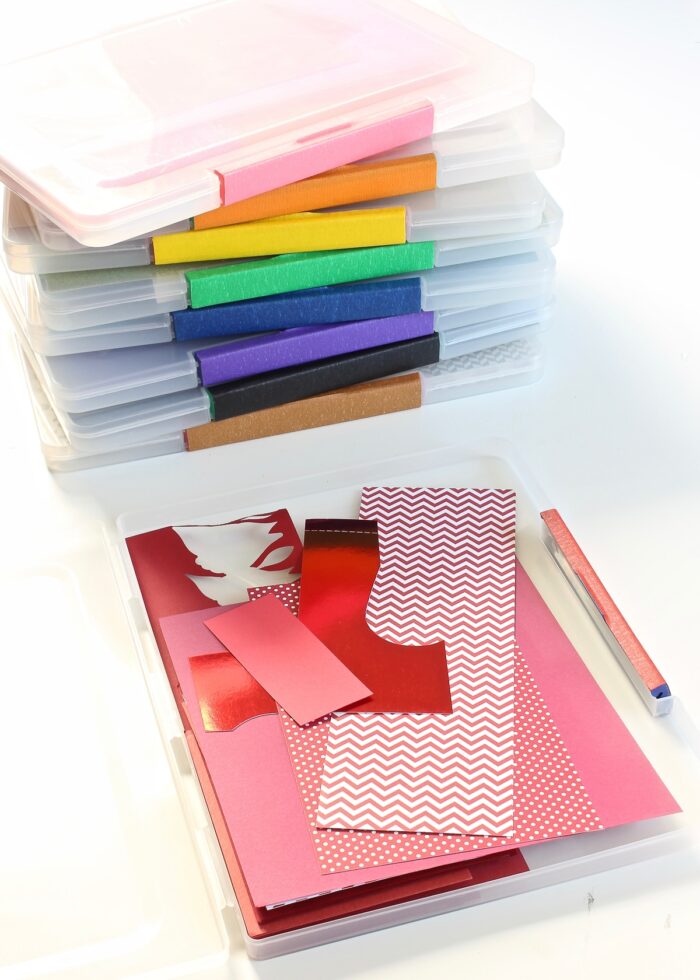
Paper scraps are organized into document boxes (similar) and labeled with colorful masking tape…
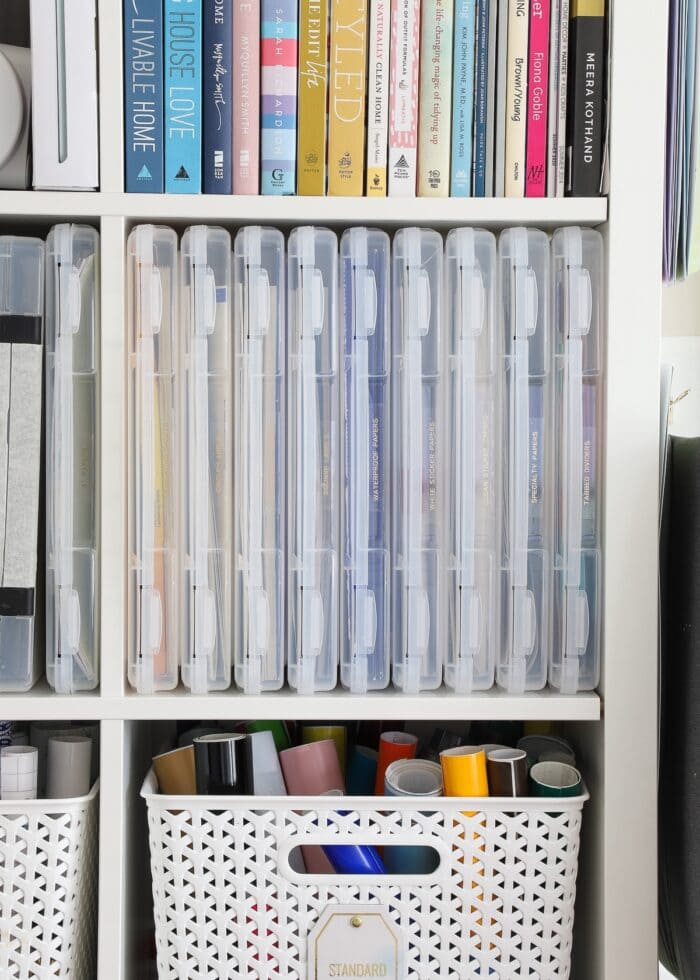
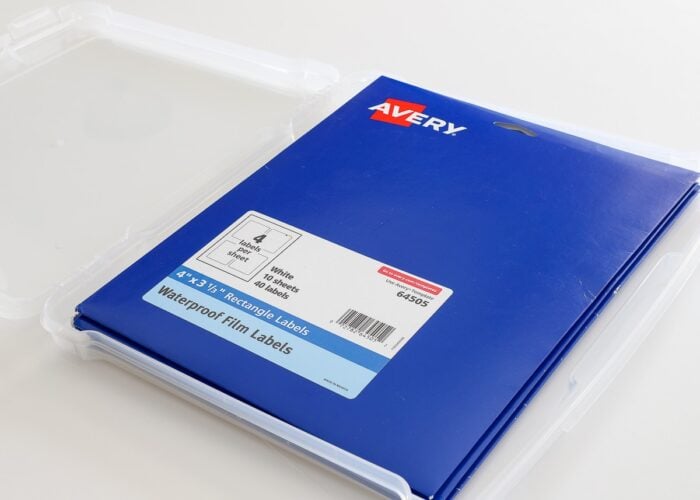
…and I use these clear plastic document boxes to hold all my printable papers (e.g., Avery labels, magnetic papers, sticker papers, waterproof papers, etc)
Under the printer, a basic paper sorter (similar) holds our printer papers (e.g., laser copy paper, white photo paper, and white cardstock)…
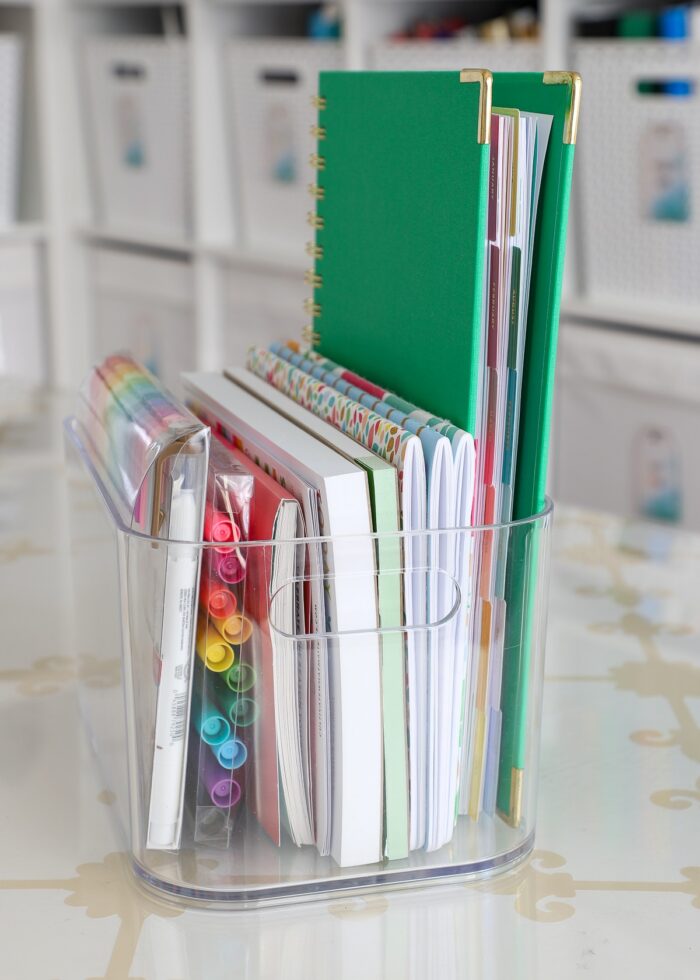
…while a clear acrylic bin corrals all my journaling and goal setting supplies.
If you’d like to learn even more about how I store my craft papers, you can see all the details here: How To Store Craft Papers.
Machine Storage
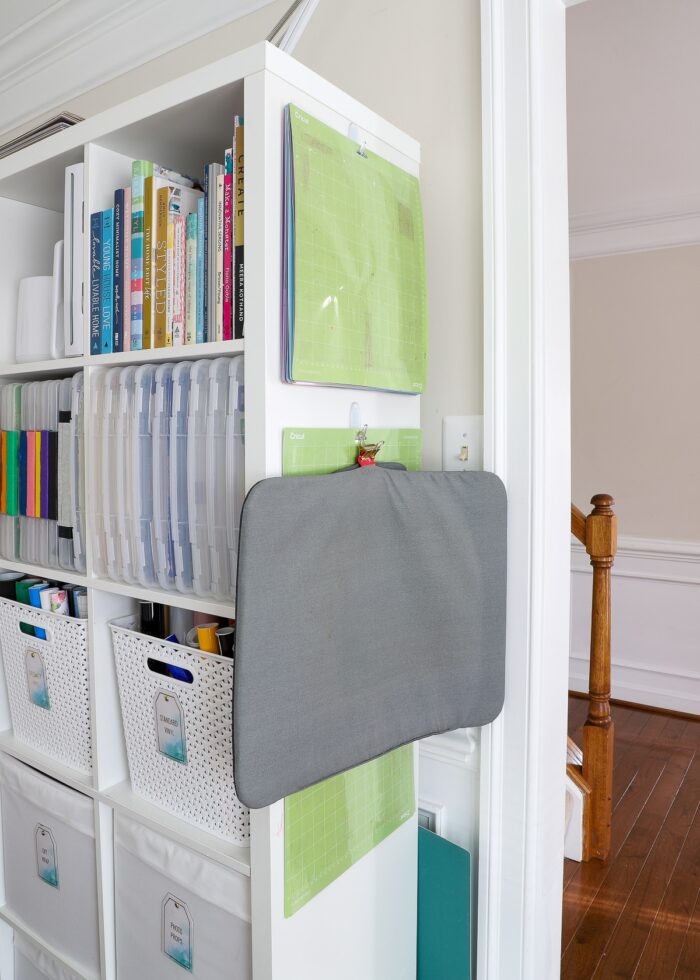
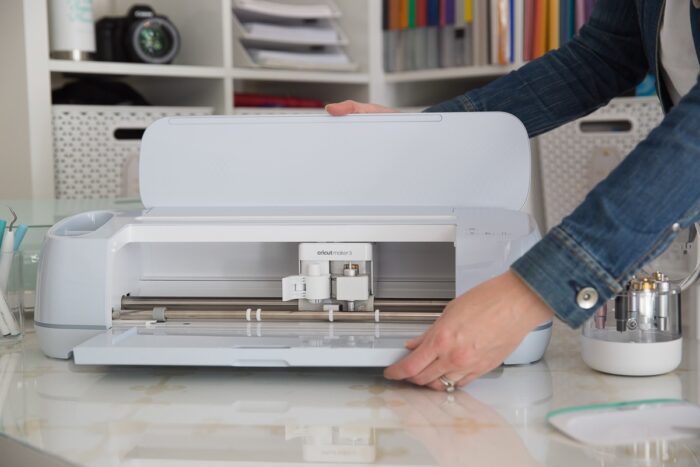
The top row of cubbies (as well as the top and sides of the units themselves) are where I mostly store machines and larger accessories. I use the IKEA Kallax Glass Shelves to break up larger cubbies to hold my Cricut Joy and various Cricut EasyPresses, while my Cricut Explore Air 2 and laser printer sit on top of the units. This keeps them easily accessibly but also out of the way when not in use.
Also along the top, I store stacks of extra-large cardstock and my phone mount/stand…
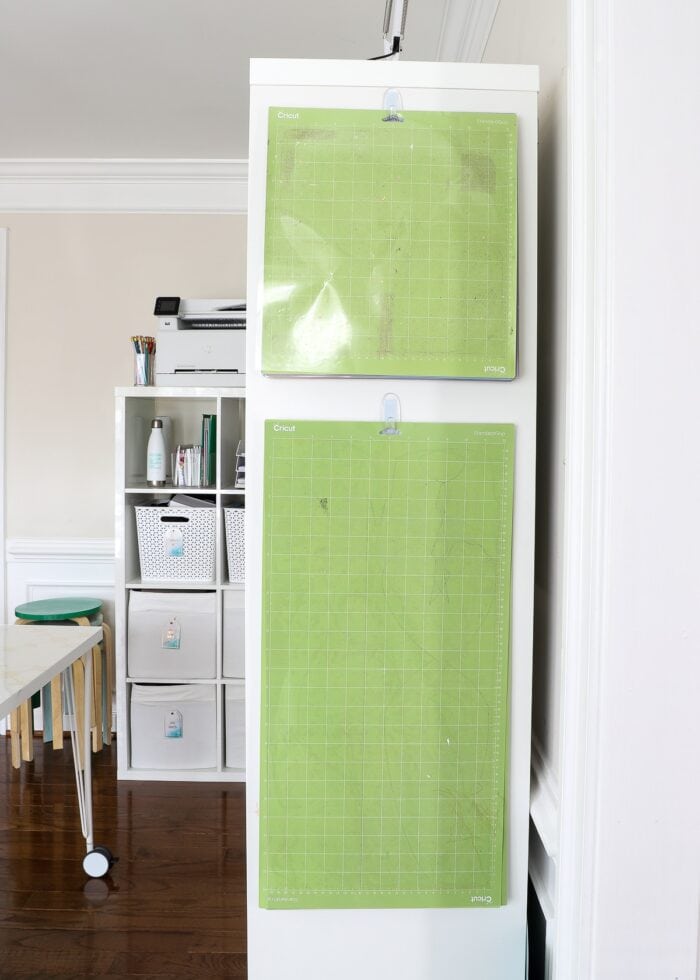
…and down the side, I keep all my Cricut mats hung on Command Hooks.
All in all, pretty much every last inch of these two units are used to store a wide variety of craft and Cricut supplies!
The Movable Craft Table
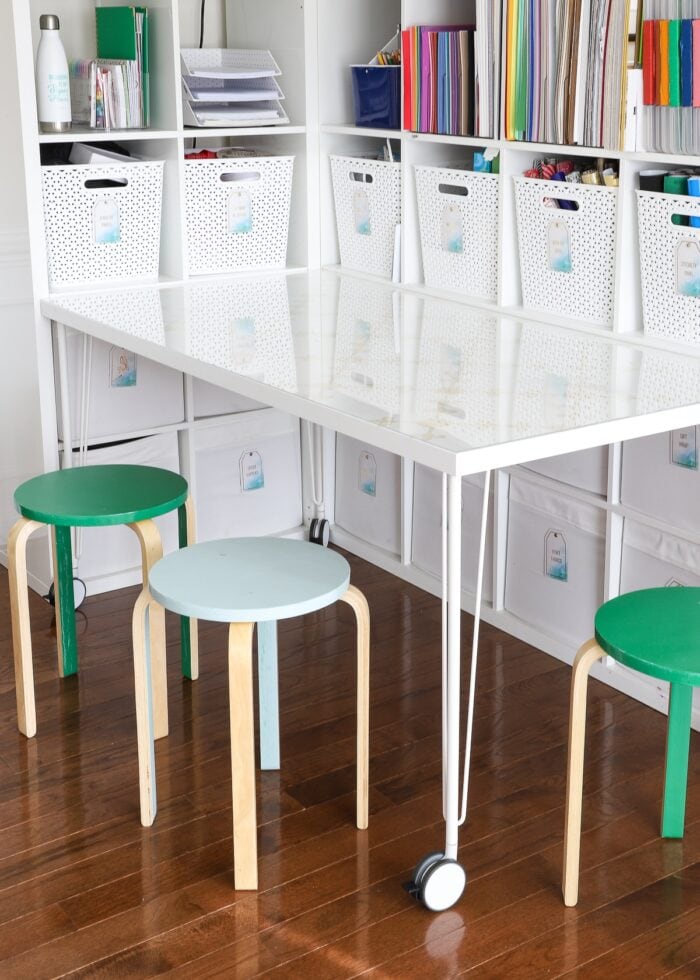
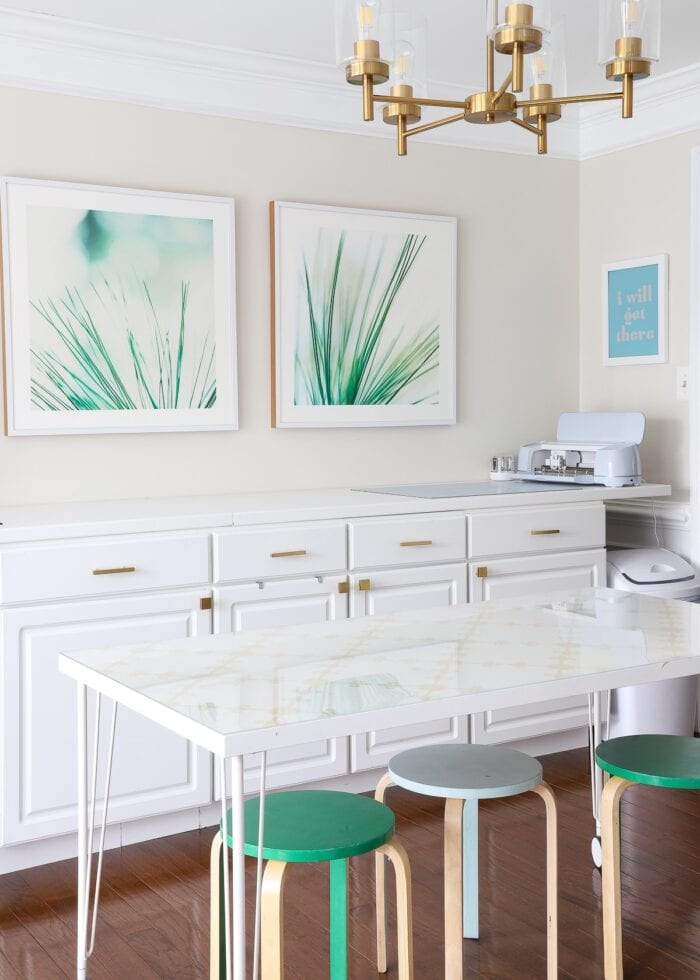
In the center of the room is a white craft table. But there is something very “special” about this basic, unassuming IKEA table. It’s on wheels! Which is easily one of the smartest things I’ve ever done in a craft space.
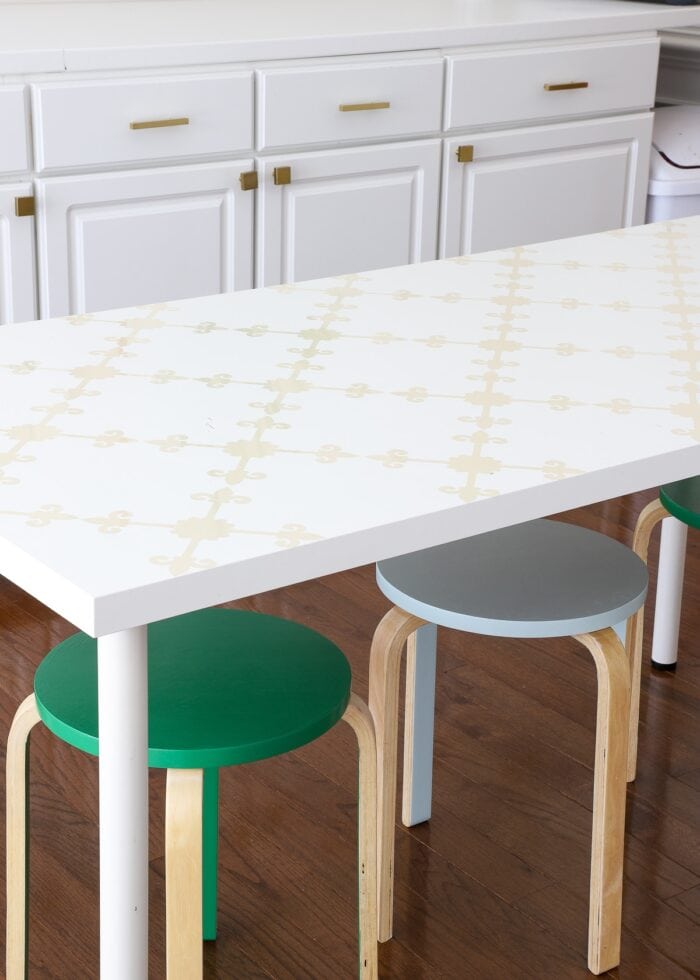
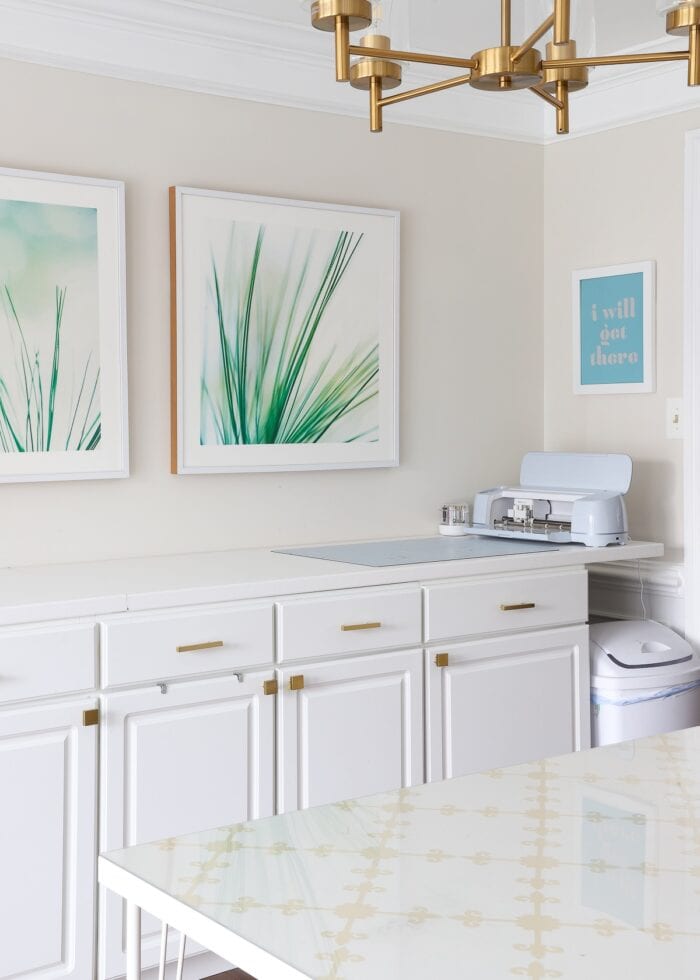
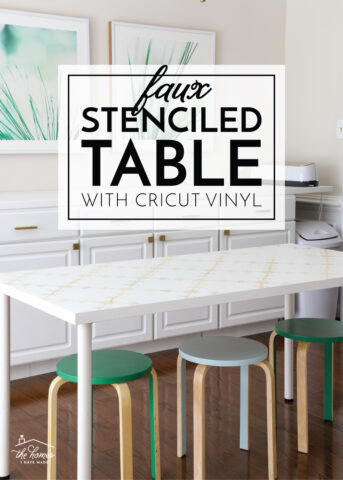
This table is a plain white tabletop from IKEA. Shortly after moving in, I gave it a really subtle “stenciled” pattern with vinyl. I’ll admit this was somewhat of an “on a whim” project, but it sure was a happy accident. Not only does the pattern give some much needed visual interest in this room, but it ties the beige walls and gold cabinet hardware together sooo nicely.
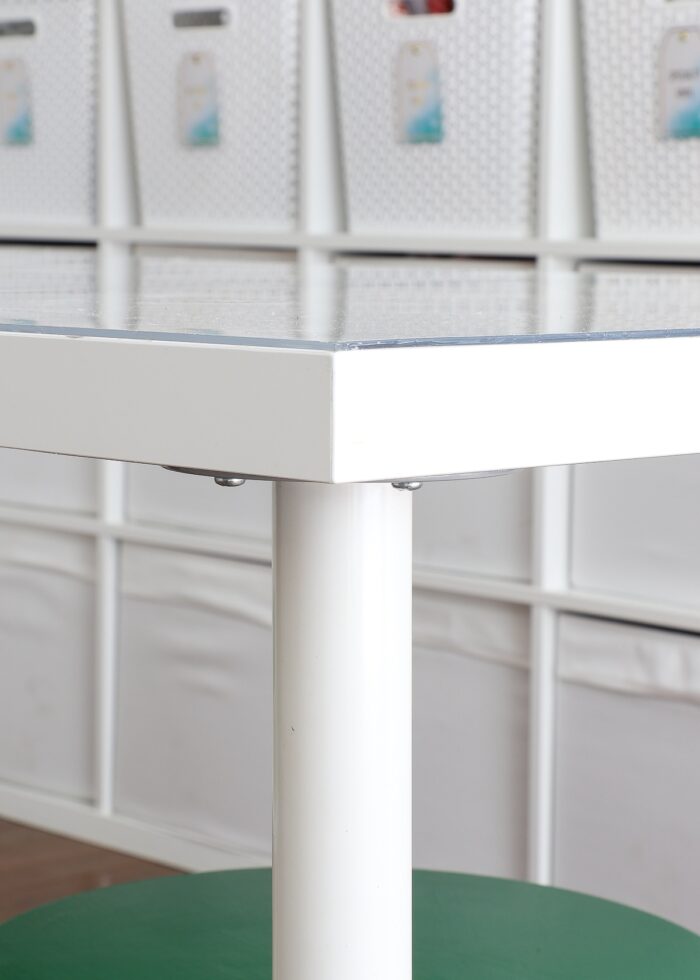
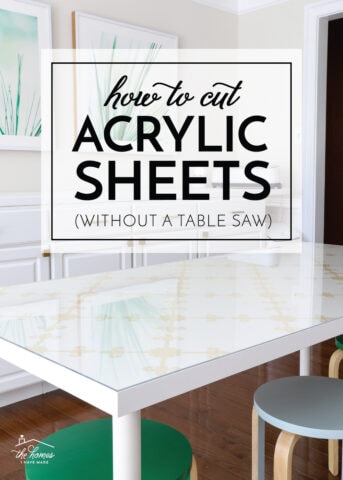
To make this table really work for us, we first covered it with an acrylic sheet (another smart move since kids are constantly spilling, painting, and coloring on this table)….
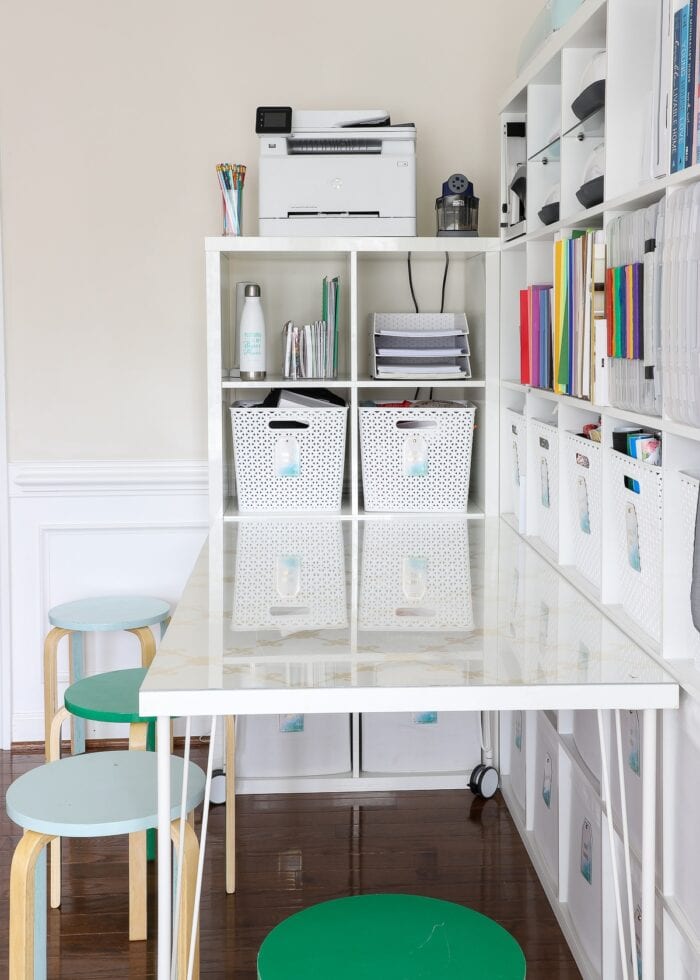
…and then we put it on casters via the IKEA Krille Legs. I’m not kidding when I say that every time I look at it, this table is in a different spot! Sometimes (oftentimes), I have it pulled all the way up by the window to take pictures…
…and lately, we’ve kept it nestled up against the IKEA shelves because it’s the perfect place for the boys to sit and do crafts, homework, games, etc.
FUN FACT! With the table on wheels, it’s also super easy to wheel out to the dining room when we need additional place settings when family comes over for dinner.
I never realized how incredibly handy having a table on casters would be, and I’ll never go back!
The Stacking Stools
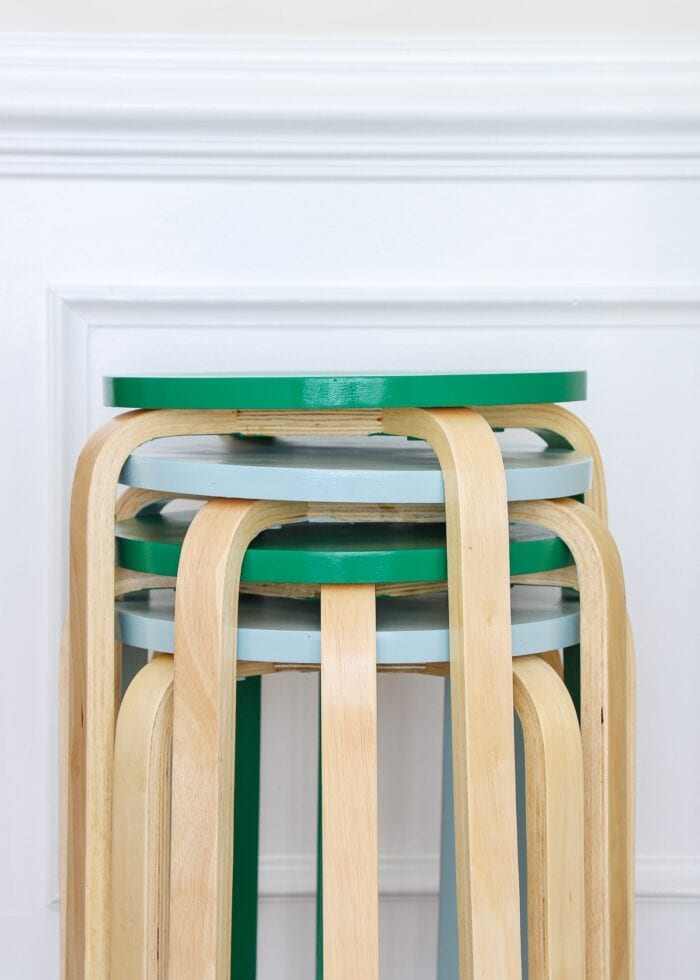
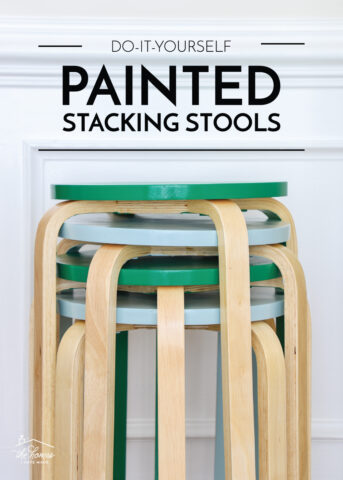
Another one of my very favorite solutions we implemented in this room was a set of stacking stools. They came in a solid wood color, and I gave them a quick coordinating paint treatment!
Somewhere along the way, I realized that we both needed and AND didn’t need seating around the white craft table.
When I am taking pictures and wheeling the table all around the office to get good light, a static chair was always in my way. But then when the boys wanted to sit and do a project, we were dragging in chairs from the dining room.
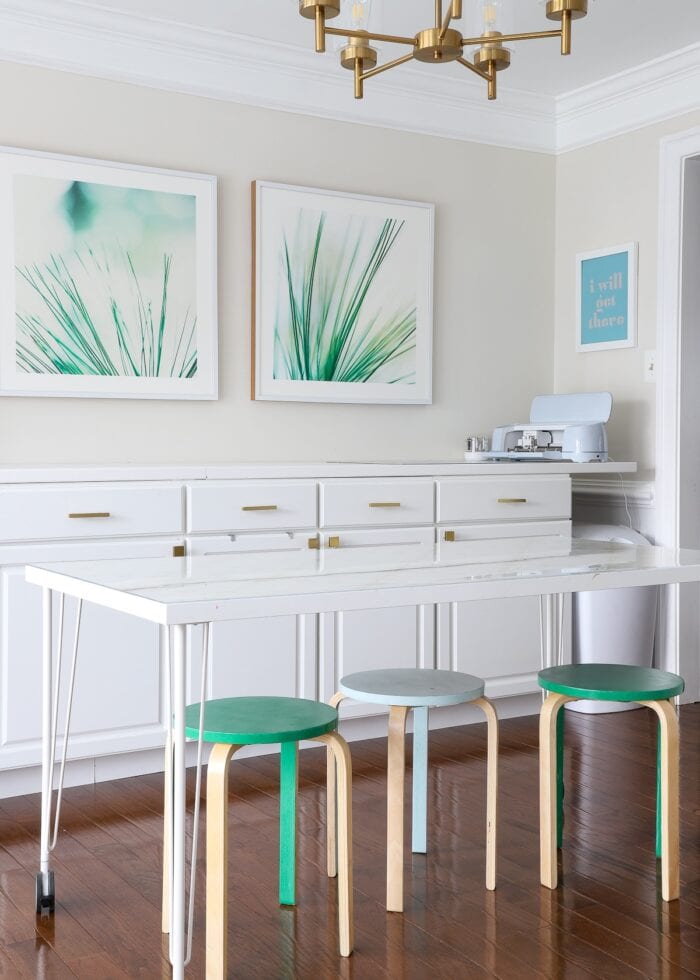
These stacking stools are the best of both worlds. We can instantly pop them under the table, whether it’s in the corner…
…or in the center of the room.
But we can also keep them stacked up and completely out of the way when they aren’t in use.
I never would have imagined how much we’d be stacking and unstacking these sturdy little stools, and they are easily some of the best money spent in this entire room!
The Craft Counter
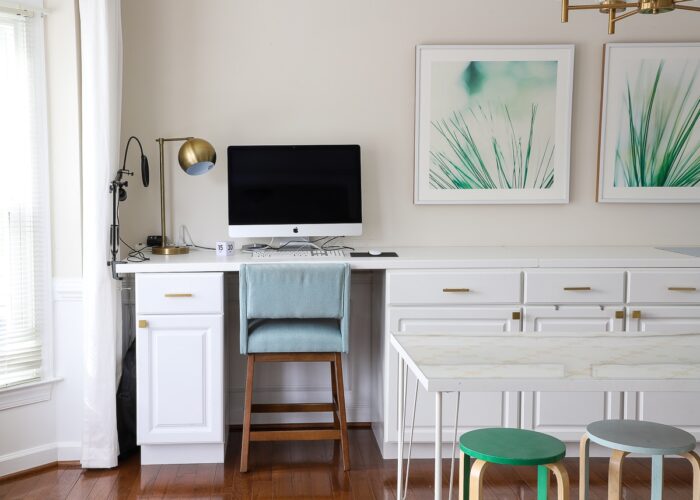
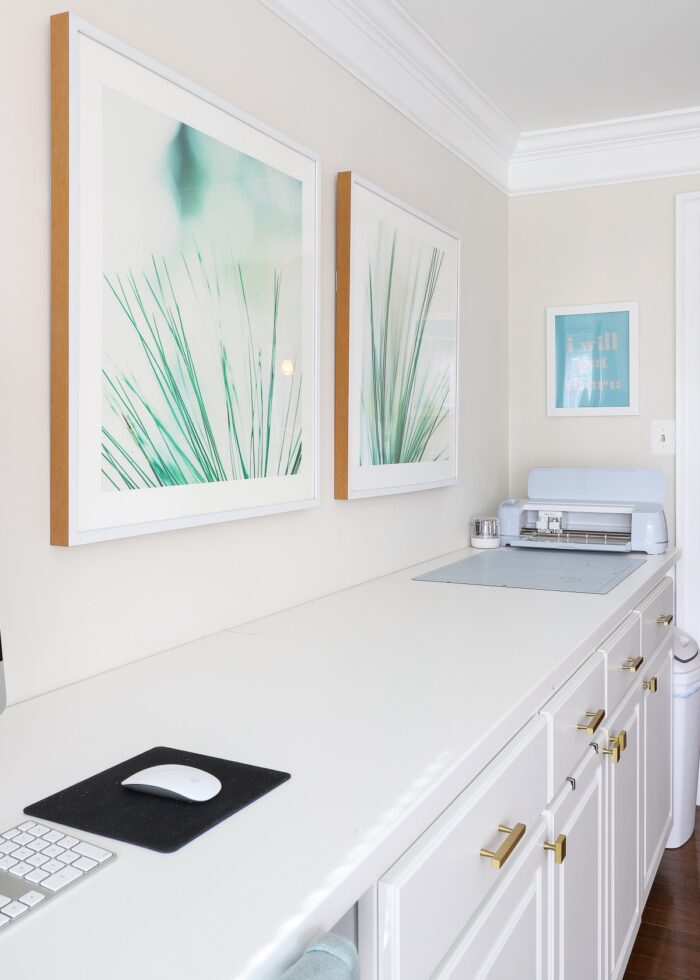
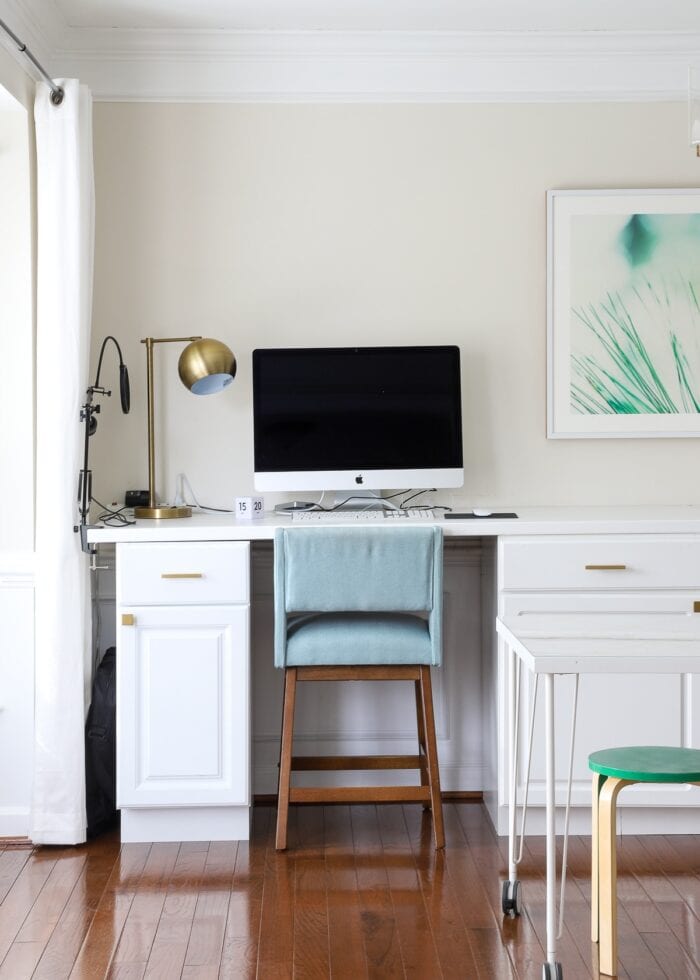
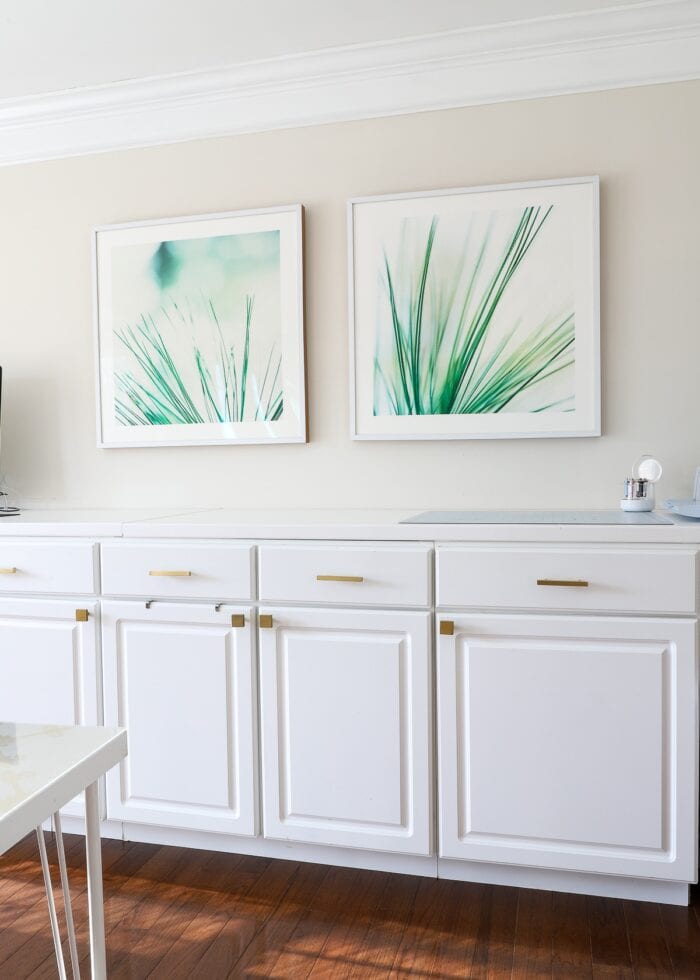
On the far side of the room is my beloved craft counter…something we invested in 3 homes ago and has been serving me well ever since.
This setup is nothing more than some off-the-shelf base cabinets from The Homes Depot and inexpensive IKEA countertops laid across them. But this combination creates a completely modular, flexible system with tons of storage space and a long work surface (that is almost never this cleaned off!)
Every time we’ve moved this system, it gets set up a little differently. In this home, we have one skinny cabinet on the outside left and the four remaining cabinets stretching to the right. This leaves plenty of space for a single counter-height chair and my computer. Whenever you’re reading a blog post, you can be sure I was sitting right there typing it out!
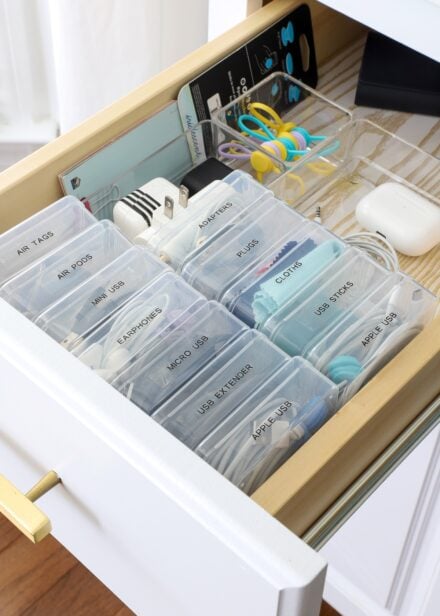
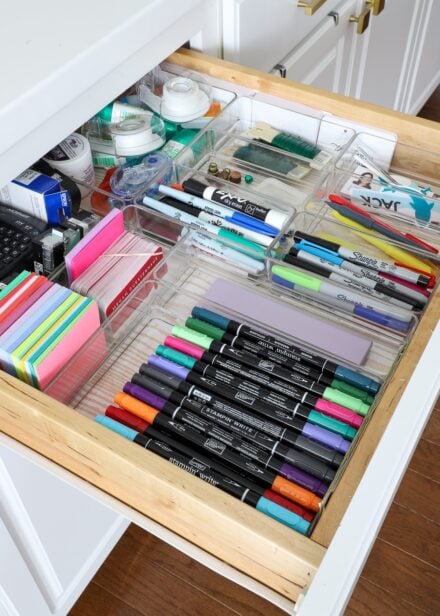
Beyond the storage and the flexibility though, my absolute favorite thing about this cabinet+counter arrangement is that since it moves with us, I don’t have to re-create the storage every single time. These drawers and cabinets are organized almost exactly the same as they were back in California!
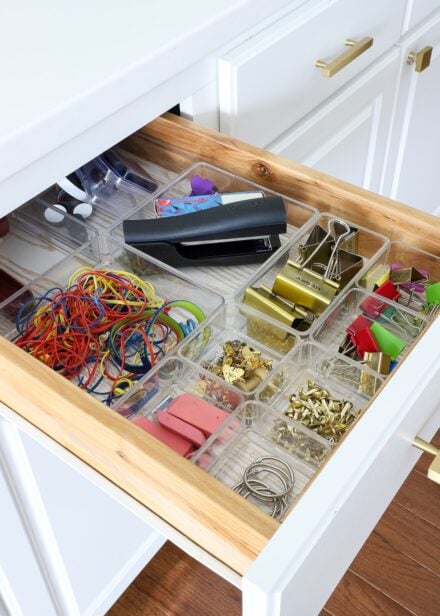
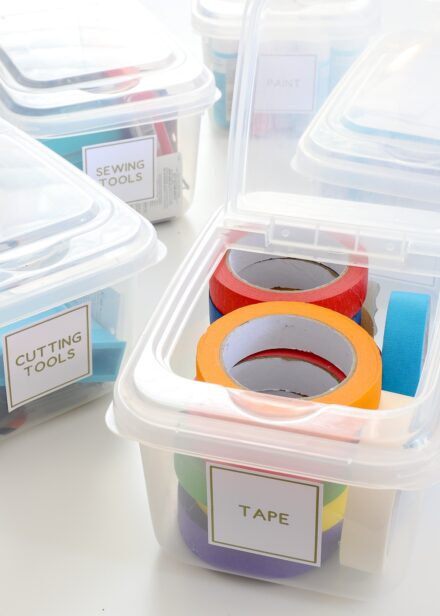
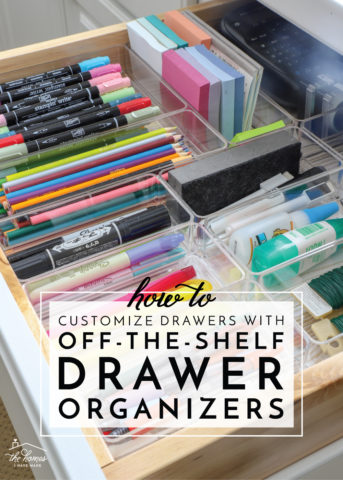
- The drawer to the right of the desk holds pens, Post-Its, and tapes.
- The middle-left drawer over holds office supplies.
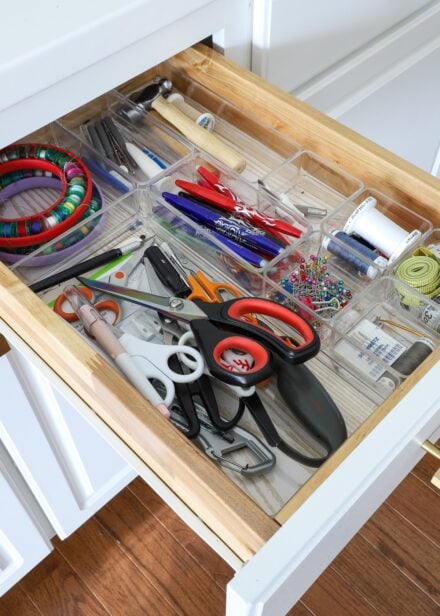
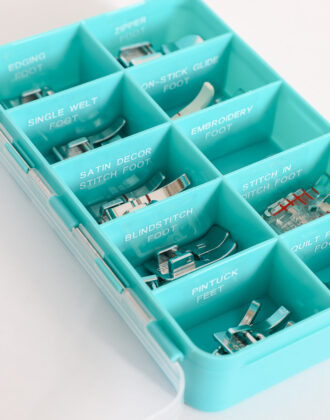
- The middle-right drawer holds sewing supplies.
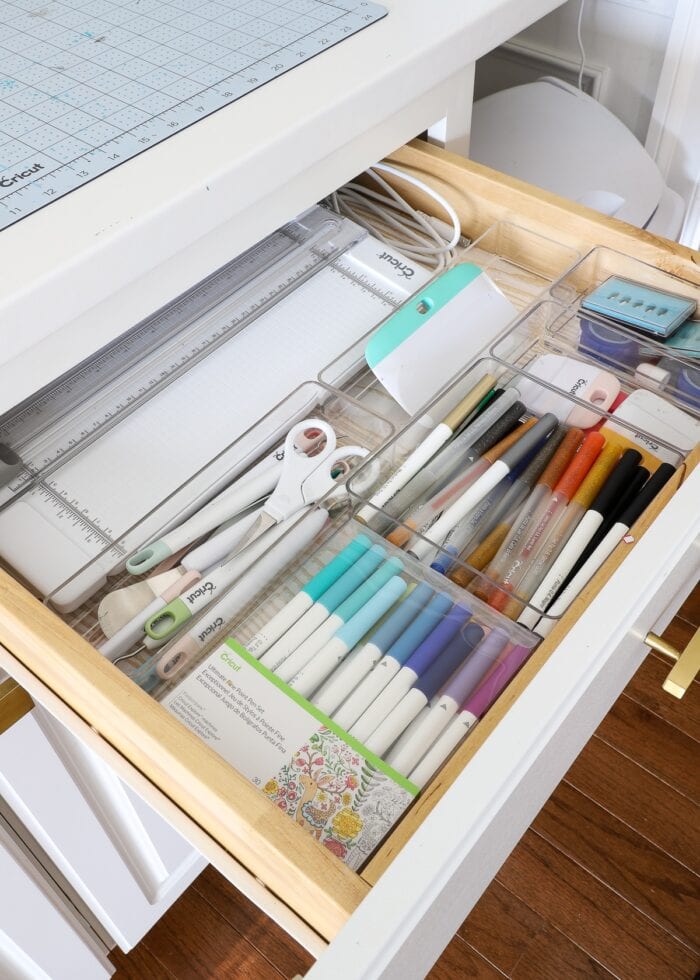
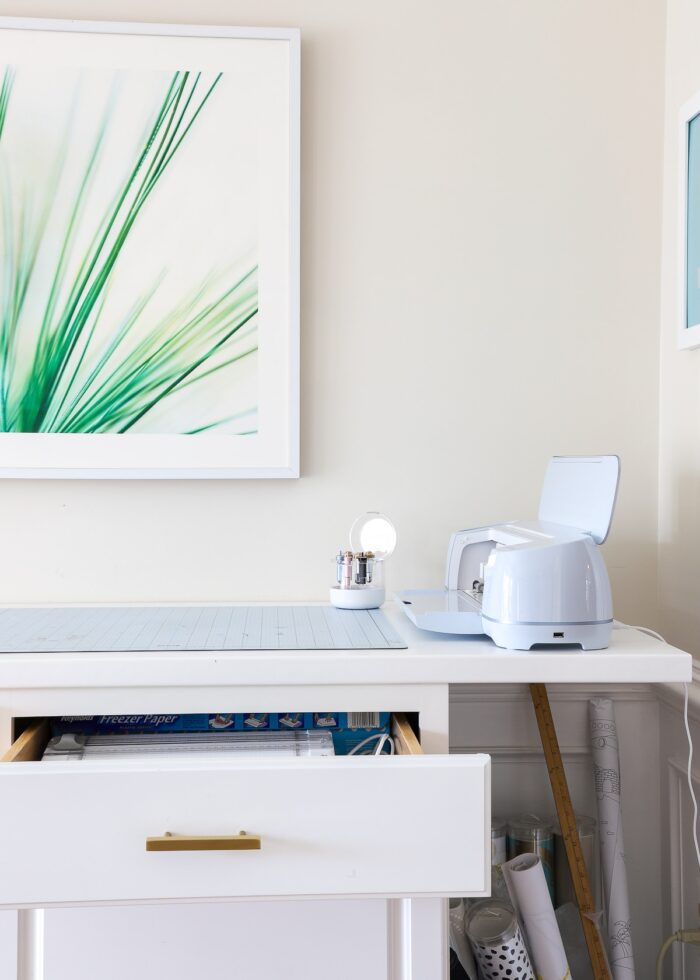
The final wide drawer sits just below my Cricut machine and holds all my most-used Cricut tools and accessories.
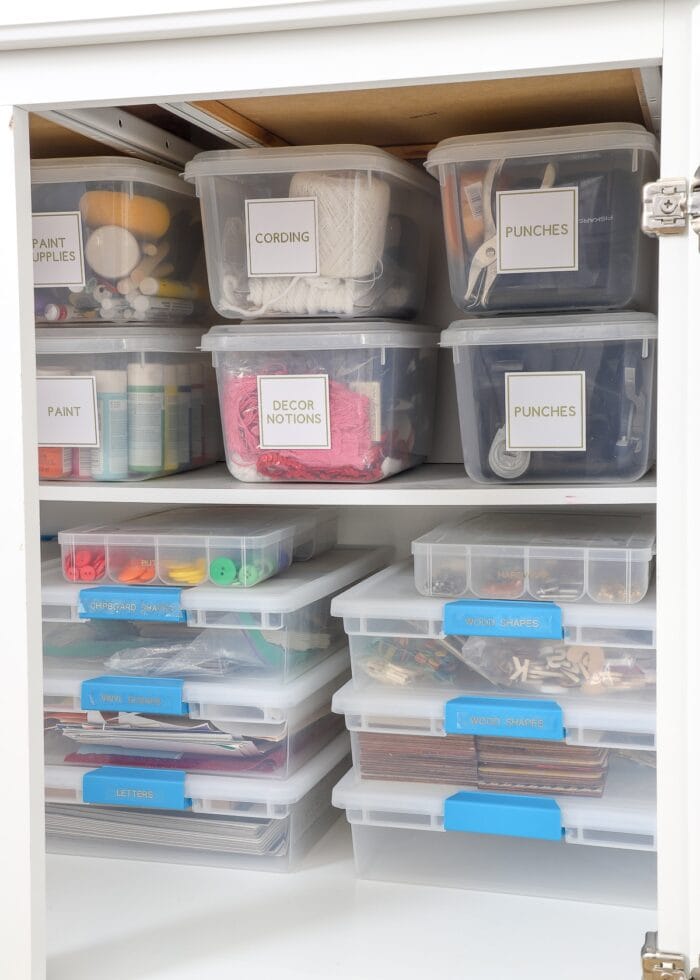
The 5 cabinets below hold most of my smaller craft notions, exactly as I have detailed in this craft supply storage post.
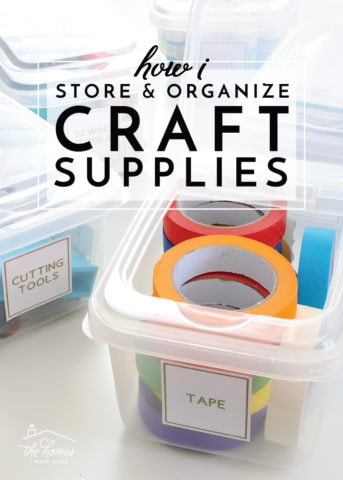
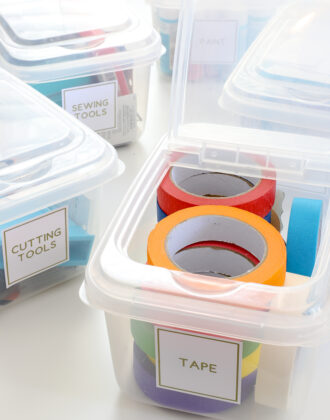
A combination of plastic shoeboxes (similar) and large Sterilite boxes hold everything from tapes and paint to glitter, punches, hardware, trims, and so much more.
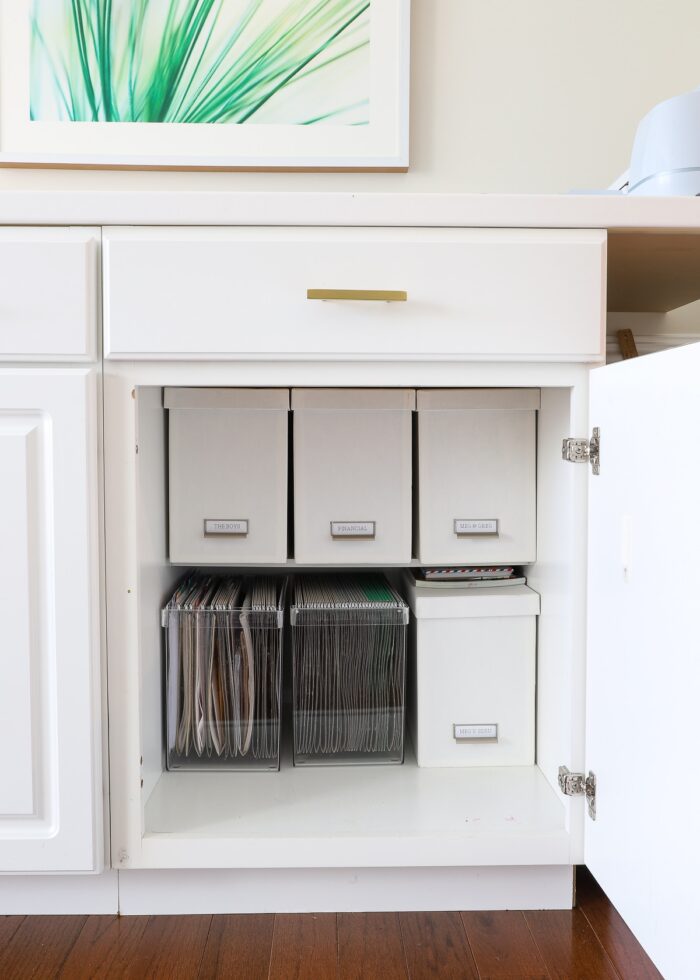
The only difference from our previous setup is that we now store our file box system in the far right-hand cabinet (rather than a printer). I love how well these boxes fit, and will likely always keep them in here now!
Above the craft counter, I have two (very) large pine needle prints that infuse a bright freshness to the space. The “I Will Get There” print was made the same way I made our bedroom art and reminds me to keep on trekking toward whatever goals are on my heart.
Products & Tutorials In This Room
Here are the sources and tutorials for everything you see in this space!
- Walls – Behr Sail Cloth
- Furniture
- Seating
- Wooden Stacking Stools
- Turquoise Counter-Height Chair from Target (no longer available)
- Lighting
- Artwork
- Storage
When I think back to the craft spaces in our past 7 homes, I can see little bits of every single one played out in this room. That’s because with each space I setup, I learn what I do and don’t like, what does and doesn’t work. I carry the good parts forward (like the craft counter) while ditching solutions I didn’t love (like all my craft supplies displayed on the wall).
Every room has been an evolution of the one proceeding it, slowing (but surely!) honing in on what kind of supplies I need to keep on hand (and how best to store them all), what furniture works well (for me and my family), and how I want everything to look. This room feels like I finally figured it all out…
I love love love this space so very much. How it looks, how it functions, and how we were able to use basic off-the-shelf items and turn them into something that looks beautiful and stylish. I feel inspired and creative in this room and am actually really sad to pull it all apart and leave it here soon. But if our journey has taught me anything…it’s that this space will only get better the next time around!
Megan






19 Comments on “Our Virginia Home Office & Craft Room Reveal”
I absolutely love this room! Thank you so much for all the wonderful tips. Cannot wait to begin organizing.
I just love your craft storage and the craft counter and cabinets! You have a very workable creative space.
What a great room. I always love your organization posts. Even though my “hobbies” (okay obsessions) dog training and knitting are very different from yours I use many of your ideas about storing and arranging my equipment, tools, and supplies.
A good idea is always good.
Fabulous room filled with the best storage features! Have you found a new house? Can’t remember when your move is taking place. Hope this room fits into your new space.
Truly a wonderful family work and play space. I cracked up over the “Pit of Despair”. It will be enlightening to find out what’s in it when you move! Thanks for all the great ideas!
The room is lovely, but I’m wondering how you managed access to electrical outlets, since you covered all the walls. Maybe you could do a post about that sometime.
Hi Chris!
Nothing fancy actually. If you look back at the before pictures, you’ll see there are outlets on both corners of the far wall (where the counter now is). So I have a power strip plugged into each side…one for my computer stuff and one for my Cricut stuff. For the printer/pencil sharpener, there are outlets right behind the shelf they sit on.
Hope that helps!
Megan
I love this room! So very functional. I always learn so many new ideas from you!
So much great inspiration! You are an organizing wizard! Are you just using the stock caninets freestanding? They are not screwed to each other or the wall, correct?
Thanks!
Hi Cheryle! Thanks so much!
You know, it’s interesting. Over the years, our cabinet setup has gotten easier and easier. We used to screw them together and then shim them to the wall. But then we realized that once the countertops were secured to the cabinets, there was literally no way for them to “tip” over. So yes, if I remember correctly, this time around, they are literally just sitting on the floor and are only held together by the counter across the top.
I get lots of questions about this setup, so I am actually planning on getting detailed photos when we move and set them up in our next house. So keep an eye out for that!
Hope that helps!
Yes it does! Thank you for the response.
I love this Craft/Office room, thank you so much for all your ideas, and tips. Love every bit of it.
You have inspired me, once again, Amy! My office/craft room is currently out of control and a mish-mash of furniture and decor. It stresses me out instead of helping me to relax. Your ideas are simple, clean, and inexpensive investments. I hope you are all settling in nicely. Thank you for your ideas and sharing your life with all of us! Semper Fi and a big OORAH!!!
PS-did you mention that you will be going more in-depth about the Home Depot base cabinets? I love that idea! However, I’m not sure what height I should be looking at. I’d love to know the dimensions – inside and out – or yours. Thanks so much!
Absolute perfection! You spent a ton of time on this post and I am so grateful — so inspiring! Loved your video and got a kick out of your hand rooting for the cabinet handles…and got so excited when I saw you were going to open every drawer and door, is that normal?! Then I went down the rabbit hole on your YouTube and had to come back here to say ….,,, I had NO IDEA all these years Cricut was pronounced “cricket”! Mind blown.
Where is the witty comment from Greg with all the work on this post? 😉
Keep up the videos, love them!
I really love your craft room organization. I could see myself in your space. Reorganizing is a must for my craft room(s). You have inspired me. I have a big job on my hands. It will take quite some time to get it done. I must purge, gift, sell and decrease the number of crafts I have my room. Wish me luck or better yet pray for me.
I love this space! So many brilliant ideas!
Your creative space is so lovely, Megan! I adore how clean and bright it all is! And so “you” with those touches of green and blue. 🙂 <3 I love how you leave your own signature on things. In this cookie cutter world we live in, it's so great to see that some people still have a knack for leaving their own individual mark.
Megan, what an absolutely perfect room!
I am a card maker and I will be slowly working toward this, so far, i have the room, and my stamps, dies and papers organized and nicely stored.
Thank you for sharing your lovely sense if style and organizing!