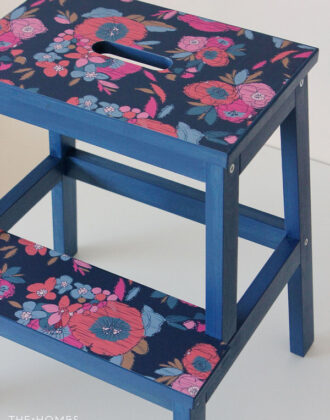
DIY Painted Stacking Stools
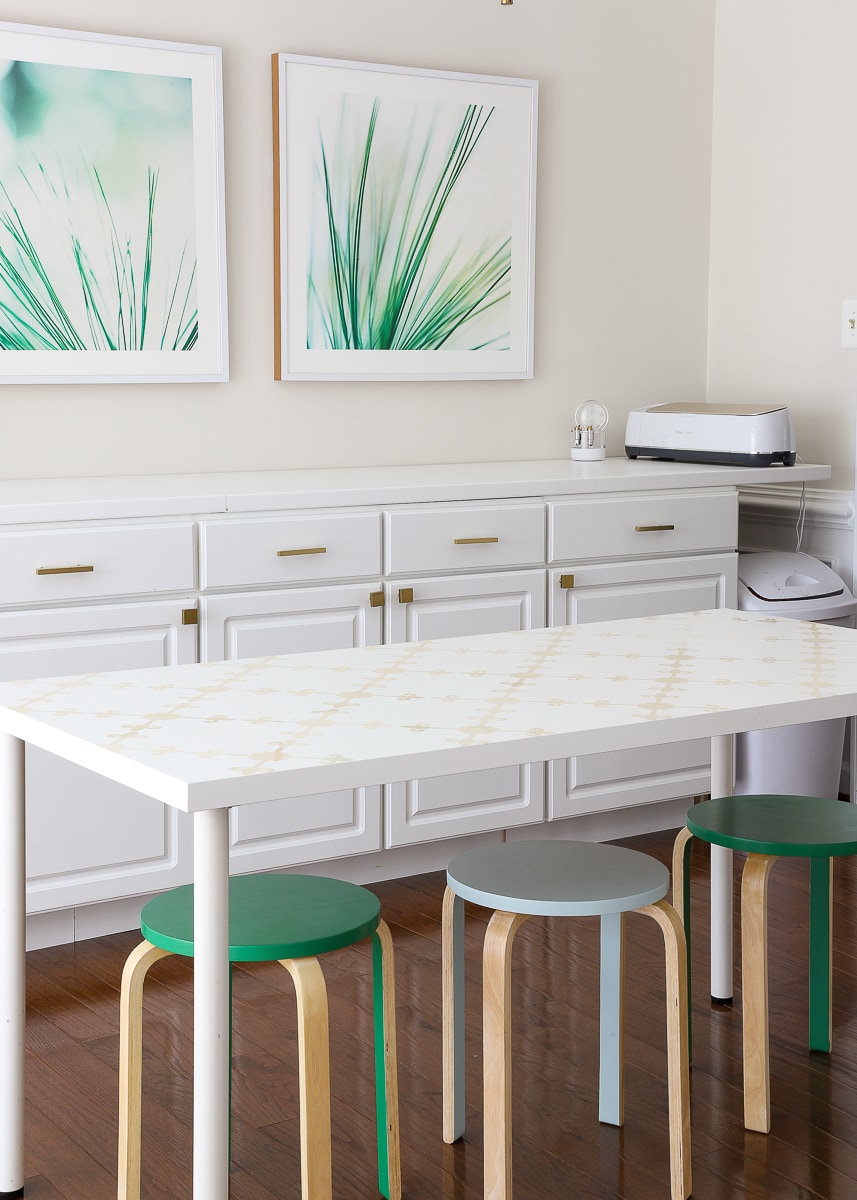
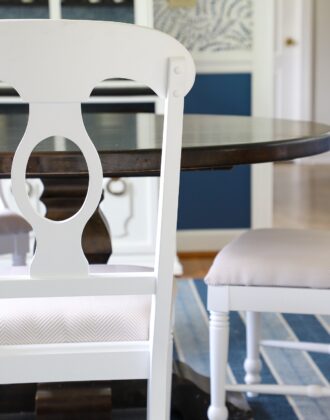
When I recently gave my office table its makeover, I decided it was also a good time to address the seating situation in the office. In addition to the comfy upholstered stool I have at my computer workstation (where I spend a vast majority of my seated time), I also had another upholstered chair at the center table, as well as a navy step stool and round stenciled stool. These three pieces didn’t match at all. But the bigger problem was that they were always awkwardly in the way or left sitting in the middle of the floor whenever I moved the craft table to the front window to take pictures (which is at least a few days a week). I really wanted something that would allow me and the boys to easily sit and work at this table at a moments notice, but also tucked away nicely when the table was shifted out of the center of the room. Enter these adorable painted stacking stools. Not only did they provide the exact functionality I needed, but also introduced an awesome punch of color I didn’t realize was so lacking! Let me show you this easy and budget-friendly furniture makeover!

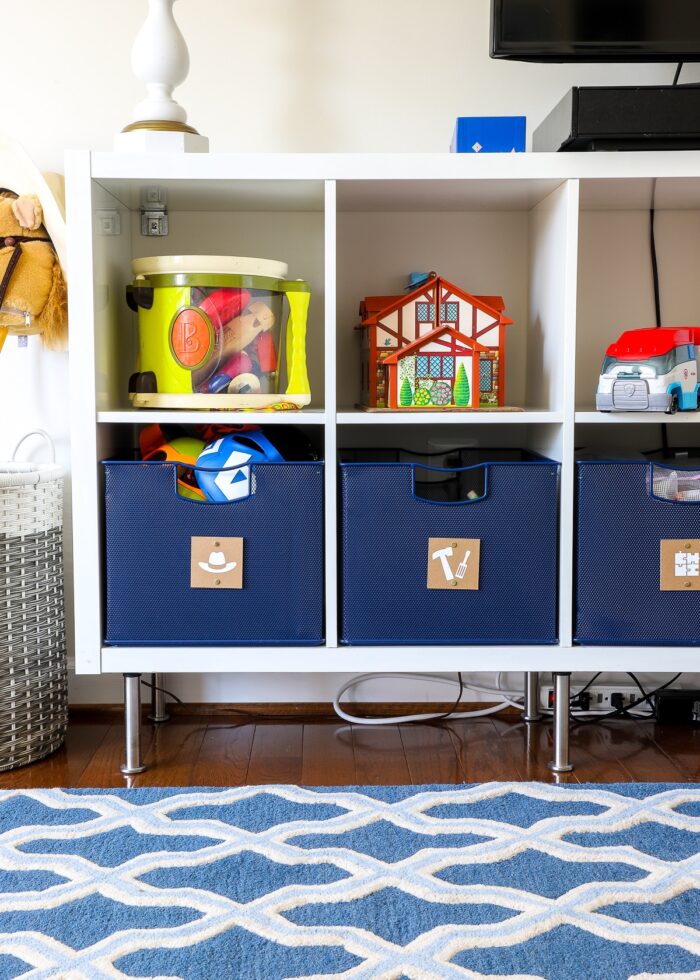
Truth be told, when I was scouring the Internet for good stool options for under the office table, a DIY project wasn’t really on my mind. I was actually heavily considering these green metal stools (since we love the navy ones we have in the playroom), but something kept bringing me back to these super affordable stacking stools. They were just like the IKEA Frosta Stool I already had (which I knew worked perfectly under this table), and I loved how simple, versatile, and inexpensive the set was!
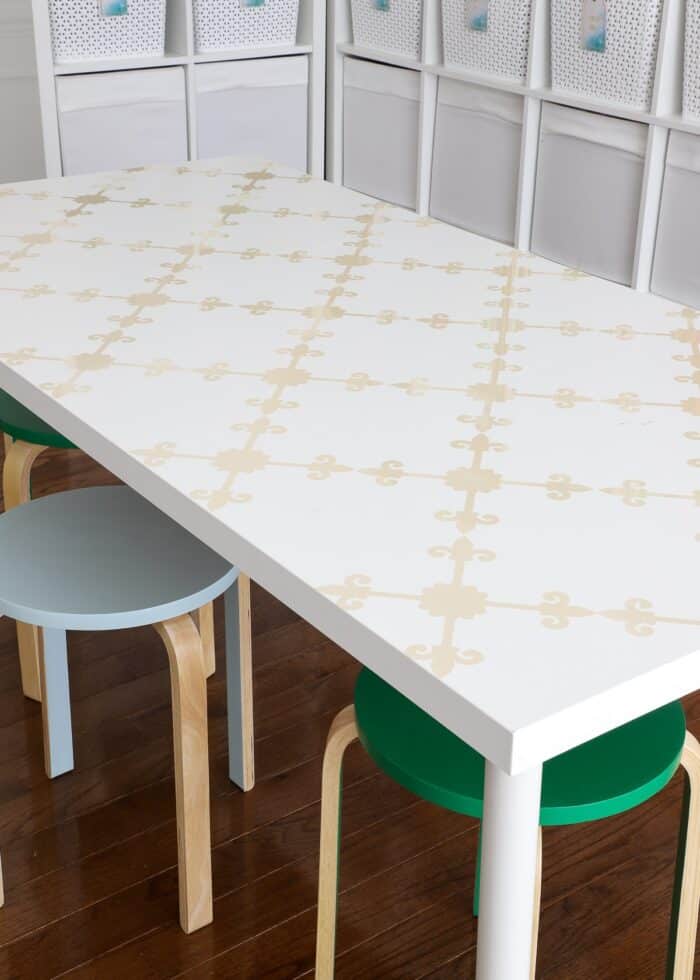
As soon as they arrived, I knew I made the right call. The blonde wood tied in so nicely with the vinyl pattern on the table, and I knew I could easily give the stools a punch of color to wake them up a bit. Little did I know these cheery little stools would soon become one of my favorite elements in this whole room!
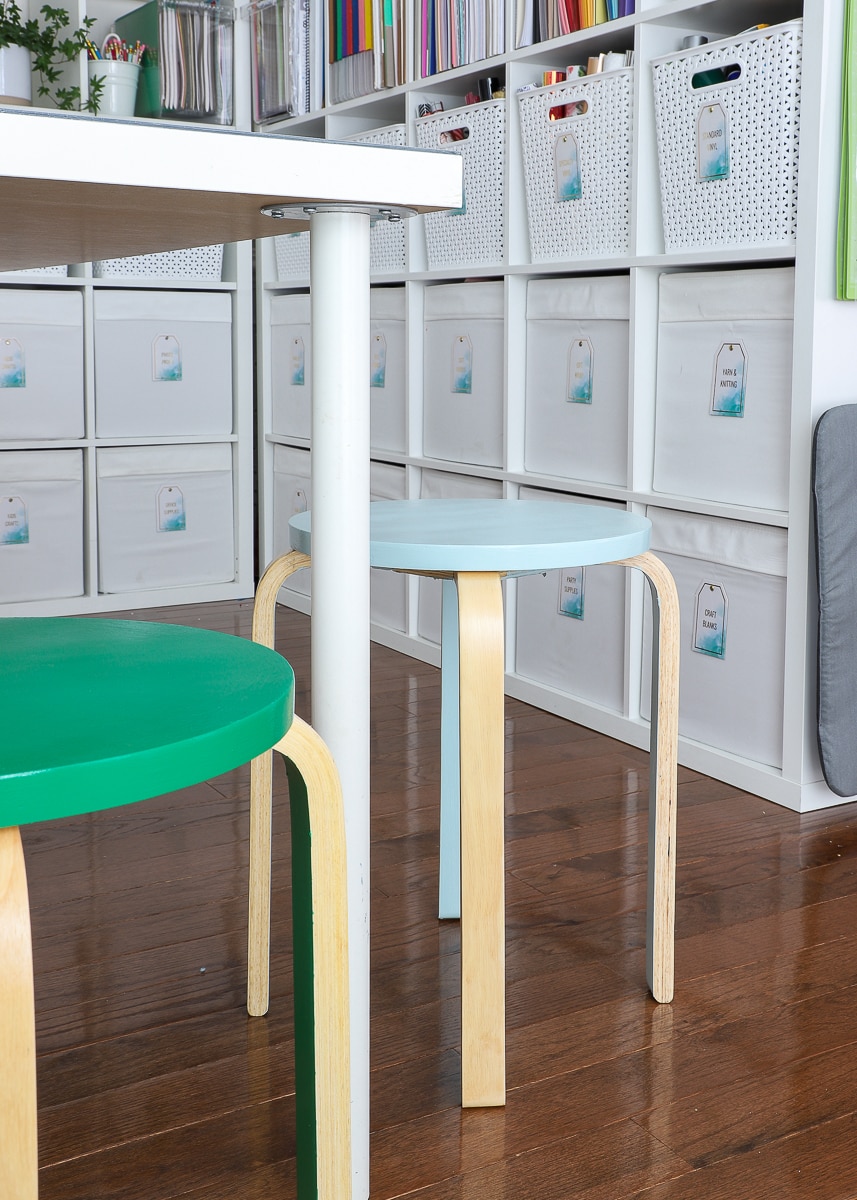
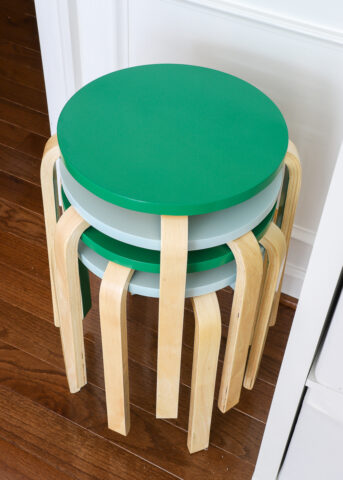
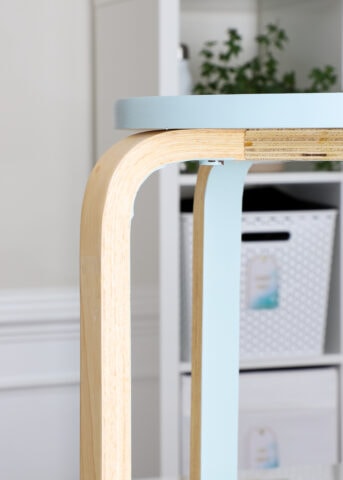
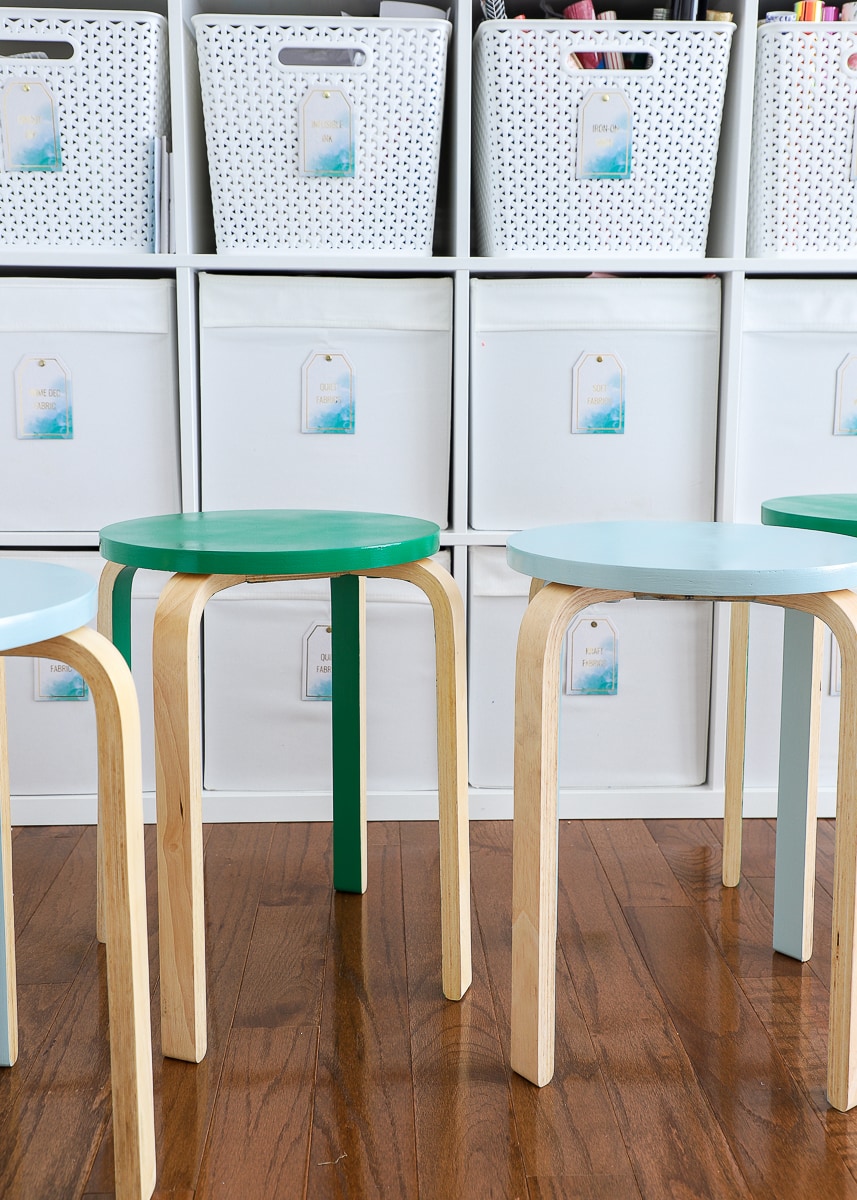
My love for painted furniture runs deep, but in recent years I’ve shied away from bold colors since they are harder to incorporate from home to home to home. By painting just the tops and insides of the legs, I got that happy pop of color without it feeling too bold in this really light and bright space.
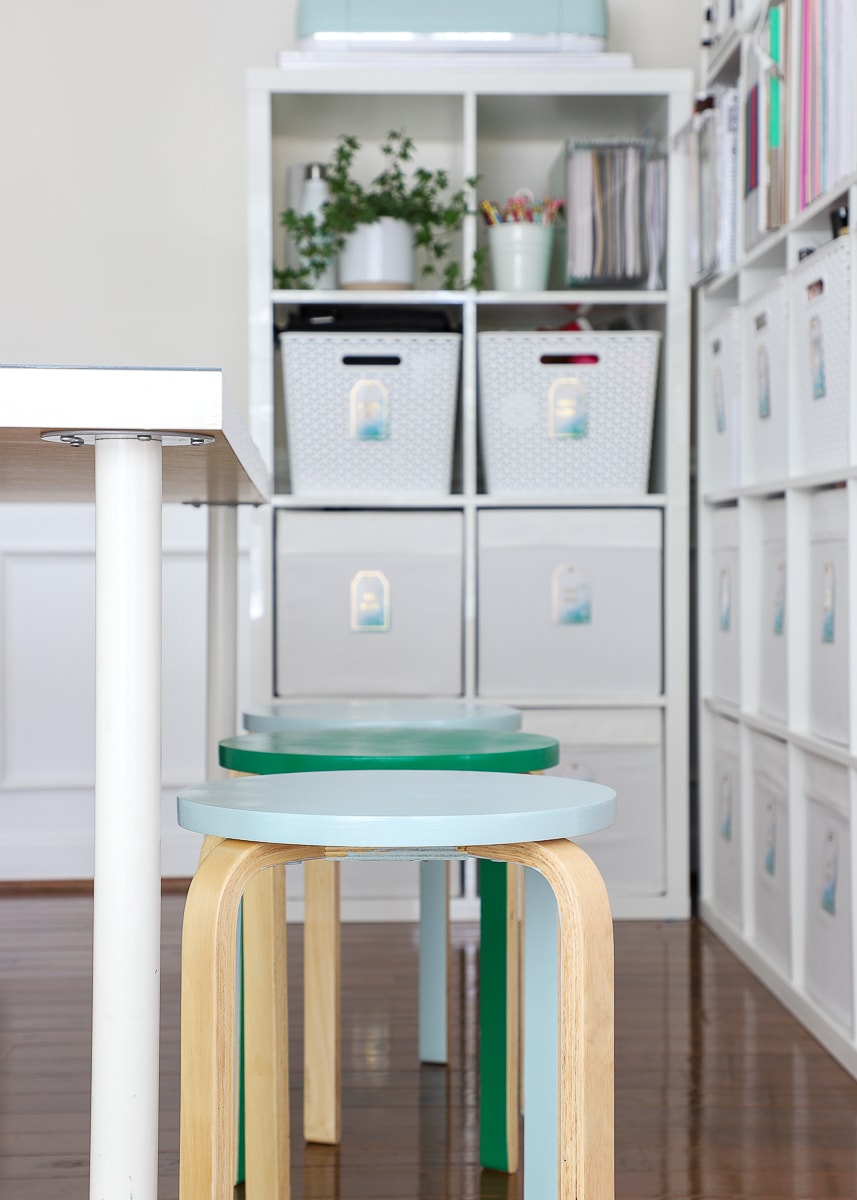
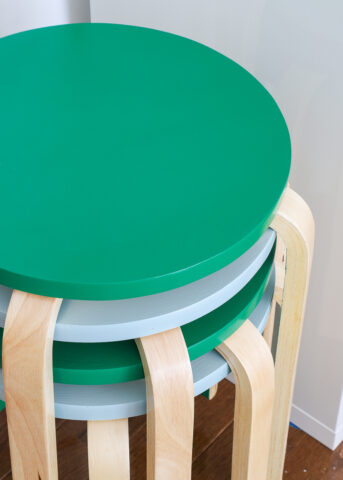
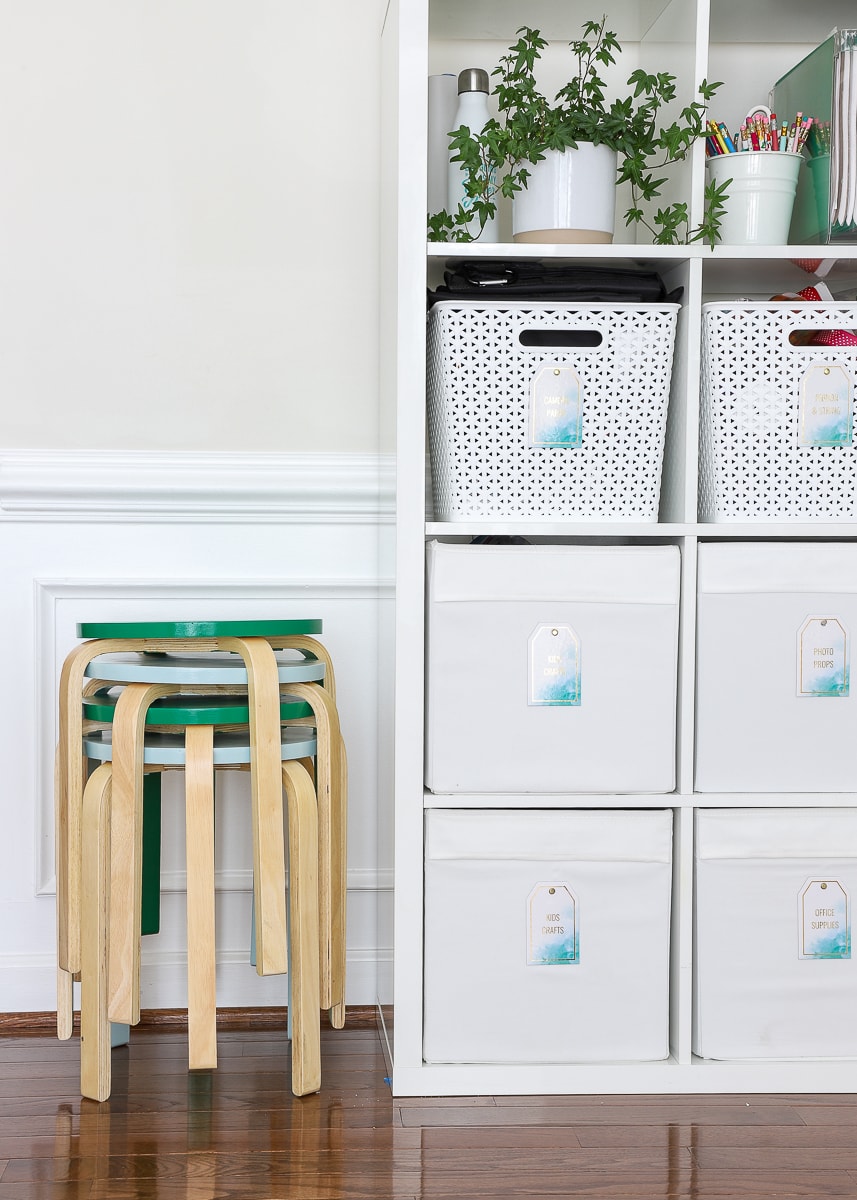
I love that we can easily put these stools wherever and whenever we need them (even when we have extra people over for dinner)…and then they stack up nicely in the corner as any eye-catching accessory when not needed!
These DIY Painted Stools were quick and easy, and mostly used items I already had on hand! Let me show you!
Supplies Needed
Here are the tools and I supplies I used for this makeover:
How To: Painted Stacking Stools
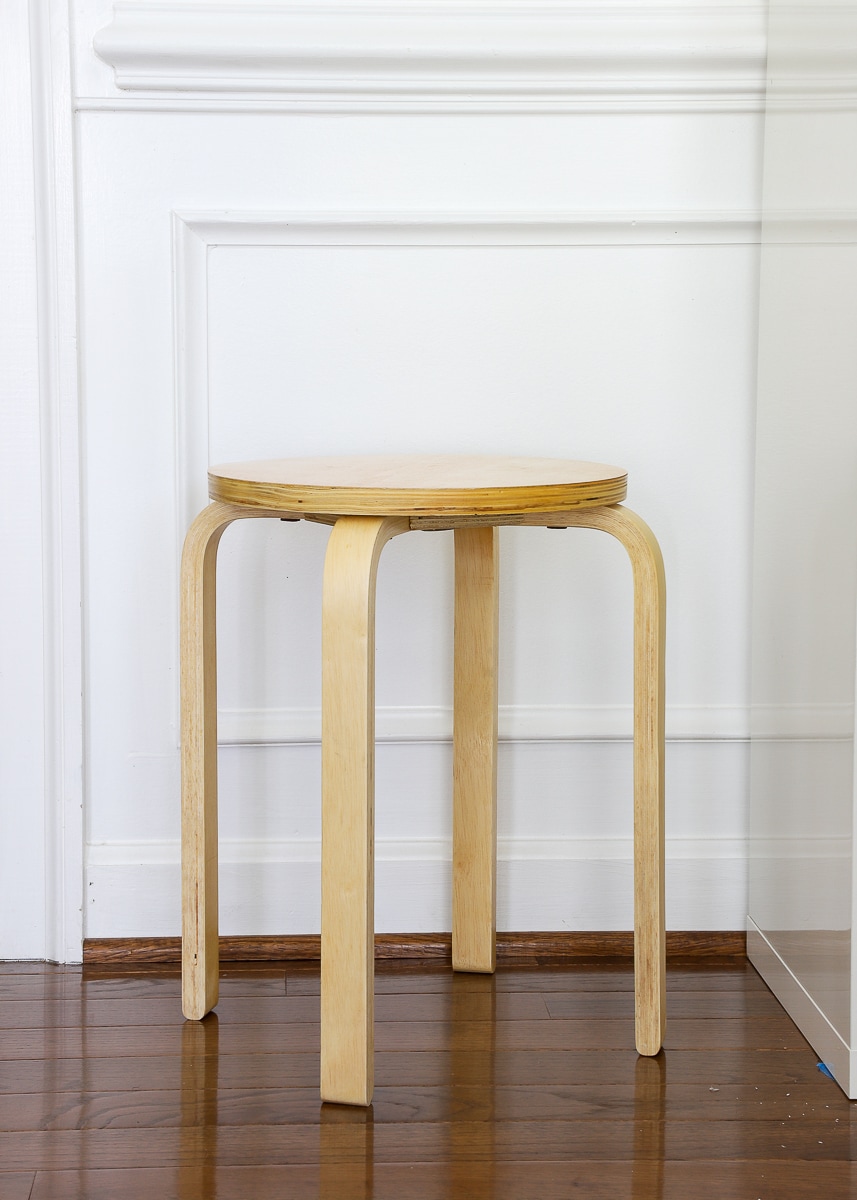
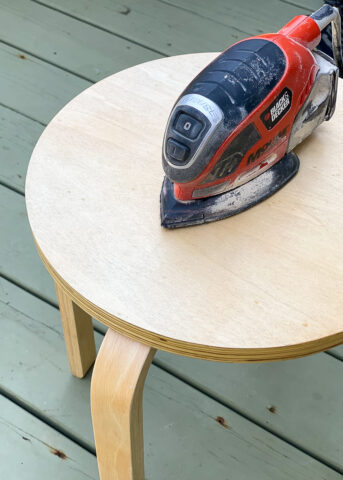
Below is one of the stools as it came right out of the box (already assembled!)
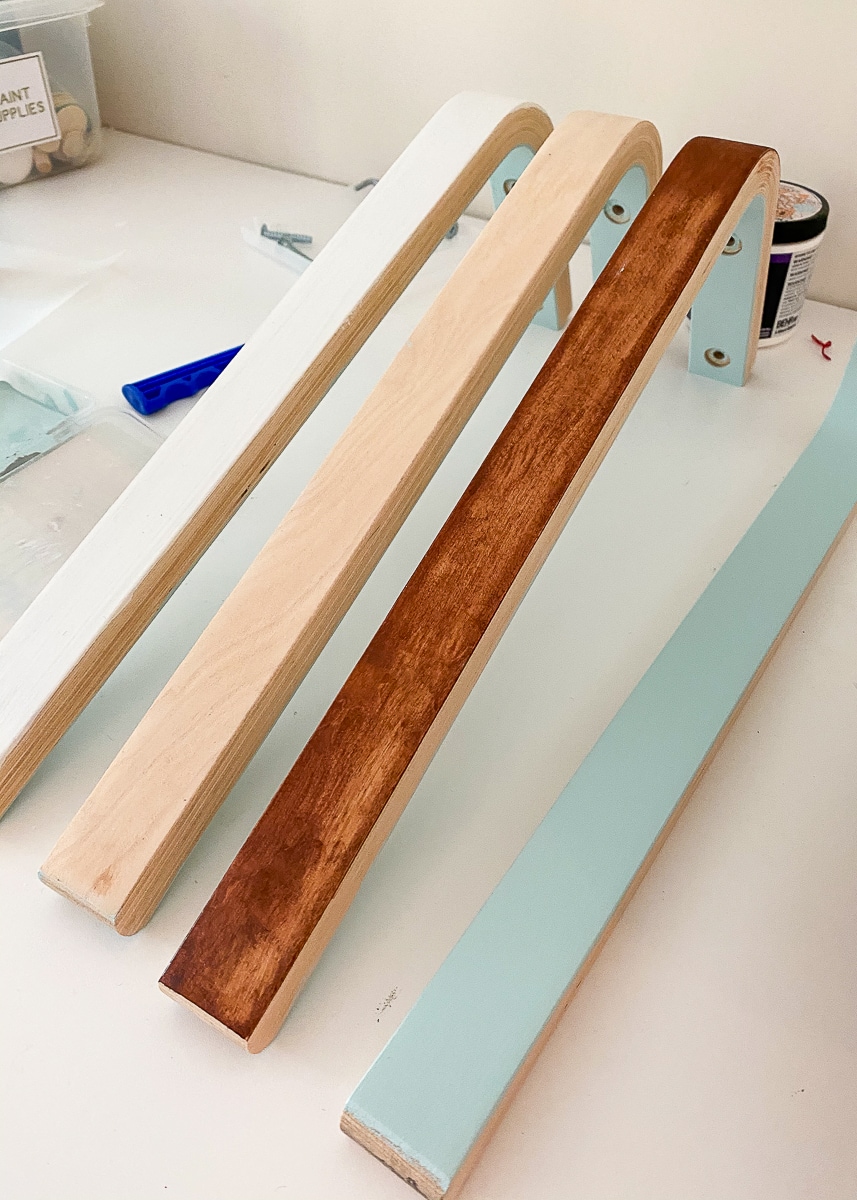
Lest you think I know exactly what I want to do right off the bat when I take on projects like this, I first spent a bit of time scouring Pinterest. Since these stools are very similar to the IKEA Frosta stool, I was able to find a lot of inspiration. I knew I wanted to paint the seats, but I also wanted to add a little somethin’ more. Since I had a 5th stool (my old Frosta stool) on hand, I decided to try a few different leg options before committing. After trying white, stained, natural and the painted inside, I quickly determined painting just the insides of the legs was the way to go.
TIP! If you’re just not sure what to do and your piece of furniture is wood, try painting/staining a single side/door/top/corner, etc. This will help you better visualize your options and you can always sand everything back off again!
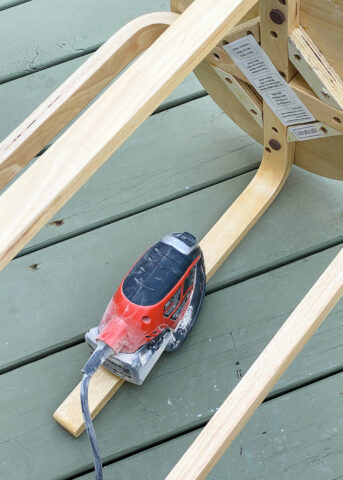
I really didn’t want to go to the store to pull off this quick makeover, so I tried really hard to use what I had on hand. I almost always use this spray primer in lieu of sanding when I am painting furniture. But I didn’t have any on hand, so I spent a bit of time sanding the poly finish off the seat and inside of the legs on all four stools. I started with 80 grit sandpaper to remove the finish and followed up with 220 grit to make it nice and smooth and ready for paint.
Want to save this post?
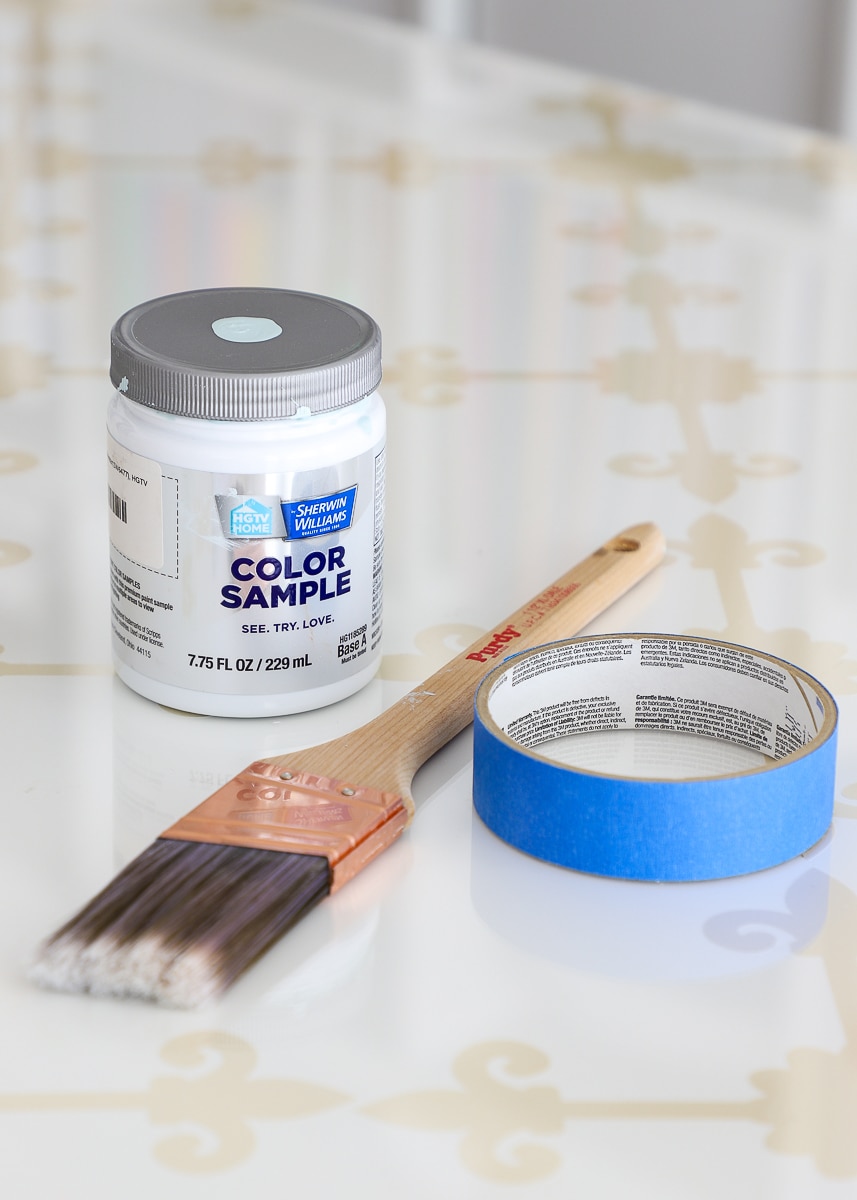
I’ve been on a mission for a few years to create consistency throughout our home by relying on a coordinating color palette. Well…here is another benefit of that approach (beyond just having a cohesive home): I already had samples of paint from the boys’ bedrooms that coordinated perfectly with the art hanging in the office! With these samples in hand, I grabbed my favorite Purdy brush and some painter’s tape and set to work!
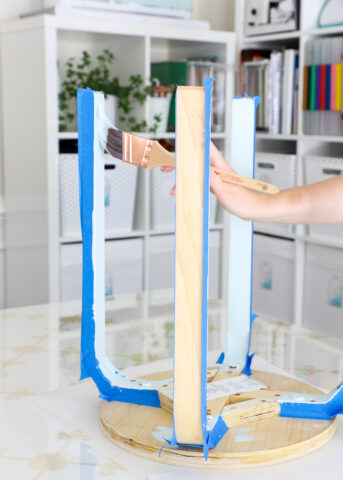
Although it’s slightly tedious, taping up the edges will ensure you end up with nice crisp lines along the inside of each leg. I wish I had a steadier hand so I could skip taping, but I don’t…so taping it was!
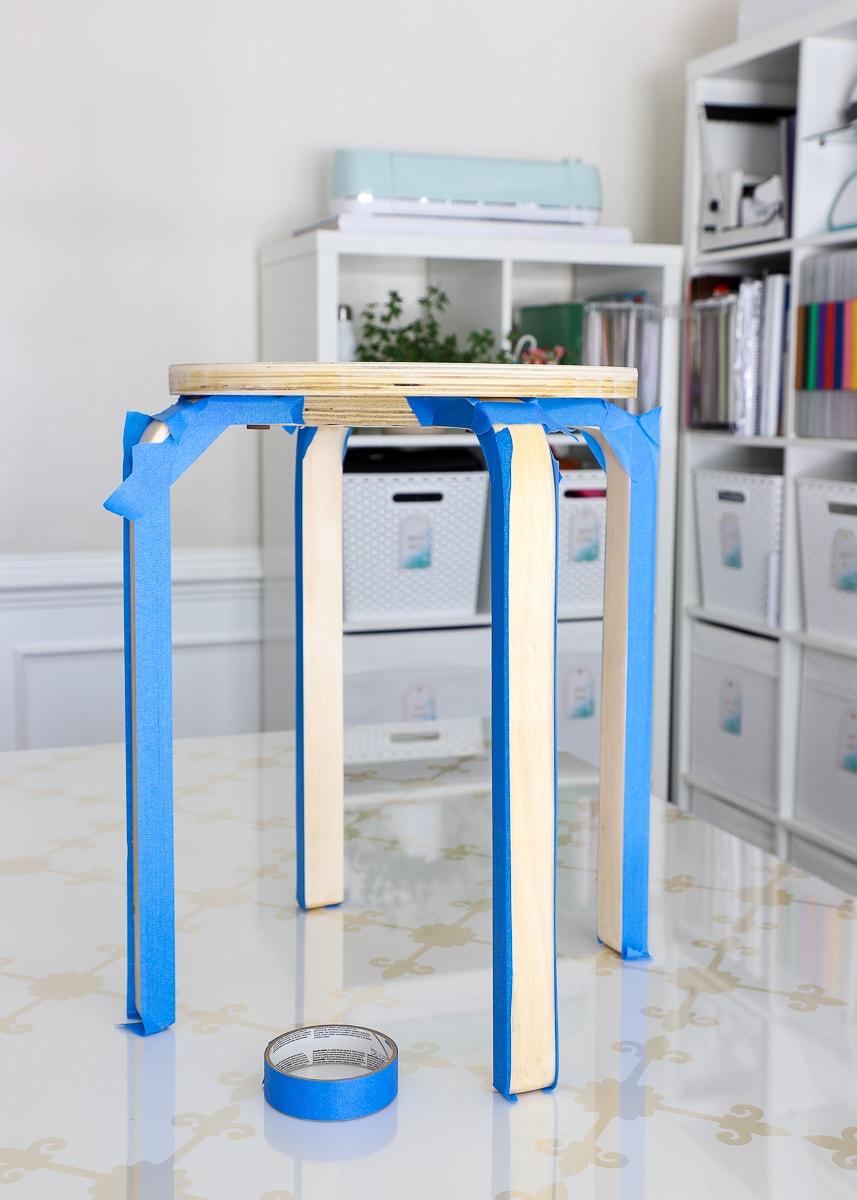
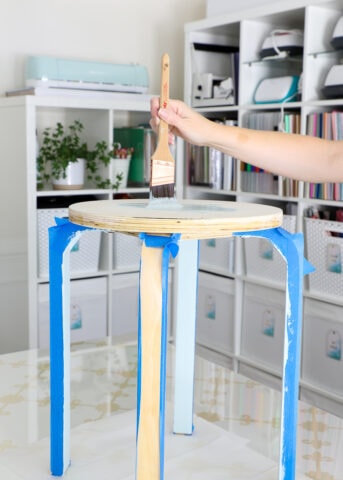
When painting furniture, always consider what position you want it in to dry between coats. Instead of painting the top and then having to wait for it to dry before flipping it over, I was able to instead paint the legs first, then immediately flip it right-side-up to do the seat. By working in this manner, each coat on each stool took not even 5 minutes.
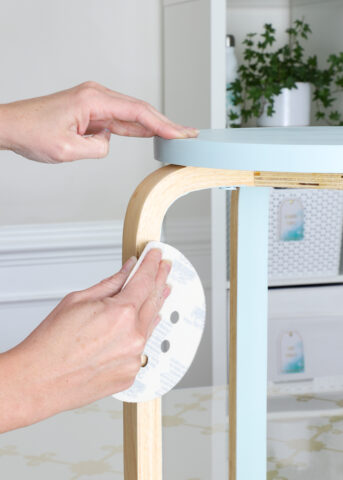
I gave each stool three coats of paint (with about 4 hours dry time in between) before removing the tape. If you notice some paint bled under the tape, just use some more fine-grit sandpaper along the corner edges to clean it up (shown above)!
I didn’t hesitate to use plain old latex paint samples on these stools because I planned to seal them up with my favorite protective finish: Crystal Clear Enamel by Rust-Oleum.
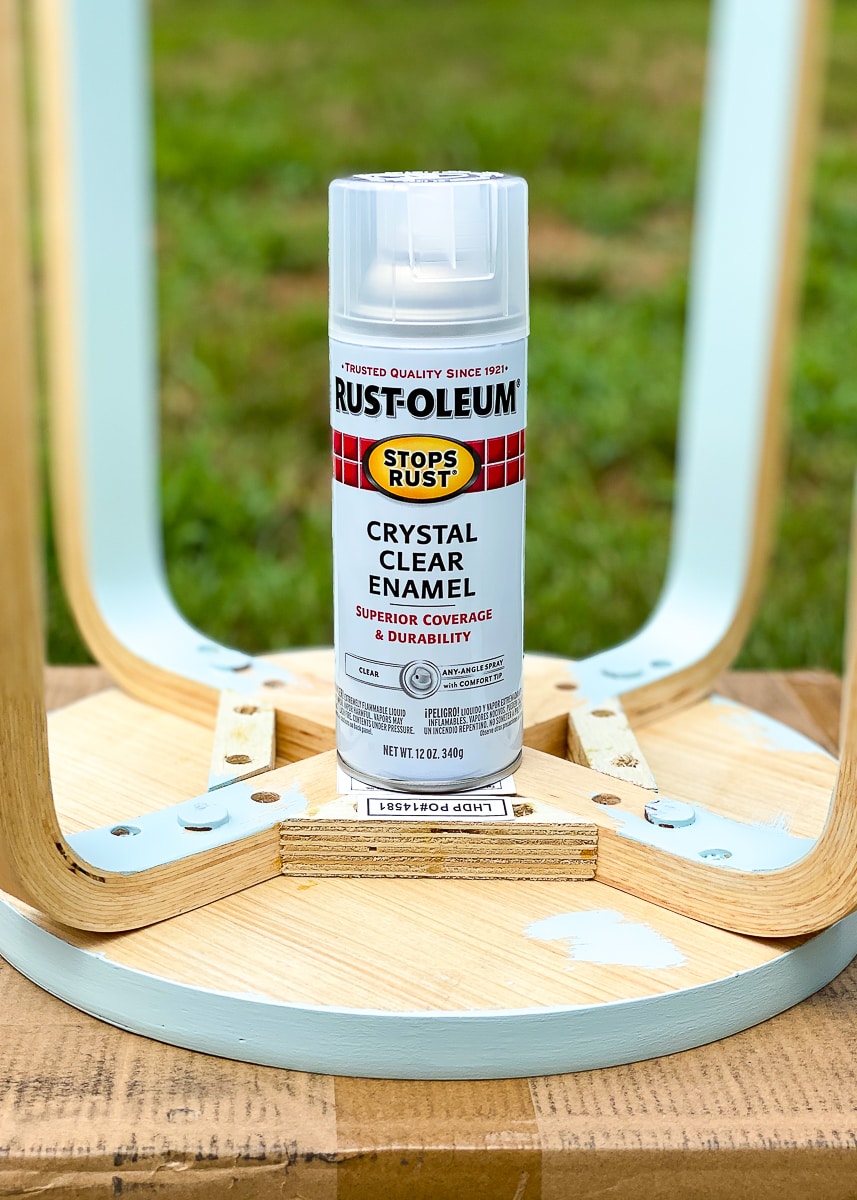
This high-gloss spray is what I use on most of my smaller furniture pieces. It gives a lovely, glossy finish and protects better from nicks and dents than anything else I’ve tried.
TIP! To prevent drips when you’re using spray products…especially in high heat and humidity…be sure to do very light coats while moving your can constantly across your furniture. More light coats are better than a single, thick, drippy coat!
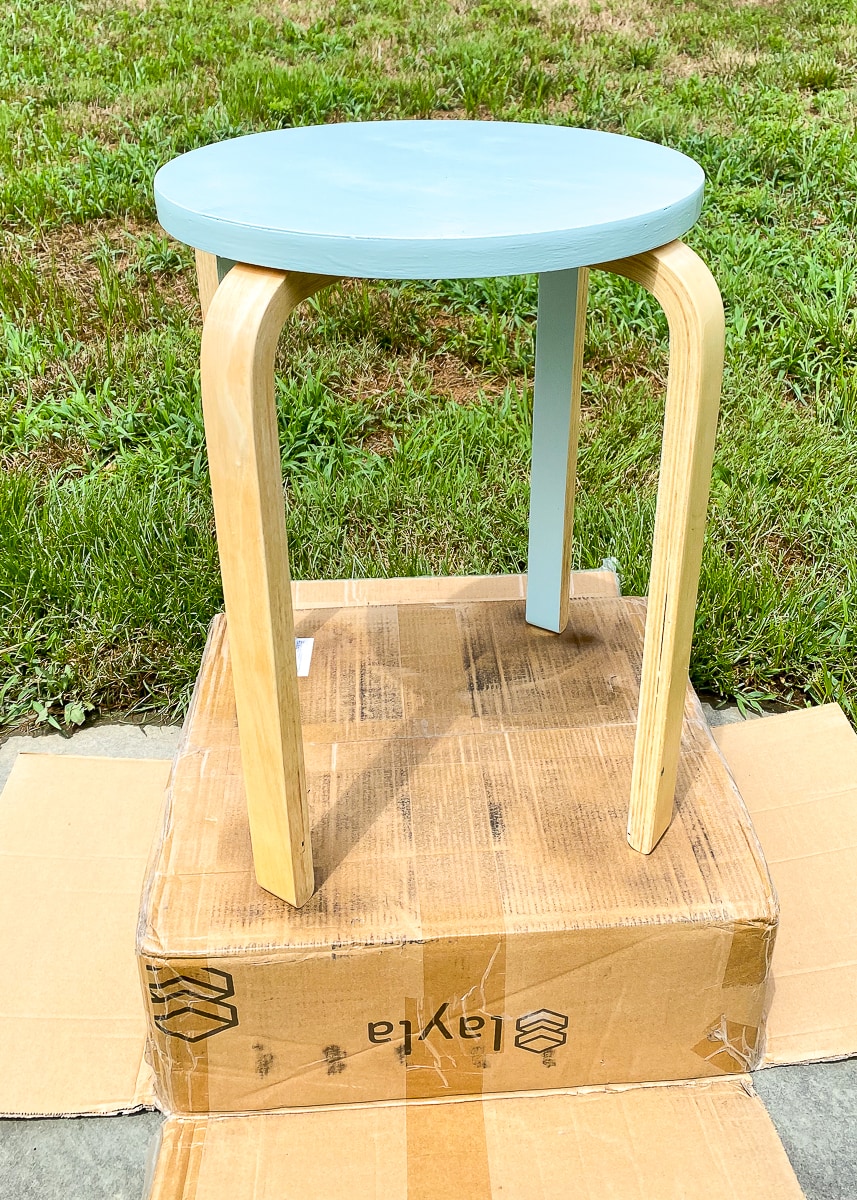
Two light coats of spray followed by 24+ hours cure time in the air conditioning, and these were ready for craft time!
It’s seriously been forever since I’ve taken on a legit furniture makeover. Although I did have to put in an hour or so of sanding time out in the heat, these came together so quickly thanks to painting only certain parts of the stools with small jars of paint using a single brush. If there’s anything I hope you take away from this post (beyond that it’s okay to paint something brand new!) is that painting furniture doesn’t have to be this big laborious, messy process…
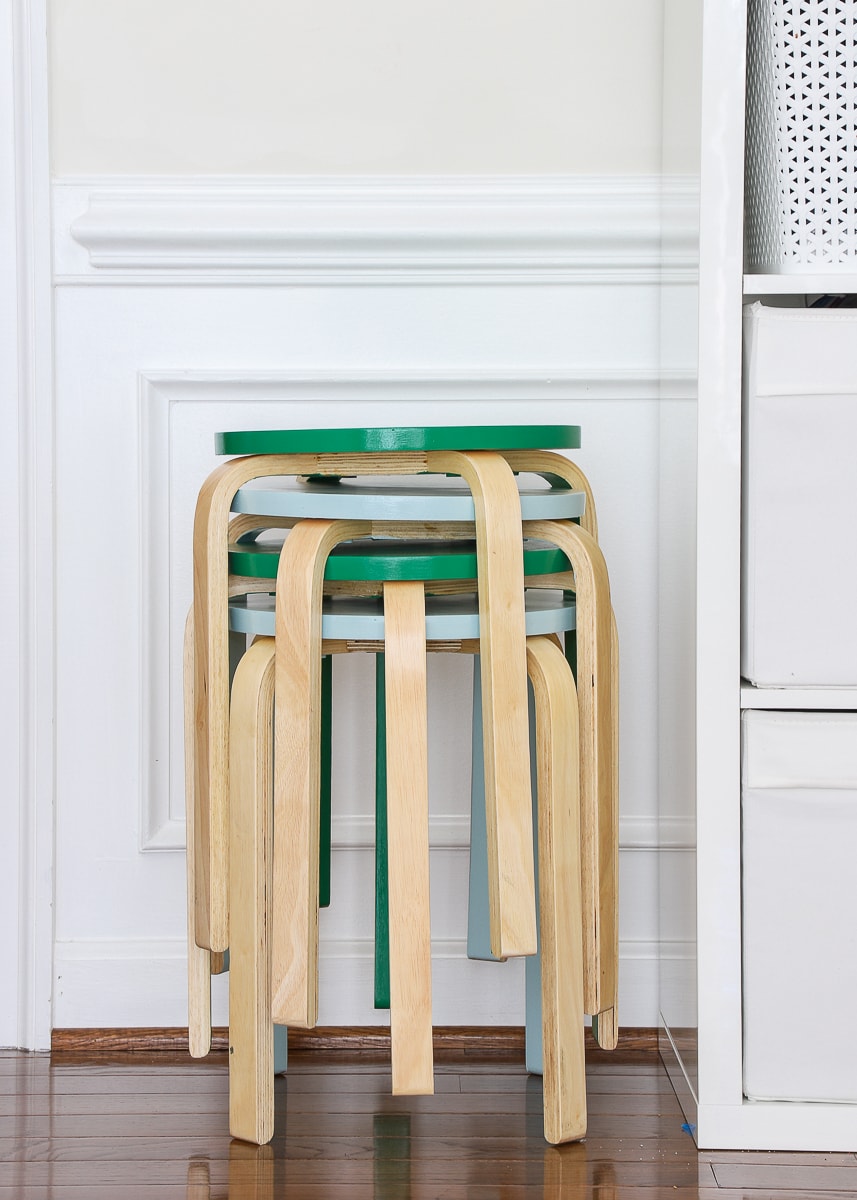
Well…that and painted stacking stools are pretty much the cutest thing ever! I’m seriously obsessed!
Other Stylish IKEA Hacks
- Functional & Stylish Inserts for the IKEA Kallax
- Make a Sofa Table in 10 Minutes Using IKEA Parts
- IKEA Kallax Hack With Wallpaper
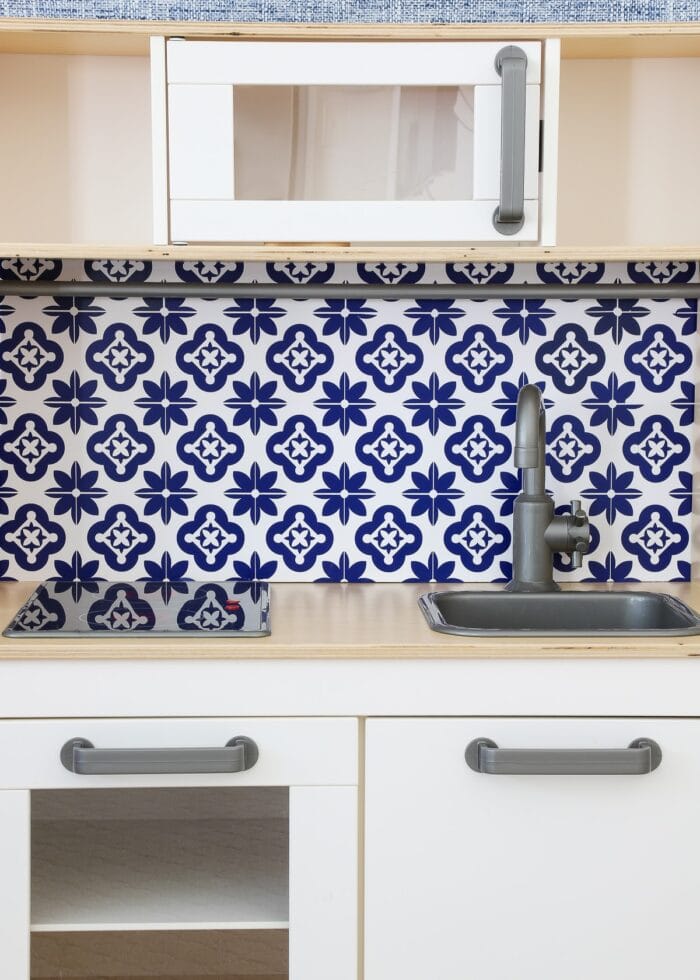
- How to Put a Backsplash on the IKEA DUKTIG Play Kitchen
- How to (Affordably) Store Craft Paper on IKEA Kallax Shelves
- Creative Ways to Label IKEA DRONA Bins
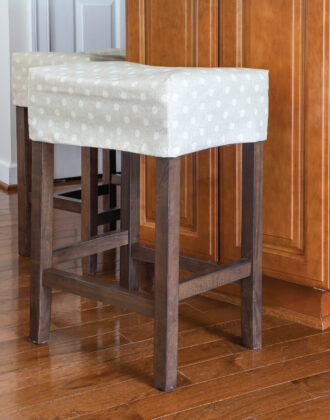
- DIY Wallpapered Stool (An IKEA BEKVÄM Hack)
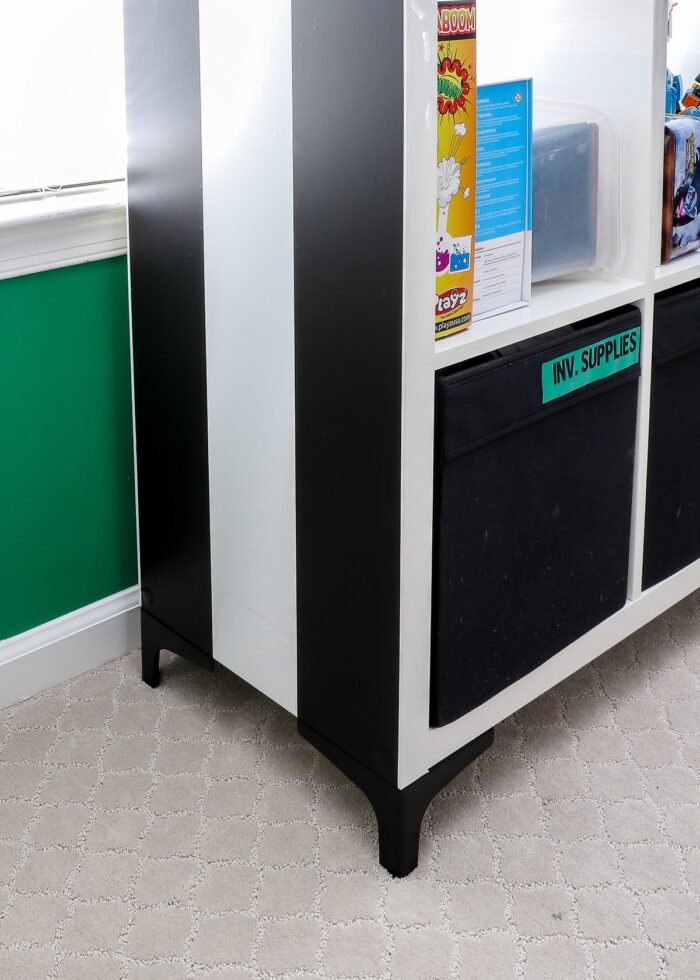
- How To Add Feet to an IKEA Kallax
- "Stenciled" IKEA Table with Cricut Vinyl
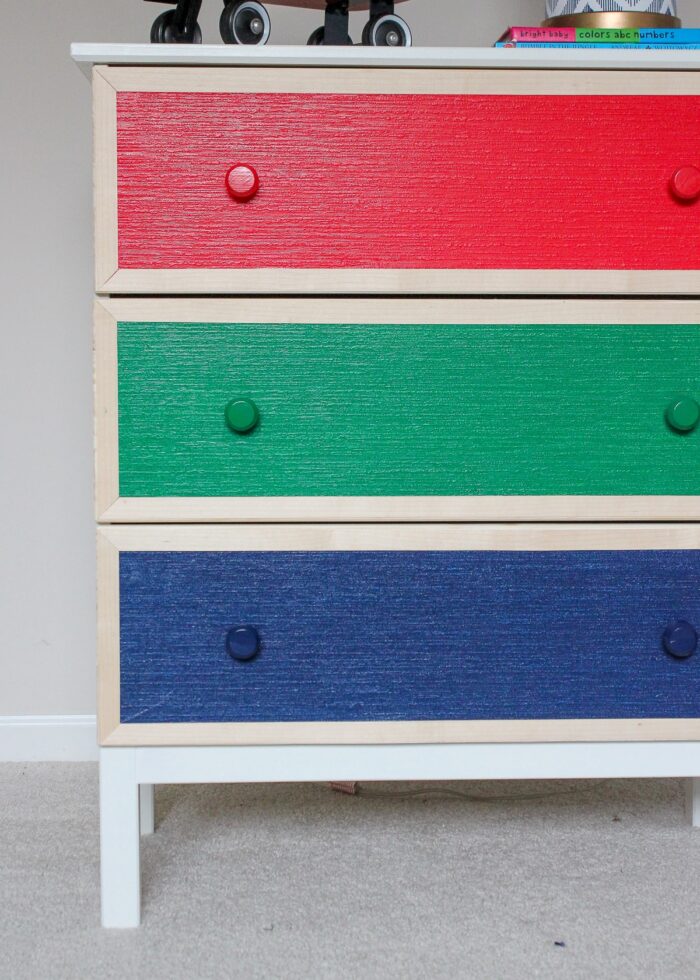
- 1 IKEA Dresser | 4 Totally Temporary Transformations
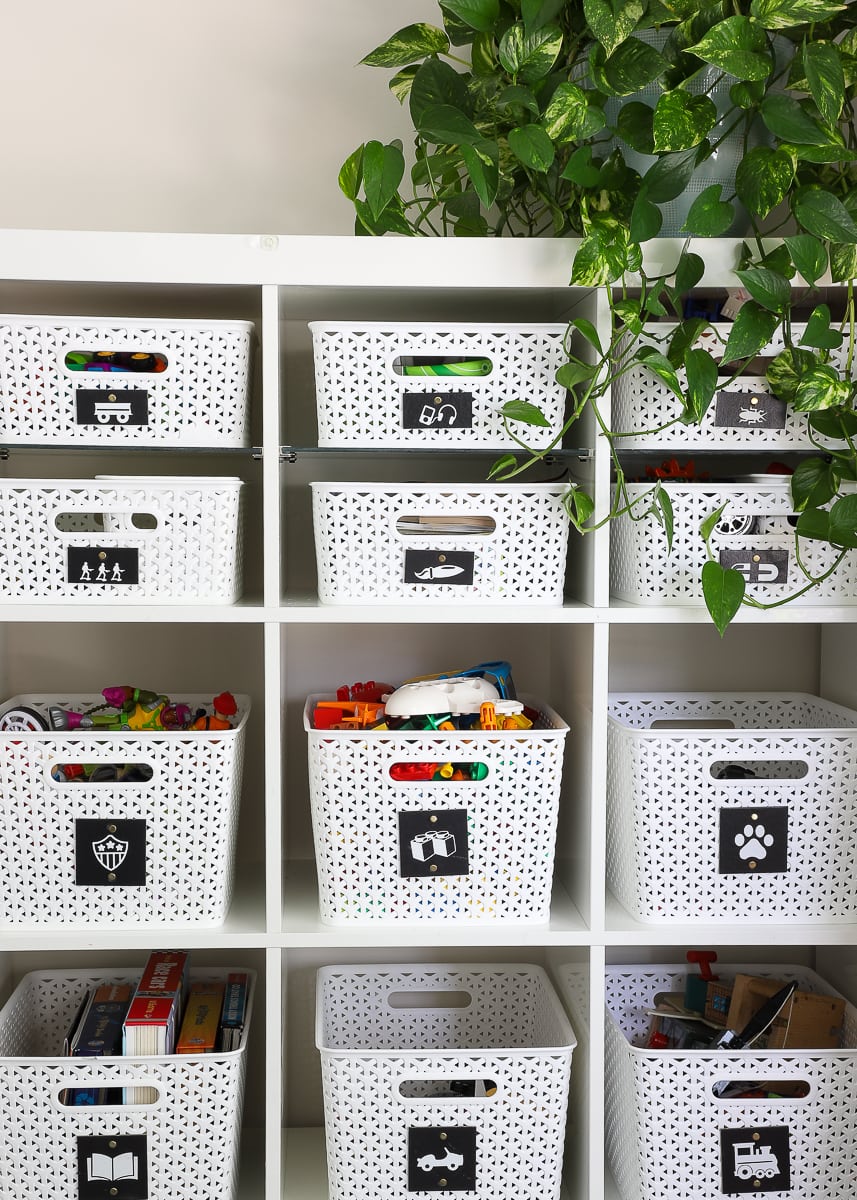
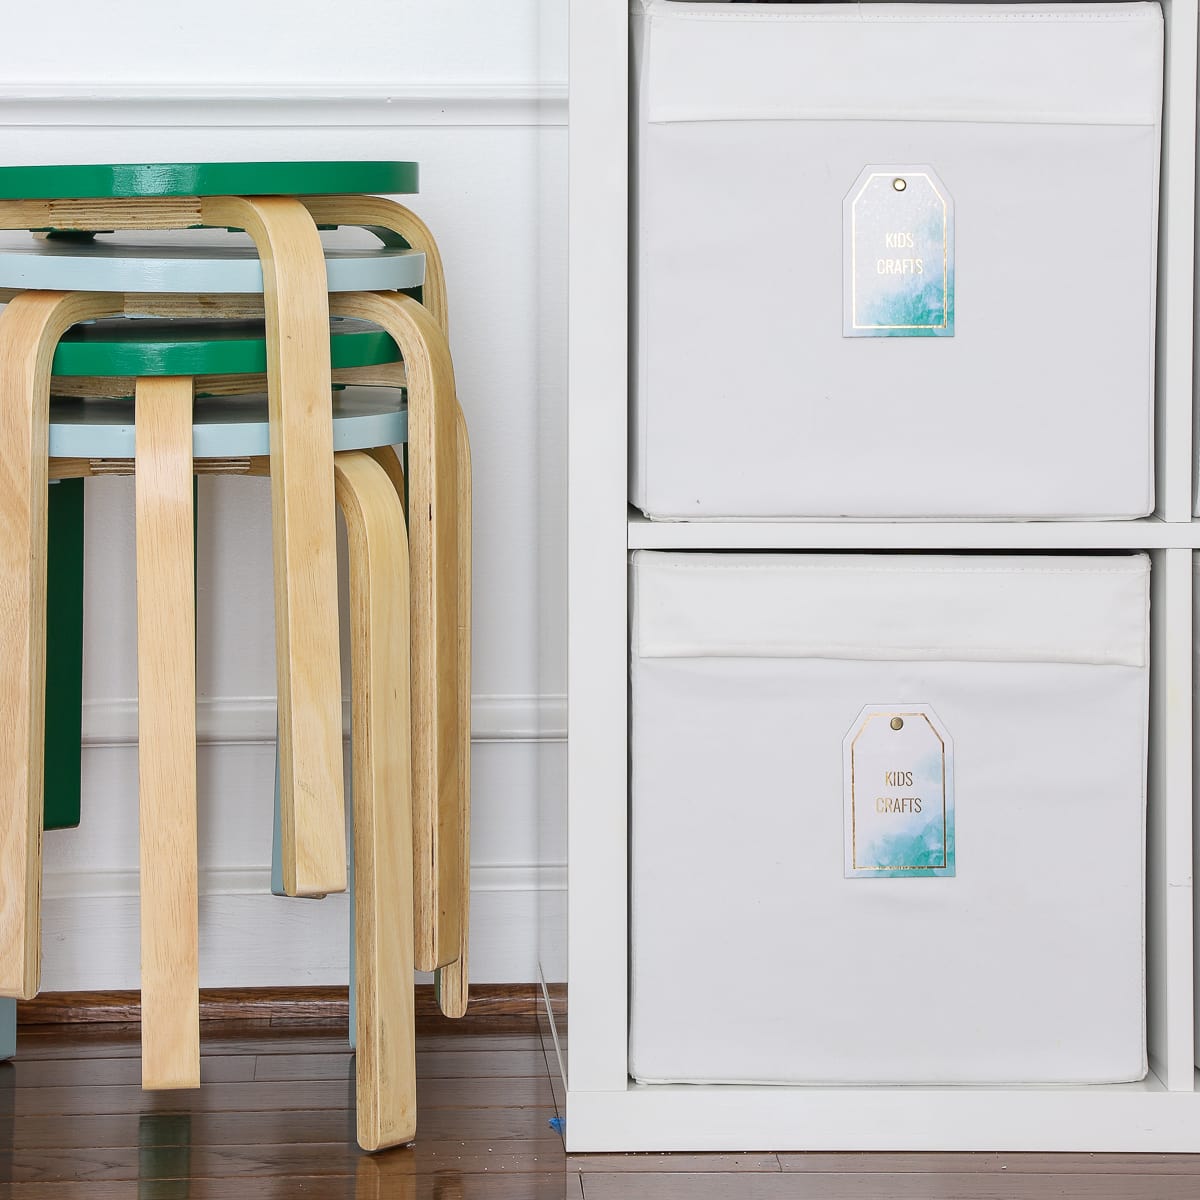
After not touching this room at all since moving in, it’s turned quite the corner in the last few weeks! Doing the faux finish on the table definitely spurred me on to make some other updates that have really pulled the whole space together (like the pretty basket labels!). I just recently ordered a rug for this room on super clearance and am awaiting some new table legs to be back in stock at IKEA. Then I need to do one final decluttering of my craft supplies, and I’ll be ready to cross this room off the good ol’ To Do List! Woo hoo!

Megan
2 Comments on “DIY Painted Stacking Stools”
Super cute! This is such a fun idea. Thanks for sharing how simple pops of color and a few minutes here and there can really change how a space feels. I feel a few old to me but looking new to everyone else things coming!
Yes!!! Even I consider paint jobs to be this massive undertaking. This project was definitely a good reminder for me too!
So happy to hear from you – hope you’re well!Megan