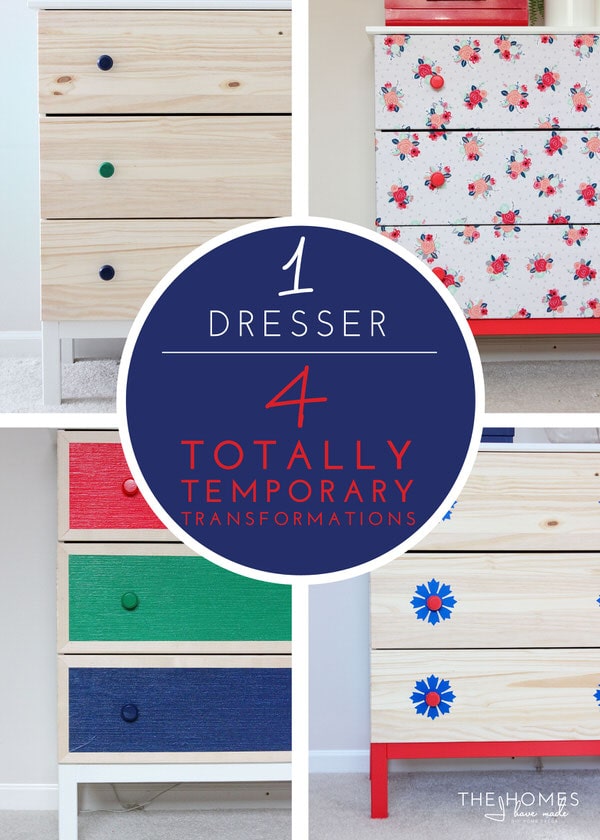
1 IKEA Dresser | 4 Totally Temporary Transformations
5 weeks ago, I embarked on a project that has been on my mind and “to try” list forever: to give a single piece of furniture several different makeovers, all using different products and techniques and all that were completely, 100% removable. Last week, I completed the fourth and final makeover, and I’m revisiting this project one last time to re-cap my journey and let you all vote on your favorite!
Offering a variety of makeover techniques is certainly a fun and worthy pursuit; but why, you might ask, did I require that the updates be removable? In my own experiences of moving frequently and having to constantly shuffle furniture between rooms, I have been faced with the need to change/update furniture to simply make something work. However, even me – a total lover of painted furniture – doesn’t always want to permanently change a piece just for our current living situation. Additionally, so many readers and friends have asked me variations of these two questions over the years: 1) “How do you update an antique or family heirloom without sacrificing its integrity (and risk getting kicked out of the family!)?” and/or 2) “How do you get your husband to let you paint the furniture?!”
These four makeovers, my friends, are my answer! There are indeed ways to use tape, fabric, vinyl and wallpaper to update furniture in a way that won’t upset your family members or ruin an antique, but yet will give you the fresh, modern and updated look you want for your home!
Before I let you vote, here’s a (relatively) quick recap of the journey of this simple little IKEA Tarva dresser!
Baseline
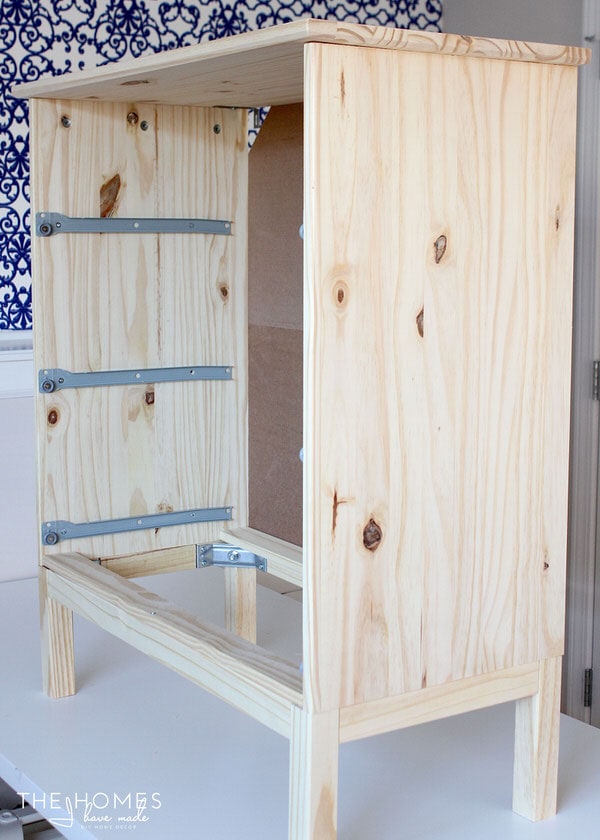
I started by purchasing an IKEA Tarva dresser and assembling it according to package instructions.
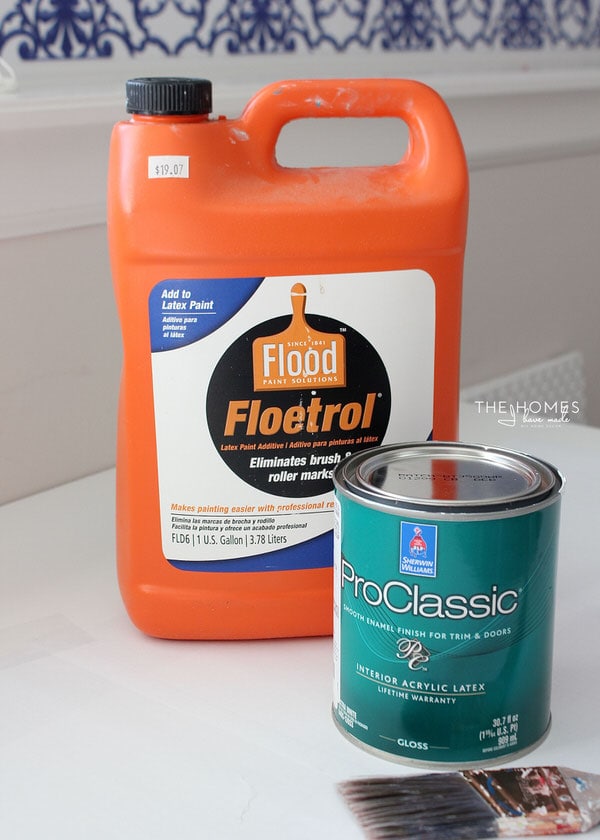
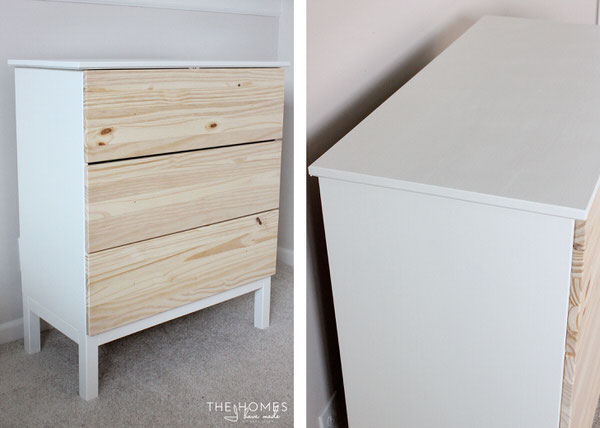
So I would have a variety of textures/finishes to work with, I chose to paint the frame of the dresser white and leave the drawer fronts raw wood. I used my favorite paint combo to achieve a durable paint job in just two coats:
You can read more about how I painted the dresser here!
With the dresser assembled and painted, it was ready for a variety of new looks!
Makeover #1 – Washi Tape
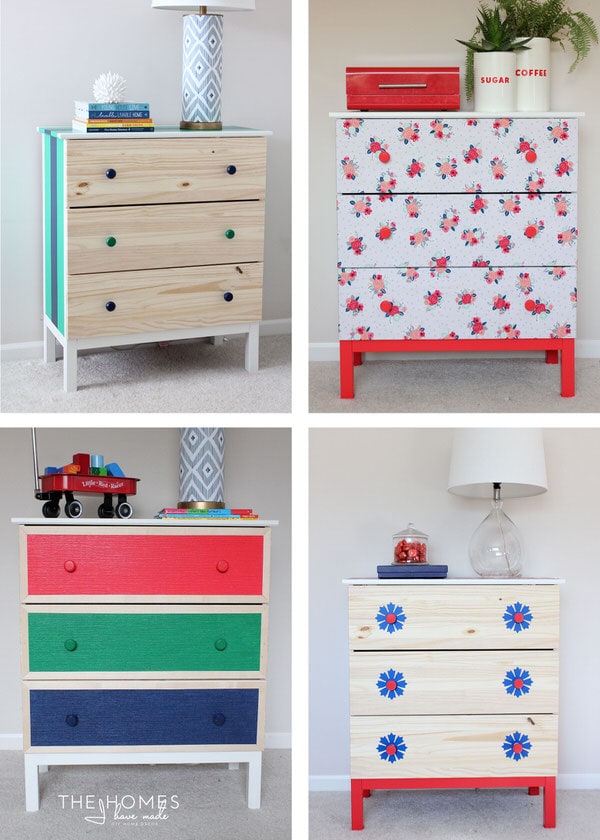
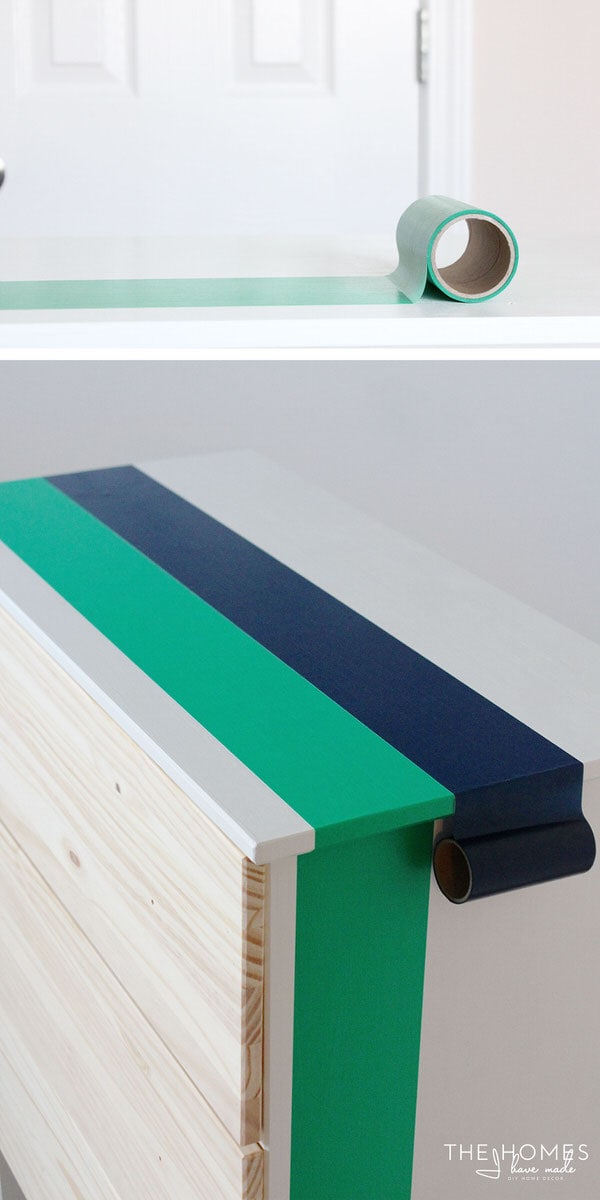
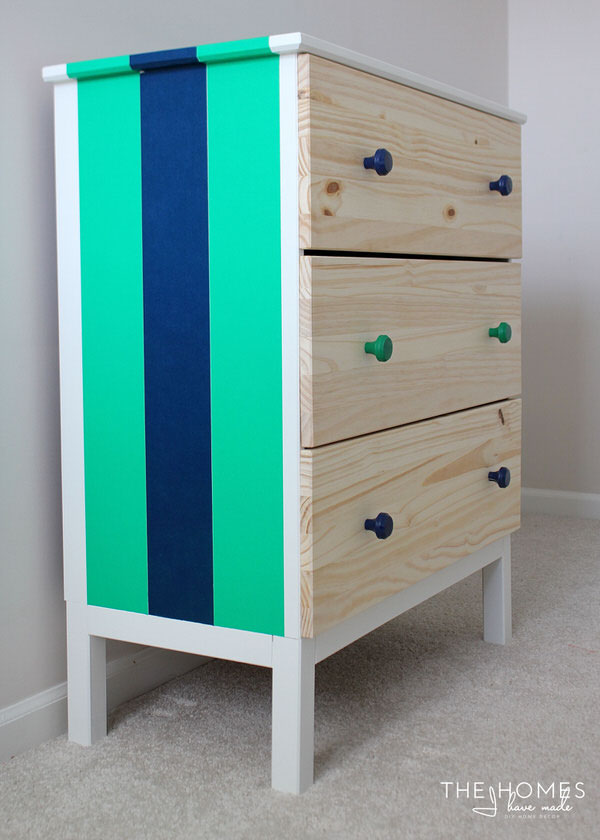
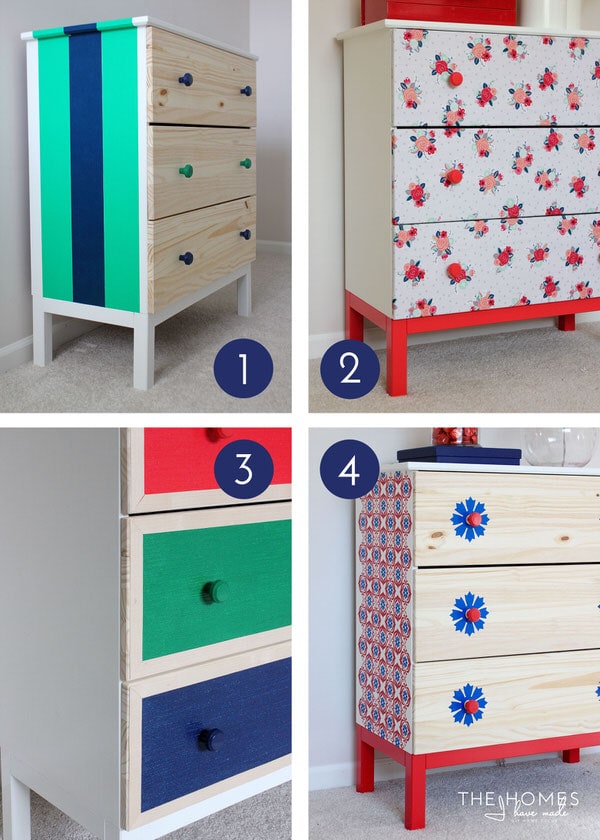
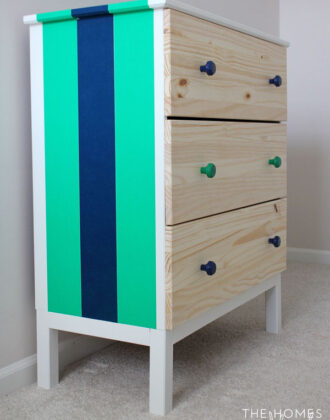
The first makeover was done using extra-wide washi tape. I simply stretched the tape across the dresser, trimmed the ends, and painted the knobs coordinating colors…
…which resulted in a fabulously preppy dresser! You can catch up on all the details of this makeover HERE!
Makeover #2: Fabric
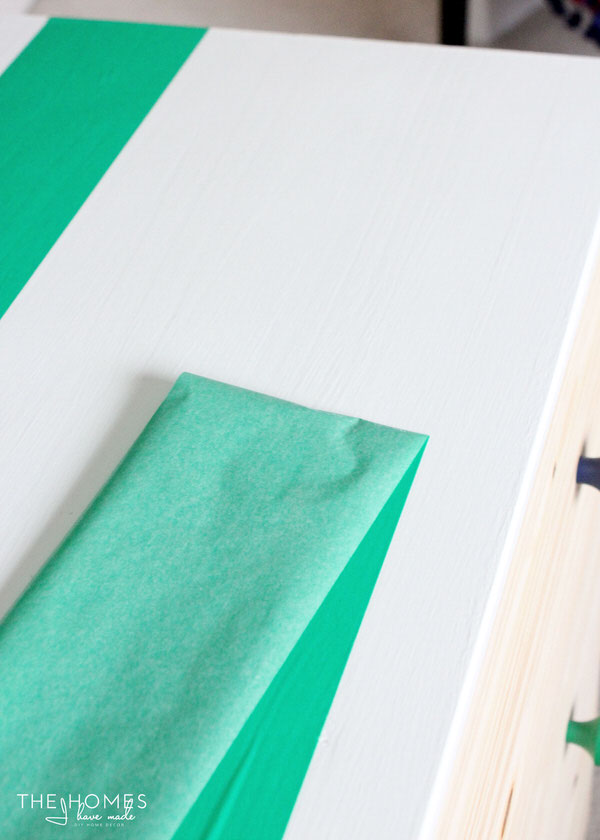
As soon as the pictures of the striped dresser were snapped and posted, it was time for the next makeover! I started by peeling off the tape (which came off super cleanly!)…
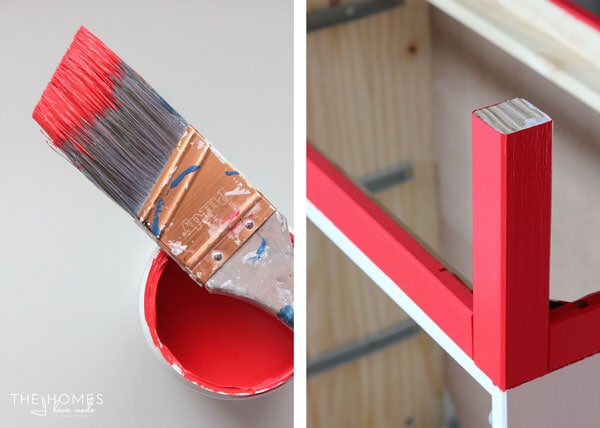
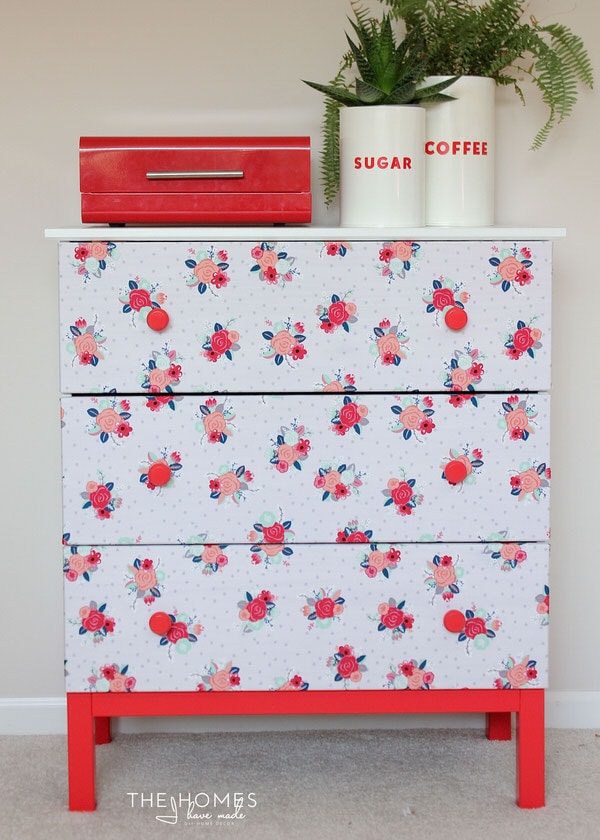
…and then painted the base of the dresser and the knobs red!
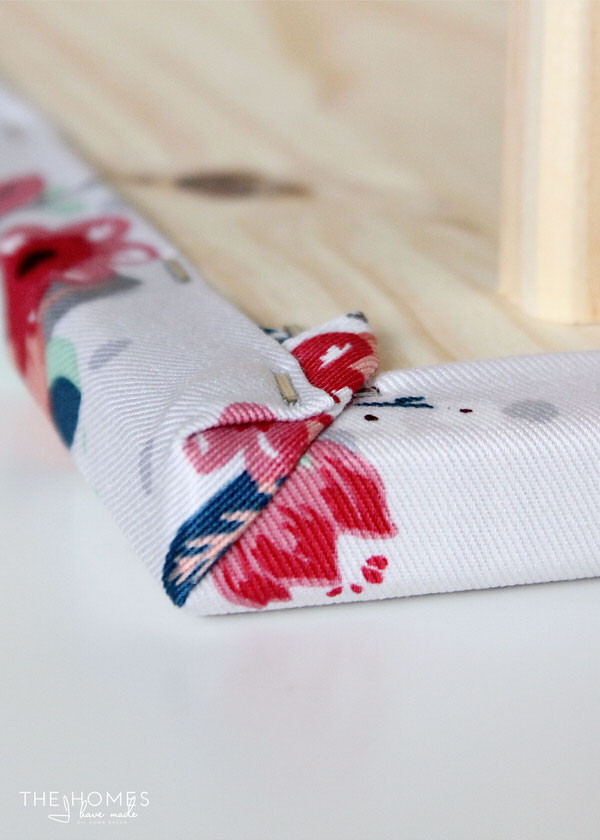
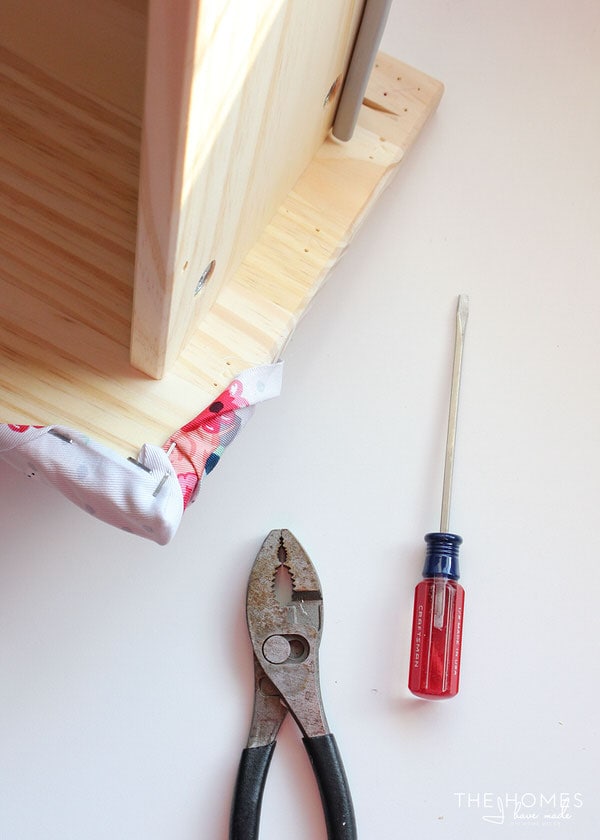
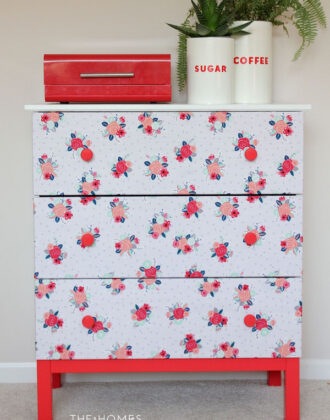
I then wrapped each drawer in sweet floral fabric…
…to create a look that was beyond darling. You can catch up on all the details of this makeover HERE!
Makeover #3: Vinyl
I was so smitten with the floral dresser that I didn’t want to take the fabric off and do something else. But “the show must go on,” so I removed the fabric panels from the drawer fronts to ready the dresser for its next look!
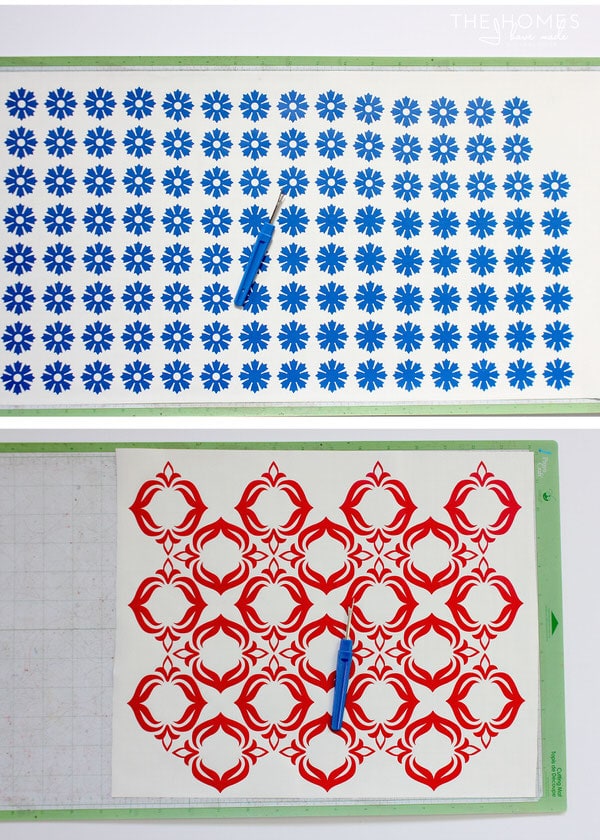
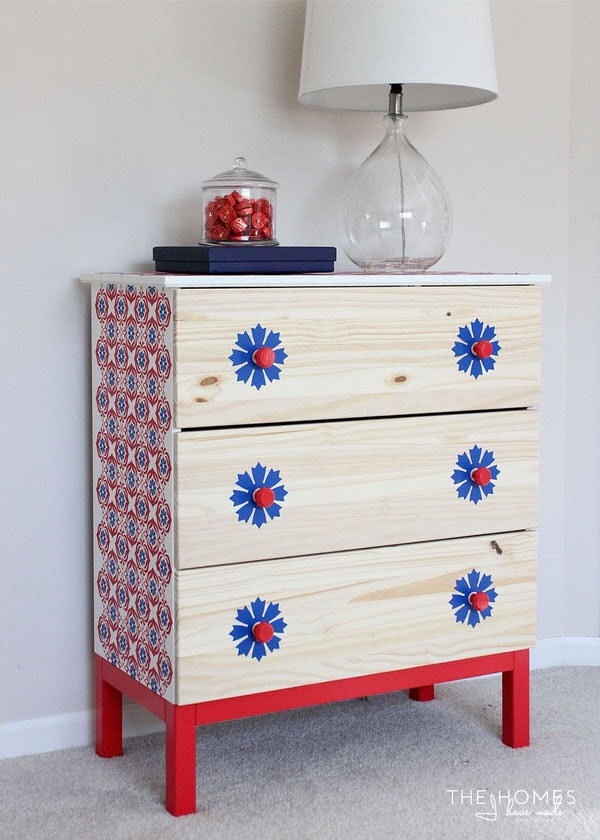
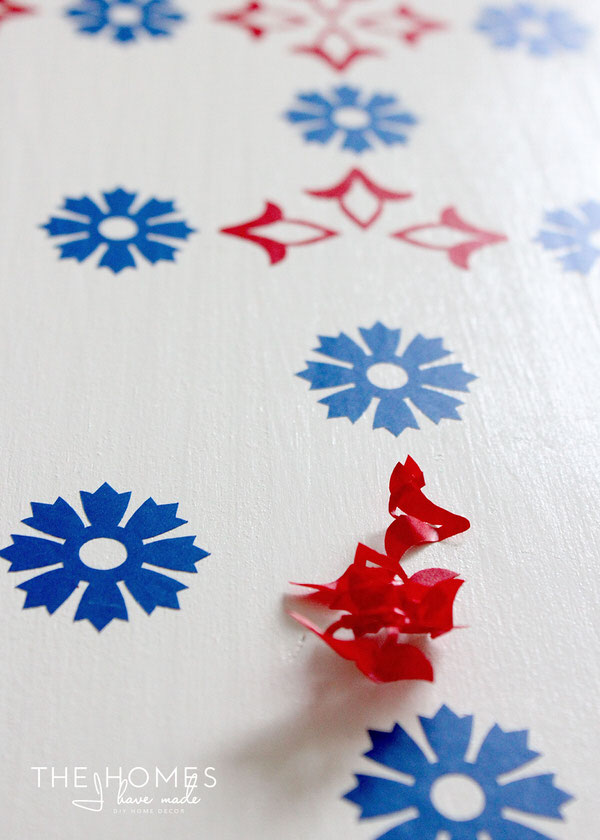
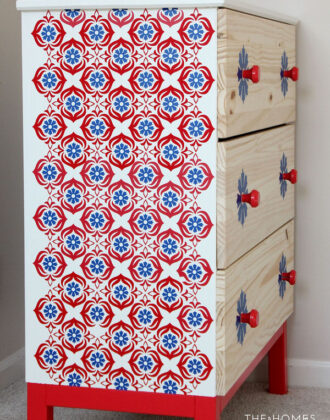
I really wanted to do something with vinyl since it’s so removable and a relatively easy and accessible for many people, but I also wanted to push the limits a bit. As such, I designed a vinyl pattern that had a lot of detail and interest…
I painstakingly applied the intricate vinyl pattern to the entire outside of the dresser, and the results far exceeded anything I envisioned for this plain little dresser! You can catch up on all the details of this makeover HERE!
Makeover #4: Paintable Wallpaper
If I didn’t want to remove the fabric, I REALLY didn’t want to remove all the vinyl, but I did! I put on some really good music, got in the zone, and plucked every last vinyl detail off the dresser!
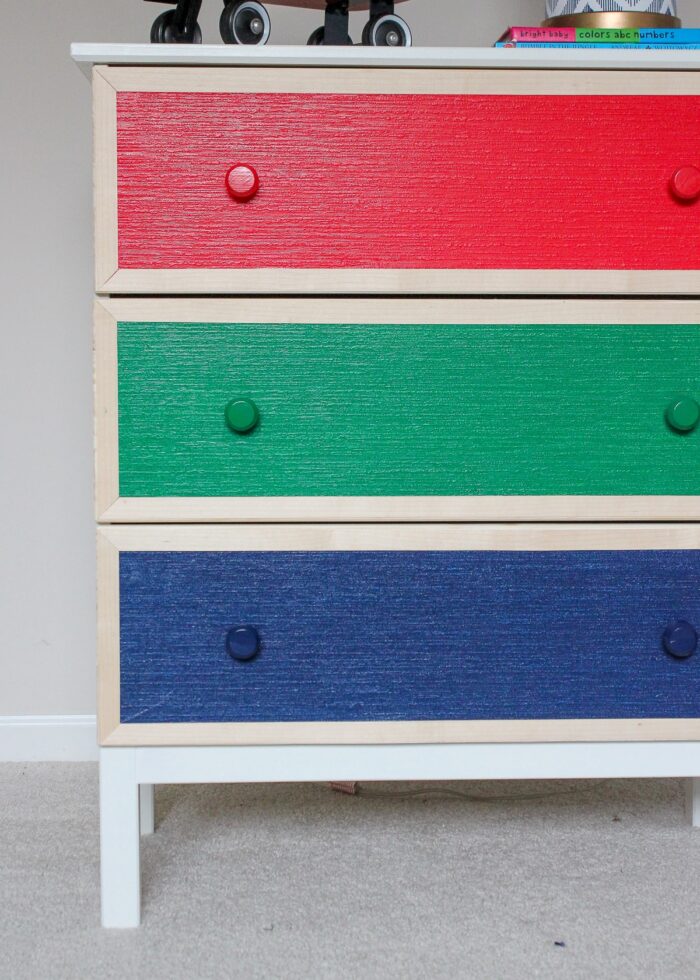
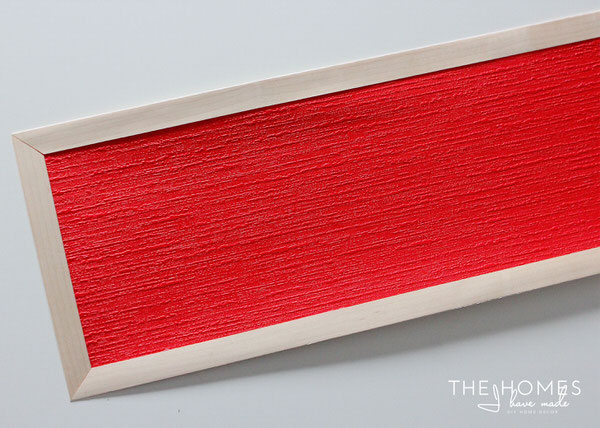
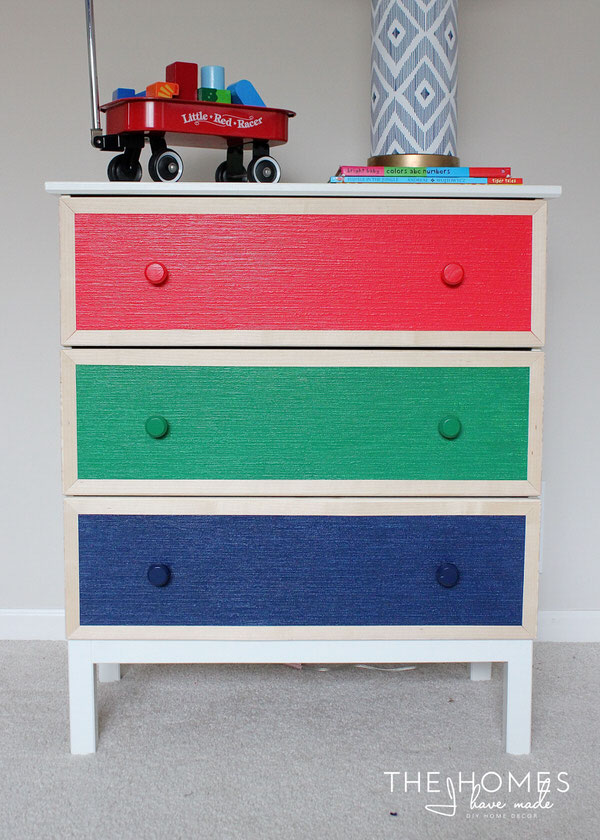
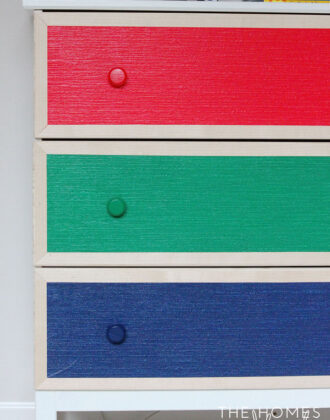
I then re-painted the base of the dresser back to white (using more of the Sherwin Williams ProClassic white paint) and then made colored panels for each drawer front out of paintable wallpaper and wood veneer trim, which I attached with re-positionable spray adhesive.
This makeover was the hardest one to pull off in a completely temporary way. After much perseverance, I finally did it, and the result was a darn cute dresser! You can catch up on all the details of this makeover HERE!
Tell Me Your Favorite!
Now that I’ve walked you through the makeover process and refreshed your memory, I am dying to know….which one is your favorite????
Other Stylish IKEA Hacks
- Functional & Stylish Inserts for the IKEA Kallax
- Make a Sofa Table in 10 Minutes Using IKEA Parts
- IKEA Kallax Hack With Wallpaper
- How to Put a Backsplash on the IKEA DUKTIG Play Kitchen
- How to (Affordably) Store Craft Paper on IKEA Kallax Shelves
- Creative Ways to Label IKEA DRONA Bins
- DIY Wallpapered Stool (An IKEA BEKVÄM Hack)
- How To Add Feet to an IKEA Kallax
- "Stenciled" IKEA Table with Cricut Vinyl
- 1 IKEA Dresser | 4 Totally Temporary Transformations
Admittedly, we have no space for this dresser in our home, so I will likely sell it off before we move. I’m not sure I am thrilled with the longevity of the final look (the wallpaper drawers), so I might give it one final (more permanent) look before selling it off. Don’t worry, I won’t be dragging this series out any longer…just keep an eye out on Instagram for peeks of what I decide to do!
Megan



13 Comments on “1 IKEA Dresser | 4 Totally Temporary Transformations”
I liked the first one the best but I would have painted the drawers white also and added the mitered wood to the drawers to make them stand out. Seeing the knots takes away from the clean lines to me.
Hey Nadine!
I agree about the knots. I had the overall look in my head before I even opened the box to assemble the dresser and was disappointed to see such intense, dark knots. I think that’s why I really loved the fabric dresser so much – easy makeover and all the ugly knots were covered!!! I am pretty smitten with that wooden trim on the drawers though, and want to use it again to make a neat pattern on something! Stay tuned 😉
Hope you had a great weekend!
Megan
So my favorite is the fabric covered one, but I want to take that fabric and make pillows or something else with it as well. I also loved the painted wallpaper one. The colors are so vibrant!
Hey Kristie!
The fabric was definitely my favorite…and other readers’ too because it is winning the vote! I was so smitten with that fabric when I found it (at Hobby Lobby) that I literally snagged the bolt, got some cut, and was in the checkout line before I really thought it through. I think it worked out well for me 😉
They have really cute coordinating prints and they’d be just so cute in a quilt or girls’ cloths! You’ll have to let me know if you track it down and do anything with it!
Hope you had a great weekend!
Megan
Hi Megan
I do love the fabric covered one far from the others, I’m smitten with this lovely fabric.
Have a nice Spring break and enjoy this precious time with your boys as you say.
Michèle
Hi Michèle!
Yes, the fabric one is my favorite…and most everyone else’s too! I want to sell the dresser before we move and I am so tempted to put that fabric right back on the drawers!
Hope you had a good weekend!
Megan
All four of them are so cute! I really like the washi tape because a) stripes! and b) I think I could actually pull it off myself. What a great idea for a series! I hope you enjoyed doing it as much as I enjoyed seeing them! Are you going to redo one of the options and put the dresser somewhere in your house?
Hey Margaret!
Thank you so much! We have absolutely no room or need for this dresser in the house, so I think I’m going to paint the drawers something fun and sell it at our garage sale before we move! Might was well give it one more (this time, permanent!) makeover, right?
Hope you had a great weekend!
Megan
This would have been great to have done for my sons when they were younger, but they are now in college therefore, I dare not! (lol) I did however, cast a vote. Have a great weekend.
You did such a great job on all of them, Megan! Bravo!
Happy Spring!
Beautiful, Megan. I liked them all but especially the first and the last ones! Maybe because they were less fussy!
Thank you so much Lois! All such different looks and techniques, aren’t they! My favorite was the fabric one, I think because of how easy it was and how great it looked!
Hope you have a great Sunday!
Megan
I love the fabric on number 2. I think that’s the sweetest look.