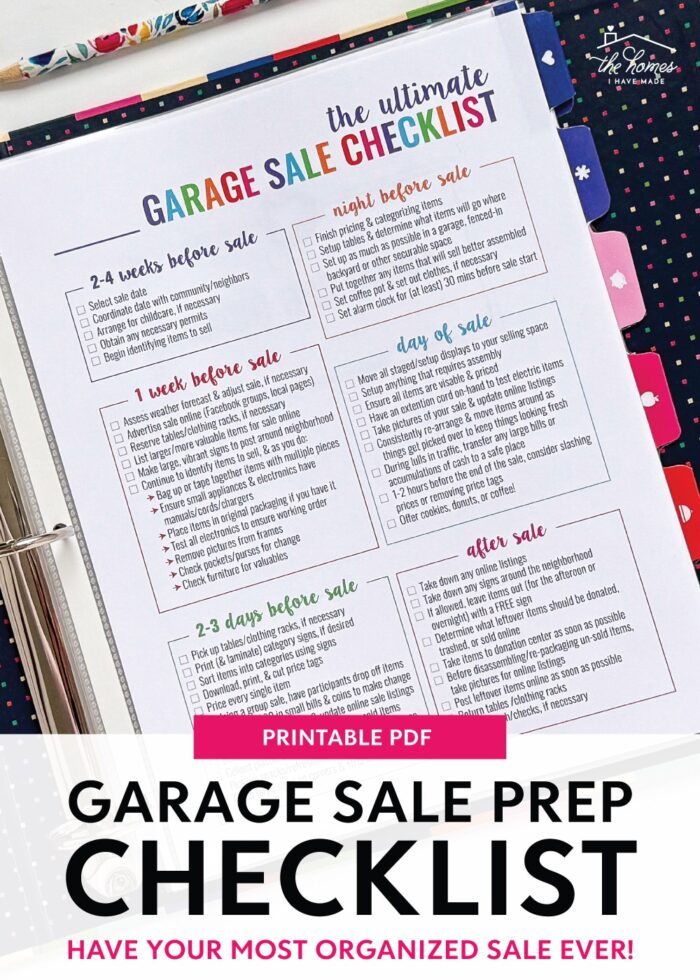
The Ultimate Garage Sale Checklist (With Printables!)
Around this time every year, I get the itch to purge and hold a big yard sale. The itch is certainly stronger in the years we have a move coming up, but there is just something about the warmer weather and brighter sunshine that makes me crave a lighter house! Today, I want to dive into the prep work required to hold an awesome garage sale…and of course, I’m providing some pretty printables to help you through it!
Preparation Makes Perfect
Between helping my elderly father downsize several times and trying to eliminate unwanted clutter before each of our moves, I’ve held well over 20 yard sales in the last decade or so. Not only have I been able to get rid of A LOT of stuff (and make some decent money doing it!), but I’ve learned a thing or two about holding a really successful and profitable yard sale!
See More: 10 Tips for an Awesome & Profitable Garage Sale
My biggest tip of all? Prepare, prepare, prepare!
If you generally keep your clutter under control and just want to put a few things out for the neighborhood sale, a quick walk around the house the night before is likely sufficient.
But if you have serious clutter to tackle, are undertaking a major down-sizing, or have a lot of high-quality items that need to be sold…then planning and preparing ahead of time is key to not just selling as much as possible, but getting good money for it all too!
My Time-Tested Garage Sale Prep Checklist
Outlined below is my tried-and-true timeline and process for conducting a really successful yard sale. Obviously, the amount of time you need to declutter, sort, price, and setup for your garage sale is dependent on how much stuff you are selling, so feel free to adjust this framework to meet your own needs!
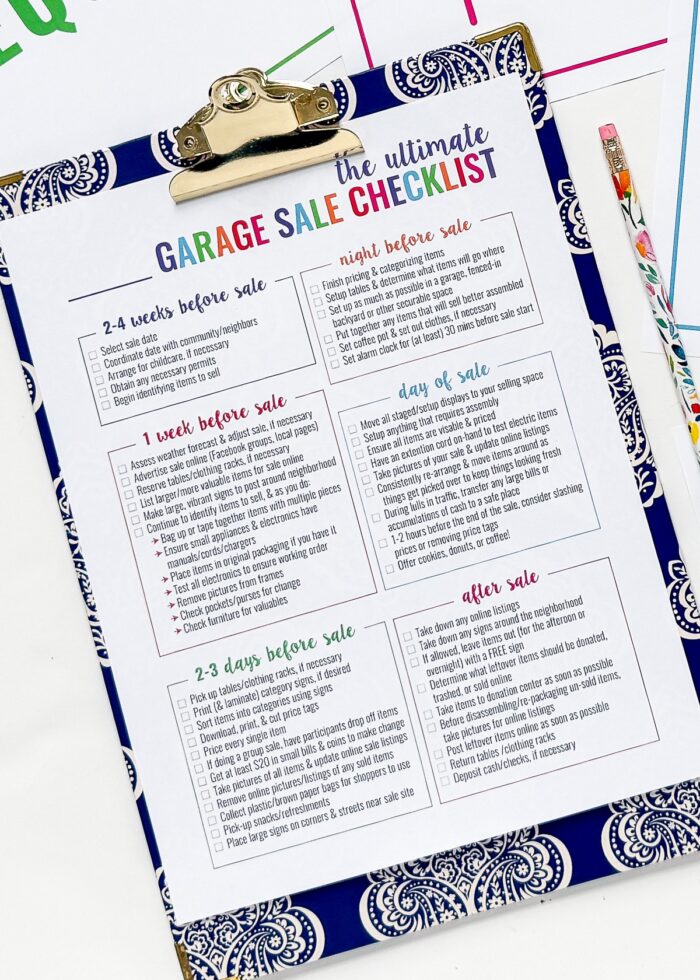
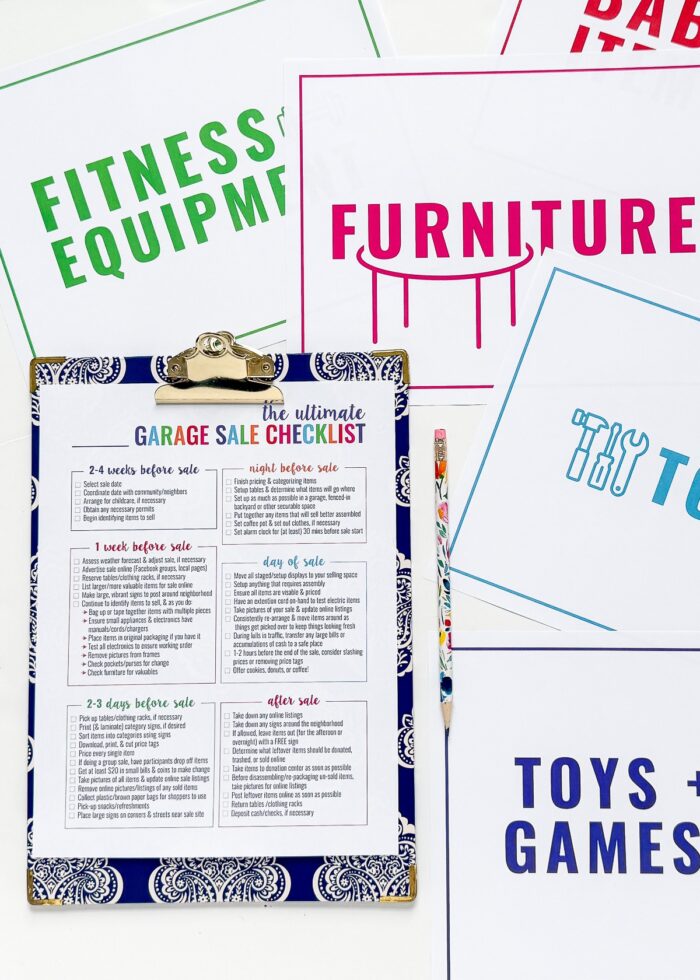
Garage sale checklist from the Ultimate Garage Sale Prep Kit
2-4 Weeks Before the Sale
- Select your sale date – Typically warmer months (Spring through Fall) are more successful as people tend to be out hunting for deals. Further, Saturdays are the most common sale day (with a pre-sale day on Fridays for bigger inventories).
- Coordinate your date with community/neighbors – Oftentimes, neighborhood sales or “multi-family” sales will get you more foot traffic than doing a sale on your own.
- Arrange for childcare, if necessary – Some kids don’t mind seeing their old/used items for sale and/or they love manning the cash box. But if that’s not your kids, it can be worth getting a babysitter for a few hours to keep them out of the chaos.
- Obtain any necessary permits – Know the selling rules in your area and obtain any permits, as required.
- Begin identifying items to sell – If you are undertaking a massive decluttering effort that will culminate in your yard sale, give yourself plenty of time to work through your home. Not sure where to start? I have a full guide here: How to Declutter Your Entire Home
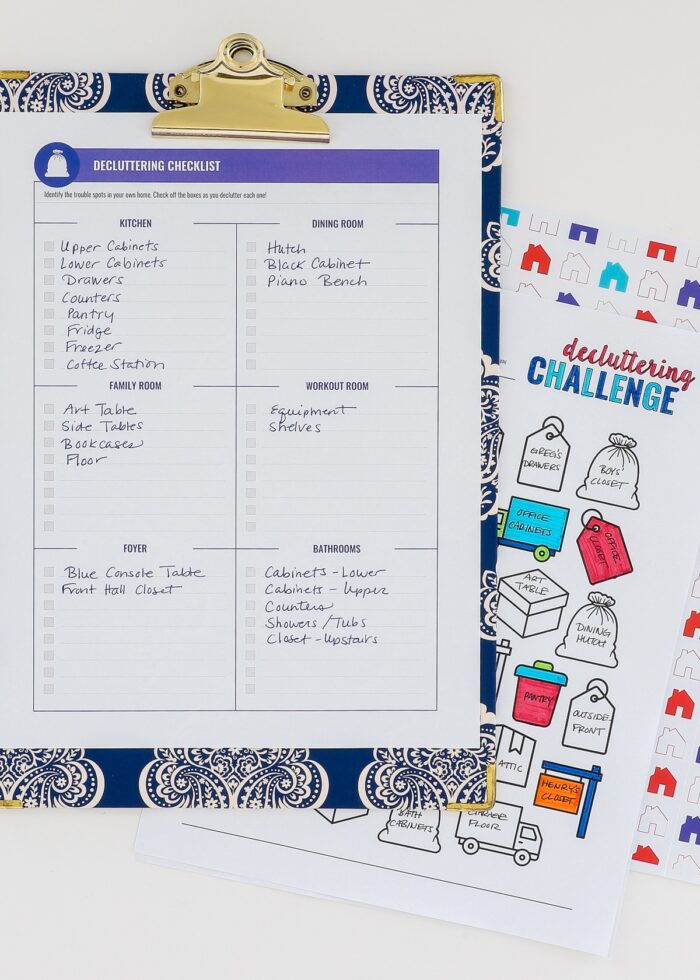
Decluttering worksheets from the Ultimate Garage Sale Prep Kit
1 Week Before the Sale
- Assess weather forecast and adjust sale, if necessary – Rainy days aren’t ideal for a really successful sale. Even if you can keep everything dry and protected, foot traffic will be hampered. If bad weather is forecasted, it’s often better (albeit disappointing) to reschedule.
- Advertise sale online (Facebook groups, local pages) – Gone are the days of having to rely on physical signs for advertising. Post your sale on neighborhood Facebook pages, Craigslist, local papers, etc.
- Reserve tables/clothing racks, if necessary – If you are trying to sell a lot of small items and/or clothing, getting things up off the ground is key. Tables and clothing racks make it easier for potential buyers to see what you have (and as a result, they’ll be more likely to buy it!)
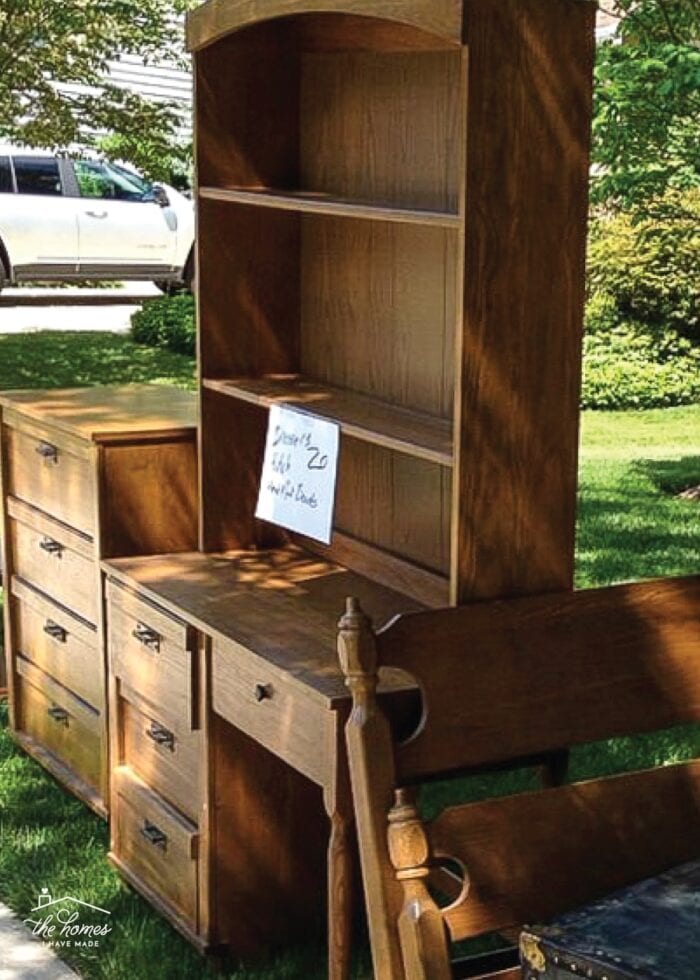
- List larger/more valuable items for sale online – In our experience, high-value, high-quality items don’t sell well at yard sales. If there is something you’d like decent money for, list it for sale online (FB Marketplace, eBay, etc) prior to your sale.
- Make large, vibrant signs to post around neighborhood – Good ol’ fashioned signs are still key in capturing the attention of passersby or providing directions. If allowed, consider using balloons too!
- Continue decluttering your home to identify items to sell. As you do:
- Bag up or tape together items with multiple pieces
- Ensure small appliances and electronics have manuals/cords/chargers
- Place items in original packaging if you have it
- Test all electronics to ensure working order
- Remove pictures from frames
- Check pockets/purses for change
- Check furniture for valuables
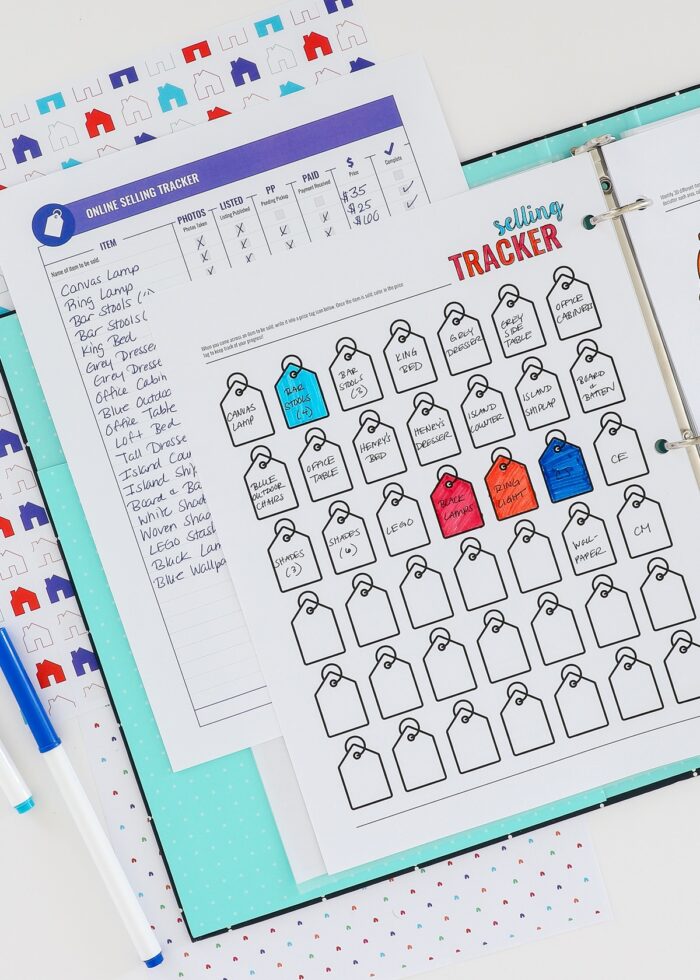
Online sale trackers from the Ultimate Garage Sale Prep Kit
Want to save this post?
2-3 Days Before the Sale
- Pick up tables/clothing racks, if necessary
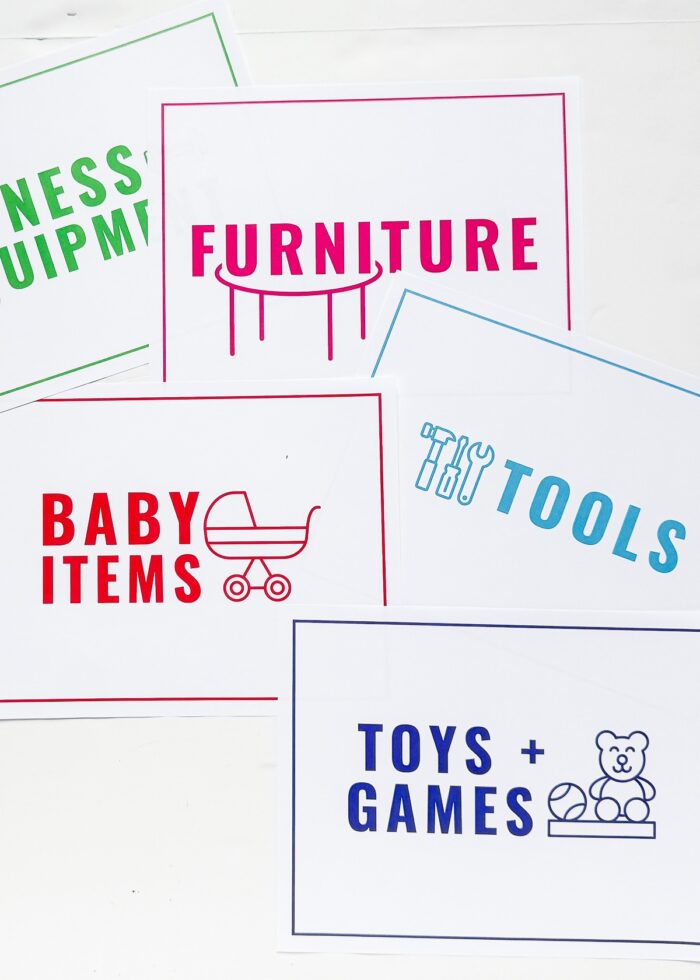
- Sort all your items – Having your items organized into categories of similar items can be very helpful both for you and your shoppers. This applies to both household items, as well as clothing (sort by gender, age, and size).
- Print (and laminate) category signs, if desired – My ready-to-print signs are eye-catching and easy to understand and will make sorting out your items a breeze. Laminating is really helpful in preventing them from getting damaged or flying away. (Don’t have a laminator? These work great too!)
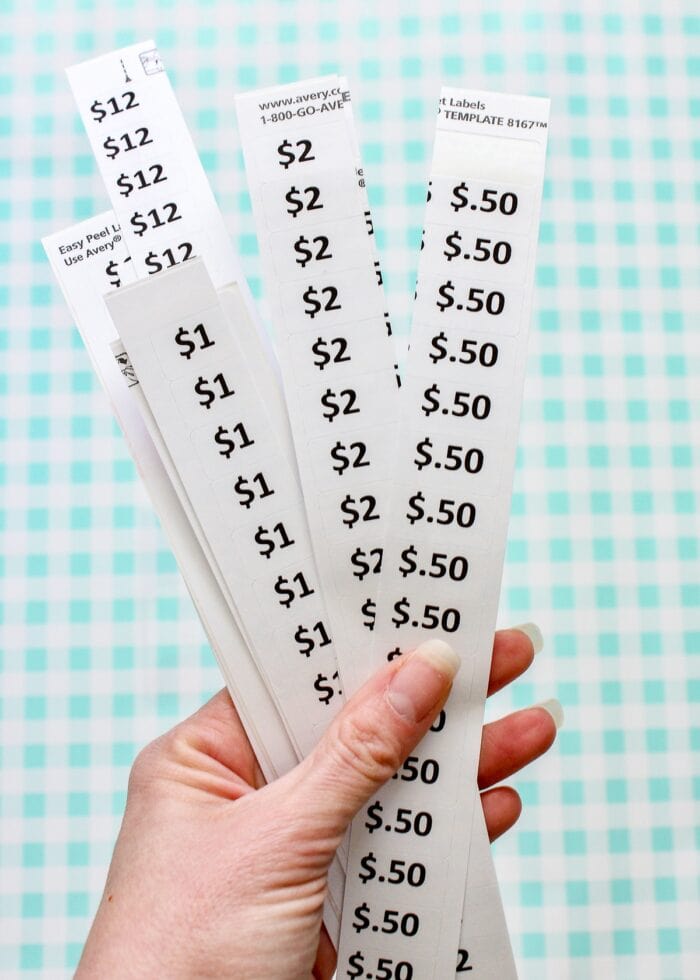
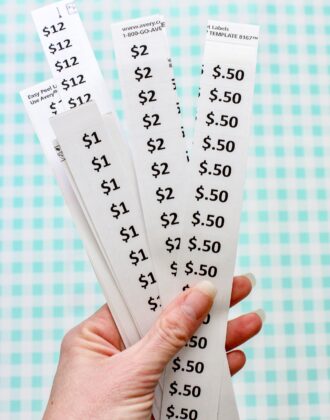
- Price your items – I’m a HUGE advocate of pricing every single item at your yard sale (see why here: Pricing Your Garage Sale Items.)
- Download, print, and cut price tags – My ready-to-print price tags make it SO quick and easy to tag all your items with the exact right price.
- If doing a group sale, have participants drop off items – Reduce day-of-sale chaos by having everything on site several days in advanced. Additionally, plan out who’s stuff will go where and how the pricing/payments will work.
- Get at least $20 in small bills and coins to make change – Also, having your Venmo/Zelle/Paypal information printed out and posted can expedite checkout for those wanting a cash-free option. If you are doing an estate-style sell, you might also consider getting some sort of mobile credit card reader.
- Take pictures of all items and update online event listings – As you start to identify items you’ll be selling, snap pictures and add them to your event listing in order to generate interest and excitement over your sale.
- Remove online pictures/listings of any sold items – If you list individual items for sale ahead of your event, be sure to remove pictures from ALL listings when they sell (including your event listing). This will prevent people specifically coming out to your sale in search of long-gone items.
- Collect plastic/brown paper bags for shoppers to use
- Pick up snacks/refreshments, if desired
- Place large signs on corners and streets near sale site
Printable garage sale signs from the Ultimate Garage Sale Prep Kit
The Night Before the Sale
- Finish pricing and categorizing items – Ensure all items have clearly-visible price tags.
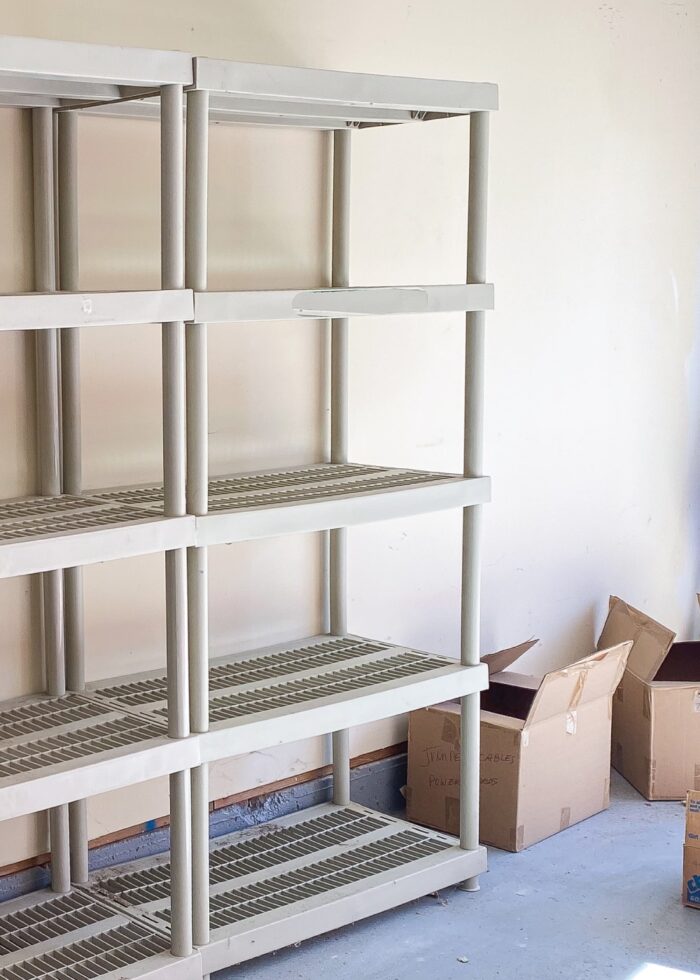
- Setup tables and determine what items will go where – Don’t wait for the morning of your sale to start setting up. Stage your tables ahead of time to see how best to lay everything out.
- Set up as much as possible in a garage, fenced-in backyard, or other securable space – Setting up ahead of time means that on the morning of your sale, you can just walk your ready-to-go tables out to your driveway (or other sale space).
- Put together any items that will sell better assembled – Large items can be good eye catchers. Plus, customers often like to ensure all parts are included/functional.
- Set coffee pot and set out clothes, if necessary – Sale mornings can be a rush, especially if you have eager customers waiting in your driveway. Save as much time by doing anything you can the night before.
- Set alarm clock for (at least) 30 mins before sale start
The Day of the Sale
- Move all staged/setup displays to your selling space
- Setup anything that requires assembly
- Ensure all items are visable and priced
- Have an extension cord on-hand to test electric items
- Offer cookies, donuts, or coffee
- Take pictures of your sale and update online listings to show your live setup – These days, potential customers may message you with questions or hold requests instead of coming out to your sale to see for themselves. You can choose how best to handle online inquiries. We will typically confirm if items are still available, but will not do any holds.
- Keep your display looking fresh by consistently rearranging items as things get picked over
- During lulls in traffic, transfer any large bills or accumulations of cash to a safe place
- 1-2 hours before the end of the sale, consider slashing prices or removing price tags
After the Sale
- Take down any online listings
- Take down any signs around the neighborhood
- If allowed, leave items out (for the afteroon or overnight) with a FREE sign – You will be amazed what people will snag, possibily saving you a trip to the donation center!
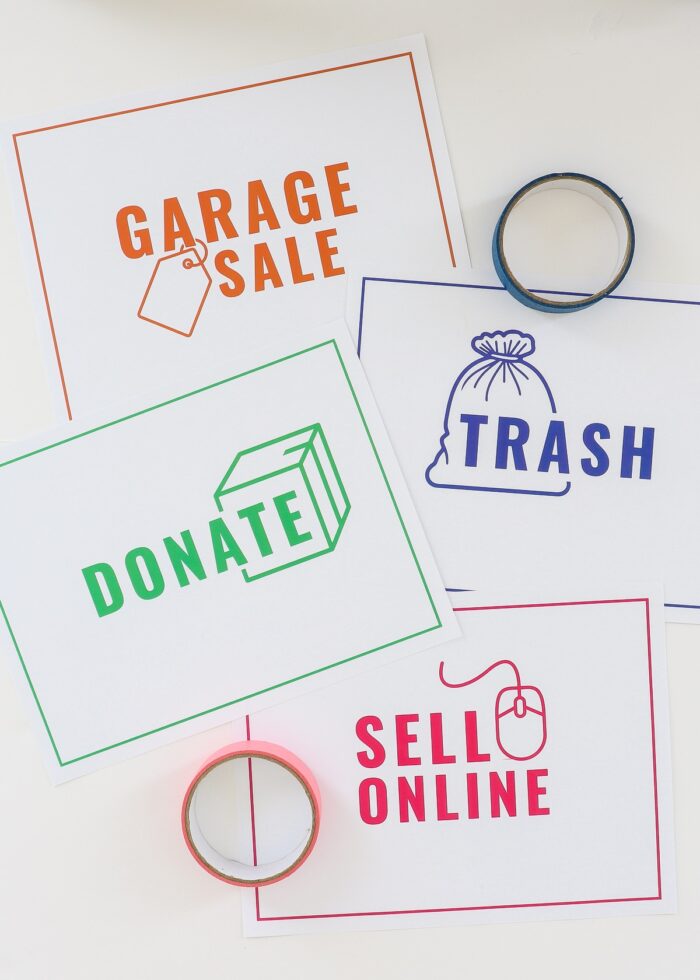
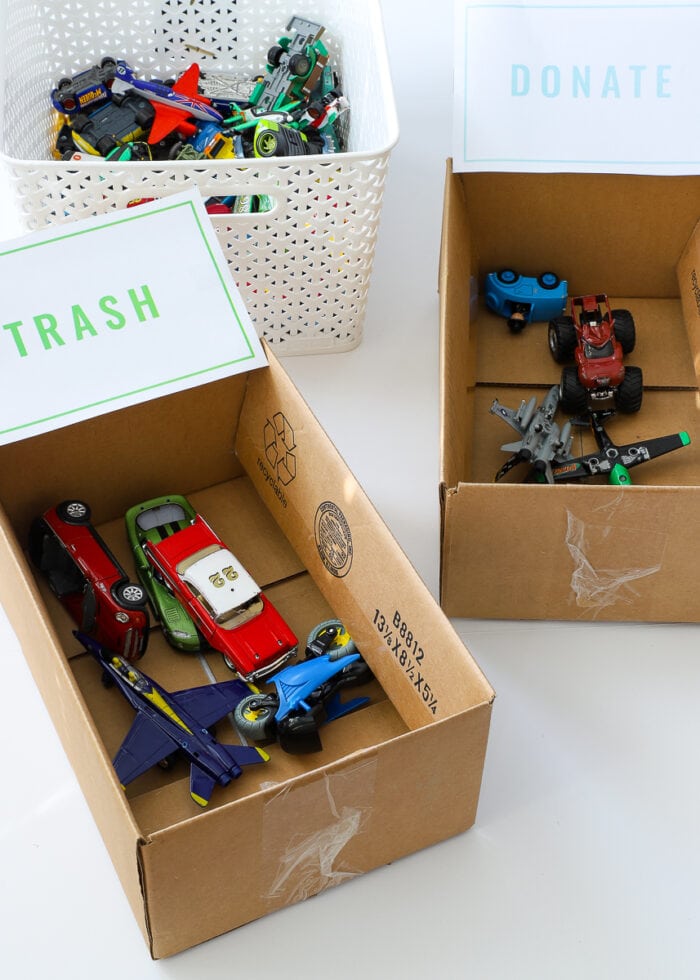
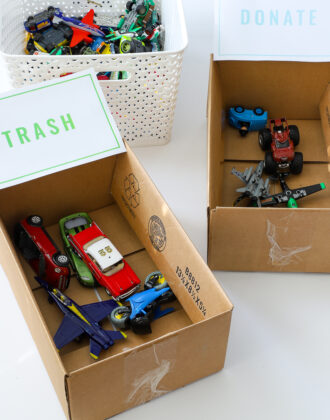
- Determine what leftover items should be donated, trashed, or sold online
- Take items to donation center as soon as possible – We don’t even bother bringing unsold items back into the garage/house. Everything gets loaded right into cars and driven to the donation center.
- Before disassembling/re-packaging unsold items, take pictures for online listings
- Post leftover items online as soon as possible
- Return tables/clothing racks
- Deposit cash/checks, if necessary
Get This Kit!
Love my garage sale planning printables? Click HERE to learn more and download the Garage Sale Prep Kit right away!


Need More Help Decluttering Your Home?
Here are my very best decluttering tips, tricks, and solutions!
- Learn How To Organize Any SPACE In 5 Steps
- Keep or Toss: Questions to Consider When Decluttering Your Home
- Donate Versus Sell | Getting Rid of the Stuff You No Longer Love
- 10 Tips for an Awesome (& Profitable) Garage Sale
- The Ultimate Garage Sale Checklist (With Printables!)
- How to Declutter Your Entire Home Before a Move
- How to Declutter Your Kitchen from Top to Bottom
- Does It Spark Joy? My 1st KonMari Experience
- How to KonMari Craft Supplies
- What Happened When I Got Rid of Half My Kid’s Toys
- Helping Your (Senior) Parents Declutter | My Real Life Tips!
Garage sale printables from the Ultimate Garage Sale Prep Kit
So tell me: Are you planning a garage sale this Spring? Do you love holding sales as much as I do? Do you have any tried-and-true tips for your own garage sales? Please share in the comments below!
Megan

14 Comments on “The Ultimate Garage Sale Checklist (With Printables!)”
Wow. You truly did save the best for last. This is awesome. And should I ever decide to hold a garage sale again, this is my first stop. I usually get too lazy and just donate it because I want it out of my house. In fact I have a recliner that needs to go! Thanks for putting so much time into these printables. They have been so useful for me. I wish I lived closer to come and check out one of your yard sales!
Hi Megan
We haven’t yard sales in France, some people can sell their things in organized ” empty attics”. But I will read every single piece of your printables and the links to your former posts in order to learn a lot once more. But what I will use for sure are the clean out worksheet as I purge a lot at this moment, the labels too. Thanks for such a big work you did in order to share all these lovely tricks with us. Have a nice week. Michèle
I’m so pumped that I found you on Pinterest! I’m planning to have a huge yard sale next weekend and was desperately searching for printables! We’ve cleaned out two large storage rooms so we have loads to sell! I am a new subscriber and would love the password so I can get to printing!! Looking forward to getting started! Thx so much!!
Hi Angie!
I am so glad you found my garage sale kit in time for your sale!!! Were you able to subscribe and get the password?
If not, you can subscribe to my mailing list to get the password here: http://eepurl.com/bILZfb. The password will be delivered in the final confirmation email; be sure to check your Spam/Trash folders for the emails.
Make sure you use ALL caps when entering the password! Once you log on you should be able to access the library from here on out without having to log on again!
The PDFs will open in a new tab when you click on the links.
Hope that helps and good luck with your sale!
Megan
I came to your site to find garage sale ideas and had NO idea there would be a wealth of information, ideas, inspiration for the home … holy cow, so glad Pinterest lead me here. THANK YOU for the Ultimate Garage Sale Prep Kit … it rocks in a big way, feel like we can do this!
I just subscribed but need the password so I can use the prinables.
Thanks
I did not see the blue box with the password????
I subscribed and didn’t get a blue box with a password either
Hello! I found the password down in the text of the letter however, when I search the Organizational Tool Box for the Ultimate Garage Sale Prep Kit, it links back to the article and I am not able to find the download. Operator error I’m sure! Thank you for any additional information you may be able to provide!
Hello! I’m am really excited about your site and the garage sale tool kit. I did get a password, it is about midway down the email notice if that helps anyone. The write up about the Ultimate Garage Sale Prep Kit says to go to the tool box and when I do and search for the kit, it just goes back to the blog and I can not find where to download the kit. Puzzled! Operator Error for sure, any chance there is some guidance on how to access the Garage Sale Kit in the Organizational Tool Box? Thank you for your help!
Hello Melondee,
Thanks for all your messages, and I am sorry you are having trouble. When you enter the toolbox, you need to scroll down until you find the image for the Garage Sale Kit. When you click on it, the PDF kit will open in a NEW tab. It is easiest if you do this on a computer rather than a mobile device. I have emailed a screenshot to help you. Please let me know if you experience any more trouble.
Megan
I am not receiving your email with a password??
How do you register? All I get is the page to log in.
I have requested the printable price stickers but have not received an email yet. Are they still available?