Fabric-Covered Dresser
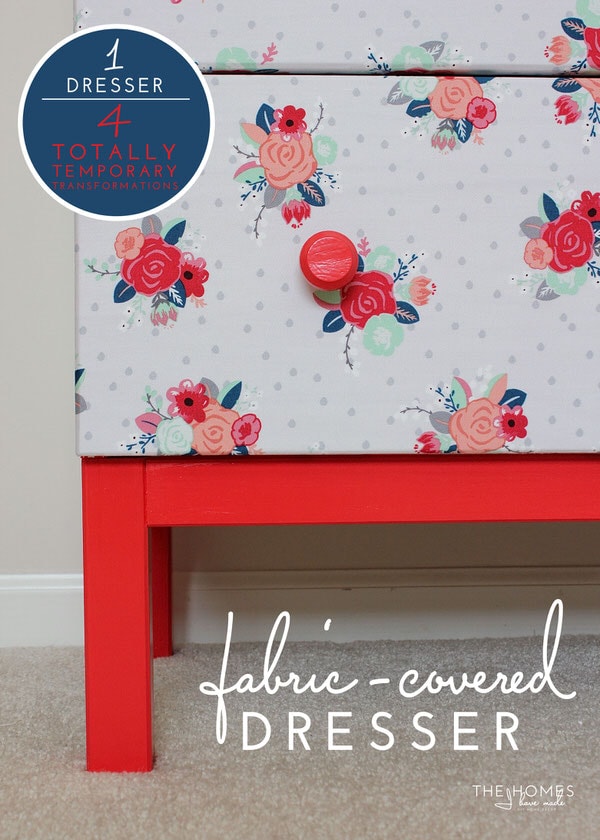
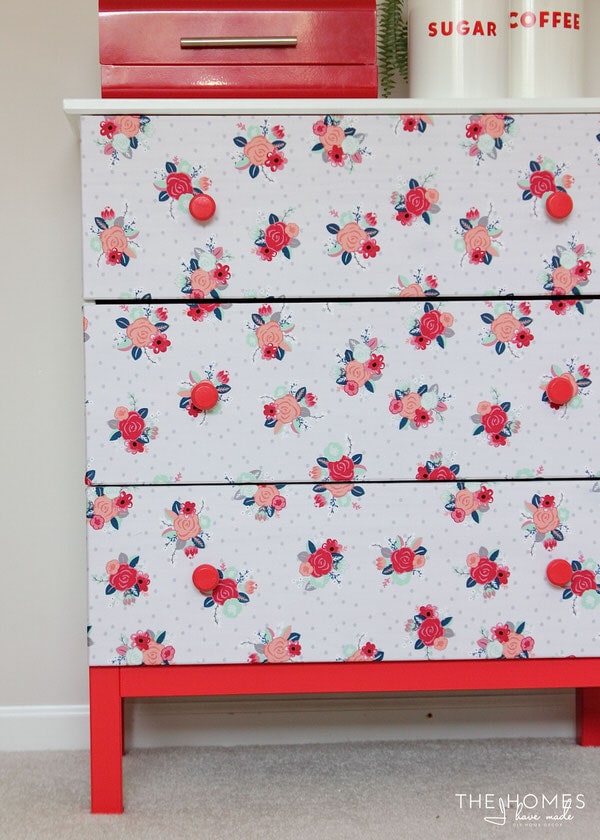
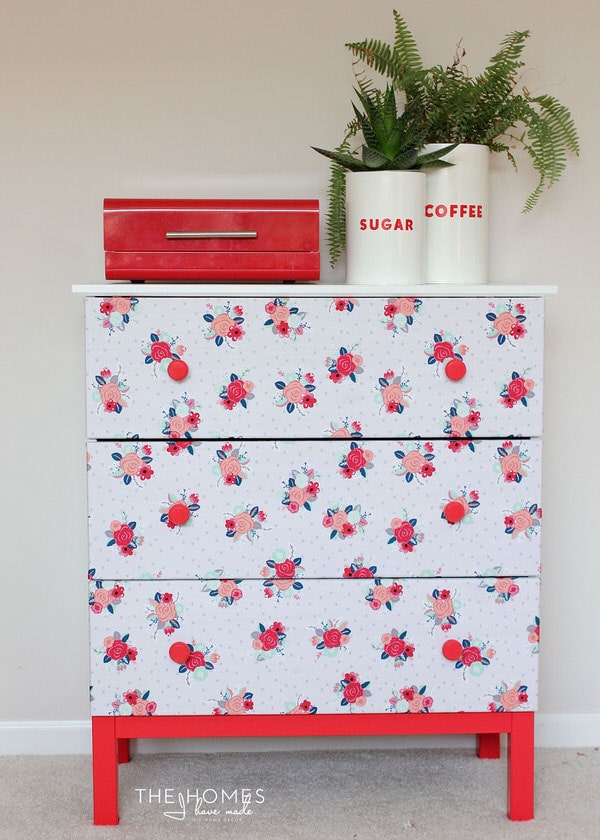
Last Thursday, I showed you a fun and vibrant little makeover I did on an IKEA Tarva dresser with extra-wide washi tape as part of a blog hop I did with my friends! Well, covering the dresser in tape was just one of the many ideas I had for this blank slate of a furniture piece, so I thought I would turn my ideas into a fun series of their own. Introducing 1 Dresser | 4 Totally Temporary Transformations…and today I’m showing you the next temporary look I came up with. This time around, I’m covering the dresser drawers in fabric, and the result couldn’t be any sweeter!
Each time I set off on ANY furniture transformation, I certainly have an idea and a vision, but no sure way to know how it will look when all is said and done. And what a sweet reward it is when the results are even better than you pictured. I think that’s why I love making over furniture so much. You never quite know what you’re going to get, but the results are always so dramatic!
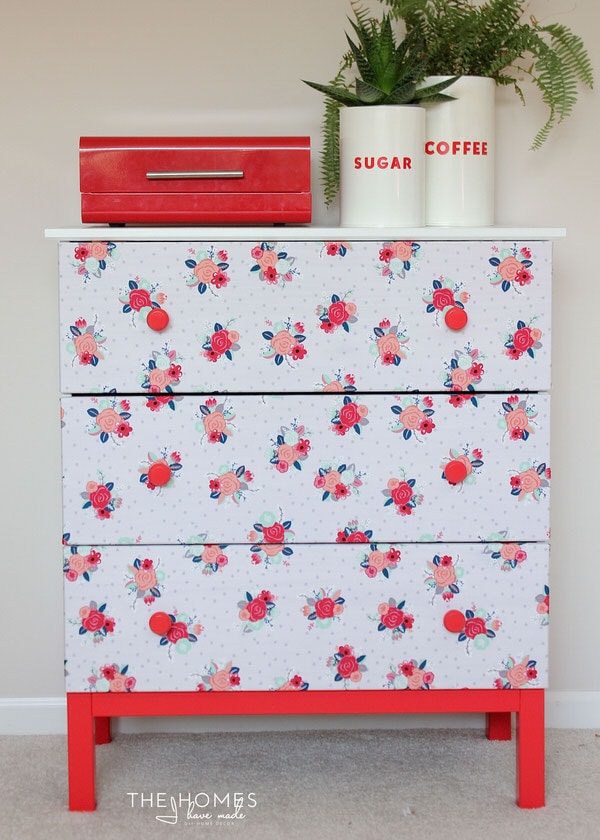
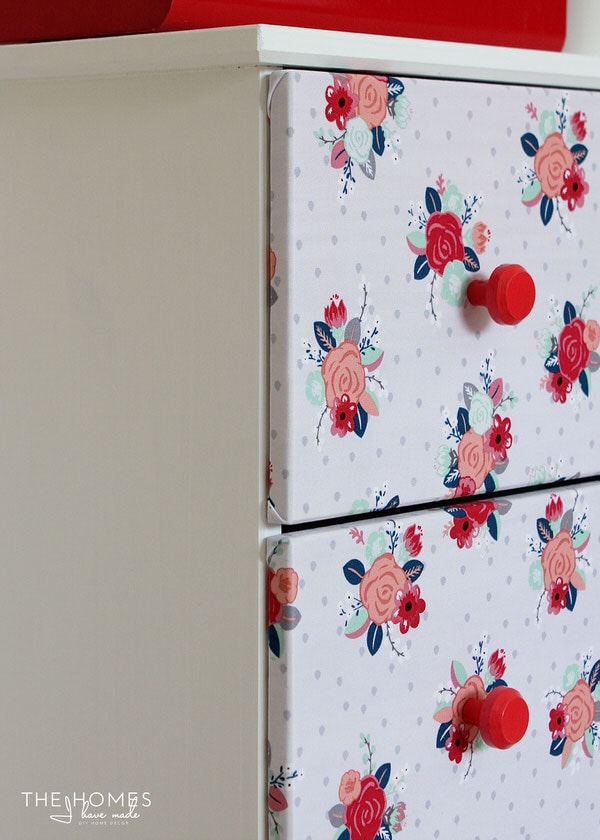
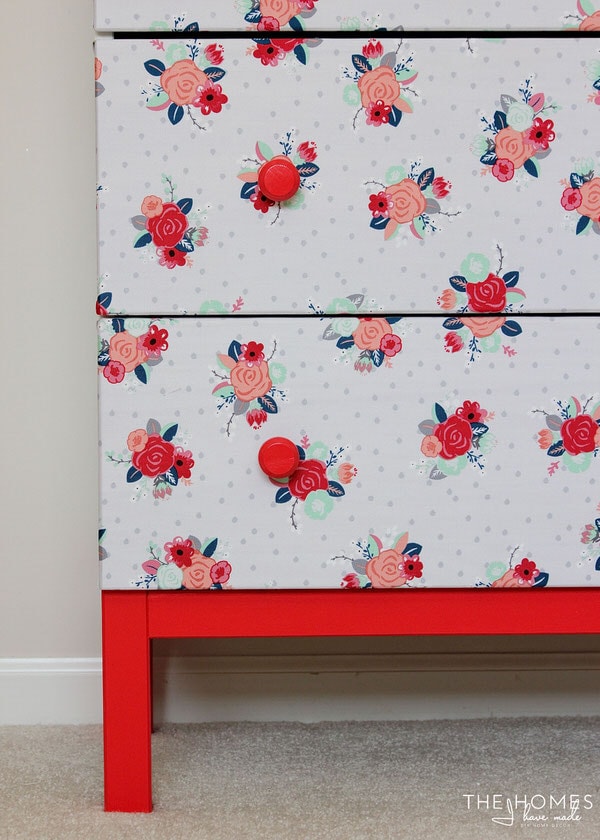
“Vintage-cutesy-chic” is not really a look I use in my own home a lot…but there is just something so fresh and wonderful about this floral and dot fabric paired with the hot red base and pulls…I really wish I had a place for it and a reason to keep it!
I banished red from my house years ago because I find it very difficult to decorate around, but this little lady sure is making me re-think that choice. Can you tell I’m just smitten with this makeover?!?
Catch Up!
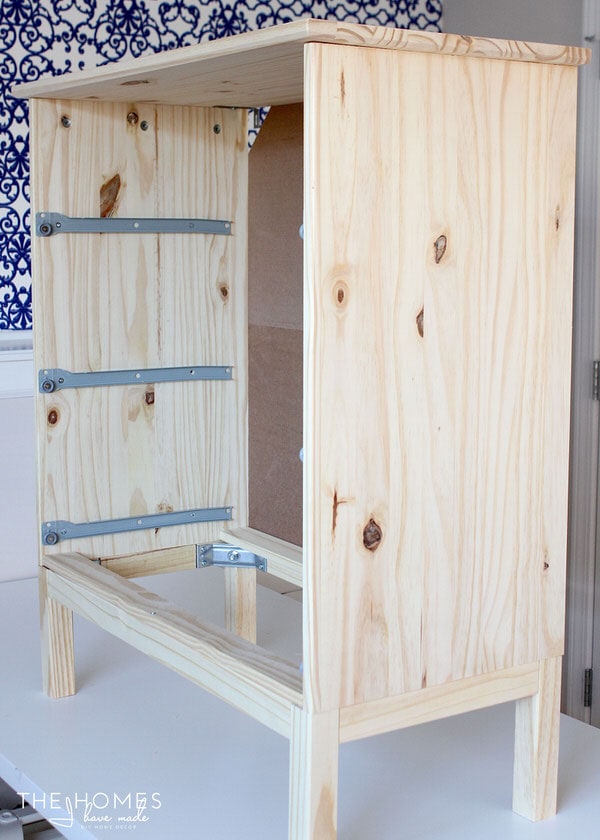
Just to re-cap from last week, I purposely bought this inexpensive little pine dresser for the sole purpose of giving it several different makeovers. I started by assembling it according to the directions…
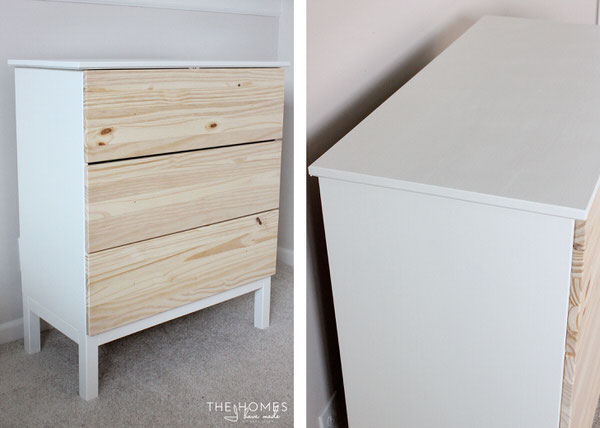
To give myself some makeover options, I chose to keep the drawers plain wood and paint the outside frame of the dresser white. You can read more about my process HERE.
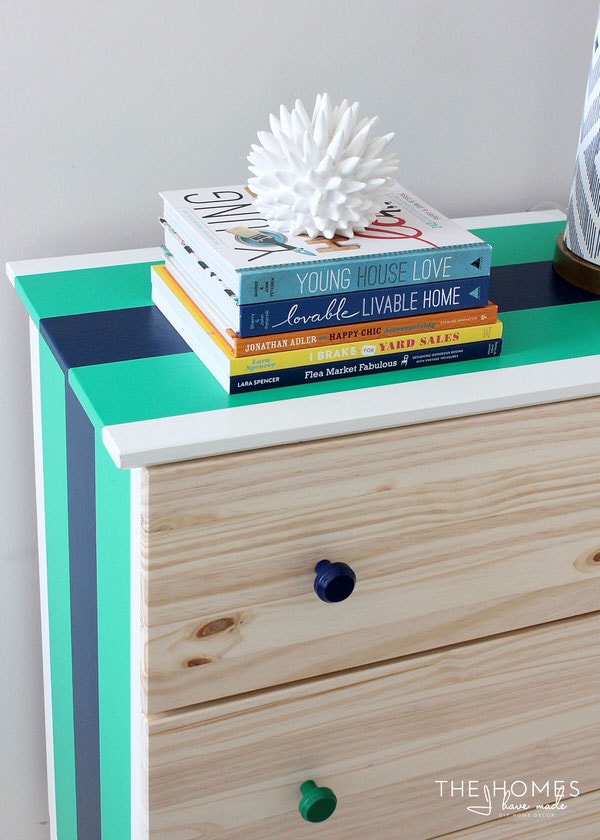
I then gave it a makeover with rolls of extra-wide washi tape to give it a “Rugby stripe” effect. (See that makeover HERE!)
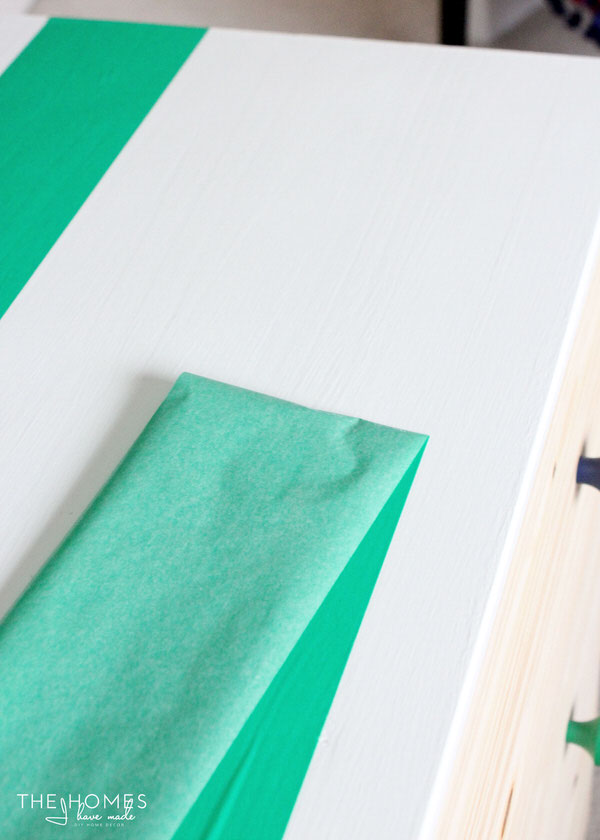
I loved the stripes so much, but the goal for this dresser was to show you all a bunch of different and completely TEMPORARY ways to change up your furniture. So, to show you how temporary that tape really was…have a look! It peeled right off without any residue. In literally minutes, I was back to my un-decorated dresser, ready for its next look!
Prepping the IKEA Tarva Dresser
I know I’m showing you temporary techniques in this series, but I also wanted to create really fun furniture transformations that would inspire you. And as you know, I also tend to get carried away and get ideas stuck in my head. As such, I decided to give the base of my dresser a coat of red paint. This is obviously NOT temporary and completely optional…I just liked the added detail. If you’d like to do the same, here’s how I did it:
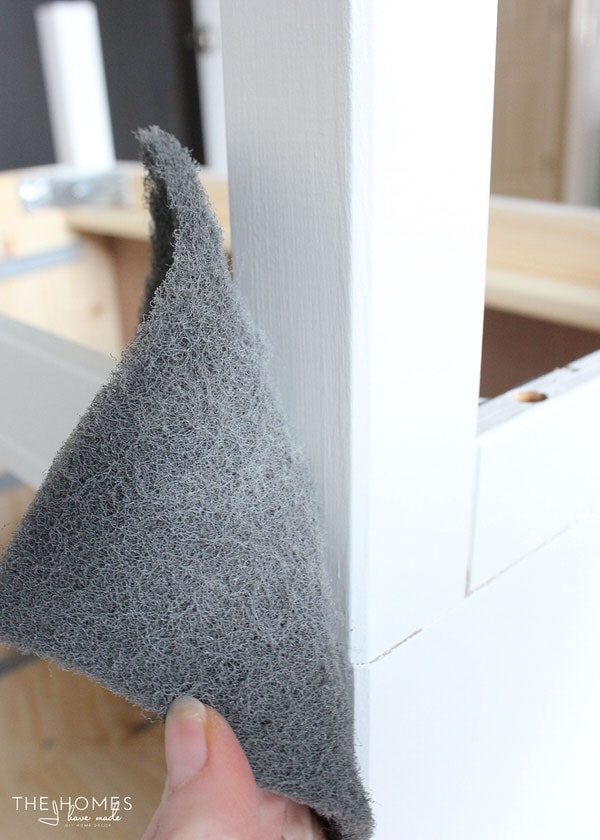
Prep the dresser for a new coat of paint by sanding down the glossy finish slightly and wiping away the dust…
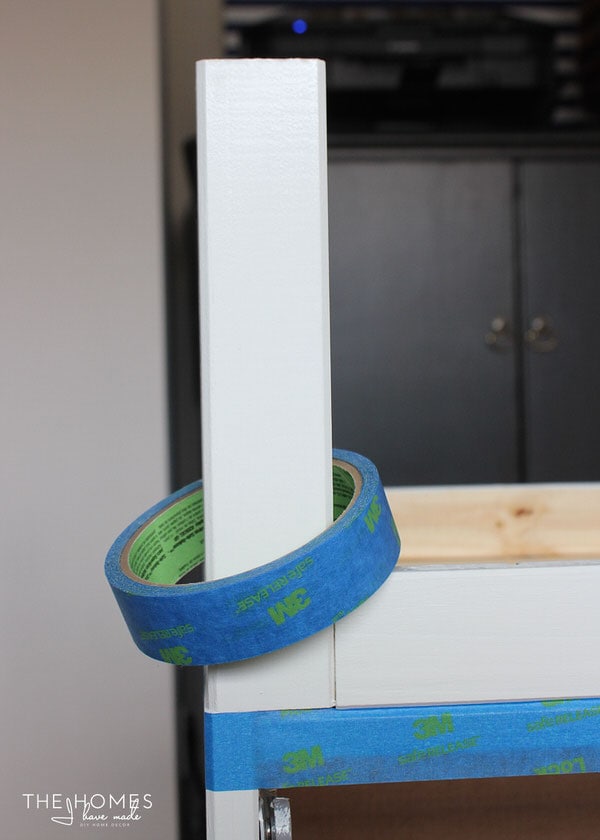
Next, tape off the base from the rest of the dresser. The IKEA Tarva dresser has a clear break in the pieces here, so I just followed the line in the wood.
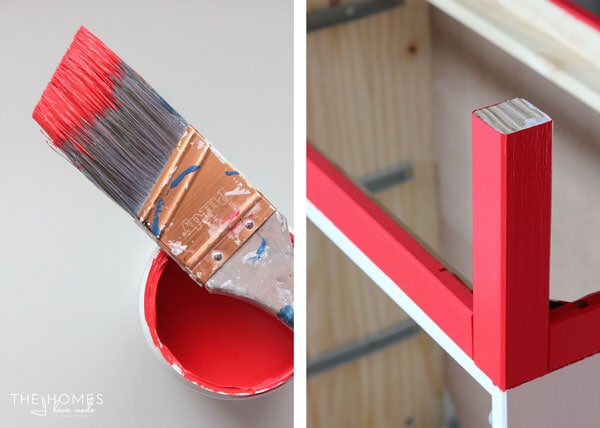
Next, give the base of the dresser 1-2 coats of paint in the color of your choice (I used Whip Lash by Behr Marquee).
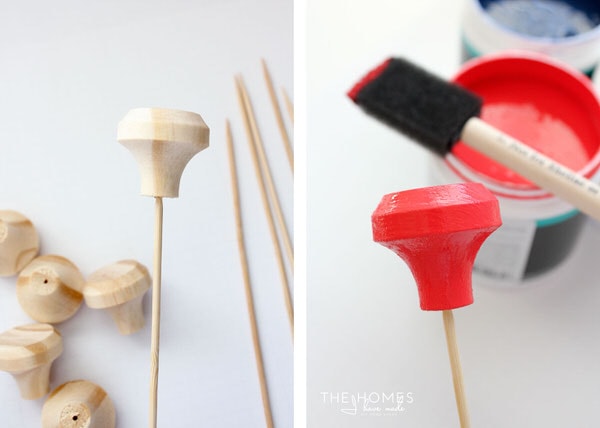
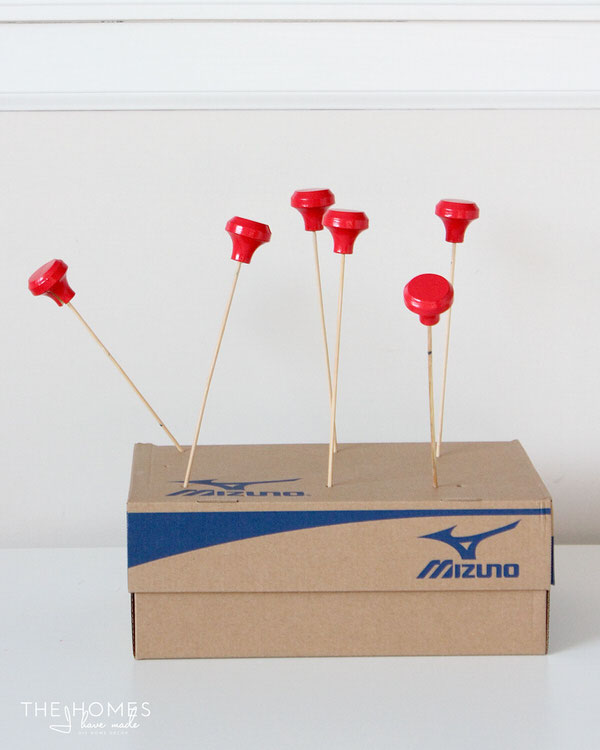
While you have your paint out, go ahead and paint the knobs in a matching or coordianing color. Placing the knobs onto kabob skewers makes the painting and drying process super simple!
If you did choose to paint any parts of your dresser or knobs, you can continue on with covering the drawers in fabric while they dry.
How to Cover Dresser Drawers in Fabric
Covering these dresser drawers in fabric was quicker and easier than I expected it to be!
Here is what you need:
- Dresser with flat front drawers
- Enough fabric to cover each drawer (my floral fabric is from Hobby Lobby)
- Staple gun
and staples
- Other tools: scissors/rotary cutter/cutting mat
, iron, seam gauge
, measuring tape
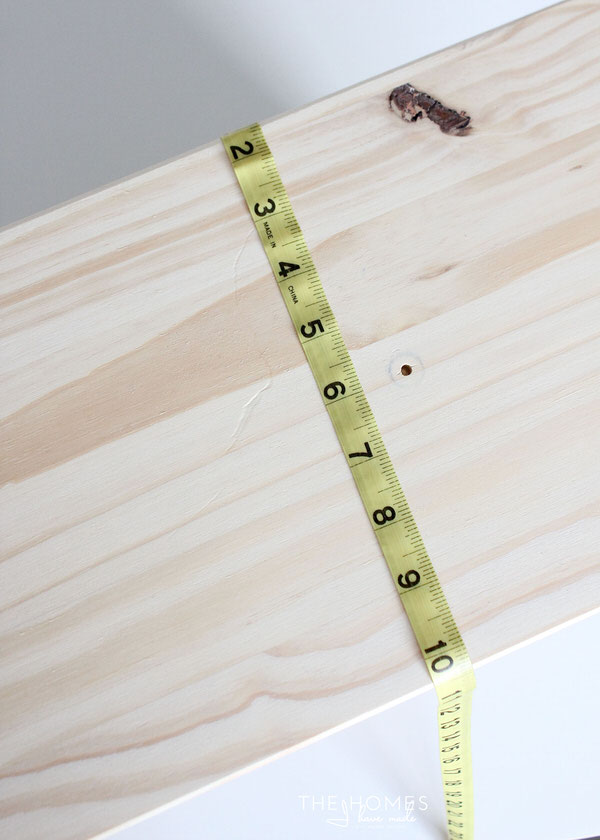
Start by determining how much fabric you will need by measuring the height and width of the drawers. Add 2″ to each direction to account for folding/wrapping around to the back.
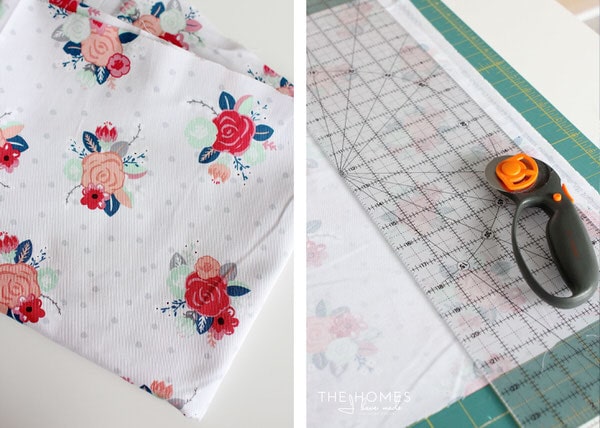
Once you have your dimensions, use a scissors or rotary cutter/mat to trim the fabric down to your desired dimensions (don’t forget to add at least 2″ in both directions!)
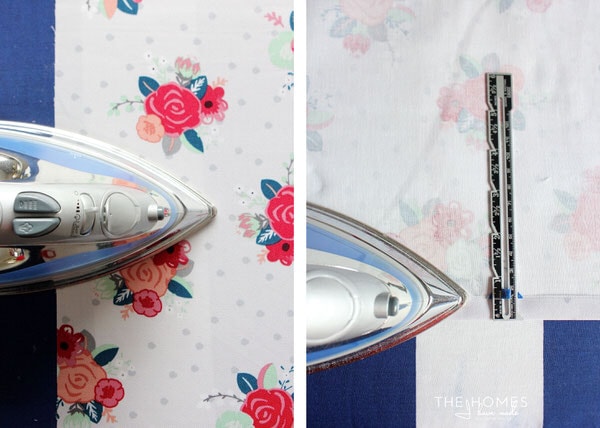
Next, use a hot iron to get out any and all wrinkles. Then, fold each edge up 1/2″ and iron in place.
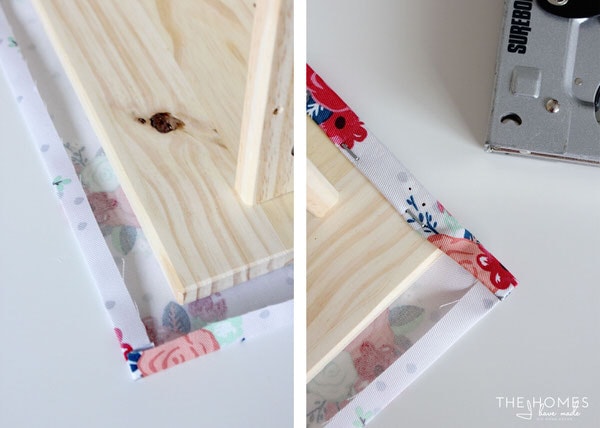
With all four edges folded and ironed, place it right-side down onto your work surface. Then place your drawer front down onto the fabric. Fold the fabric over the edge of the drawer front and secure it with a staple gun. Take your time, and pull the fabric taught as you go to ensure there are no wrinkles when you are done. (Note: I did the two shorter sides first, then the two longer sides… and I ended up with no wrinkles at all!)
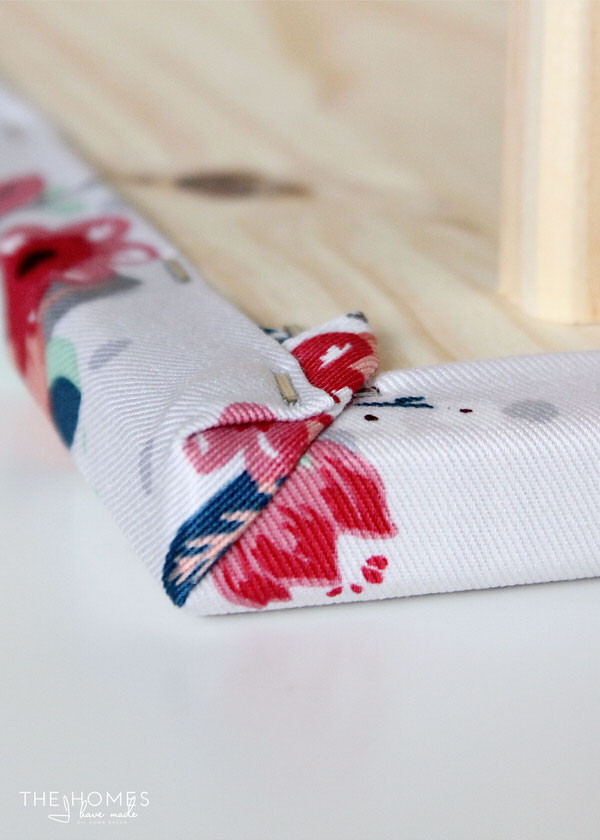
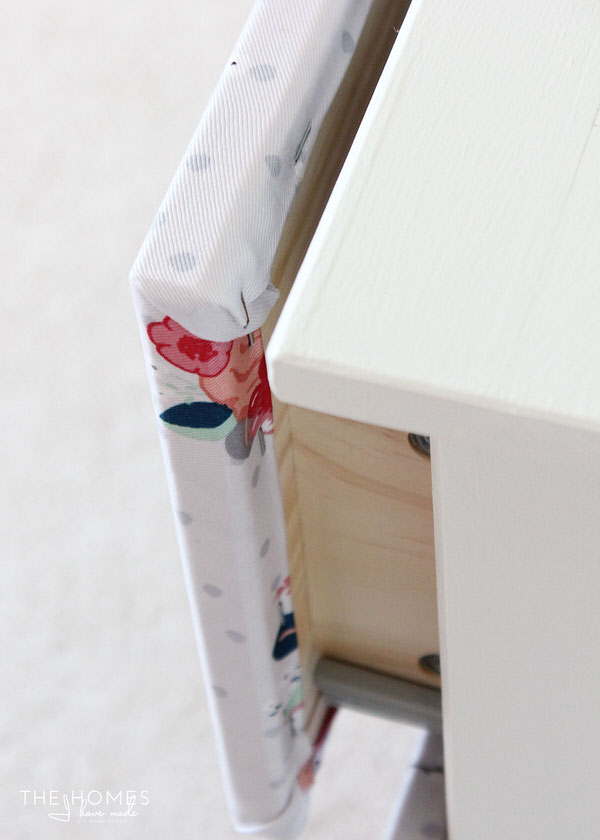
At the corners, fold the fabric to create nice flat triangles and secure to the inside of the drawer with more staples. So as not to affect how the drawers close, trim away excess fabric as necessary to make the folds as flat as possible.
Repeat on all your drawer fronts!
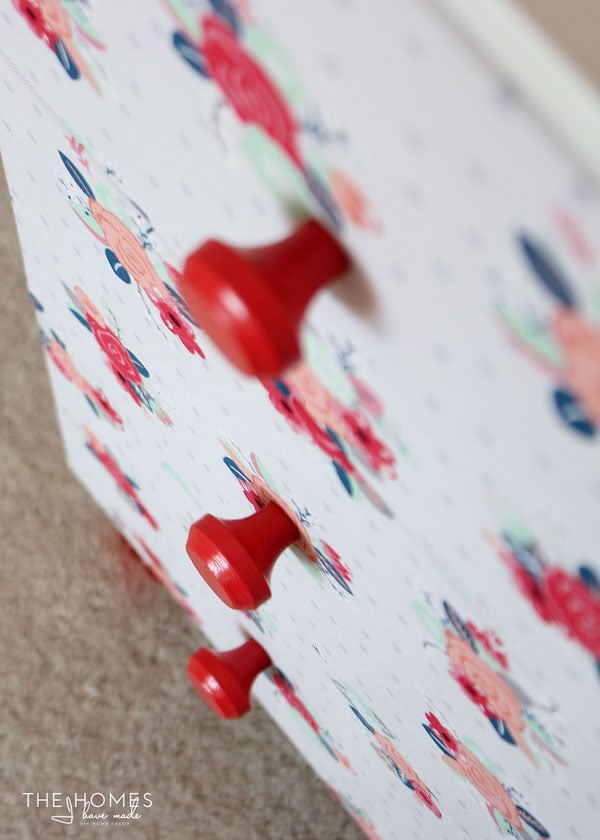
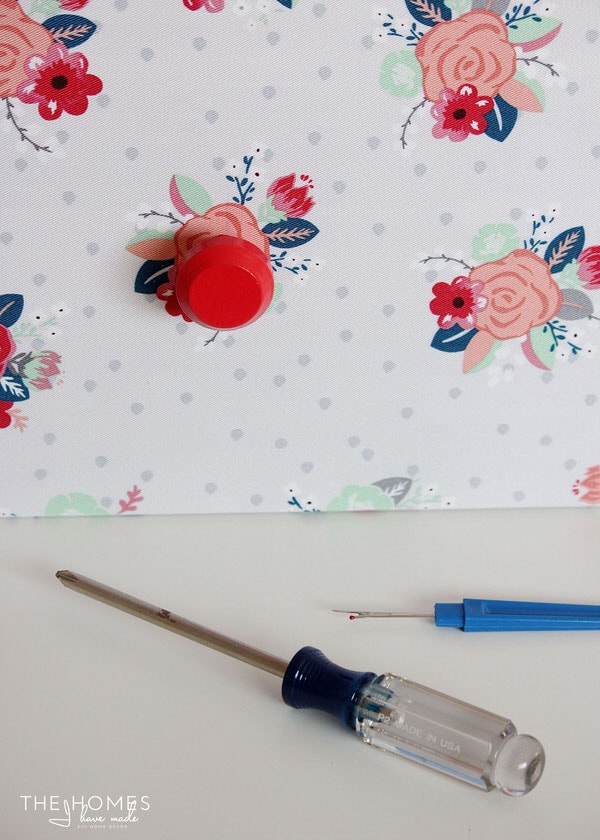
Once your knobs are dry, add them back onto the drawers. From the inside of the drawer, puncture a hole in the fabric with a seam ripper and then carefully thread the screw through the opening. Work slowly so as not to get snags or runs in your fabric!
The final step is to slide the drawers back into the dresser! This was the moment of truth…I was really worried the drawers wouldn’t close, slide or sit even…
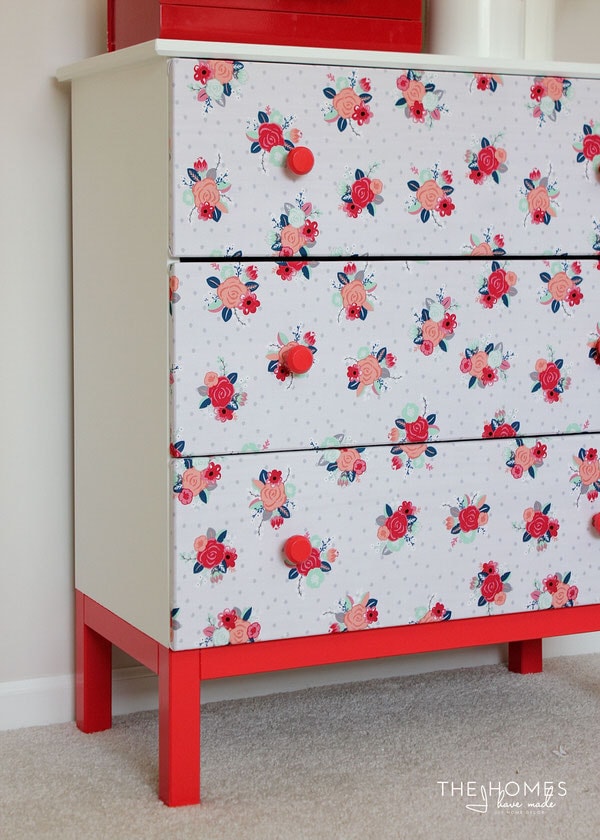
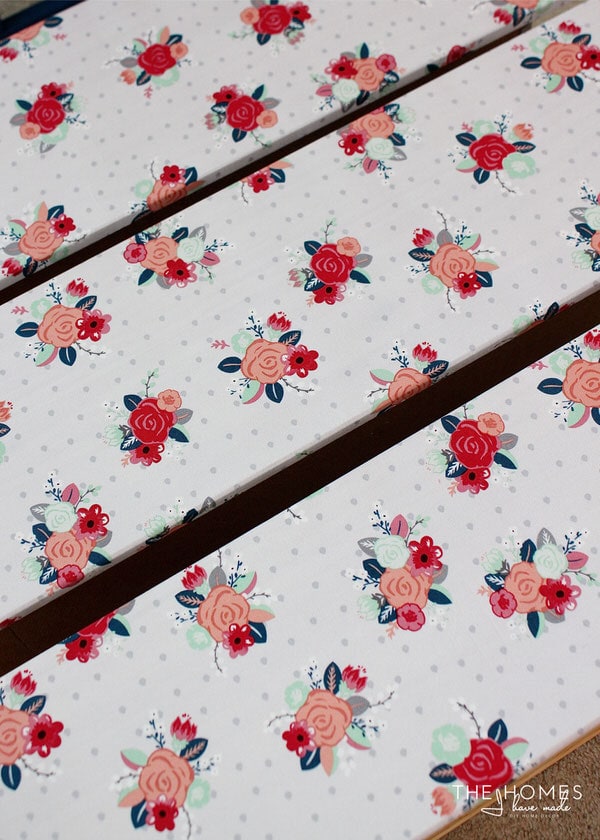
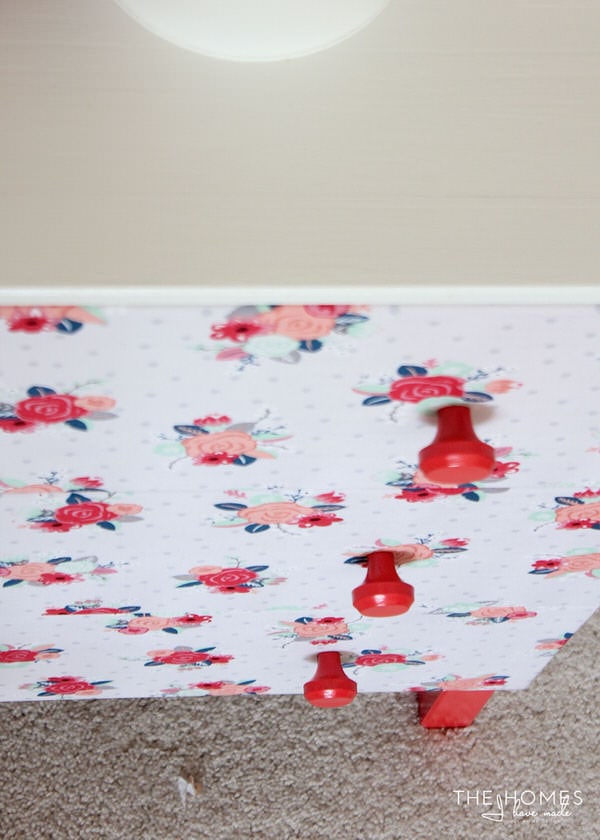
Phew! They slide just fine, and they sure look nice, clean, and even!
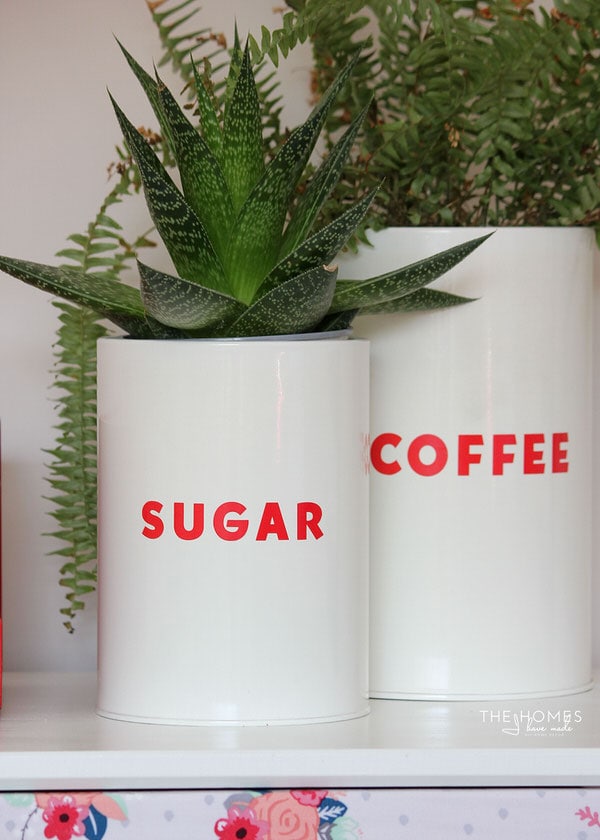
I wasn’t sure how I was going to style this dresser since it really doesn’t match my house at all. How fun that I hung on to these canisters and bread box (from Target!). They sure do complete the whole look and feel of the piece, don’t they?!?
A Few Things to Consider Before Covering Your Drawers in Fabric
Admittedly, the IKEA Tarva design lends itself perfectly for this kind of makeover. Here are some things to think about when deciding if covering drawers in fabric will work on your dresser:
- Are the drawers flat or rounded? Flat drawers certainly make this easier, but I DO think it could work on rounded drawers. Just be prepared for more stapling along the inside of the dresser. If your drawers have a beveled edge, consider wrapping them in light batting before adding the fabric to conceal the varied edges.
- Do the drawer fronts sit inside or outside of the dresser frame? Notice how these drawer fronts sit OUTSIDE the dresser frame, so there is no concern that the added bulk of the fabric on the edges would affect how the drawers fit together. If your drawers sit into the frame of the dresser, practice first with some scrap fabric to make sure the drawers close right before covering them all!
- Do the drawer fronts have a lip all the way around? In order to staple the fabric to the inside of the drawer, make sure the drawers have enough of a lip ALL the way around the drawer front. If the sides of the drawer are the exact same height as the front panel, it may be difficult to wrap the fabric neatly.
- What is the repeat of your pattern? Matching patterns on a piece like this would be tricky. Not impossible, but quite challenging. To save me the headache, I picked a piece that had a random all-over pattern. I certainly didn’t take time to match the patterns from one drawer to the next, but since the pattern is so varied, you really can’t tell and/or it’s not really bothersome. However, a stripe or geometric might not be so forgiving. With these patterns, be sure to buy excess fabric to accommodate pattern repeats as necessary.
One thing I was really excited about with this makeover was how cheap it was! I was able to cover all three of my drawers with a single yard of fabric that I got at Hobby Lobby with a coupon. Not counting the paint, covering the drawers with fabric cost me about $6! Talk about a quick, easy, AND cheap way to give a piece of furniture an entire new look! If you have a piece of furniture that doesn’t match your decor but you don’t want to/can’t paint it, consider covering it in fabric instead! I can think of so many different pieces this technique could work on!
I’d love to know what you guys think of this transformation! Have you ever considered covering a piece of furniture in fabric? What do you think I’m going to do with this dresser next! I have a fun plan up my sleeve and can’t wait to see it come to life. That is, if I can bring myself to pull off that super sweet fabric!
See you back here Saturday with my next military lifestyle post!
Megan




17 Comments on “Fabric-Covered Dresser”
Wow, I’m impressed by how cleanly the old rugby-style tape came off – I’d have been afraid the white paint would come off with it, so that’s great to see!
Hello!
Thanks for your comment! I too was quite impressed with how well the tape off. I had good confidence in my paint job (I let it cure for a few days before adding the tape) and also tested the tape before doing the whole thing! That tape is pretty impressive…so many possibilities!
Hope you have a great rest of the weekend!
Megan
This is a great idea. So simple and totally something put that little punch in a room. Maybe my girls bedrooms need this….now to find the time!
It IS simple! I wish I had thought of it sooner. I’m starting on the next makeover today and I am having SUCH a hard time getting myself to take the fabric off. Kinda wishing I did this one last so I could leave it/sell it with the floral fabric. Oh well. Hope the next makeover is just as cute 🙂
Megan
Hi Megan
What a lovely transformation once again! I never thought it would be possible to cover drawers with fabric. I love the flowers even if it’s not so easy to coordinate with other things in a room. It’s quite a pity not to keep it like this , I’m kidding as the project is to show us four different transformations of this piece of furniture.
I’m longing forward to read your next post as I do love these series which make me learn a lot !
Have a nice week-end.
Michèle
Yes, Michèle! I am already dreading taking the fabric off this dresser because I love it so. But I think my next makeover will be just as great, soI am ready to get started. Still…I’m pretty smitten with that floral fabric!
Thanks for sharing your thoughts as always! I look forward to reading what you have to say!
Megan
“I’m longing forward to reading” it’s always hard for me no to forget how you should write a verb after forward ! 🙂
This is so cute!!! I love it. What a creative way to make a fun dresser.
Hi Heidi!
Thank you so much! I am so smitten with it. I am starting the next transformation today, but I really don’t want to take that cute fabric off, lol! Fingers crossed the next makeover is just as cute…or else I might put the fabric back on it 😉
Happy Sunday!
Megan
Love it! The pattern is super fun, and I love the styling in your shot 🙂
I adore this mini makeover and I am secretly checking out if this dresser would work in my own home 😉 Love the fabric and it’s got such personality, I do agree that red is hard to decorate but I am trying to add a bit more (just accessories) into my own home.
Can’t wait to see what’s next! My fav so far 🙂 I think I have a thing for floral fabric.
Lauren | Lovely Decor
xx
What a darling dresser! You have me sitting here trying to think of a piece of furniture I have that could use a fabric makeover. I’ll be following your tips for a project at some point in the future!
Hello Megan,
I love this idea!! I have inherited several pieces of furniture from family members who have passed away. The items are many, many, many years old. Especially my Mom’s cedar chest (heavy Lane chest from the 1940s). At present I am using my grandmother’s desk. It is from 1920s to 1930s as my computer desk. I retrieved a large plank from the recycle bin as the top for its length. I covered it in a fabric remnant using a staple gun and nails. It is a great length and width for all of my stuff for computer. I see a fabric change in its future because I am tired of the current fabric.
I wish this blog was more current. Ironically, it is almost a year old to the day. Wishing you would continue with the postings. By the by, I am a former military wife and also a veteran of 16 years in the USAF.
Just found this after picking up a dresser for my new place at a yard sale that needs some serious tlc. I’m definitely going to give this a try! I don’t have a rotary cutter/mat, could I use my normal sewing scissors if I mark it out so the cuts are straight?
Hi Grace,
Yes – absolutely! I always use my rotary cutter and mat because I find it’s the quickest and easiest way to cut large stretches of fabric. Please use what you have and are comfortable with!
Good luck!
Megan
If you want an easy clean surface, put several layers of polyurethane ( water based!) over the fabric. You then file excess fabric away from the front edge, before a final coat. Then chalk paint or enamel the edges with a co-ordinate colour.
This gives you a ‘custom’ laminate finish.
When you want to change it – sand, chalk paint, glue down a different fabric and polyurethane again.
This finish is so hard wearing and easy to clean – much longer before you have to change it, but still temporary enough.
This is absolutely stunning! You have done such an amazing job, and your directions and pictures are perfectly detailed, so we can replicate this gorgeous dresser! I was thinking back to using starch to put fun fabric on my science classroom walls several years ago, but I love how you did this with the staple gun! Thank you for sharing!