How to Paint Dining Chairs (& Get Professional Results!)
Repainting old, vintage, or thrifted dining room chairs is a great way to update your space without spending a fortune. But chairs are some of the trickiest pieces to paint well, thanks to countless curves, edges, bends, seats, and arms, not to mention their frequent and constant use. Today, I’m breaking down exactly how to paint dining chairs to get flawless, professional results that will hold up to your busy household too!

Our Dining Room Chairs | Before & After
For about the last 6 years, we’ve had the same set of inexpensive white dining chairs around our dark wooden table. But after 2 moves and countless meals with our busy little boys, these chairs were (quite literally) falling apart.
New dining chairs were at the very top of our “to purchase” list upon moving into this home last summer. But despite an exhaustive search, I just couldn’t find anything that met all our requirements: Greg really wanted cushions, I wanted something traditional-yet-modern; and we both wanted chairs that wouldn’t cost a small fortune. (Yowza, dining room chairs are expensive!)
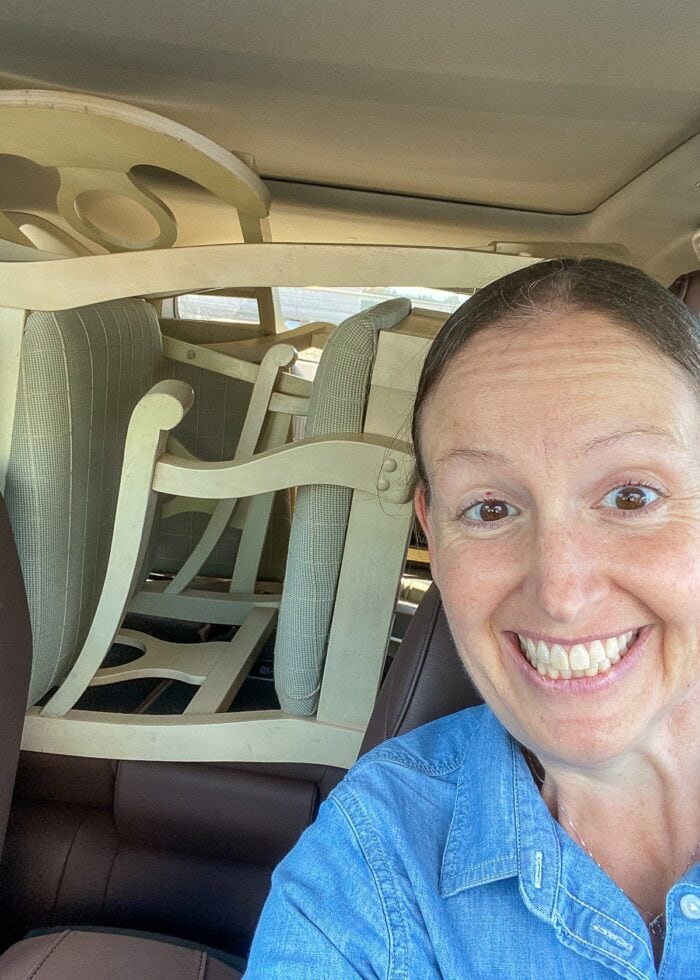
Well…if there is one thing the state of North Carolina has, it’s thrifted furniture! So when I stumbled upon a set of 5 solid wood chairs…with cushions…for $90…you better bet they were loaded into my car on the spot. Below is the shot I sent to Greg before pulling out of the parking lot. Can’t you just see the anticipation of a fun new project on my face?!
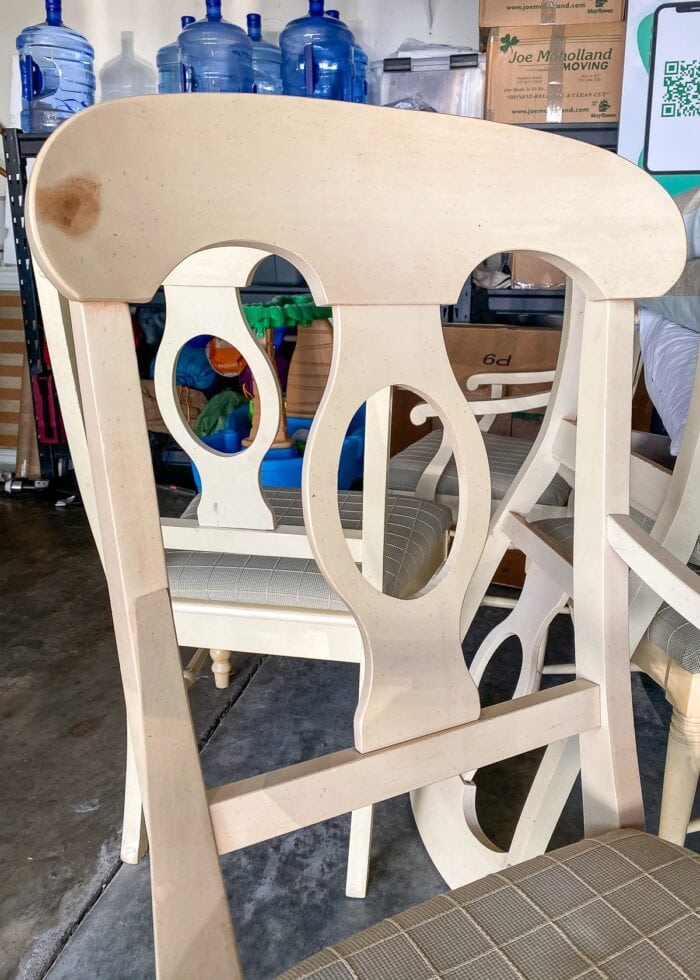
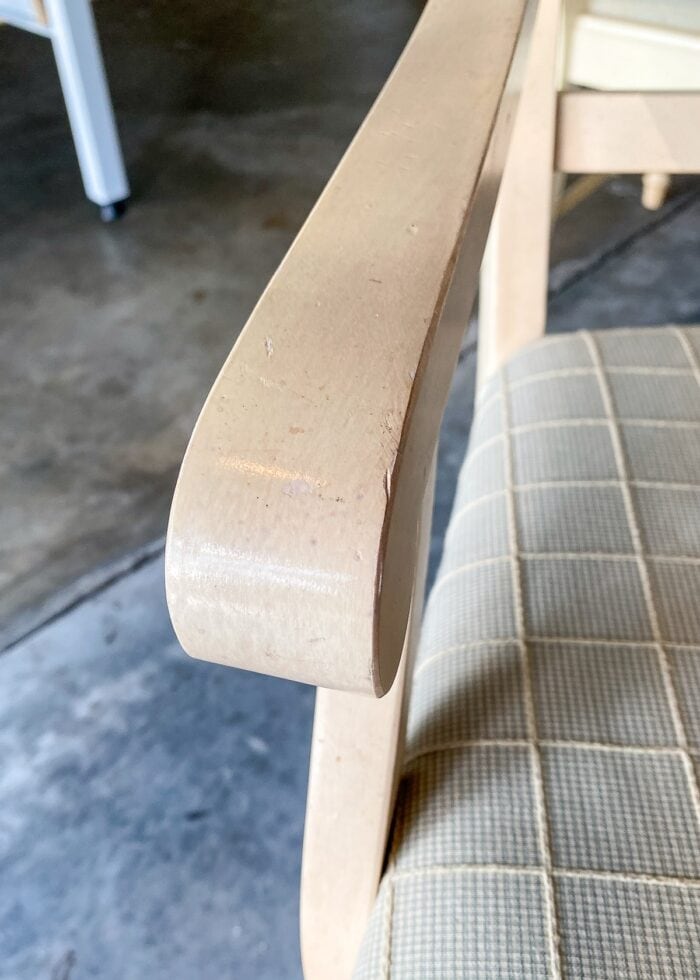
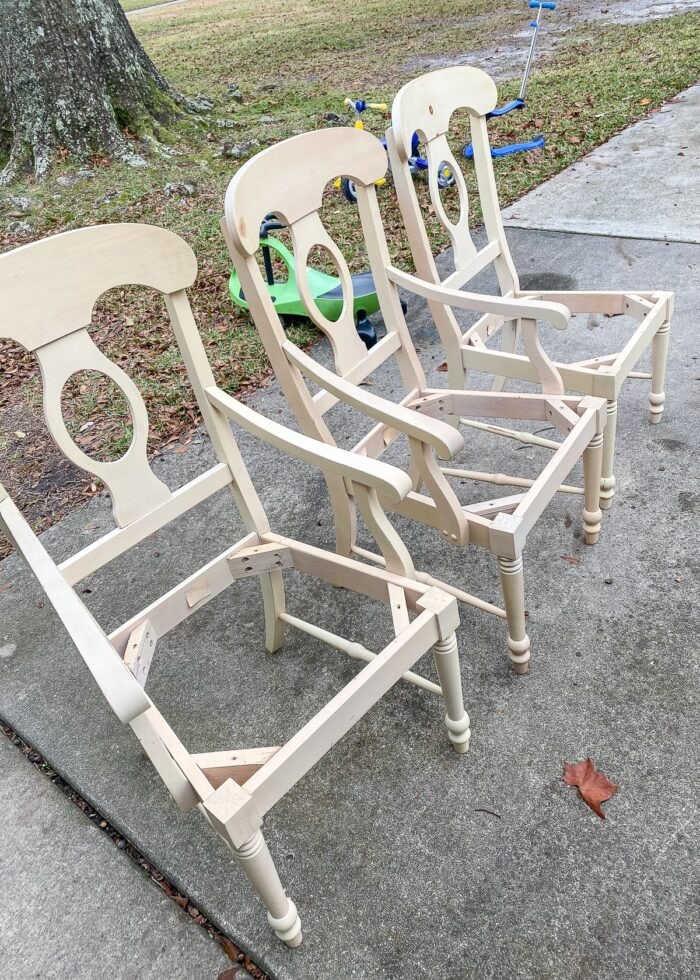
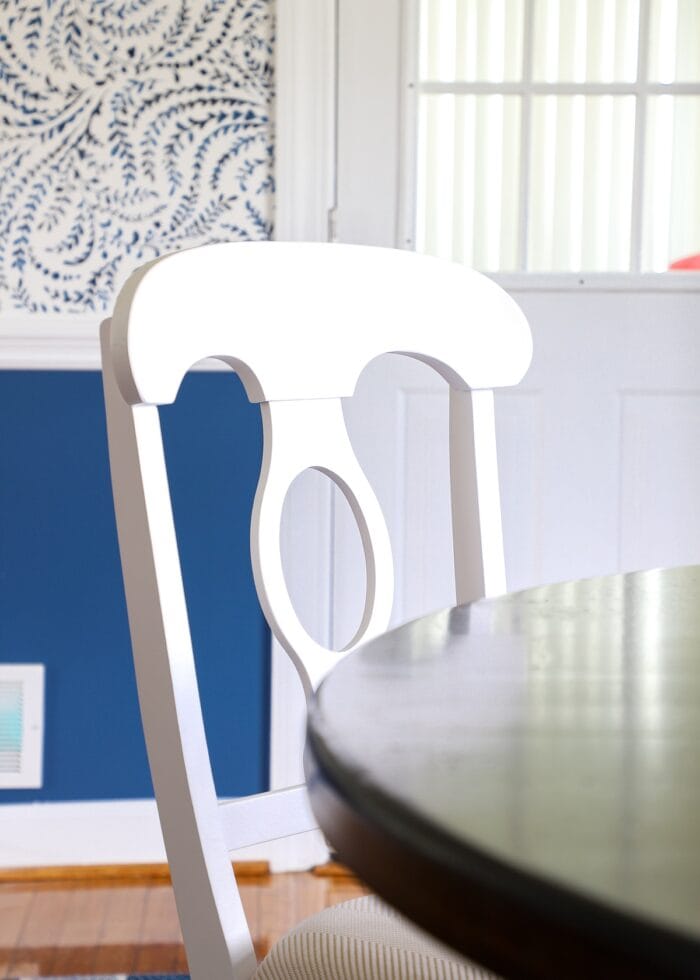
These chairs had a really unique finish. They weren’t painted but not quite stained either. They had a strange ivory “wash” on them that gave them a very distinct yellow color while also showing the wood grain underneath. With dingy plaid seats, these chairs were downright ugly!
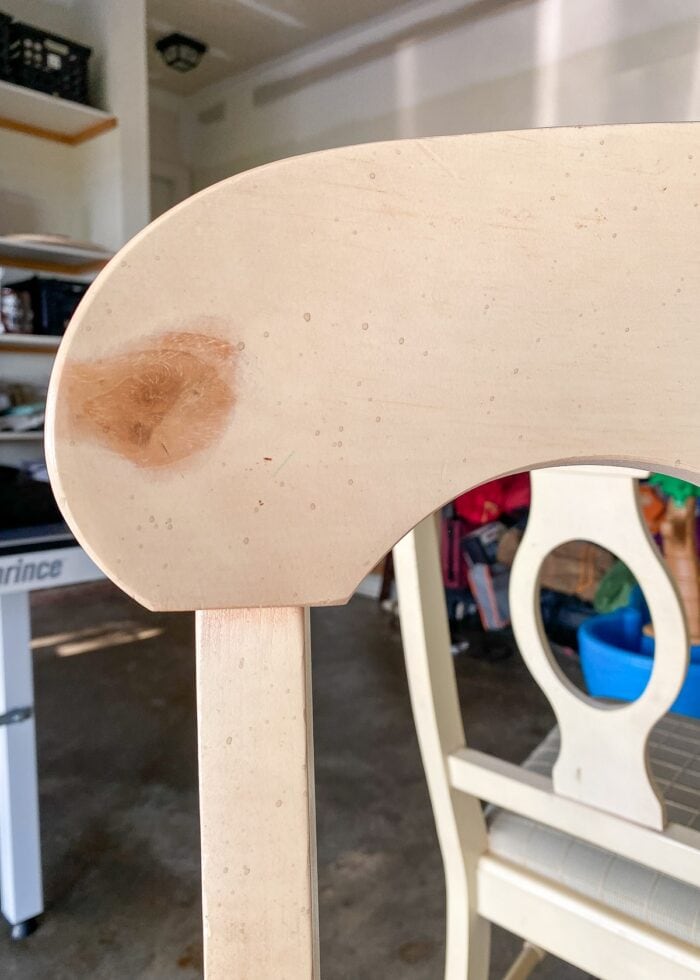
Most notable were these dark knots that were on almost all the chairs. Whether the original refinishers didn’t use the proper stain-blocking product or the stains came out of the wood over time, I’ll never know. But covering them up and giving the chairs a fresh coat of solid paint was key to giving them an updated look.
I haven’t refinished furniture in ages and I’ve never tackled dining room chairs before. So before getting started, I got a refresher course from a good friend of mine who refinishes furniture professionally. She also has three young boys, and I knew she’d be able to tell me how to make these chairs practically indestructible!
(Most of what I outline here comes from her instruction; and if you’re in the New England area, be sure to check out her inspiring makeovers!)
The very first thing she told me was that I was crazy to tackle a set of chairs because they are so time-consuming and so tedious. I thought she was joking and plowed forward with optimistic enthusiasm.
Alas, she was not joking; and I perhaps should have headed her warning. This set of 5 chairs is easily the most exhausting, time-consuming furniture makeover project I’ve EVER tackled (and I’ve painted my fair share of furniture!)
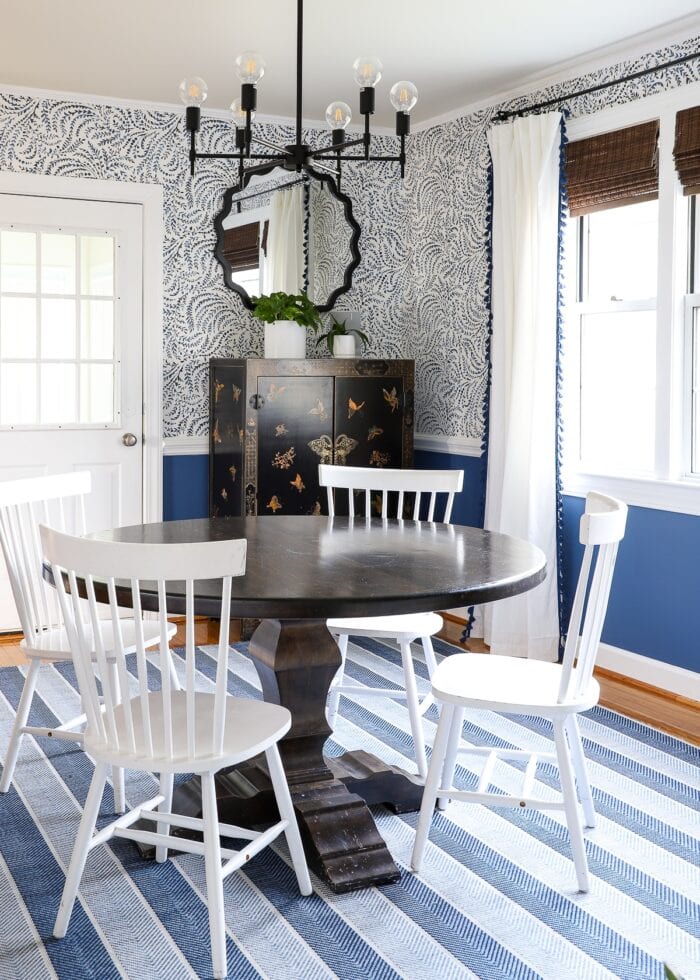
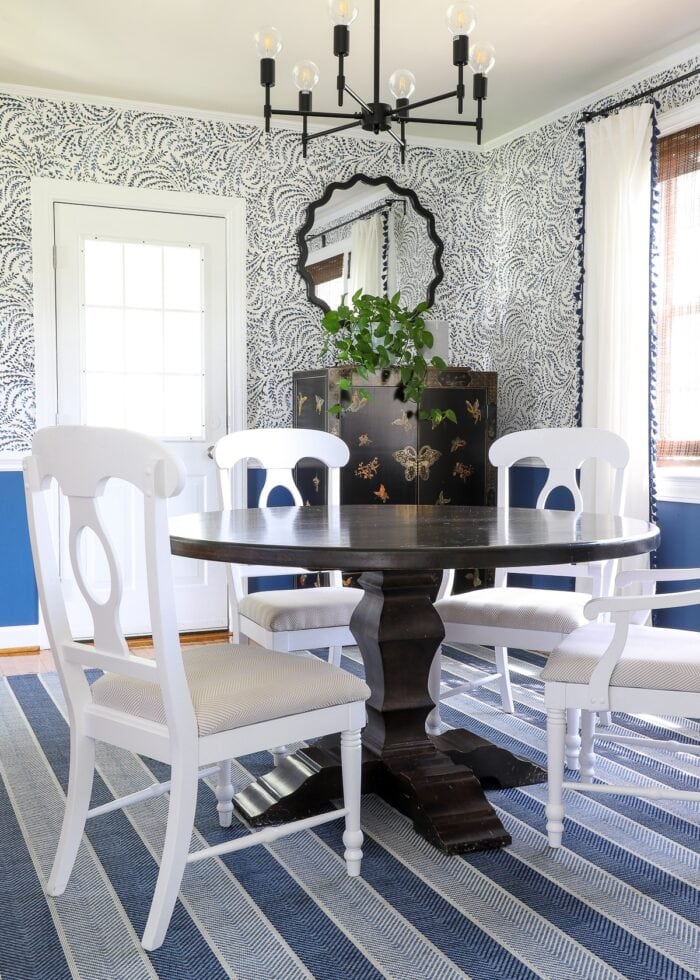
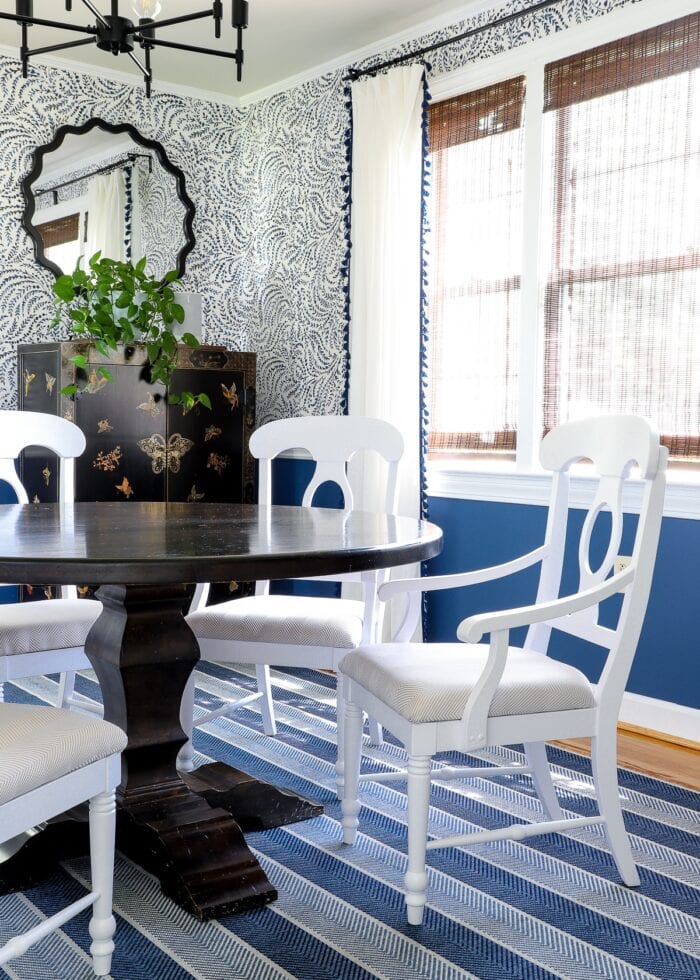
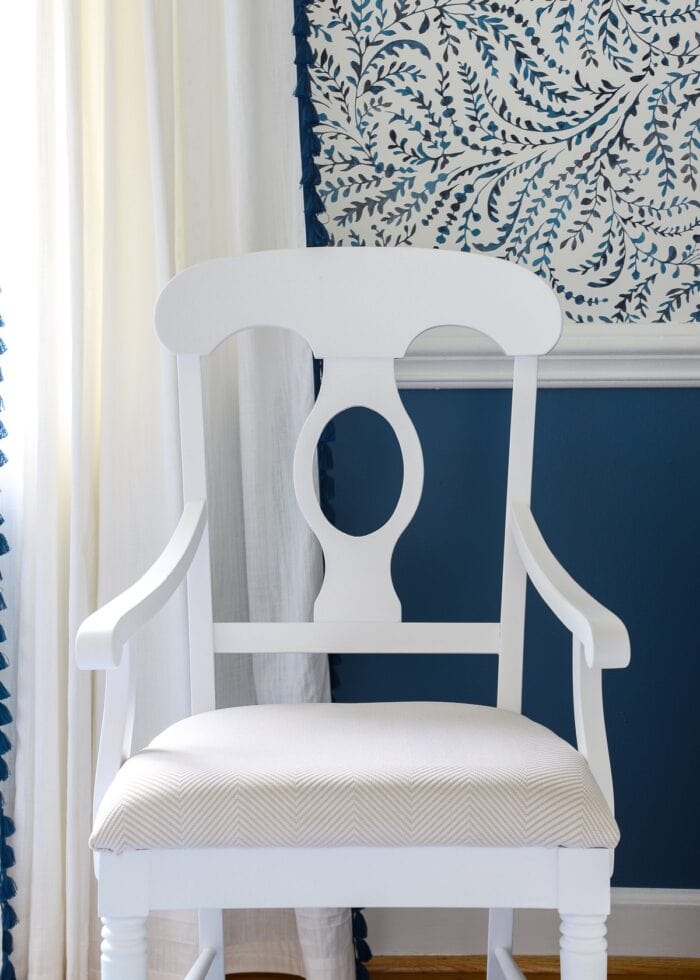
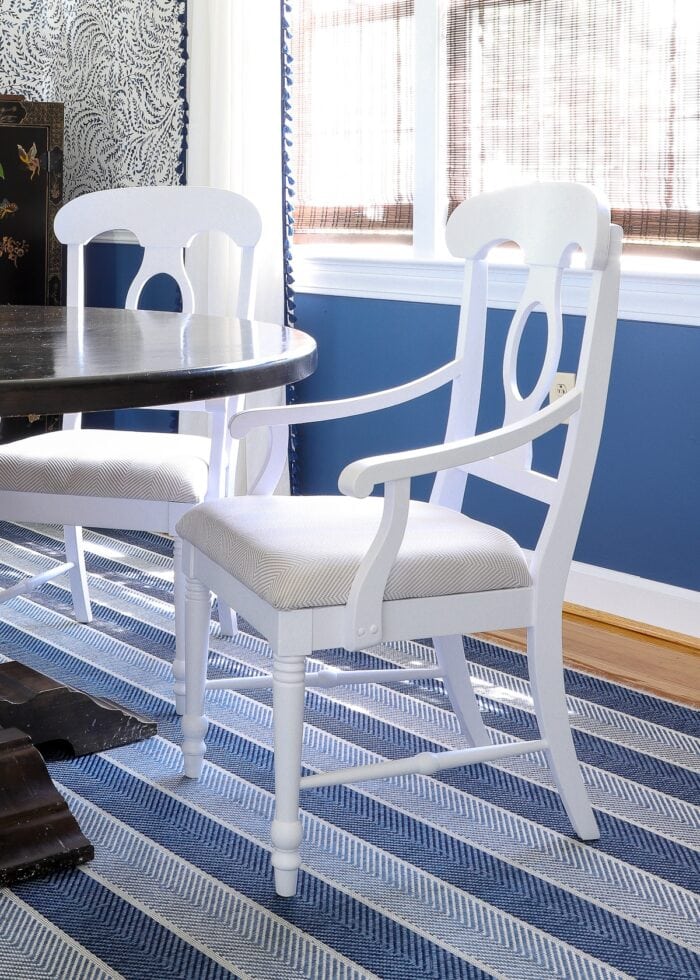
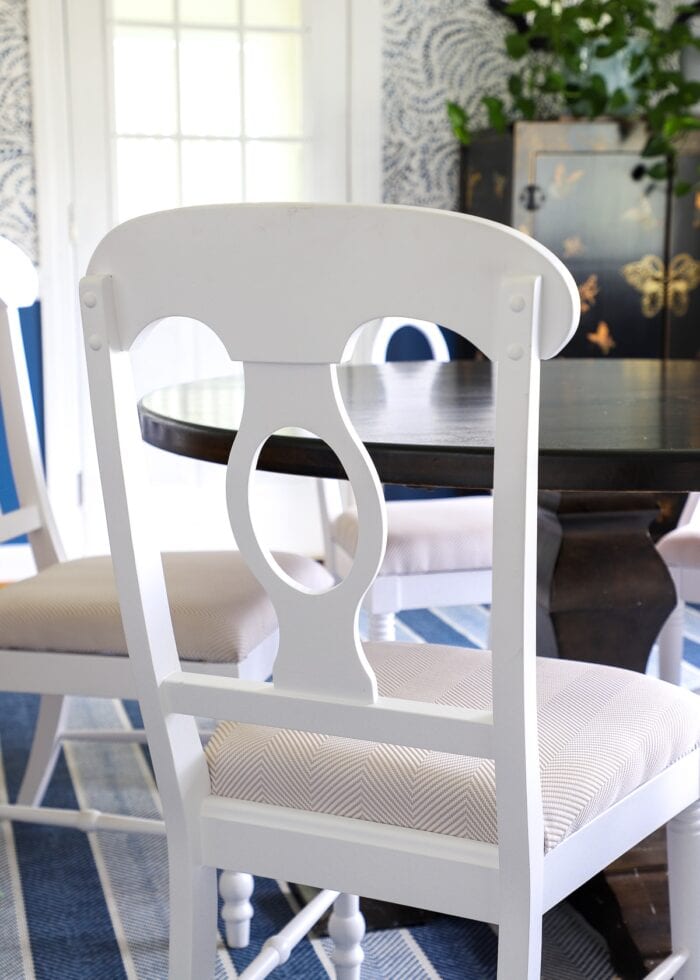
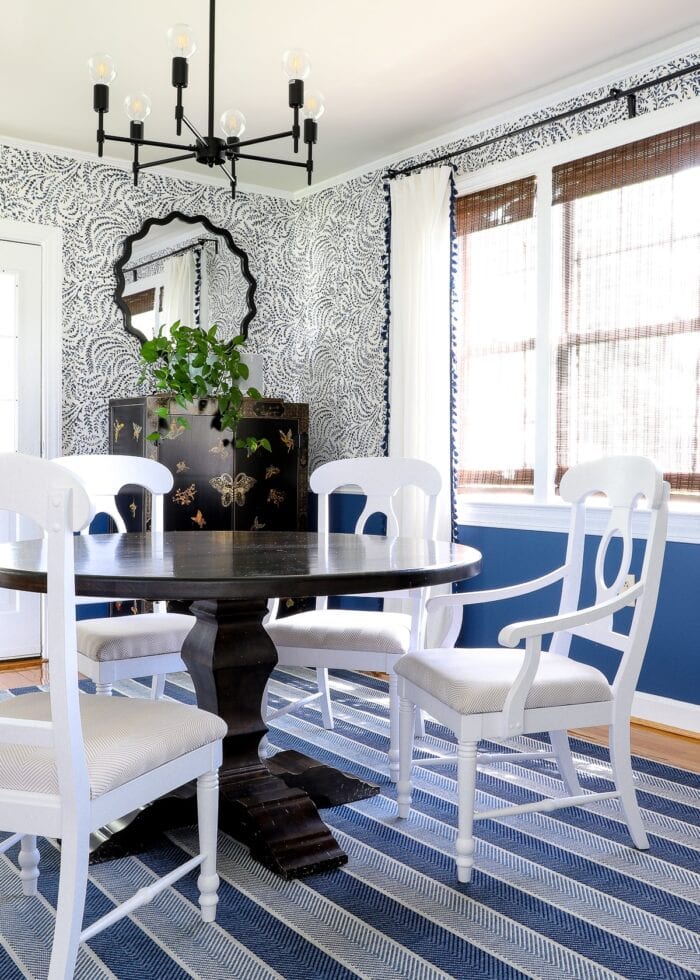
But they sure turned out pretty…take a look!
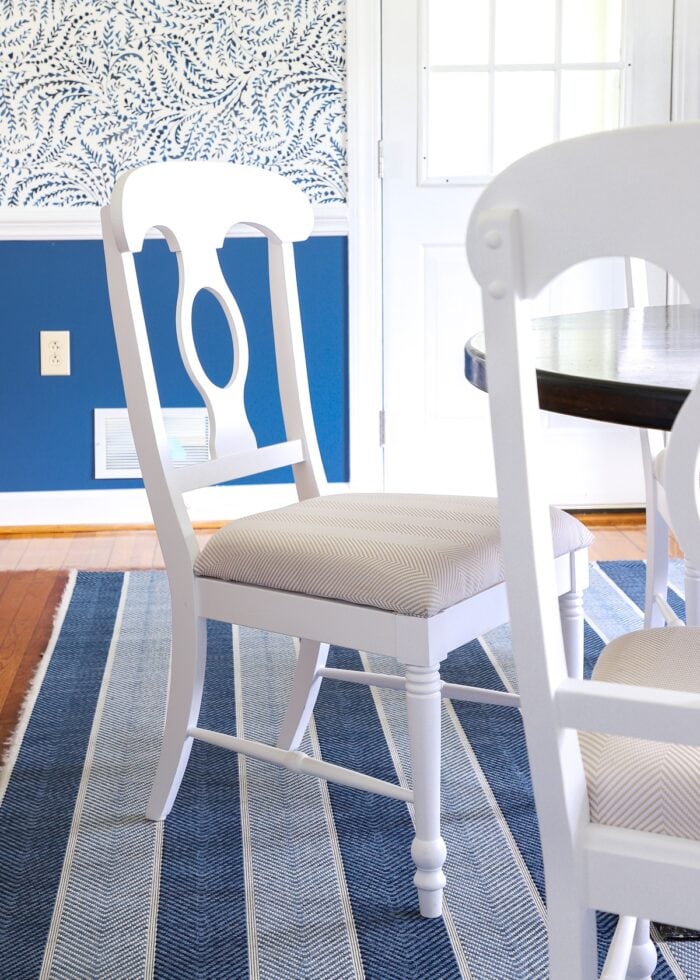
Crisp white paint paired with ivory+white patterned fabric (atop newly-cut foam cushions) transformed these chairs from dingy and ugly to bright, fresh, and just the hint of modern that I wanted!
Their shape so much better complement the size of the dark table, and so far…my boys haven’t destroyed them (yes, even the light seat fabric!) I do love these chairs in the end, but it’s taken me about 5 months to recover from their makeover in order to share it with you (I’m kidding…sorta!)
Let me break down every last step so you feel confident giving this crazy furniture makeover a try too!
Supplies Needed
Here are the products I recommend when re-painting dining room chairs:
- Wooden Chairs – check thrift stores, Buy/Sell/Trade pages, and local shops for a good deal.
- TSP or Other Deglosser – for cleaning the chairs and removing any residue, flaking paint, etc; I used Krud Cutter Prepaint Cleaner
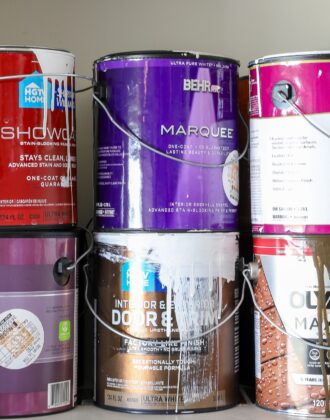
- Shellac-Base Primer – while any stain-blocking primer can work, a shellac-base primer will better cover strong colors and dark knots; I also love how this one dries in about 30 minutes!
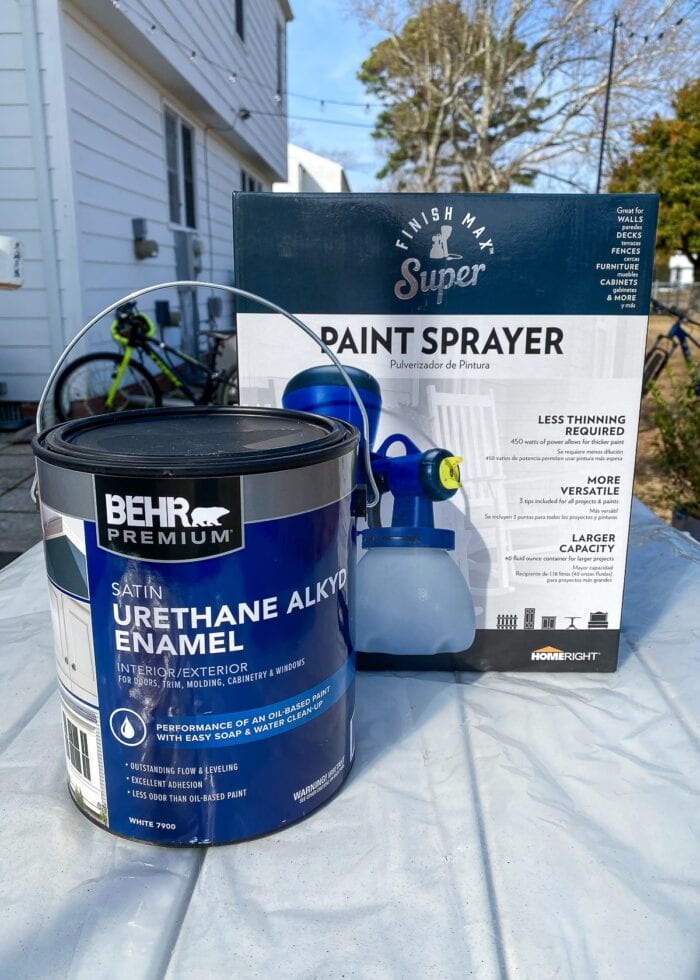
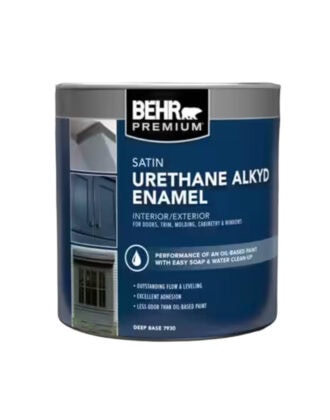
- Paint – I used Behr Urethane Alkyd Enamel Paint in White (right off the shelf); more on this below.
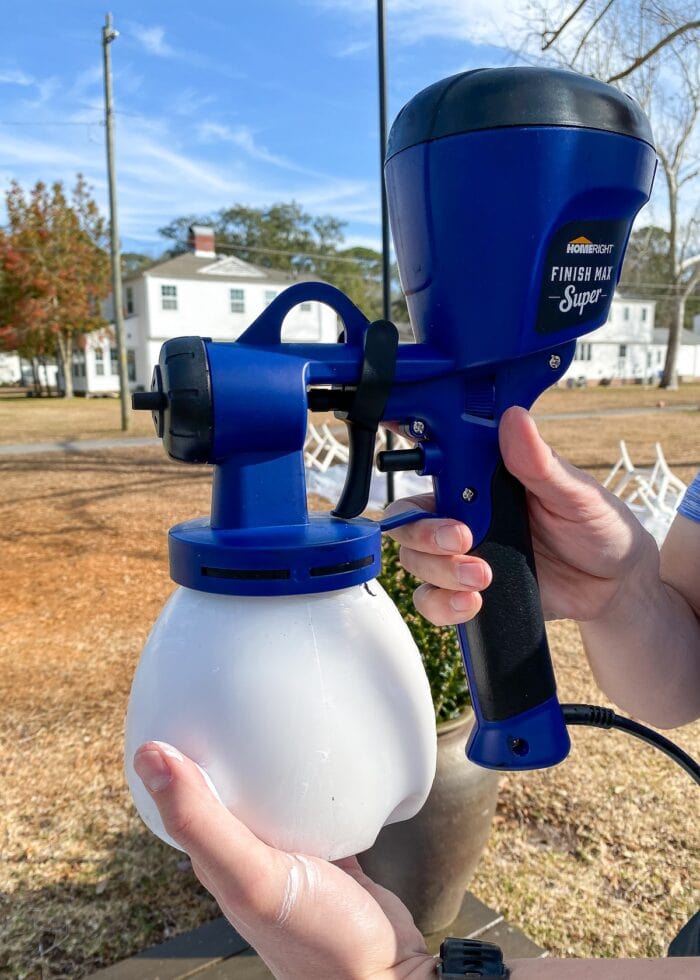
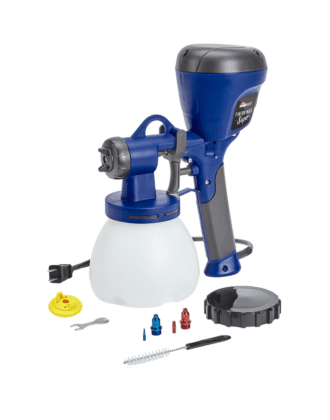
- Paint Sprayer – while you CAN use a brush on chairs, I highly recommend using a paint sprayer. I used this one and found it incredibly easy (and fun!) to use.
- Sanding Blocks
- Microfiber Rags
- Large Plastic Tarps
What Paint Is Best For Painting Dining Chairs?
When it comes to chairs, the more durable the paint the better since they will be pushed in, pulled out, sat on (and probably played on too!).
In general, oil-based paints are known for providing the most durable, glass-like finish. But their strong odor and difficult clean up don’t make them a practical solution for the everyday DIYer.
I asked my friend for her professional opinion and she pointed me to Melange Paints for chairs since they include both the paint and protective coating in one product. However, I was exceptionally nervous picking out a paint color via a website with no return policy, so I headed off to the hardware store instead.
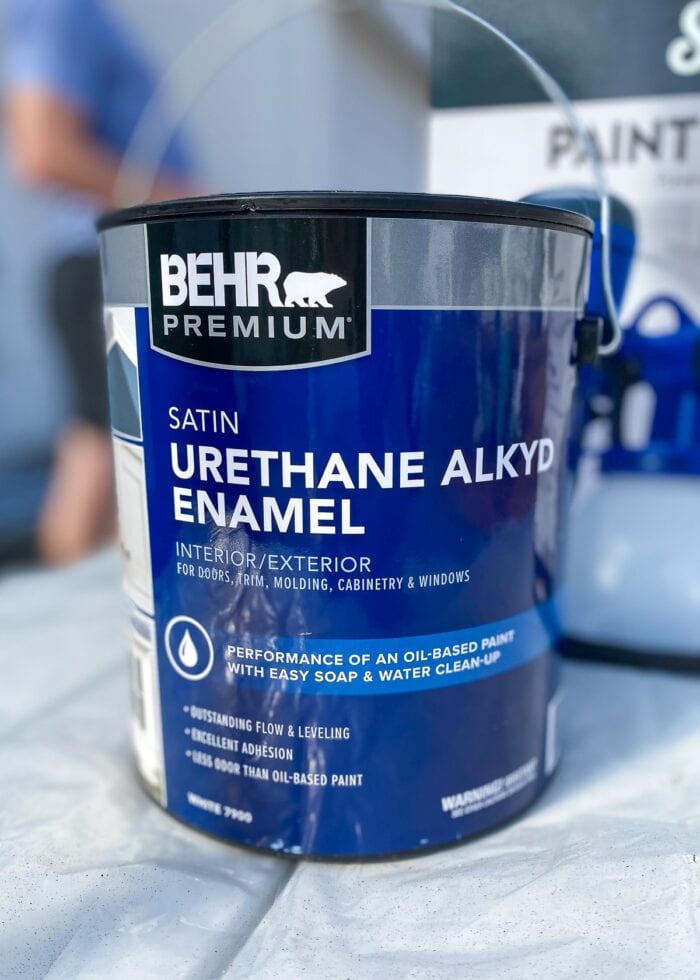
After spending a lot of time wandering the aisles at The Home Depot, this paint (Behr Urethane Alkyd Enamel Paint) caught my eye for several specific reasons:
- “Performance of an oil-based paint with easy soap and water cleanup” – oil-like quality without the hassle!
- “Outstanding flow and leveling” – brush strokes and drips self-level on their own, providing a smooth finish.
- “Ideal for cabinetry, doors and trim” – this typically means it’s good for furniture too!
I chose the satin finish because higher gloss paints tend to show more imperfections. While I was extremely happy with how this paint went on (it really does self level!) and how well it’s held up in 5 months, I do wish I had chosen the semi-gloss version for just a bit more shine and protection.
TIP! Pay very close attention to the temperature and humidity specificaitons for this paint. It takes a long time to dry; and if you use it in the wrong temperatures, you can end up with nusiance drips.
How Much Paint Do You Need for Dining Chairs?
How much furniture paint you need will very much depend on:
- How big your chairs are – the bigger and more detailed the chair, the more paint you’ll need.
- How many chairs you have – more chairs = more paint.
- How many coats of paint you’ll need – plan for at least two coats of paint for good coverage (no matter what the paint can says); light colors on dark woods can sometimes require 3-4 coats.
- How you apply the paint – spraying paint uses up more paint than brushing it on.
That said, below are some references from my own chair project to help you out:
Spray Primer. I use 6+ cans of spray primer for our 5 chairs. The primer was, without a doubt, my biggest expense in this entire project at almost $20+ can! Had I known how easy the paint sprayer was to both use and clean, I would have purchased a gallon of primer and applied it via the sprayer instead.
Enamel Paint. We used about 2/3 of a gallon of the enamel paint to give the 5 chairs two full coats, but that’s primarily because I sprayed it on with a paint sprayer. Spraying paint involves a lot of overspray and lost paint, so you’ll go through paint faster.
How to Paint Dining Chairs
Step 1 – Remove Cushions from Dining Chairs (If Applicable)
If your chairs have seats or cushions (that you don’t want painted), remove them first. Most can be easily un-done via screws underneath the seat itself.
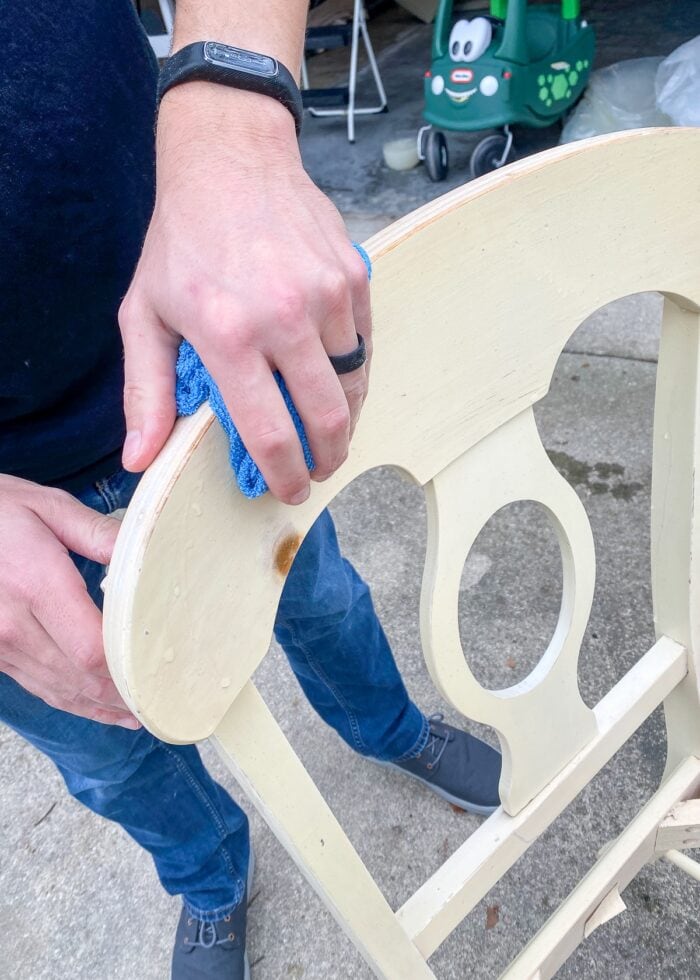
Step 2 – Clean Dining Chairs
Next, you will want to give the chairs a really good cleaning to remove any dirt, grime, sticky residue, and even the glossy finish already on the chairs from paint, stain, etc. Any TSP/deglosser product will work; I vigorously scrubbed my chairs down with Krud Cutter Prepaint Cleaner and a sponge.
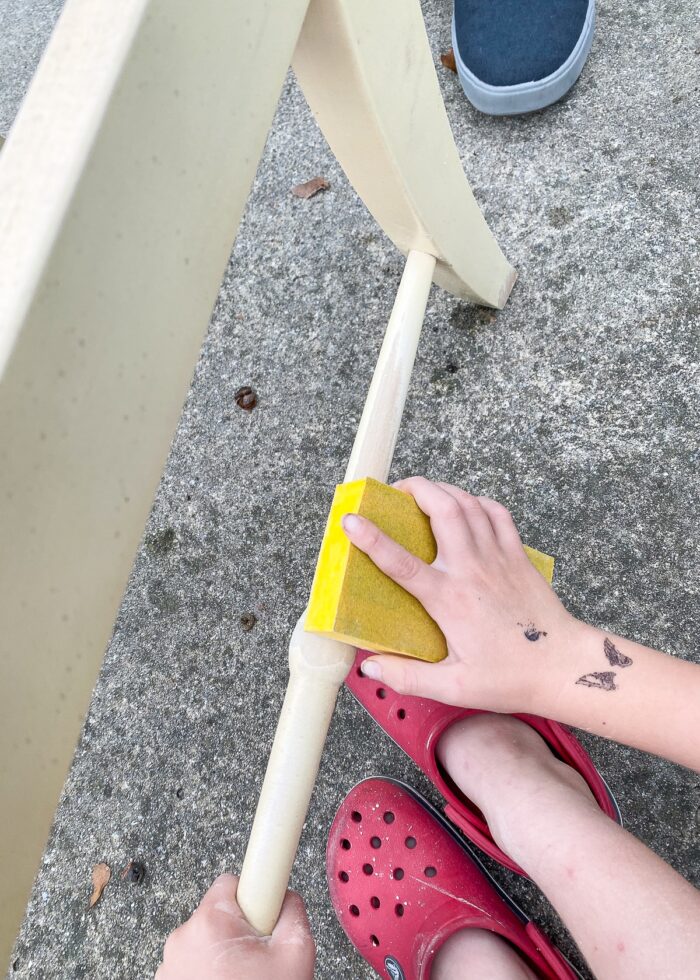
Step 3 – Scuff Sand Dining Chairs
When painting chairs, it really isn’t necessary to sand them completely down to bare wood. While you certainly can, all the extra prep (and super tedious) sanding is not quite worth the time when you’re going to re-apply high quality primer and paint on top.
However, you will want to “scuff sand” all the surfaces of the chairs to give the paint something to adhere to. Use 80 grit sandpaper to rough up the original finish, and then wipe the chairs clean of all sanding dust using water and a clean microfiber rag.
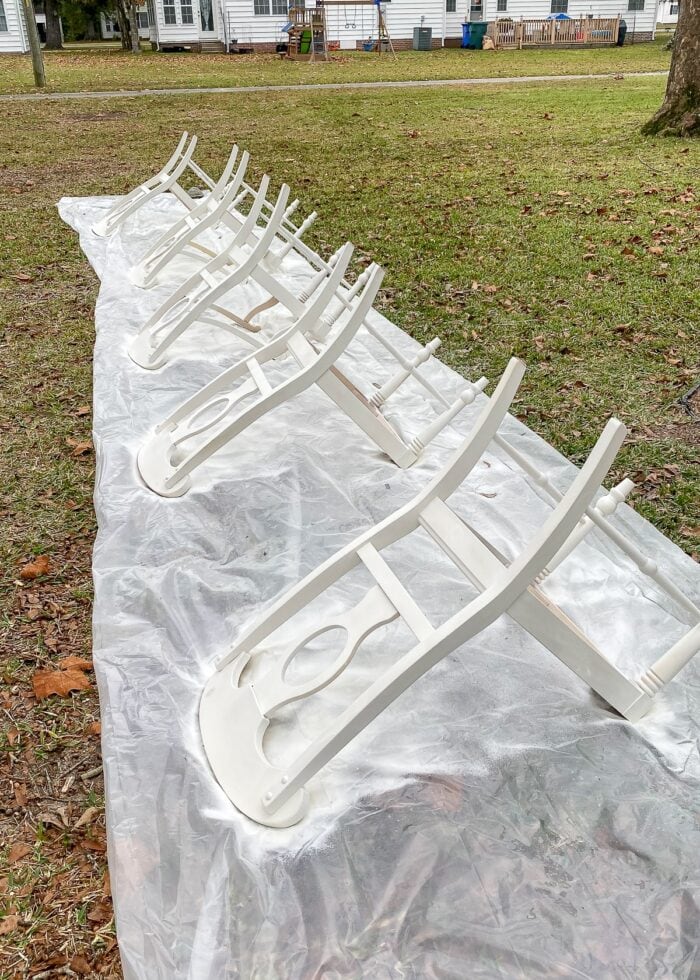
Step 4 – Prime Dining Chairs
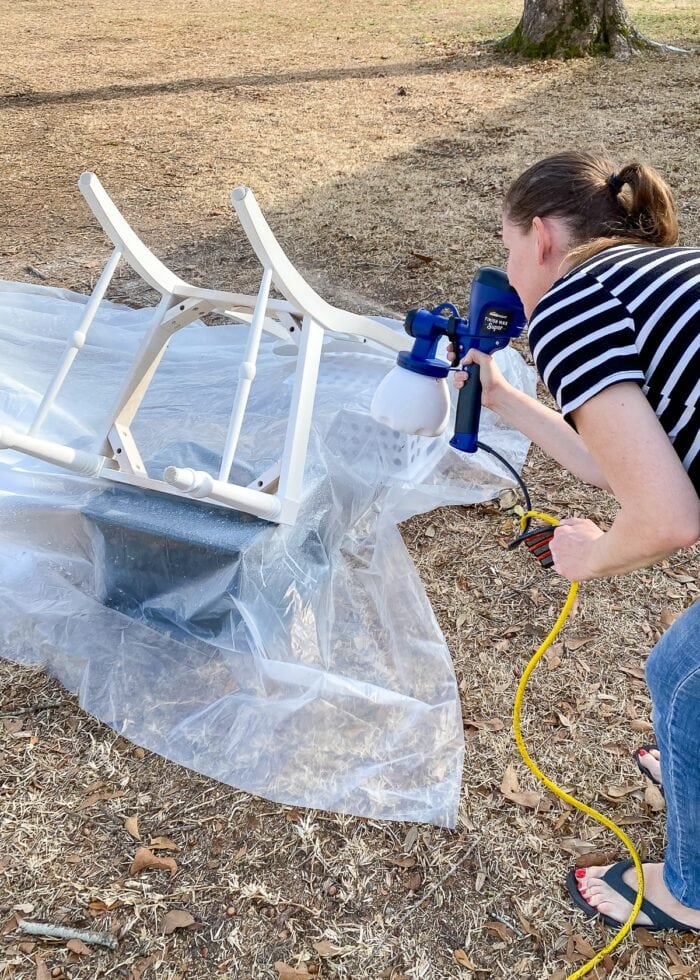
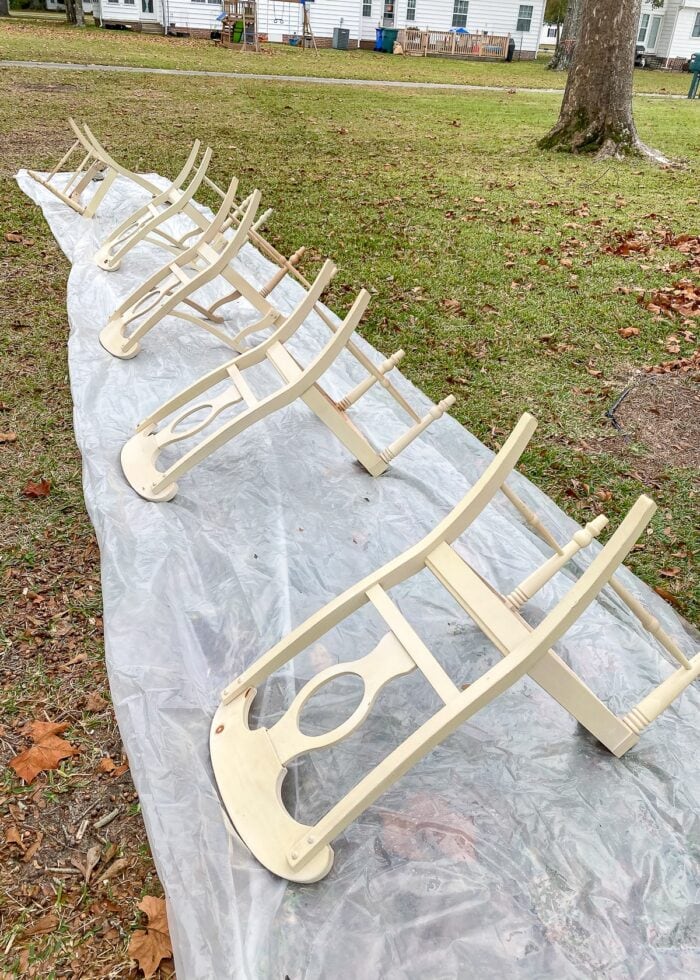
Once sanded and clean, place your chairs (upside-down) on plastic tarps for painting. If you have the space or availability to set up a painting tent (even in your garage with tarps), I recommend it. Our garage was just too full at the time, so I placed tarps across our backyard. Be aware that bugs and small debris can easily land in your wet paint if you choose to paint outside.
Once positioned, give your chairs a thorough coating of shilac-base primer, working from all angles to get every leg, crevice, spindle, and edge. When dry (about 30-45 minutes), flip the chairs over and coat the remaining surfaces in more primer.
Step 5 – Sand Primer to a Smooth Finish
All the Zinsser primers give great coverage and dry fast, but they will leave your furniture feeling rough and gritty. To make them nice and smooth, use a 220 grit sanding block on all surfaces of the chairs. Sanding them will produce a lot of dust, so wipe them…again…with a clean microfiber cloth.
Step 6 – Prime & Sand Again
Repeat Step 4 (prime all sides) and Step 5 (sand to remove grit) before wiping clean one final time.
(With all the sides, arms, backs, seats, rails, and more…this is when this project really starts to feel tedious. Hang in there!)
Step 7 – Paint Chairs with a Paint Sprayer
With two coats of primer and good sandings and cleanings in between, your chairs are (finally) ready for paint!
Want to save this post?
Follow the instructions on your particular paint sprayer AND paint; there should be instructions on the can for using it with a paint sprayer. This will typically include filling the sprayer with paint and selecting the correct tips and angle for your particular project.
Then proceed to spray every angle of the chairs with very light coats of paint. Again, I started with all of my chairs upside down. After the appropriate dry time, we flipped them over and sprayed the tops/fronts. I suggest you identify and follow the same pattern on each chair, to ensure full coverage on every side.
If you are new to a paint sprayer, it will take a bit of trial-and-error to figure out how fast you need to move so as not to apply the paint too thickly. If you experience drips, use a brush to catch them as soon as possible.
Step 8 – Sand (As Needed) & Paint (Again)
This paint requires 4-8 hours before it can be re-coated (and perhaps even longer if it’s humid). This prolonged dry time is exactly what allows the paint to settle into a nice smooth finish; small drips will literally even out without any effort on your part. But this longer dry time also makes it difficult to get multiple coats on the chairs in one day.
After the dry time on your first coat, use your hand to identify any rough or bubbled spots or drips. With a 220 grit sanding block, smooth out any imperfections as needed. Wipe away all dust remaining on the chairs.
Then give the chairs a second coat of sprayed paint, again starting with the bottoms and then flipping over to paint the tops and fronts one last time.
Step 9 – Add a Top Protective Coat (As Needed)
Depending on the type of paint you use, you may want to add a protective top coat (such as a spray polycrylic or wax).
I chose to skip the sealer because I was totally over these chairs of the high-quality paint we chose. Five months in, we don’t have any nicks yet! If you do want to add a poly coat, I personally like this spray or this wax.
Step 10 – Give Chairs Full Cure Time
Although the paint can be re-coated in 4-8 hours, I always like to give my furniture pieces a few days to cure before we move them into the house for normal, everyday use. While not required, this will ensure the paint doesn’t get any nicks or scratches from still being a bit too soft, especially if your climate is humid.
Step 11 – Re-Cover Cushions (If Applicable)
While your chair paint is drying and curing, re-cover the cushions in fresh fabric (if applicable).
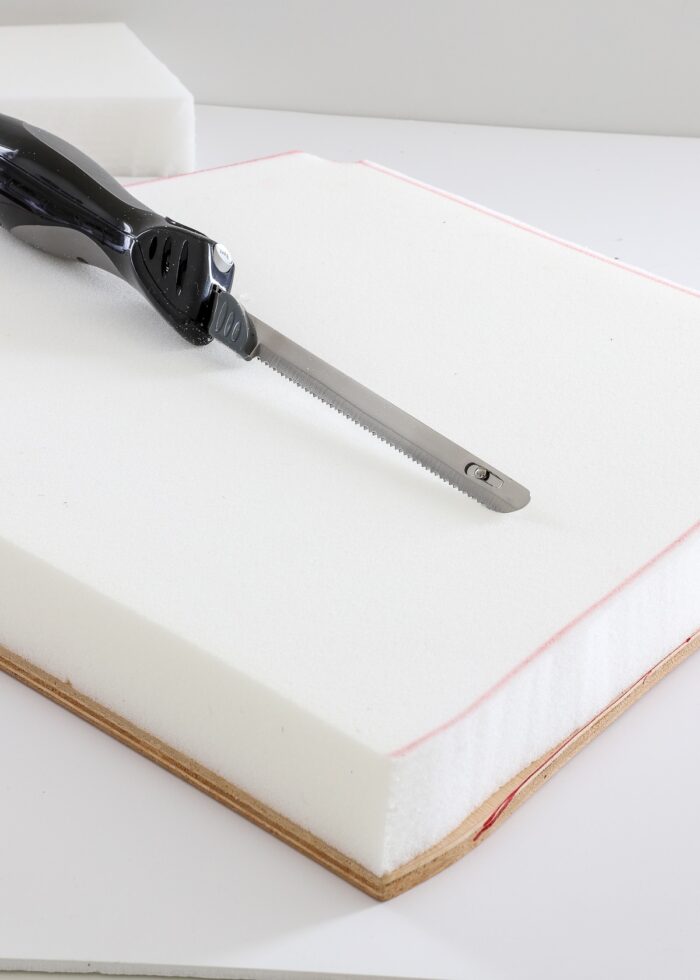
Below is how our chair cushions looked after we removed the original fabric.

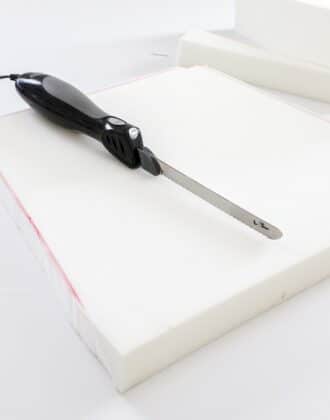
Years of use really flattened the cushions. And since the chairs were sitting a smidge lower than we liked, we chose to replace all the foam with fresh 2″ foam from a local upholstery shop.
Learn how here: How to Cut Upholstery Foam with Clean & Precise Results
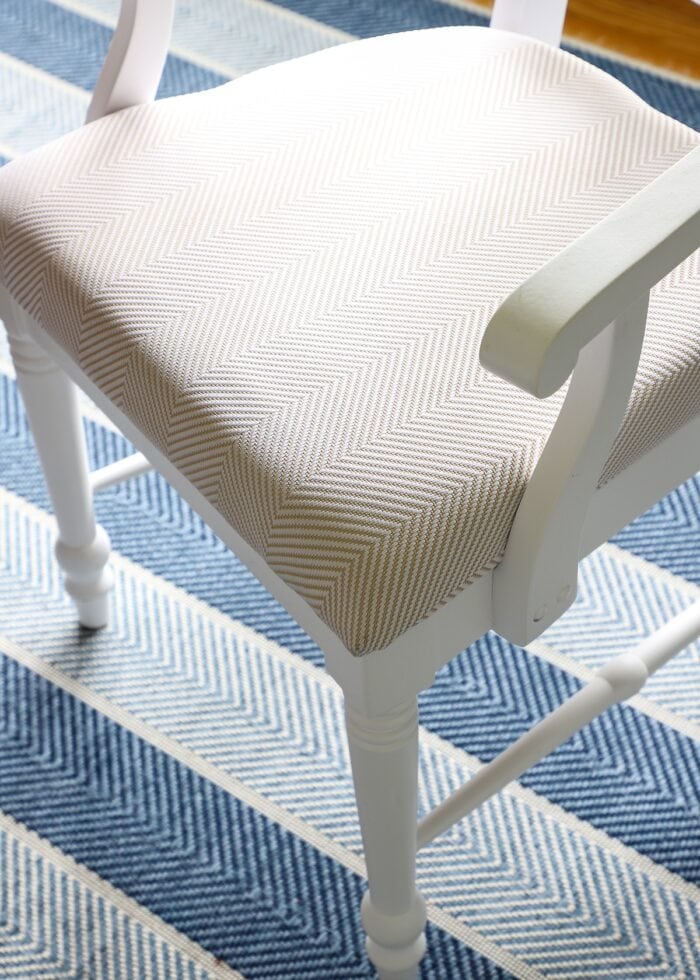
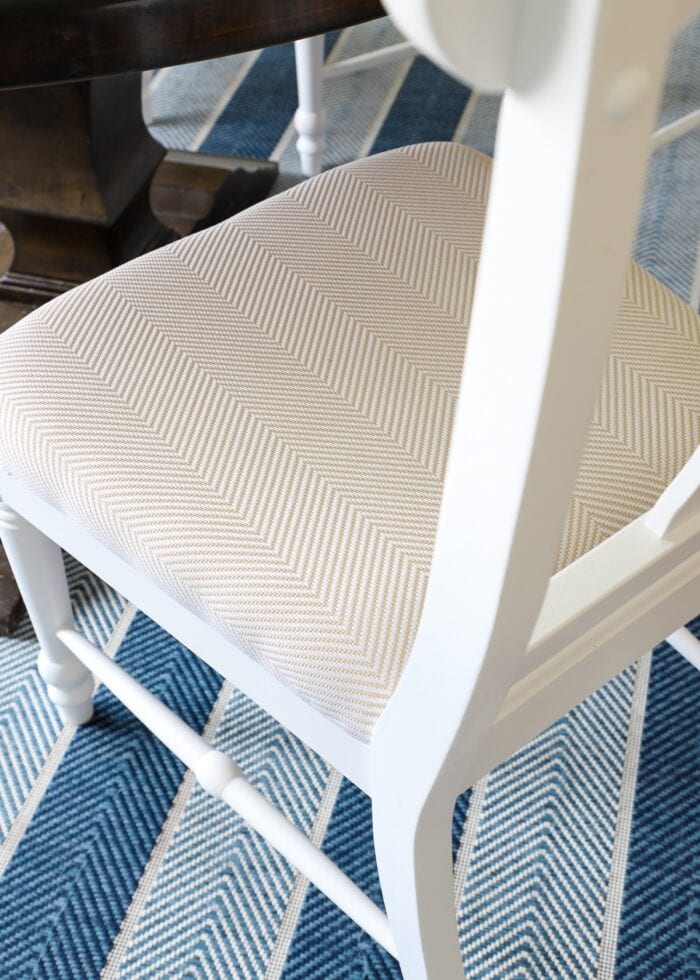
Once wrapped in Sunbrella chevron fabric, all the dated, dinginess was finally gone! If you need help recovering a cushion, see my tutorial here: How to Recover a Chair or Bench Cushion
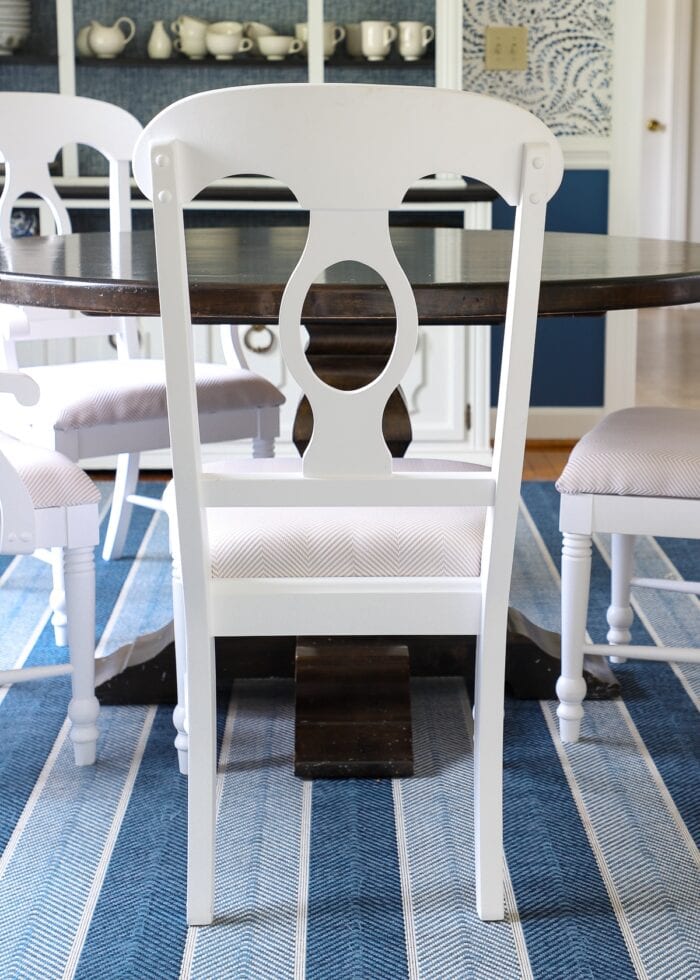
Step 12 – Re-Assemble & Re-Place Your “New” Chairs!
With the chairs fully cured and the cushions freshly wrapped, all that’s left to do is screw the seats into place and put your chairs back around your table to use and enjoy!
FAQs About Painting Dining Room Chairs
How Long Does It Take to Paint Dining Chairs?
These chairs took me over a month to finish…admittedly, a lot longer than they needed to.
Yes, all the washing and sanding and wiping down…of every single surface…across 5 chairs…takes a long time. But so does coat after coat with the proper dry times. With 2 coats of primer (fronts and backs) and 2 coats of paint (fronts and backs) and waiting for clear weather to do each one, this project really dragged out.
Had we had the garage space to set this project up and knock it all out, we likely could have had them done in a week.
What Is the Best Method for Painting Chairs?
When I was losing steam laying out my drop cloths, marching all my chairs out to the lawn, and flipping them back and forth…I started to re-think my choice of using the paint sprayer. But as I considered the detailed backs and spindled legs of these chairs, I knew painting the chairs with a paint brush or roller would take me far longer.
Although painting dining chairs with a paintbrush will ultimately give you a bit more control (and doesn’t warrant the extensive, large-scale setup the sprayer does), the time saved in getting the chairs sprayed quickly is well worth it, not to mention the smooth, solid, even paint coverage you can really only get from a sprayer.
Do You Need a Protective Topcoat for Dining Room Chairs?
This entirely depends on the type of paint you use. If you use a high-quality furniture paint or paint that has a protective coating built in, you can likely skip the clear coat. If you use a softer latex paint or start to see nicks, you can always give them a protective coat when needed.
Is Refinishing Really Cheaper Than Buying New Chairs?
One thing to keep in mind is that repainting dining chairs isn’t necessarily a “cheap” endeavor (especially if you do it right). However, DIYing old chairs will still cost you far less than brand new chairs.
This project broke down as follows:
- Chairs – $90
- Spray Primer – $120
- Paint – $45
- Paint Sprayer – $100
- Foam – $100
- Fabric – $30
- Total – $485 = $97/chair
Considering that nice solid wood chairs from a reputable retailer typically cost between $250-$300 per chair, we indeed saved some money.
That said, we are now “stuck” with only 5 chairs. I won’t be able to find others like it if we ever need more, nor will I be able to purchase additional matching chairs should any of these break during a move.
So while repainting old chairs can be a cost-saving (and gratifying) project, there are some additional factors you might want to consider before spending the money (and time!) on this one!
For a while there, these chairs felt like the project that would never end. I’m sure my neighbors thought so too, as I dragged the chairs out weekend after weekend after weekend. At first, we were really gentle with them out of fear of scratches and stains. But like the haunting memories of never-ending sanding and spraying, that delicateness has since worn off too.
Our family (with young kids) uses these chairs day in and day out, and they still look fantastic! Even though they were a good bit of work, I have to admit that nothing really beats the thrill of transforming something ugly into the exact thing you need for your space! So are you ready to give this ambitious project a try?
Megan
6 Comments on “How to Paint Dining Chairs (& Get Professional Results!)”
These came out beautiful!!!
I absolutely love these chairs. My mother is moving on some chairs that belonged to my grandmother, and your post is making me consider the project they would be …
Also, your photographs are amazing. Your combination of keeping it real (your sooo happy expression with new chairs in your car! The tarp on the dry day for painting…) and capturing all the patterns and textures of your finished space is so soothing and inspiring. Your second photograph after “step 12” of the finished chair, with the curtain, chair rail, lower paint and upper wallpaper in the background, captures so much beauty. Thank you for what you do! I love following along!
Hello! Beautiful post. I am working with the same materials. Did you thin your paint? Thanks!
Hi Katie!
I did NOT thin my paint because the instructions on the can indicated not to when using a sprayer.
We’ve been really pleased with the durability of this paint so far; good luck with your project!
Megan
Thanks for all the tips! I’m getting ready to paint my entire dining room set, ( Am I crazy or what?) Table, 4 chairs and a 2 piece hutch. I’ve done a ton of research and decided to use chalk paint to minimize my prepping. I think, like you, I have underestimated the time this project is going to take. Thanks again!
your chairs are absolutely beautiful!!