An Easy (& Clever!) Way to Store Kinetic Sand
There are very few things that will keep my four-year-old entertained longer than 30 minutes, but kinetic sand is definitely one of them. In fact, if I’m nearby, he’ll occupy himself for well over an hour! As such, we’ve accumulated a nice little collection of kinetic sand and related tools and toys, but it’s all been a bit of a hodge podge mess. I really wanted to find a way to store everything that was convenient and compact (for me) but also easy and functional (for him!) The result is an easy-carry kinetic sand caddy we’re both loving! Let me show you how to assemble your own!
Our Kinetic Sand | Before & After
Our kinetic sand “stash” has slowly been growing over time. We had an initial 2 lb bag of sand and some basic castle molds for a while. But when my youngest really took to it, we added some more colors and tools over recent birthdays.
Then, when I chucked all the Play-Dough but kept the tools, our items started outgrowing the existing storage bins.
Not only was everything not stored together, but it wasn’t quite “quick or easy” to pull everything out at playtime.
My goal was to find a way to store the sand AND tools/toys together but in a way that was 100% kid friendly. And after our luck with this perler bead organization, I knew a caddy was the answer!
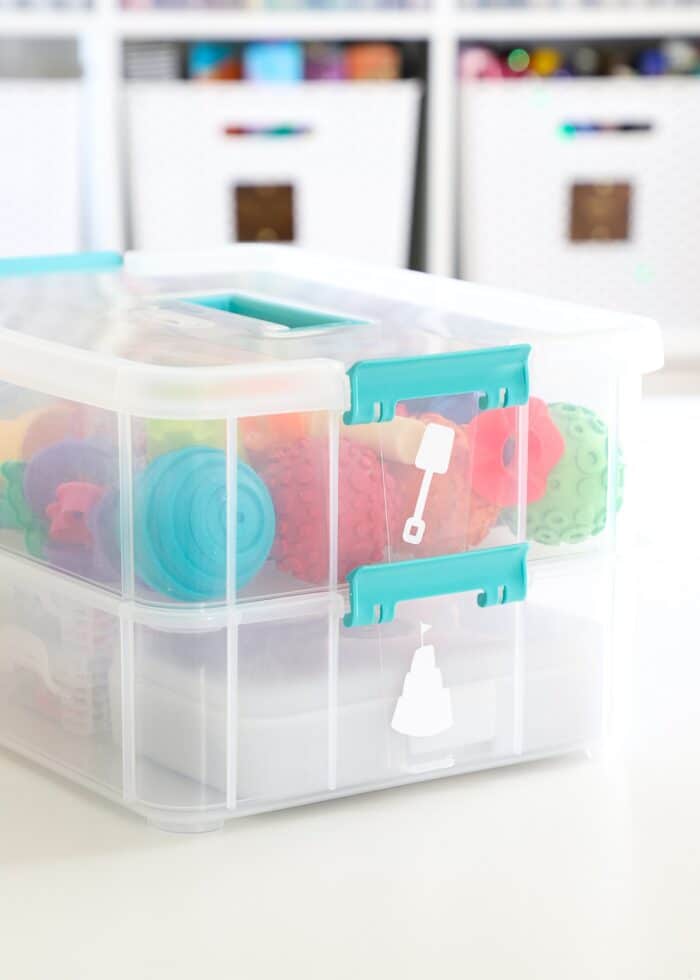
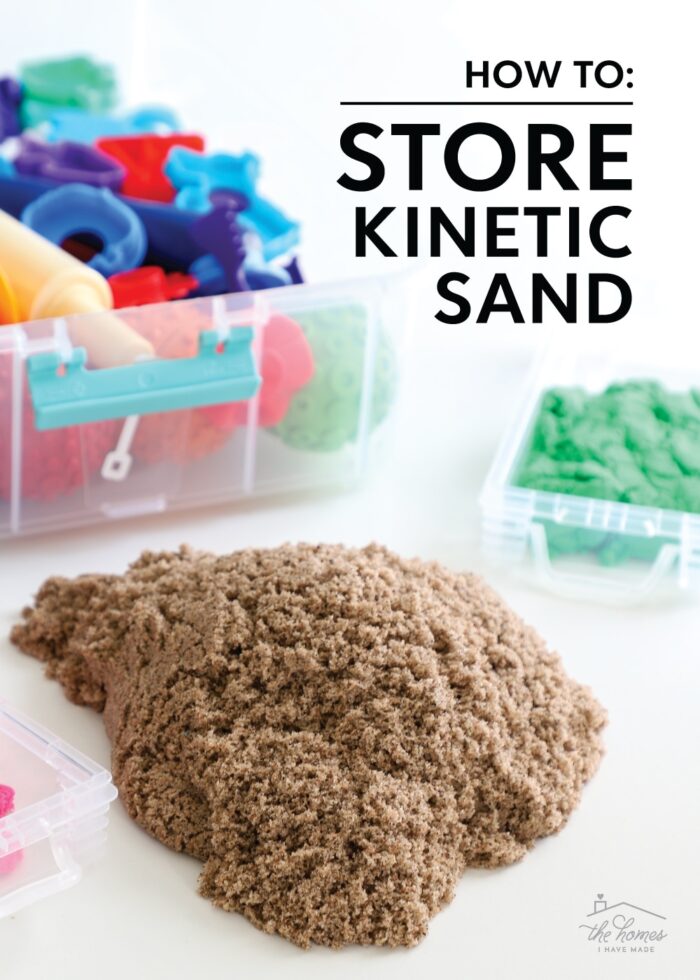
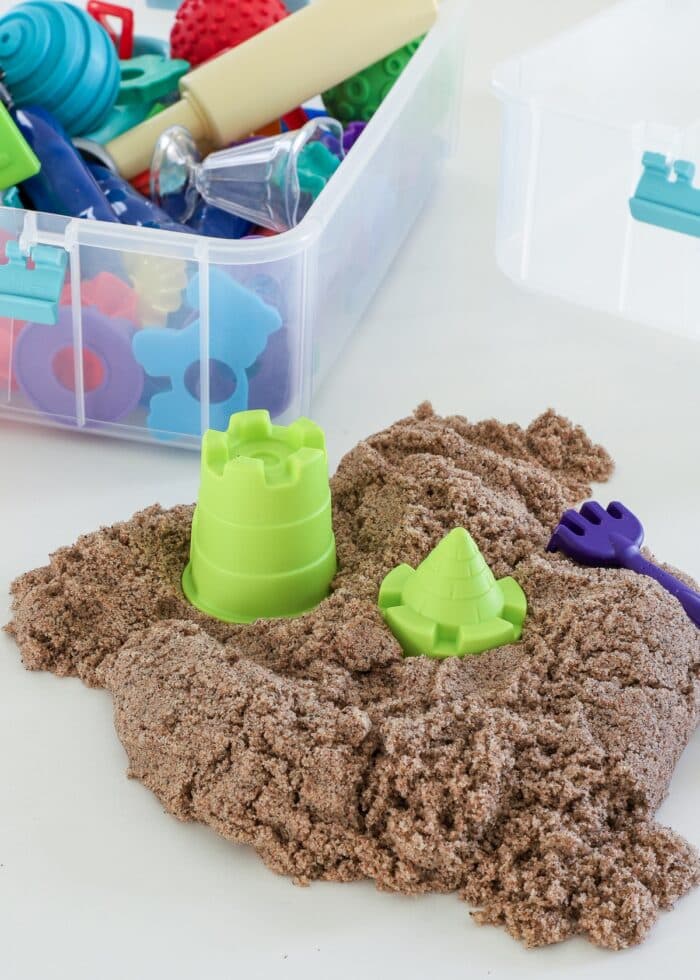
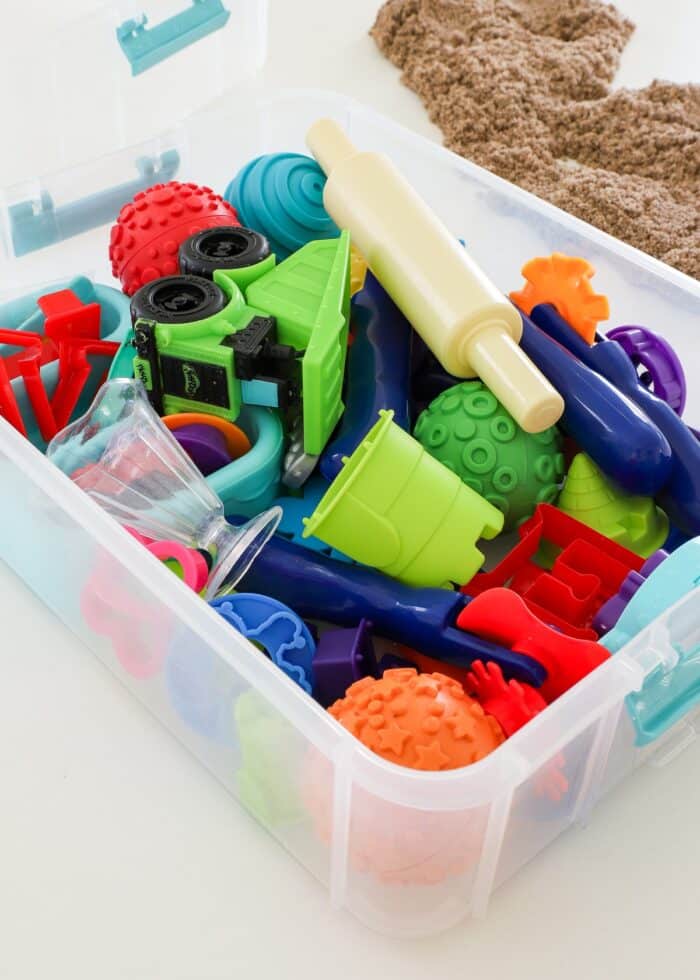
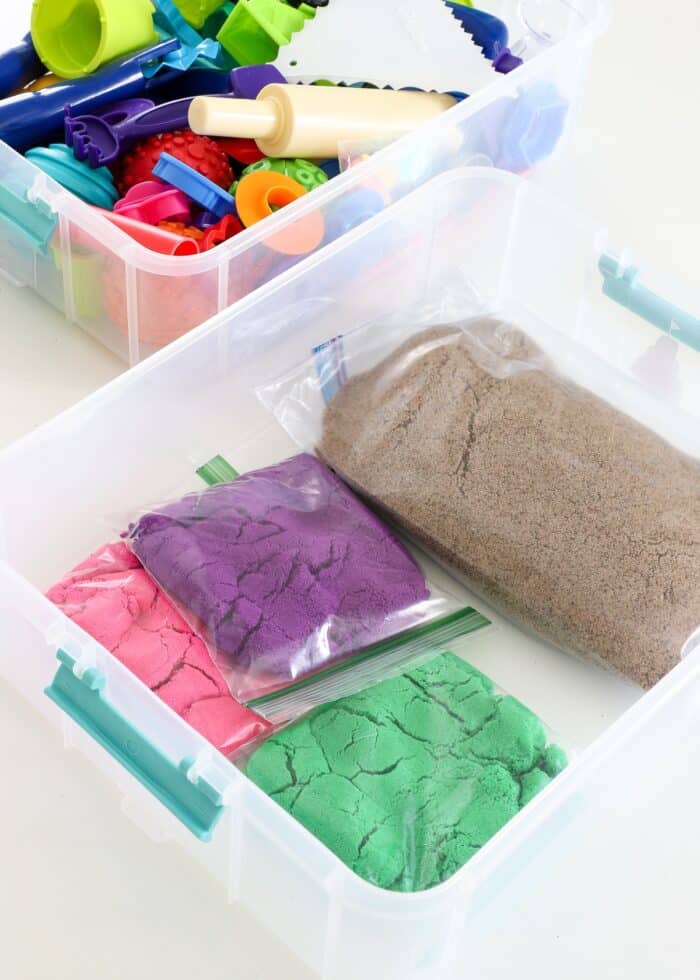
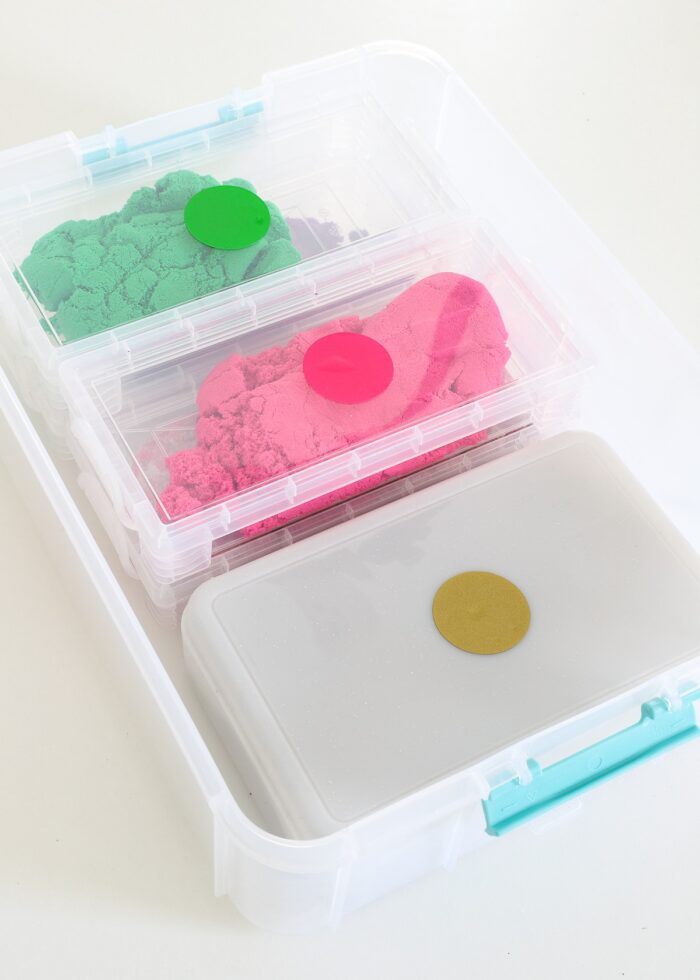
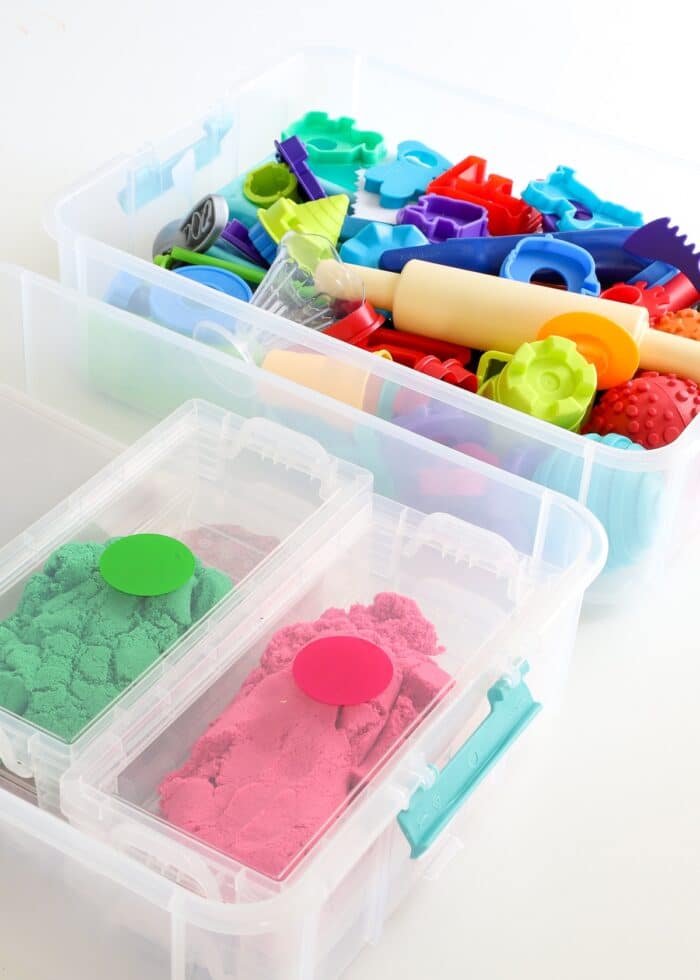
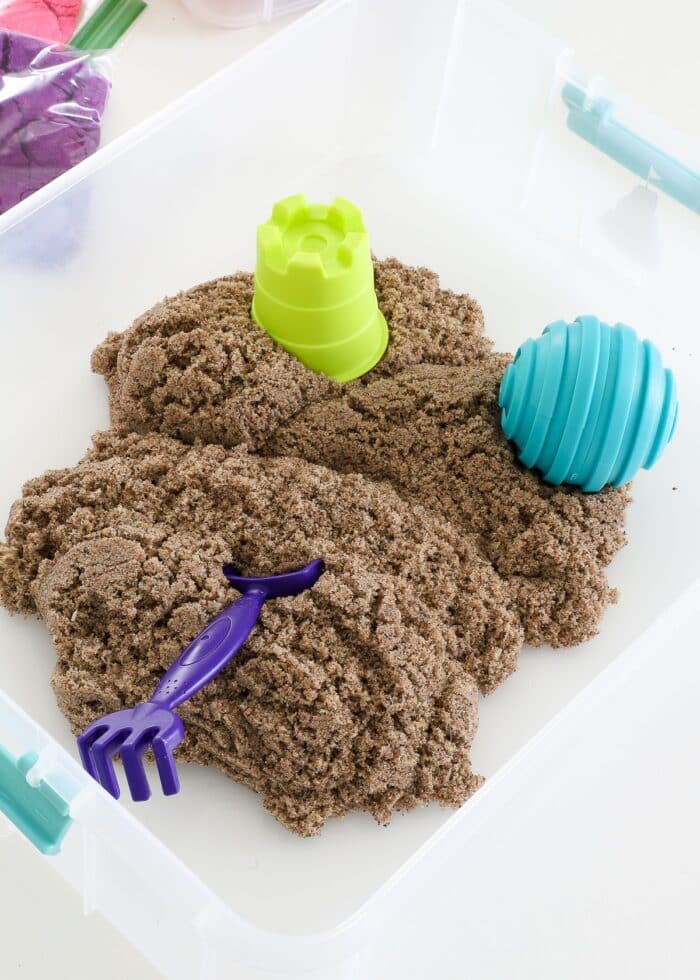
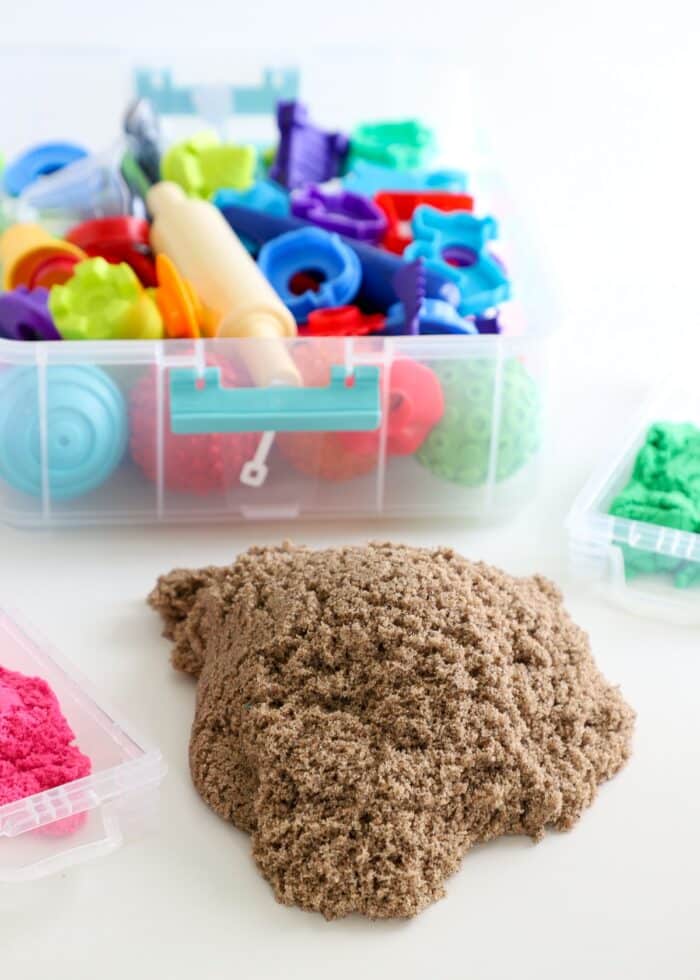
This larger layered tote has two sizable compartments that snap together into a single carry-able caddy. We have all the kinetic sand toys and tools loaded into one layer, and the various colors of sand in the other.
Now everything is in one easy-to-grab tote; and within seconds, my kiddos can be setup an playing all on his own!
Why Organize Your Kinetic Sand
Some larger kinetic sand kits come with their own dedicated bin. So you might be wondering why you need to bother with creating your own caddy. Here are a few reasons it might be a good idea for your family!
Keeps Supplies Together
Usually, the bin or box that comes with a set is sized to fit that particular amount of sand and the included toys. If you add to your collection over time, it becomes all too easy to have toys and sands spread across different bins. Creating your own caddy allows you to better keep 100% of your sand and related supplies all in one spot.
Prevents Sand from Drying Out
The fine sand, like Play-Dough, is prone to drying out from air exposure if you don’t use proper storage. While some sand kits come with a dedicated box, most original packaging is not sealable. Transferring your supplies to air-tight systems mean they’ll retain their moisture and last longer.
Helps Kids Play Independently
Having your kinetic sand supplies inside a kid-friendly system means they can get it out (and clean up!) entirely on their own. When items are spread across several locations or the bags are too difficult to open/close, kids can’t easily initiate play. While making everything accessible may not be ideal for little kids, encouraging this creative independence is quite wonderful and important as they get older.
Video Tutorial
If you’d like to watch me assemble our kinetic sand caddy in just a few minutes, watch the short video below. (Video not loading for you? Watch it here!)
How to Assemble a Kinetic Sand Caddy
If you love the idea of compiling and storing your kinetic sand (and related toys and tools) into a single carry-all caddy, here’s how to do it!
Step 1- Gather Supplies
What specific storage supplies you need will depend on the kind and amount of kinetic sand items you have. That said, the size, functionality, and affordability of the following products are likely to work in most situations.
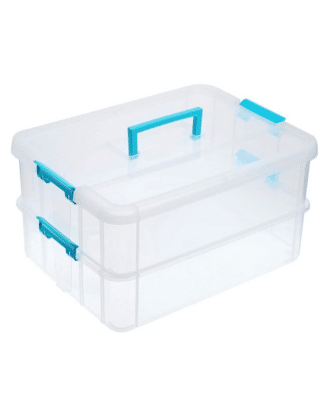
- Sterilite 2-Tiered Tote – This larger tote measures 10×14″ with layers that are over 3″ tall; this generous size accommodates a good amount of sand and supplies.
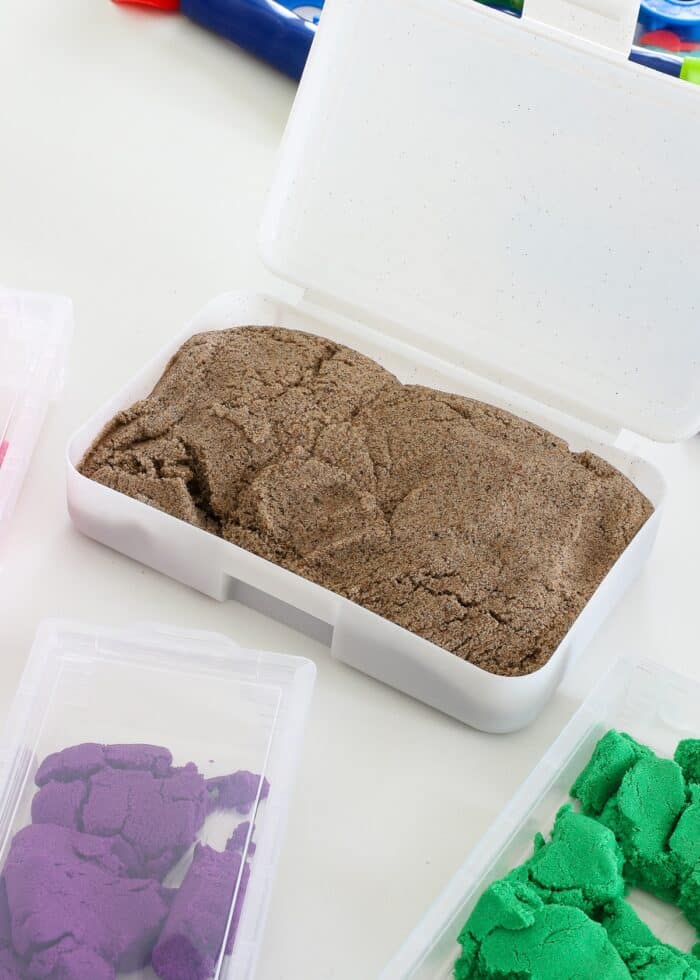
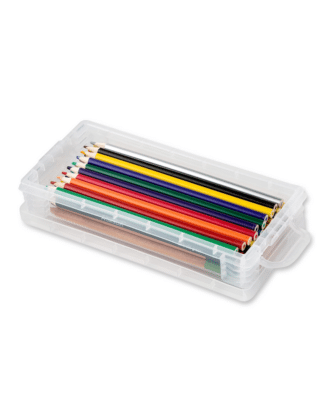
- Clear Pencil Box – Standard pencil boxes can accommodate sand amounts up to 2.5 lb.
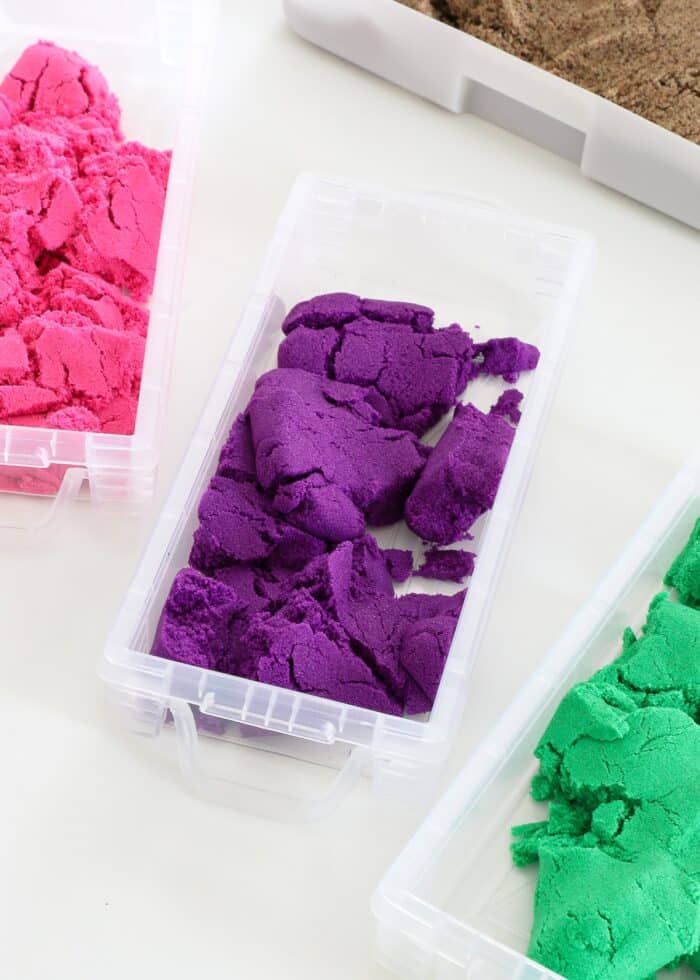
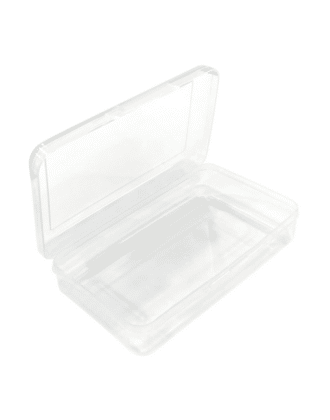
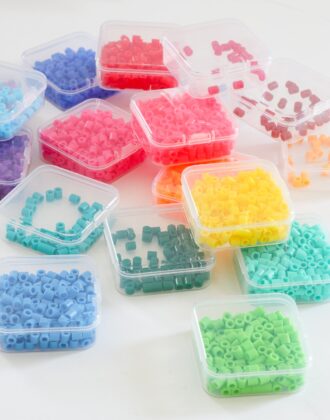
- Snap Lid Pencil Boxes – These smaller pencil boxes are great for smaller amounts of sand up to 1 lb; these are great if you keep lots of colors of sand on hand.
- Labeling Supplies such as colored tapes, vinyl scraps, etc.
Step 2 – Store the Toys & Tools
Start by gathering up all the various toys and tools you use with kinetic sand. Load them all into one of the tote’s tiers; it doesn’t matter which one, they can be snapped together in any order.
Step 3 – Store the Kinetic Sand
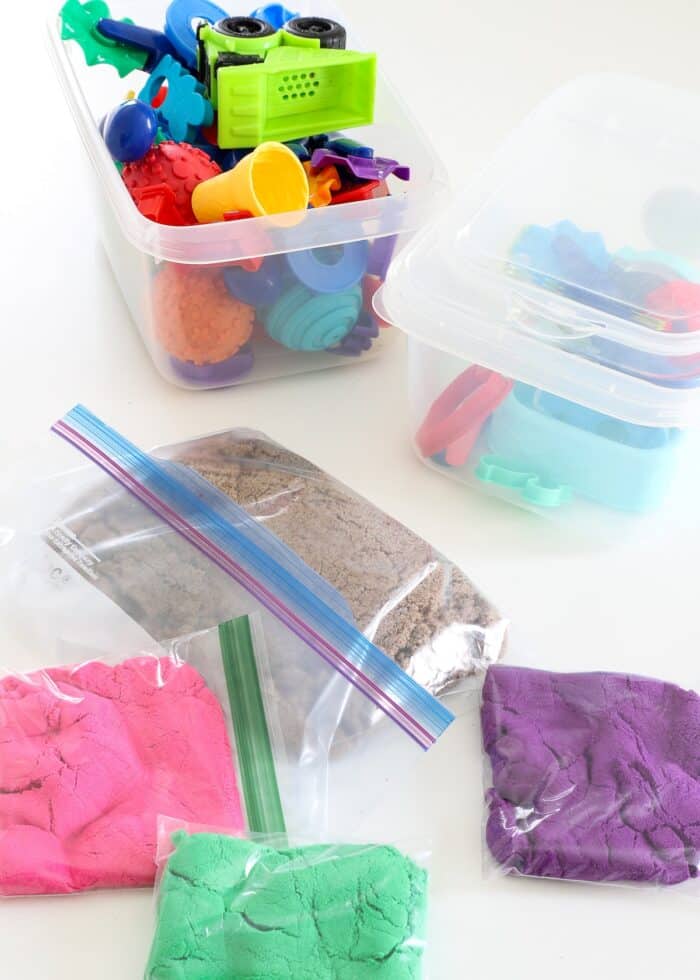
Next, you’ll want to load all your kinetic sand into the second tier. While you can just dump your sand directly into the other layer, if you have multiple colors and/or want to ensure the sand maintains its moldable consistency, I recommend you place the sand into bags or boxes first.
Option 1 – In Zip Bags
The cheapest option for keeping your sand from drying out, loosing its unique texture, and sorted by color is to simply load it into Ziplock plastic bags.
Just keep in mind that plastic bags are a little harder for kids to fill back up on their own, and the “zippers” can be tough for kids to seal properly. And surely with repeated open/close, they will likely need regular replacing.
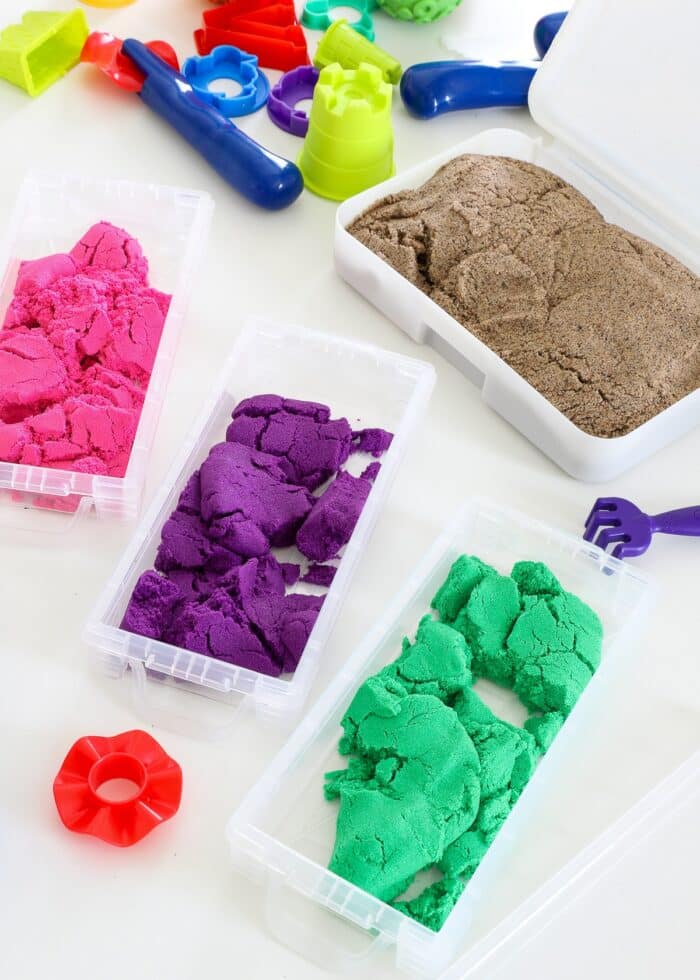
Option 2 – In Plastic Containers
Another option is to “decant” your sands into plastic boxes. After lots (and I mean lots) of experimenting with different size and shape boxes, I ultimately landed on two options based on affordability, accessibility, fit inside the larger caddy, and ease for kids.
Not only are boxes a little more kid-friendly (much easier to load/unload and snap shut) but they shouldn’t need frequent replacing.
Want to save this post?
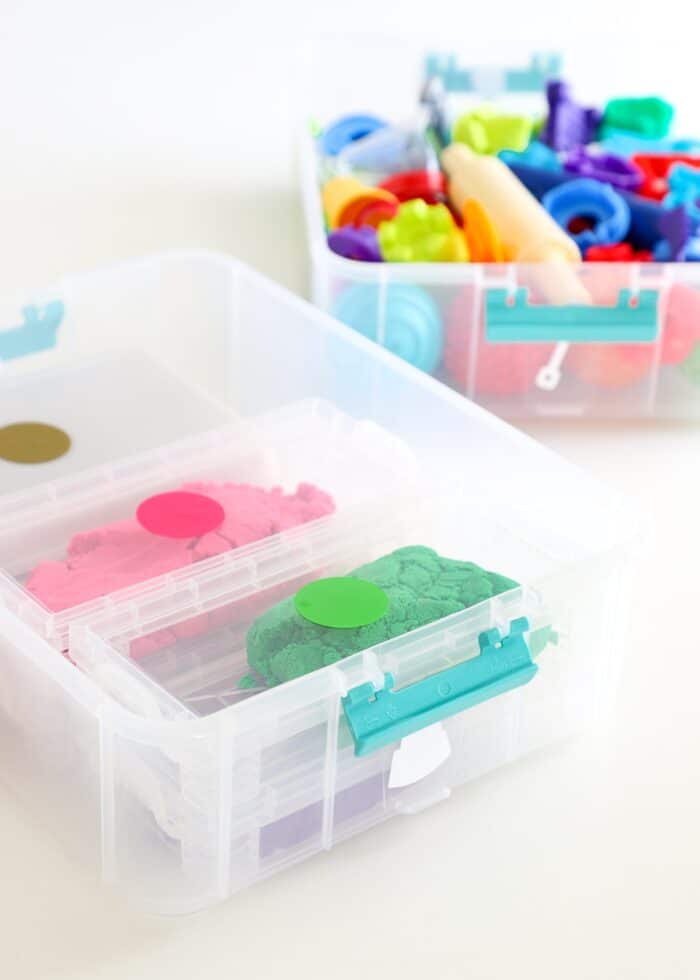
Larger quantities of sand (up to 2.5 lb) fit nicely into these larger pencil boxes.
If you like to keep lots of different colors on hand or tend to buy the smaller boxes and bags (less then 1 lb), these smaller pencil boxes work awesome.
What Will Fit Inside the Caddy?
Only two of the larger pencil boxes will fit inside the two-tiered caddy.
The smaller pencil boxes fit 3 across and 2 high, allowing a total of 6 inside a single tier.
Below, is how our 5 boxes fit (1 large and 4 small).
TIP! If you have large quantities of kinetic sand, consider using Ziplock bags for your storage. You’ll be able to fit more inside the tier because the boxes do take up some extra space.
Step 3 – Add Labels (Optional)
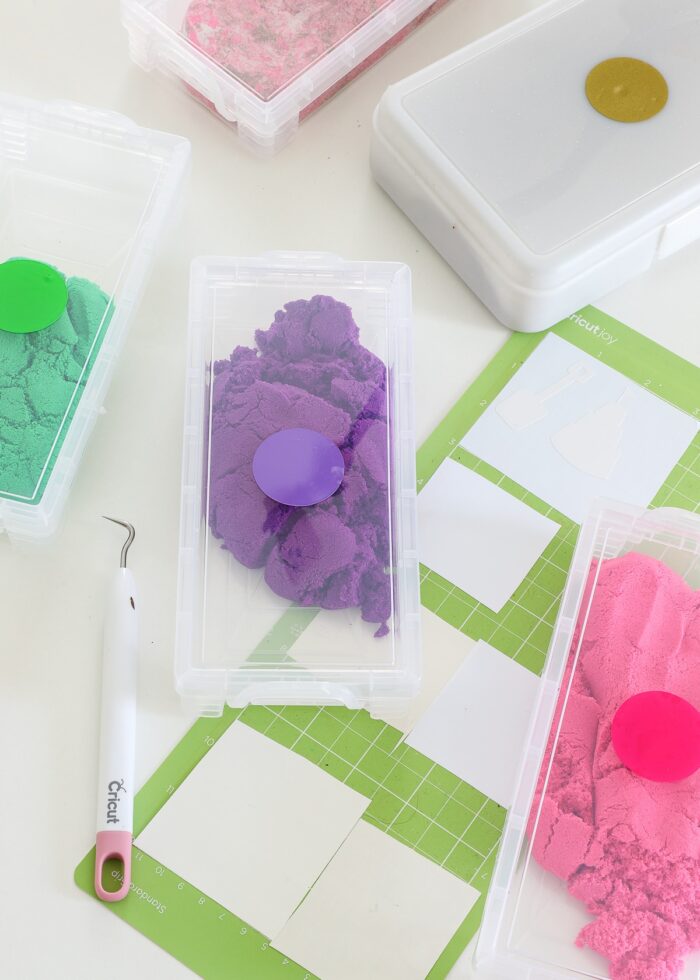
My original plan was to purchase colored pencil boxes (like these) to match the different colors of sand, but my local Michaels didn’t have the colors I needed. If you use opaque or off-colored boxes, help identify which sand is located where using colored tapes or vinyl scraps. I cut basic vinyl circles for the tops of each box using my Cricut machine.
You can also add labels to the outside of the caddy, if desired. This can be especially helpful if you use different caddies for a variety of supplies.
Step 4 – Assemble & Store Kinetic Sand Caddy
With the small toys loaded into one layer and the sands loaded into another…
…snap all the layers together, put on the handled lid…
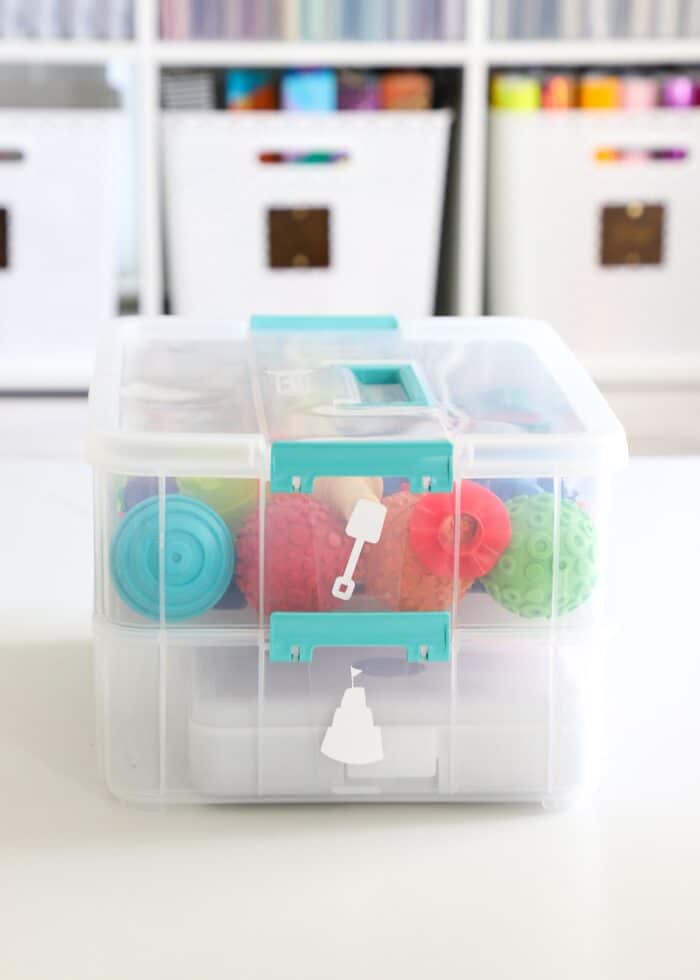
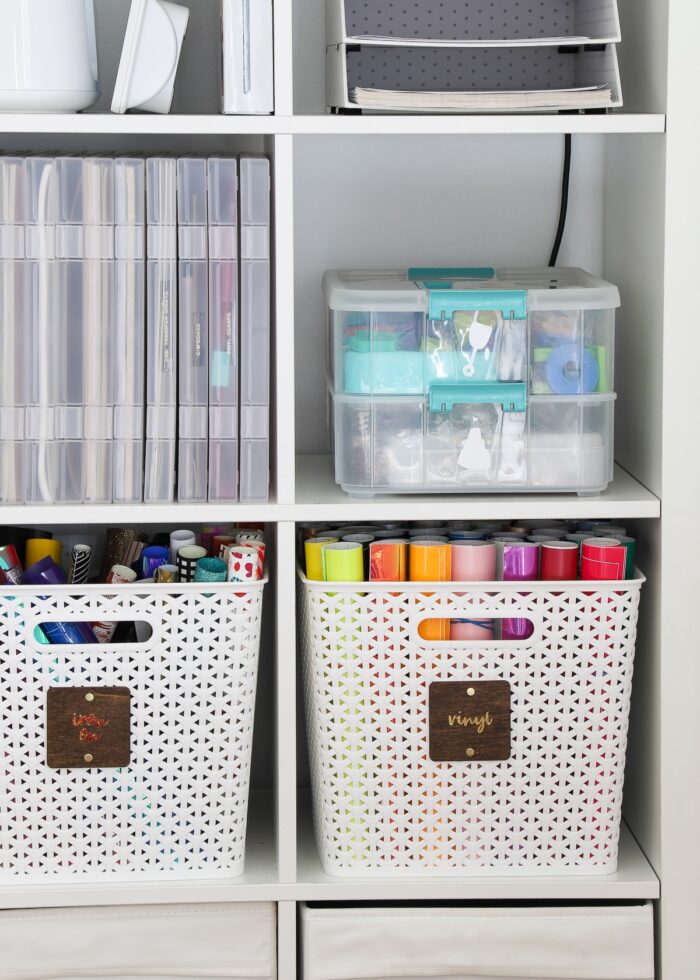
…and store on a convenient (or perhaps, not-so-convenient) shelf or other dry place!
Step 5 – Play with the Kinetic Sand
When your kids are ready to play with sand, it’s easy to grab the entire caddy all at once and unload what you need.
My kids prefer to dump the sand on the table and pull out toys as they use them.
However, you could also empty one of the tiers to hold the sand and other toys for playtime!
TIP! Consider keeping a baggie of “treasure” in your tote (e.g., gems, beads, animals, etc) to quickly create a sensory bin they can dig trough without needing a separate Rubbermaid container!
Our Favorite Kinetic Sand Tools
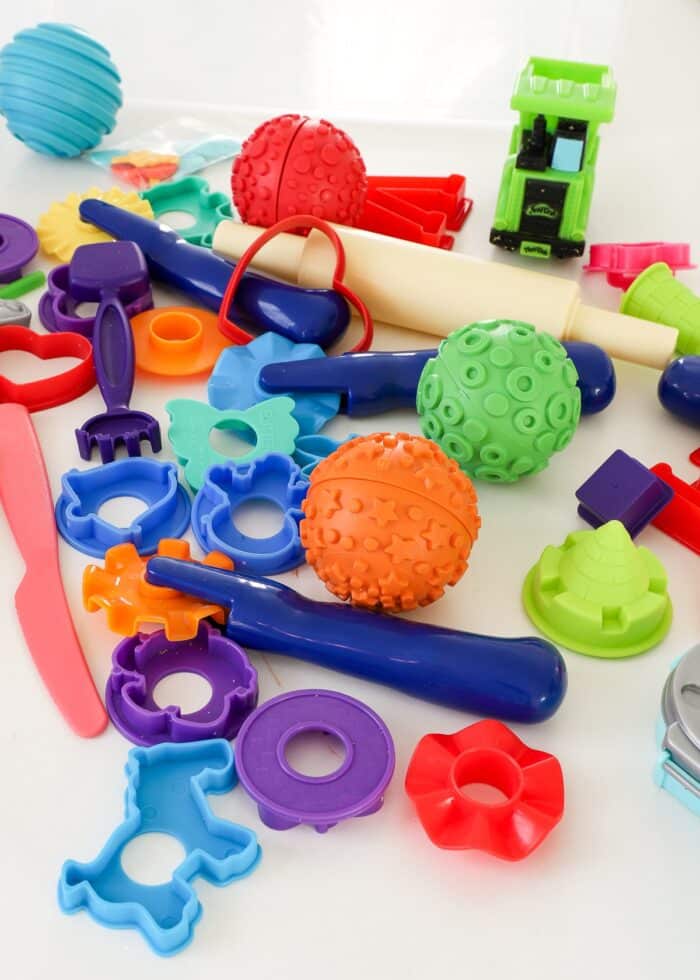
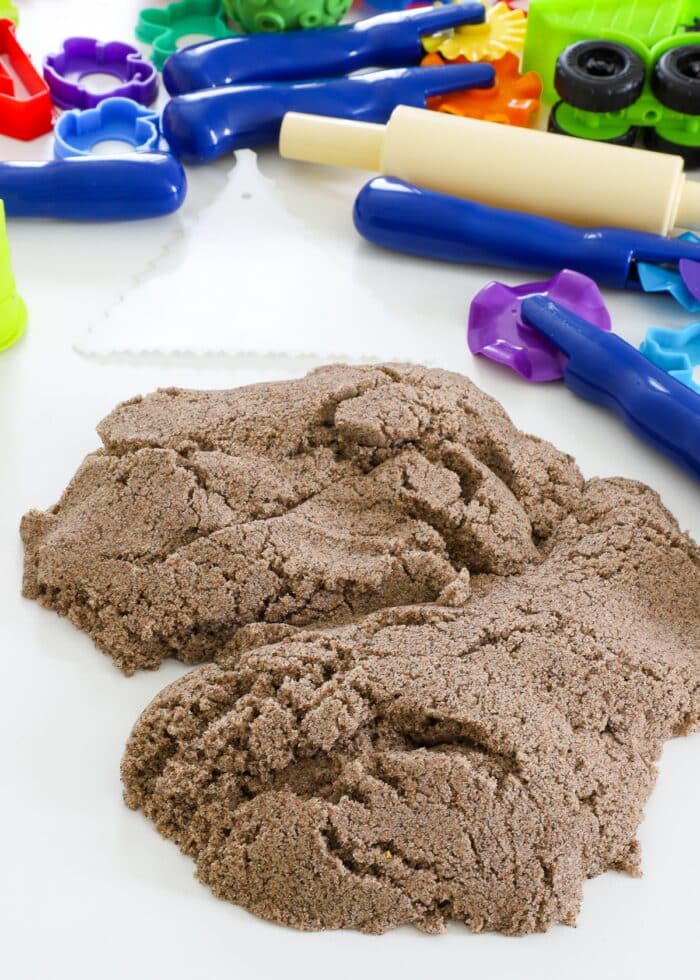
Before closing out, I wanted to quickly highlight some of the fun things my kids like to use with their kinetic sand.
As mentioned a few times already, we got rid of all our Play-Dough (just not our thing), but I realized almost all of the toys work just as well with sand. While I’d avoid most “presses” (where you force the play dough through) because sand particles don’t come through quite the same, many of the rollers, molds, scoops, knives, and cookie cutters work great with kinetic sand!
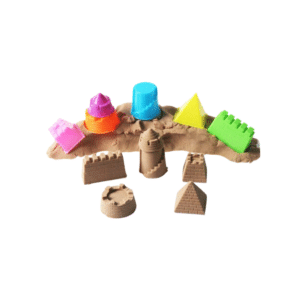
Mini Sand Castle Molds
Castles are, by far, our favorite thing to make (it is sand after all!) and lots of different molds means endless possibilities for your creations!
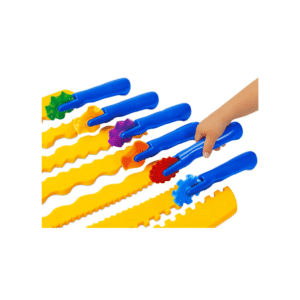
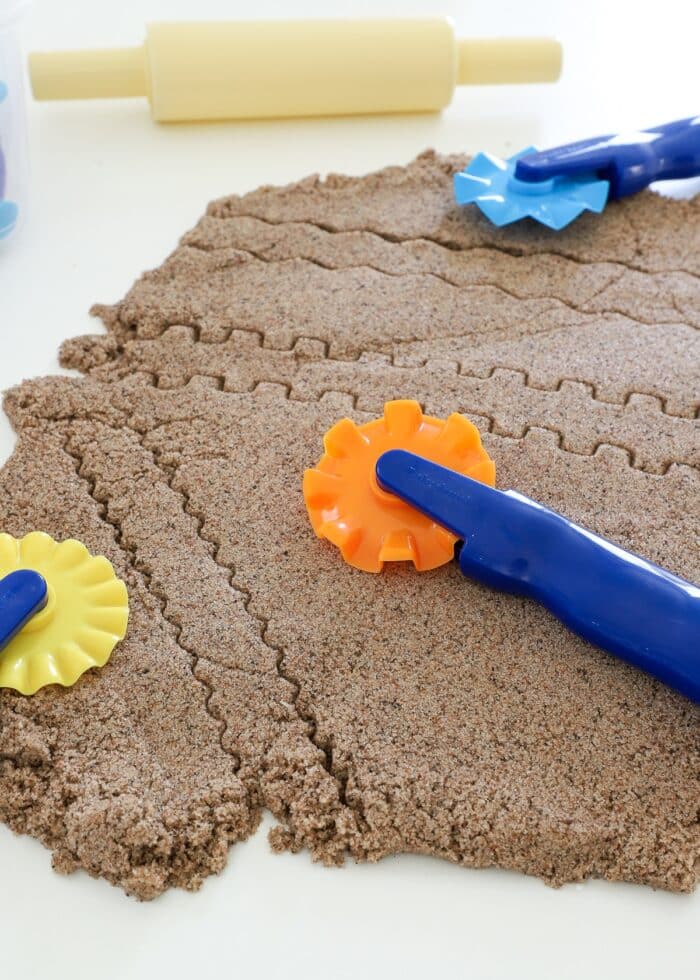
Design Wheels
Most sand toy kits come with a basic “cutting wheel,” but this set of 6 designs allow you to shape and cut sand with all sorts of fun edges like water waves, spiky chevrons and more!
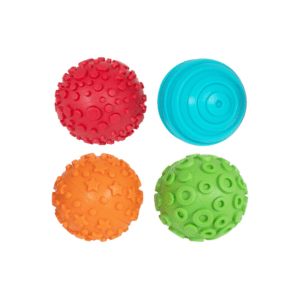
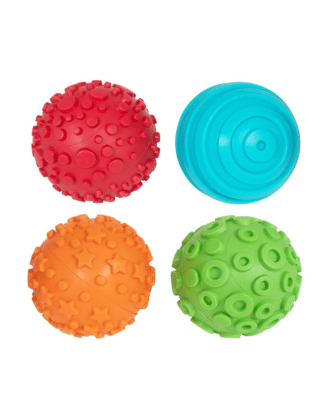
Texture Balls
These balls are such a fun way to make unique patterns in the sand. They require very little skill (so they are great for little hands); and best of all, you can mix-and-match the different surfaces for countless designs!
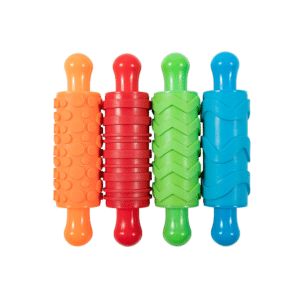
Texture Rollers
Like the balls above, these textured “rolling pins” allow you to smooth the sand and add fun designs at the same time. (Both the above balls and these rollers work in paint and Play-Dough too!)

More Great Toy Storage Solutions
Looking for more great toy storage solutions? Here are just a few of our tried-and-true favorites:
- The Best Toy Storage Solutions for Every Item In the Playroom
- Sneaky Toy Storage Ideas for the Living Room
- How to Store Tiny Toys
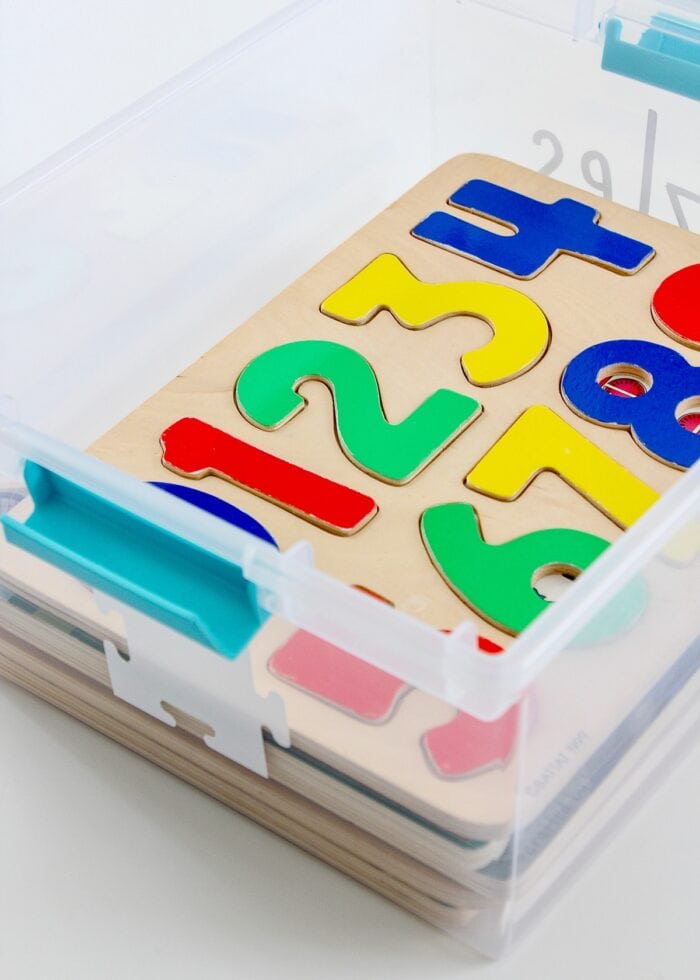
- How to Store Wooden Kid Puzzles
- The BEST Way to Organize Board Games
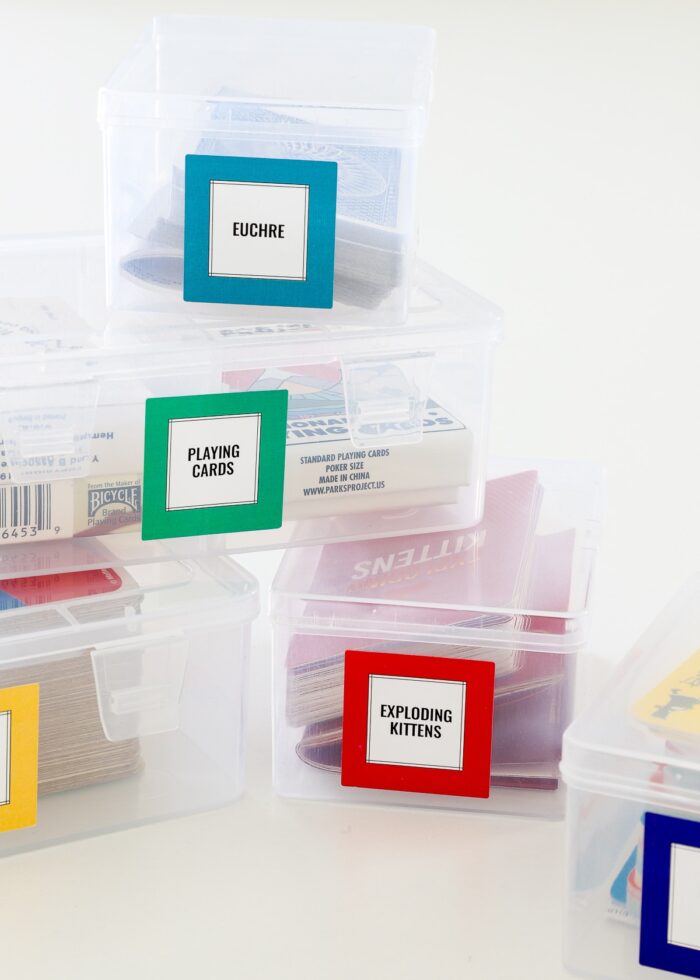
- How to Organize Small Card Games
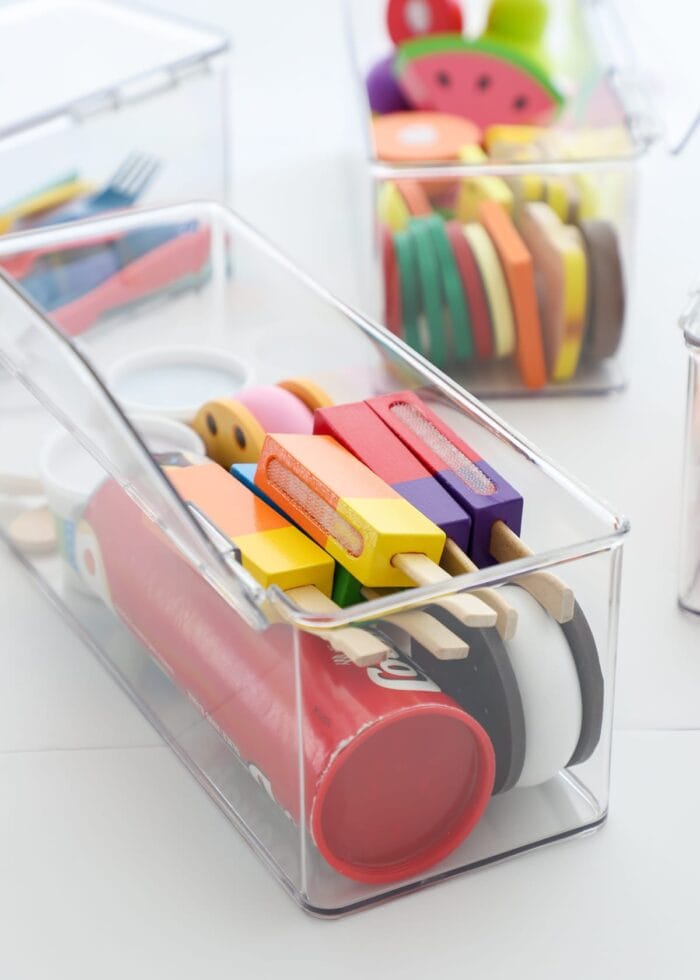
- How to Organize Play Food
- Device Charging Station in a Drawer
- DIY Dress Up Station for Kids
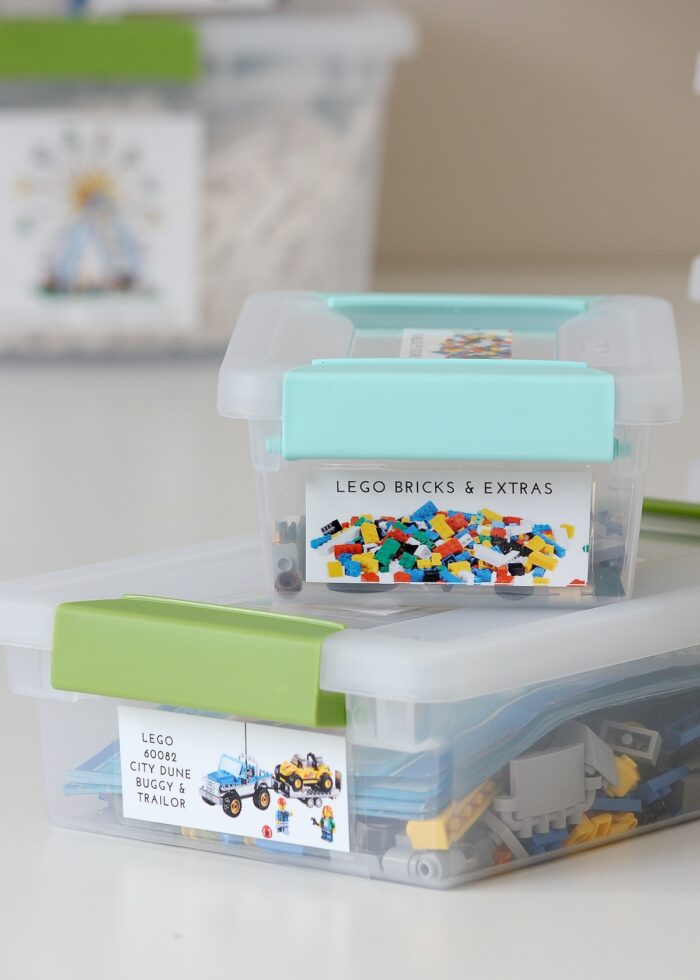
- How to Sort and Store Those LEGO Sets
- How to Store Kids’ Sports Equipment
- How to Setup a Kids Art Station
- How to Store Kinetic Sand

I know I’ve talked a lot lately about making kids independent when it comes to both play and cleaning up. So I have to report that this solution really does encourage independence. While my little guy can’t get the box down on his own (by design), he can un-load everything, play, and load everything back up 100% on his own (and is quite proud of himself when he does so!)
What once was a bit of an exasperating experience, our kinetic sand activity has quite literally become quick and easy. Which means he wants to use it more, and I’m much more likely to say “YES!” I hope you give this DIY kinetic sand storage idea a try!
Megan
One Comment on “An Easy (& Clever!) Way to Store Kinetic Sand”
I’ve heard this statement several times lately. Don’t do for your kids what they can do for themselves. I think you found a way for him to do it for himself, and still make it easy for you. Way to go Momma!