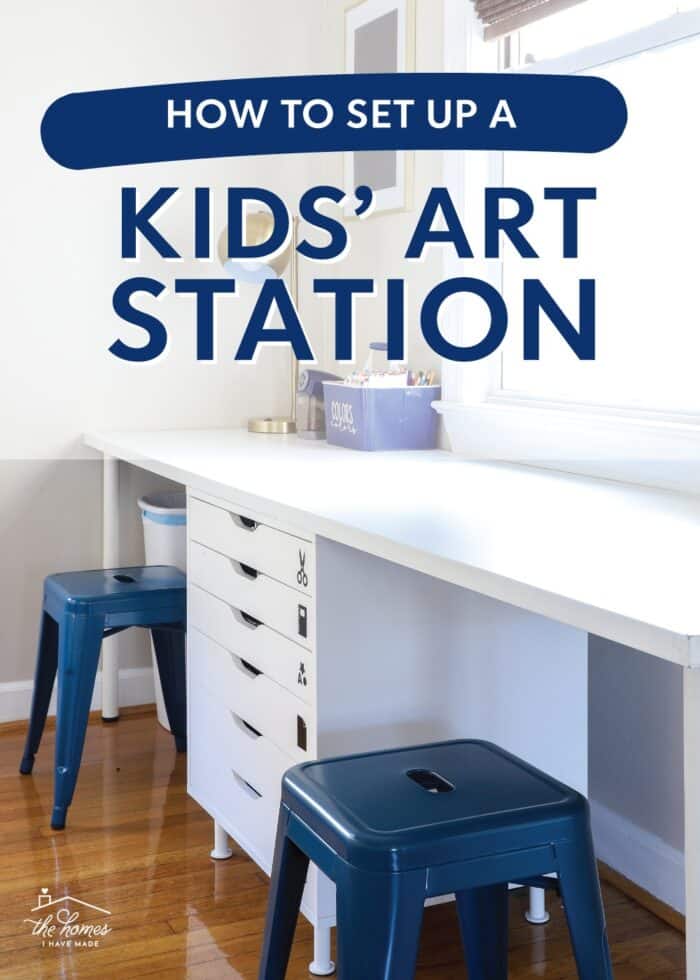
How to Set Up a Kids Art Station | 10 Essentials to Include
We turned an un-used corner of our large family room into a kids art station. But it took quite a bit of trial-and-error to make it a space they love but is easy to keep tidy too. Today, I’m breaking down what about our little art corner that’s (finally!) working so well and the 10 “essentials” you might want to consider for your own setup!
Our Kids’ Art Station
Our current family room is quite large (12×24′). To keep the layout more comfortable and intimate, we floated the furniture in the center of the room. But this left a lot of space in the far corner.
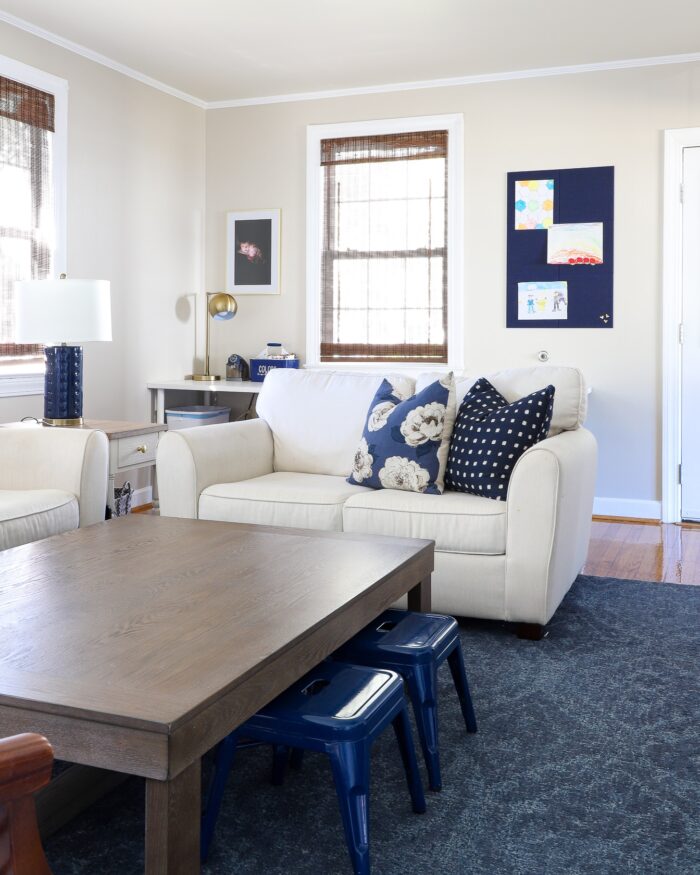
Our old LEGO table had the perfect dimensions for this corner. And I loved the idea of putting the kids’ art supplies in the center of the house where they could use them more easily.
My initial instincts were spot on! Quite literally, not an hour will go by without one or both of my two little guys at this table. Coloring and cutting and glueing and taping (oh gosh, so much tape) are their absolute favorite things to do.
But without good systems in place (and a big trash can!), this table was almost-always covered in creations, supplies, scraps, and half-finished projects. Not only did the constant mess in the corner of our main family room drive me absolutely crazy; but without any available space, they would drag their supplies to the nearby coffee table, dining room table, or kitchen. Everywhere I looked, there were art supplies!
So after spending some time watching what they used and analyzing what problems they were having, I made a few adjustments that have made a world of difference. Now, getting out what they want and cleaning it all up is much easier (for all of us!) And as a result, this little corner is getting more use than ever but staying mighty tidy too!
10 Essentials to Include In Your Kid Art Station
No matter what kind of projects your kids like to make and how much space you have, here are some essentials to consider, plus why each has made such a difference in our entire space!
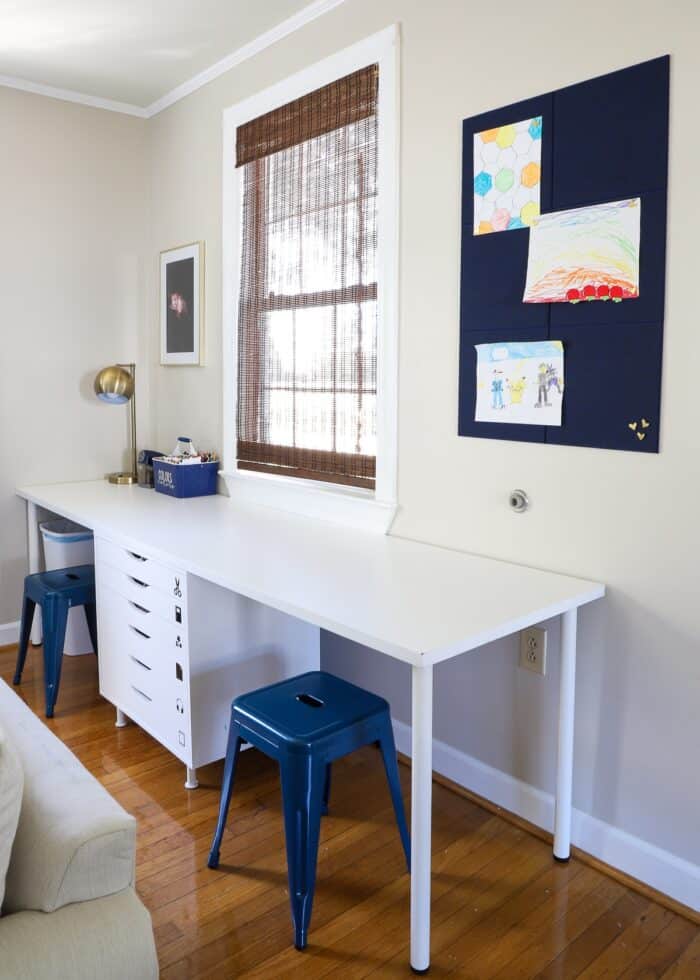
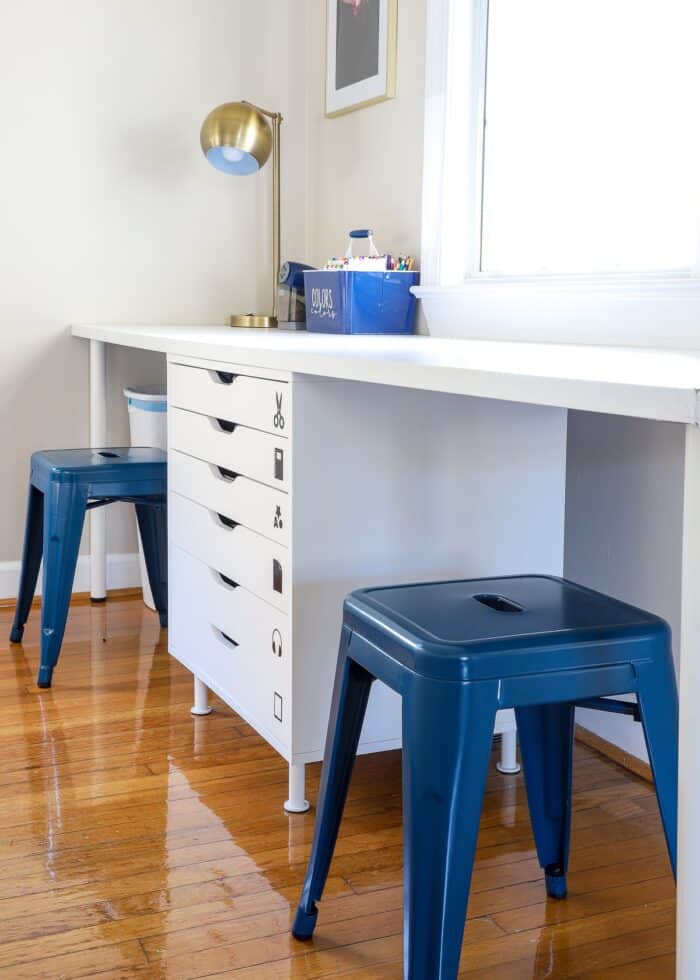
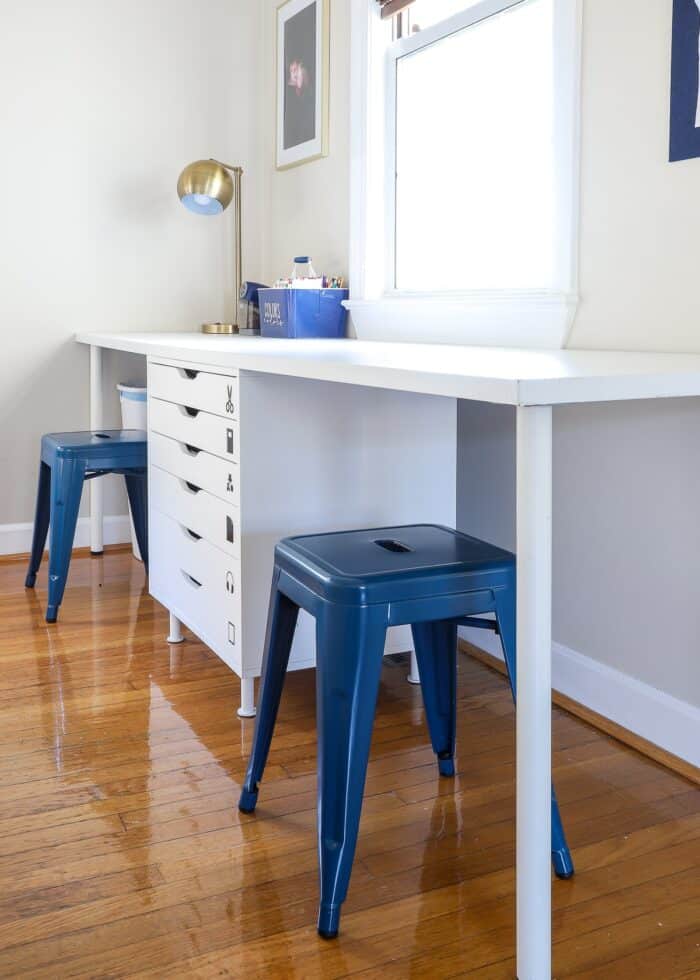
#1 – Multiple Stations
Our boys are the best of friends, but they sure can fight too. Having separate “stations” has been a great way for them to craft together but also maintain some much-need separation. With the supply drawer between them, it also means one can’t hog something from the other!
BONUS! My middle schooler will also treat this table as a “homework station” when his siblings aren’t around. Having easy access to a clear table, scissors, glue sticks, and colored pencils means he can knock out his homework quickly and without the distractions in his bedroom.

#2 – A Wipeable Surface
Markers bleed through paper, little kids scribble off edges, stickers get stuck where they shouldn’t. And while you may want to give your kids ultimate creative freedom, the resulting mess can also not look the nicest.
We’ve had chalkboard tables and wood desks in the past, but this practically impenetrable white laminate surface means the kids can scribble to their heart’s content but I can have it bright white and sparkling new in no time (thanks to a magic eraser!)
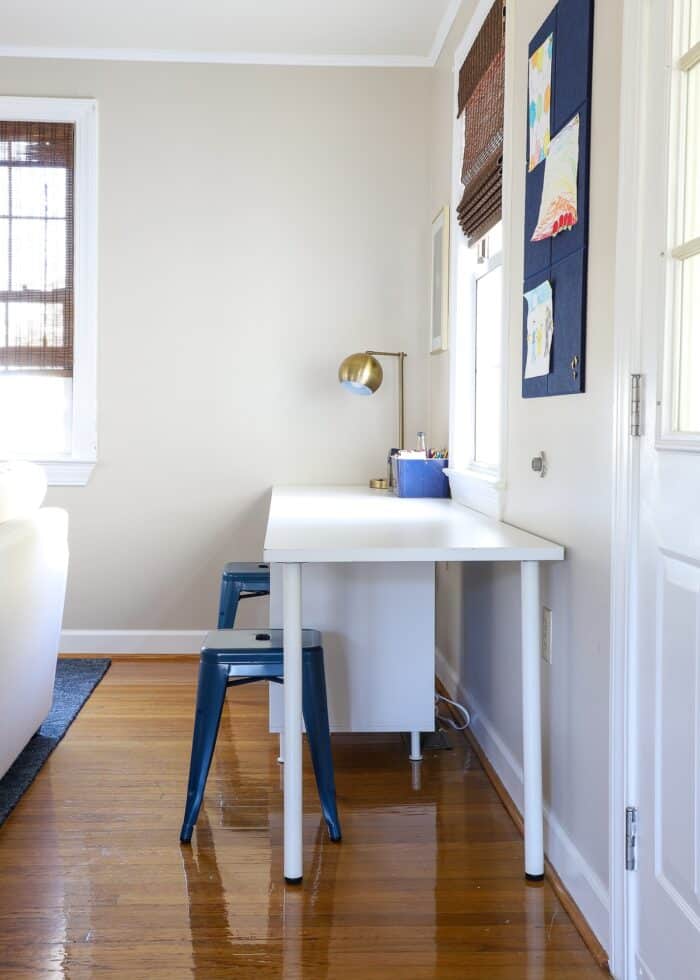
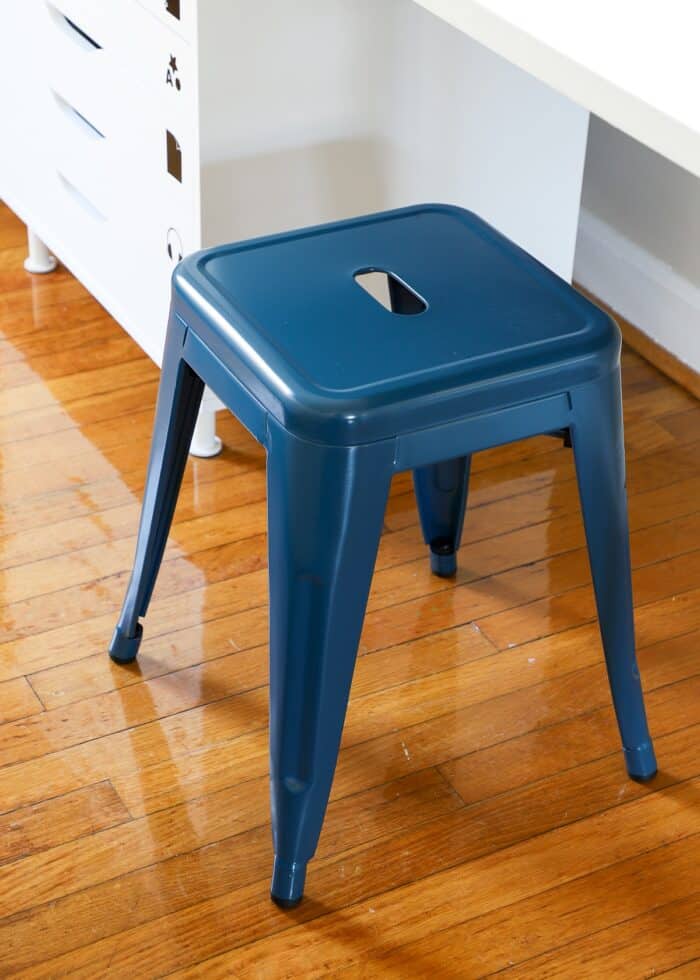
#3 – Stool Seating
Kids LOVE to stand while they’re crafting. But when they’re coloring a big picture or playing with something like kinetic sand, playdough, or perler beads, they also want to sit down and get comfortable.
We found that chairs are often in the way. Stools, on the other hand, can be pulled out when needed or completely tucked away when not!
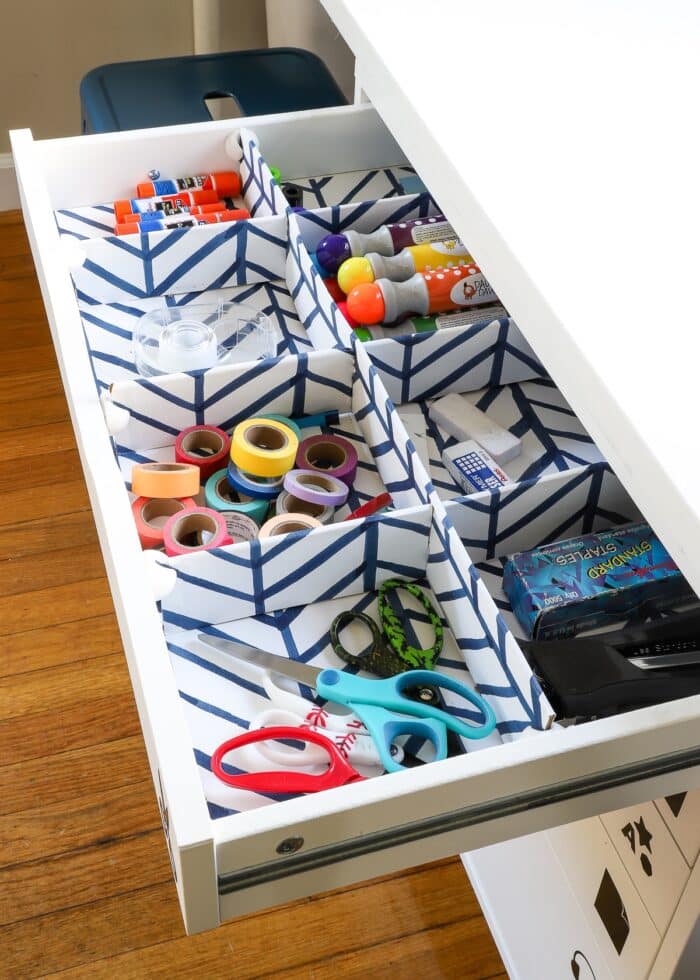
#4 – Provide the Supplies They Really Love
It can be tempting to fill your art station with “Pinterest-perfect” supplies: pom poms in rainbow canisters, jumbo chunky crayons, spools of fun ribbons. But do your kids use those supplies?
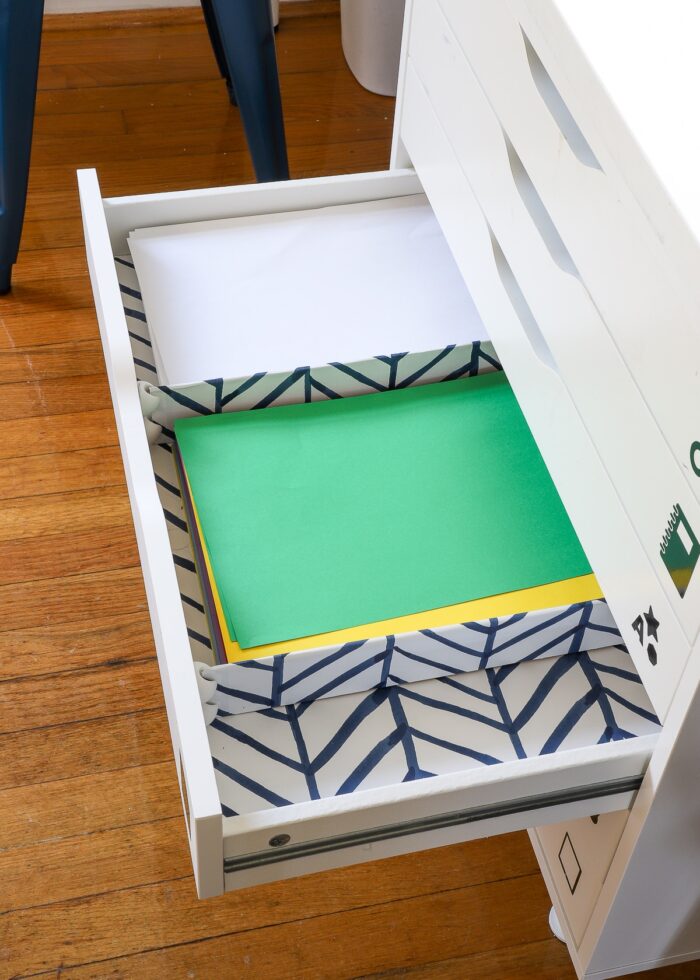
I originally had our drawers filled with a lot of fun things (i.e., pom poms, pipe cleaners, strings, googly eyes, popsicle sticks), but they never used them. Because you know what my boys really love? Construction paper and scissors and tape. And stickers…lots and lots of stickers. So I removed the “cute” stuff they never touched and filled the whole thing with the items they always ask for.
#5 – Easy-Access Supplies
Beyond providing the supplies they love, I also recommend making them easily accessible too.
For the longest time, I had our kid craft supplies stored alongside mine in our dedicated craft room/office. And when this space was on the first floor, right near the playroom, it wasn’t an issue.
But when my office moved upstairs, it meant the craft supplies were “out of sight, out of mind”…and as a result, were rarely used. Once I outfitted these wide shallow drawers with kid-friendly supplies in a very accessible way, they started using them so much more.
Want to save this post?
That said, you (and your kids) should decide what supplies they can safely have access to. This will change based on ages and interests. We’re at a point where our kids can have free access to paper, scissors, glue, stickers, washi tapes, paint daubers, and even the pencil sharpener. But sand kits, the perler bead caddy, glitter, and watercolors/brushes are still tucked away in my office and come out when there is proper supervision.
Sure, while the age of your kids and the storage space you have will influence what specific supplies you make accessible, I’ve been amazed at how much more they spontaneously craft on their own once they had free access to (most) supplies.
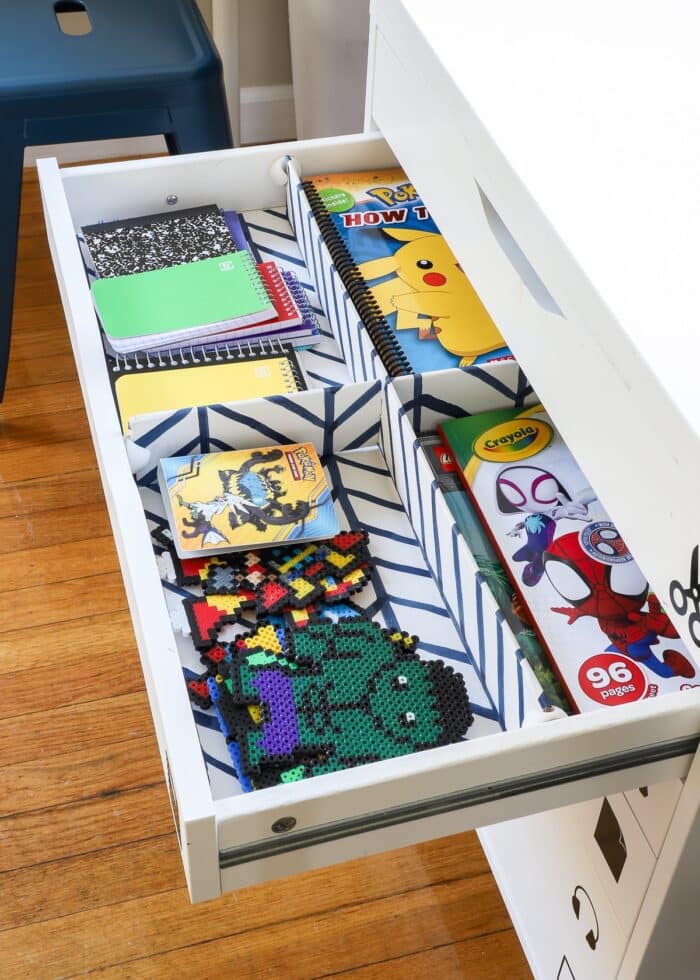
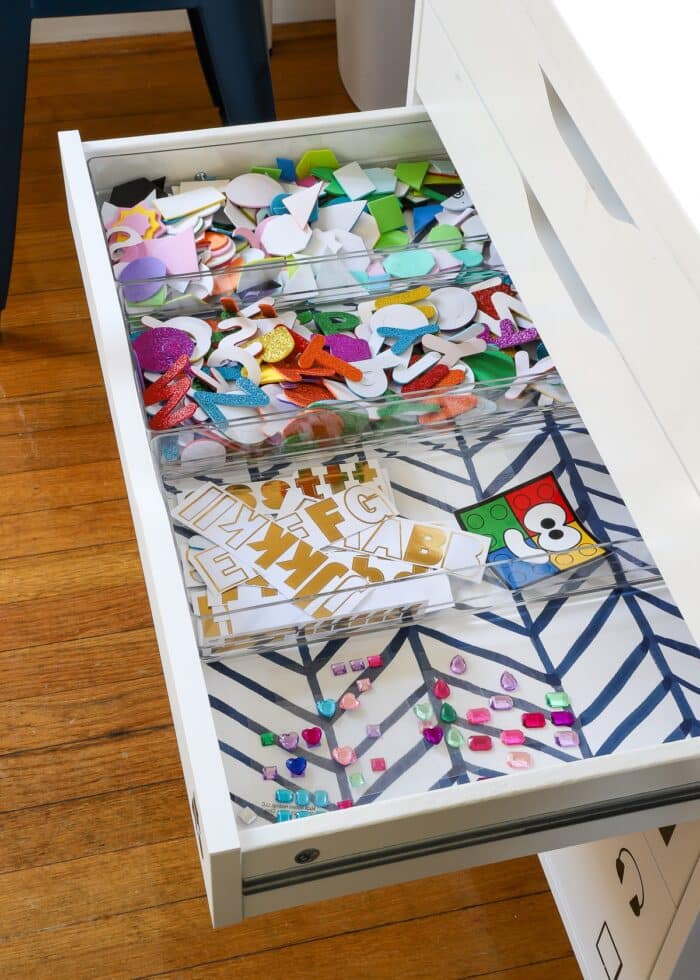
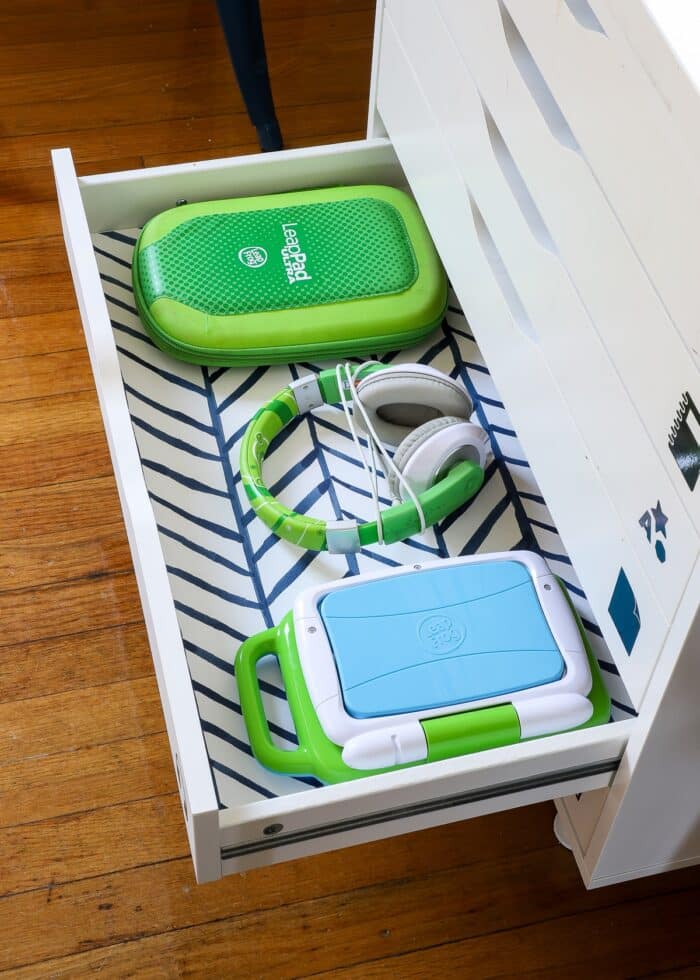
#6 – Intuitive Labels
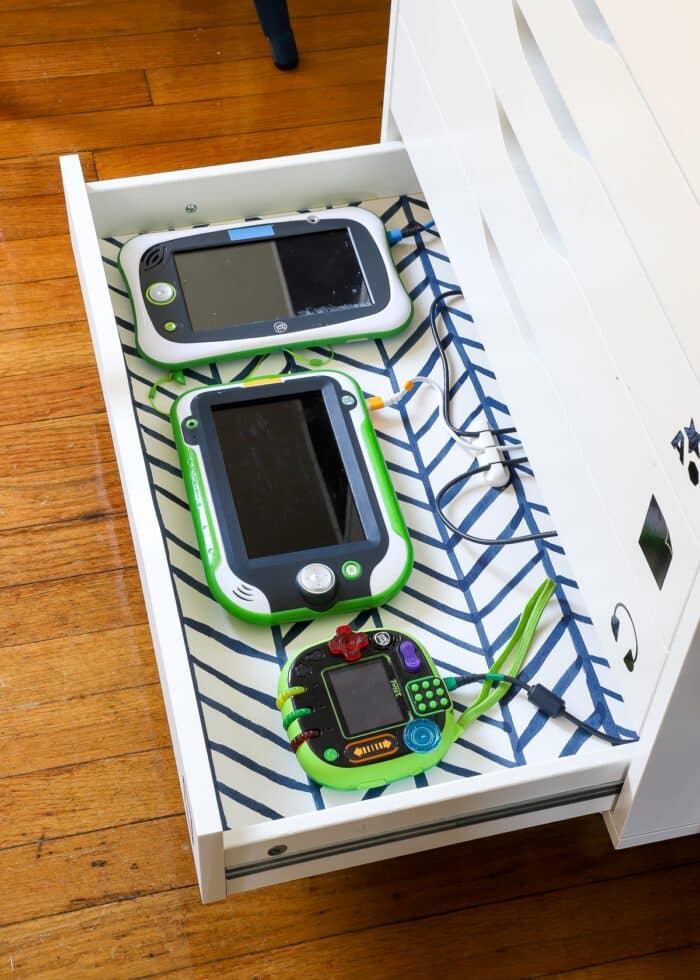
Time and time again, I’m amazed to see how much kids utilize and rely on labels. When I recently re-organized these drawers from top-to-bottom, I worried they’d struggle to find what they needed. But sure enough, these simple labels help them quickly associate which supplies were located in which drawers. And not only do they know where everything is, they know where to put items back!

Curious to see what’s inside each drawer?
#7 – A (Big) Trash Can
A few months ago, the paper scraps on the table, inside the drawers, on the floor, and on top of the nearby coffee table had reached peek saturation. And with not-just-a-little exasperation, I said to my 6 year old: “We have GOT to get this paper mess under control!” And he blinked right at me and said, “Mom, I need a trash can!”
Doh!
“Yes…yes, you do!”
It seems so obvious yet I had overlooked this detail for over a year. And sure enough, once the trash can arrived, the mess (almost completely) went away!
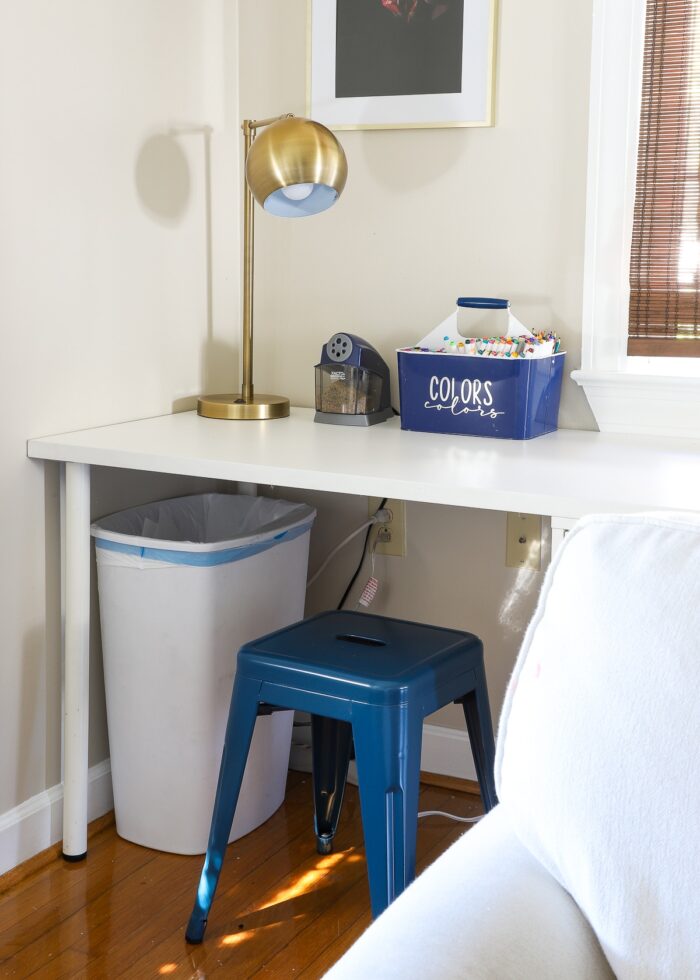
#8 – A Portable Caddy
One thing we’ve chosen not to store inside the craft drawers is all the writing utensils: pencils, pens, markers, colored pencils, etc. Instead, these items are in a metal utensil caddy.
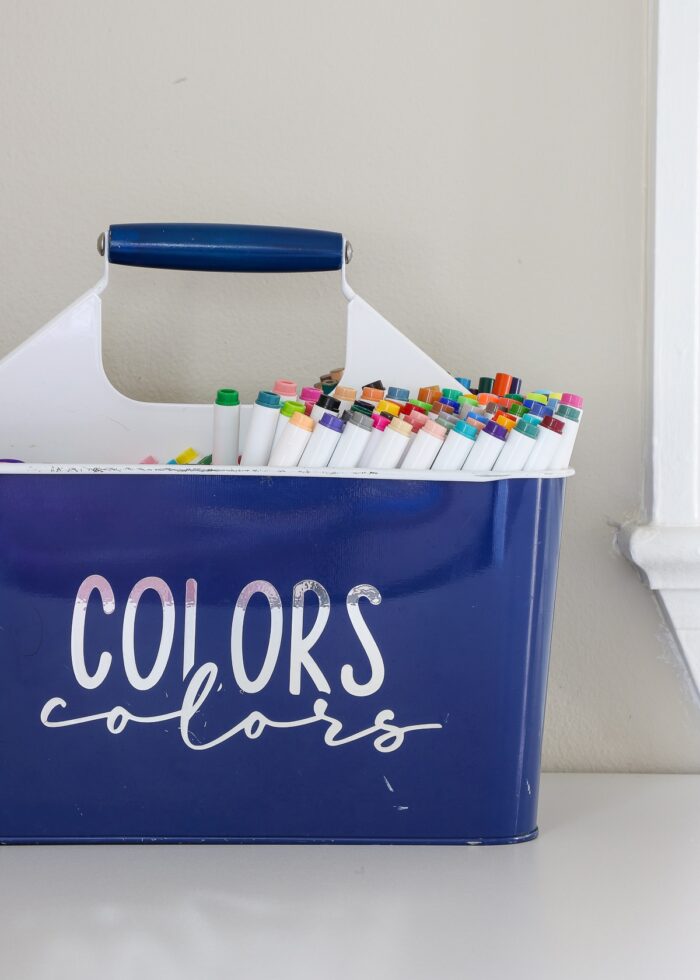
Although our kids art station is where they do much of their crafting, they still want to be able to move to the coffee table (especially if the TV is on), the dining table, the kitchen counter, or even up to my art table based on what they’re working on or (more usually) where I am located.
This portable caddy means that coloring can happen anywhere…and that little arms can always reach the markers!

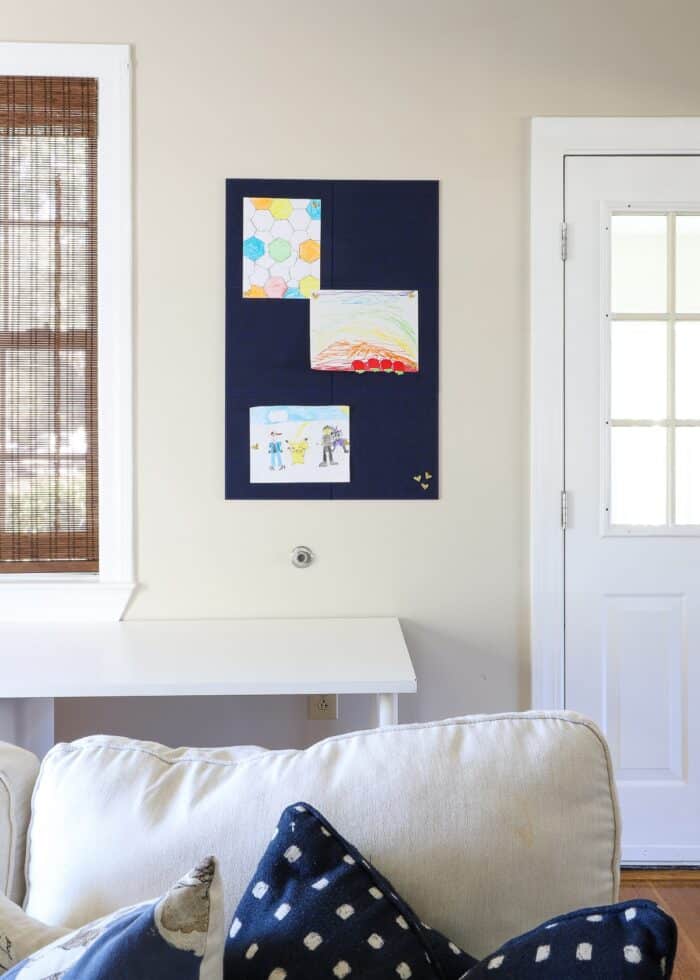
#9 – A Gallery Space
Similar to the trash can, our little art corner was missing a way to display the kids’ finished masterpieces. As a result, they were piling up on the desk itself, as well as seemingly every other surface on the entire first floor.
Since our kids art station is located in our family room (where we hang out as a family and also entertain), I wanted something that would allow us to pin up some work but also look relatively nice. I ultimately landed on this set of navy felt tiles.
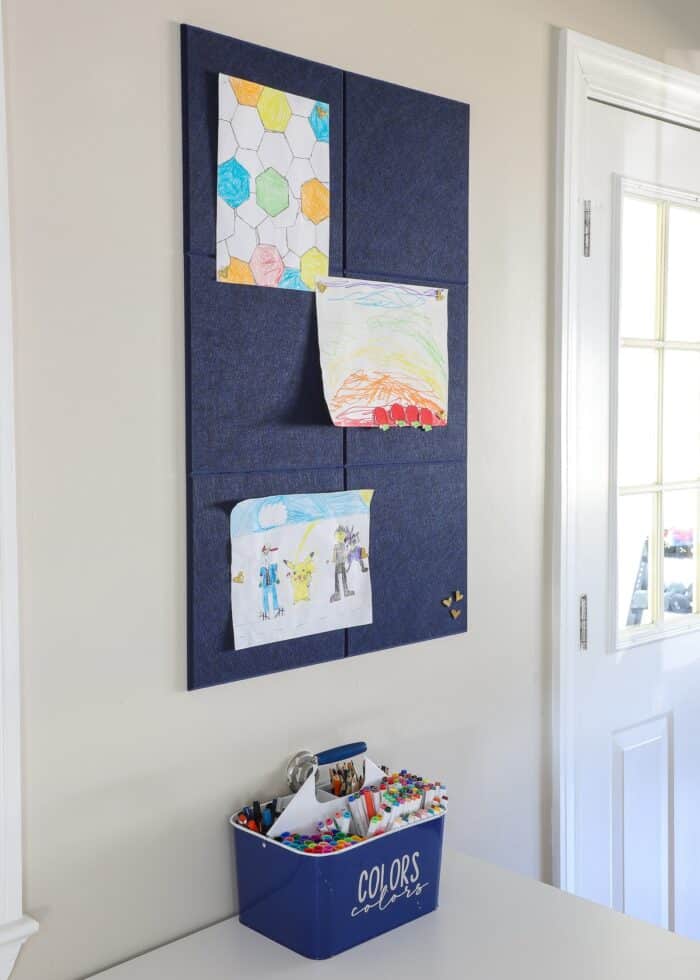
I was able to pick a layout that worked with the little bit of space we have available; and the blue textured color is a bit more elevated than the traditional cork board.
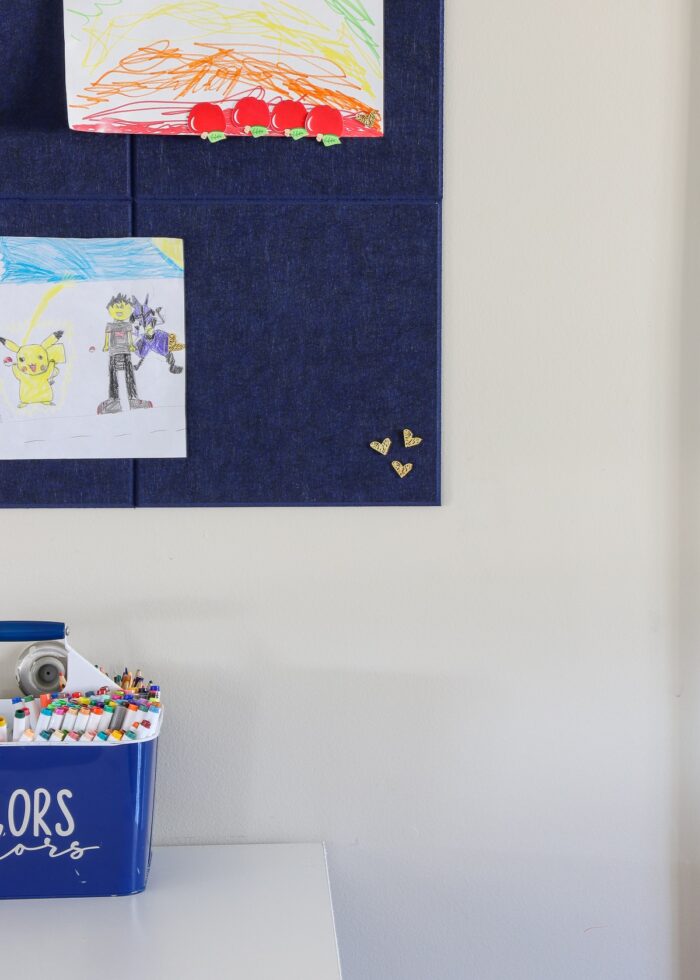
Now we don’t have piles of projects on every surface, and the limited surface space requires us to keep a controlled amount of papers up at one time!
#10 – Keep It To Art Supplies
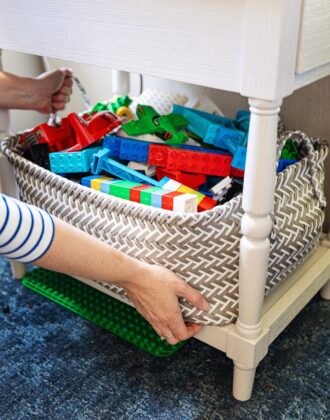
Finally, I want to finish with our biggest lesson learned: if your kids are into art, keep your craft station dedicated to supplies and projects; leave other activities (i.e., LEGO bricks, trains, puzzles) to other areas if possible.
We initially tried to have our LEGO bricks and art supplies at this table. But not only was storage for both really difficult to keep separate, but the kids ultimately had no space for either activity.
Once we dedicated this corner desk to art only (and moved other table-based activities to our large coffee table instead), the whole room functioned so much better.
Other Great Organization Solutions for Kids
Looking for other smart organization solutions for kids? Here are some of our other favorites!
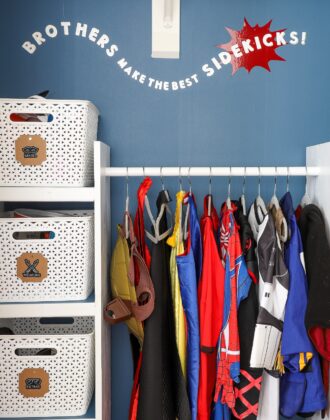
- Setting Up a DIY Dress Up Station for Kids
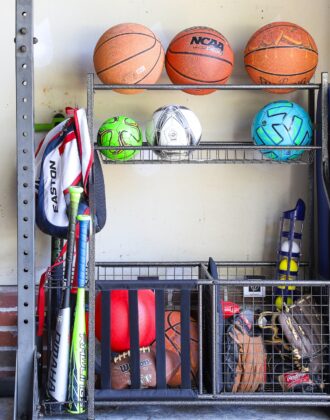
- Storing Kids’ Sports Equipment | Our Real Life Solutions
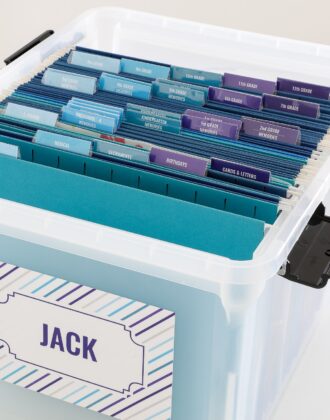
- How to Assemble a School Memory Box (With Printable Labels)
- Make a Kids’ Device Charging Station In a Drawer
- The Best Toy Storage Solutions for Every Item In the Playroom
- How to REALLY Store Outgrown Kid & Baby Clothes
- How to Store Kinetic Sand
- How to Store Perler Beads
- Sneaky Toy Storage Solutions in the Living Room
I’ve actually had our “kid art station” on my blog post list for quite some time. But every time I went to photograph it, I didn’t feel like we really had it figured out.
Now, a whole year+ after moving in, we’ve finally landed on a setup that is working for the whole family. Instead of being a catch-all eyesore in the back of the room, it’s a fun, functional, and creative space our kids are loving and using day-in and day-out.
Curious to see the other toy storage solutions we’re using in this playroom? See it here: No Playroom? Try These Toy Storage Ideas for the Living Room
If your kids love to craft too, I hope these practical solutions help you create a great creative space in your own home!
Megan


8 Comments on “How to Set Up a Kids Art Station | 10 Essentials to Include”
Love your thinking and ideas. This is a very sharp looking project. Thanks!
Do you have links to the table/drawers you used here? Thanks!
Hi Lindsay!
All the desk elements are from IKEA, and we accumulated each element a little bit at a time from various projects.
Drawers: https://www.ikea.com/us/en/p/alex-drawer-unit-on-casters-white-80485423/
Tabletop: https://www.ikea.com/us/en/p/ekbacken-countertop-double-sided-with-white-edge-light-gray-white-laminate-60291341/#content
Legs: https://www.ikea.com/us/en/p/adils-leg-white-90217972/
In full disclosure, the drawers are a bit awkward to organize because they don’t pull out as far as you’d like. So they look really nice and I like how wide and shallow they are, but it’s tough to use the full depth effectively.
Hope that helps!
Megan
Hi Megan!
It’s as if you live in my house! We are so thrilled with detail you included, thank you.
How did you secure the EKBACKEN countertop to the drawers and legs?
Hi! Do you have a link for the marker caddy? Thank you!
Wow this is the first helpful post I have found on Pinterest on organizing craft supplies thank you so much!!!!
Hello! Love this setup and might just emulate it exactly. Can you please share what feet you used for the IKEA Alex drawer unit as it comes on casters and can’t find the white feet you used. Thanks!
Hi there!
The feet shown in my pictures are IKEA’s Capita feet. They come in/out of availability, but I think you can still find the short white ones on eBay.
Hope that helps a bit!
Megan