The Best (& Easiest) Way to Store Cricut Mats
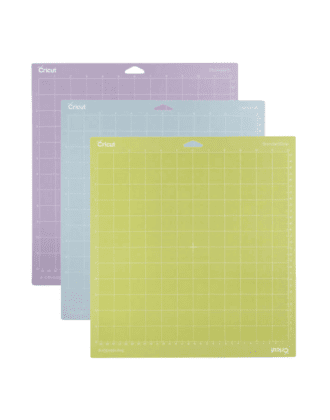
For the past year+, I’ve had my Cricut cutting mats precariously stacked on top of each other; and sure enough, each time I pulled one out, the rest followed. So I decided this was the perfect opportunity to test a few different hooks, clips, and screws for storing Cricut mats and report back on my favorites. From larger Cricut Maker/Explore mats to the smaller Cricut Joy mats and all the specialty ones in between, I’ve got some great solutions to share with you today!
What Is the Best Way to Store Cricut Mats?
Without a doubt, the absolute best way to store Cricut mats is to hang them. Why?
- Thanks to the clear protective cover, Cricut mats are slippery. As such mats stacked onto tables or shelves can quickly become unruly. Mats hung vertically on hooks aren’t at all impacted by the slippery protective liners.
- If you have lots of Cricut machines or lots of mats (or both!), digging through piles to find the right one can be tedious. Hooks allow you to easily see what you have and pull down what you need without disrupting them all.
- Storing mats in bins or draws can cause them to bend or warp, which will impact how they feed into your machine. Hooks allow your mats to remain flat at all times.
Whether it’s on the wall, edge of a table, a craft cart, or on the back of a door/closet, hanging your Cricut mats will keep them safe from dust and debris, sorted by functionality, and totally, easily accessible!
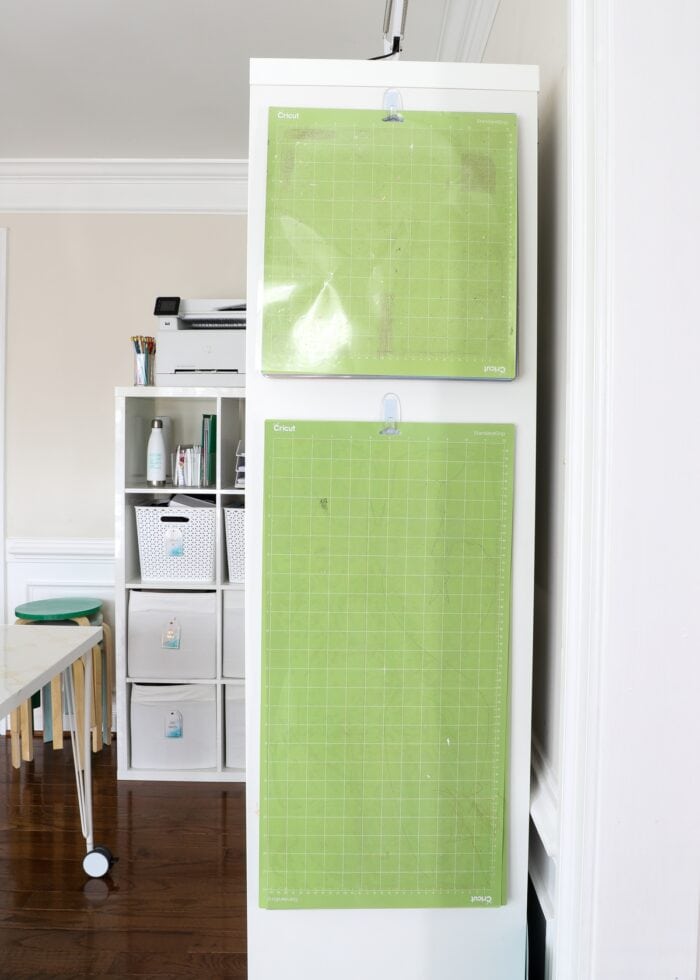
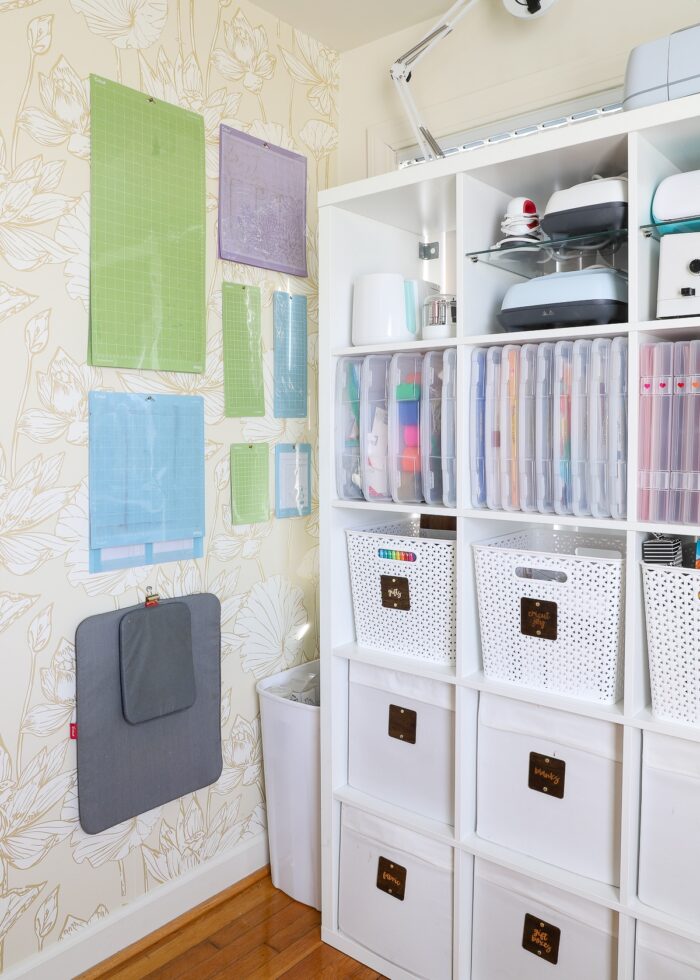
Cricut mats hung on the side of an IKEA Kallax.
For many (many) years, Cricut mats came in one size and shape. And thanks to the triangle punch out at the top of each mat, hanging them on a simple peel-and-stick hook was always my go-to solution.
Cricut mats hung on a Cricut storage cart.
But in recent years, Cricut has added lots of different mats to their repertoire, including the smaller Cricut Joy/Joy Xtra mats, and the large Explore/Maker Card Mat. None of these mats have that handy little triangle opening that I’ve always relied upon.
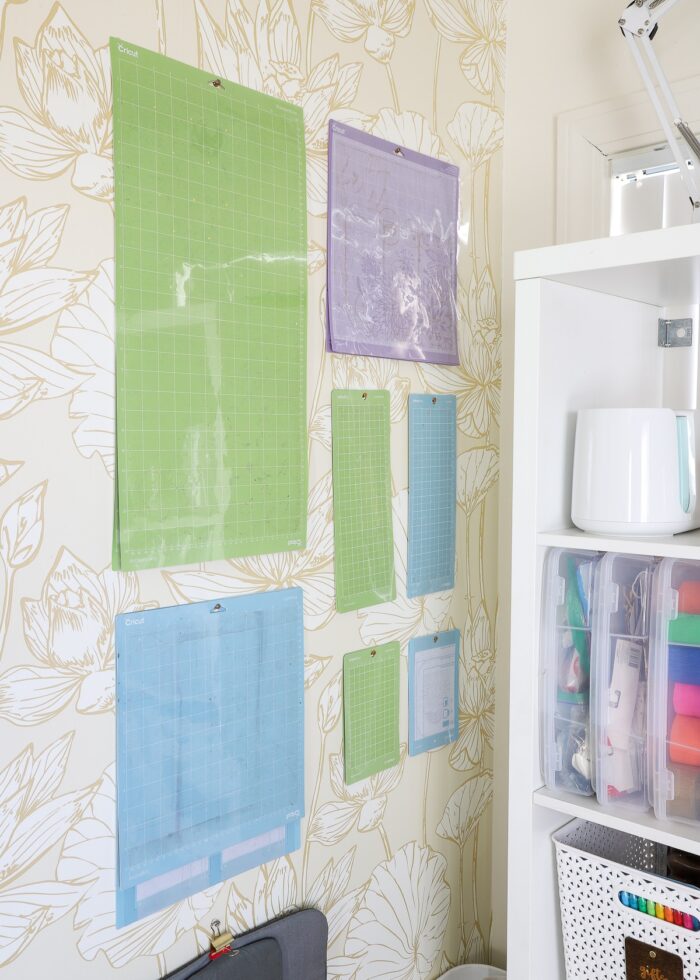
Tired of digging through my pile of Cricut mats for the 100th time, I finally decided to hang these Cricut accessories up on an un-used skinny wall in my craft room. But the different sized mats and lack of holes forced me to get creative. Let me break down what I tried and which solution I love most!
What Are the Best Hooks for Hanging Cricut Cutting Mats on the Wall?
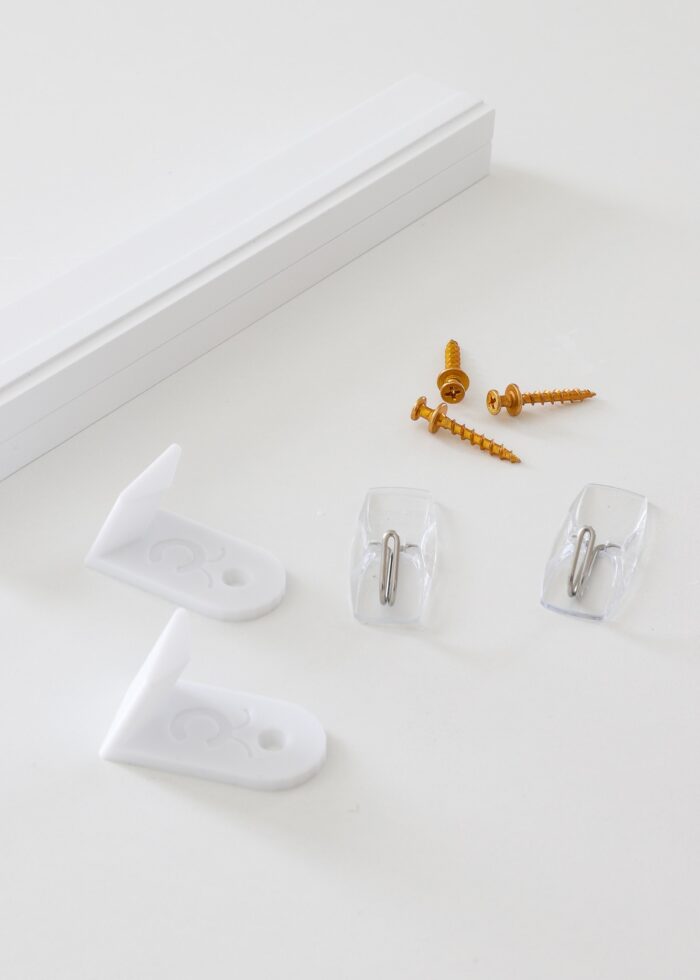
After perusing lots of options, below are the four different hanging products I tested for my Cricut Mat Storage Wall:
- Cricut Cutting Mat Hangers
- Command Peel & Stick Wire Toggle Hooks
- Bear Claw Screw Hangers
- Magnetic Picture Display Bars
Spoiler: The Bear Claw Screw Hangers were, far and away, my favorite choice. But I explain why and share the pros/cons of each option below.

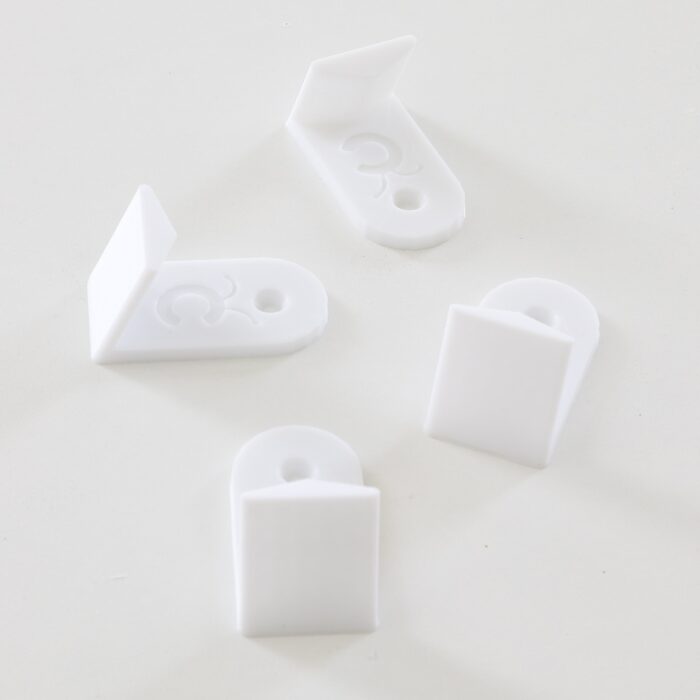
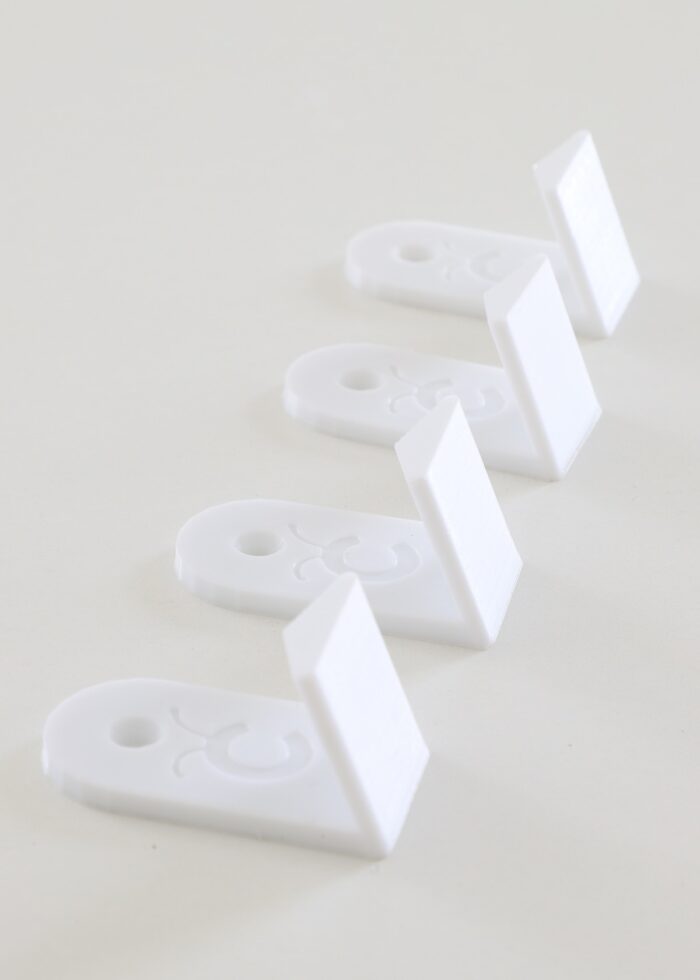
Option 1 – Cricut Cutting Mat Hangers
When I first saw these Cricut Cutting Mat Hangers featured on another blogger’s Instagram stories, I wasted no time getting my own pack. I love the triangle-shaped hook, the little Cricut symbol, and their chic white color.
But I was pretty bummed when I realized they wouldn’t be the right solution for my particular Cricut mat stash. Why? Because they only hold Cricut Explore/Maker cutting mats. Admittedly, they do so beautifully…
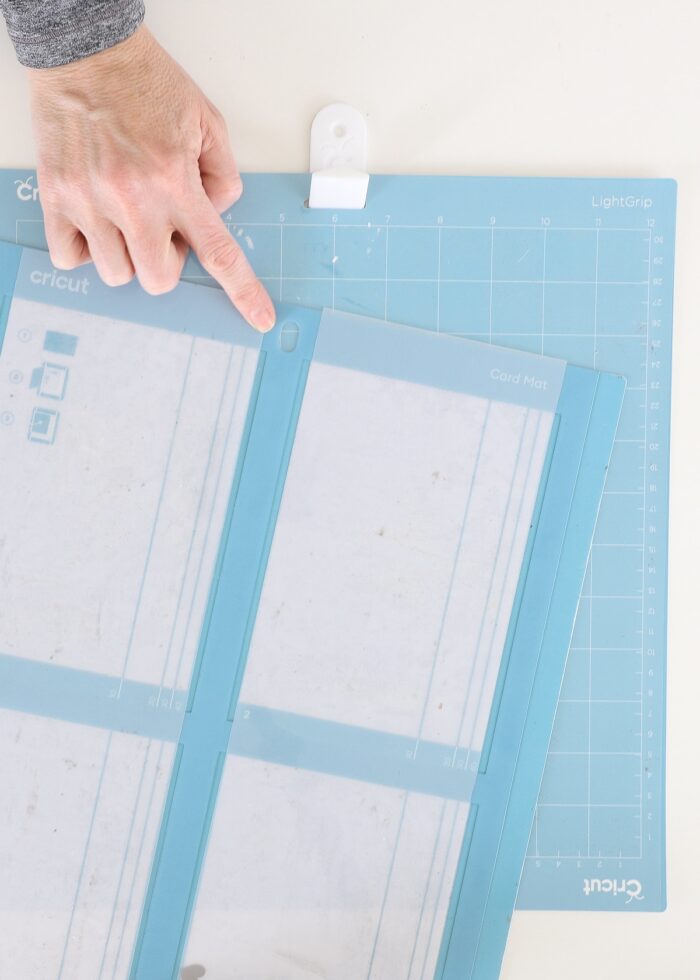
…but not only do my Cricut Joy mats have no hole, but the large Card Mat for the Maker/Explore has a round hole, which clearly doesn’t fit onto these triangle hangers.
In Summary
The Cricut Cutting Mat Hangers are truly awesome if you only have the 12×12″ or 12×24″ cutting mats for the Cricut Maker and Cricut Explore machines. If you have any other mats, you’ll need a different solution.
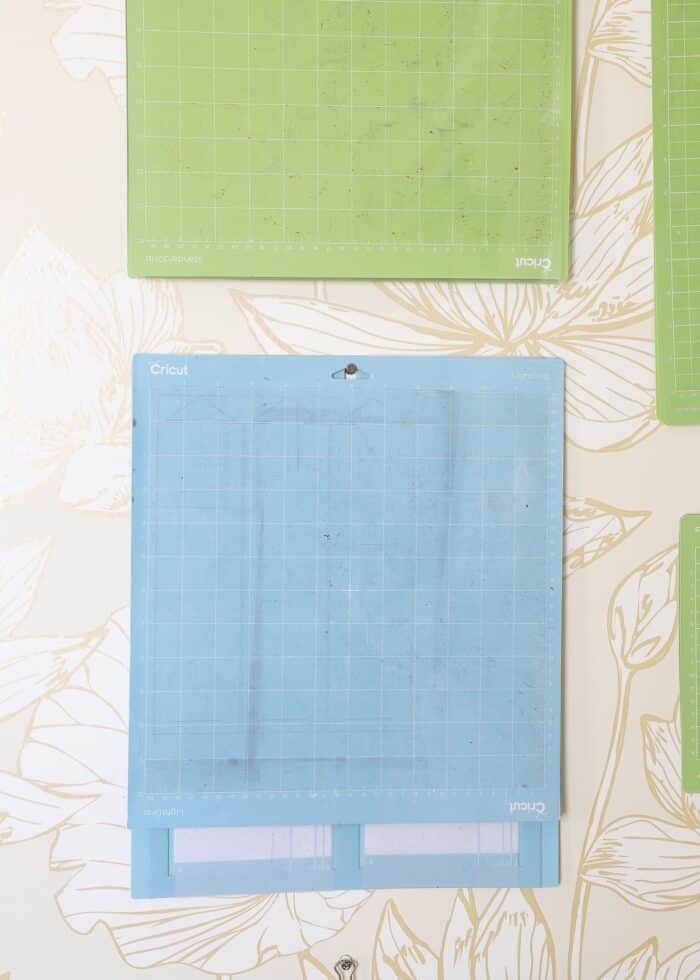
Option 2 – Peel & Stick Hooks
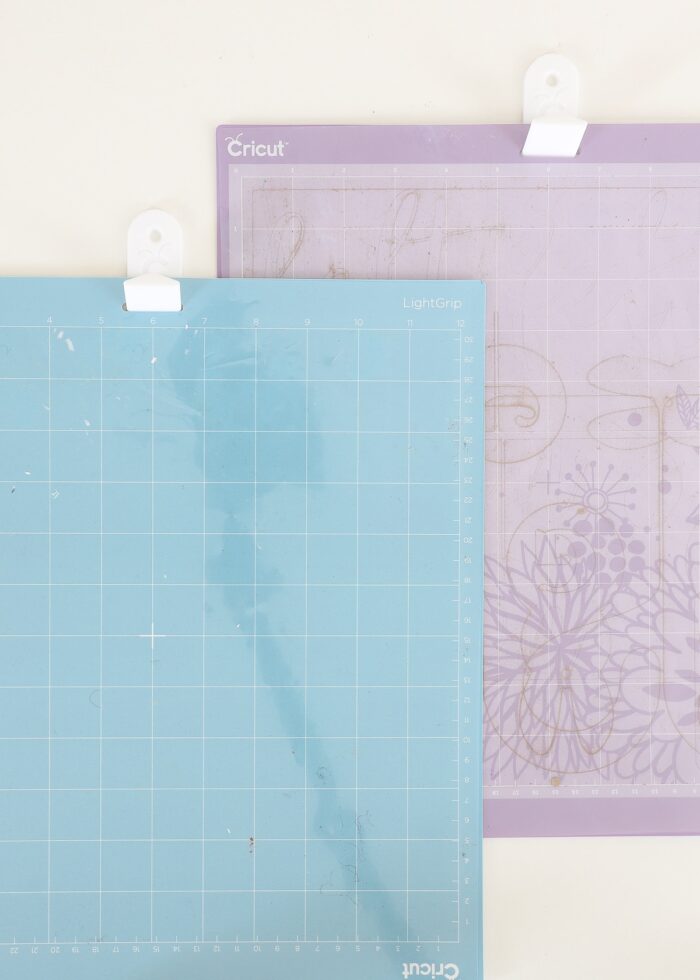
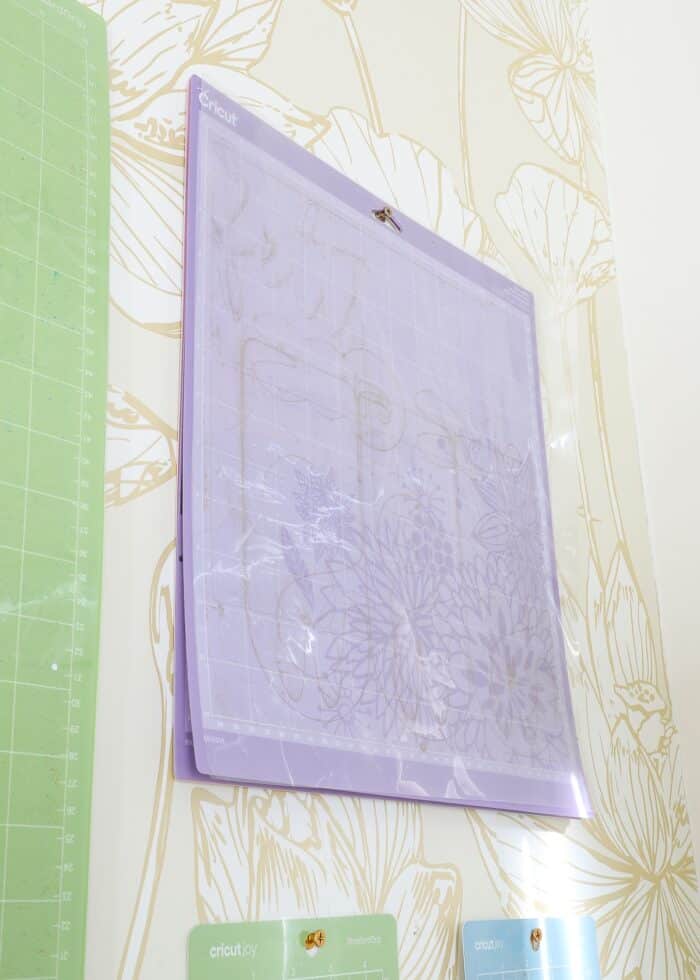
For a long time, I’ve preferred these Wire Toggle Hooks for my Cricut mats. Not only can each hook hold up to 2 lbs, but the thin metal hook makes it ideal for lots of different mat sizes. I also love that the clear backing+thin metal hook are visually clandestine.

Sure enough, the thinner hook allows ALL my Cricut Explore/Cricut Maker mats to slide right on. However, since my wall is wallpapered, I worried about long-term adhesion.
In Summary
The Wire Toggle Hooks are a better choice compared to the triangular Cricut Mag Hangers because they will support all types of Cricut Explore/Maker mats. However, the mats can be a bit tricky to get on/off (because the hook itself toggles up and down). Also, while these peel and stick hooks are great for thin or hallow surfaces such as doors, cabinets, and boards (where you can’t screw in), they might not be the best solution for textured walls or wallpaper installations.
Option 3 – Bear Claw Screw Hangers
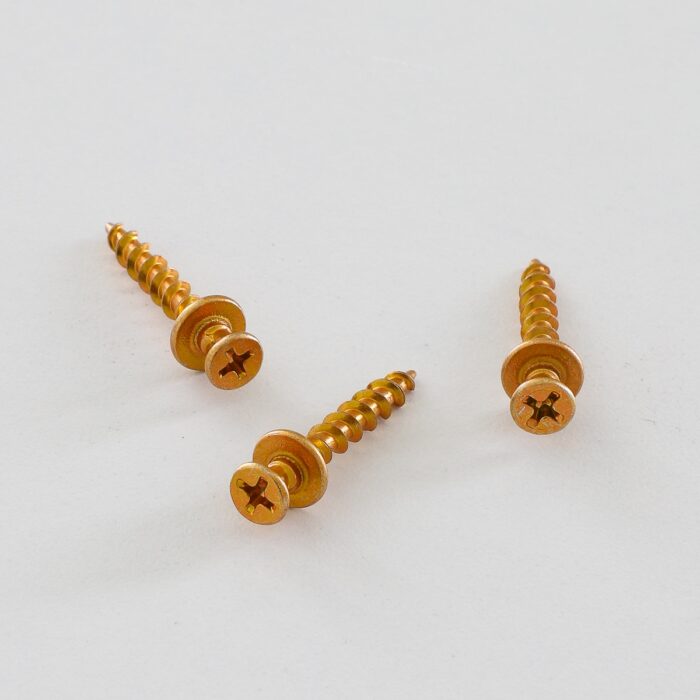
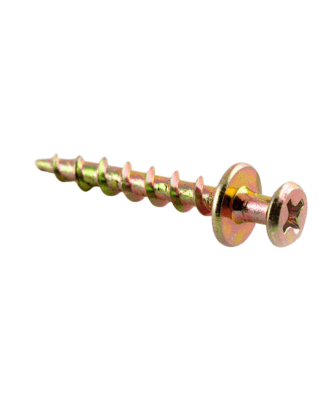
When I realized my first two hanging options weren’t going to work quite right, I decided to hunt through my own Picture Hanging Kit that is filled with our very favorite hooks and hangers. And sure enough, I came across my absolute favorite hardware: Bear Claw Screw Hangers.
We discovered these ages ago and use them for almost all of our frame hanging. Not only can they hold up to 30 lbs each (without drywall anchors!), but their unique double-head design makes them soooo easy to hook frames onto. I had a hunch they’d work beautifully for my Cricut mats for the exact same reason!
Want to save this post?
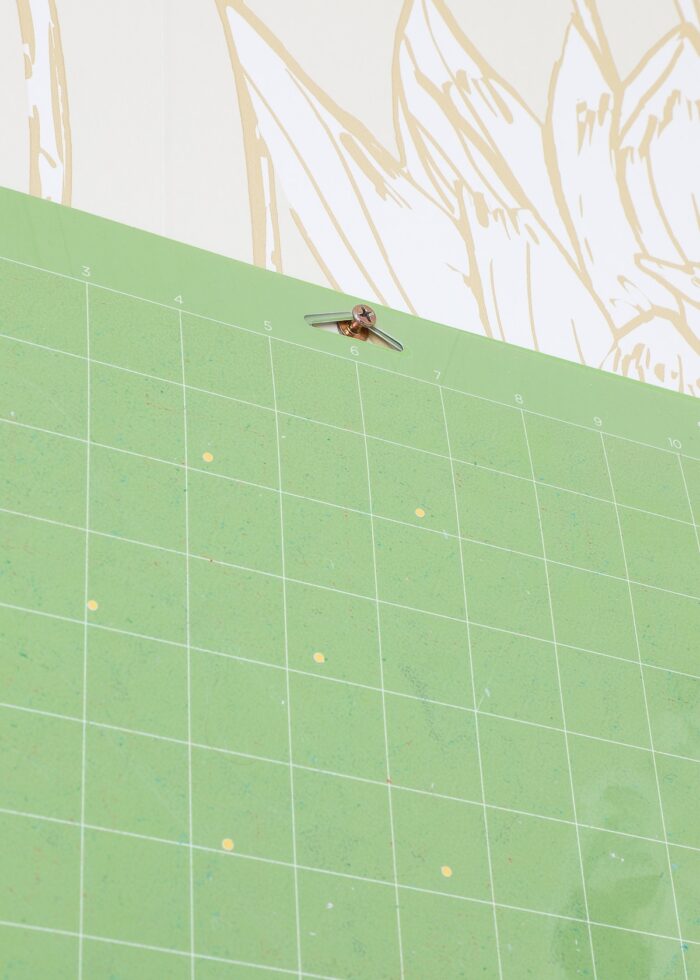
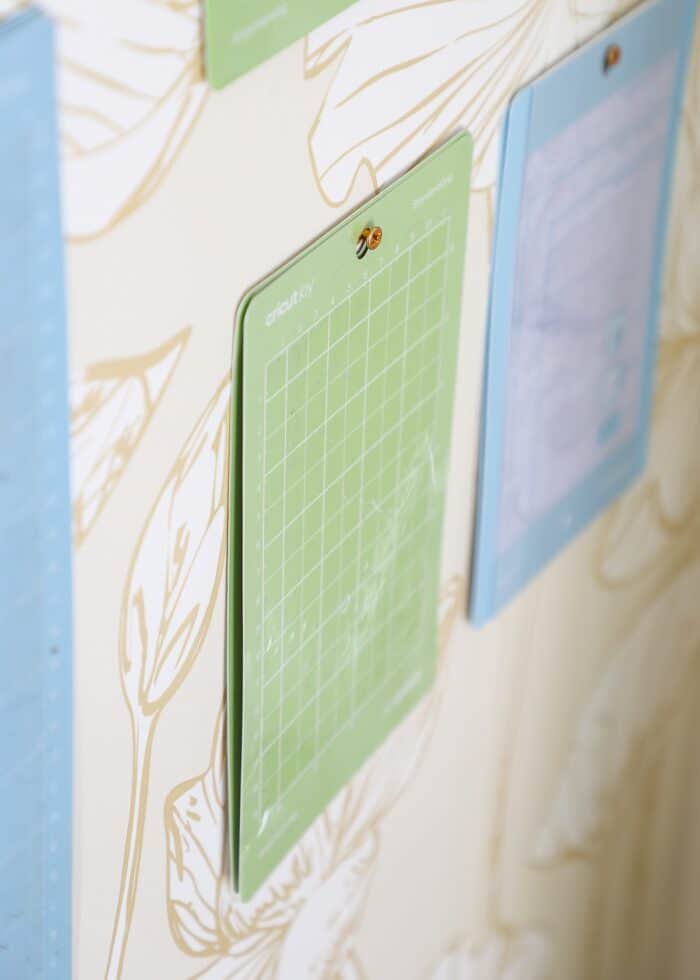
Sure enough, these strong, easy-to-install screws hold Cricut mats quite perfectly.
The Bear Claw Screw Hangers protrude out from the wall just enough to hold about 7 Cricut mats if needed (the one below is currently holding 4). The screws are visually unobtrusive, but the gold finish gives them a more polished appearance.
In Summary
The Bear Claw Screw Hangers are my favorite Cricut mat storage solution because they are inexpensive, visually minimal, and hold a lot of Cricut mats in a very effective way. They are easy to install and getting mats on/off the screw itself is practically effortless. That said, they do require screwing into your drywall, so Bear Claws aren’t the best choice if you’re trying to avoid wall damage or need to use the backs of doors/furniture for your Cricut mat storage.
How to Hang Cricut Joy Mats
All throughout my testing, I knew I’d need to come up with some sort of different solution for my Cricut Joy mats. Smaller than their Explore/Maker counterparts, these mats also don’t have ANY punched out holes along the edges for hanging. For years, I’ve had these smaller mats tucked inside drawers and baskets, but have always wanted them right alongside my other mats.
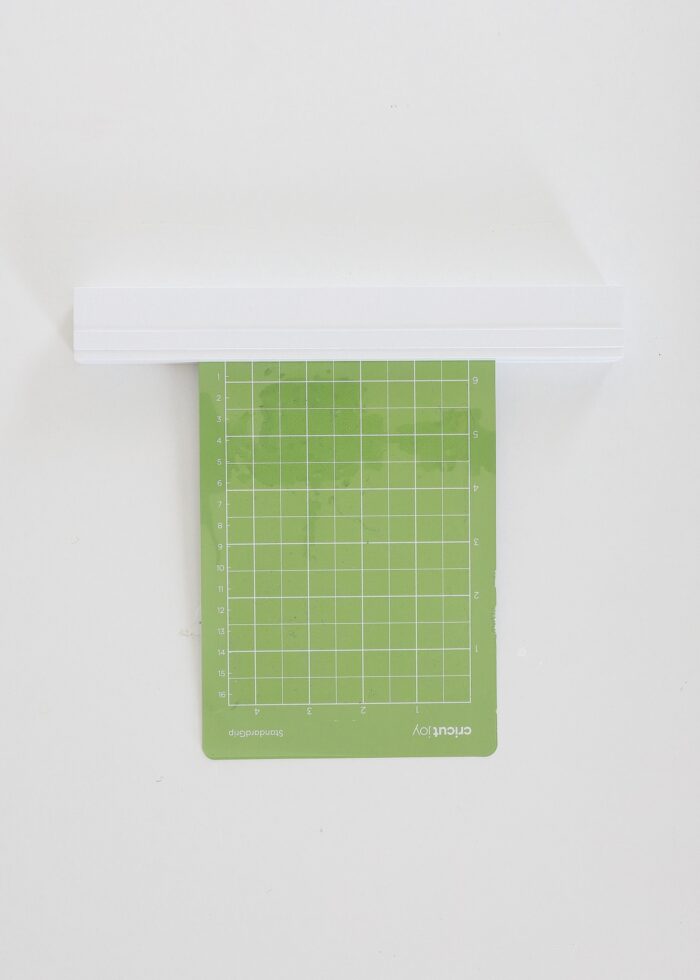
Initially, I attempted to use these clever Magnetic Picture Hanging Bars for the Joy mats.
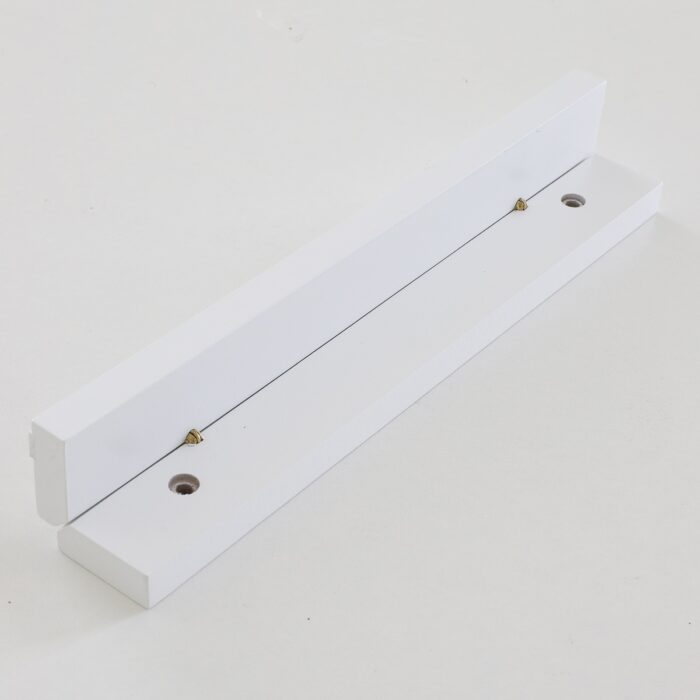
Unfortunately, the magnets were only strong enough to hold one mat at a time; and since I have 8 Cricut Joy mats, this would have been a very space-wasting solution.
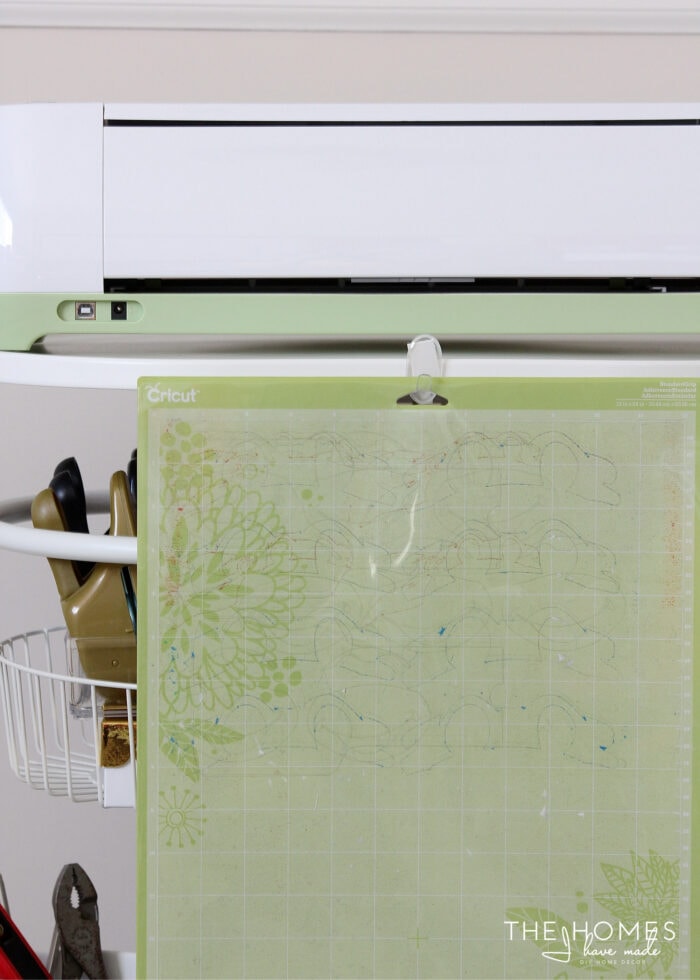
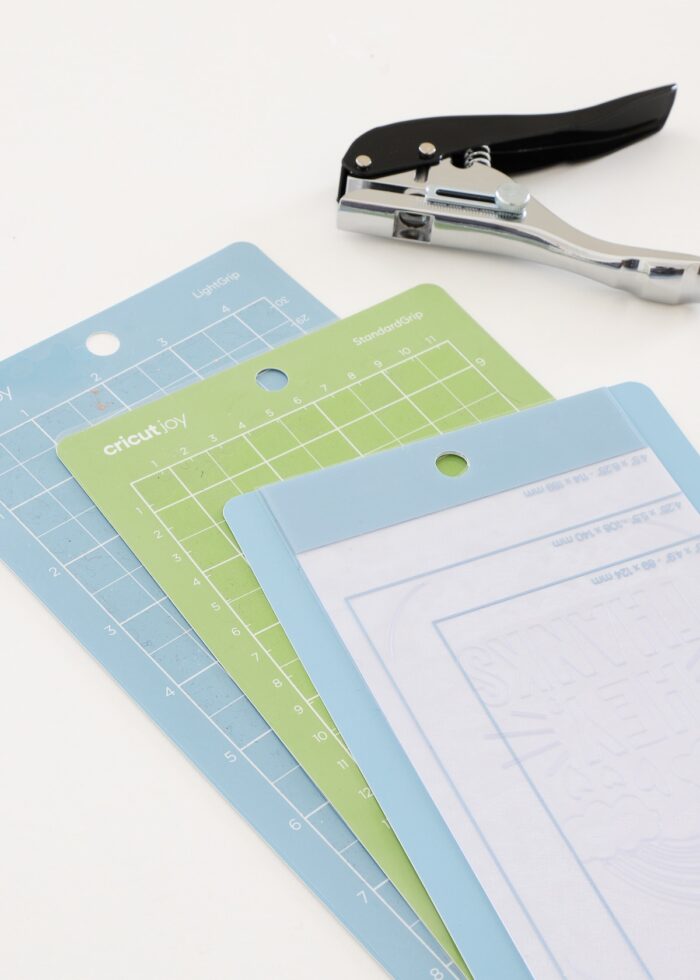
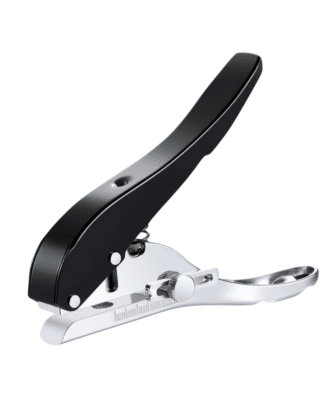
Frustrated that I couldn’t just easily hang up my Cricut Joy mats alongside my Explore/Maker ones, I decided to just add my own holes using this strong 10mm hole punch.
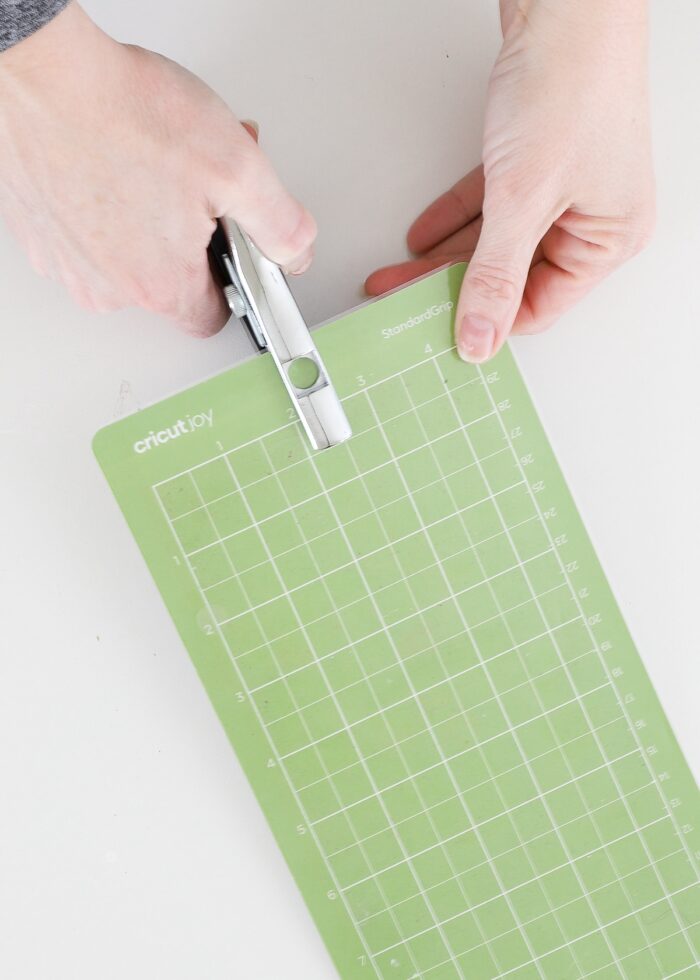
The mats (and their liners) punched through cleanly and without issue, and this location doesn’t hamper the mats feeding into the machine at all! You better bet I wish I had done this storage hack years ago!
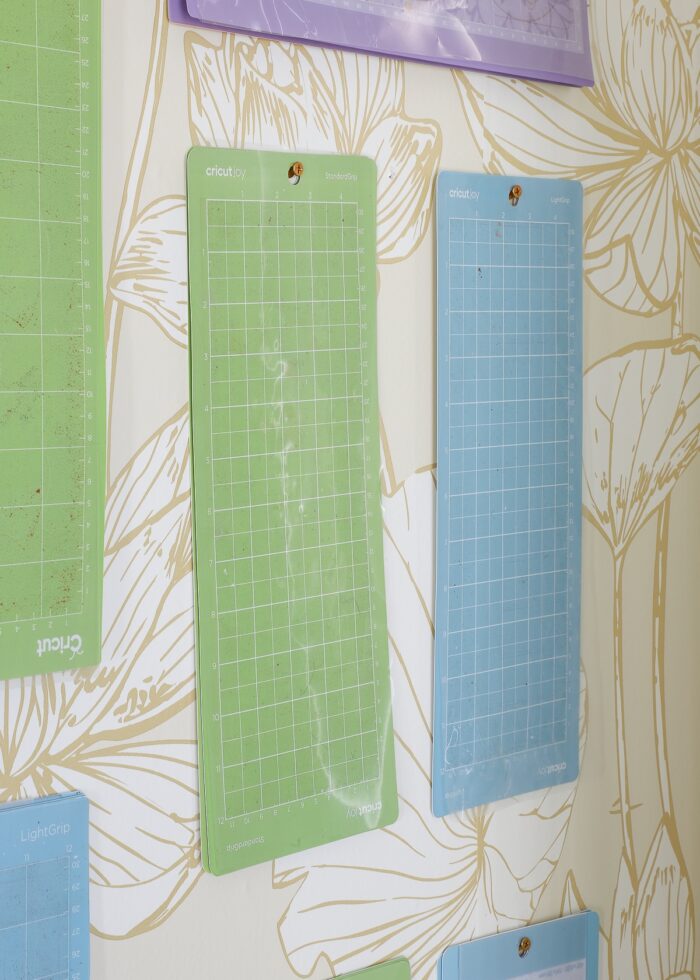
Now, all my Cricut Joy mats hook right onto the same Bear Claw Screw Hangers and are easy to grab whenever I need them!
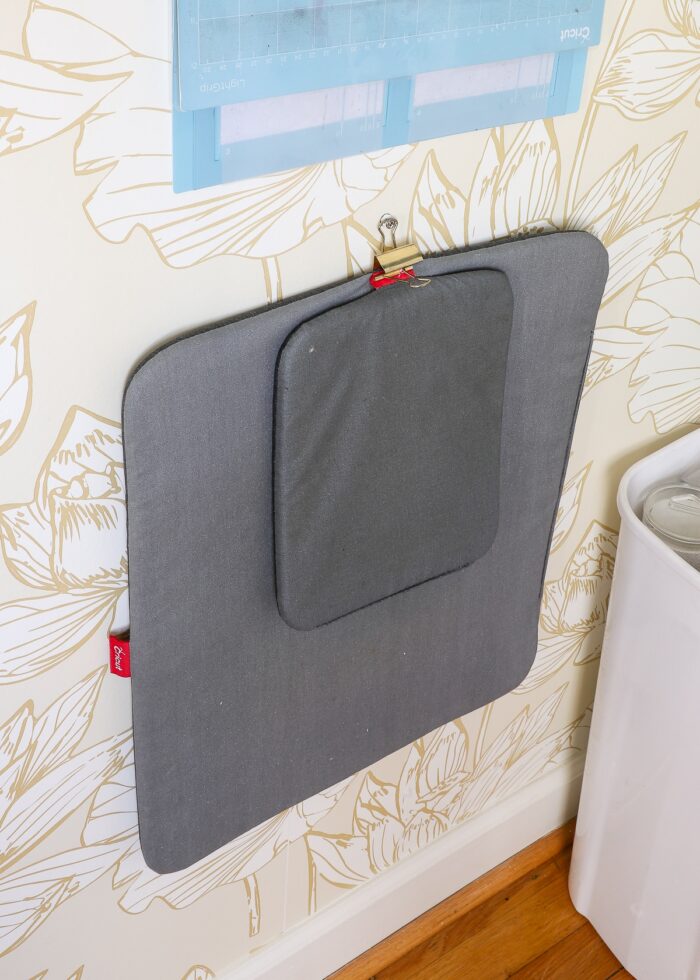
How to Hang Cricut EasyPress Mats
The other Cricut mats that can’t be easily hung are the EasyPress mats. Like the Cricut cutting mats, these really are best hung vertically so they don’t become misshapen. But without an existing hole or easily punchable surface, you might be stuck on how to hang them.
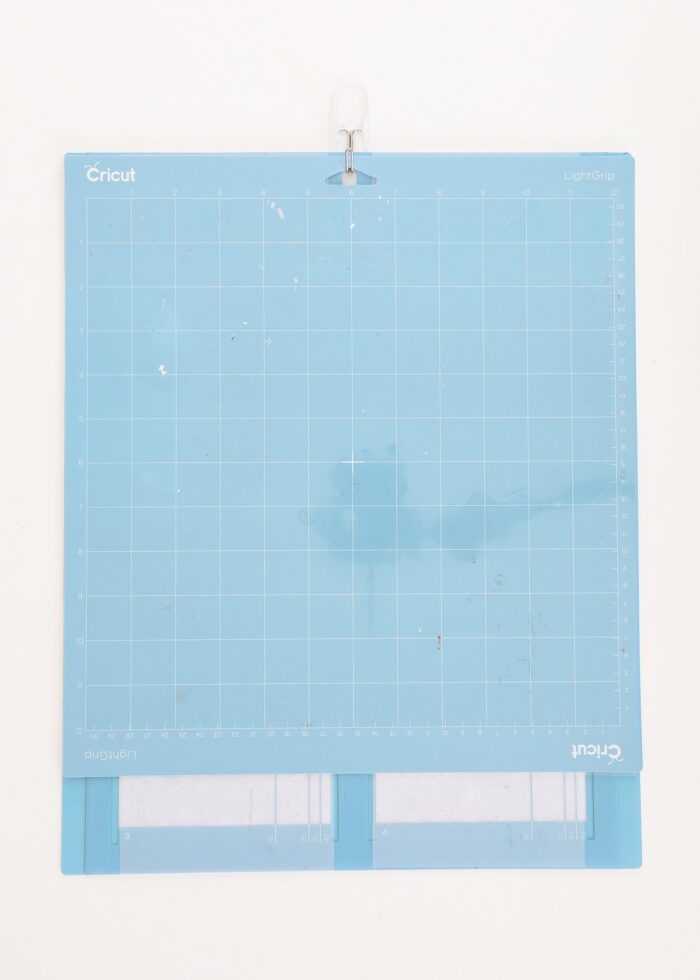
My favorite solution? A large binder clip:

By clipping the mats together with a strong binder clip, they can hang right onto the protruding Bear Claw Screw Hanger without issue! Now my heat pressing mats are safe but just as easy to grab as all the rest!
How to Setup a Cricut Mat Storage Wall
If you only own a few Cricut mats, you likely don’t need to dedicate a full wall to their storage. However, if you have a lot of Cricut mats and/or use your machine(s) a lot, it really is SO handy to have your mats sorted and stored on some sort of nearby vertical surface (e.g., wall, back of a closet, back of a door, side of bookshelf, pegboard, etc).
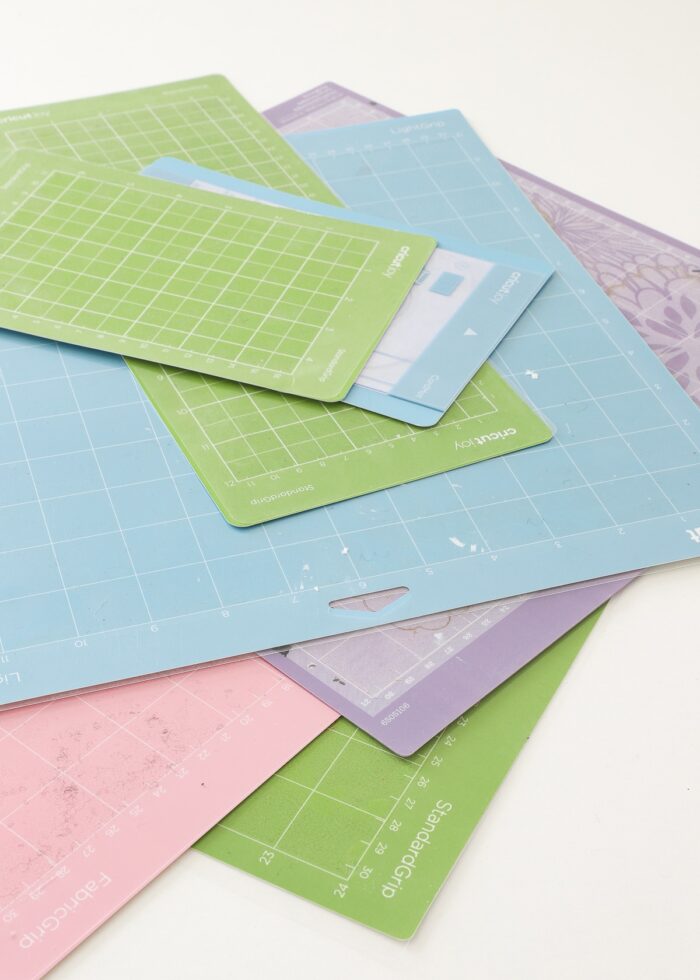
Before you start screwing into the wall (or sticking hooks), I strongly suggest you dig out all your Cricut mats to see what you have. Sort them out by machine, color, and function to get a good sense of how much space you need in order to display them.
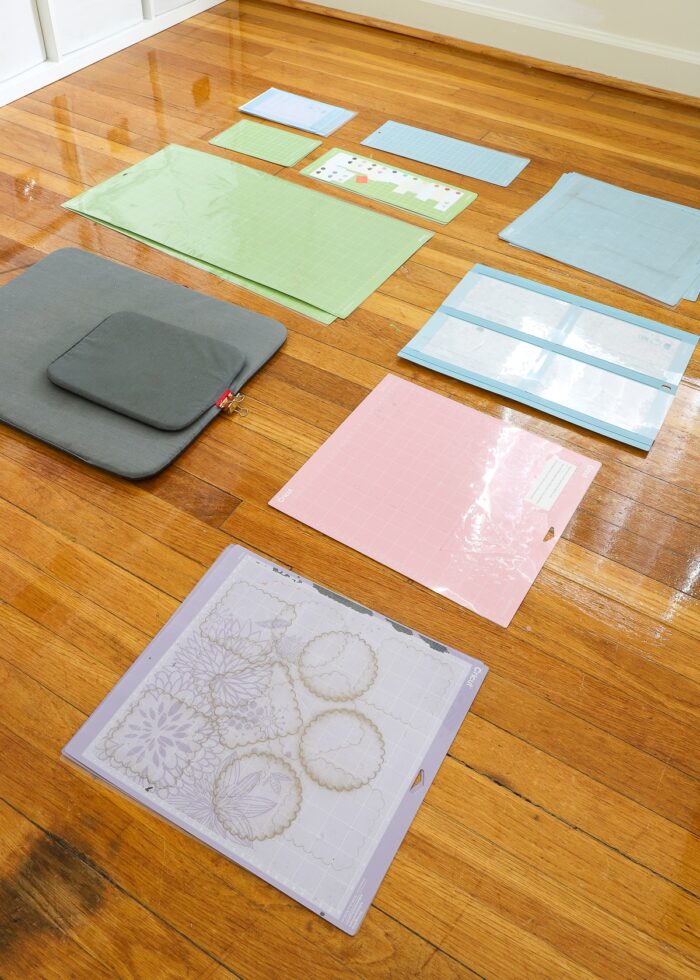
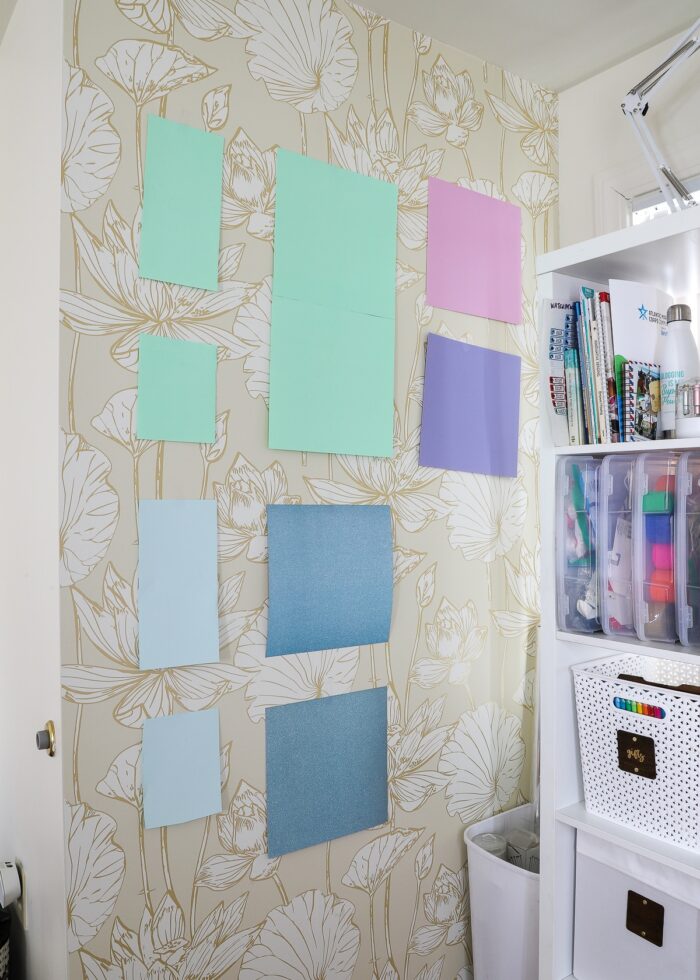
While you can certainly just start hanging up your mats, you might also want to plan out your layout using some matching pieces of paper. This will not only help you figure out what needs to be stored where, but also how best things fit, what can be doubled-up, and what you need most access to.
Once you have a layout you like, then start installing your hardware of choice and hanging up your Cricut mats!
Other Great Cricut Solutions
Looking for more great Cricut hacks and solutions? Below are some of my favorites!
- The Cricut Supplies You Really Need (& Will Actually Use)
- How to Clean & Re-Stick Your Cricut Cutting Mats
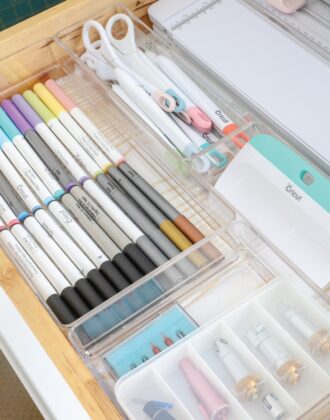
- Smart Cricut Storage Ideas for Any Craft Space! – My solution for Cricut tools, blades, pens, infusible ink markers, and more!
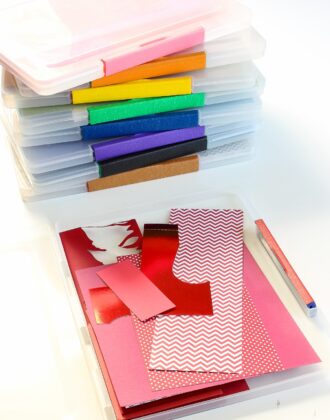
- How to Store Scrapbook Paper Scraps
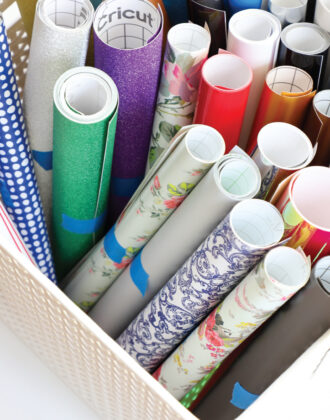
- Easy & Practical Ideas for Storing Rolls of Vinyl
- How to Organize Cardstock & Scrapbook Papers
This is definitely one of those projects that should not have taken me over a year to get to. But you better bet I am now pretty darn giddy that I no longer have to dig through an unruly piles of mats every time I want to make a quick project.
Finding the right mat, getting it down, and hanging it back up is now practically effortless, which saves me time and frustration on project after project. If you craft with your machine a lot, this is an easy, 1-hour craft organization task that I promise will be well worth your efforts!
Megan
5 Comments on “The Best (& Easiest) Way to Store Cricut Mats”
Unfortunately, I don’t have enough wall space to hang my mats. I had them hanging on the side of a table, but there were too many and the Command hook fell off. Maybe I should try the bear claws.
It drives me nuts that those Command hooks swivel. You’d think they could come up with a better design. I wonder if it would work to glue them down.
Megan I use a four tier skirt/pant hanger for my cricut mats. Each rung has two adjustable clips to slide Than you can hang it anywhere I have mine hanging on the back of my door
I have hooks on my cart, but I have to remove too many if I need an unusual mat. I’m going to try the side of a bookcase for my less used mats. Thanks! I put fun saying/images on a few of mat covers ( so I could find them when they’re off). This could be fun for your wall display.
Another method that works for me is hanging mats on a multiple skirt hanger (purchased at Walmart) and hang that on a Command hook.
I purchased 4 $1.00 wreath hangers and placed them over the door in my office. The opening on the top of the mats are a perfect fit for these hangers. I place several on each hanger.