How to Deflate Mylar Balloons | Step-By-Step
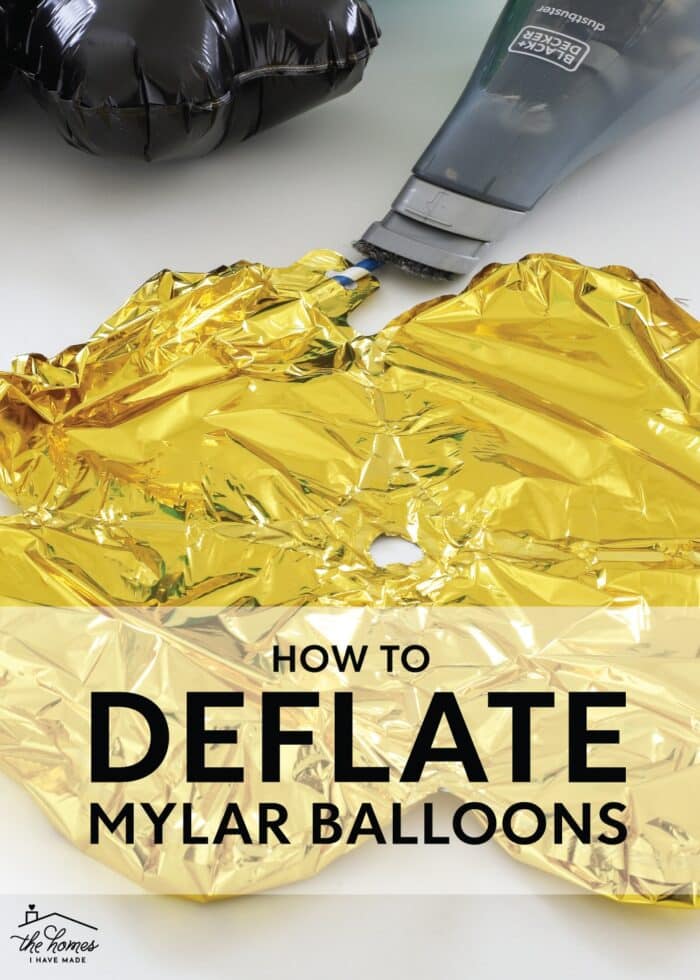
I love buying mylar balloons (especially the numbers) to celebrate my kiddos’ birthdays. But when I was buying a #4 for the third time (hello, three boys!), it occurred to me that I could have been saving them all along. Since I’ve been on a bit of a balloon kick lately, I’ve been more proactive about deflating and reusing our balloons to save myself both time and money every time a party comes around. Today, I’m showing you how to deflate mylar balloons, so you can save that time and money too!
Why Deflate Mylar Balloons?
Nothing says “celebrate” quite like a foil balloon. Available in countless sizes, shapes, and colors, they are a quintessential decoration in many party displays. But they aren’t exactly inexpensive; and if you add in the price of helium, the cost can significantly add up over the years.
Unlike latex balloons, the foil of mylar balloons is much sturdier (which is why they last so much longer); and thanks to the presence of a valve, they can be inflated and deflated much easier too.
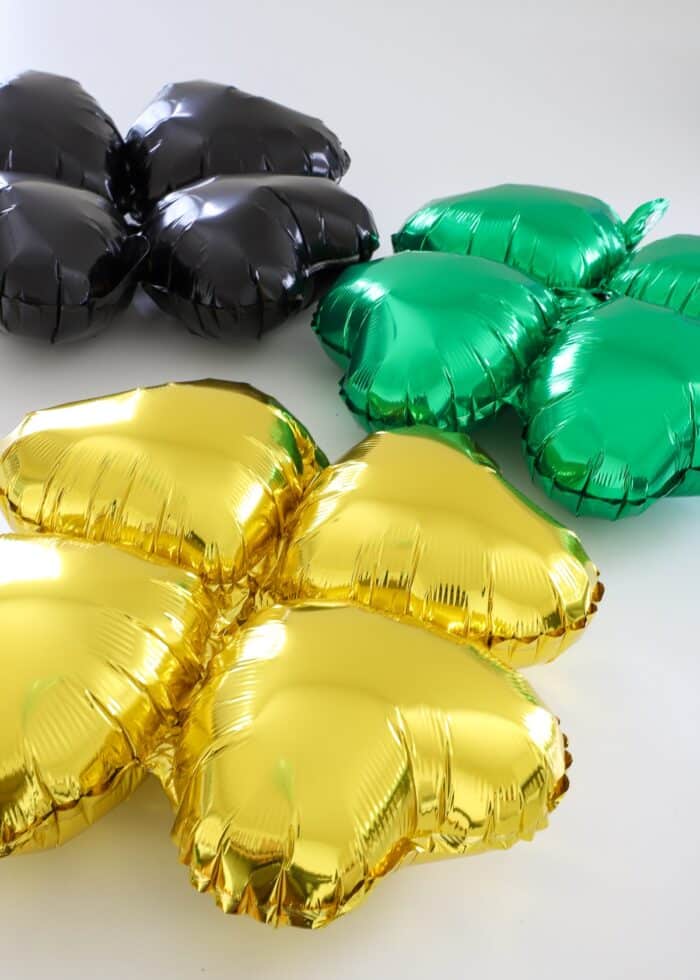
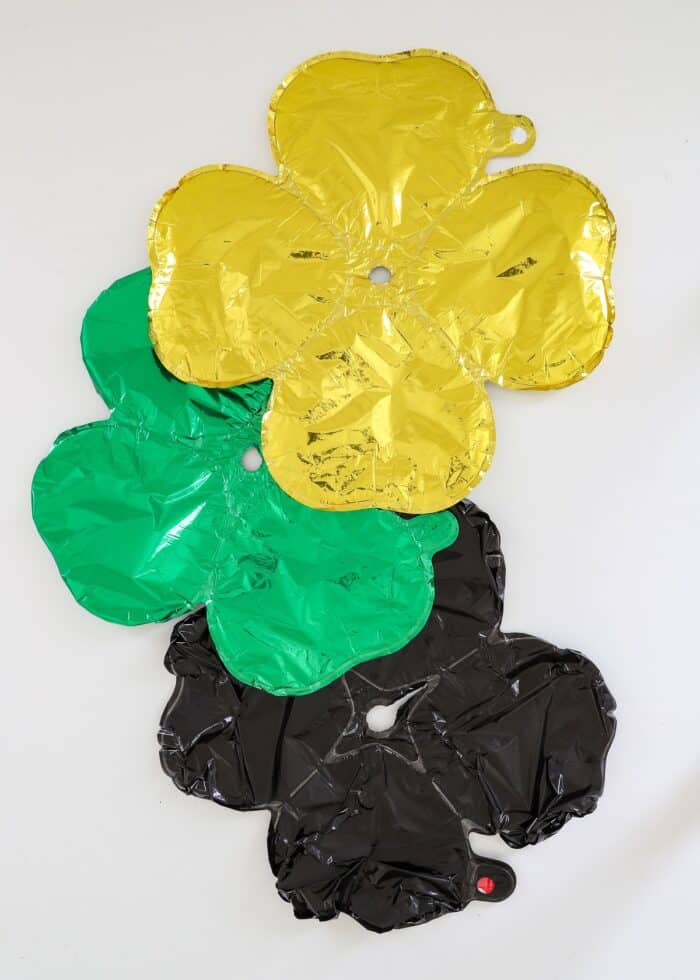
By intentionally deflating your mylar balloons when your celebration is threw, you will be able to store and reuse them over and over. I love not shelling out about $25+ every time a party comes around; and thanks to growing my stash, I can now quickly pull a party display together without a mad dash to the store!
Supplies Needed
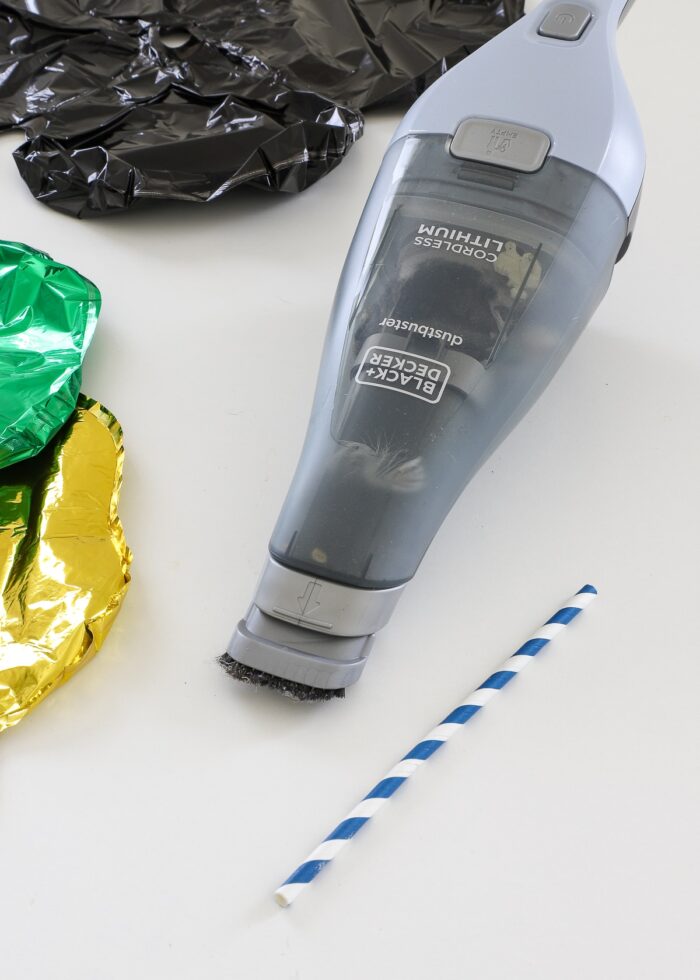
To deflate mylar balloons, you really just need one thing: a straw. But I’ve found that also using a vacuum not only hastens the deflation process, but gives you much more compact results too!
- A drinking straw – Any straw will work, but skinny plastic ones seem to do the best (although I have successfully used paper straws and coffee stir straws too).
- A handheld vacuum (optional)
How to Deflate Mylar Balloons | Step-By-Step
To deflate a mylar balloon, follow these simple steps:
Step 1 – Insert Straw Into Mylar Balloon Valve
Gently insert a straw into the mylar balloon valve (usually near the bottom/end of the balloon). On some balloons, this is quite easy. On others, you may have to navigate under a plastic slip in order to get into the valve. Work gently so as not to puncture the valve or tear the plastic tab.
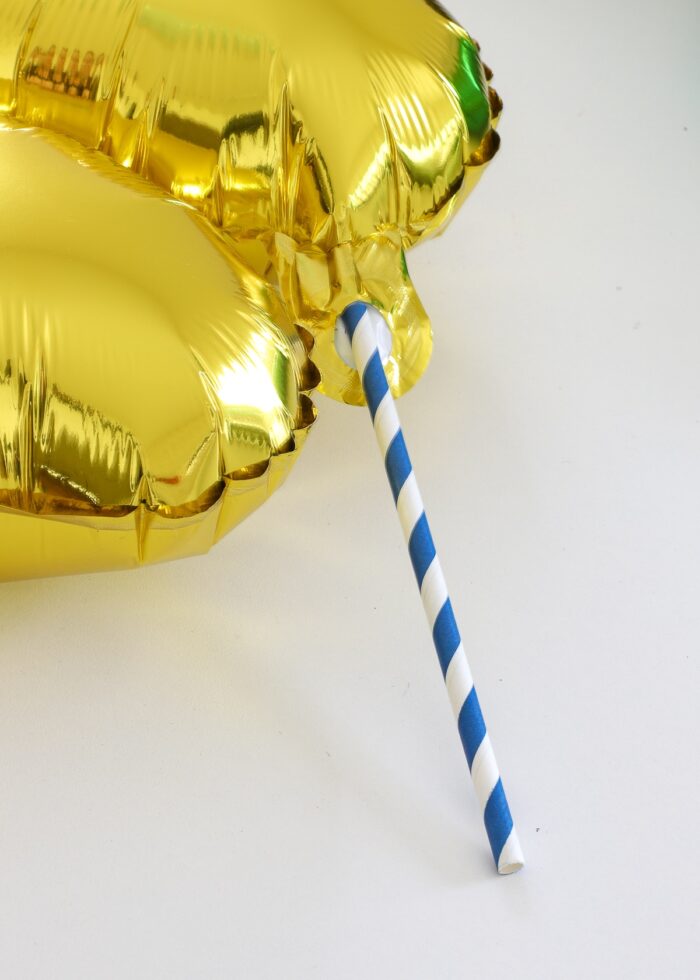
Many valves on mylar balloons are quite long. Until your straw reaches the inside end of the valve, the balloon will not deflate. So gently push your straw further into the valve until you notice the balloon starting to lose air. Again, work slowly so as not to puncture the valve.
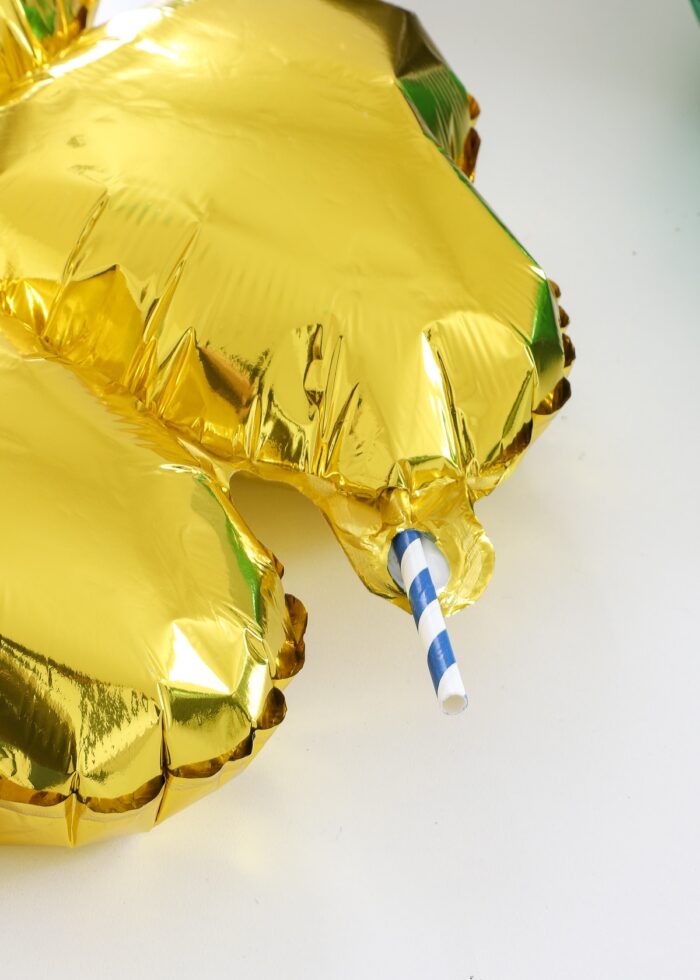
Step 2 – Remove Air From Balloon
Now that air from within the balloon can flow freely out, you’ll want to hasten the process a bit using either your hands or a vacuum.
Option 1 – With Your Hands
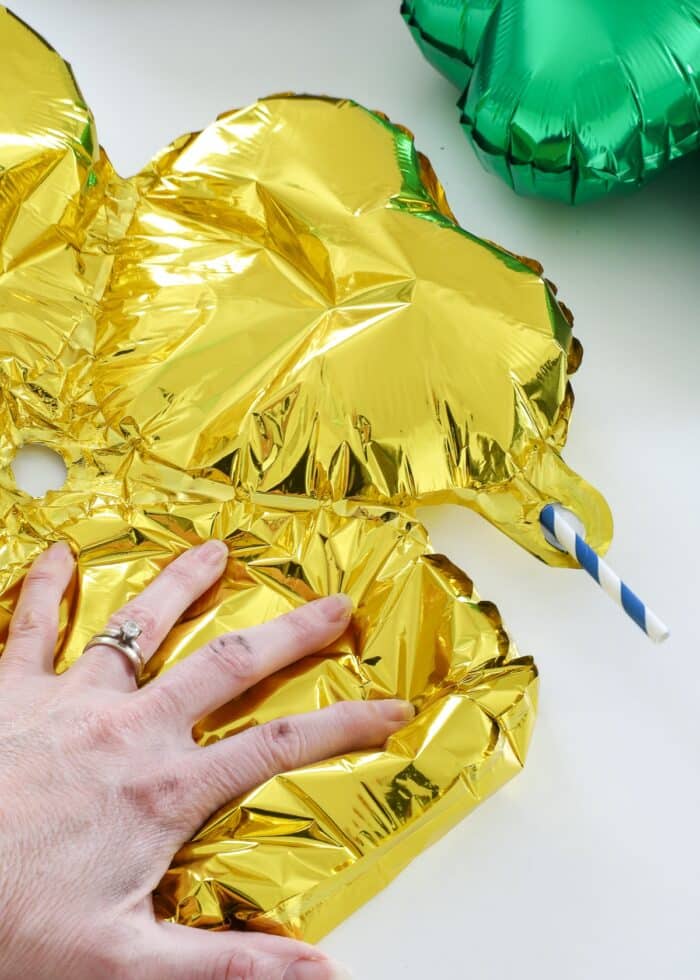
Use your hands to gently press on the inflated parts of the balloon until all the air is out. If your balloon is large or has lots of segmented sections, this can take a little while. Keep applying light pressure and rolling the deflated sections into themselves until all the air is out.
Option 2 – With a Vacuum
Call me impatient (or clever?), but I never have the patience to get every last bit of air out of my balloons, so I’ll often hasten the process along with a handheld vacuum.
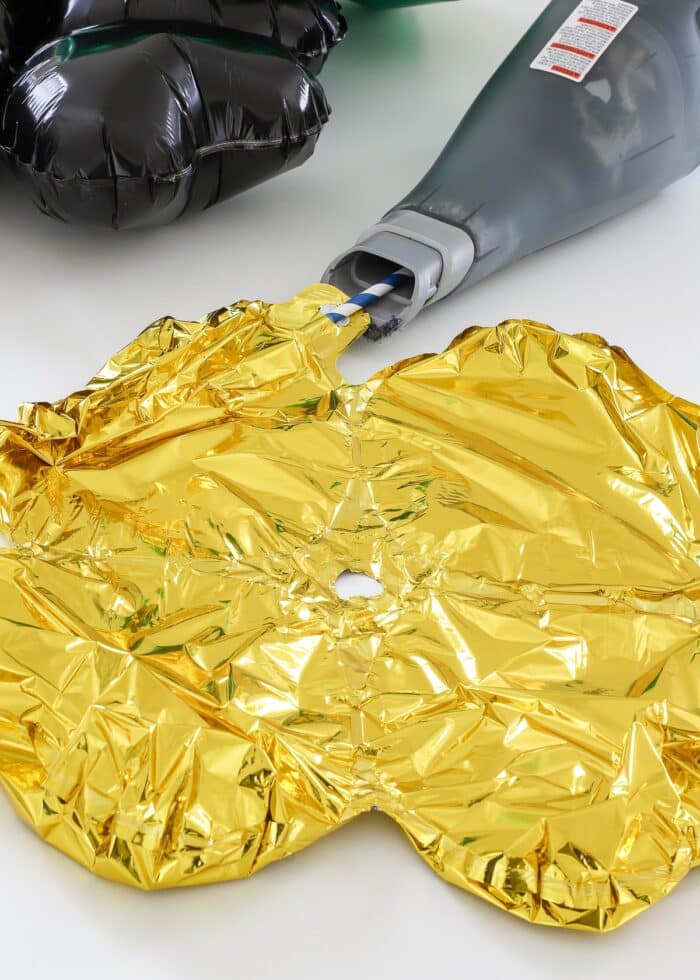
Using the same concept as vacuum storage bags, simply place the external end of the straw into a vacuum and turn it on. The vacuum will (quite quickly) remove all the remaining air inside the mylar balloon.
Step 3 – Fold or Roll the Deflated Balloon For Storage
Once your balloons are completely deflated, you can then fold or roll them up for future use. Keep in mind though, even with all the air out, you likely will not get it quite as compact as it started. But it’s still 100% reusable!
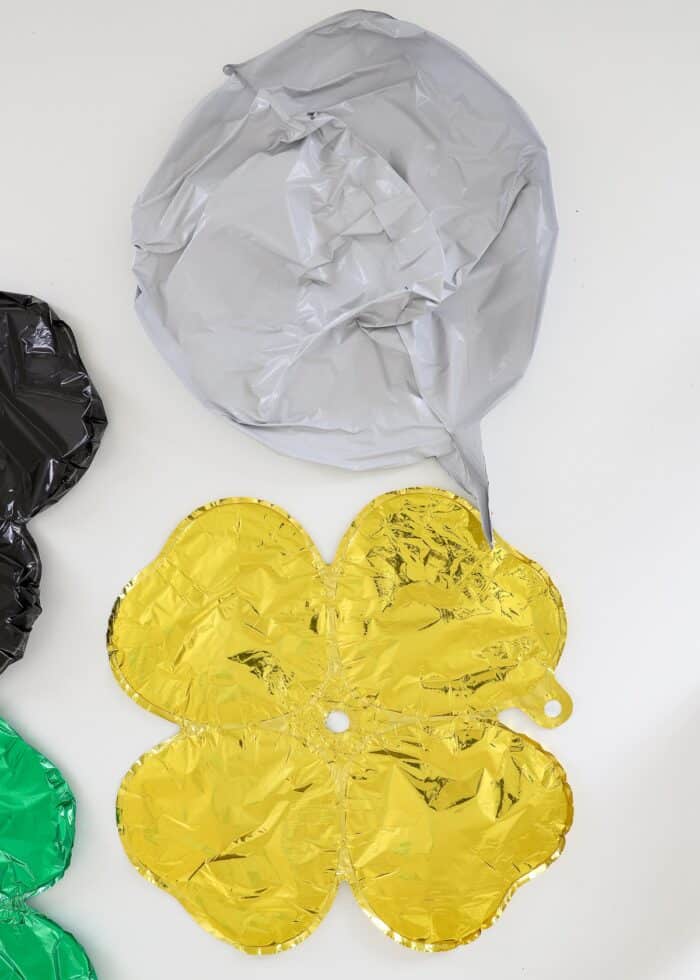
In my experience, I’ve been able to deflate most of my foil balloons for future use. Sometimes, if I use a straw that’s too thick, I’ll puncture the balloon valve. And every now and then, I’ll come across a balloon valve that is longer than a standard straw (making it practically impossible to deflate).
Otherwise though, I very much wish I discovered this hack a bit earlier in life. I could have avoided so many late runs to the party store on birthday eves!
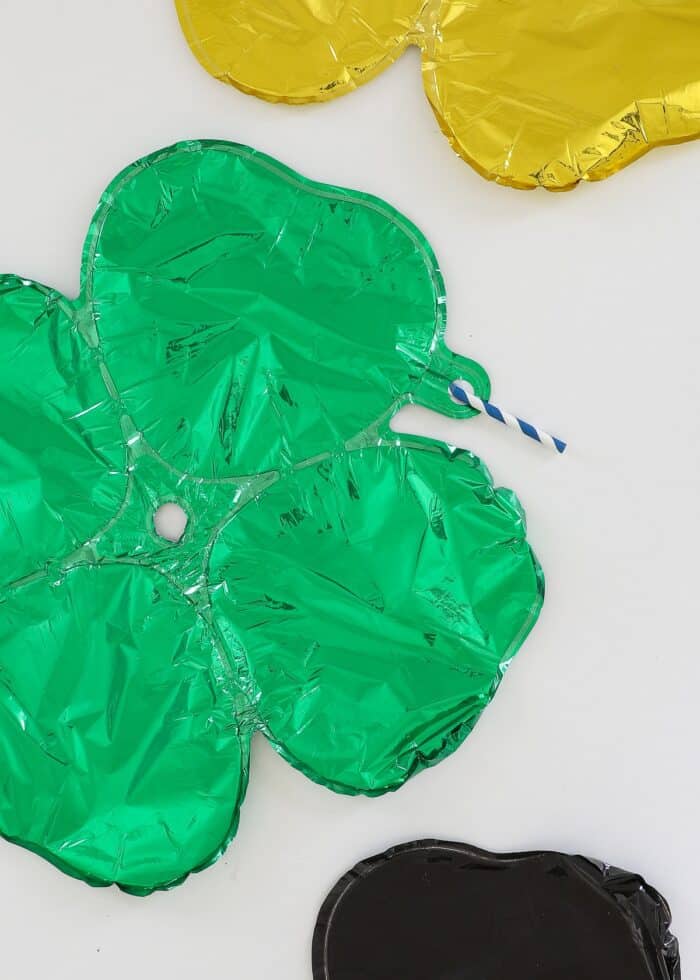
If you love having balloons at your celebrations but hate the cost too, learning how to deflate mylar balloons can save you a lot of money and hassle in the long run. I hope you give it a try!
Megan





One Comment on “How to Deflate Mylar Balloons | Step-By-Step”
Megan hi,
This is Brenda, just read your message on deflating mylar balloons.
I, too, was thinking of using a vacuum. I’m a member of the auxiliary at the American Legion here in California, and seeing all the monies being spent every time we have a special occasion, sure adds up and is bothersome.
Everything is very expensive, and being able to re-use our pretty balloons is the right recipe for saving money.
I’ve enjoyed reading your message, thank you.
Being able to move around and recreate your surroundings, I’m sure your creative mind never sleeps. I know for a fact, mine doesn’t.
Thanks again, and god bless you and your military family.