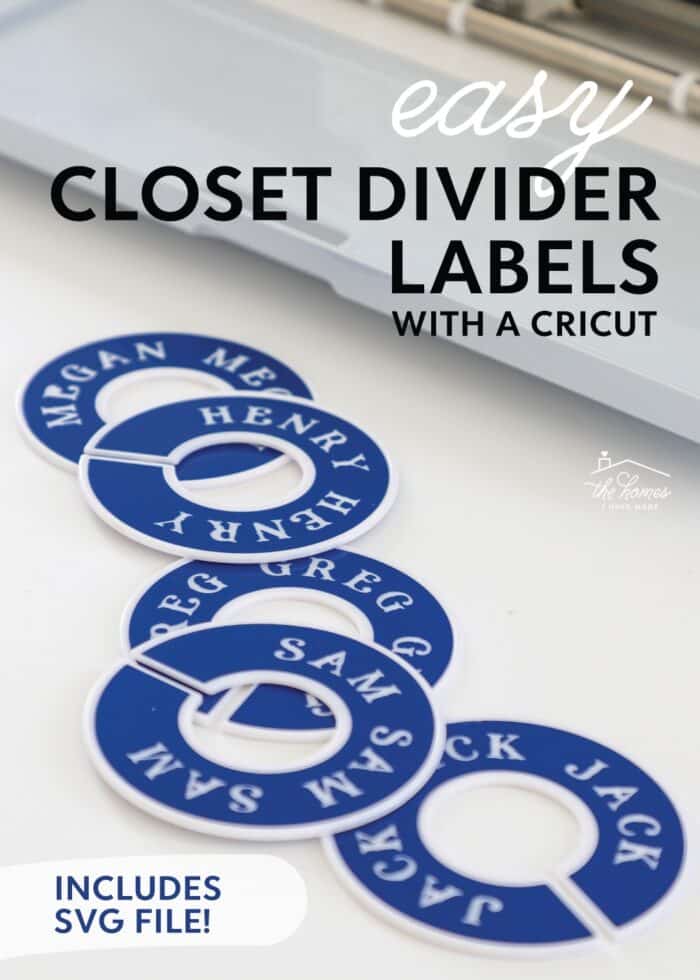
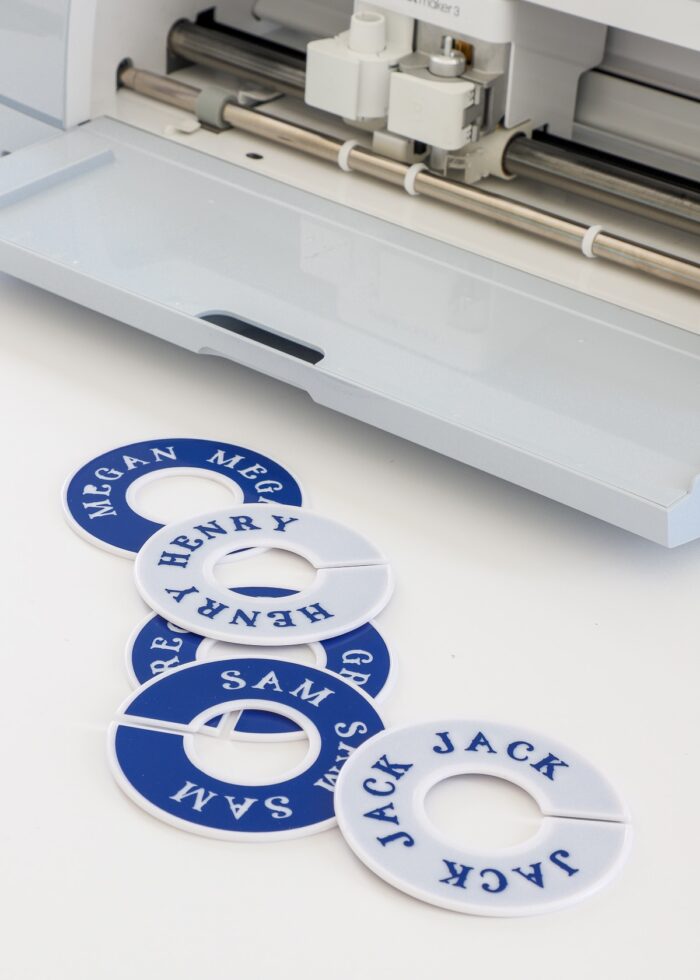
Round Closet Divider Labels with a Cricut (+ SVG File)
Plastic dividers are an inexpensive and easy way to keep your closet items sorted into categories. But unless you handwrite the labels or order a custom set, the options are fairly limited. Today, I’m showing you how to easily label blank round closet dividers with a Cricut machine, so that ANY closet can be perfectly organized, exactly how you want it!
Why Use Closet Dividers?
Hanging rod dividers are most commonly seen in clothing stores to easily separate out sizes or types of items. But they can be useful in a home setting too, especially if closets are packed full or serve several people or purposes.
These round dividers are easy to pop on/off a standard rod and don’t get in the way when pulling items in and out. This allows you to easily break up a single, solid rod into more functional categories; therefor helping you more quickly and easily find exactly what you need, when you need it!
Why Customize Your Own Closet Dividers?
A quick glance at Amazon or Etsy will show that off-the-shelf versions of these round dividers are available for fairly limited circumstances (primarily nursery closets, actually!)
So not only can it be difficult to find labeled closet dividers for other situations; but if you want any control over the color, text, or wording, a custom order is often your only option.
But with the help of a Cricut machine (or other e-cutter), you can easily make vinyl labels to fit right on top of the plain plastic dividers. And by desinging and cutting your own, they can look exactly as you want them to!
This really is a quick and easy labeling project since I’ve already done all the design work for you. Let me show you how!

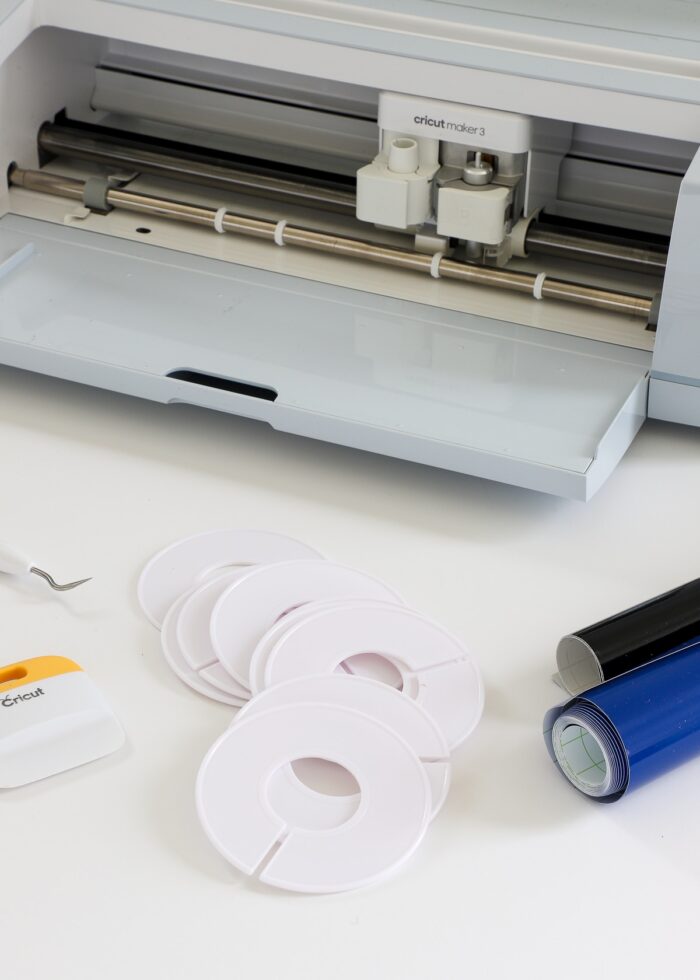
Supplies Needed
For this Cricut labeling project, you will need:
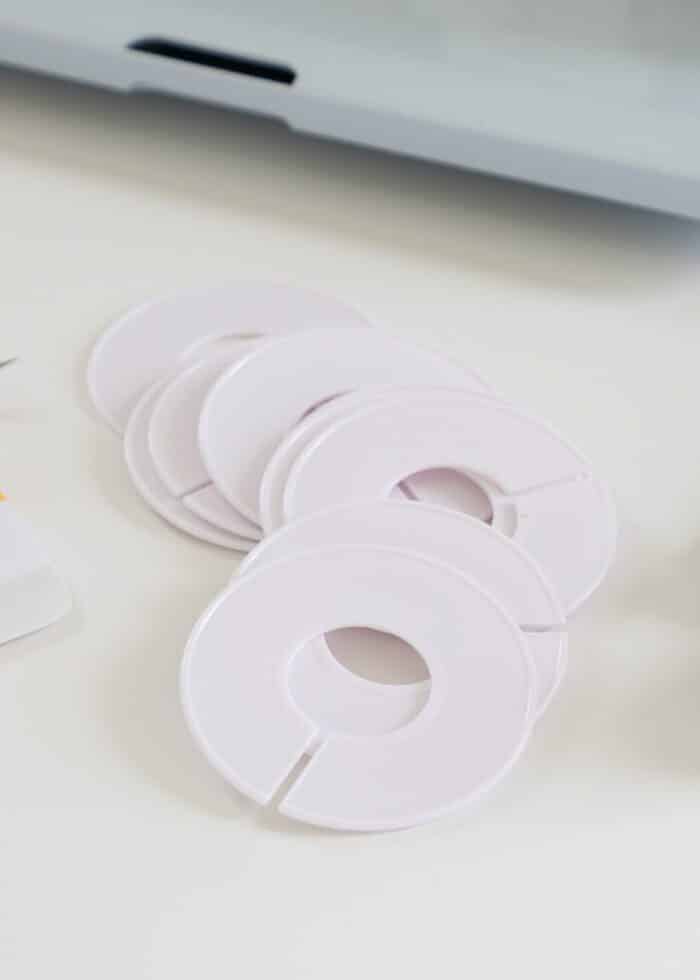
- Plastic Round Closet Dividers
- Closet Divider Label SVG
- Cricut Machine – This project can be made on any Cricut machine (or other e-cutter), including the Cricut Maker series, Cricut Explore series, or Cricut Joy
- Cutting Mat – If not using Smart Vinyl
- Vinyl – In any color, pattern, texture, sheen, and brand of your choice
- Transfer Tape
- Tools
Are All Plastic Closet Dividers the Same?
I designed my Closet Divider Label SVG specifically to fit this pack of blank clothing dividers. So if you purchase this set, your vinyl labels will fit exactly as shown in my pictures.
Will my label file fit other round closet dividers? Maybe, but I can’t say for sure.
From what I can tell, most closet dividers seem to be approximately the same dimensions. However, they may/may not have slightly different edges, beveling, openings, etc. So while there is a good chance my label template will fit whatever dividers you use, you may need to make some minor tweaks to the SVG file (after upload) if you have a slightly different version.
How to Make Custom Closet Divider Labels with a Cricut
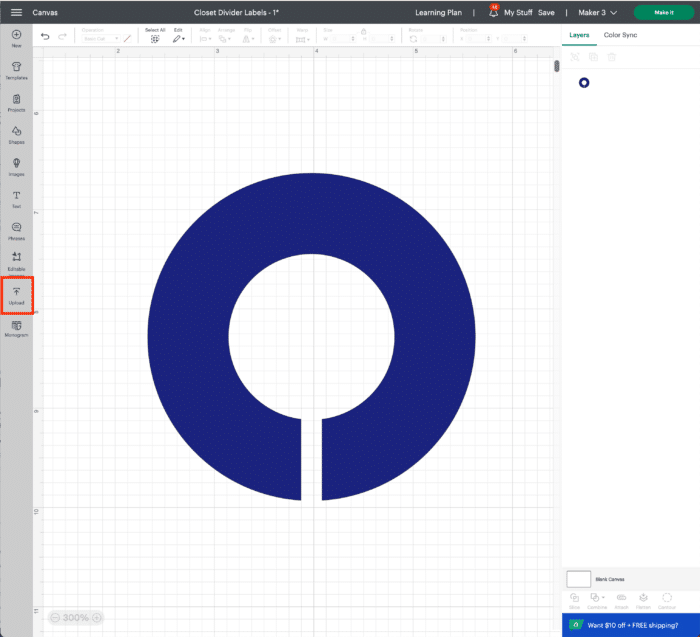
Step 1 – Upload SVG File
Start by downloading the Closet Divider Label SVG to your computer, then uploading it into Cricut Design Space. If you need help, see here: How to Import Your Own Images Into Cricut Design Space
If you are using these plastic closet dividers, you do not need to make any further adjustments to the size/shape of the file.
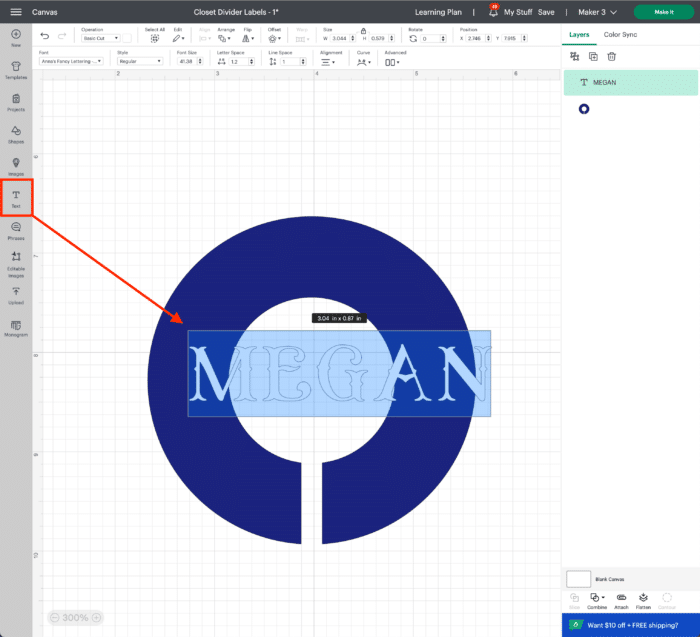
Step 2 – Add Desired Text
Next, use the Text Tool (lefthand toolbar) to add your desired text to the canvas. At this time, you might also want to browse fonts and play with size and justification, as needed.
TIP! By adding 2 or 3 copies of the word (or name) around the circle, it will always be visible and easy to read no matter how the divider spins on the rod.
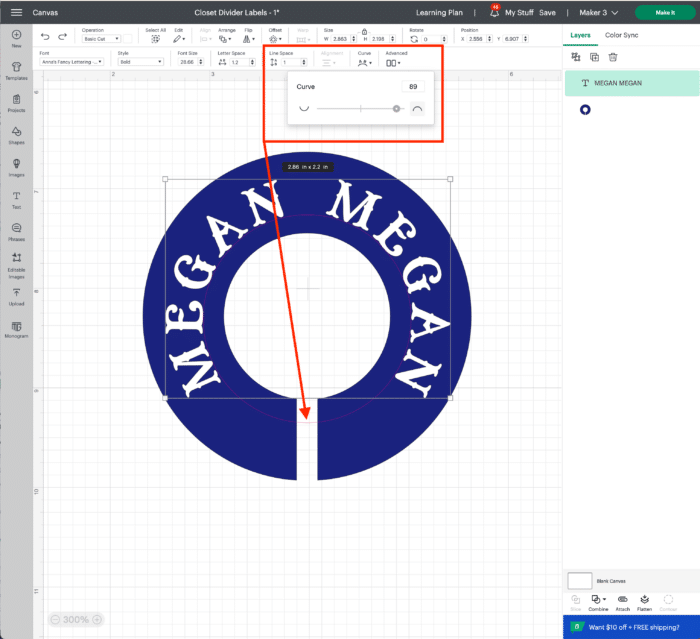
Step 3 – Curve Text
Next, you will want to bend your text into a circle that perfectly matches the Closet Divider Label SVG. To do this, open the Curve Tool (on the Text Toolbar, which becomes available when you have a line of text selected). Move the Curve button to the right to bend the text.
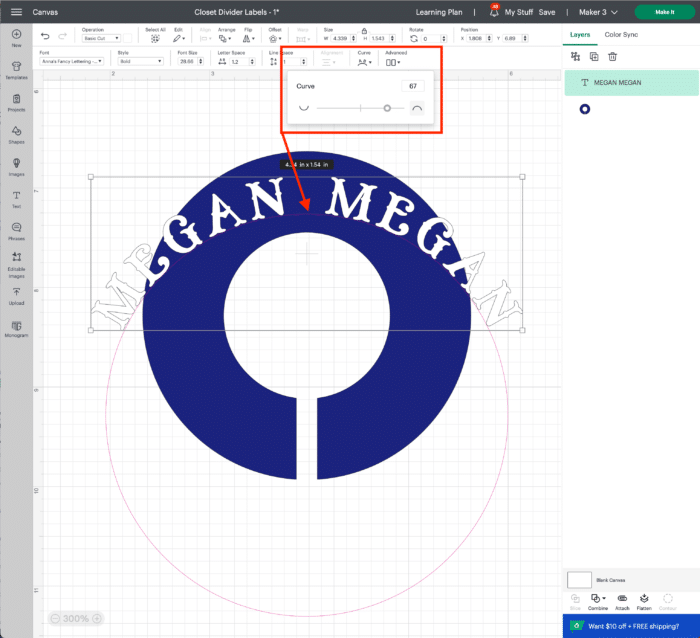
Continue adjusting the Curve setting in order to get your specific text (i.e., font, size) to fit around the label shape exactly to your liking.
TIP! Once you get the curve setting just right for your selected font, you will be able to swap out words and keep the bend exactly the same!
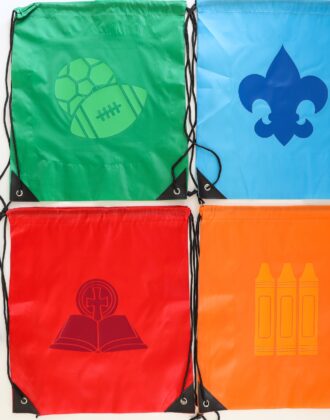
NOTE: I chose to label my closet dividers with text only, but you could also add descriptive icons or decorative details (e.g., borders, flourishes) to your labels, as well!
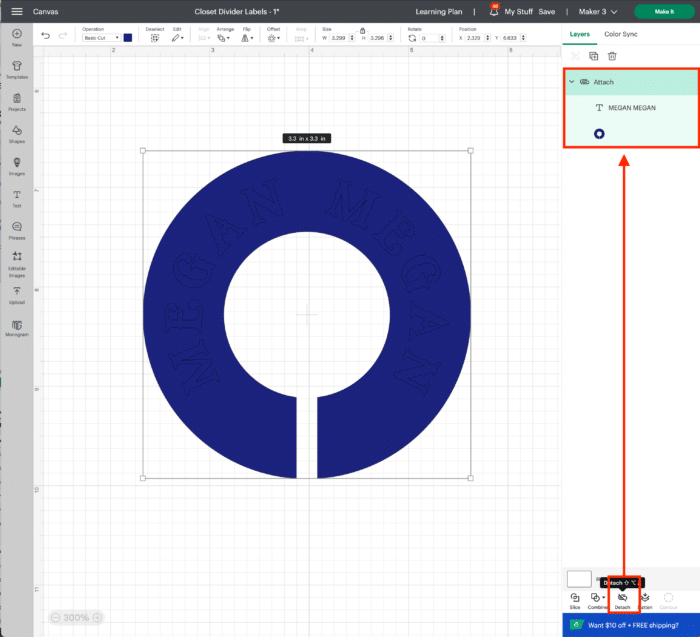
Step 4 – Attach Everything Together
Once you are satisfied with the design, select all the elements (label, text, other decorations) and attach them together via the Attach Tool in the bottom right-hand toolbar. Not sure why? See here: How (& Why!) to Use Attach In Cricut Design Space
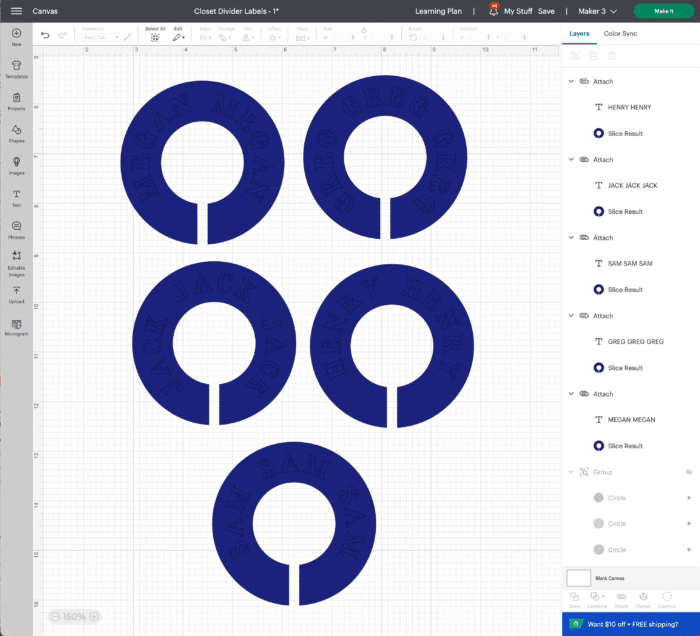
Step 5 – Repeat As Necessary
Presumably, you will be making more than one closet divider. As such, duplicate the design and adjust the text on each label.
Once all your labels are complete, click the green “Make It” button to send them to your Cricut machine.
Step 6 – Duplicate Project
Closet dividers tend to be seen from both directions, especially as you slide hangers across the bar. As such, I very much recommend cutting your entire label set in duplicate (identical labels for both sides).
The easiest way to do this is to increase the Project Copies to 2 on the Prepare Screen (as shown below).
Want to save this post?

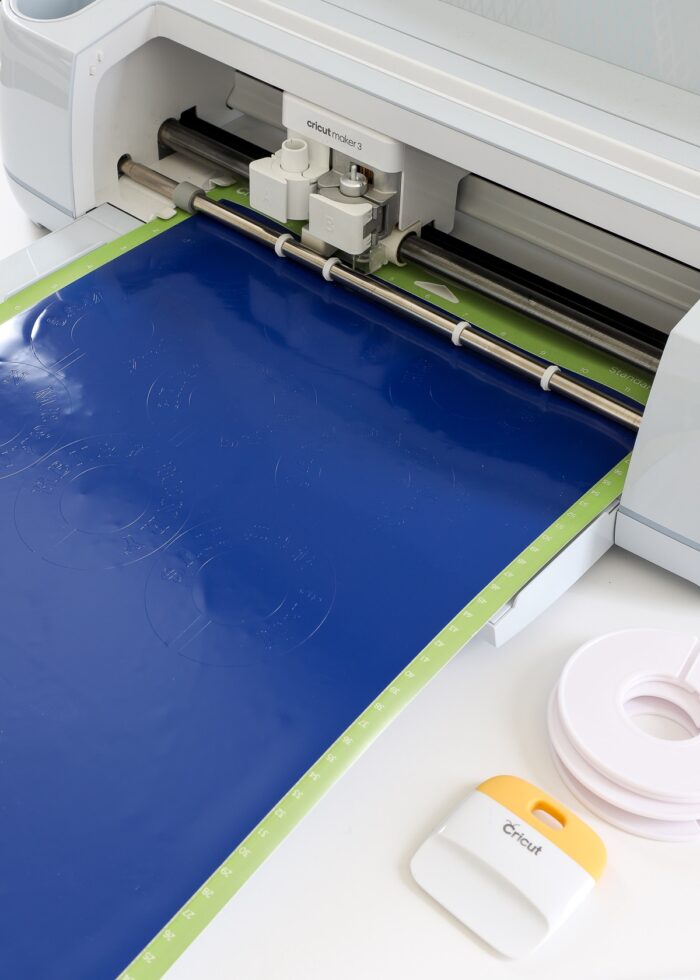
Step 7 – Cut Out Closet Divider Labels with Cricut Machine
Load your preferred vinyl into your Cricut machine, either directly into the machine or on a mat (if not using Smart Materials).
Select the appropriate material setting and start your machine cutting out the vinyl labels.
Step 8 – Weed Labels
Next, you will need to weed away all the excess vinyl to prepare it for transfer to your plastic dividers.
I want to point out here that what specific vinyl elements you weed out can change the way your closet dividers look!
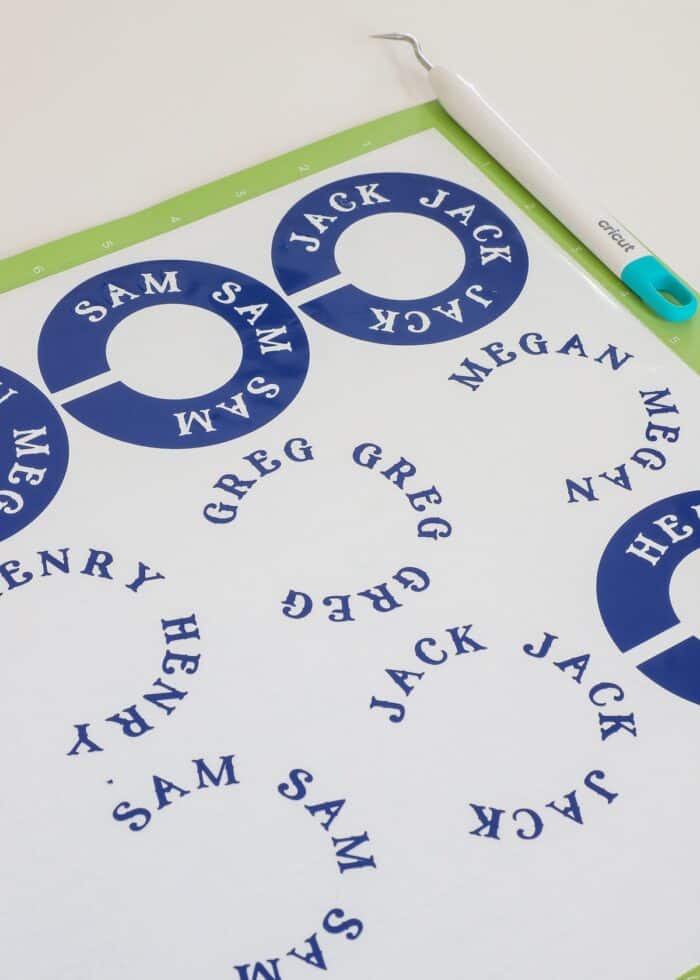
If you remove everything around the label shape and the letters themselves, you will end up with colored dividers with white text (as designed). However, you can also pull away the full label shape, leaving only the letters behind. This will give you white dividers with colored text!
Quite easily, you can get two very different looks with the same design!
Step 9 – Apply Vinyl to Closet Dividers with Transfer Tape
Once you have the labels weeded to your preference, use Transfer Tape to pick up the vinyl label…
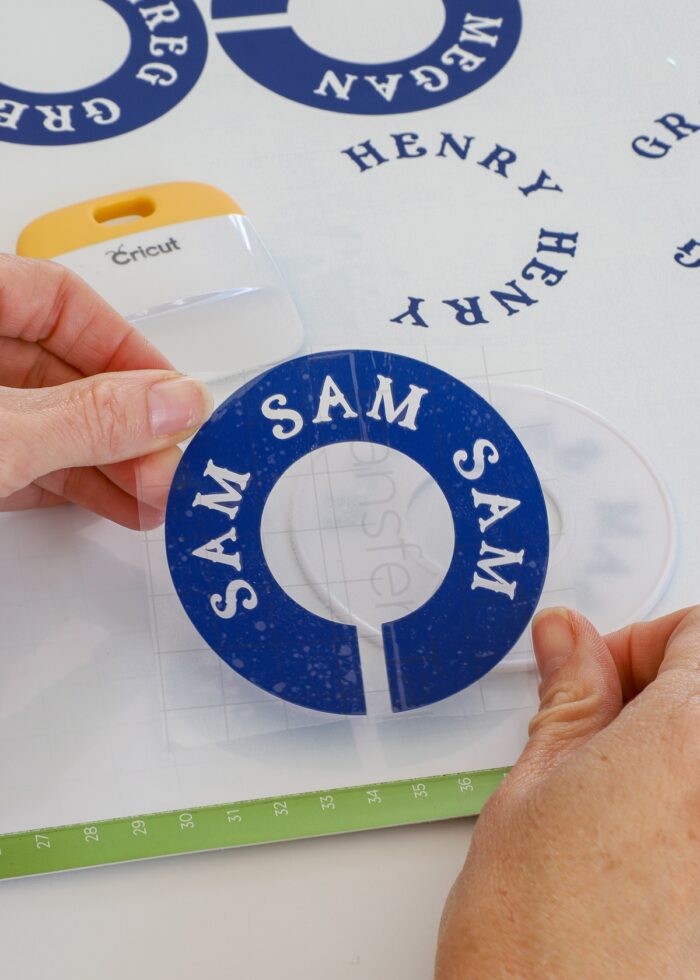
…and place it onto one side of the plastic closet divider. I found it very easy to line up the decal with the perimeter of the divider; but if you’re having trouble, match up the opening first, then lay the rest of the decal down.
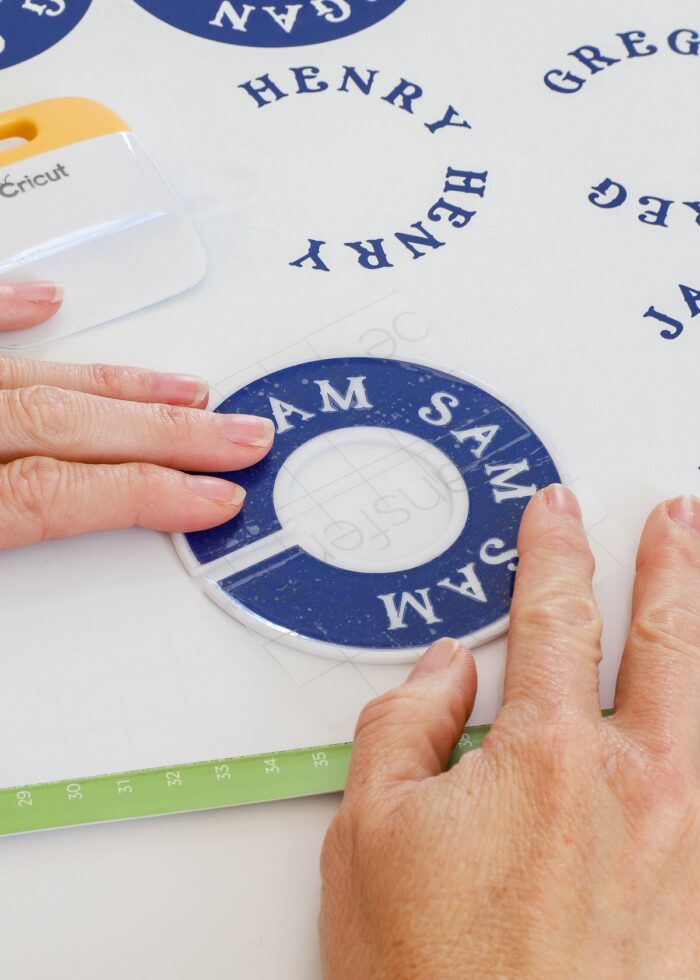
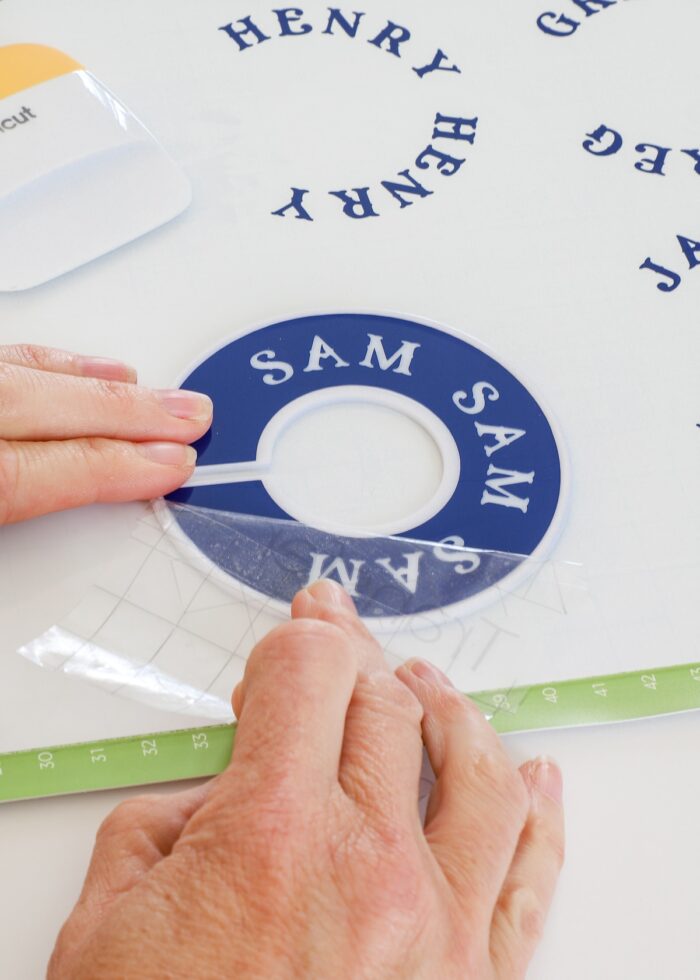
Once in place, rub the decal+transfer tape vigorously with a scraper to ensure it’s fully stuck into place. Then remove the transfer tape to reveal your custom label adhered to the divider!
New to working with vinyl? See my complete guide: Your Complete Guide to Cutting Vinyl with a Cricut
Step 10 – Repeat On Other Side(s)
Next, add a matching label to the other side of the divider; then repeat with all the remaining dividers until your entire set is complete!
Step 11 – Hang Dividers on Closet Rod
Your final step is to pop the plastic dividers over a standard closet rod at the appropriate intervals in order to segment your hanging items.
Fun Ideas for Using Closet Dividers
Nursery Closet
One of the most common uses for plastic closet dividers is in a nursery closet. Instead of names or words, use common baby clothes sizes such as Newborn, 3-6 Months, 6-9 Months, 9-12 Months, etc to keep all the little outfits together.
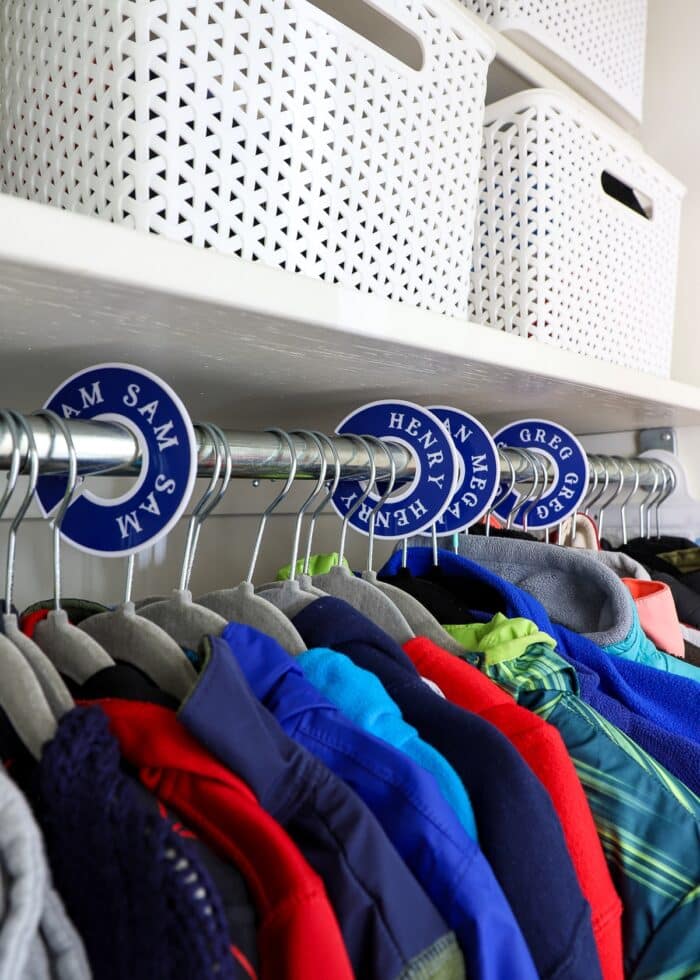
Siblings Closet
If you have multiple children sharing the same closet, simple name dividers can help separate clothes by child, avoiding confusion at both “put away” time and “get dressed” time!
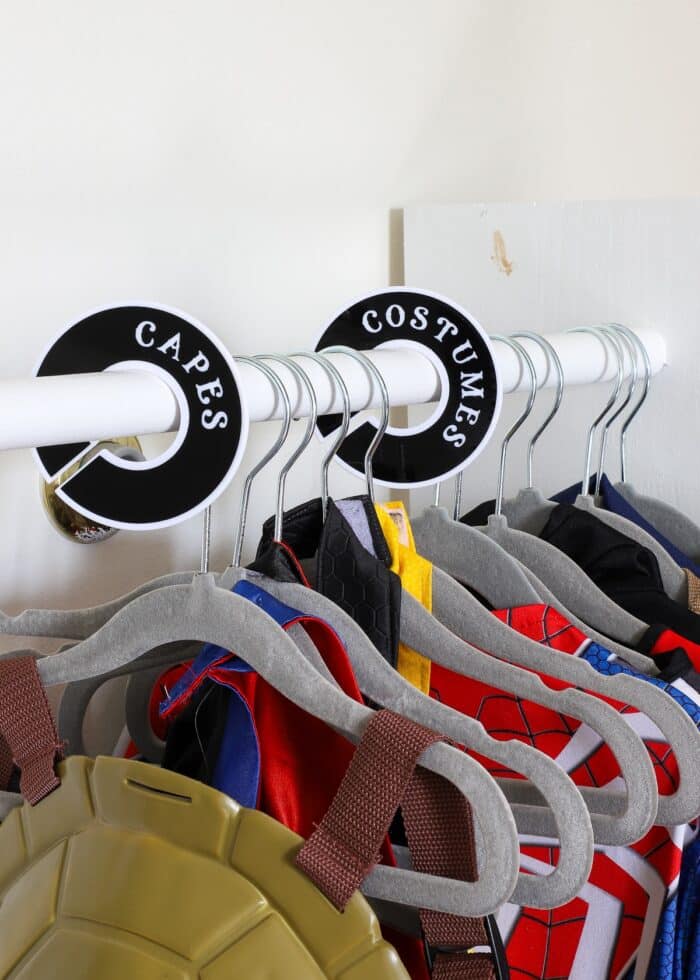
Dress Up
If you have an extensive dress-up or costume collection, these can also be really helpful in keeping various items organized and separate (i.e., superheroes, princess dresses, etc).
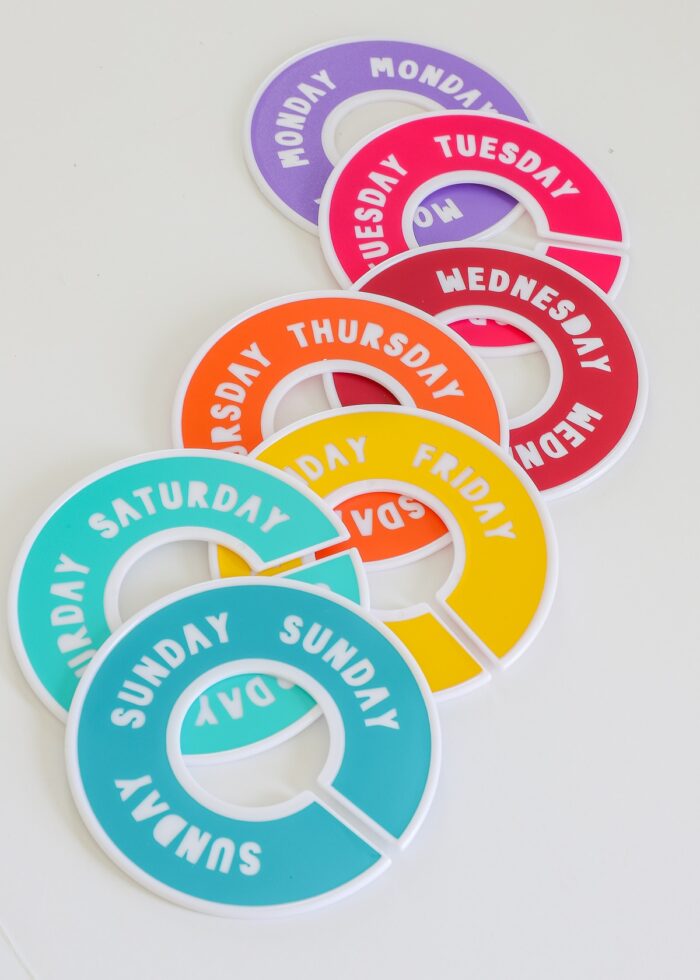
Day-of-the-Week Dividers
Do you like to prep your kids’ (or your own) daily outfits to help the mornings run a little smoother? Add days of the week around each label and then cut them from different colors. These can easily be hung on a closet rod between outfits or even on hangers themselves.
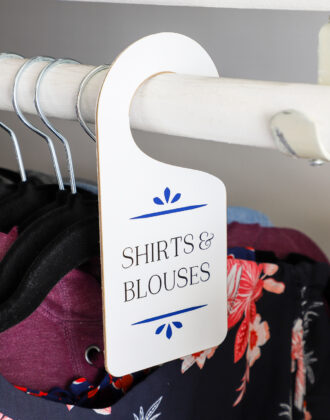
Adult Closet
These dividers don’t have to be used for baby/kids clothes only. Use them in an adult closet to separate clothes out by type (e.g., dresses, shirts, pants, etc) or season (e.g., Winter, Summer, etc) if you struggle to keep logical categories distinct.
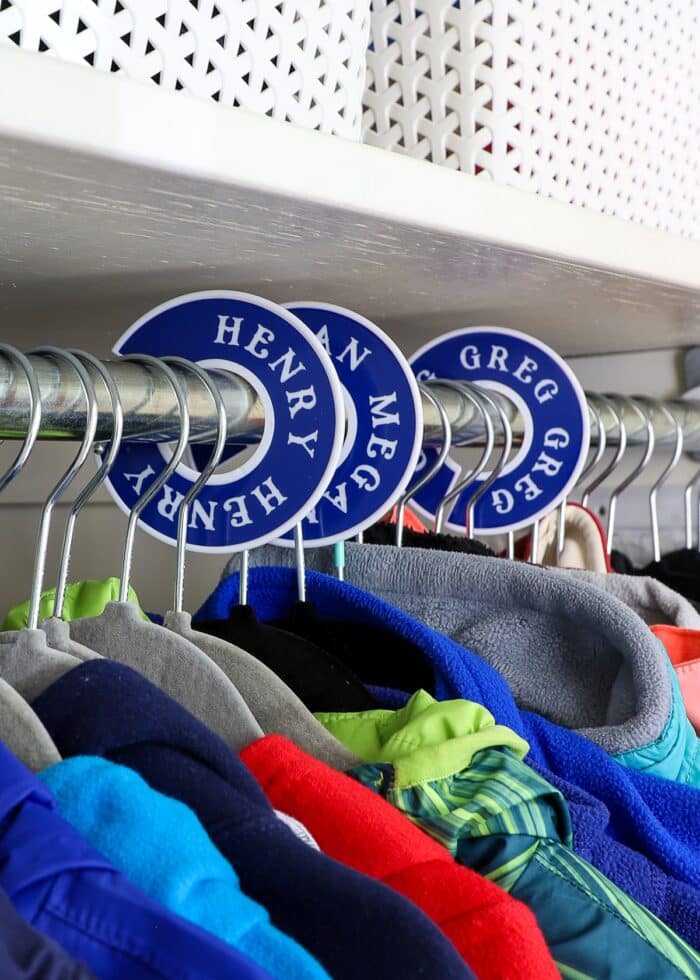
Coat Closet
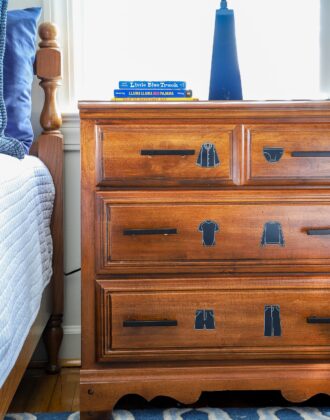
The blue set of closet dividers shown in this post is being used in our (fairly full) front hall coat closet to help us quickly figure out which coats belong to who. With lots of little boy jackets that appear similar in size, this is a game changer when we need to get out the door quickly!
Other Closet Problems Solved!
Looking for more great closet organization solutions? Check out these other posts full of tips and tricks for getting the most out of your closet spaces!
- Bathroom Closet Organization Ideas
- Master Closet Organization Ideas
- Front Hall Closet Organization Ideas
- Nursery Closet Organization Ideas
- Linen Closet Organization Ideas
- Laundry Closet Organization Ideas
- How to Put a Dresser Inside a Closet
- How to Put a Dress-Up Station Inside a Closet
- DIY Round Closet Dividers
Once upon a time, you couldn’t curve text in Cricut Design Space, making labels like this really tricky and tedious to make. But now using this handy feature in conjunction with my perfectly-fitting Closet Divider Label SVG, it’s easier than ever to make your very own dividers for pretty much any closet!
If you could really use a quick and handy way to create more order in your closets, I hope you give this project a try!
Megan

One Comment on “Round Closet Divider Labels with a Cricut (+ SVG File)”
Love, love, love this — especially as the family pretty much now all have blue jackets/coats! Unfortunately no cricut machine, but it’s given me great inspiration to make a DIY version.