DIY Custom Drawstring Backpacks for Kids’ Sports & Activities
These days, we seem to be constantly running from one kid activity to the next. And the scramble to have the right gear at the right time has been a bit more stressful than I’d like. Tired of dumping and reloading a single duffle bag, I decided to instead make dedicated sacks for each activity. Now the gear can stay in it’s appropriate bag, and all we need to do is grab-and-go! These custom drawstring backpacks are really easy to whip up and have been making a huge difference in our busy family life. Let me show you how they’re done!

How Activity Backpacks Can Save Your Sanity
This is the first year we have multiple children in multiple activities. And boy, has the scramble for shin guards and goalie gloves and water bottles and Scout hats and religious ed books been exhausting.
Although all the gear and supplies have (generally) been organized into dedicated baskets, the process of unloading and reloading a single bag over and over was getting (really) old.
Since most of these items aren’t used much while they are at home, it occurred to me that the reloading routine was completely unnecessary. So I decided to whip up some dedicated custom drawstring backpacks for each activity!
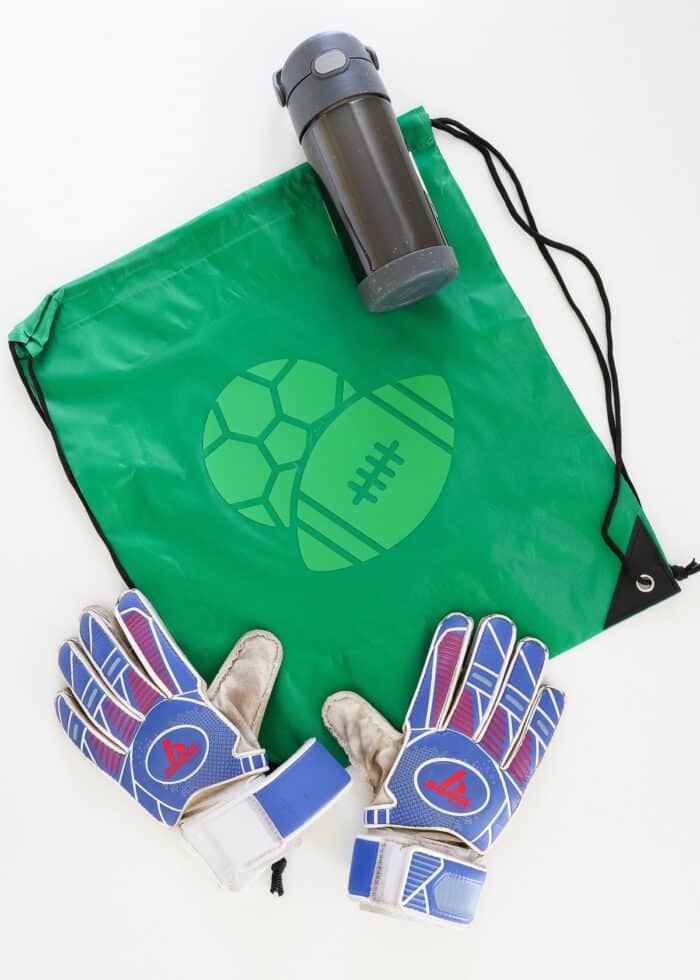
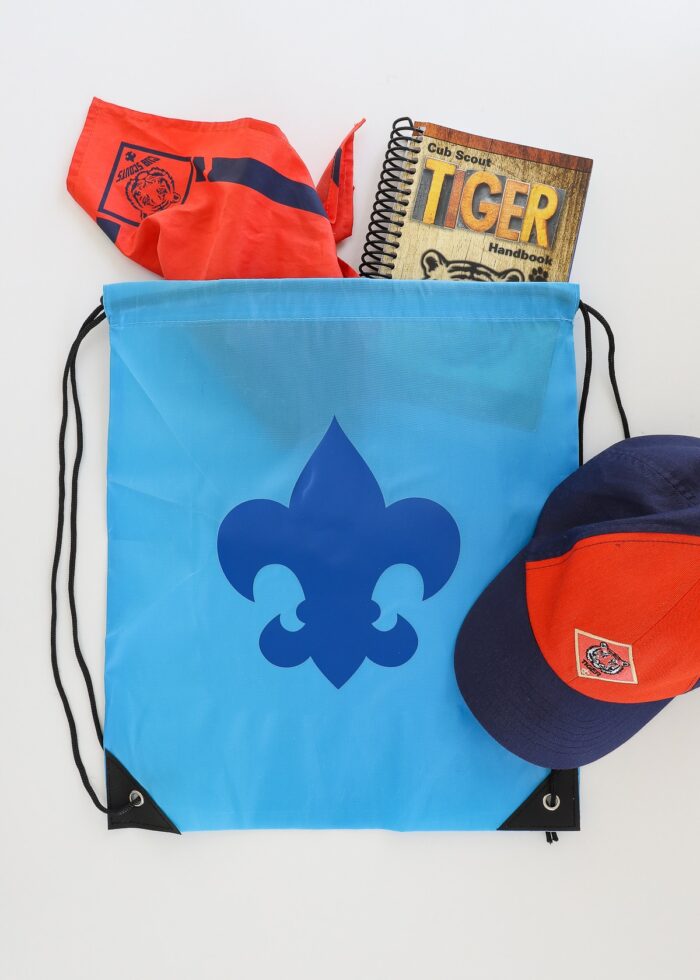
Now the gear can remain “permanently” inside its own drawstring bag. Instead of running around looking for the random glove, book, or water bottle that got dumped out somewhere, we can literally grab the right bag and walk out the door!
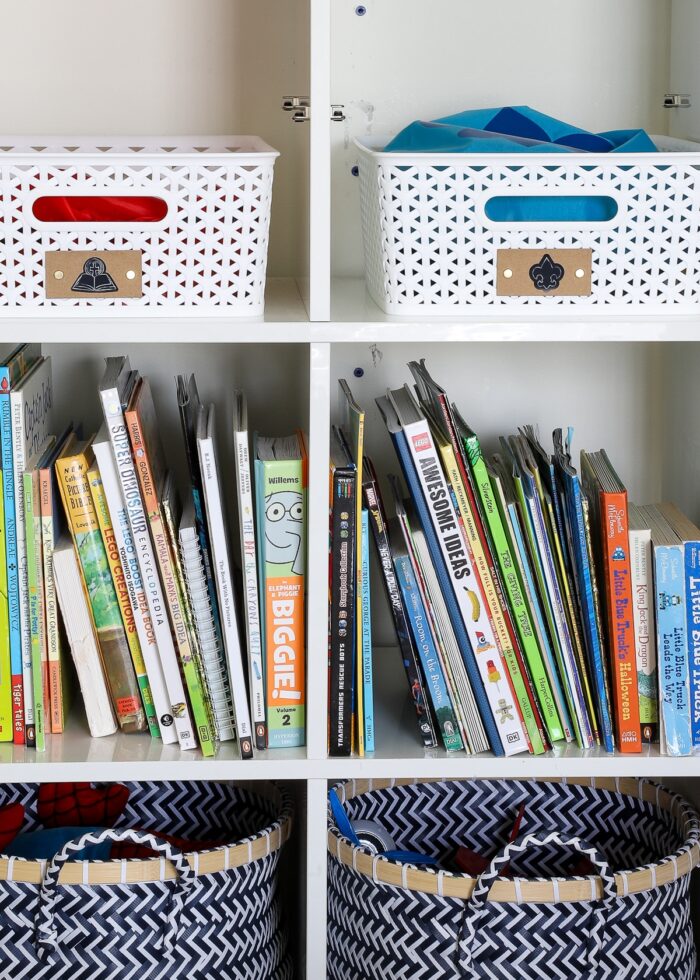
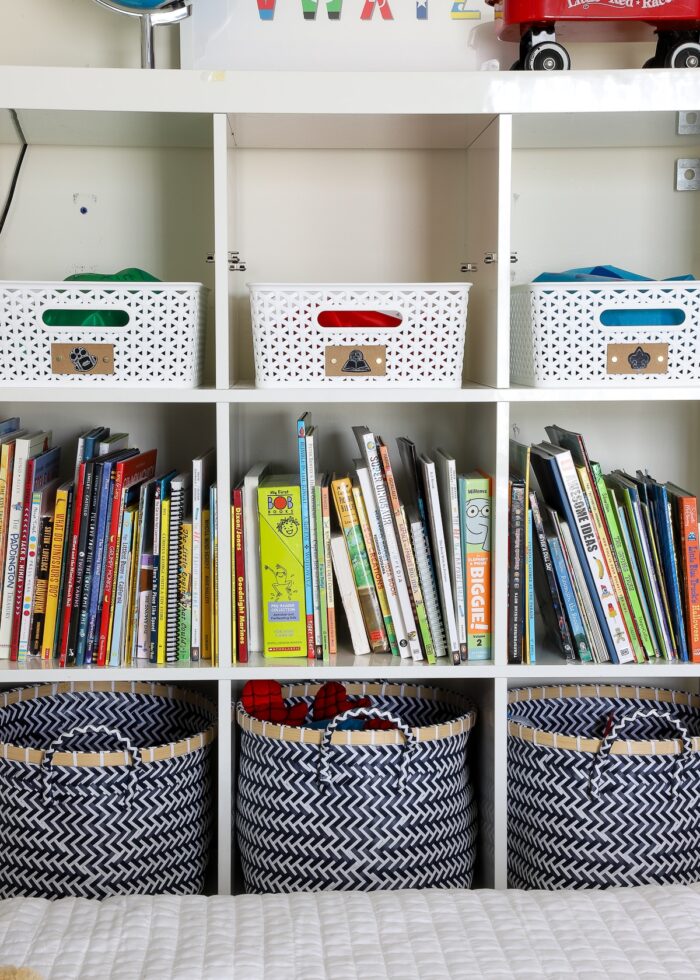
Initially, I thought a row of wall hooks would be needed to store these colored sacks. But we actually realized that our basket system had some merits.
Not only do these baskets give a place for the custom drawstring bags to land, but there’s also room for other things that don’t need to be in the bags themselves. Scout uniform pieces or soccer gear that gets put on rather than brought along also gets tossed right into the basket along with the bag!
The bags+basket system now gives us a landing place for everything associated with a particular activity while also making it easy to get out of the house on time. Win, win!
Supplies Needed
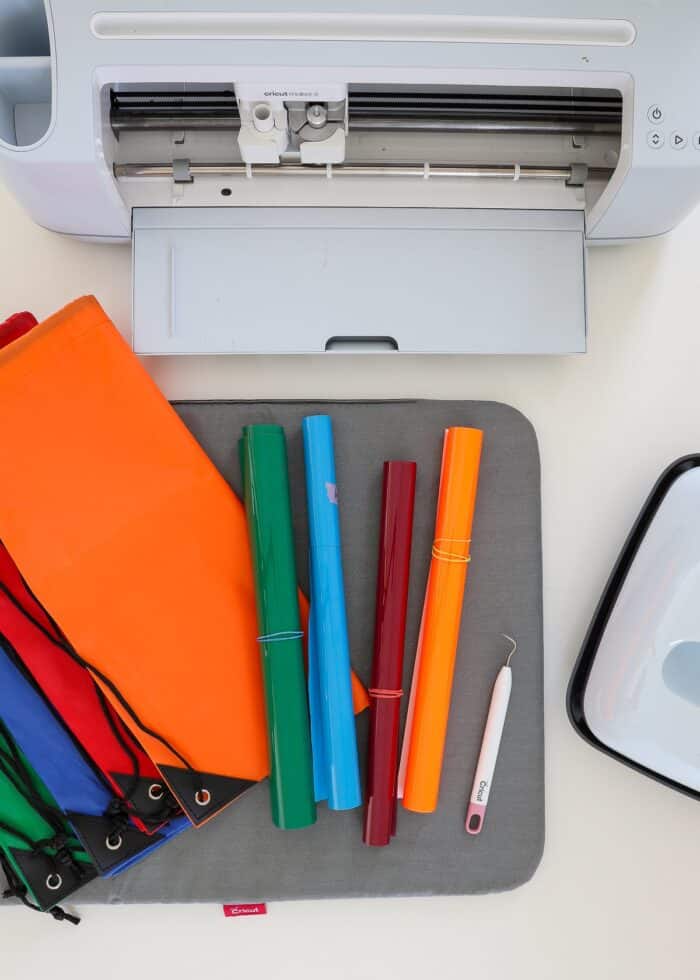
Custom drawstring backpacks for kids’ activities are really affordable and easy to make, especially with a Cricut machine! Here is what you’ll need to make your own set:
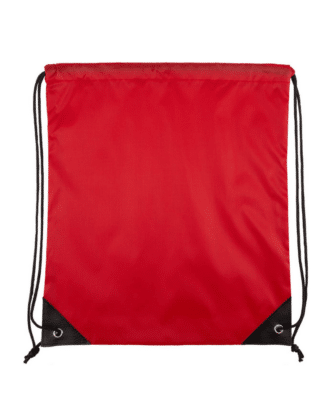
- Bulk Drawstring Backpacks – these cinch bags are a great price for a lot of bags, but they are a bit lightweight and plastic-y feeling. Thanks to the durable corners and adjustable straps, they’re good for young kids, but older kids and adults might want something a bit nicer with zippers and pockets.
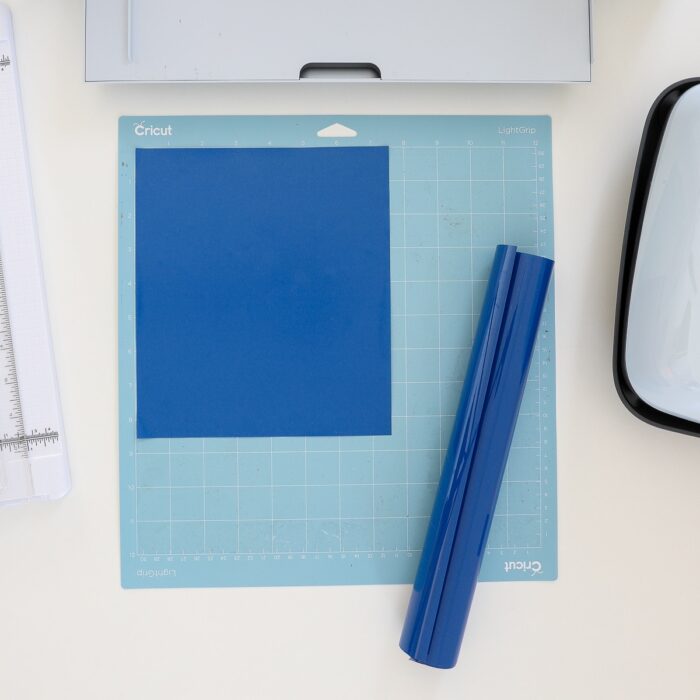
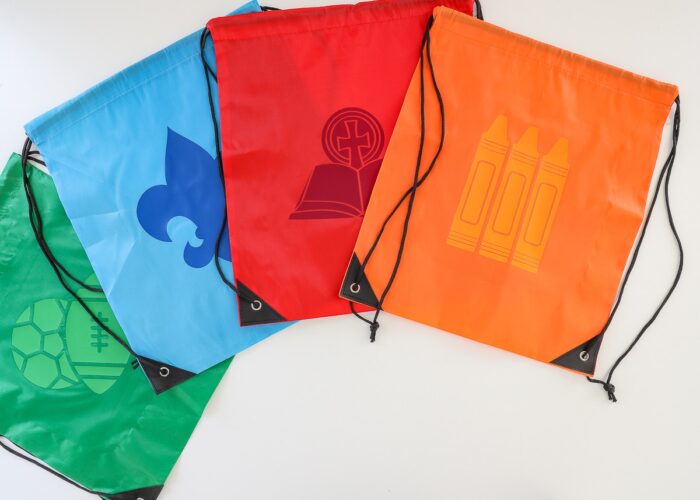
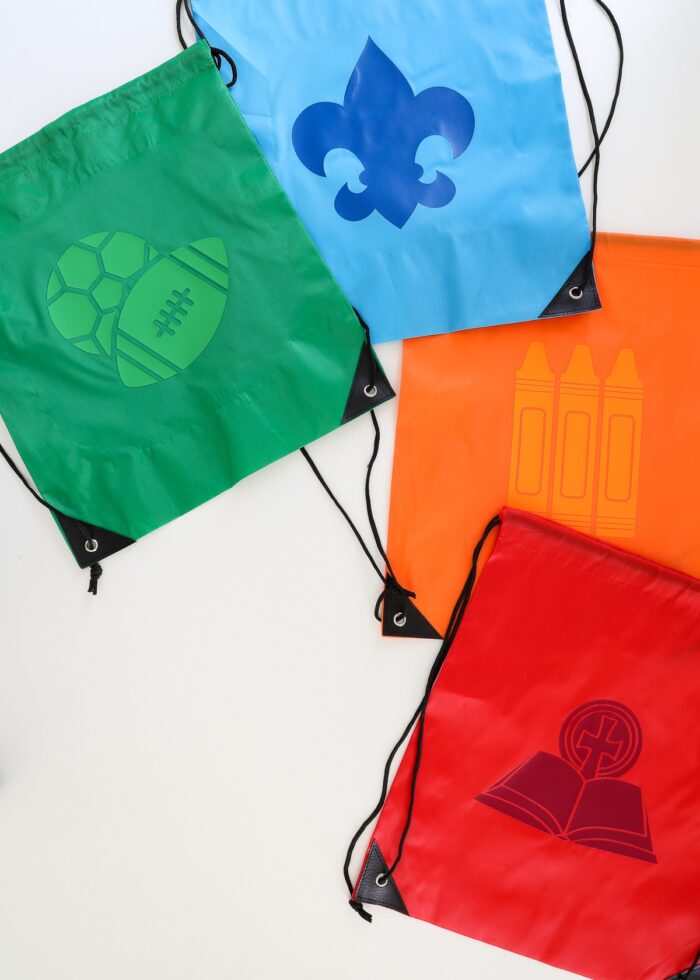
- Iron-On Vinyl – in the color of your choice; I chose to make our bags monochromatic: royal blue on a light blue bag, hot orange on a dark orange bag, etc.
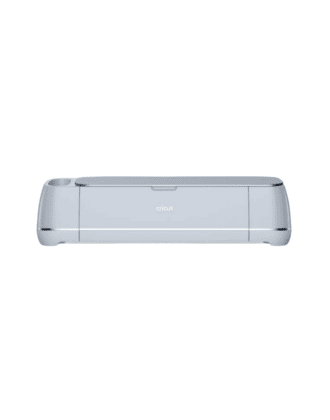
- Cricut Machine – this Cricut Joy, Cricut Explore, and Cricut Maker models can all be used for this project.
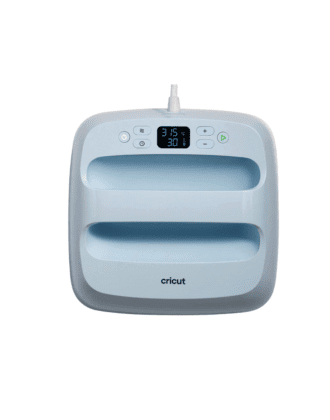
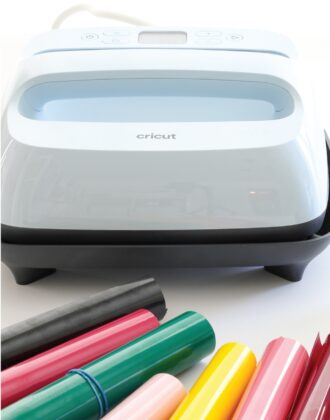
- Cricut EasyPress
- Weeding Tool
Video Tutorial
I have this entire project outlined in photos further down the post. But if you’d like to watch these activity sacks come together from start-to-finish, here is a super short video walkthrough. (Video not loading for you? You can watch it HERE!)
Custom Drawstring Backpacks | Step-by-Step
Step 1 – Identify What Activity Bags You Need
Start by thinking about the specific drawstring packs that would make your life easier. These categories will be different for every family.
Obvious activities include sports events, scouts, library, music lessons, school events, and extracurricular classes (e.g., martial arts, theatre, dance, gymnastics, art). But also think about other essentials you’re constantly stuffing into bags that could benefit from a dedicated sack such as sunscreens, water bottles, snacks, first aid supplies, entertainment for restaurants, busy bags, change of clothes, etc.
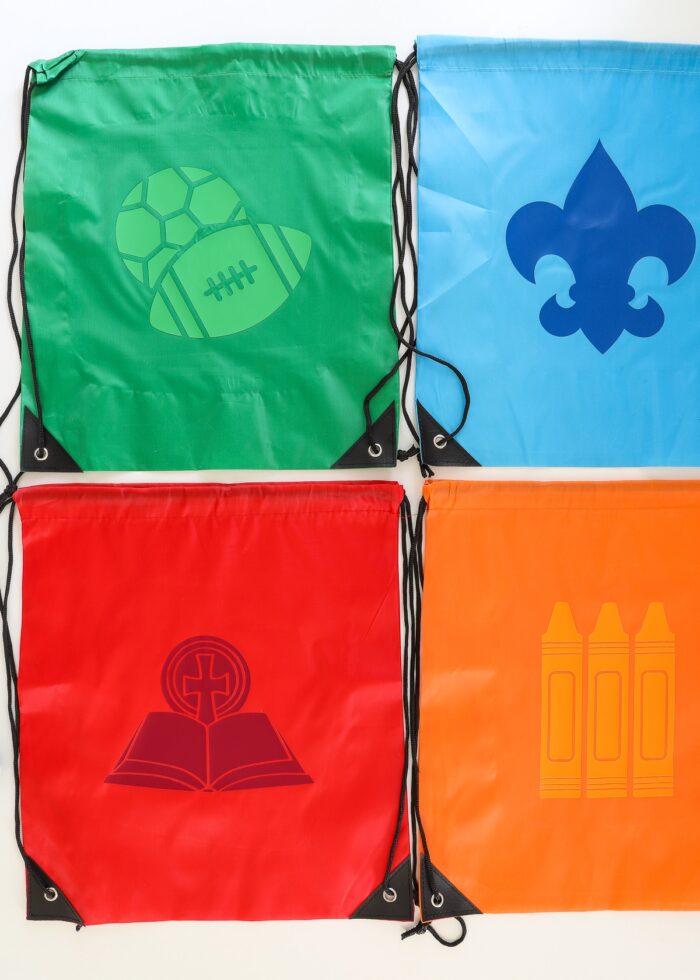
In our home, it’s our middle child that we’re really struggling to get out the door, so we made custom drawstring backpacks for religious education, scouts, art, and sports.


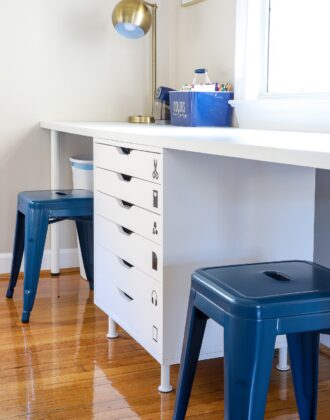
Step 2 – Select Coordinating Icons for Each Activity
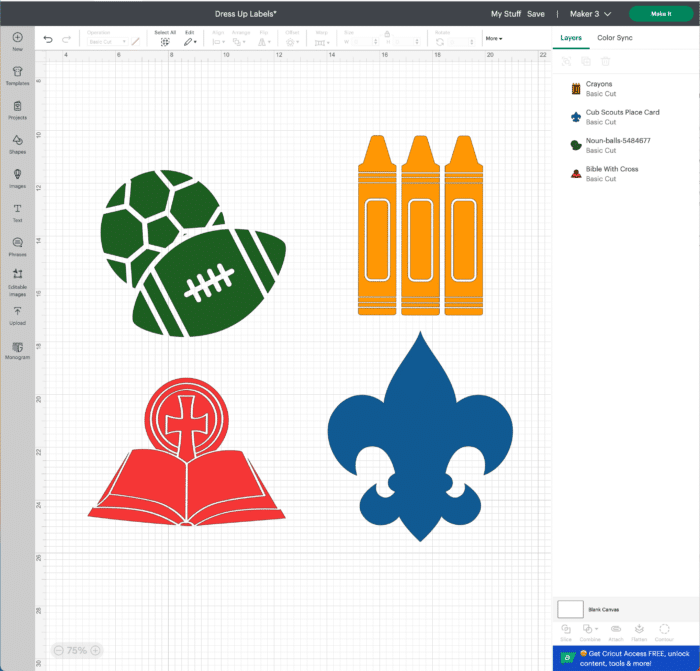
Once you’ve identified the sacks you need, find a picture or icon that clearly represents each one.
To keep this project as simple and helpful as possible, I recommend looking for images that are single color/layer and clearly communicate what the bag is for. The Cricut Design Space Image Library has lots of options, but I also suggest looking at the Noun Project for a plethora of free artwork options.
Want to save this post?
Once you’ve picked your icons, size and color them for each of the backpacks. For our backpacks, I sized each decal to be ~8″ square.
Step 3 – Cut Icons Out of Iron-On Vinyl
Next, cut the images out of iron-on vinyl using a Cricut machine. I briefly outline the steps below, but you can refer to this comprehensive guide if you need more help: Iron-On Vinyl & Your Cricut | A Complete Guide.
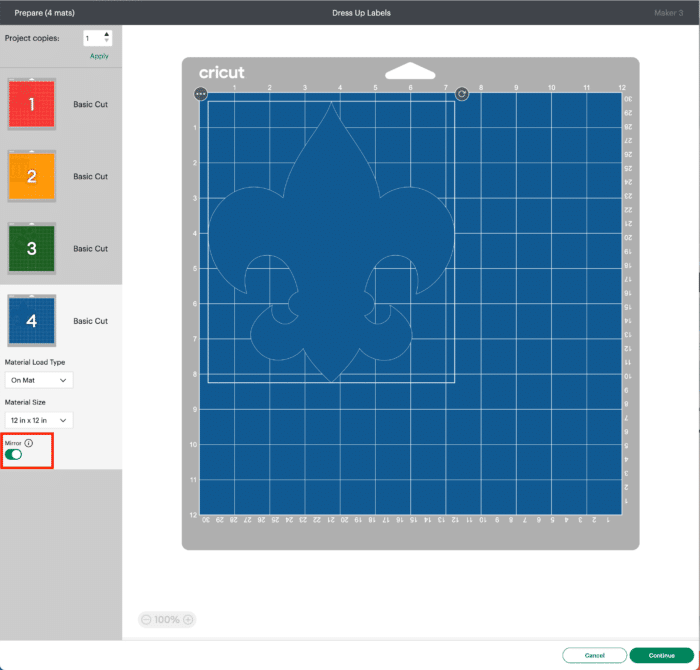
- Whenever working with iron-on vinyl, always mirror your design to be cut in the opposite direction. In Cricut Design Space, this toggle switch is available under each mat on the Prepare screen.
- Place the iron-on vinyl, shiny-side-down, onto a Cricut cutting mat.
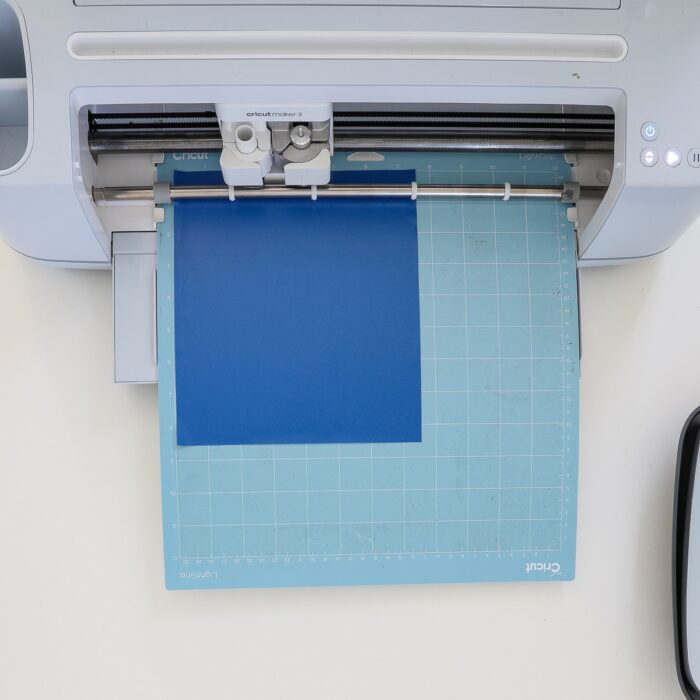
- Load the mat into your Cricut machine and start it cutting. Unload the mat from the machine when complete.
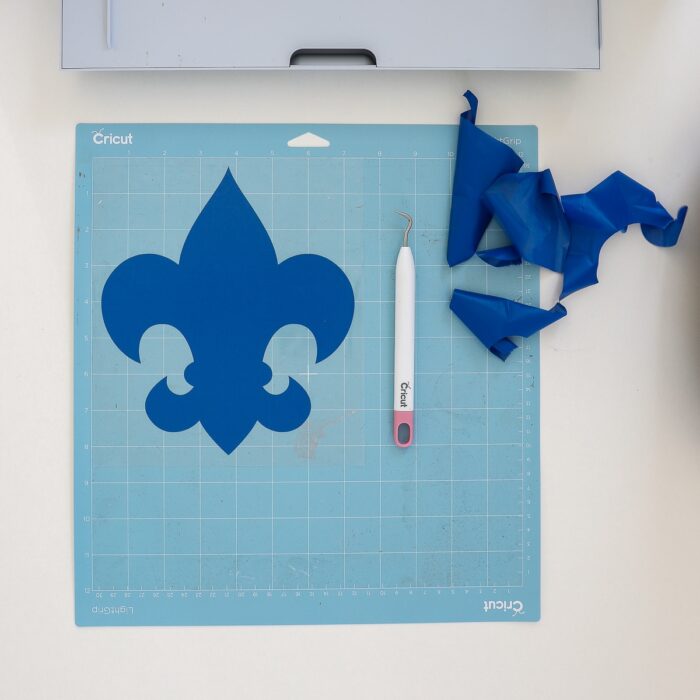
- Use a weeding tool to remove any excess iron-on material from around and within the decal.
Step 4 – Fuse Decals to Drawstring Backpacks
Next, fuse the decal to the drawstring backpack with heat.
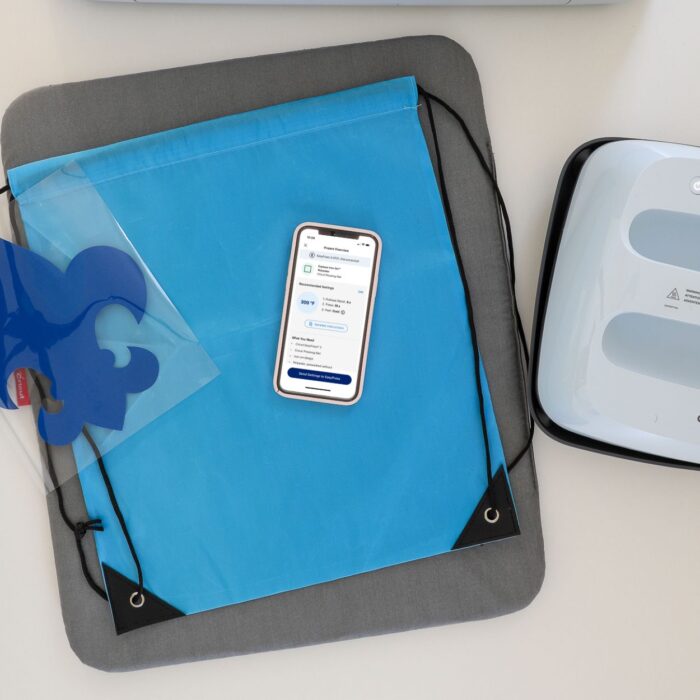
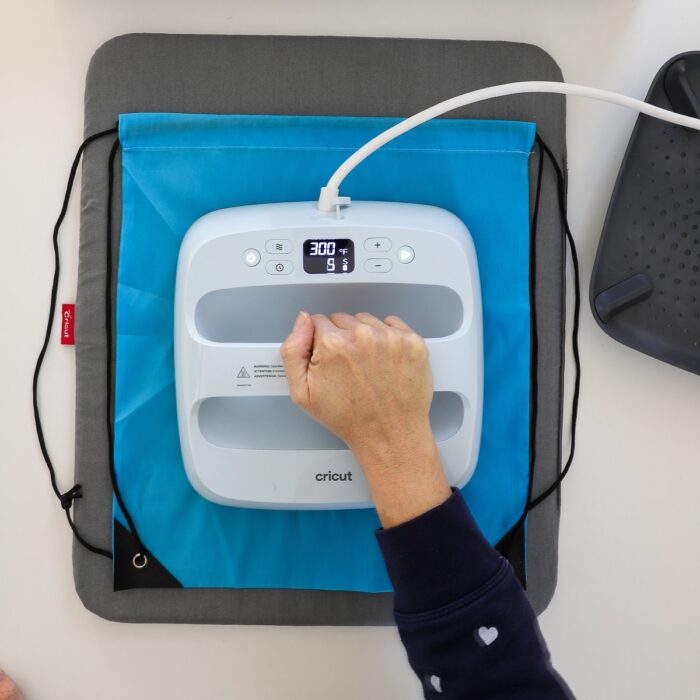
- Use either the Cricut Heat App or Cricut Heat Guide to identify the correct time and temperature for your specific bag and iron-on material. When fusing Cricut-brand iron-on vinyl to these polyester bags, I set my Cricut EasyPress to 300 degrees for 15 seconds.
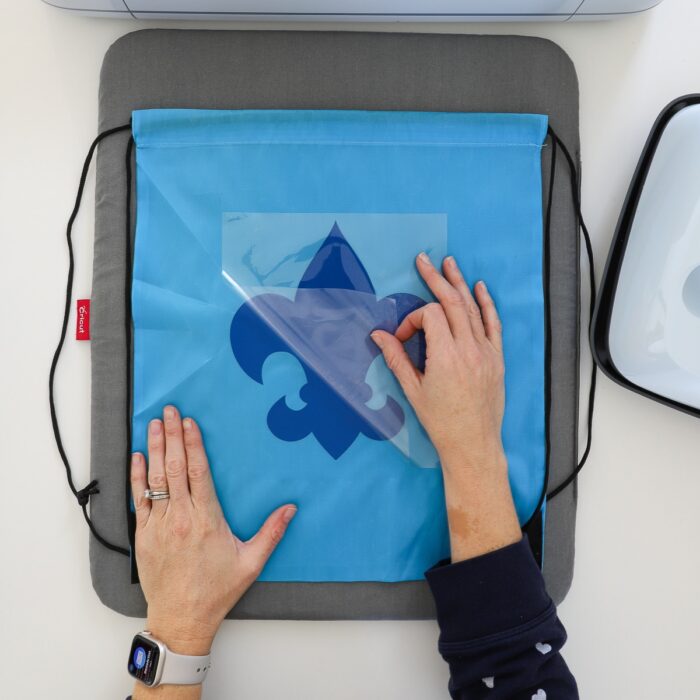
- After pre-heating the bag for 5 seconds, place the iron-on decal, shiny-side-up, onto the center of the drawstring bag.
- Fuse the decal into place using firm pressure for the required amount of time.
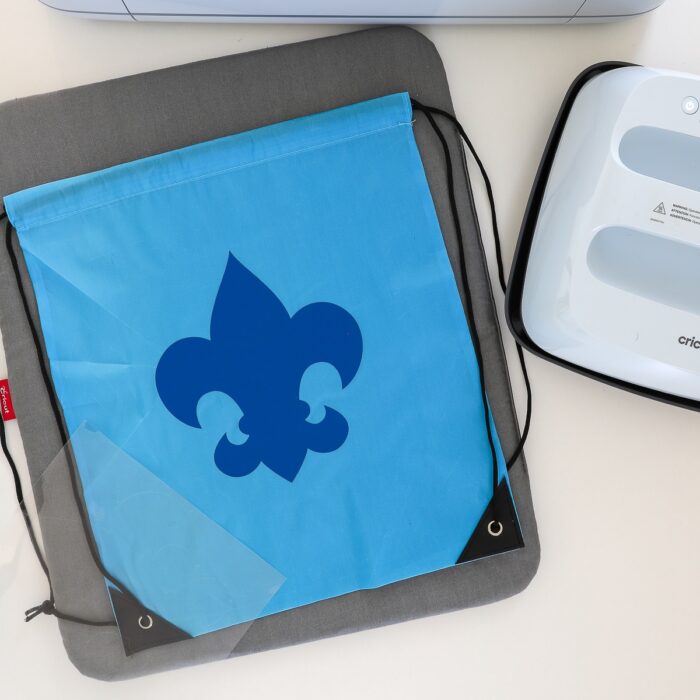
- Once completely cool, remove the clear carrier sheet to reveal your activity decal perfectly fused to the bag.

Step 5 – Repeat with Additional Drawstring Backpacks
Repeat the process for any additional bags you need to make.
Step 6 – Load & Store
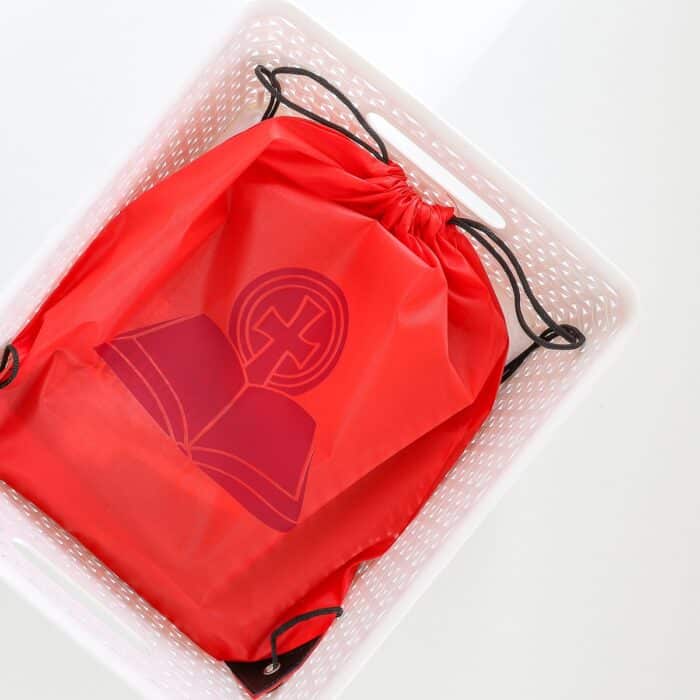
Once your custom drawstring backpacks are complete, load them up with the belongings for each activity.
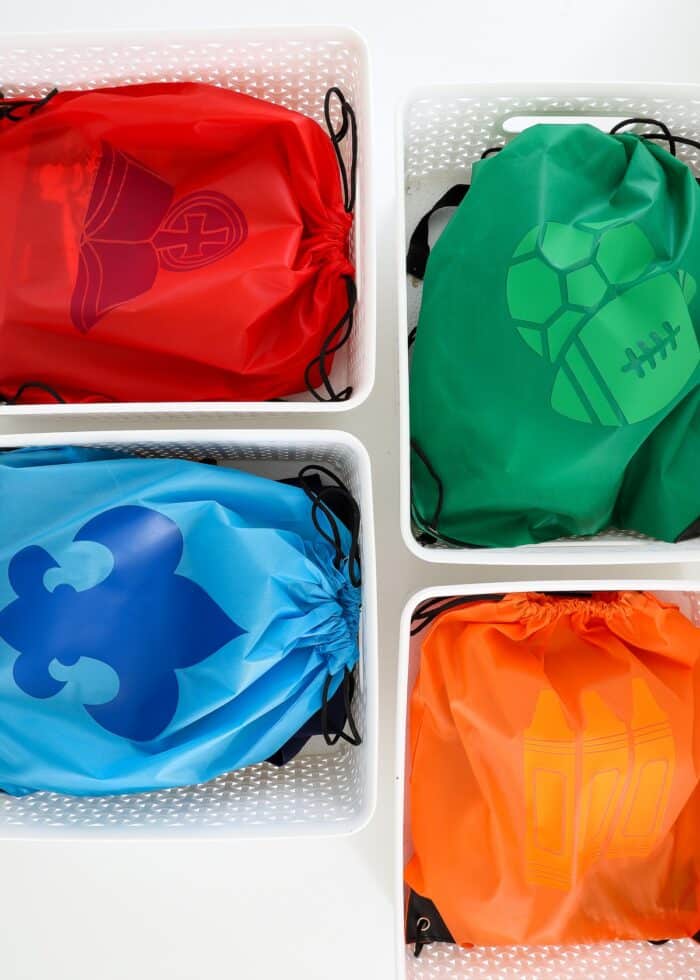
Place into coordinating baskets or hang on hooks near the door for easy grabbing!
More Great Cricut Labeling Projects
Ready to label even more with your Cricut machine? Check out these other awesome projects:- Make Vinyl Labels with a Cricut
- Make Labels Using Cricut Pens
- Make Labels with Cricut Print Then Cut
- Make Waterproof Labels with a Cricut
- How to Label Fabric with Iron-On Vinyl
- Iron-On Clothing Labels with a Cricut
- Toy Bin Labels with a Cricut
- Pantry Labels with a Cricut
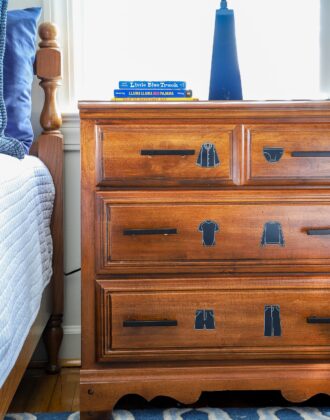
- Dresser Drawer Labels with a Cricut
- Luggage Tags with a Cricut
- Return Address Labels with a Cricut
- Fast Labels with the Cricut Joy App
- Make Easy Round Closet Dividers with Cricut Vinyl
- Label Drawstring Backpacks with Cricut Iron-On
- How to Make Vinyl+Wood Labels

If you (or your kids) are also struggling to have what you need when you need it, give this personalized drawstring backpack idea a try. Not only are the bags cheap, but they really are simple to customize for a wide range of activities and needs!
Even though it took me a quarter into the year to come up with a solution for our “get out the door” issues, I’m pretty excited to be set up for success for the remainder of this year. And if new activities pop onto our calendars, I have plenty of bags leftover to make additional sacks!
Megan
One Comment on “DIY Custom Drawstring Backpacks for Kids’ Sports & Activities”
Thank you for all your help. Hugely appreciated