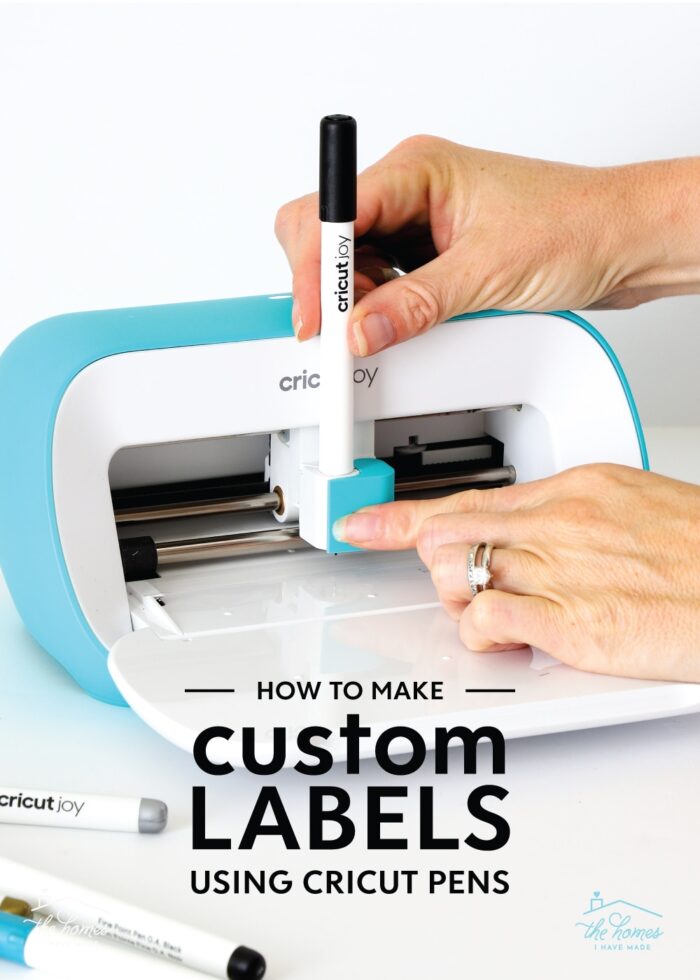
How to Use Cricut Pens to Make (Gorgeous) Custom Labels
It’s no secret around here that the #1 way I make (almost all) the labels in our homes is with my Cricut machines. Because the machines are so versatile, I can get exactly the look I want…quickly, easily, and inexpensively. We’ve covered a lot of different labeling techniques here already; but today I want to dive into the most versatile method of all: how to make labels with Cricut Pens. Using Cricut Pens to make labels will give you that handwritten look, but with the professional quality of a label maker…all with endless customizations on size, shape, and color. Let me break down exactly how to do it so you can get labeling every item in your home!
This is a sponsored conversation written by me on behalf of Cricut. I only work with brands and products I fully support and that make sense for my home, my family, and this blog. All opinions are 100% my own.
Can a Cricut Be Used as a Label Maker?
Oh boy, can it?!?! Yes, indeed!
Although most people associate Cricut machines with making cards, invitations, holiday crafts, and party decor, Cricut machines are incredibly capable of making labels…and gorgeous ones at that. So while I wouldn’t call a Cricut machine a “label maker” per-say (where you type in a word and out spits a label), it can most definitely be used to label any and every item in your home.
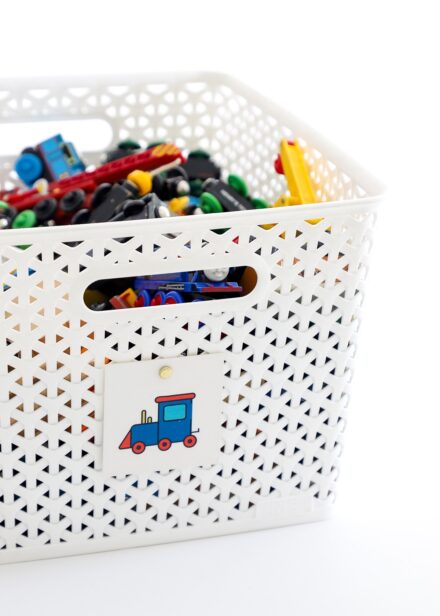
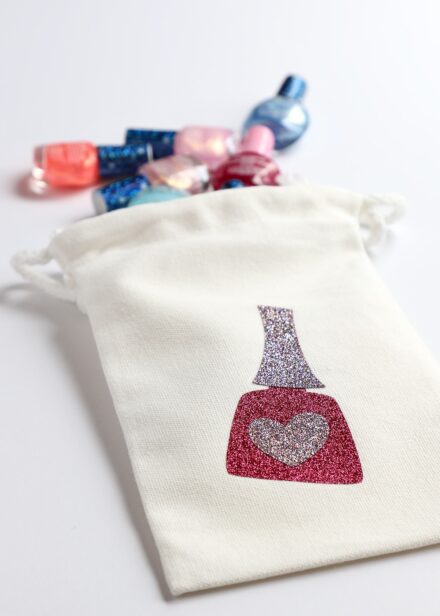
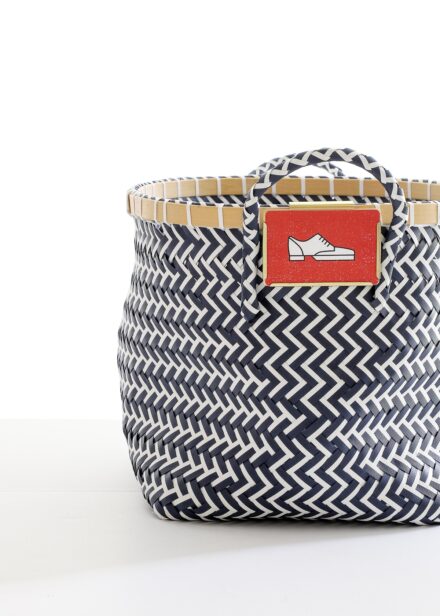
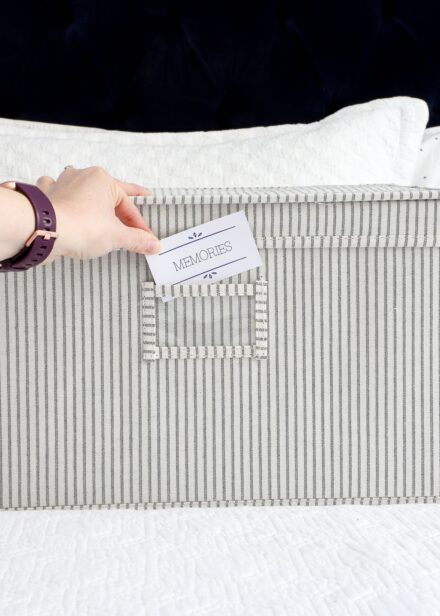
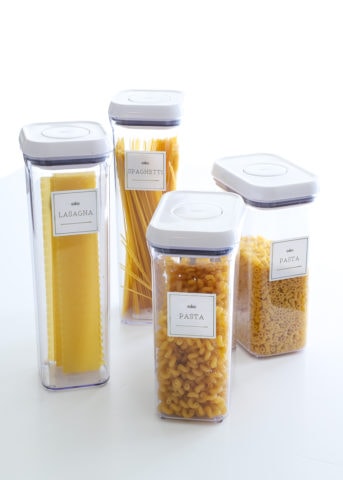
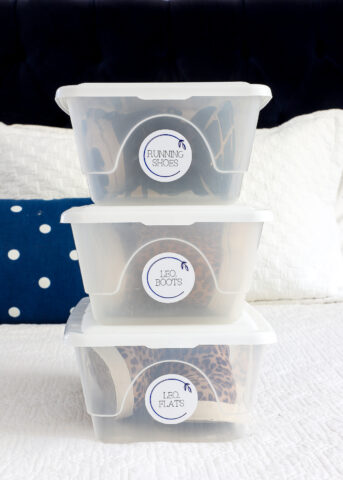
For example, just take a look at the variety of labels I made, all using my Cricut machines!
- Making Labels with Cricut Vinyl
- Making Labels with Cricut Iron-On
- Making Labels with Cricut Print Then Cut
- Making Labels with Smart Materials
- Making Labels with Cricut Pens – You are here!
Why Use Cricut Pens to Make Labels?
As shown above, a Cricut machine can make labels by cutting out vinyl, using a printer, or even applying iron-on to fabric surfaces. But beyond cutting out labels, a Cricut machine can also write (i.e., draw) using Cricut Pens…which involves an entirely different design technique.
I especially love using Cricut Pens to make labels because:
- They are easy to read. While pictures or symbols are fun, nothing is more specific or helpful than a simple word in crystal clear text.
- They provide that “handwritten” look. I don’t have the greatest penmanship, but sometimes a handwritten look is just what a space needs.
- They are (relatively) quick and easy. Once you get the design process down, making labels with Cricut Pens is quicker and easier than other options (such as vinyl decal labels). So even if you need to make more or different labels down the road, it’s almost as simple as whipping out your label maker.
- They can be used on a variety of materials. As you’ll soon see, Cricut Pens can be used on a variety of paper types. This gives you lots of application options based on what you’re labeling.
- They can be endlessly customized. By changing pen colors and weights, swapping fonts, and adding decorative details, you can make labels as simple or complex as you want. In fact, just take a look at all the different labels I’ve made over the years using Cricut Pens!

In short, using Cricut Pens to make labels gives you that label maker look and feel but with countless opportunities for customization! Ready to give it a try?
Supplies Needed
To make labels using Cricut Pens, you only need three main things:
- A Cricut Machine – any Cricut machine can make labels with Cricut Pens; see more below.
- StandardGrip Cutting Mat – Only when not using Smart Materials
- Premium Fine Point Blade – the one that comes with the cutting machine
- Cricut Pens – compatible with your Cricut Machine; see more below.
- Writable Material – compatible with your Cricut Machine AND Cricut Pens, see more below.
Which Machines Can Make Labels with Cricut Pens?
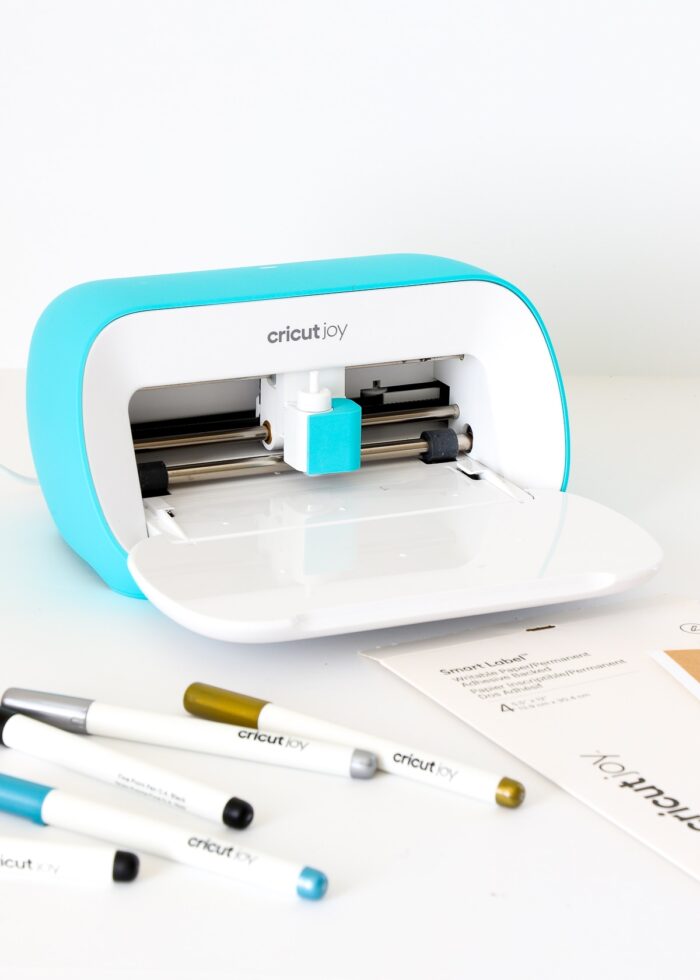
One of the best things about using Cricut Pens to make your labels is that you can do so with any Cricut machine. So while certain techniques are particular to some machines (e.g., Print Then Cut), the Cricut Joy, Cricut Explore series, and Cricut Maker series are ALL compatible with Cricut Pens and the Write/Draw function!

Which Cricut Pens Are Best for Making Labels?
The short answer is: the ones that fit with your machine! First and foremost, make sure you pick Cricut Pens that are compatible with your specific Cricut machine:
Beyond that, you can technically use any Cricut Pens to make your labels. However, over the course of making countless labels for our homes, I do have some recommendations on which pens create the best results:
- Cricut Extra Fine Point Pens (0.3) – My preference for small labels and any text written on Cricut Joy Smart Label
- Cricut Fine Point Pens (0.4) – My preference for text on Smart Label Writable Paper, Smart Paper Sticker Cardstock, and regular cardstock
- Cricut Markers & Calligraphy Pens (1.0-2.5) – Best for larger text, outlines, and decorative details only. If you try to use these thicker pens on small, tight text, the letters will overlap and be difficult to read.
What Materials Can Be Used to Make Labels with Cricut Pens?
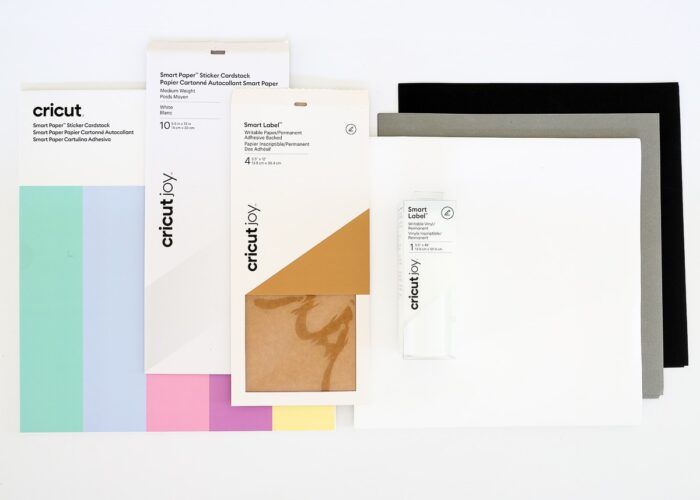
Cricut Pens can be used on a wide variety of materials, which is precisely what provides so much opportunity for customization. Here are the products I recommend using:
- Cardstock – best if you are placing your label in a label holder or bin clip
- Smart Paper Sticker Cardstock
- Smart Label Writable Vinyl – see my complete how-to guide: Everything You Need to Know About Cricut Writable Vinyl
- Smart Label Writable Paper
It’s important to note that Cricut Pens can’t be used on every material. Foil and glitter cardstocks aren’t ideal for writing; and Cricut Pens cannot be used on standard adhesive vinyl (see my testing results: All About Cricut Smart Label). If you have a product you really want to use (like a specific sticker paper), be sure to do a few tests first to ensure the ink doesn’t smudge or wipe off.
Part 1 | Desinging Labels for Cricut Pens
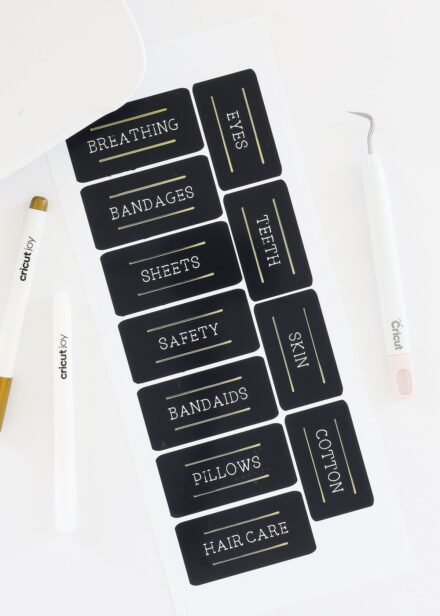
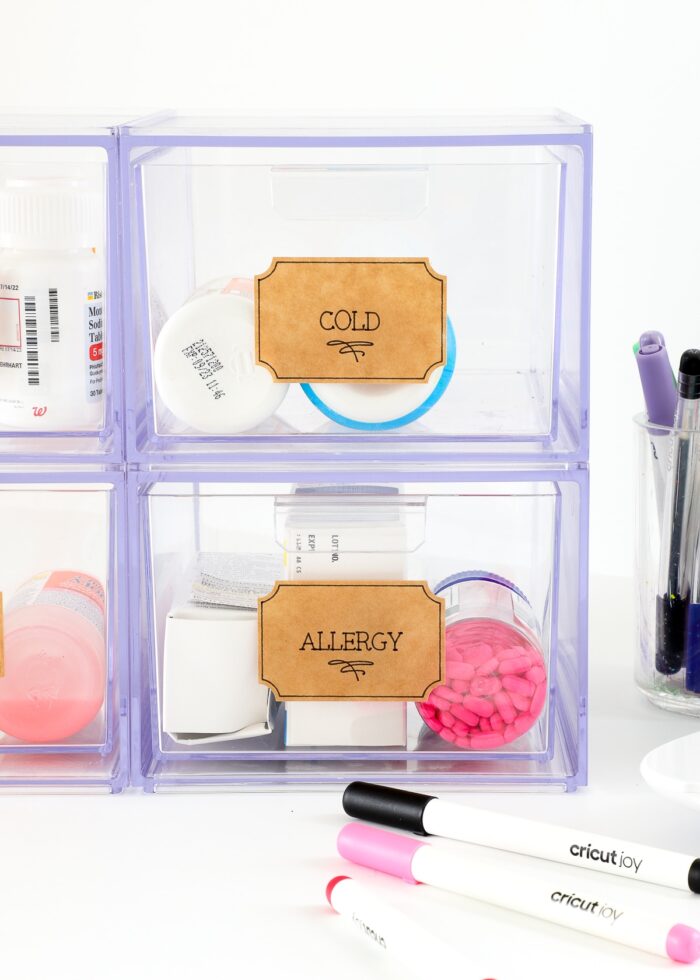
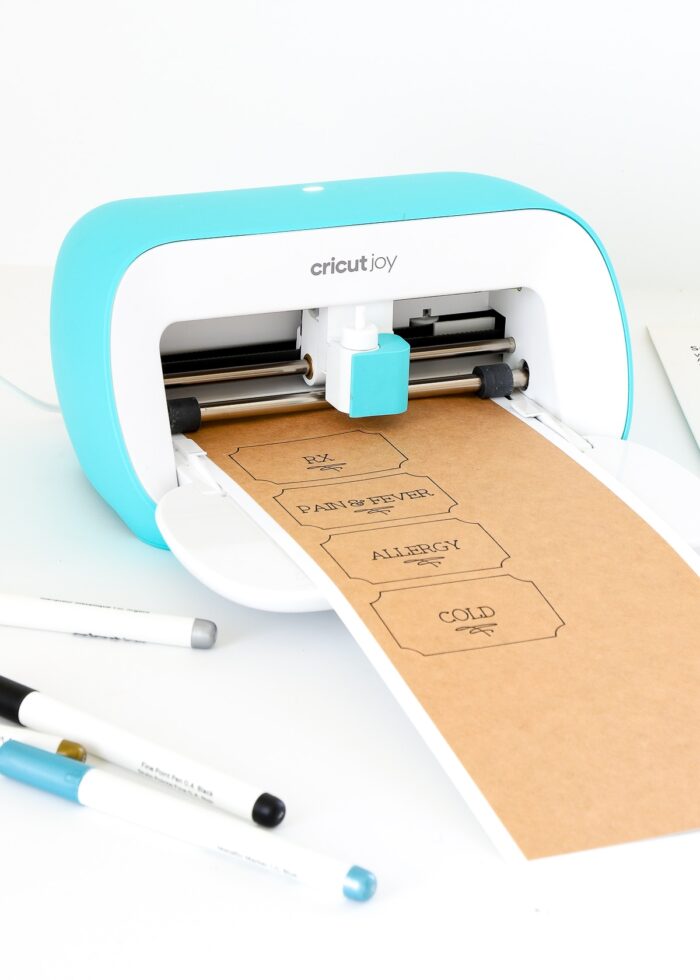
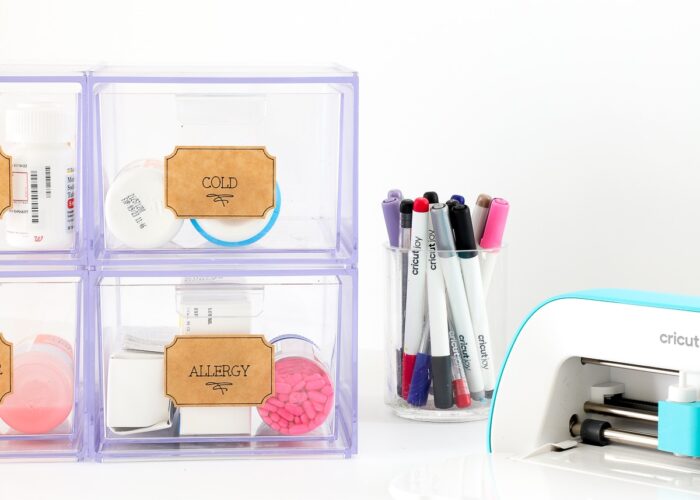
Alright, with those basics out of the way, let’s walk through a sample label project from start to finish. I’m going to show you how I made these new labels for our medicine closet!
Step 1 – Pick a Label Design
When designing a label, you need to start with a label shape. This is the outline the Cricut machine will cut out and that your text will sit on top of.
When using printable products (like Avery labels) or a label maker, you are often limited by size and shape. However, with a Cricut machine, you can essentially cut a label in ANY design you can find (and there are TONS!) or make yourself.
Using Pre-Designed Cricut Labels
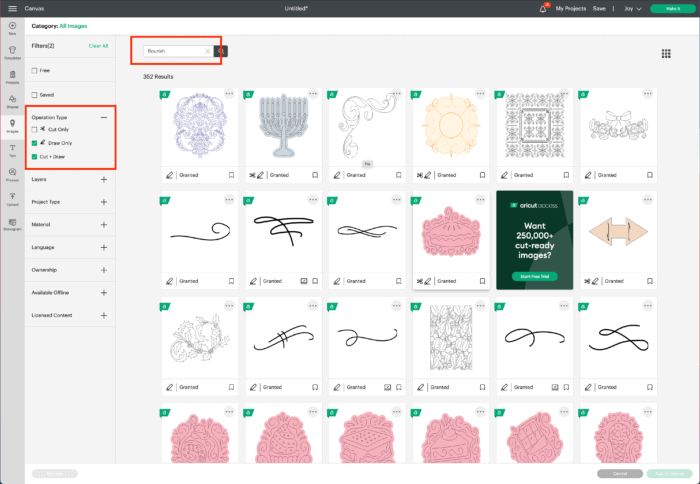
The easiest way to start is with some pre-designed labels within the Cricut Design Space Image Library. Whether you search by image or by set, the term “label” will yields all sorts of stylish options.
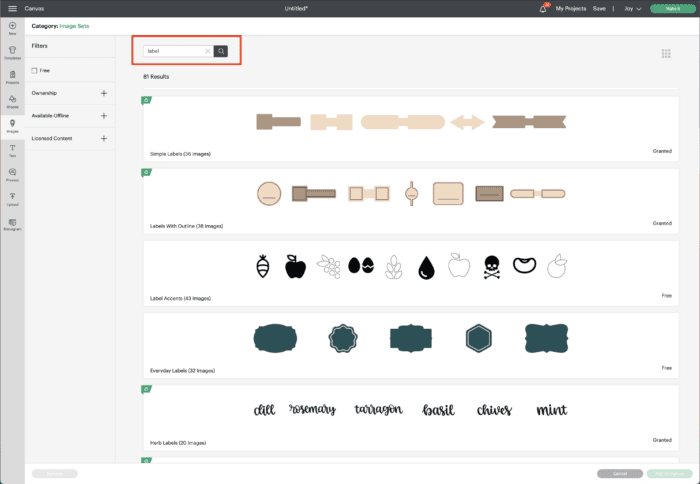
Use the Operation Type filter on the lefthand side of the Image Library to find different label designs based on what you’re looking for.
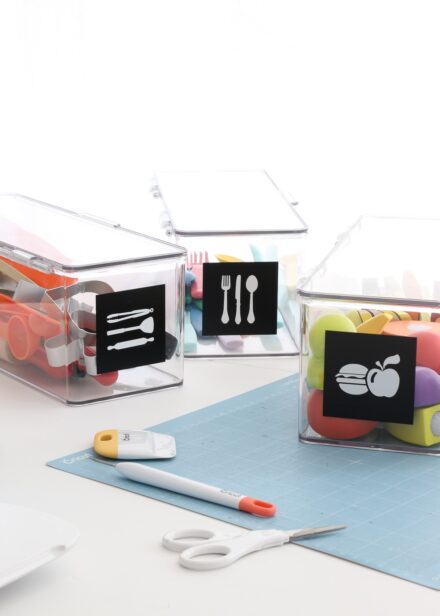
“Cut Only” labels feature a cuttable shape with no pen/drawn details. They are the perfect “blank slate.” The grey labels below are “Cut Only” label designs.
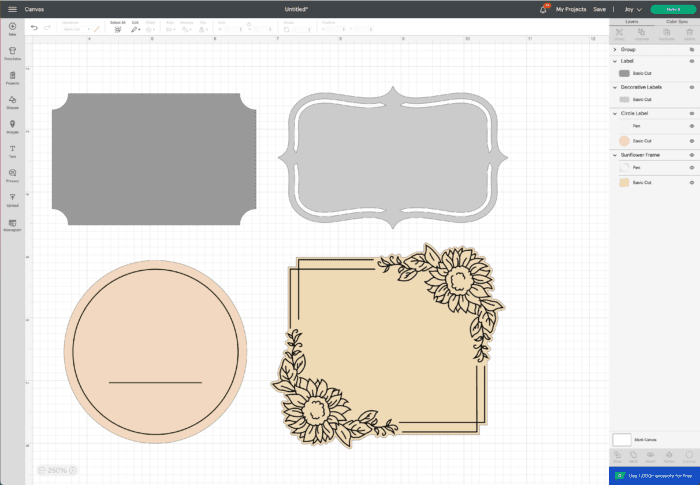
“Cut + Draw” labels are designs that have both a cut shape AND a pen design (such as an outline) on top. Although these pen details pre-load in specific colors, you can easily change them or delete them all together. The beige labels above are “Cut+Draw” label designs.
Designing Your Own Labels
Even though there are countless label designs in the Cricut Design Space Image Library, you might not be able to find exactly what you’re looking for. In this case, you can easily design your own (which is usually my preference so I can get every element just right!)
Pick a Shape. Start your label design with a base shape. I like to use the Shapes Menu on the lefthand side of the design canvas, but you can use anything you find in the Image Library or even upload yourself.
TIP! Designing your own labels using the free Shapes Menu is a great way to avoid having to purchase a label design for extra cost if you don’t have a Cricut Access membership.
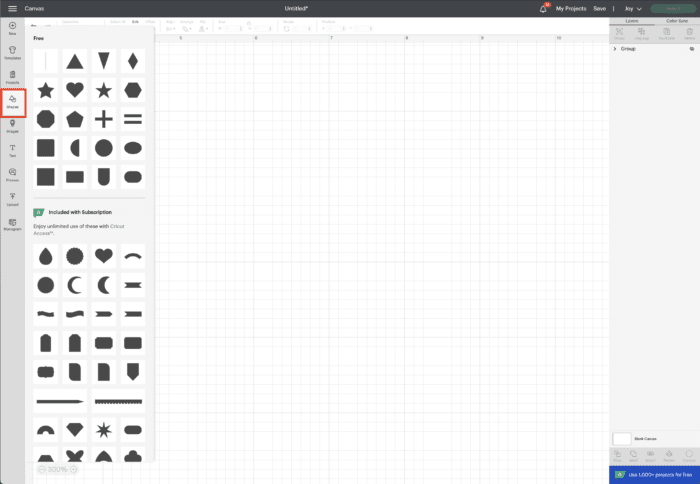
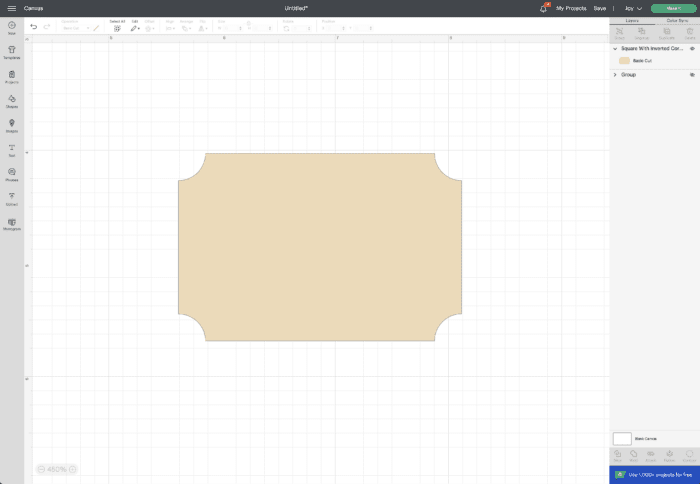
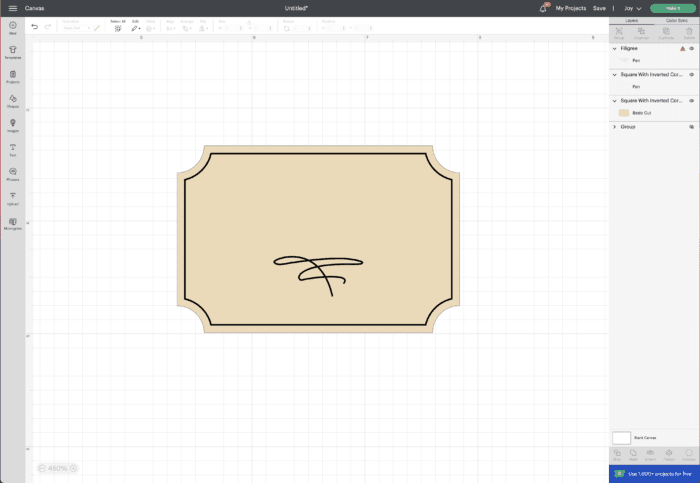
For my medicine cabinet labels, I chose this rectangle shape with notched corners.
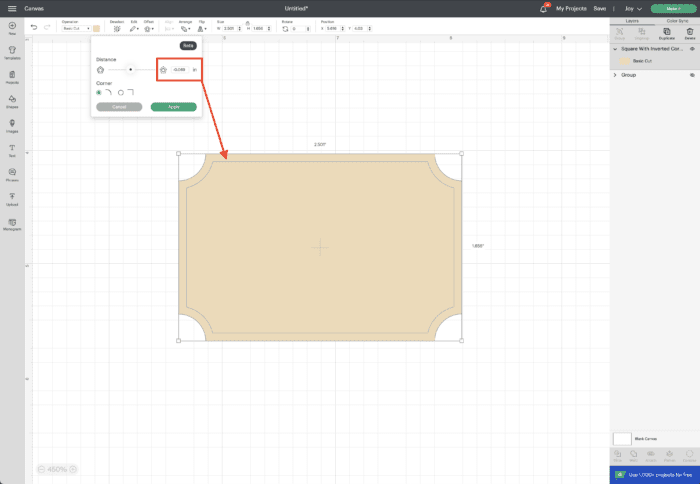
Add a Border. If you’d like to add a border to your label, you can easily do so using the Offset Tool. While most people use this tool to give a shape an outline, you can also use it to create an interior border.
Simply choose your shape and open the Offset Tool in the upper toolbar. Move the slider into the negative range in order to move the outline inside your shape. Decide where you want your border and click “Apply.”
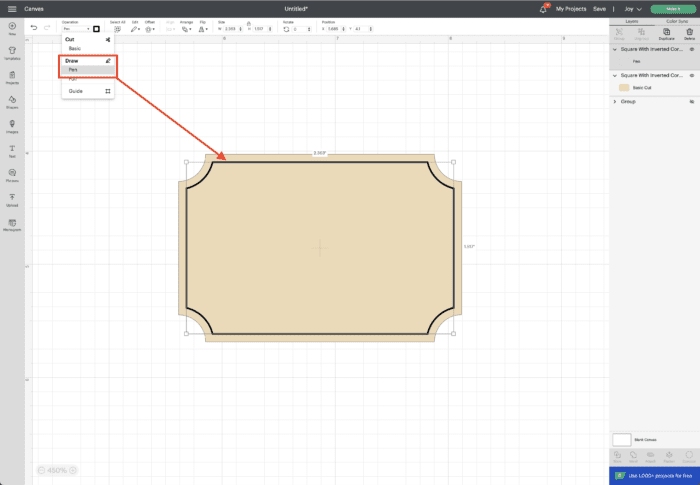
The border will first populate as a Cut layer. Simply change it to “Pen” in the Operation dropdown menu on the top toolbar.
Add Decorative Details. The sky is really the limit when it comes to adding decorative details to your labels. Using either the Shapes Menu or the Image Library, you can search for any line, dot, scallop or flourish that is just right for your label.
TIP! My favorite search term is “flourish” when looking for little label details.
If you searched for “Draw” images, they will pre-load onto your canvas already set to “Draw/Pen” in the Layers Panel. If not, change any detail to “Draw” using the Operations dropdown menu in the upper toolbar.
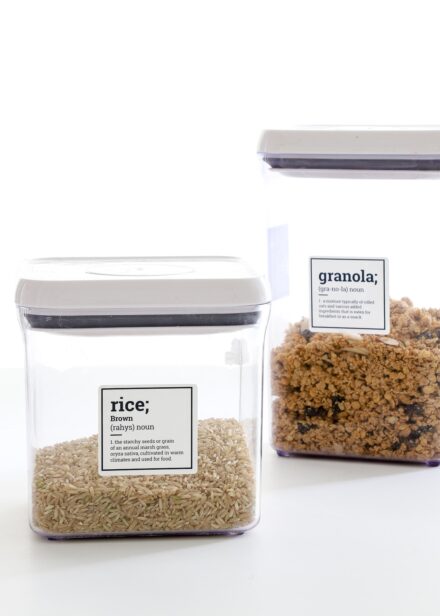
Step 2 – Add Text To Your Labels
Whether you select a pre-designed label from the Image Library or designed your own, the next (and most important!) component is the word! Follow these steps to get that handwritten look you want:
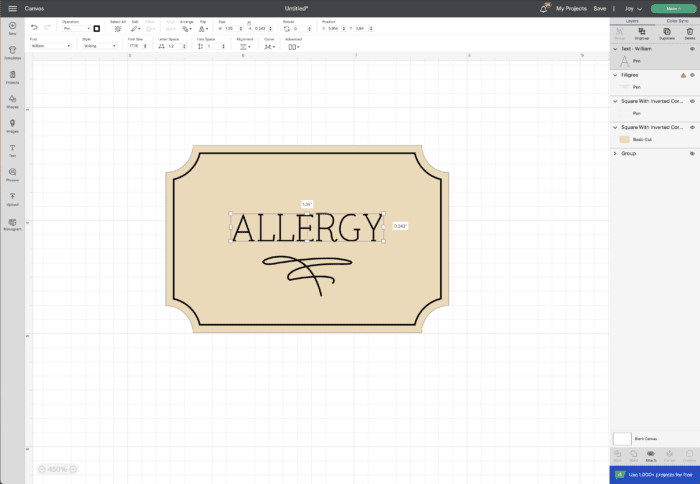
- Open the Text Tool by clicking the “T” on the lefthand toolbar.
- Type your first label word.
- With the word selected, open the Font Menu in the top toolbar.
- On the righthand side of the Font Menu, open the Filters.
- Click the checkbox next to “Writing.” This will show only the fonts that can be given a handwritten appearance.
- Select your desired writing font to apply it to your typed word.
Want to save this post?
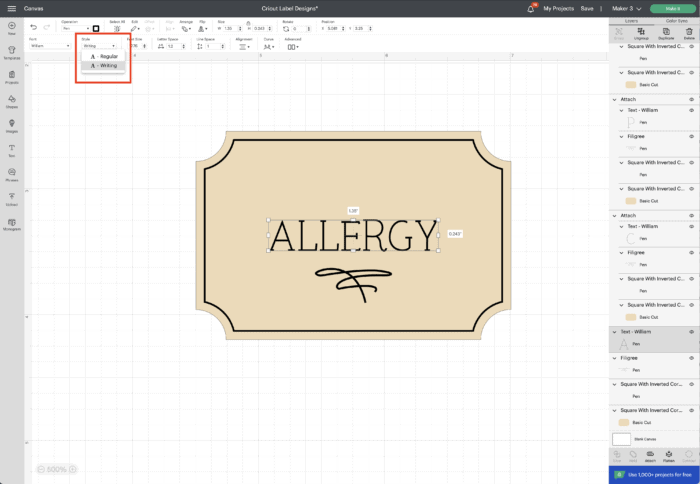
IMPORTANT! Even if you change to a “Writing” font, it will not pre-load onto your canvas as such. With your text still selected, be sure you select “Writing” under the Font Style dropdown menu.
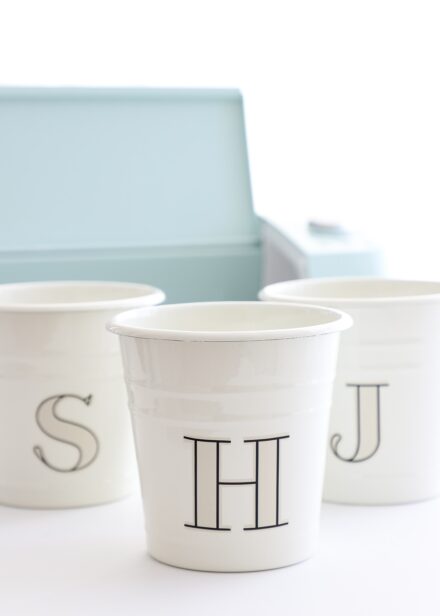
Step 3 – Change the Colors of Label Elements
One of the best things about making labels on a Cricut is that you can customize every single detail. Beyond just the color of the label itself, you can also swap colors on the border, decorative elements, and text. You can easily make everything the same color or each a different one based on the look you want.
- To change the color of the label shape, click on the shape, then open the color box in the top toolbar. Select the color paper you plan to use.
- To change the color of the pen details, click on the specific detail (e.g., border, word), then open the color box in the top toolbar. Select the pen you plan to use for that detail.
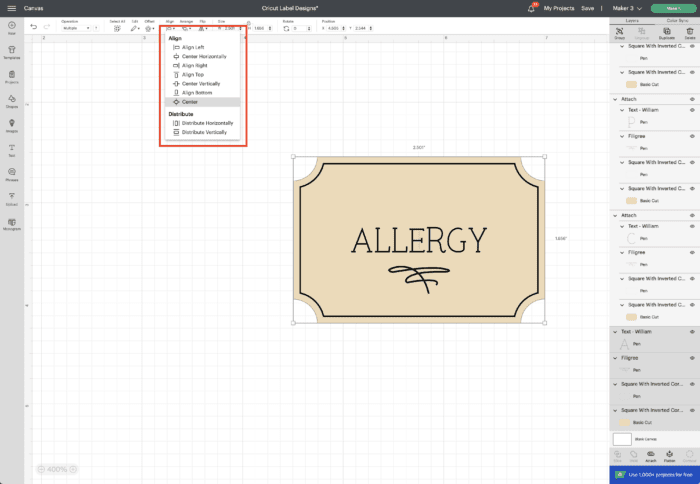
Step 4 – Align Label Elements
Line up the various label elements using the Align Tool in the top toolbar. Simply select the elements you want to center (or justify right, left), open the tool and click “Center.” You can either “Center” everything or play with horizontal and vertical centering until you have your design exactly as you want it.
Step 5 – Size Your Label
Before moving on, adjust your label to be the correct size based on where you plan to put it. This might involve measuring your label holder, bin clips, or basket front in order to get the size just right.
To re-size the label, select the entire label (ALL of the layers together) and drag-and-drop to your desired size or type in a specific dimension on the top toolbar.
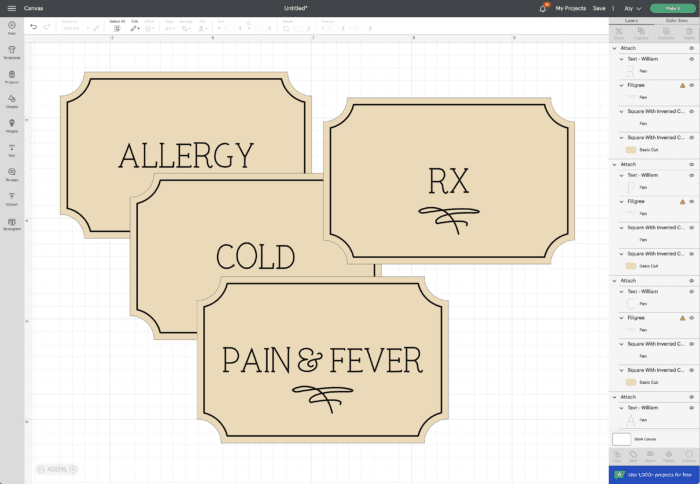
Step 6 – Duplicate Your Labels
If you are using your Cricut machine to make labels, there’s a very good chance you need more than one. So it is now…after your design is designed, colored, labeled, and sized…that you should duplicate it. Here are the steps you’ll need to follow:
- Select the ENTIRE label (shape, border, decorative details, AND word).
- Click “Duplicate” in the upper righthand toolbar (or use Copy/Paste keyboard shortcuts).
- Double-click on the text to change the word.
- Re-center everything using the Align Tools.
Repeat as many times as needed until all your labels are designed!
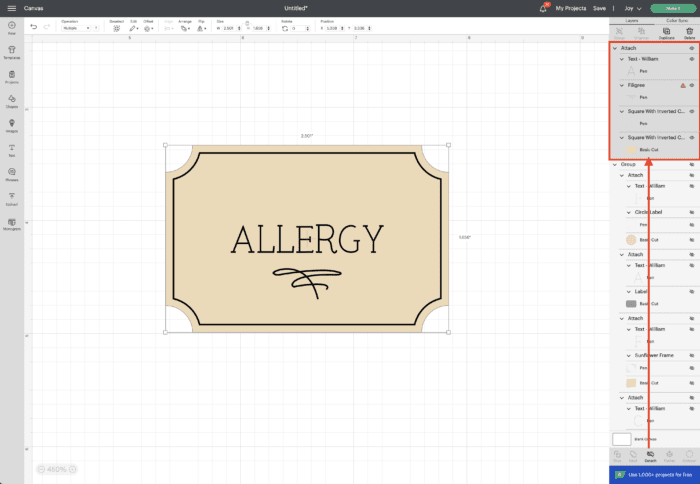
Step 7 – Attach the Text & Label Together
The very last step before you can send your beautiful labels to your Cricut machine is to attach everything together. To do so, again select the entire label (one full label at a time), and click “Attach” in the bottom righthand toolbar. This will essentially bind the shape, text, and any other decorative features into one single label.
NOTE: If you skip this step, your text (and other decorative elements) will NOT be drawn directly on top of the label shape. This step is essential to your Cricut machine cutting and drawing your labels exactly as you designed them.
Part 2 | Drawing & Cutting Your Labels with a Cricut Machine
Phew! The hard part is over (designing your labels)…now it’s time to sit back and watch your Cricut machine do the rest of the job!
Send Labels to Your Cricut Machine
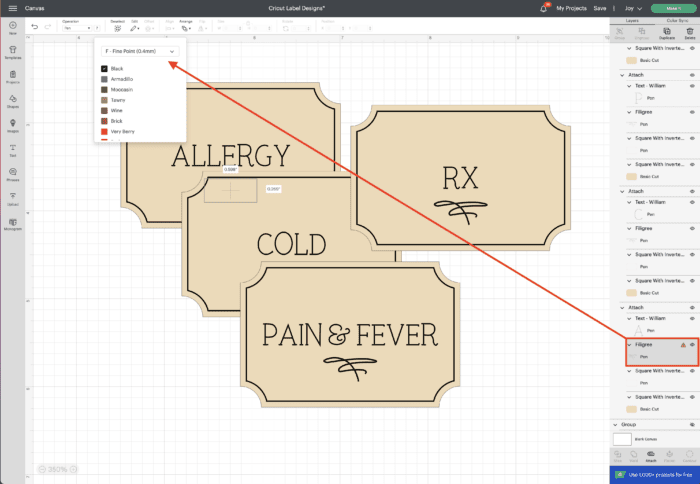
To send your labels to your Cricut machine, click the green “Make It” button in the upper right-hand corner.
TIP! If you try sending labels to a Cricut Joy and you are given a warning that your “Project Isn’t Compatible,” it is usually because of the default pen color. Simply change all your pen layers to a color option shown in your dropdown menu to eliminate the yield sign.
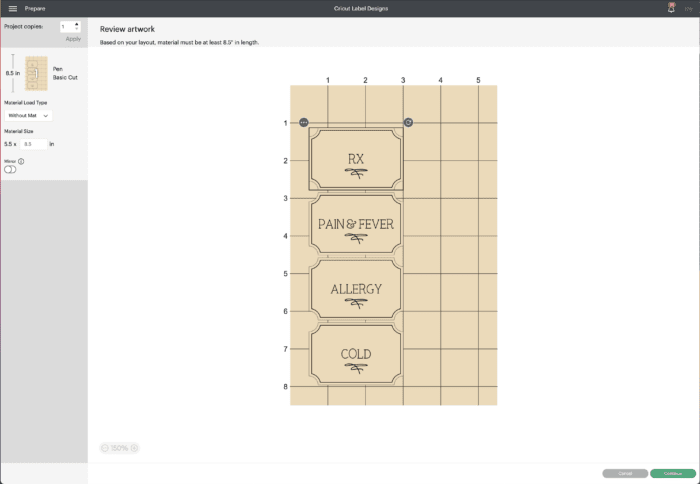
On the Preview screen, you will be prompted to cut “On Mat” or “Without Mat.” Make a selection based on what kind of material you will be using. Here, you can also double check that all your label designs are “attached” correctly and everthing looks just the way you want it.
Material Selection
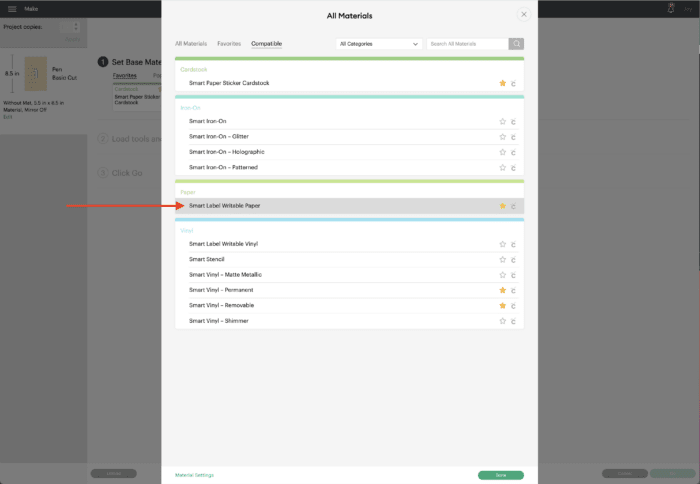
On the (next) Make screen, you will first need to select a material. Use the “Browse All Materials” button to find whatever you’ll be using.
Follow the On-Screen Prompts to Load Pen, Mat, and Materials
From here, you simply need to follow the on-screen prompts in order for your Cricut machine to make your designed labels.
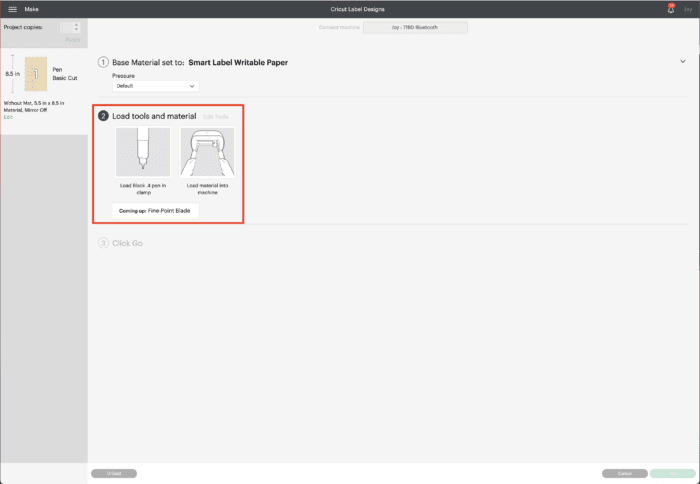
No matter which machine you are using, it’s this final screen in Cricut Design Space that tells you precisely when and where to load pens, blades, and materials/mats so your project can execute.
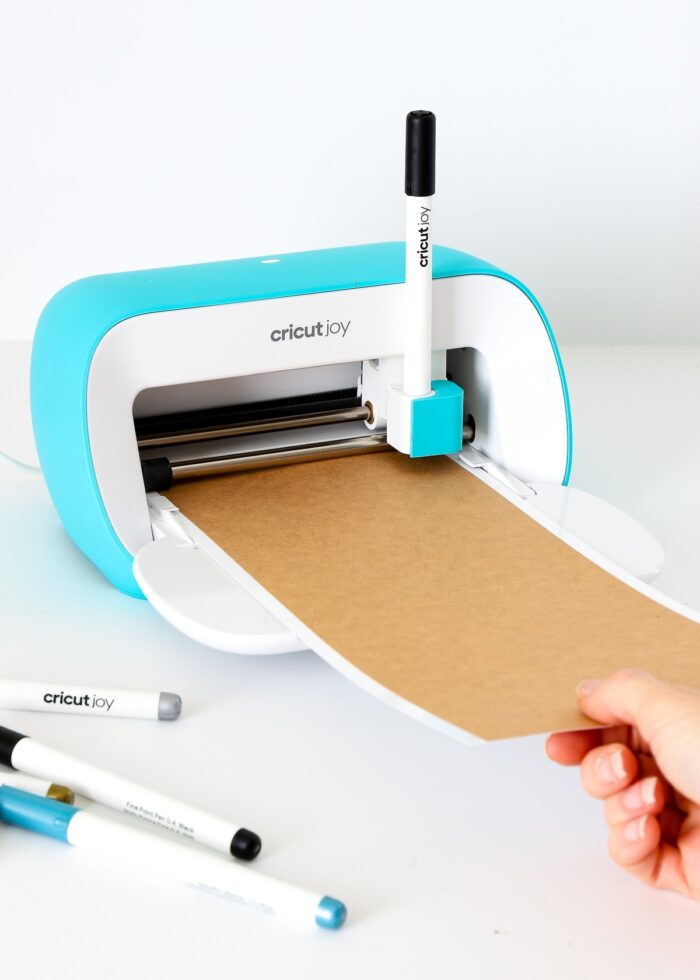
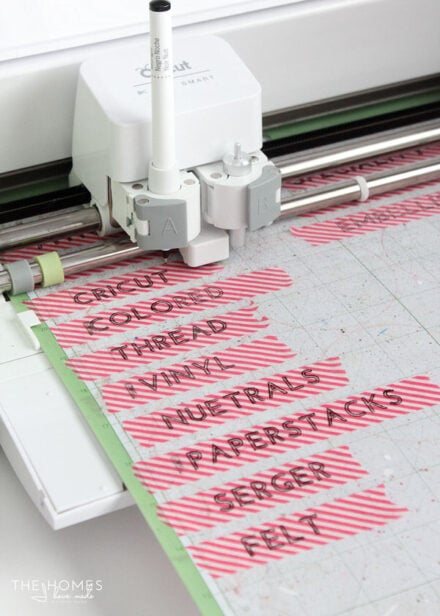
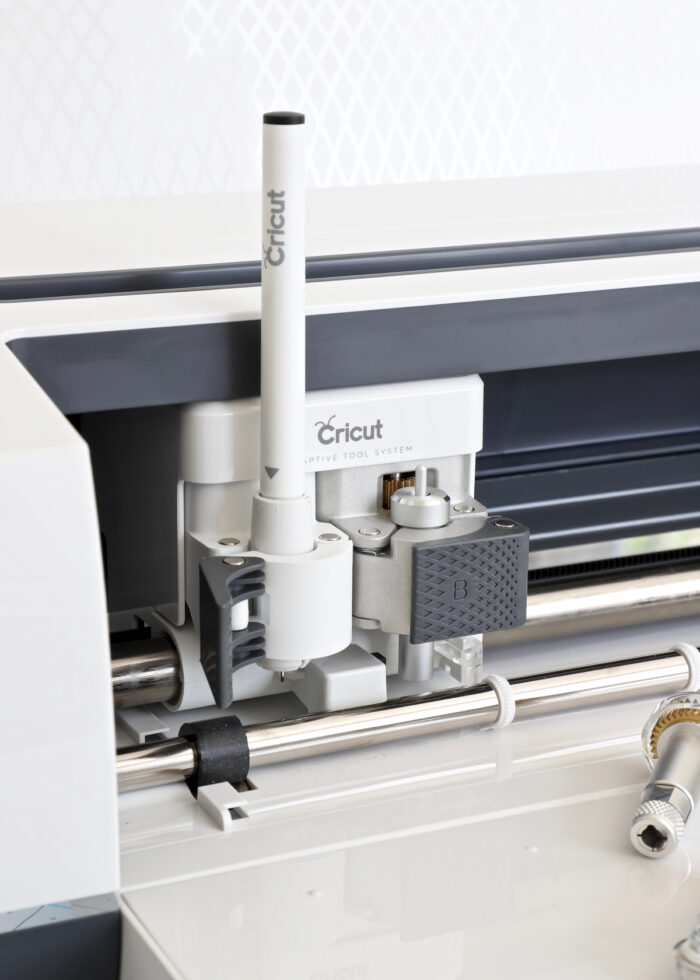
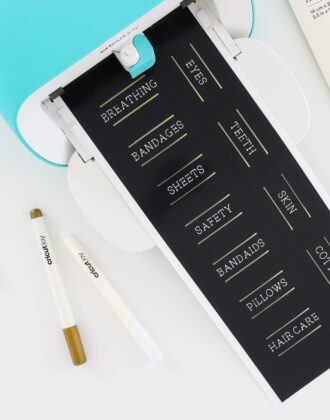
All Cricut machines will first draw/write all the Pen details, including the text, borders, and decorative elements. On Cricut Maker/Explore models, you load the Cricut Pen right alongside the Premium Fine-Point Blade.
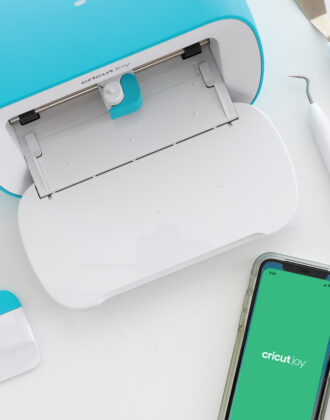
If you are using a Cricut Joy machine, you will need to remove the blade and place the Cricut Joy pen into the single holder.
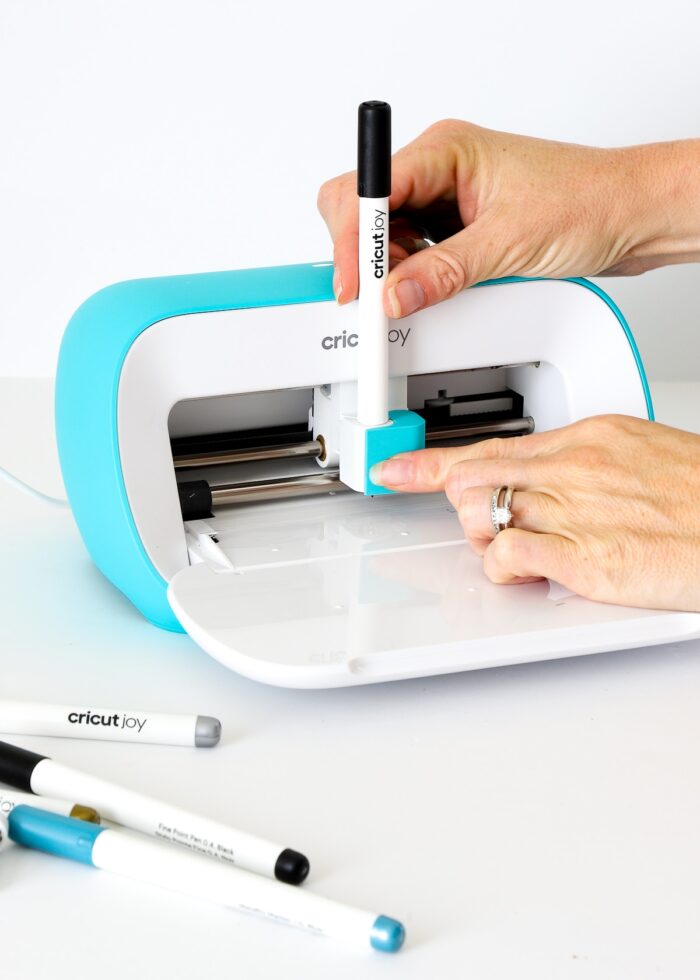
If you need help with loading your Cricut Pen into your machine, see here: How to Use Cricut Pens.
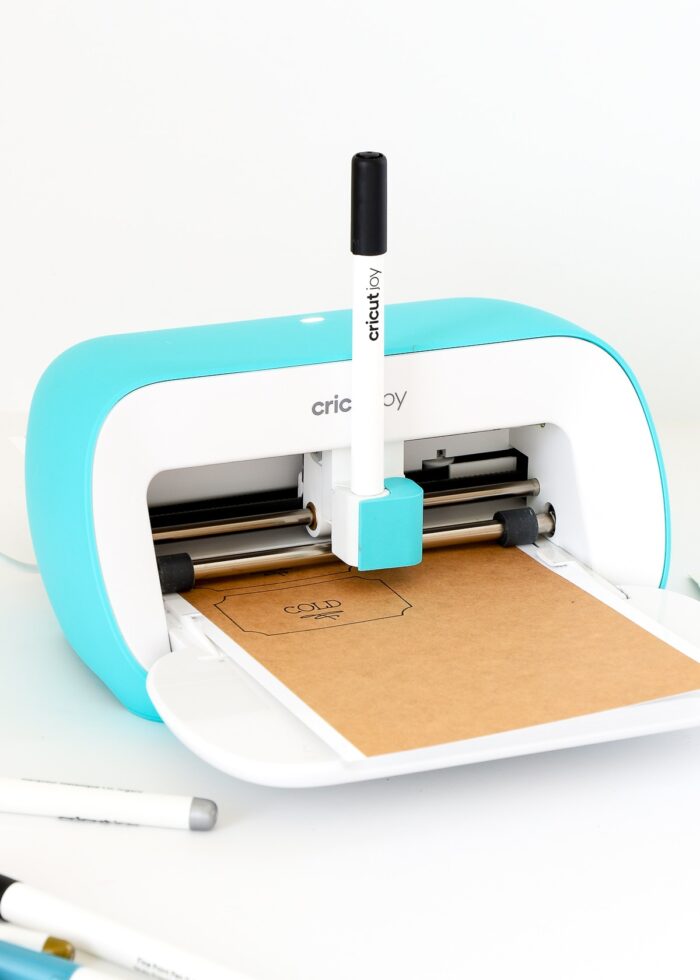
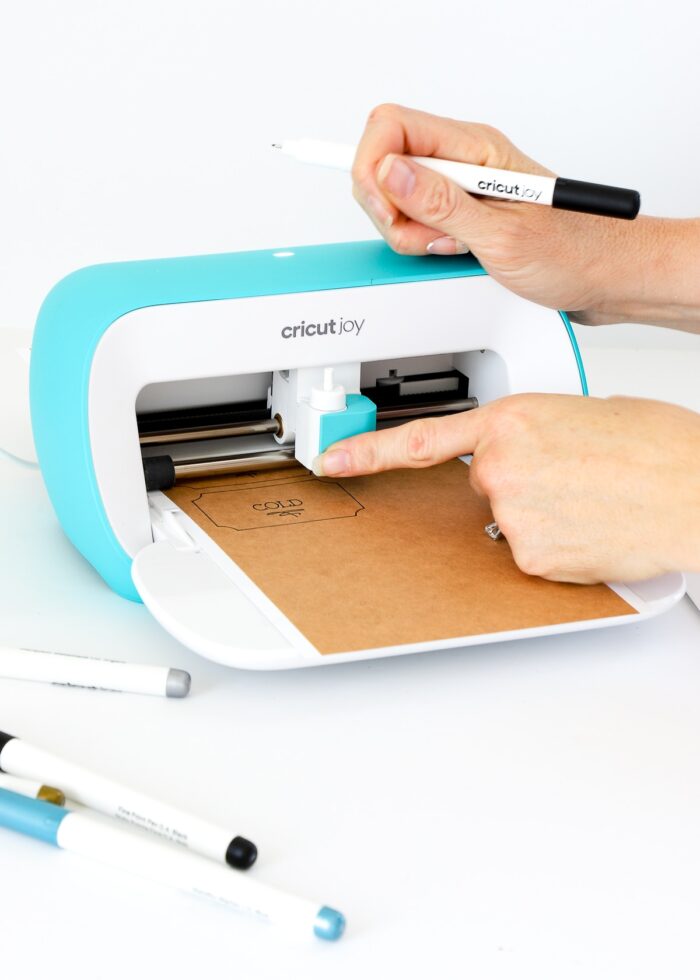
After your Cricut is done with all the writing, it will then proceed to cut out each label shape. Cricut Maker/Explore models will start this step right away; Cricut Joy users will need to swap out the pen for the blade before proceeding.
With your labels now both drawn AND cut, you can unload your new labels from your machine!
Part 3 | Applying Your Labels
If you used cardstock to make your labels, you can likely just slide them directly into some sort of holder or bin clip.
If you used an adhesive-backed product (such as Smart Paper Sticker Cardstock, Writable Paper, or Smart Label), you will want to clean the surface of any residue, debris, or dust before sticking on your label.
For most peel-and-stick products, simply lift up your perfectly-cut label…
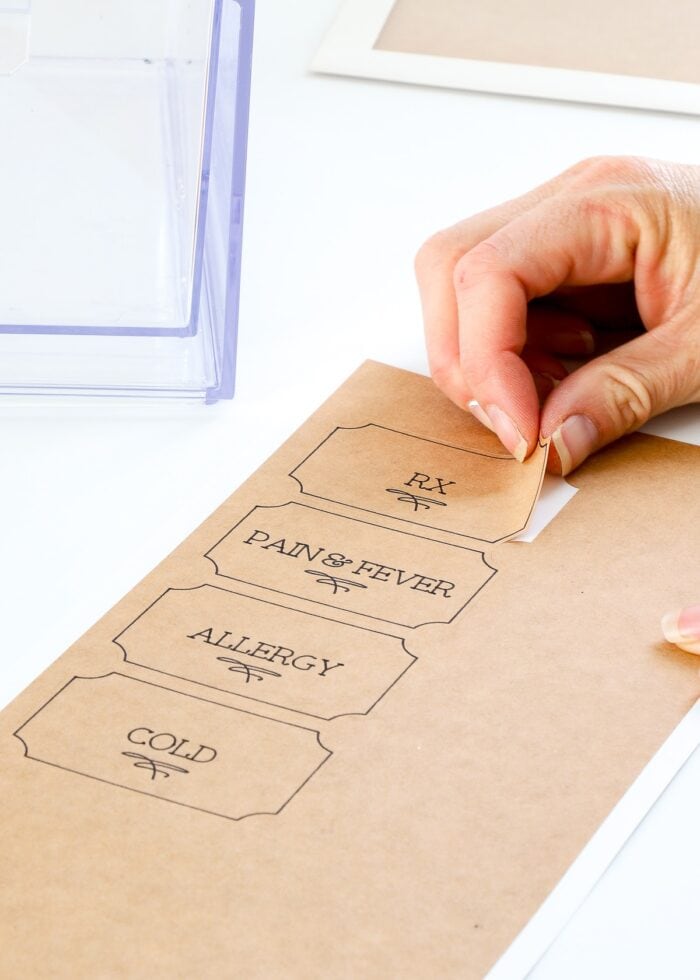
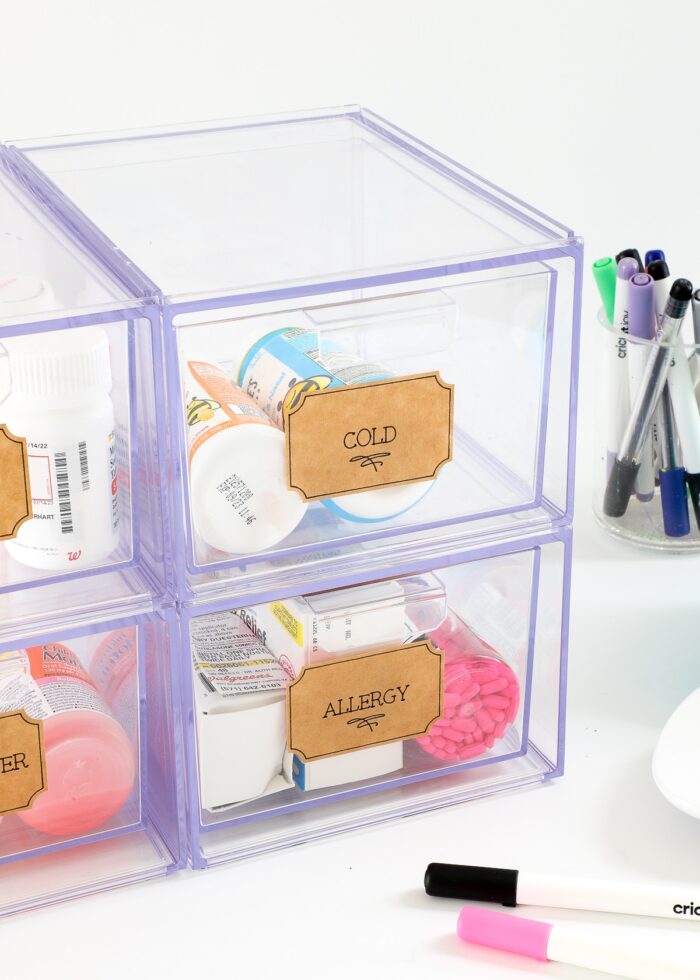
…and stick it right onto the container itself! Keep adding labels until your organization project is complete.
If you ever need additional labels or to change the text, simply open your Cricut Design Space file, swap out the words, and re-cut!
More Cricut Pen Labeling Projects
Ready to make more labels with your Cricut machine and Cricut Pens? Here are some other fun versions to try!
- Pantry Labels with a Cricut
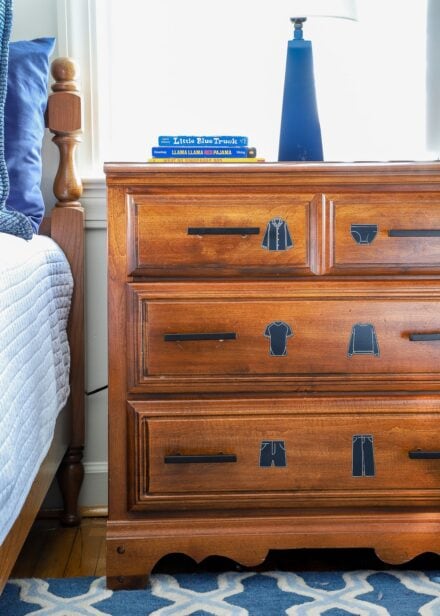
- Dresser Drawer Labels with a Cricut
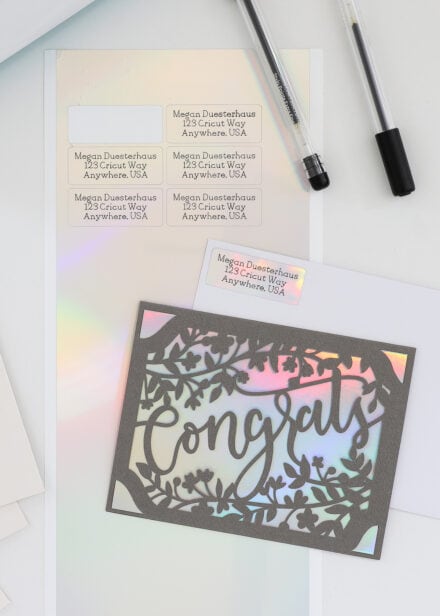
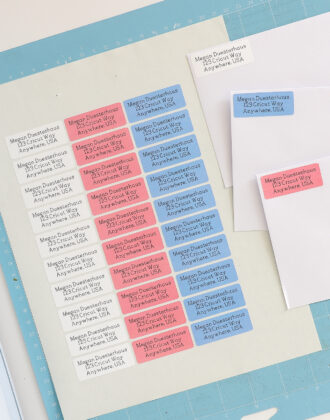
- Addressing Envelopes with a Cricut
- Return Address Labels with a Cricut
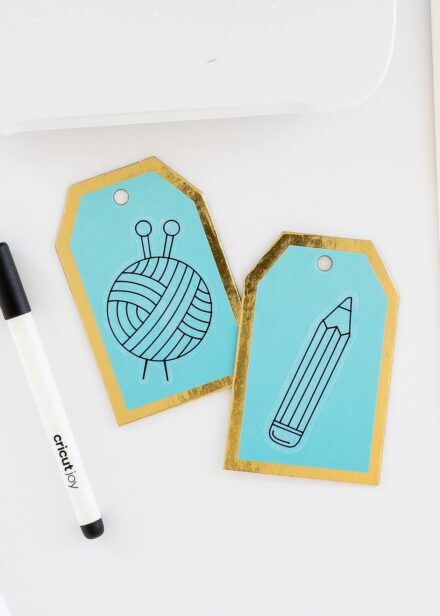
- Write on Tags with Cricut Pens
I hope this tutorial demonstrates that the possibilities really are endless when it comes to making labels using Cricut Pens in your Cricut machine. By selecting the shape, size, decorative elements, fonts, paper color, and pen color, you can make labels that look exactly as you want. And even if they don’t turn out quite right…it’s easy enough to fix a few details and try again.
If you have yet to use Cricut Pens for your labeling projects, now’s the time to give it a try!
Megan

One Comment on “How to Use Cricut Pens to Make (Gorgeous) Custom Labels”
How wonderful and exciting to have the help and guidance I need. I’ve never used Cricut Design Space. Hopefully I’ll be able to set it up soon. Should I put it on my iPad or my Desktop? (If I’m not supposed to ask questions here, forgive me. I’ll try to remember to post it where I’m supposed to, 😏).
Thank you so much for sharing your experience and knowledge with me! I am a 74 year old great grandmother who has worked with my husband’s business for most of our married life. Looking forward to getting creative for these little ones and sharing my love for creating.