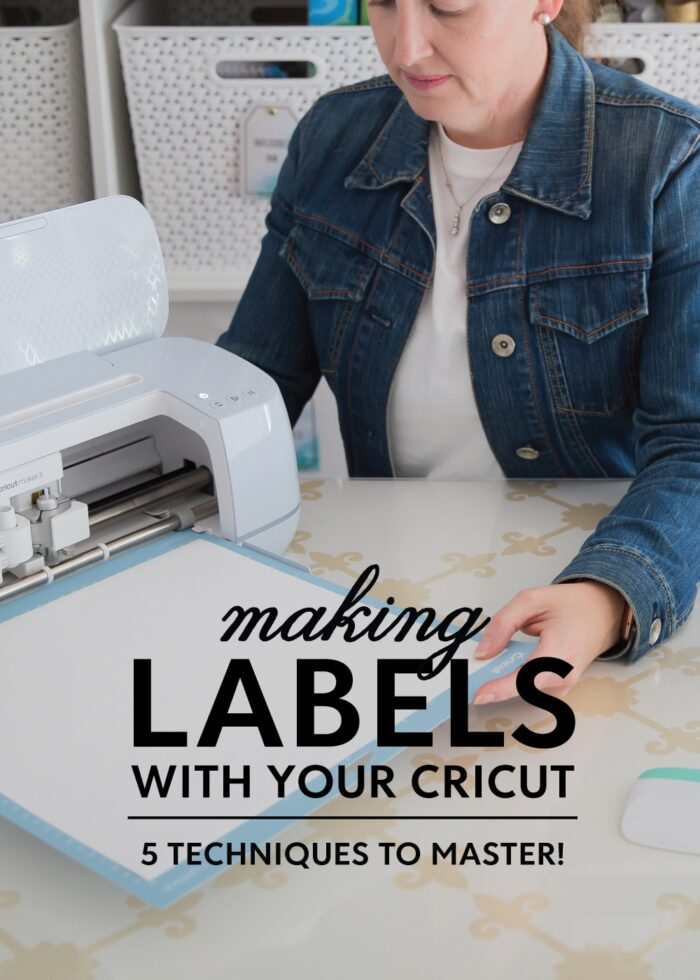
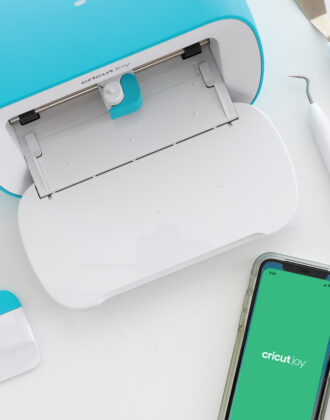
The 5 Different Ways You Can Make Labels with a Cricut Machine
Without a doubt, my favorite way to use my Cricut cutting machine is to make labels for any and all surfaces around our homes. And I use my Cricut (instead of a traditional label maker) because of all the different sizes, shapes, materials, and methods available to make them completely custom. Today, I’m breaking down the 5 primary techniques for making Cricut Labels, so you can figure out which is the best method for your next organizing project!
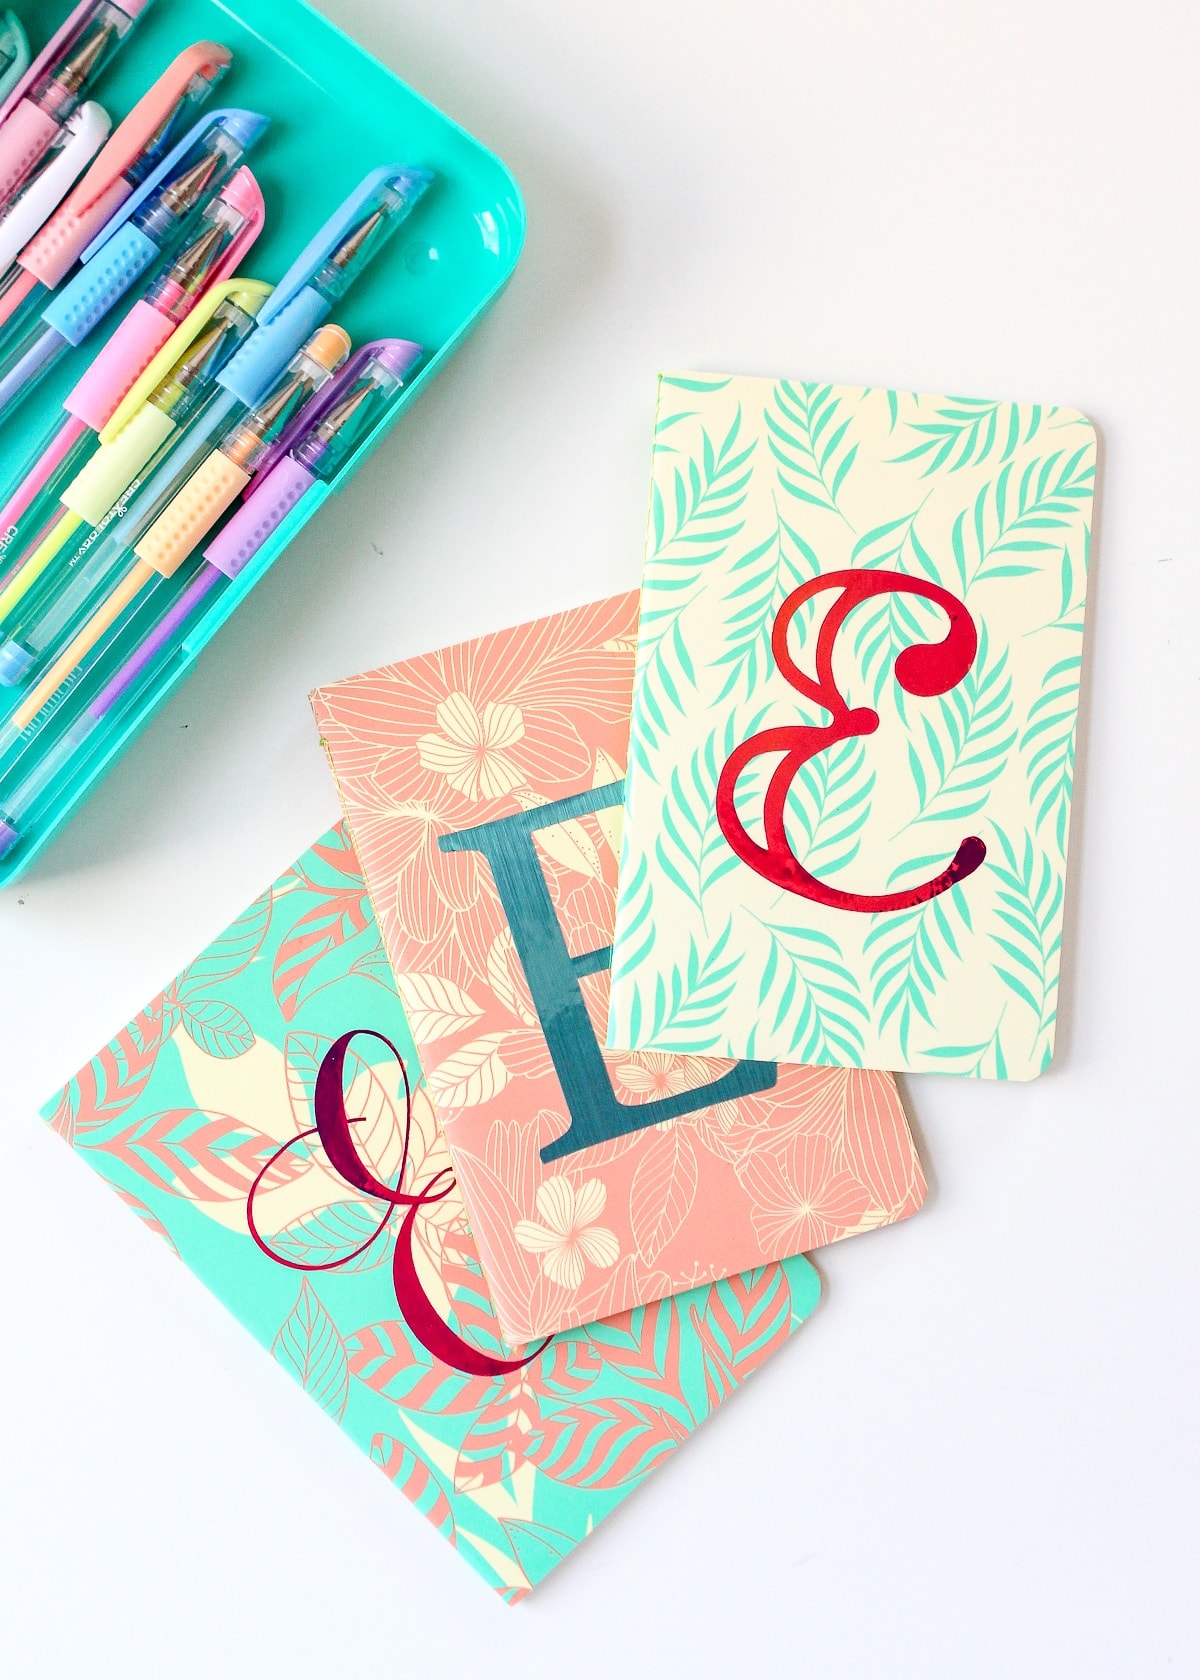
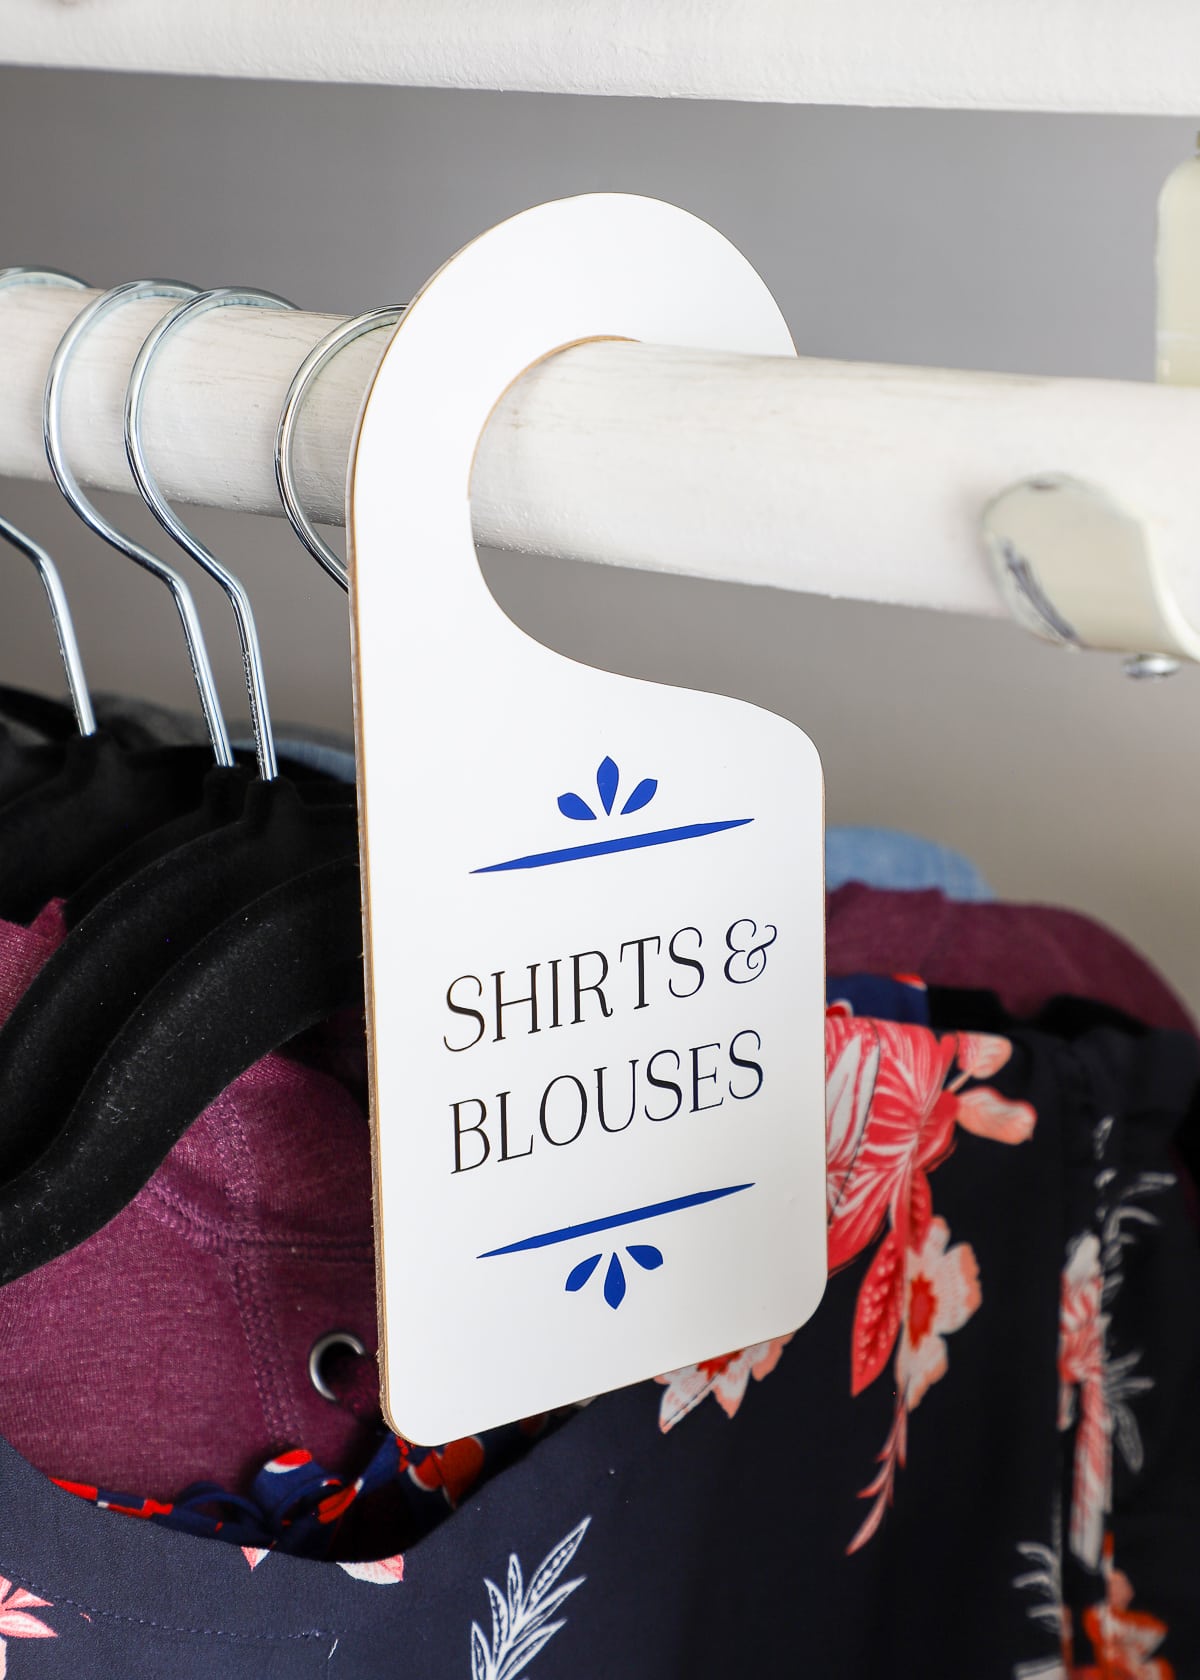
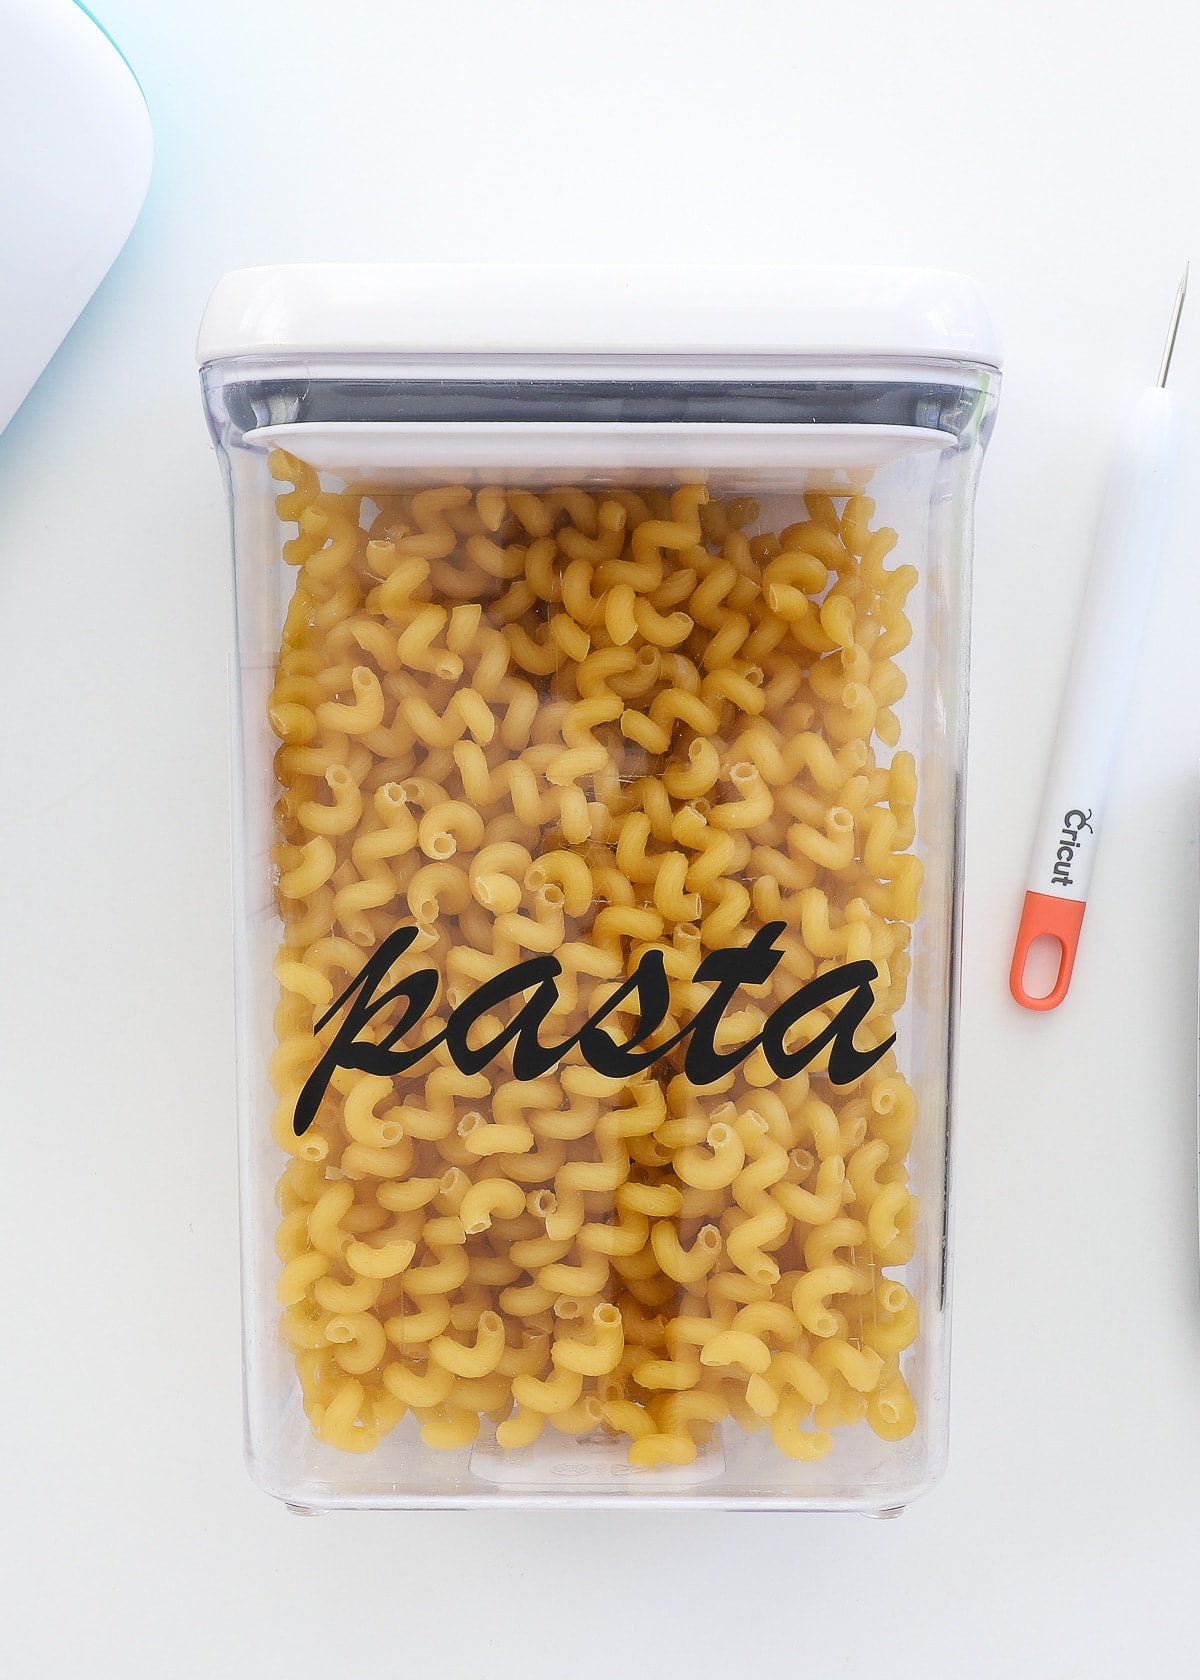
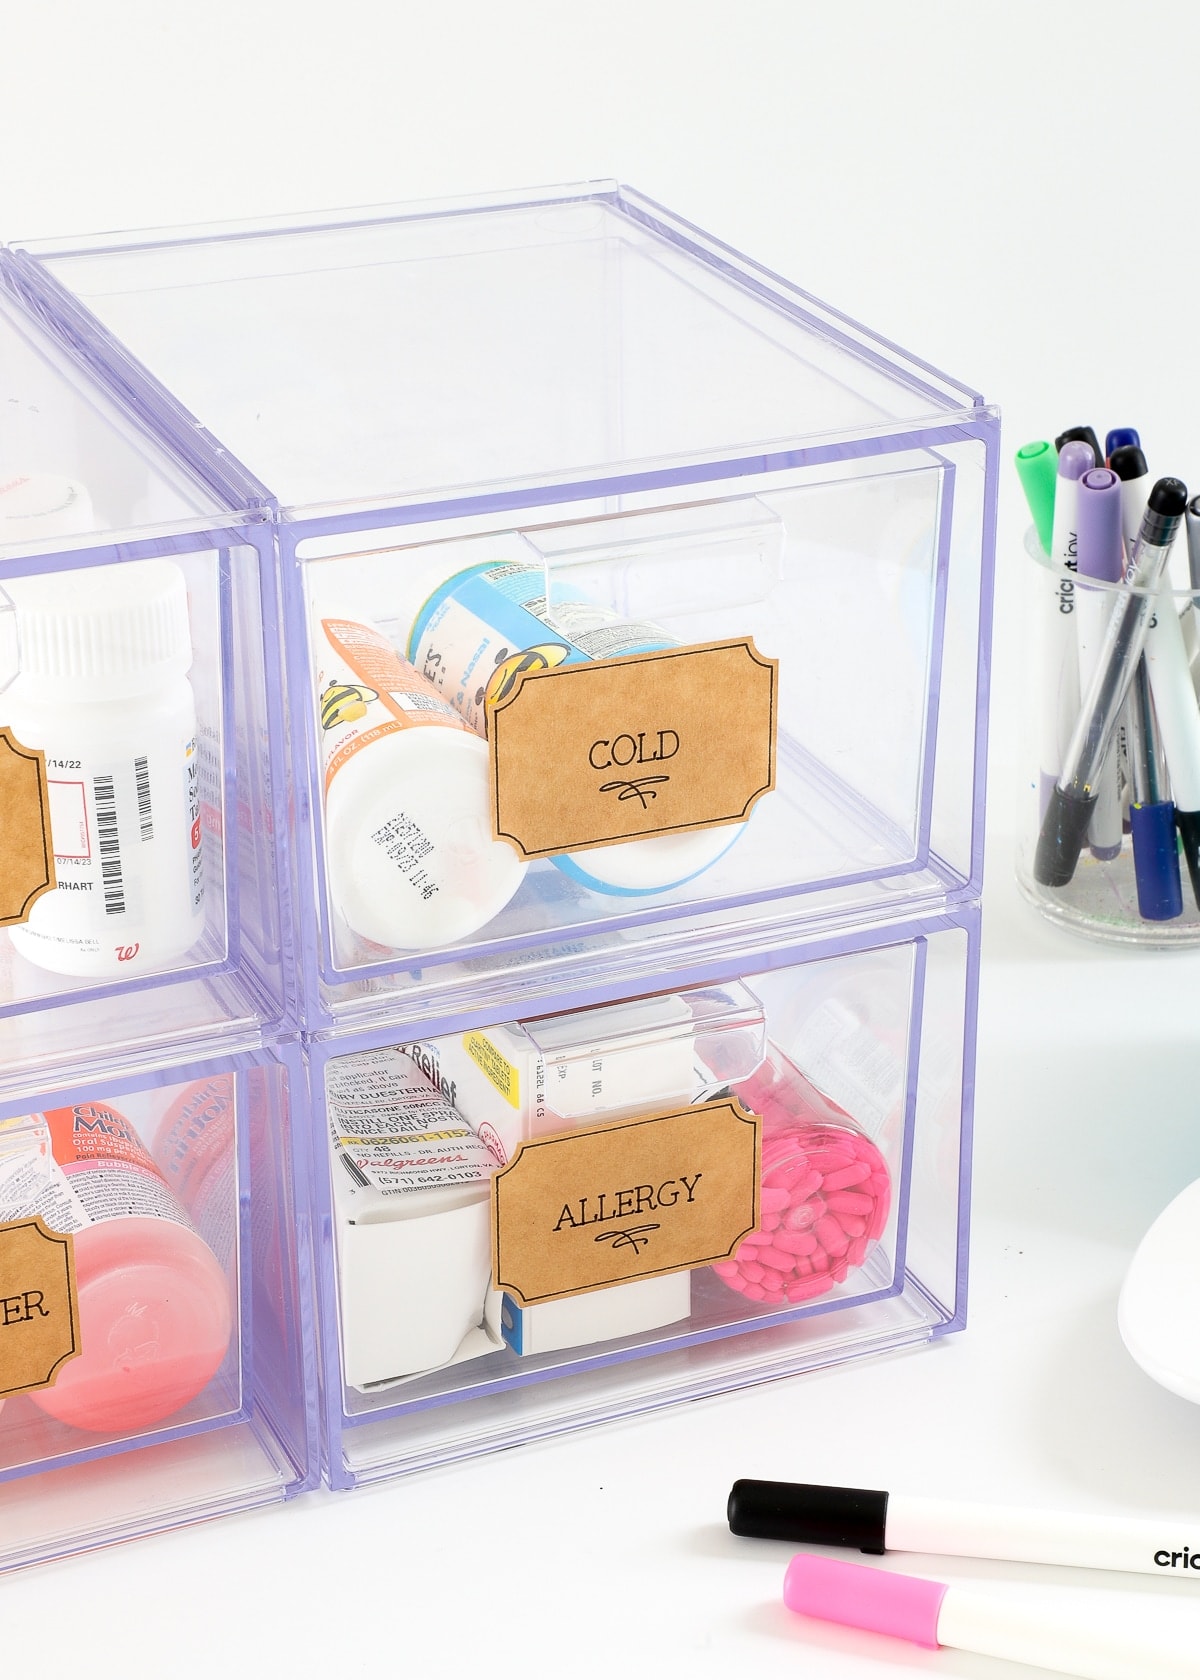
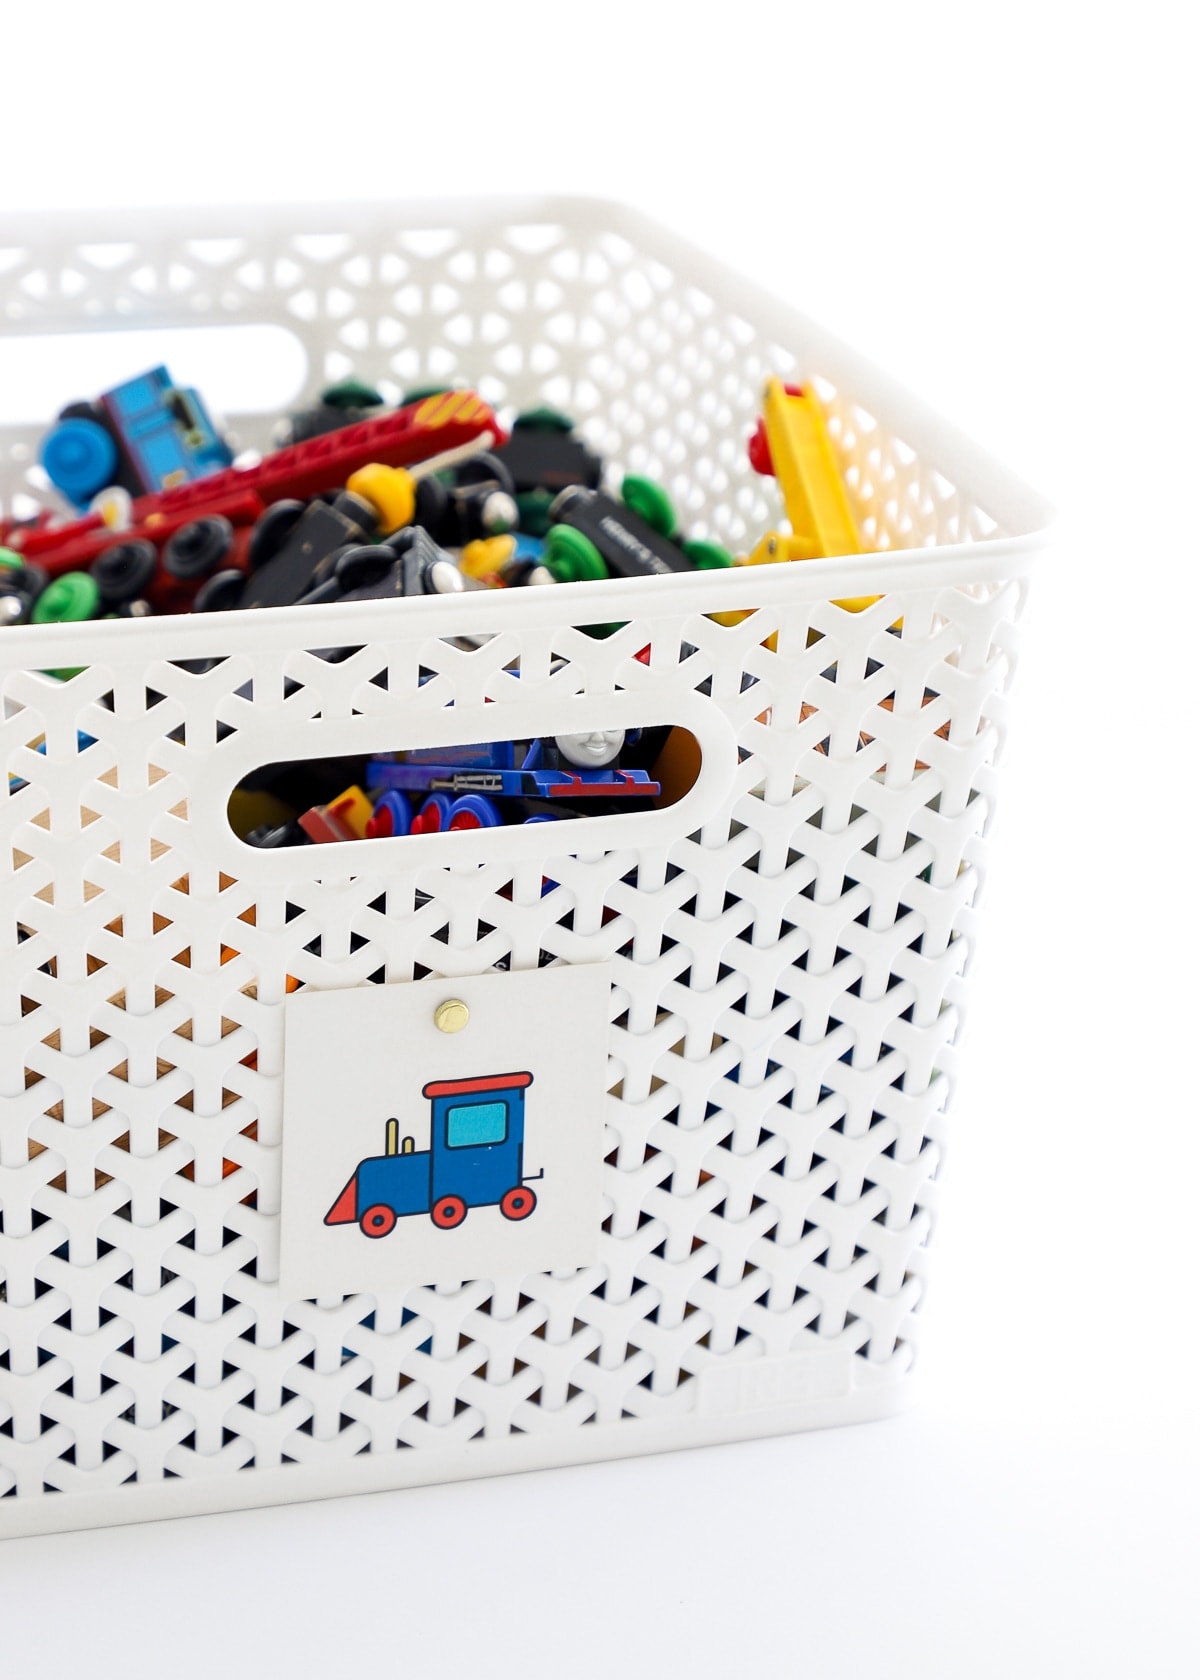
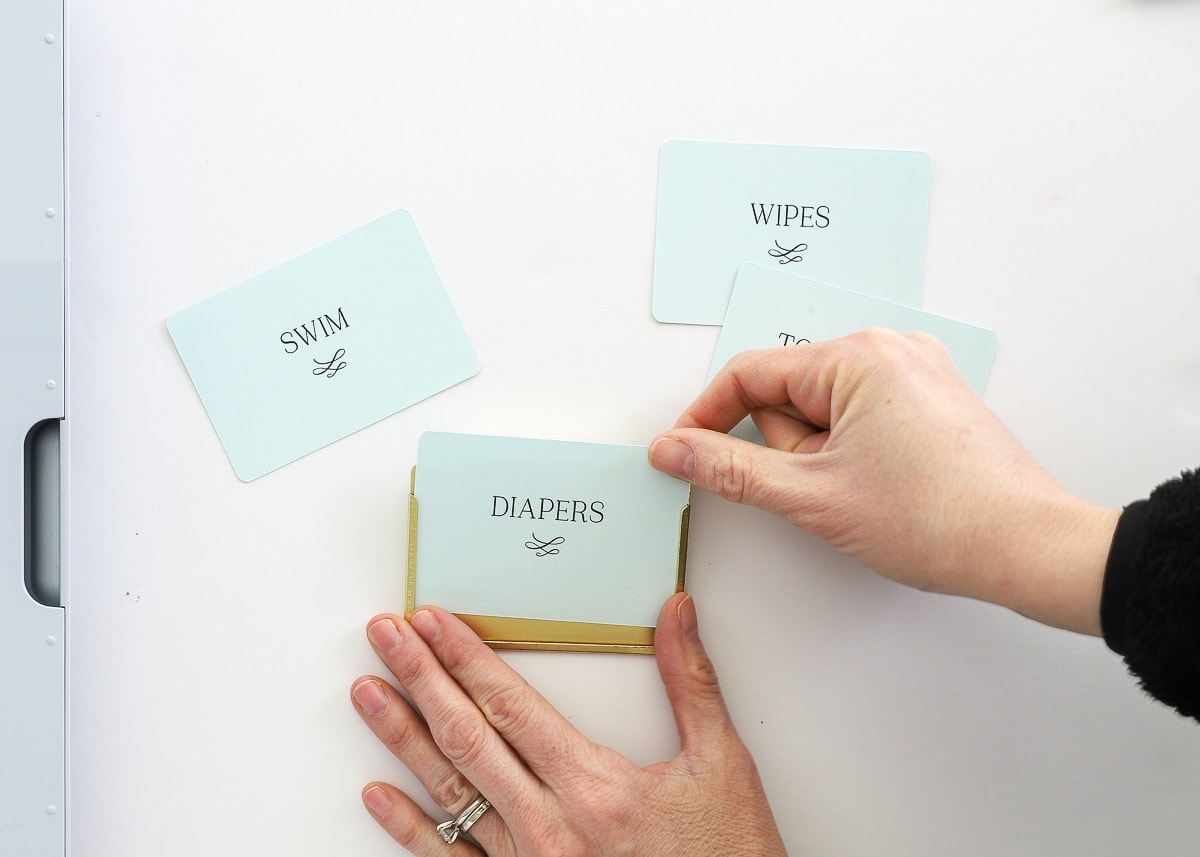
1. Labels with Cricut Vinyl
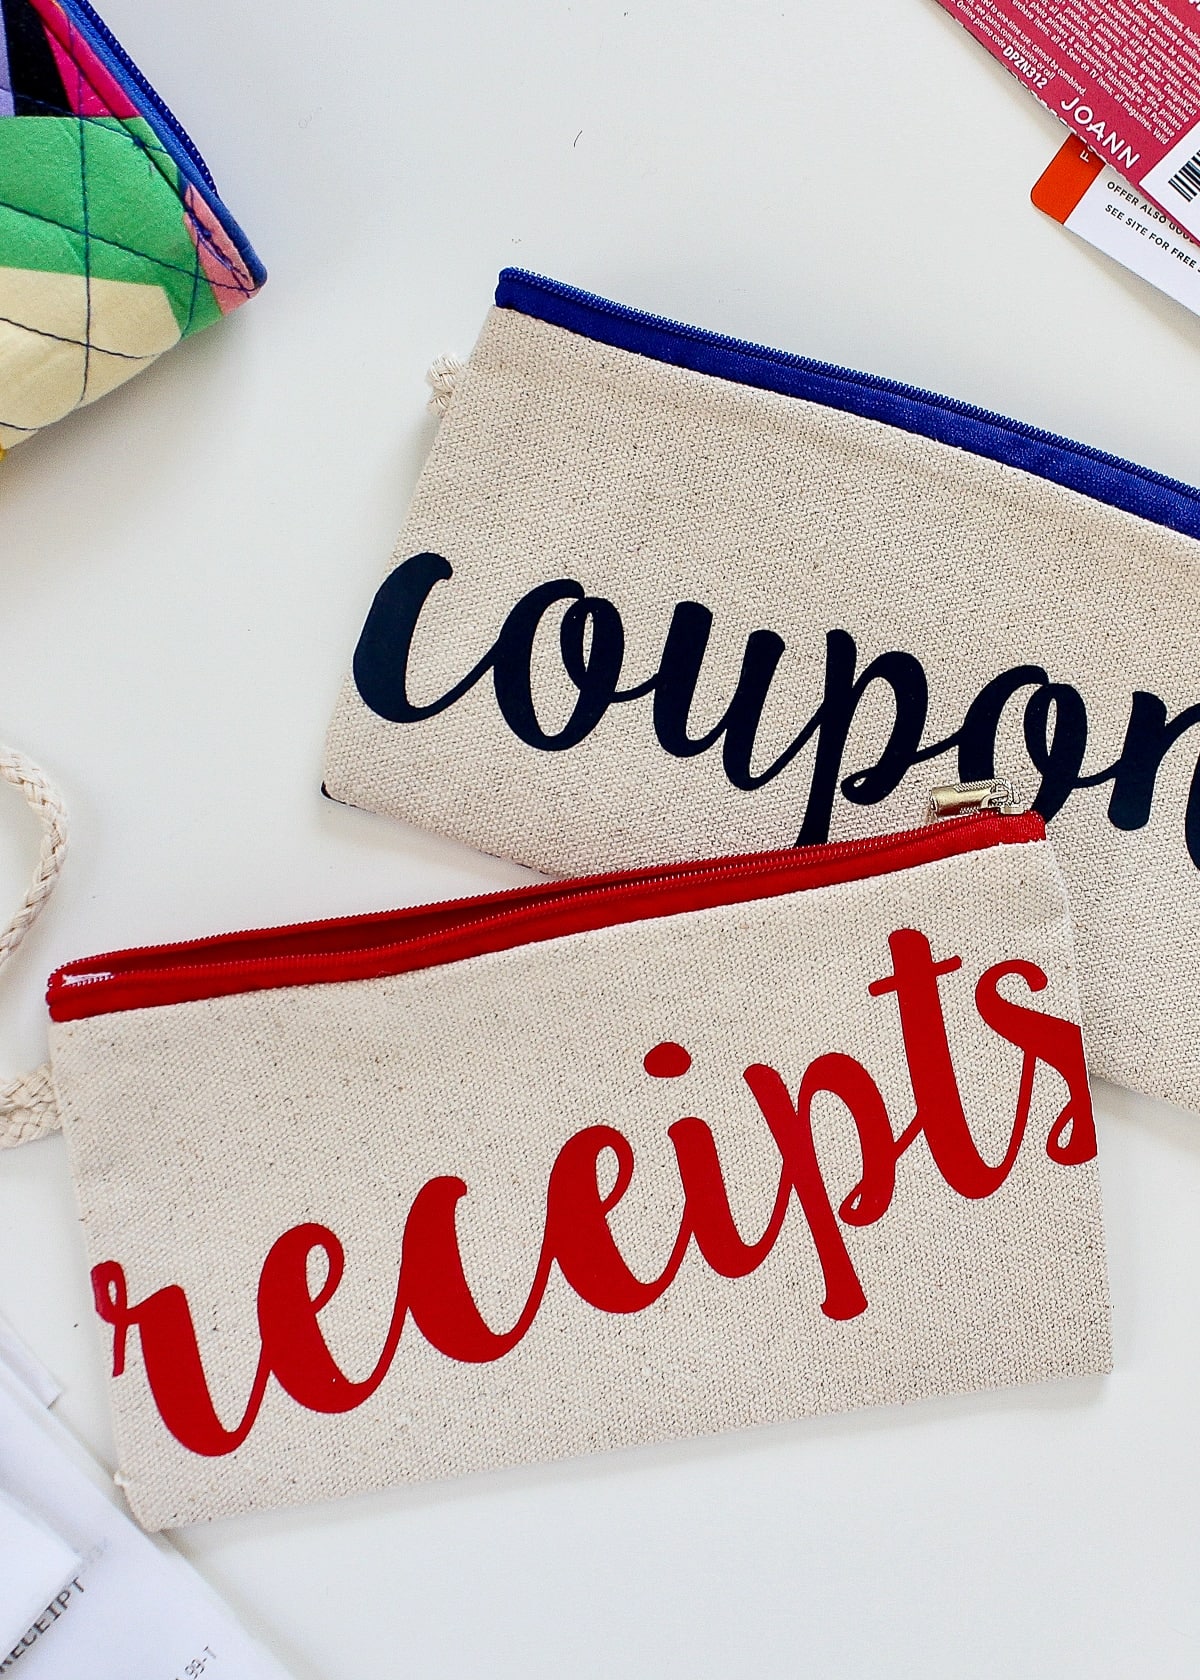
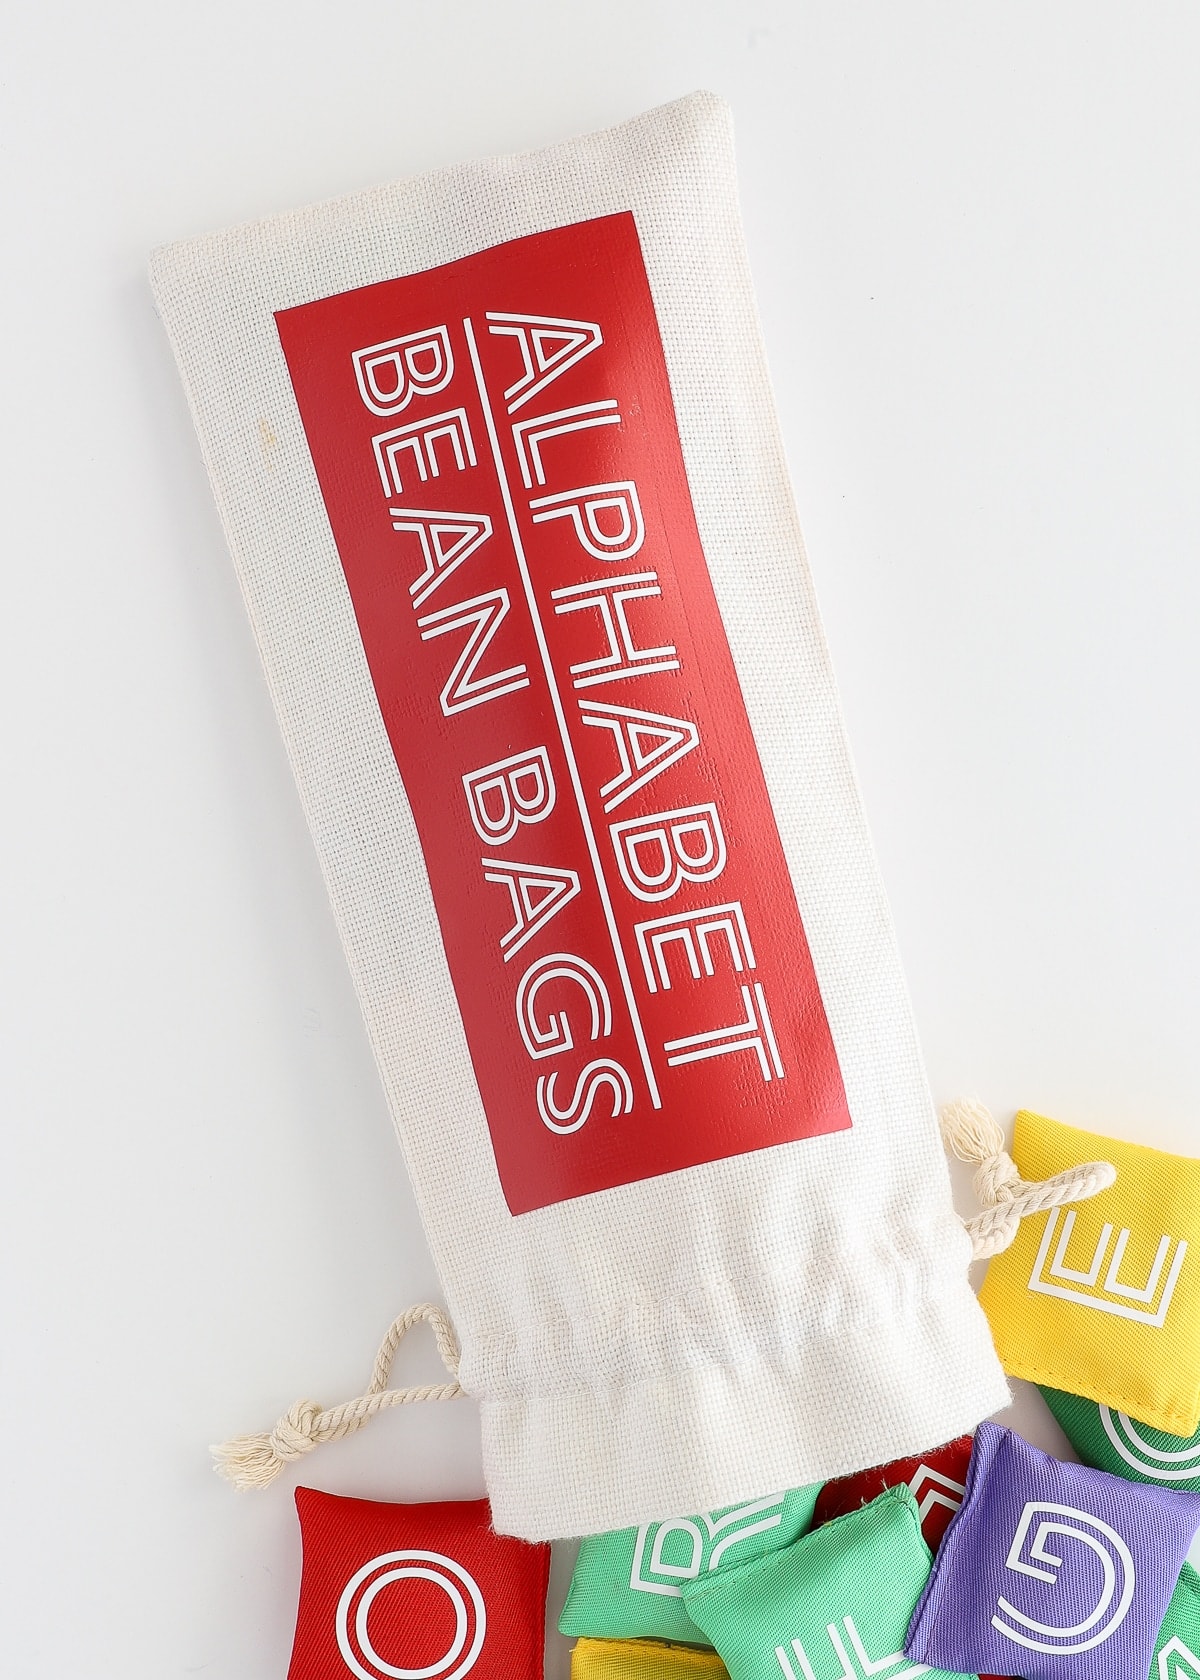
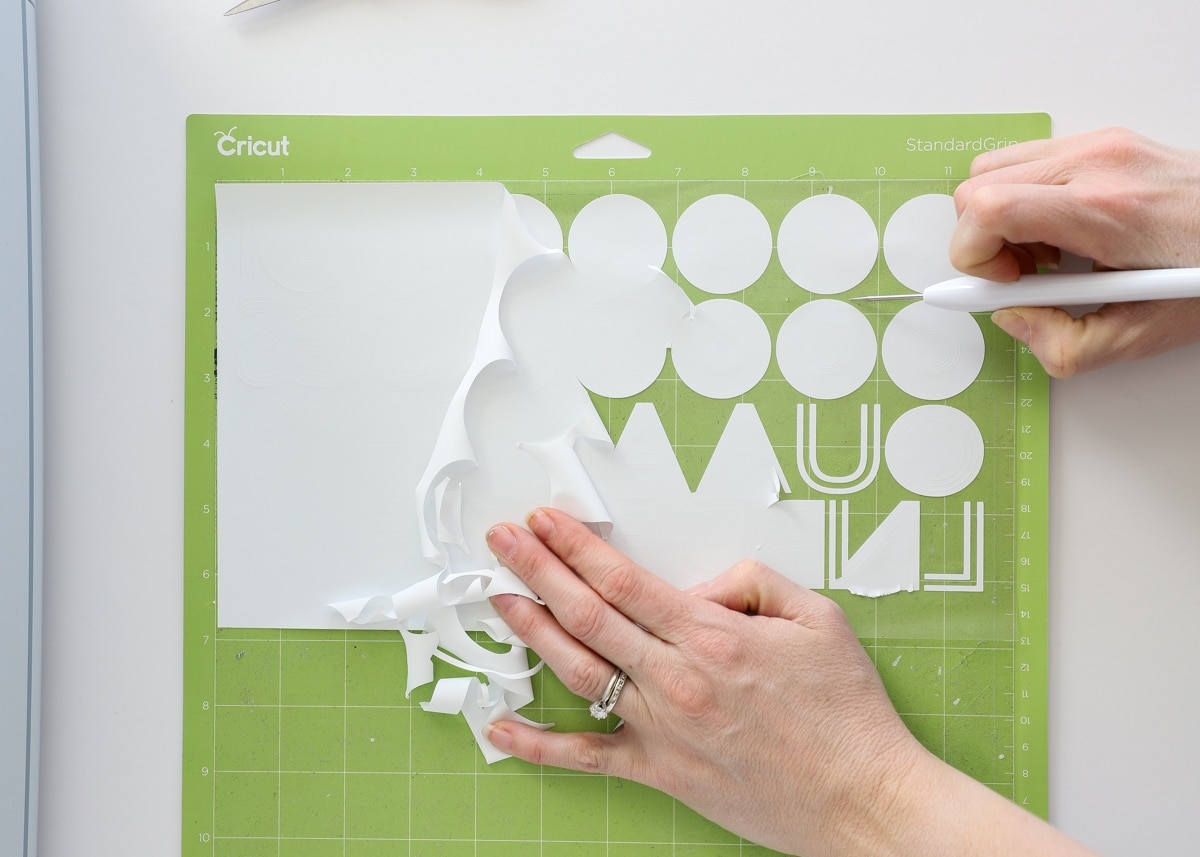
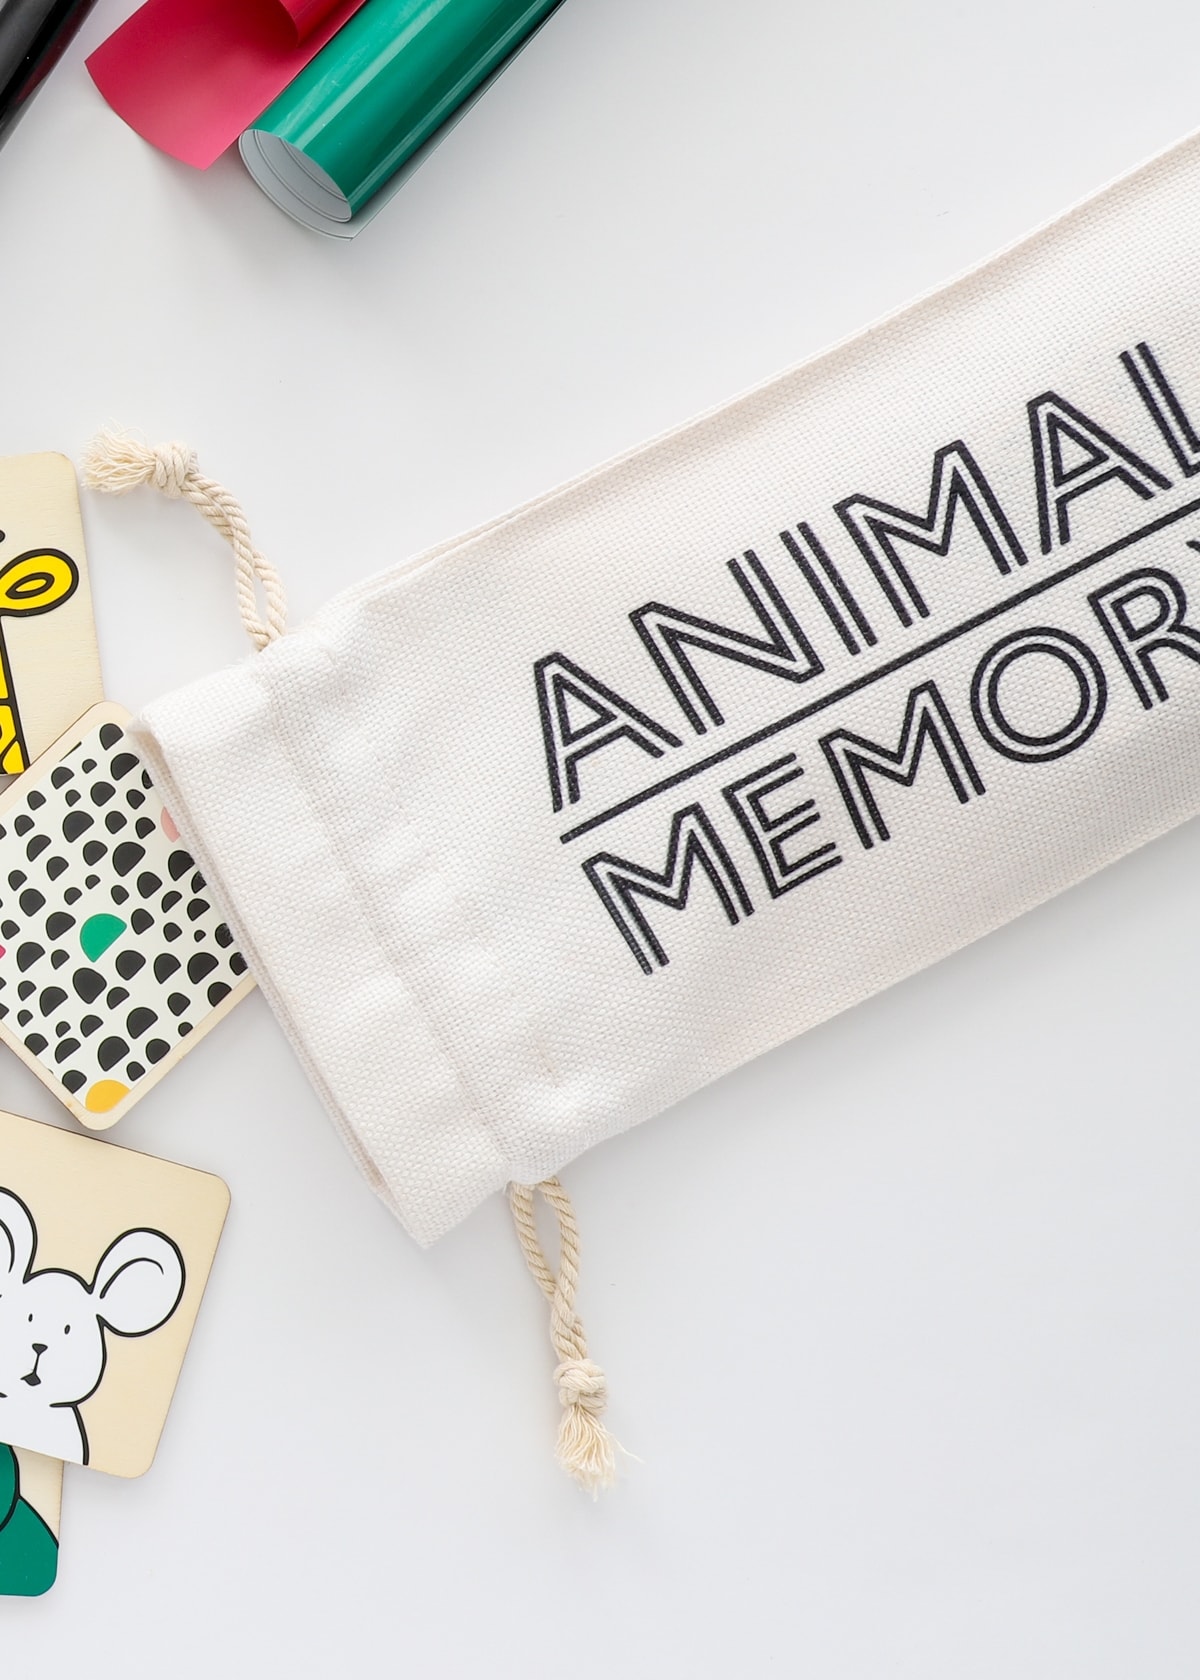
This method of labeling is the most popular among Cricut users and involves cutting out shapes, pictures, or words from adhesive vinyl and sticking it directly onto hard, smooth surfaces for a durable, (generally) waterproof label.
The Best Labeling Technique For…
Making DIY labels with vinyl is usually best for any hard, clean surface such as metal, plastic, and glass; although they can also be put on cardboard and some fabrics. And since vinyl comes in so many different colors, textures, and sheens, you can make ones that perfectly suit your style.
But be advised that vinyl labels are among the most “time intensive” of the options, requiring cutting, weeding, and application via transfer tape.
And although vinyl is technically removable, vinyl labels are not easily changeable since it requires peeling off the existing vinyl label, then re-cutting, weeding, and applying a fresh label with more transfer tape. As such, vinyl labels should be used for long-term labeling situations that are unlikely to change quickly.


What You Need
- Cricut Machine – any Cricut machine can be used for this labeling technique (Cricut Joy | Cricut Explore | Cricut Maker)
- Fine-Point Blade – the one that comes with your machine
- StandardGrip Mat
- Adhesive Vinyl
- Weeding Tools
- Scraper
- Transfer Tape
How To Do It
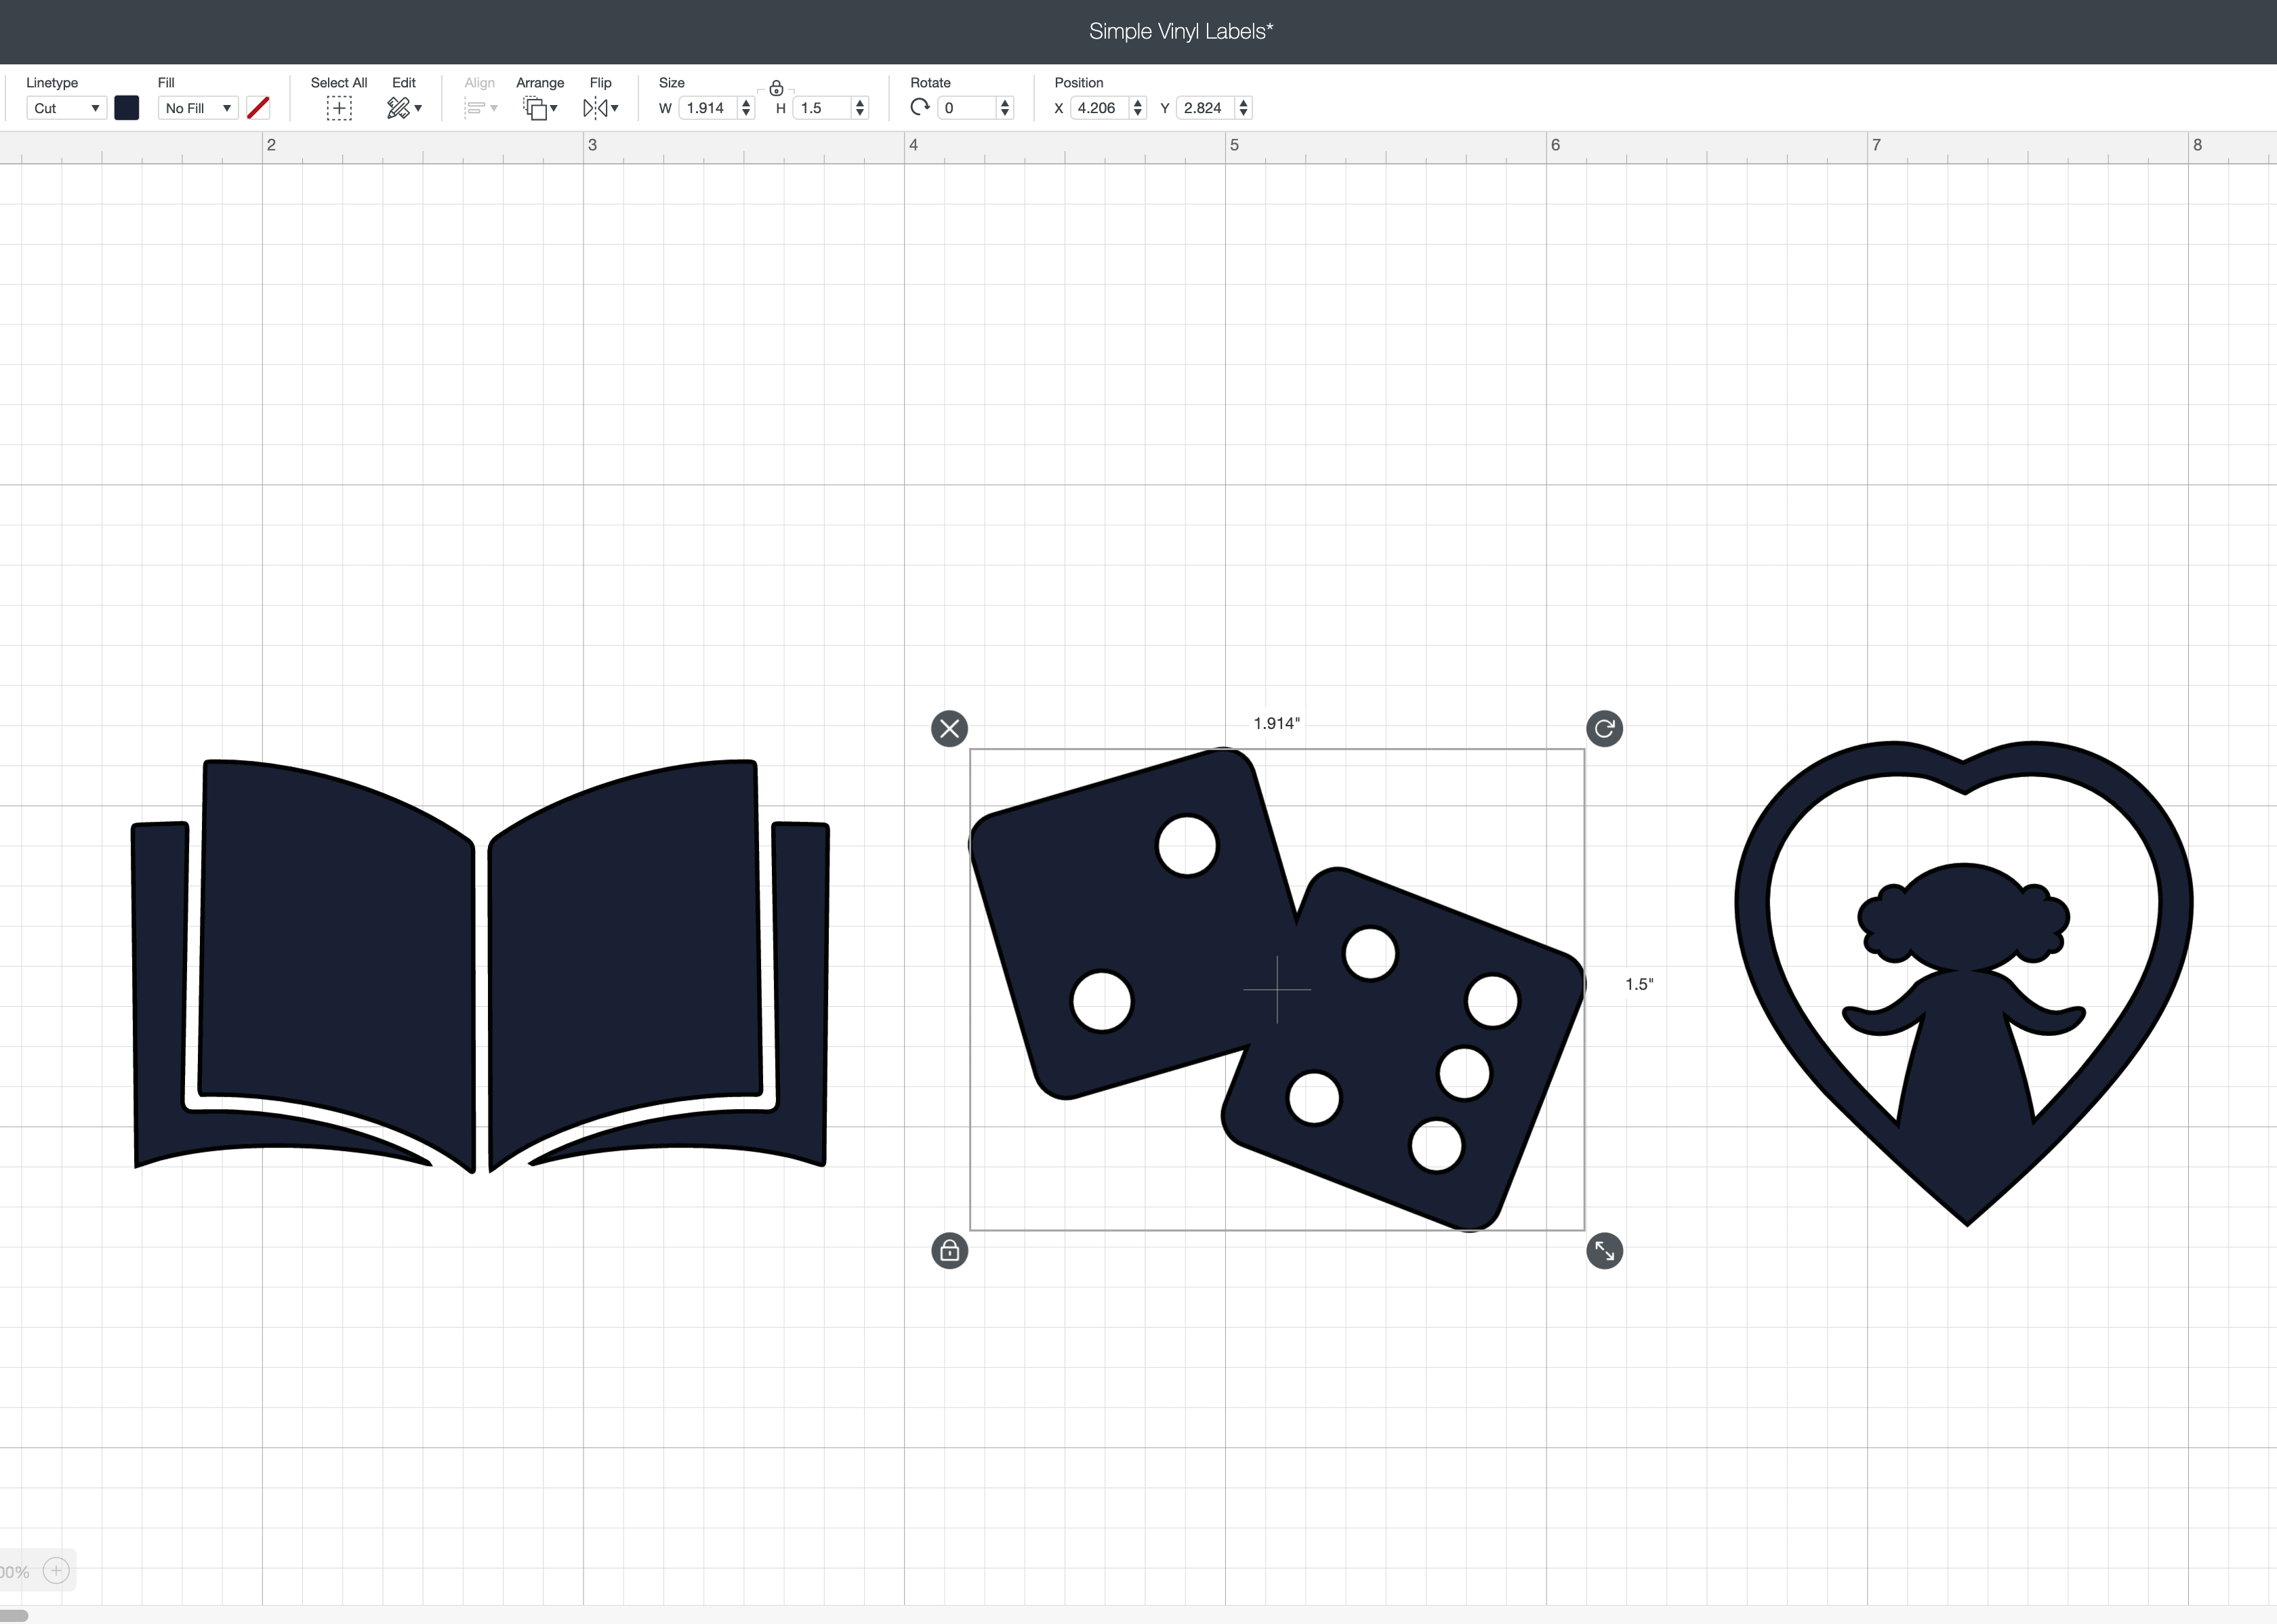
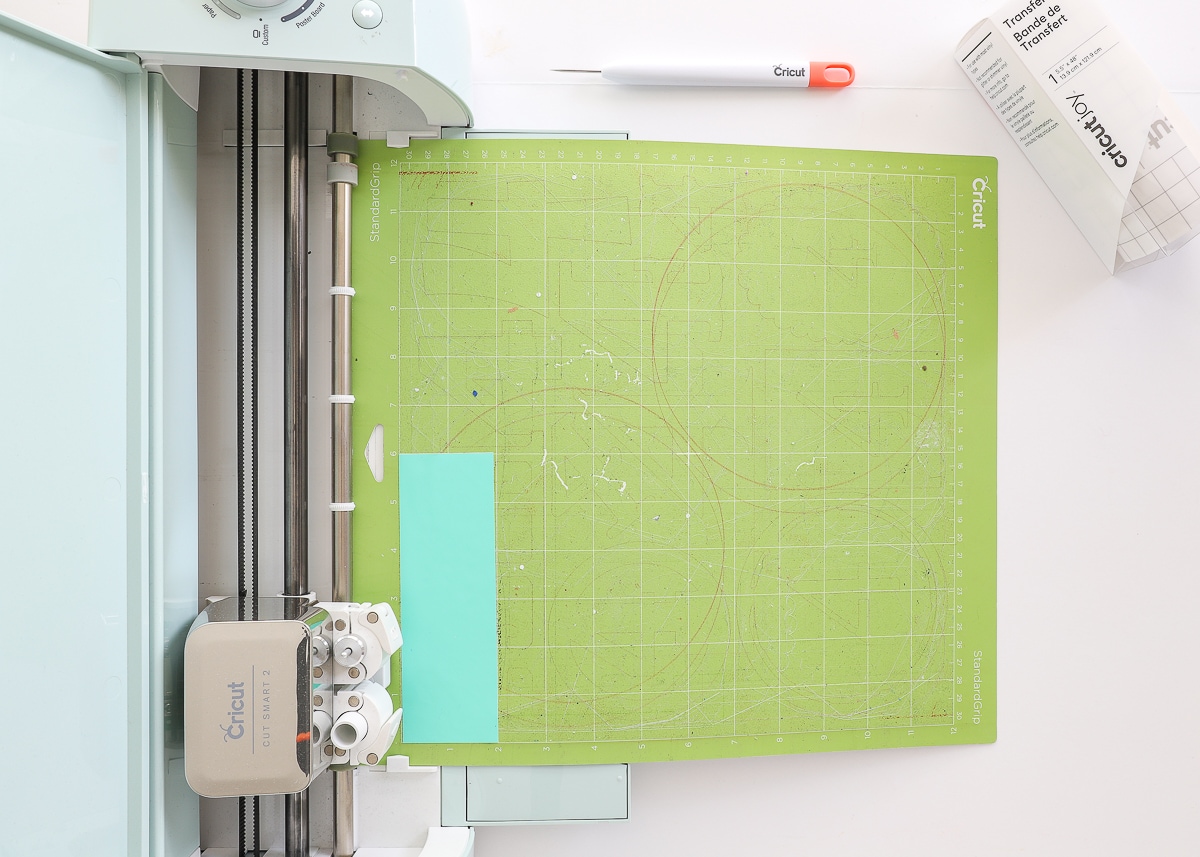
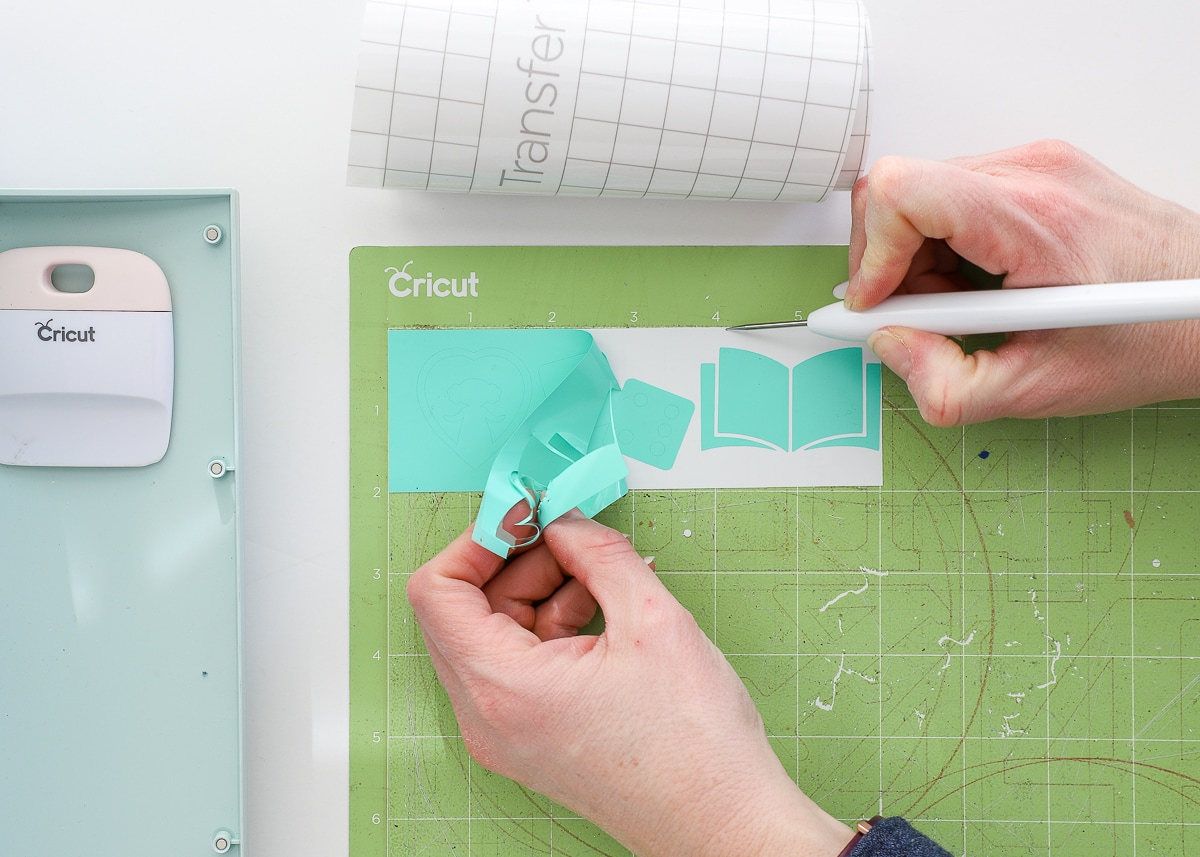
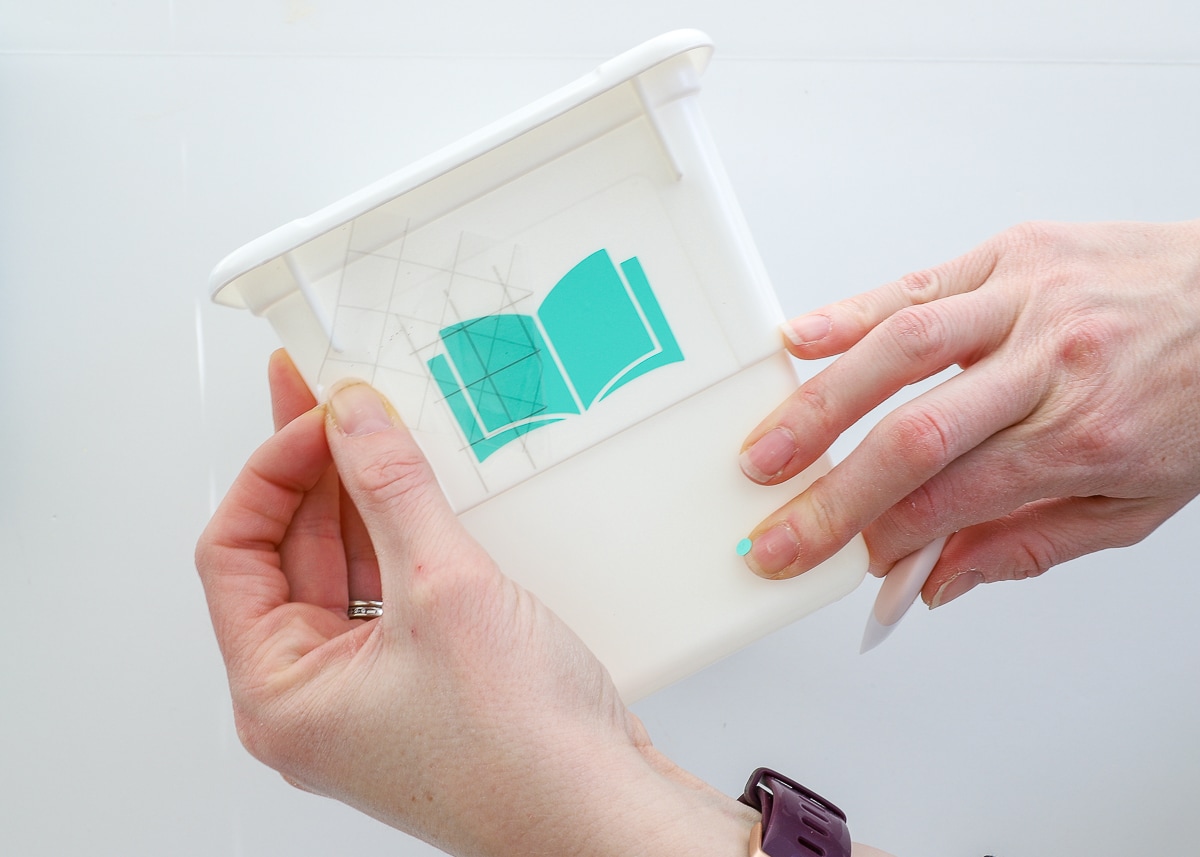
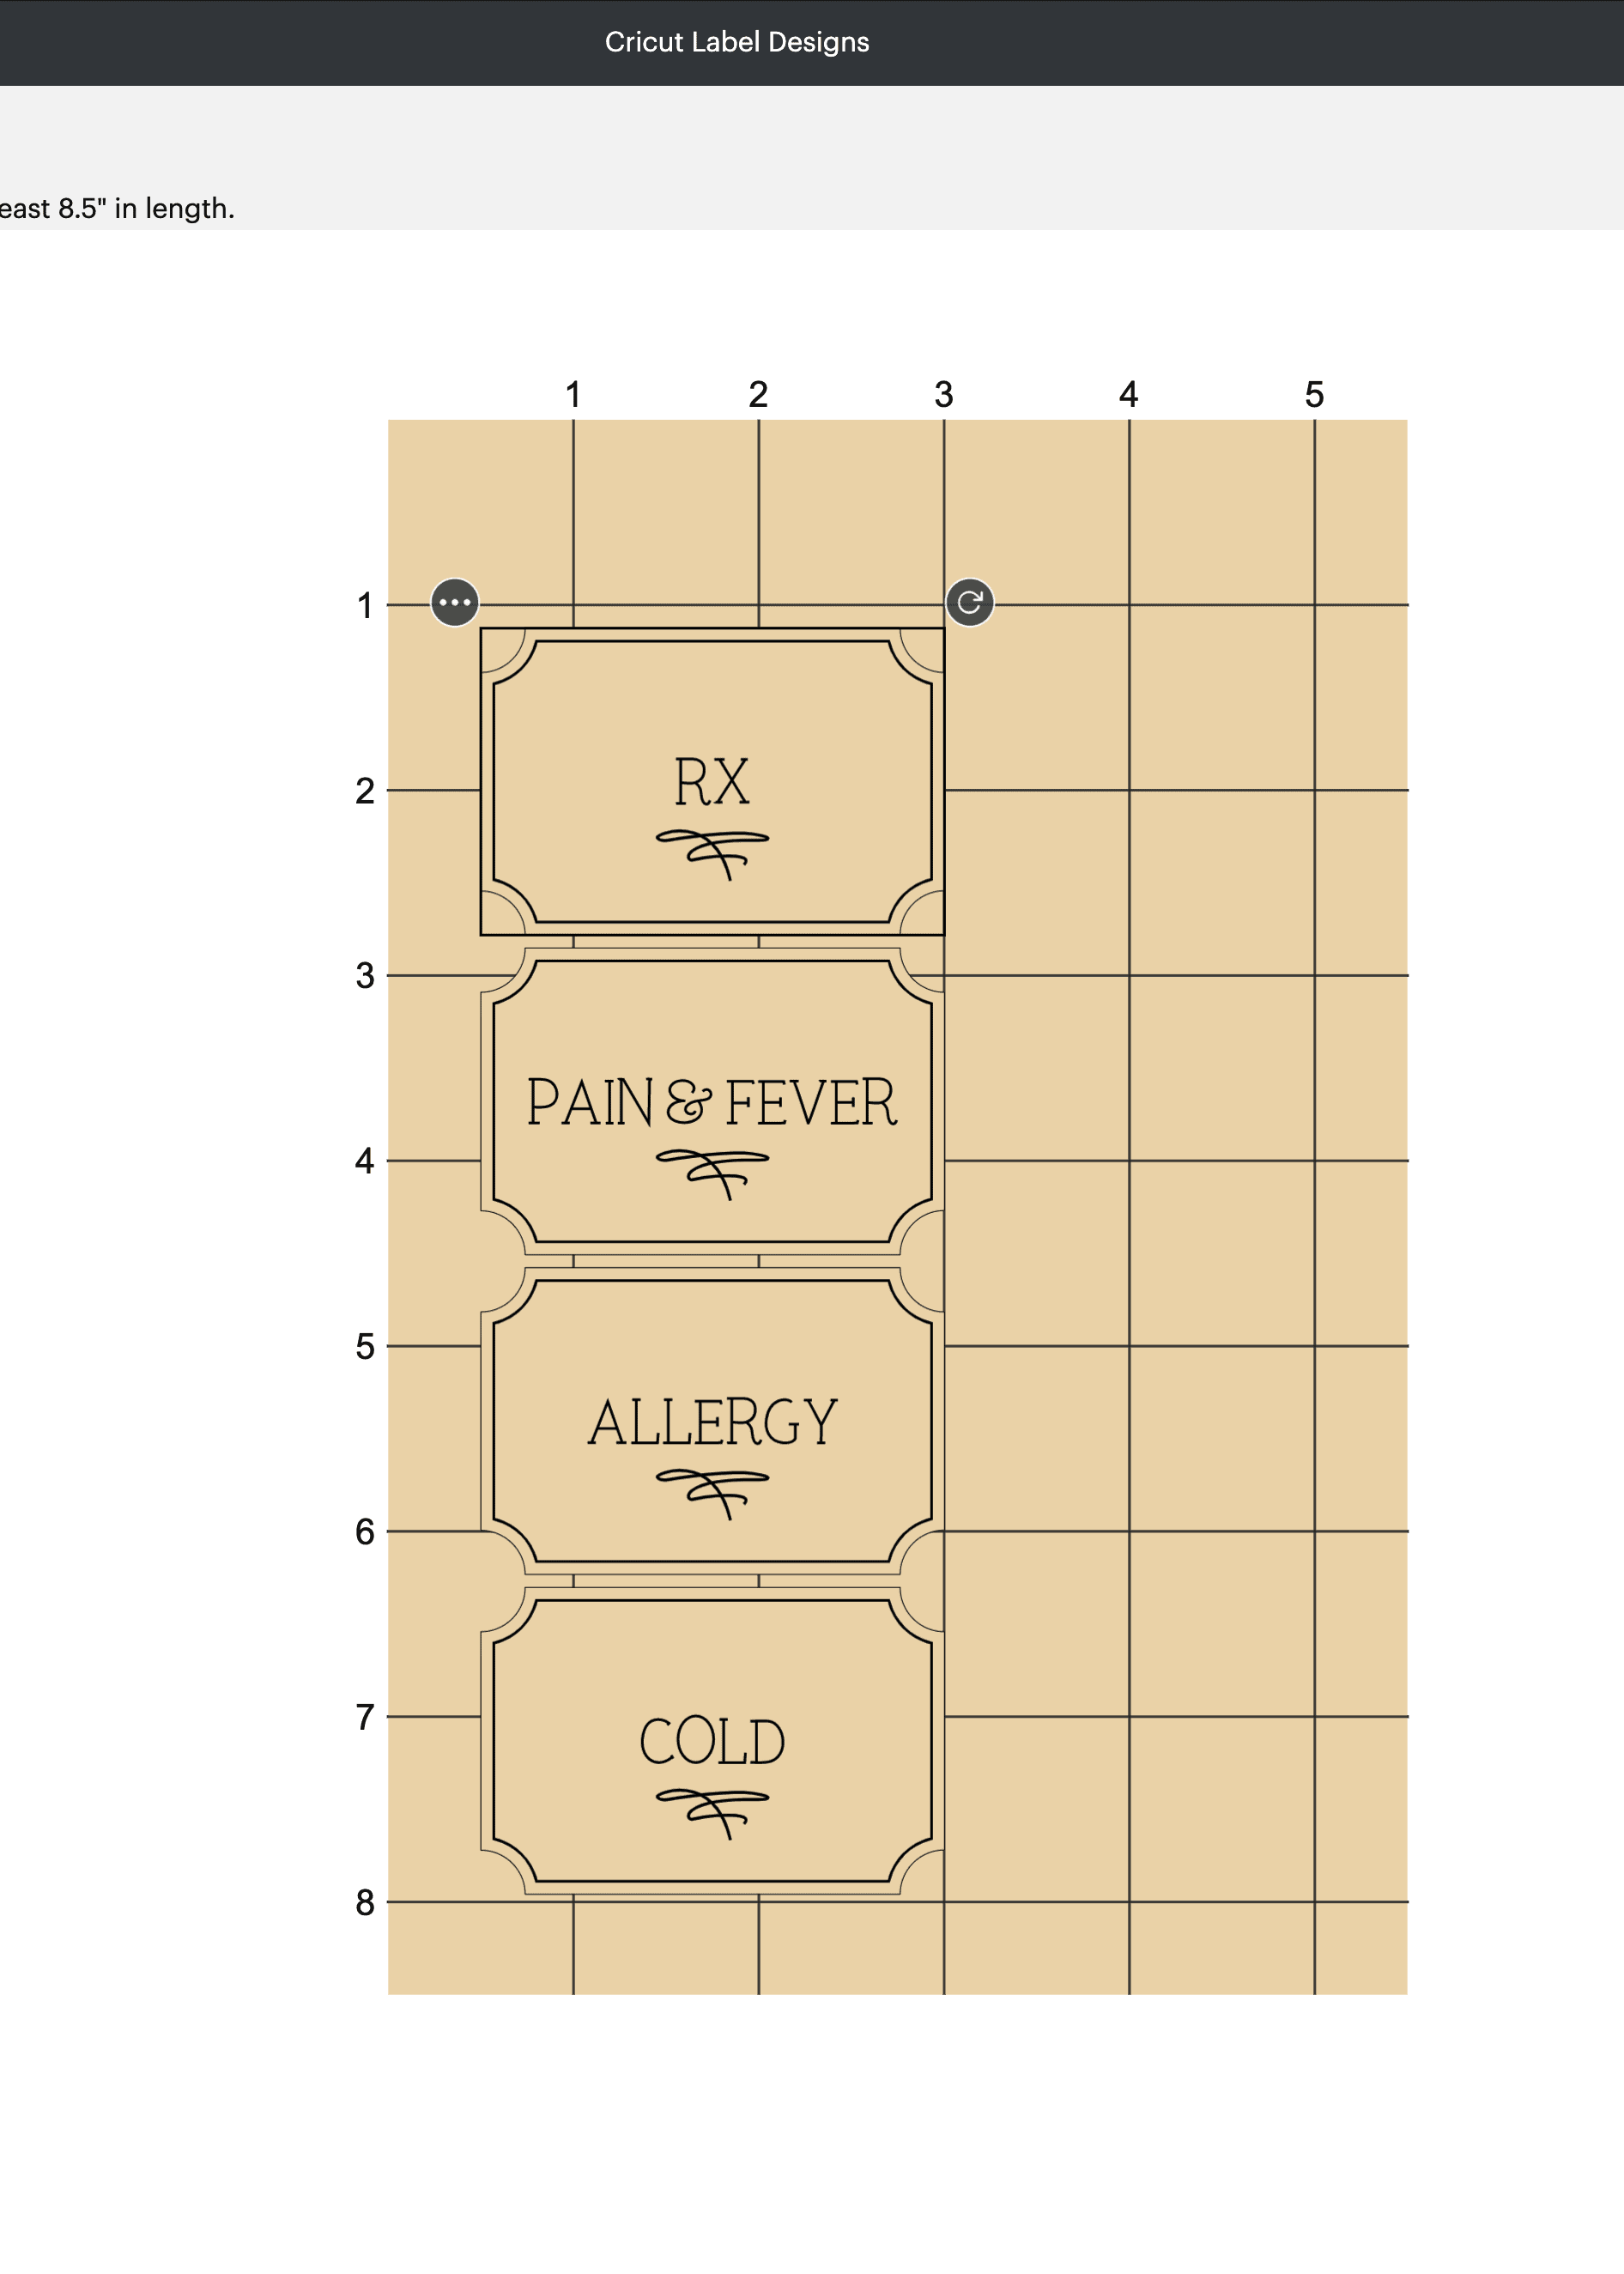
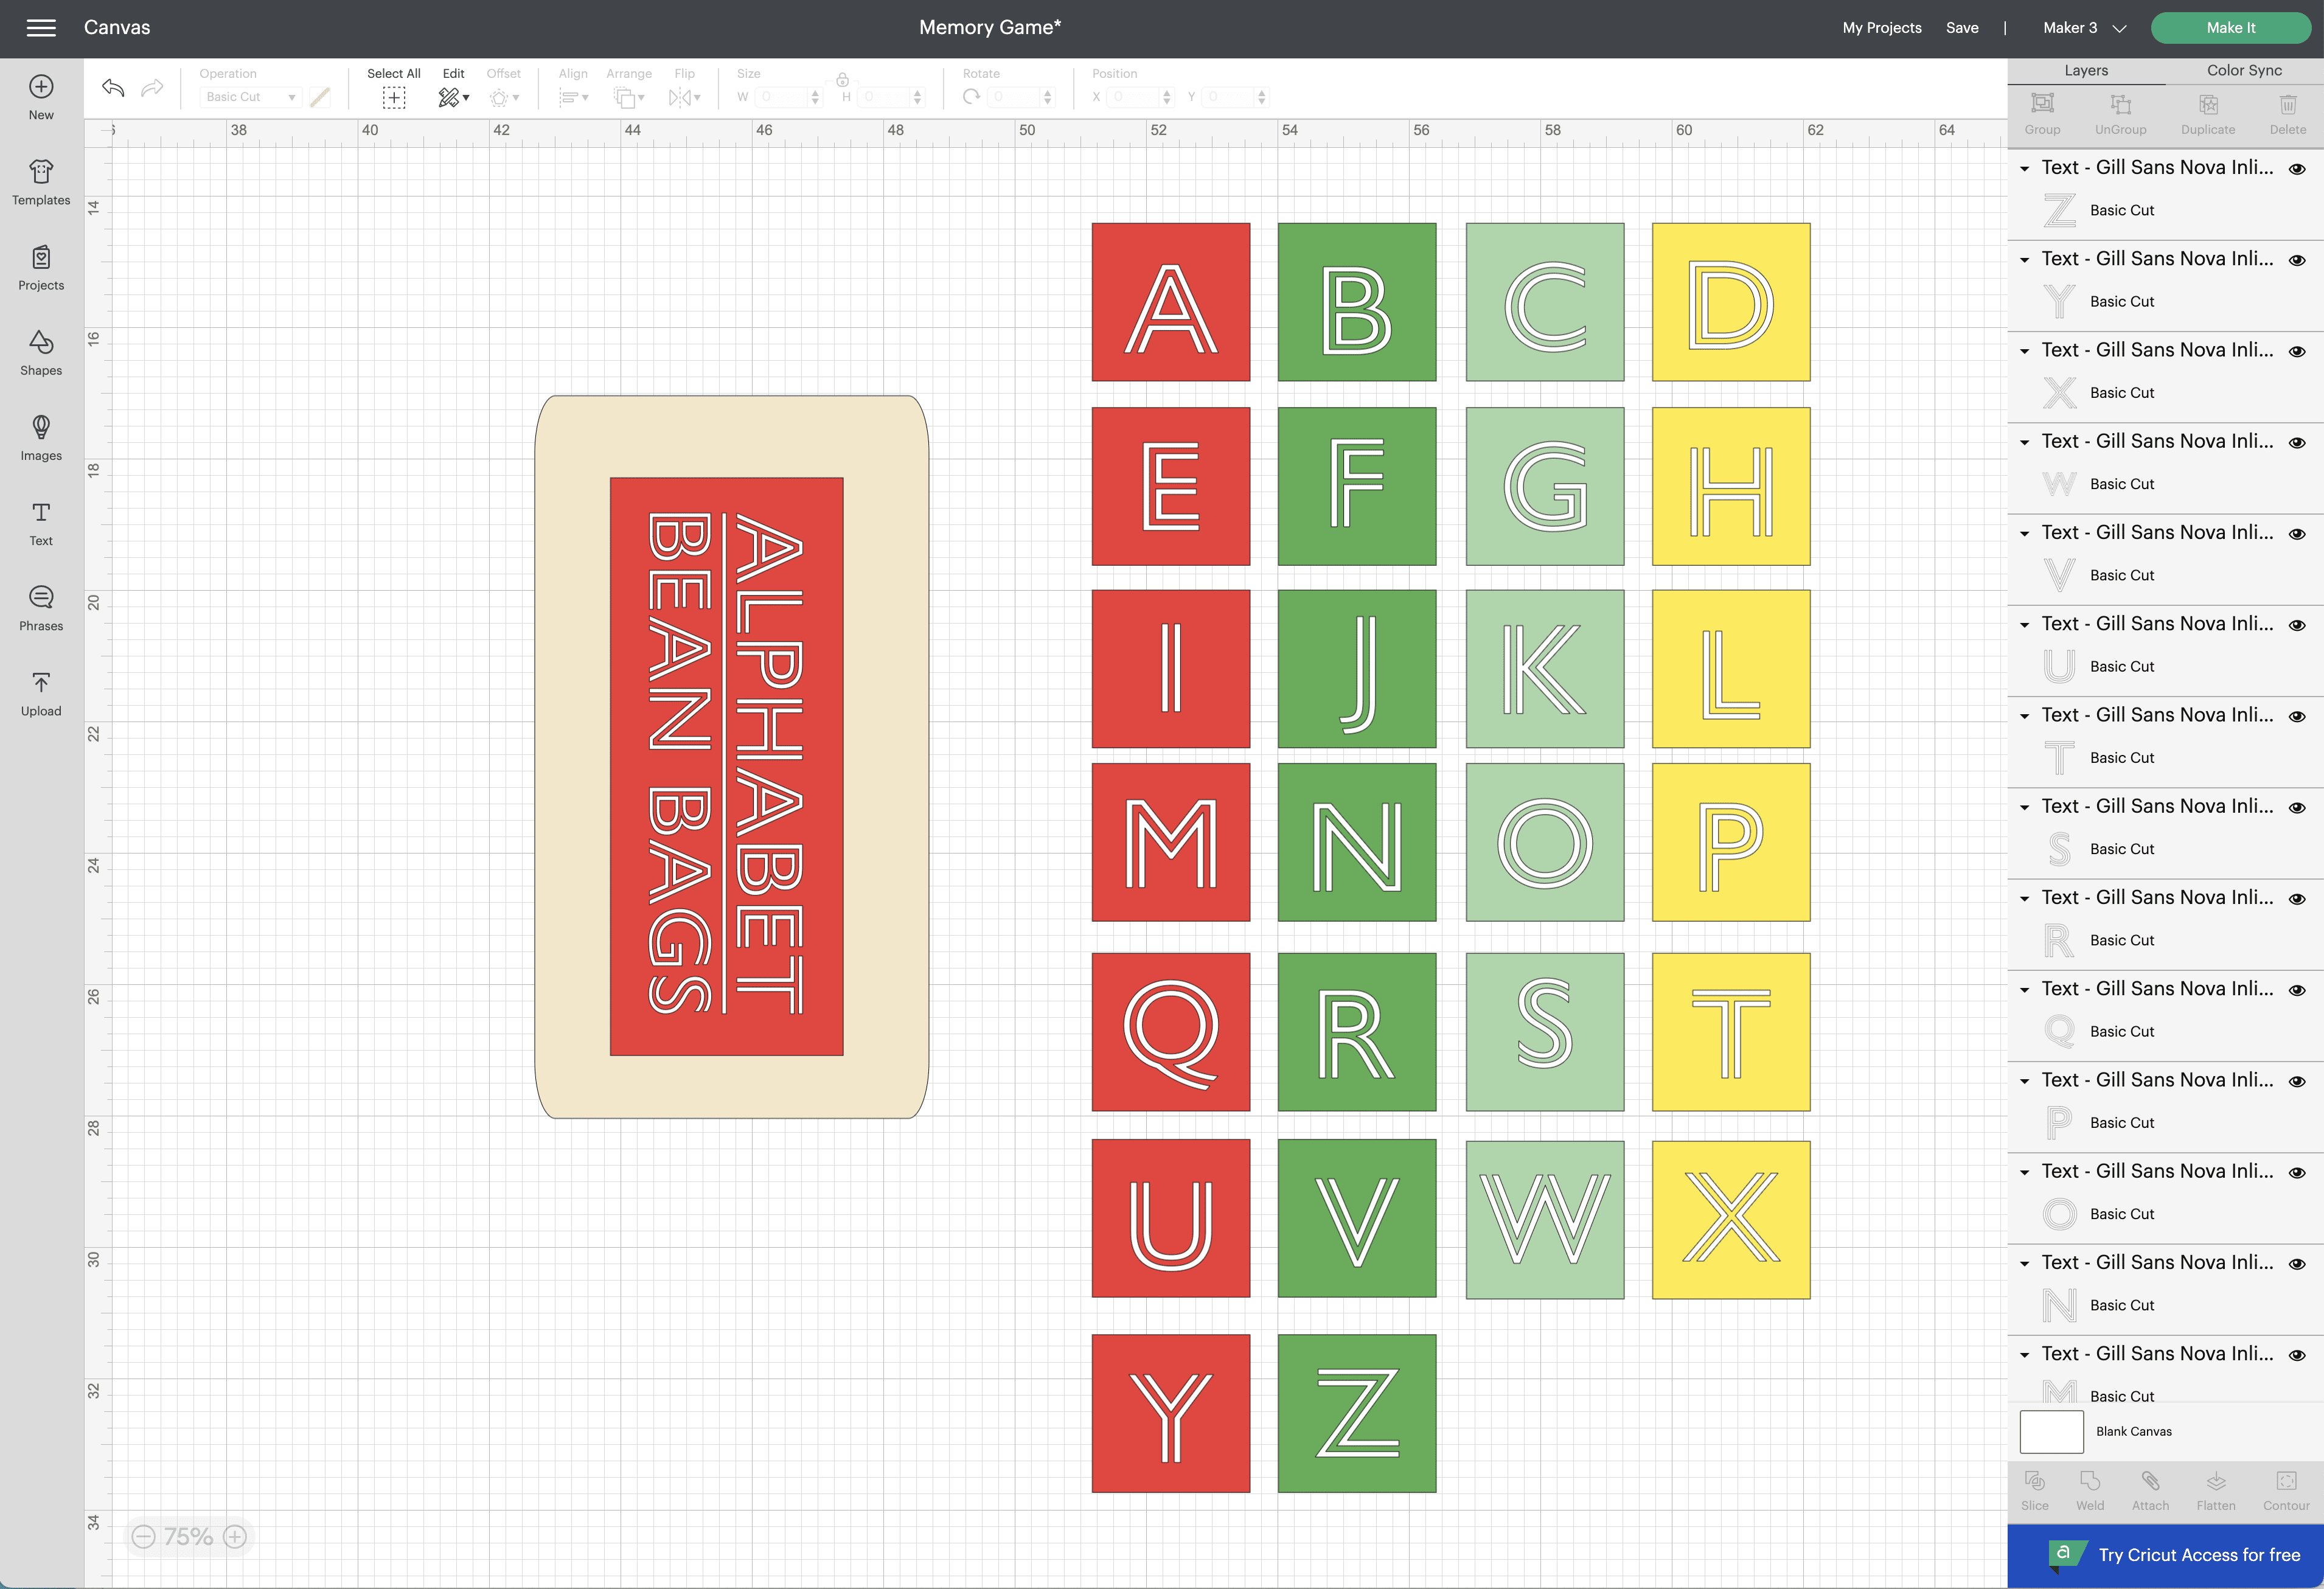
- Design label words, shapes, or pictures in Cricut Design Space.
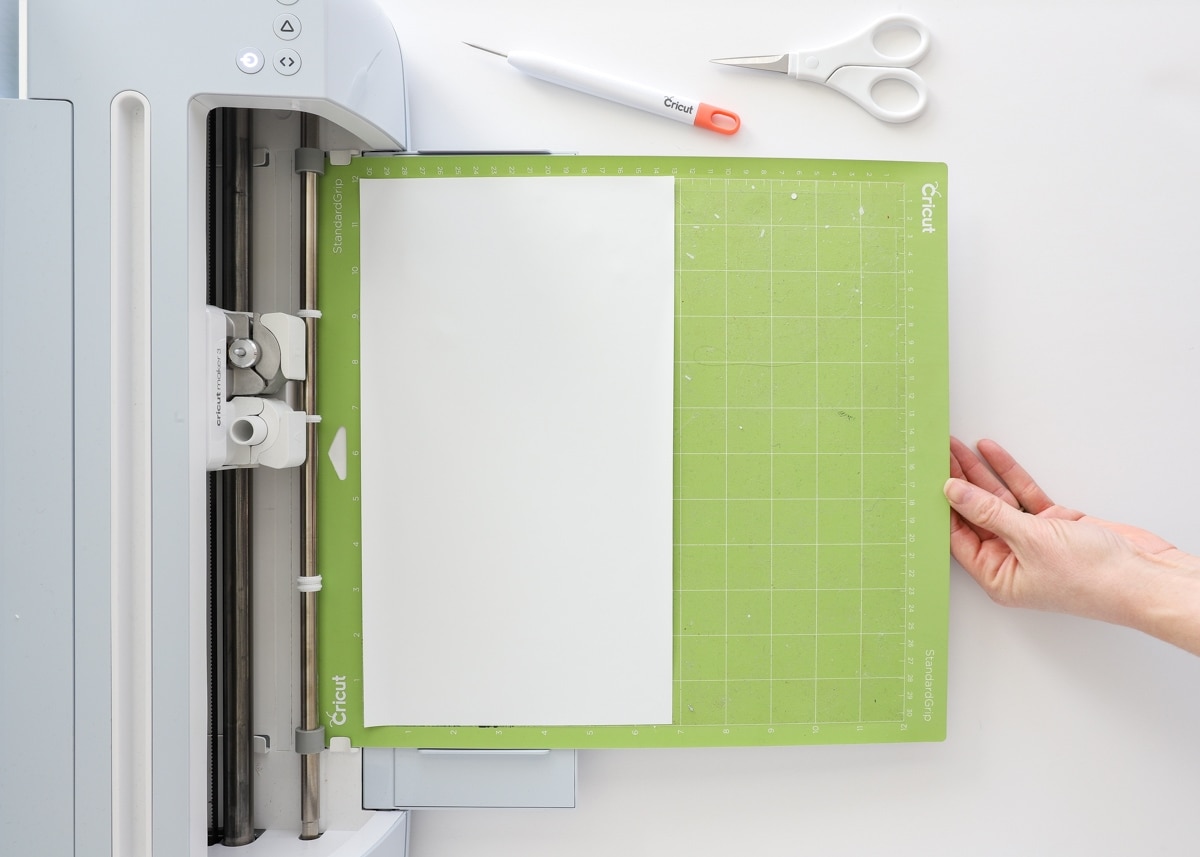
- Cut out label designs from adhesive vinyl using your Cricut machine.
- Weed excess vinyl from around and within the label designs.
- Transfer the vinyl label to your surface with a piece of transfer tape and scraper tool.
Ready to give this a try? See the full tutorial:
How to Make Vinyl Labels with a Cricut | A Comprehensive Guide
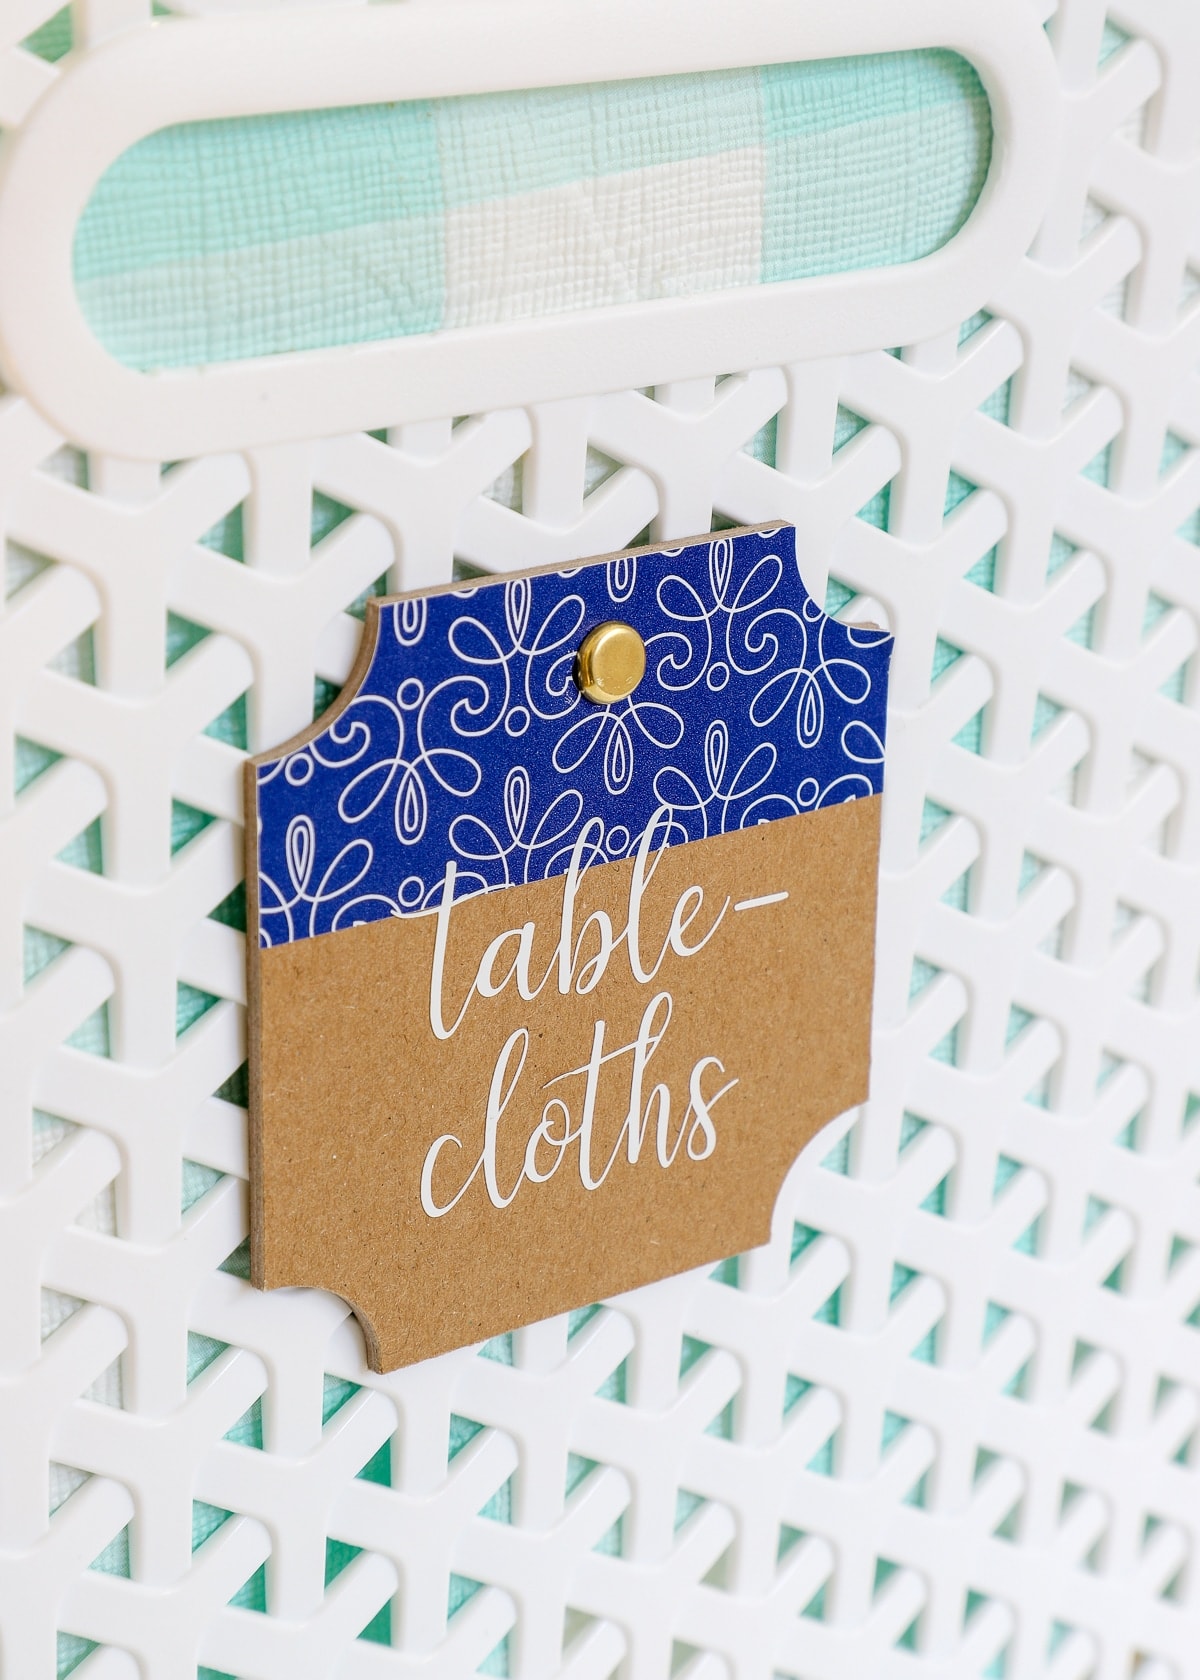
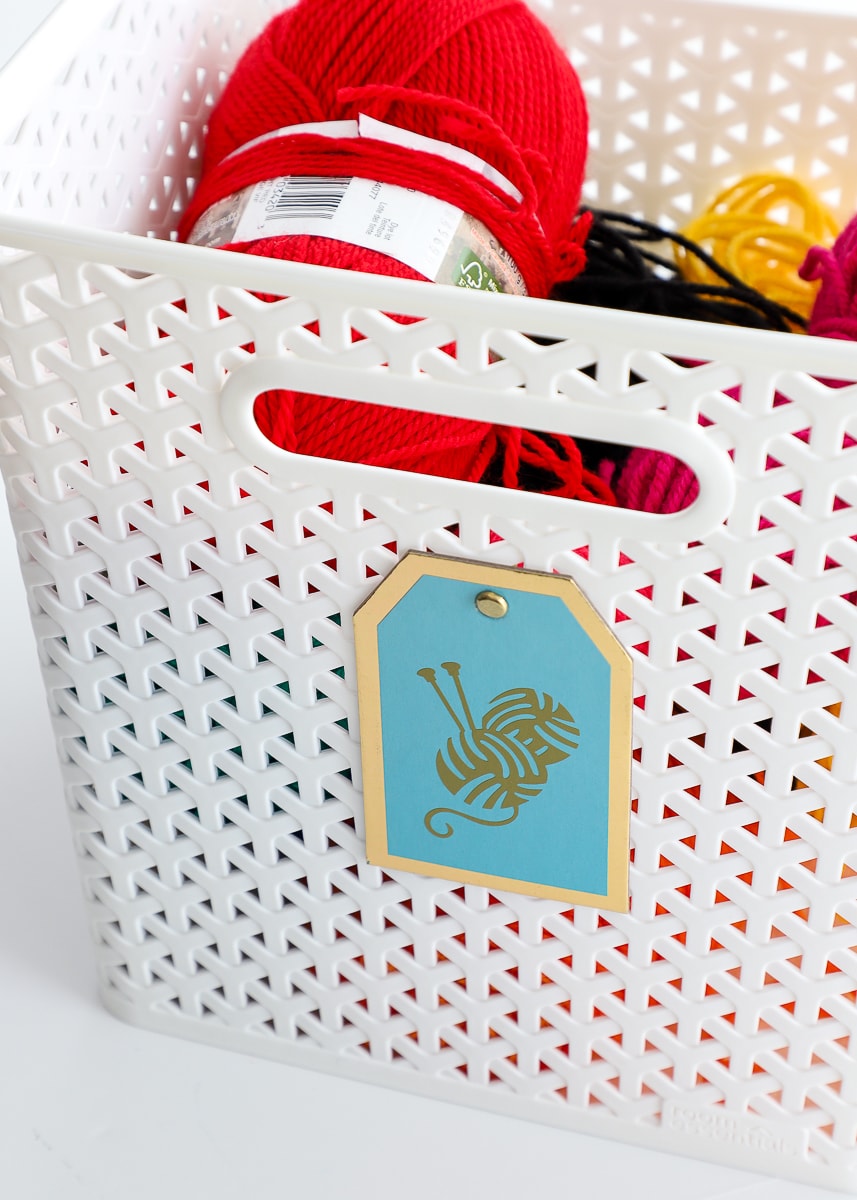
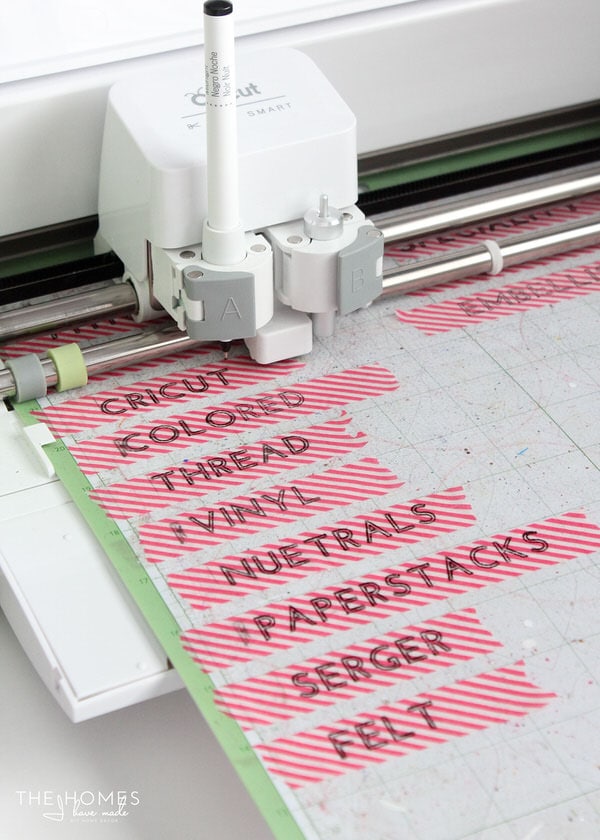
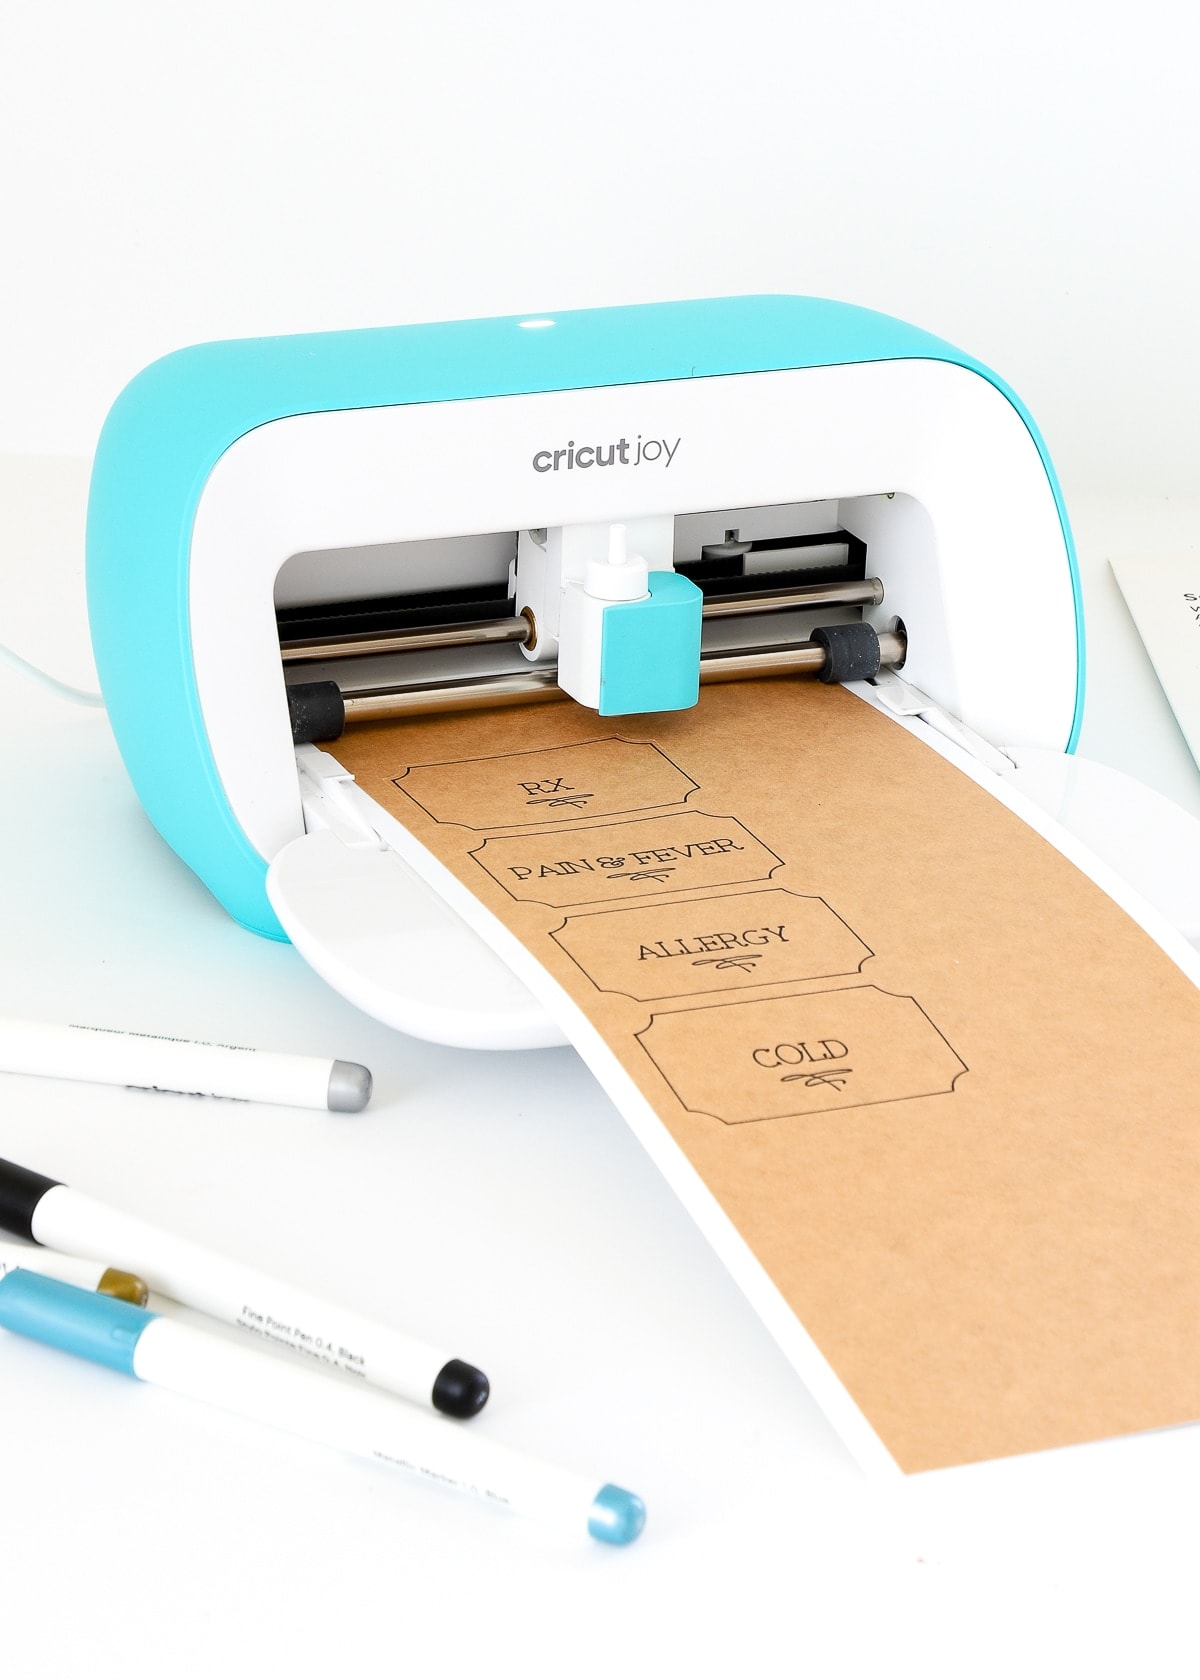
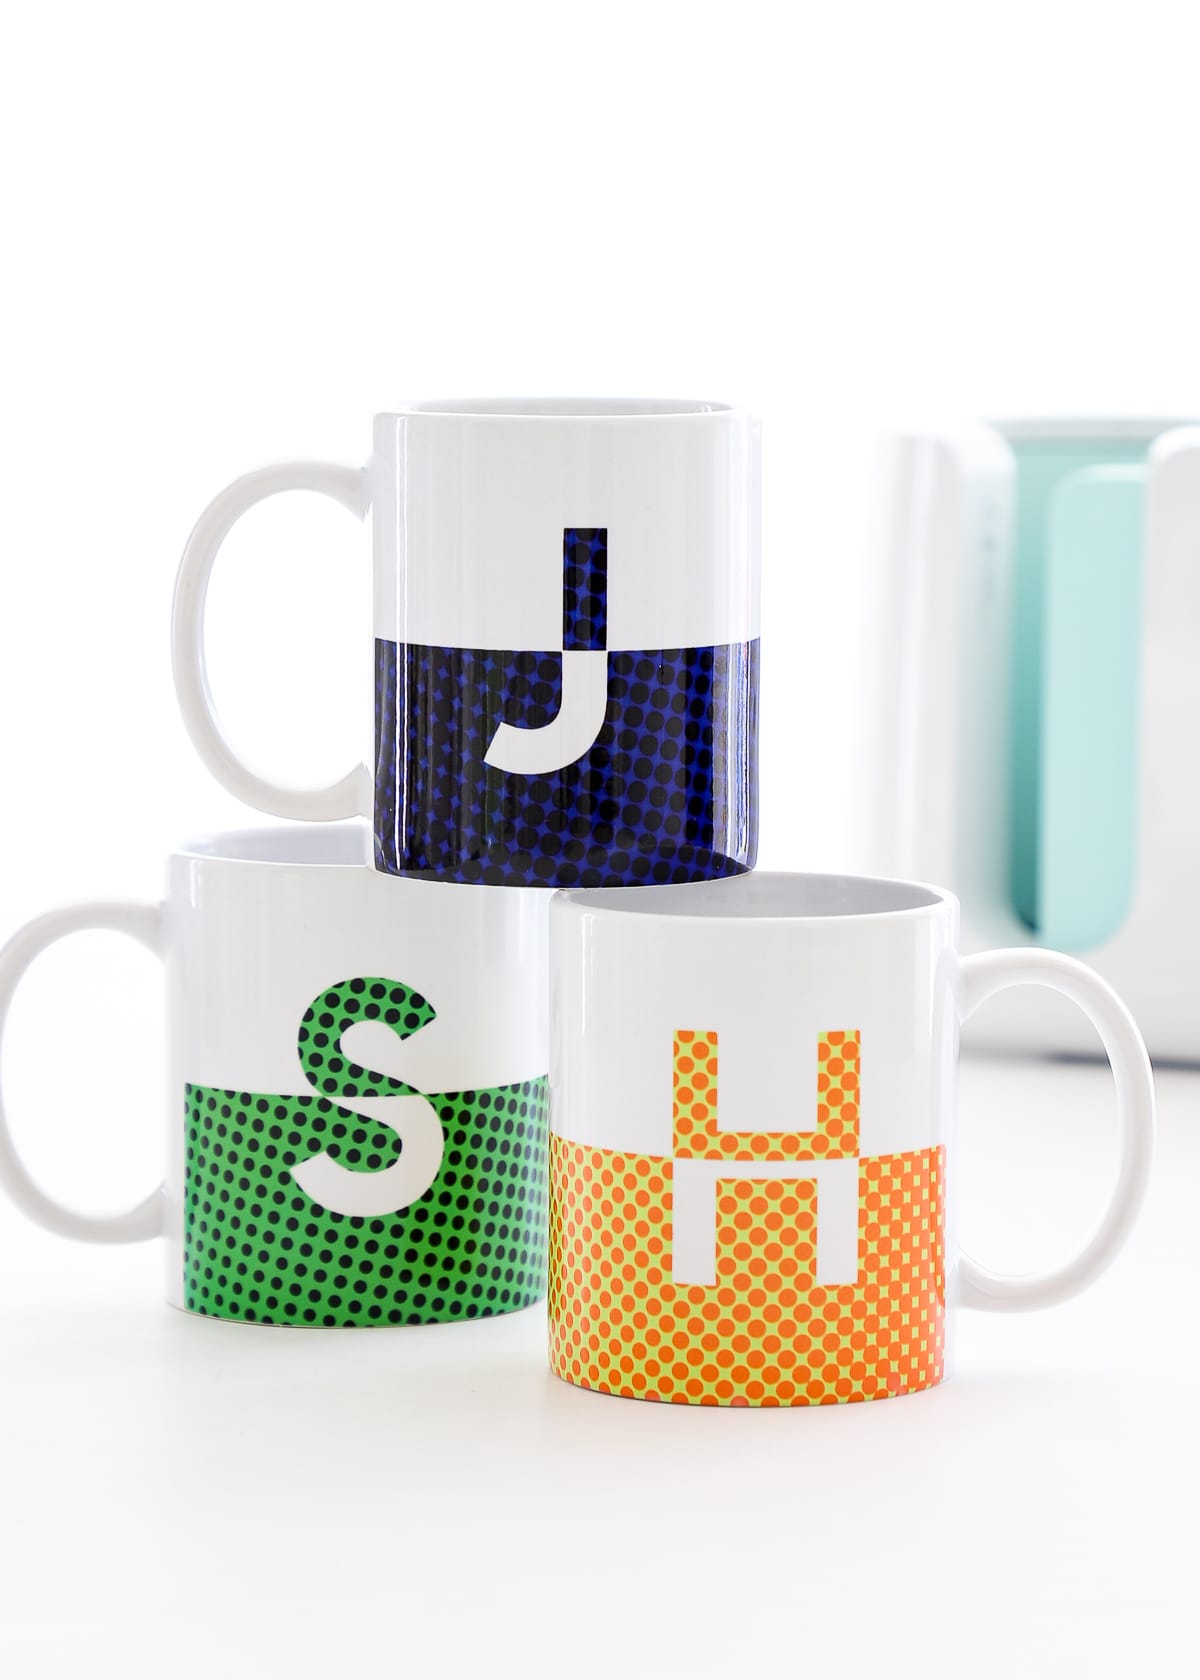
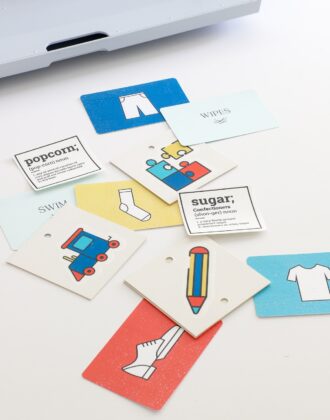
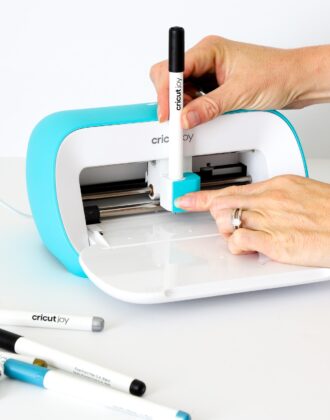
2. Labels Using Cricut Pens
This technique utilizes Cricut Pens to create a drawn or “hand-written” appearance on labels. Cricut Pens can be used on any “writable” material such as paper, cardstock, envelopes, writable vinyls, and sticker papers or even pre-cut tags you buy at the store.
The Best Labeling Technique For…
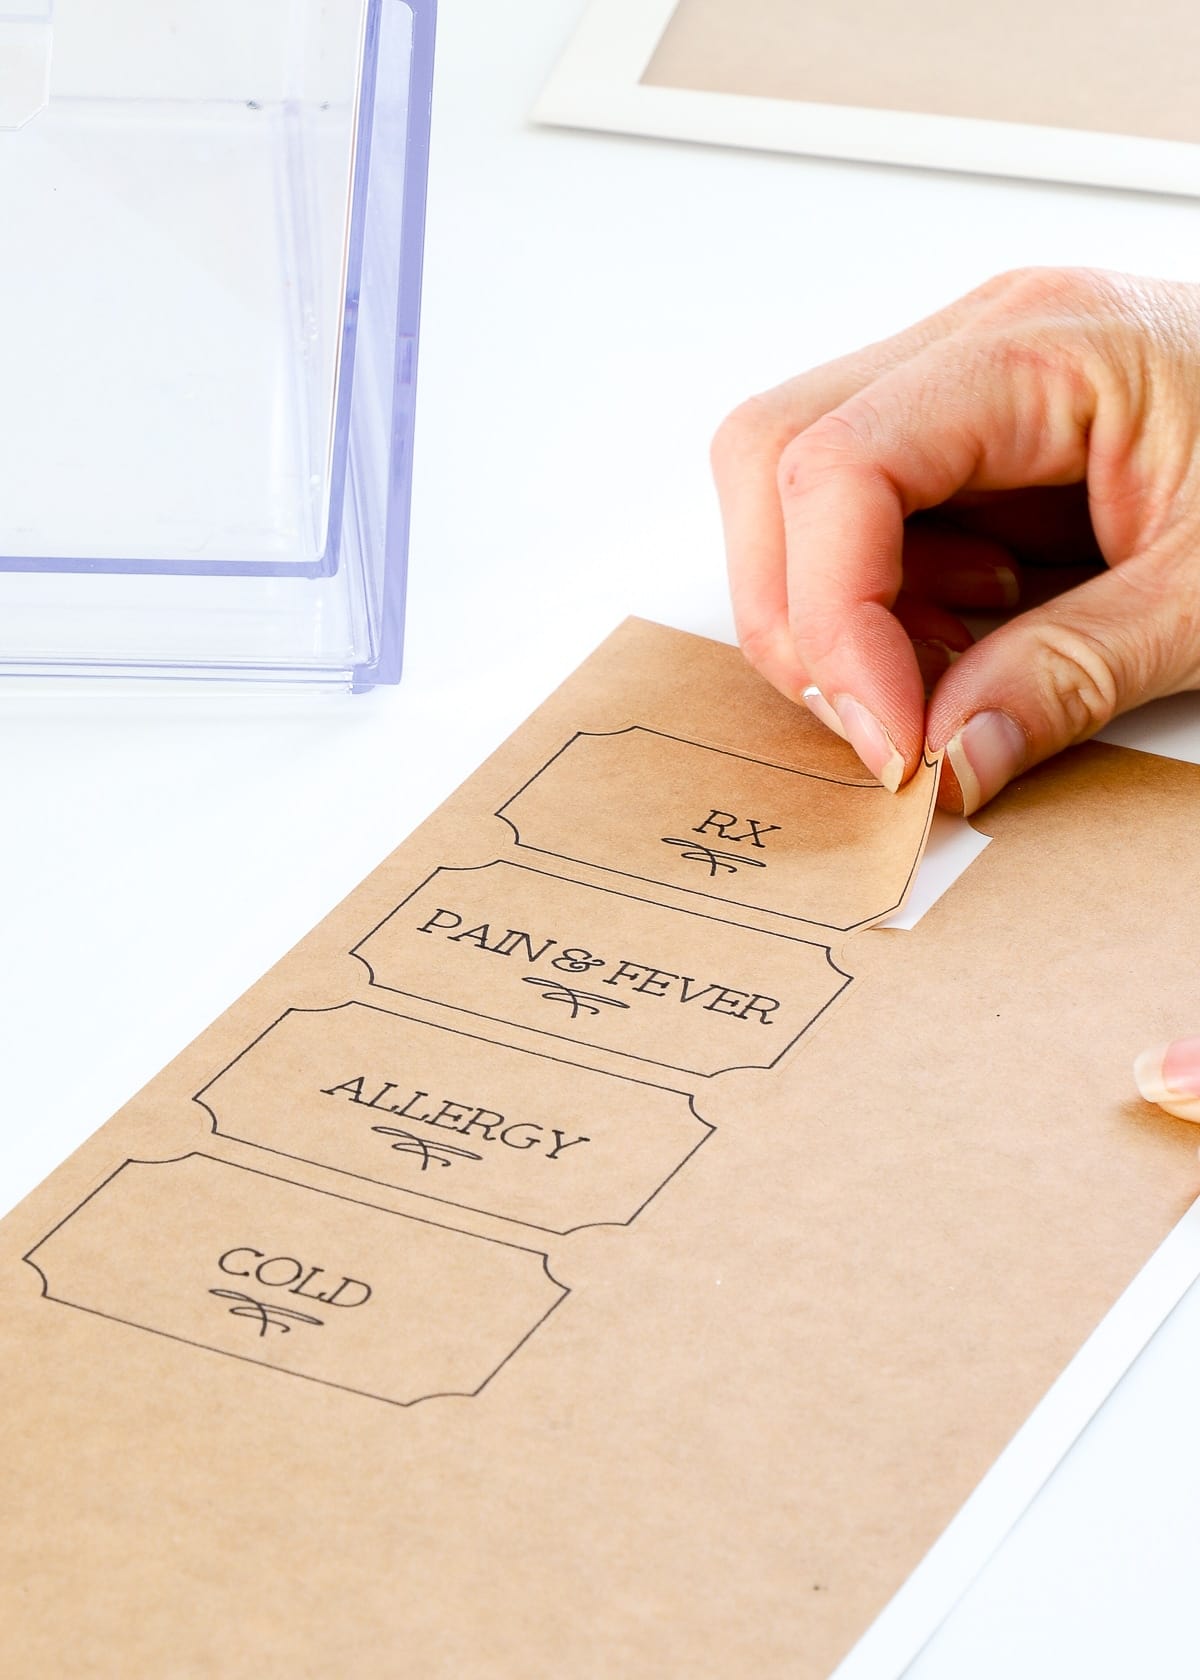
Using Cricut Pens to make labels is best when you need small, clear font on your labels or desire a hand-written appearance. Further, because the pens write directly onto a sticker paper or cardstock, these labels are quick and easy to make (no weeding or transfer tape required!) and can be easily swapped when you need to update a label.
That said, because “writable” materials (e.g., cardstock) don’t tend to be waterproof, this labeling method is not ideal for anything that requires frequent or heavy washing.

What You Need
- Cricut Machine – any Cricut machine can be used for this labeling technique (Cricut Joy | Cricut Explore | Cricut Maker)
- Fine-Point Blade – the one that comes with your machine
- StandardGrip Mat
- Compatible Cricut Pens
- Writable Material
- Cardstock
- Paper – patterned, printer, scrapbook, etc
- Writable Vinyl (Cricut Explore/Maker | Cricut Joy)
- Printable Vinyl
- Smart Paper Sticker Cardstock
- Sticker Paper
How To Do It
- Design labels with “Pen” text in Cricut Design Space.
- Draw and cut out the labels onto some sort of writable material (e.g., sticker paper, cardstock, writable vinyl, etc) using your Cricut machine.
- Stick labels directly onto containers or slide into a label holder.

Ready to give this a try? See the full tutorial:
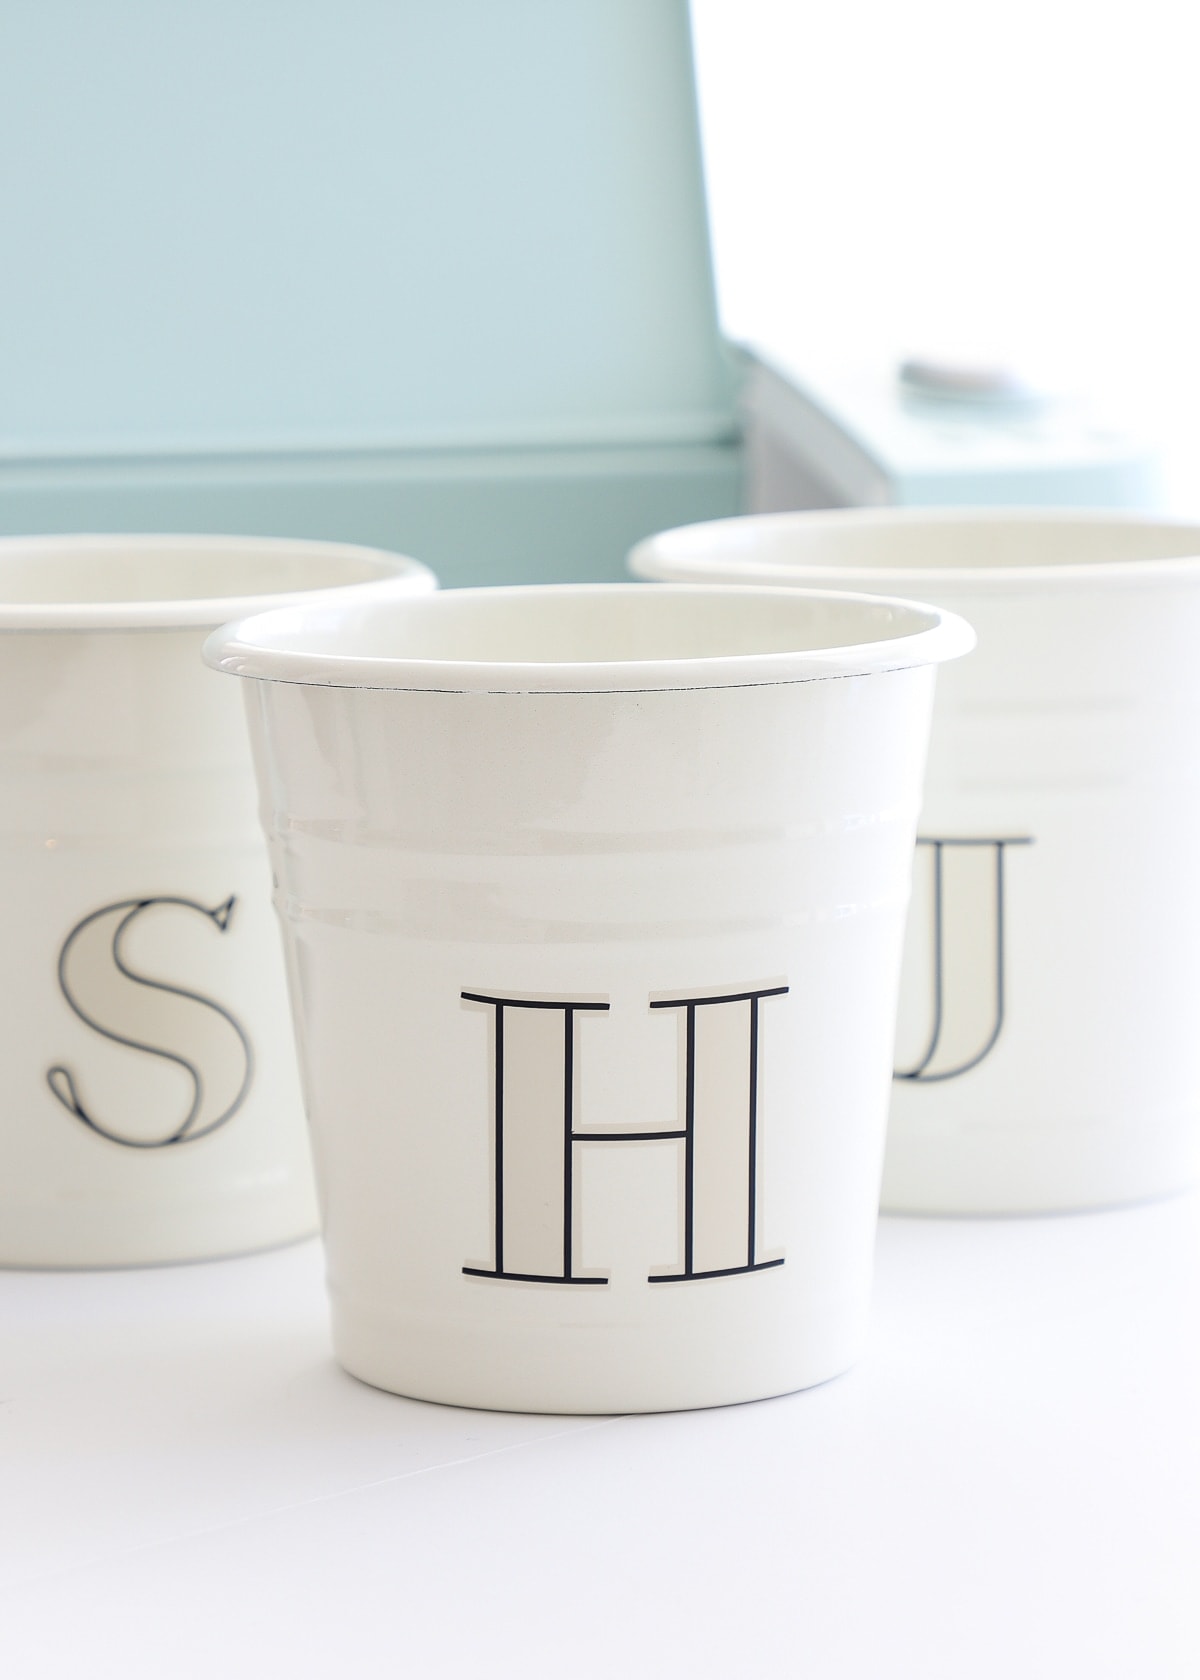
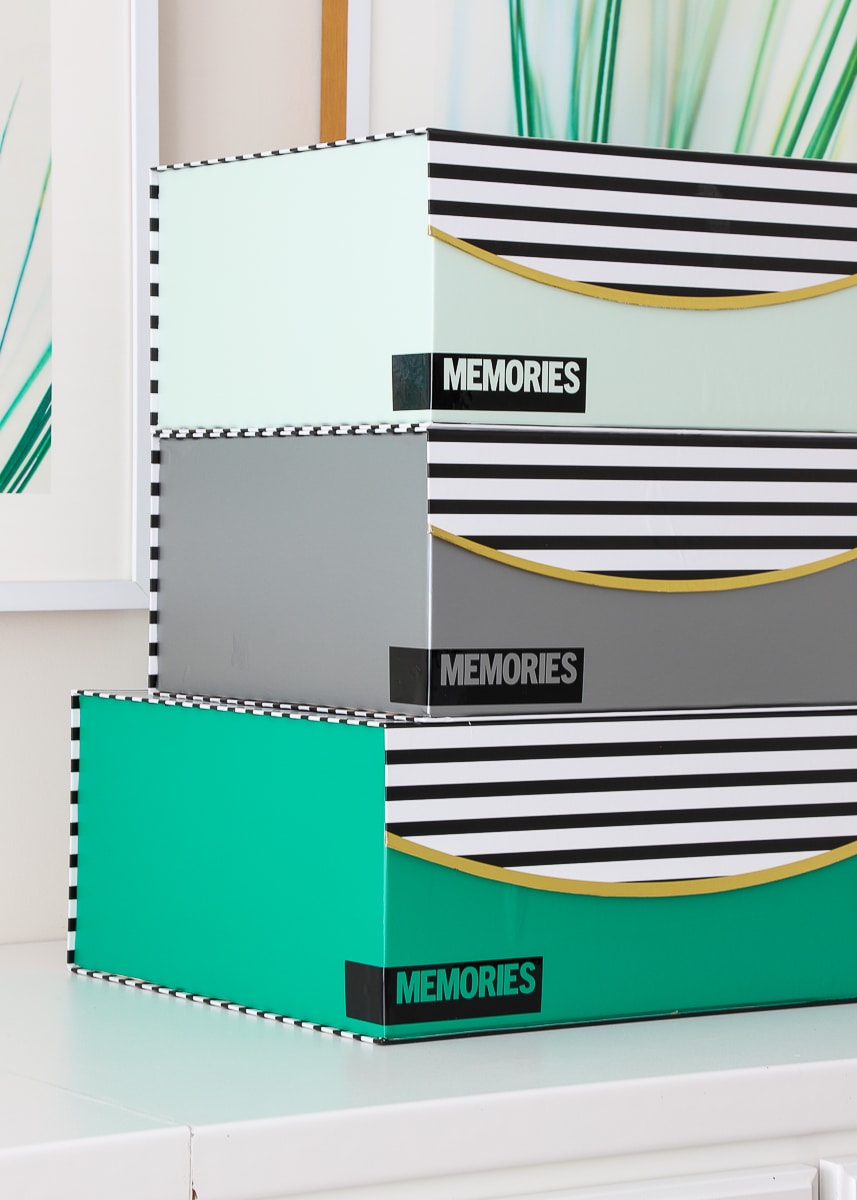
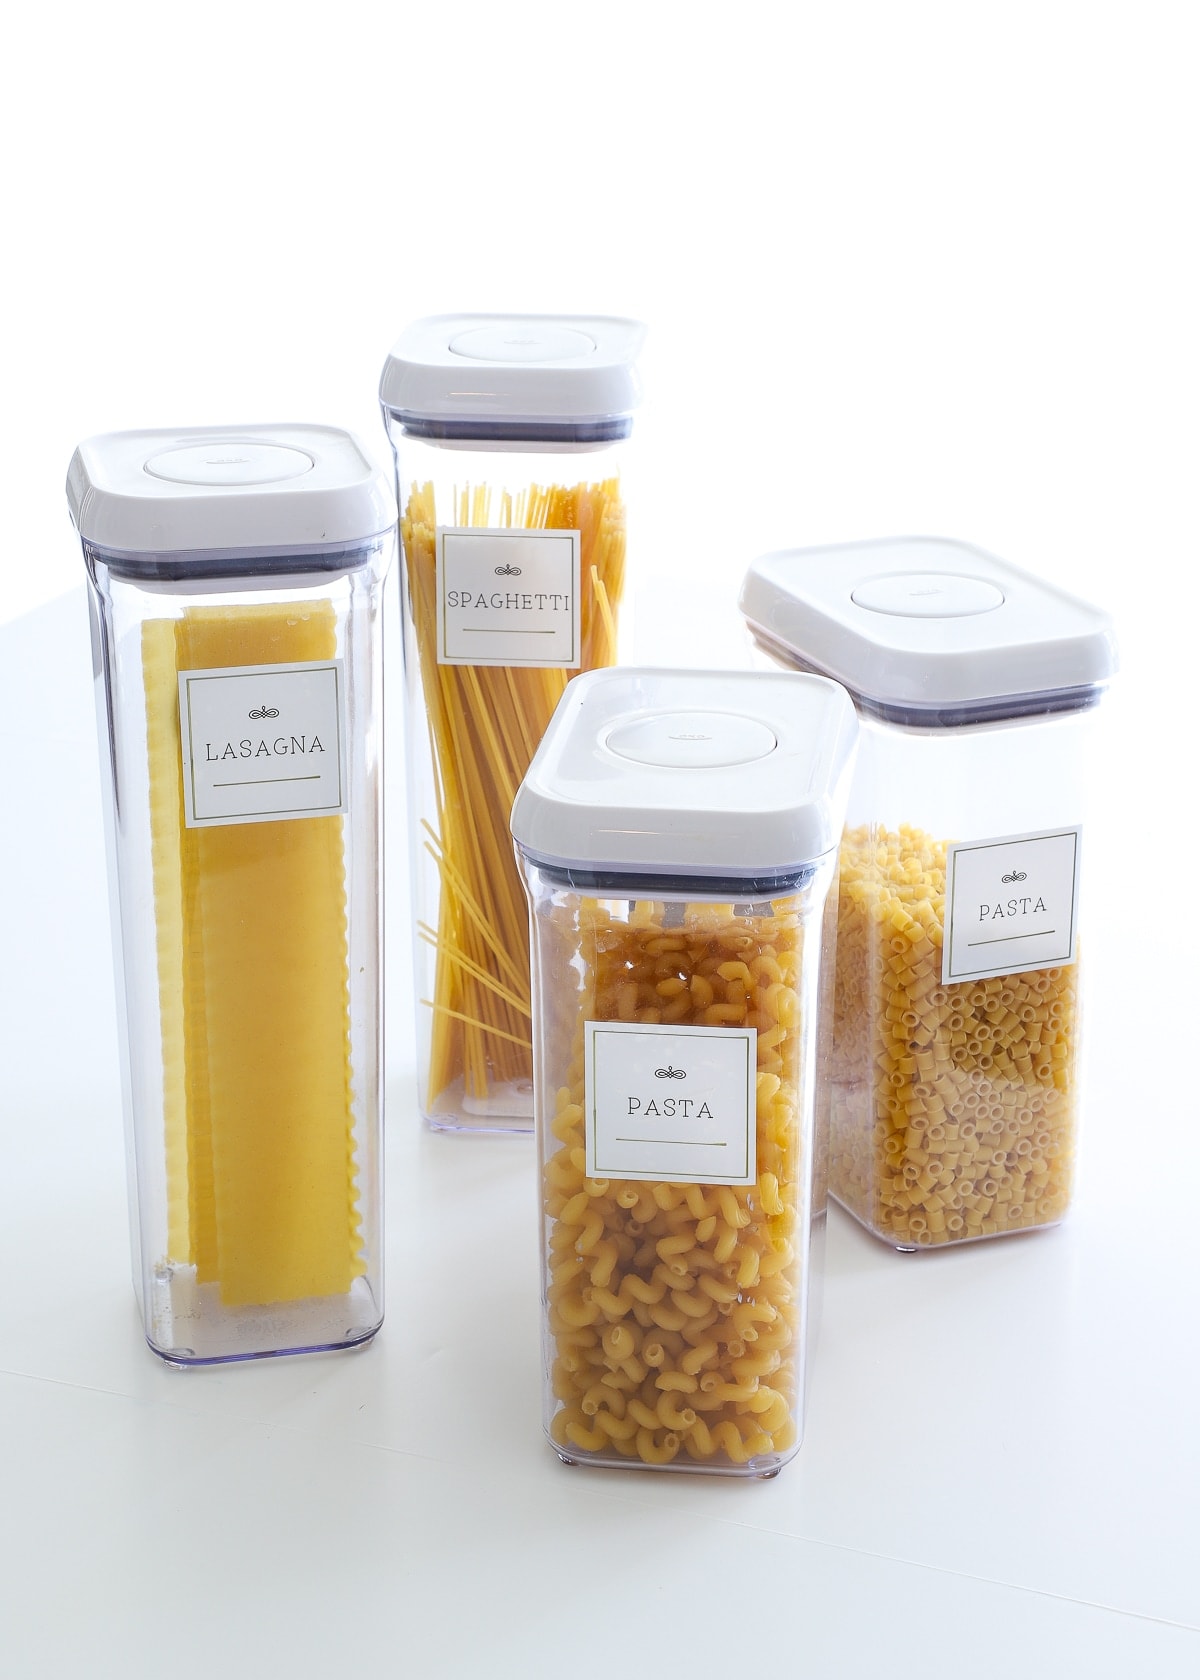
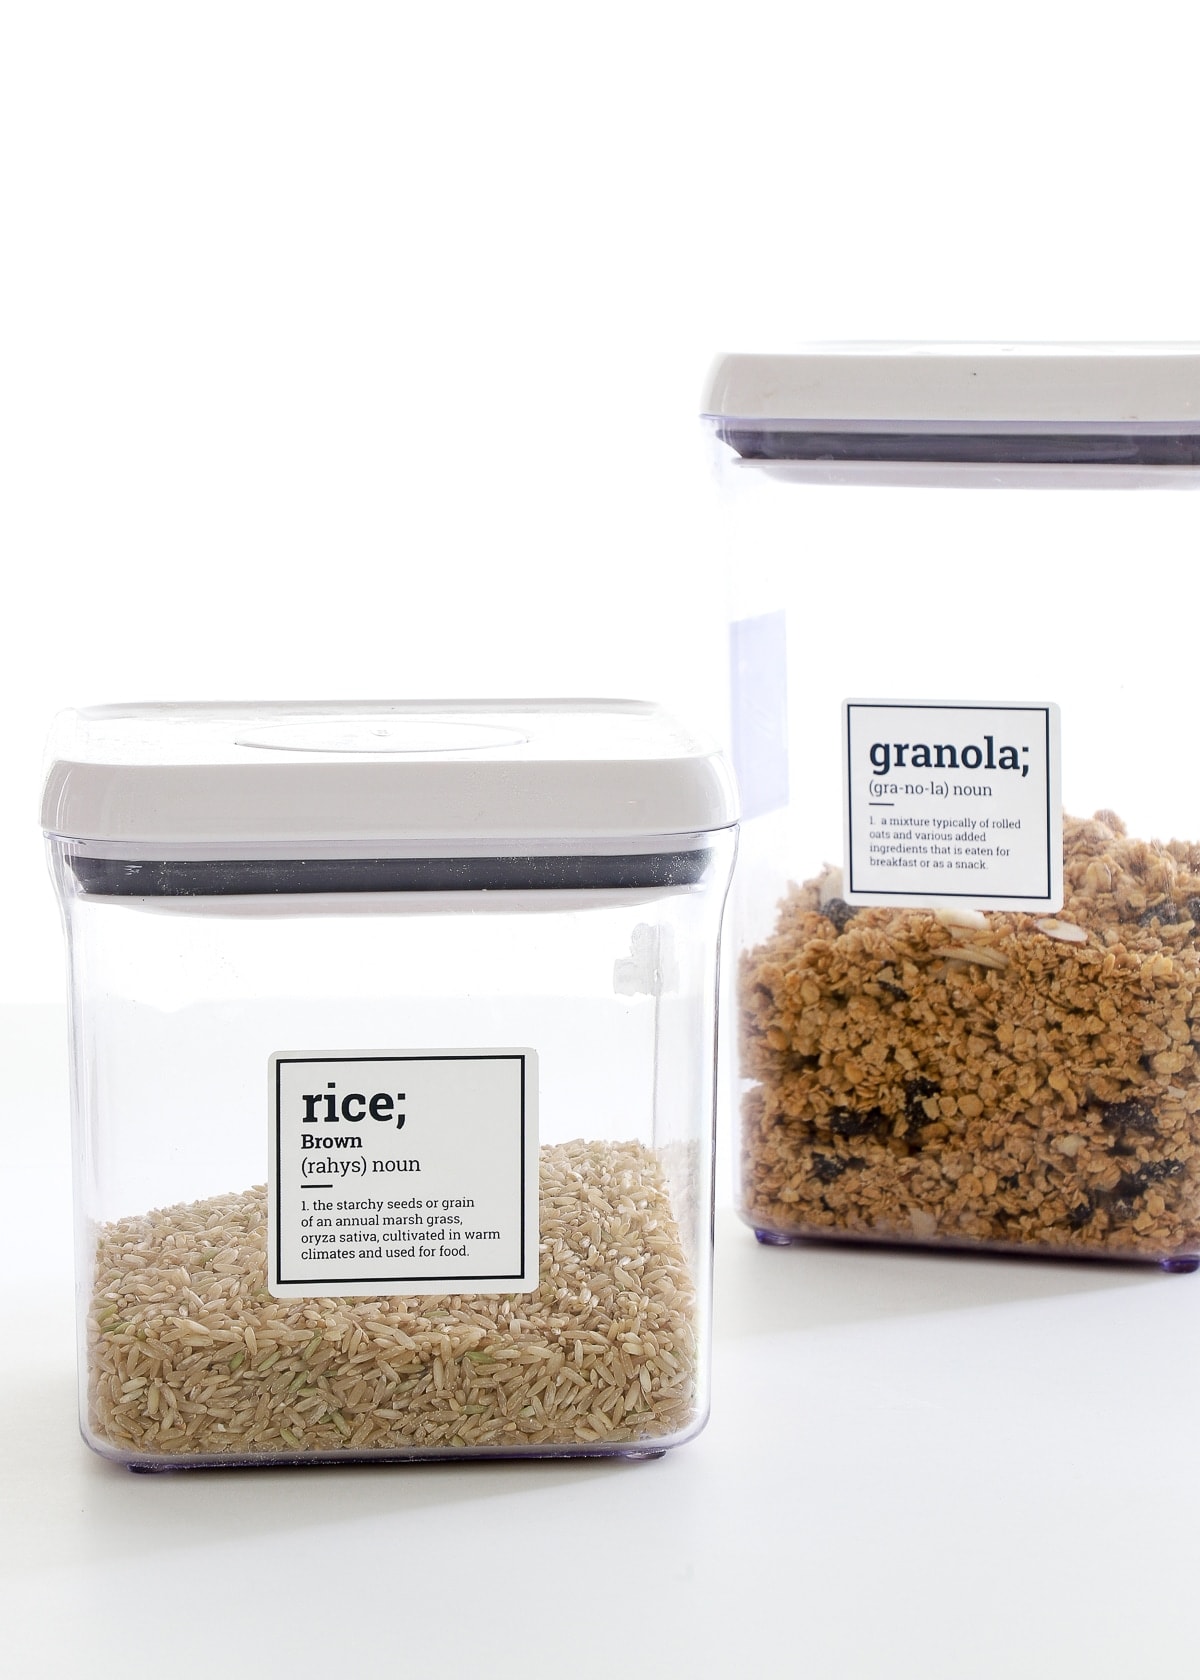
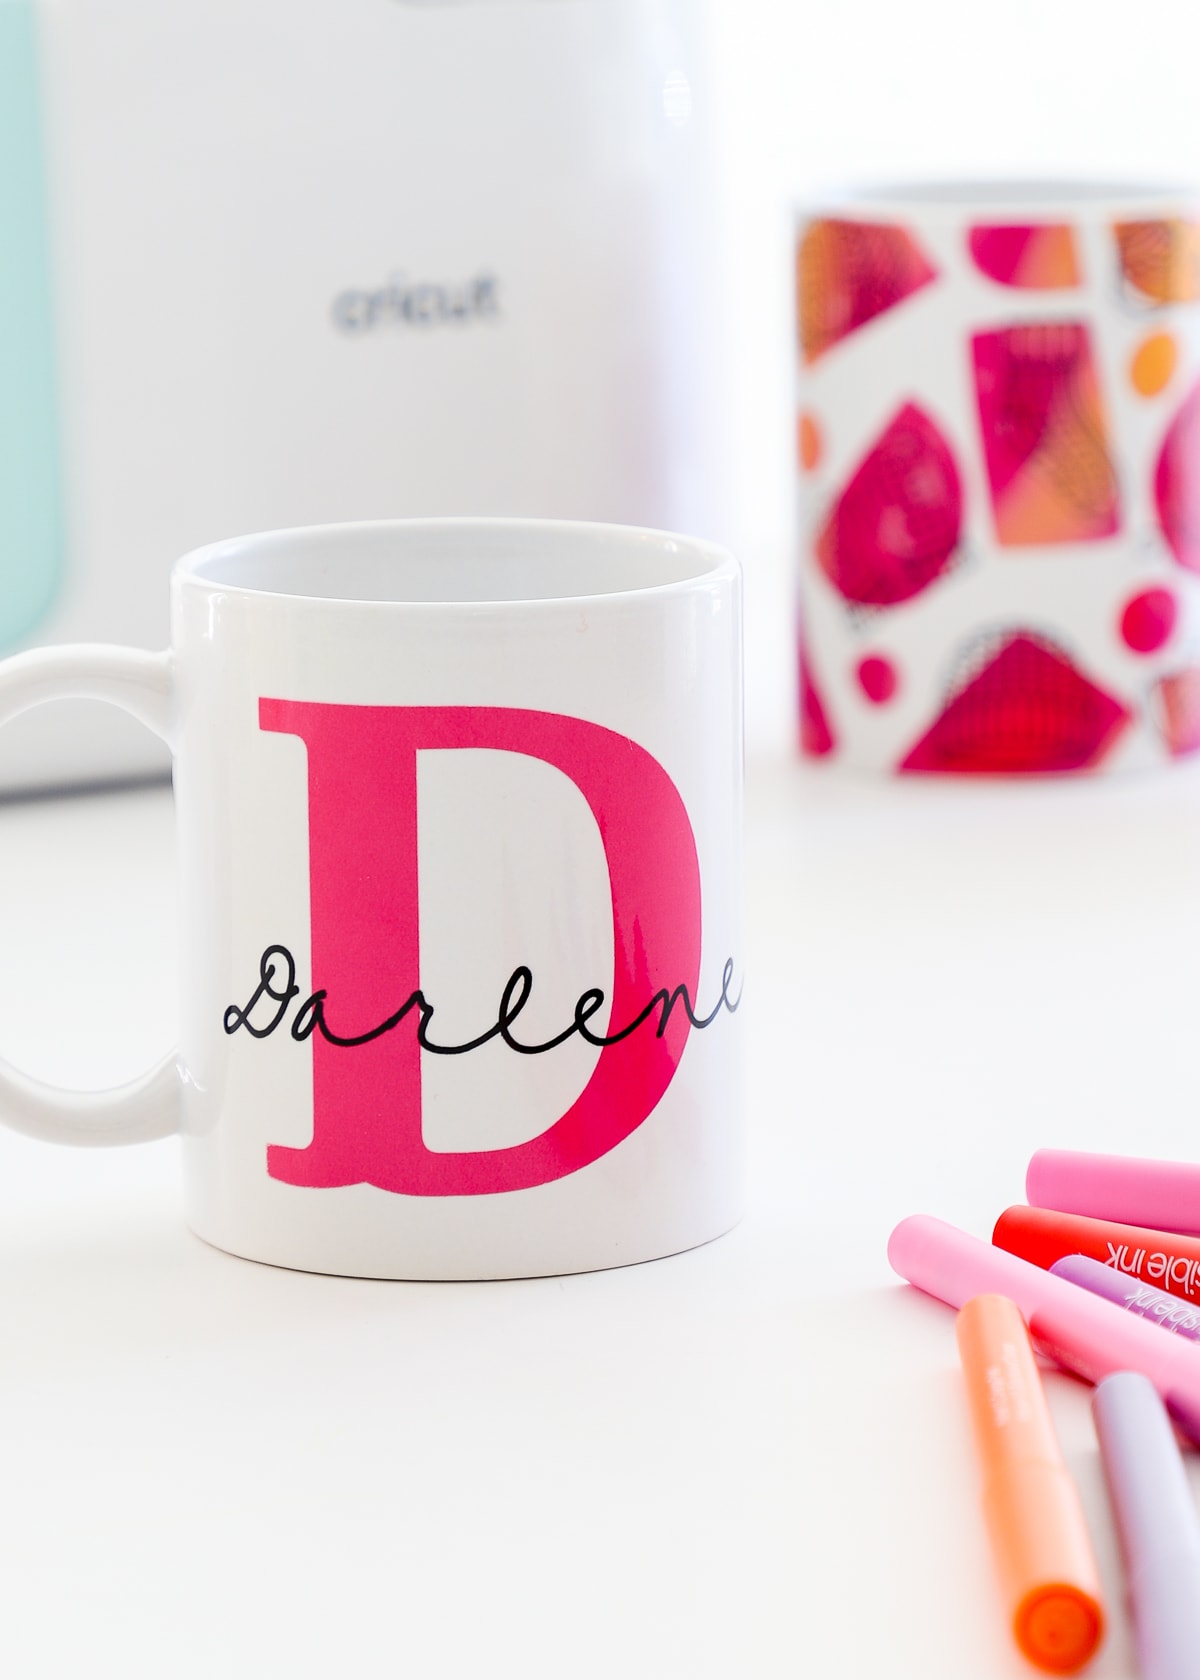
3. Labels Using Cricut Print Then Cut
This technique utilizes the Print Then Cut feature on a Cricut machine, where you first print your labels onto some sort of printable paper (using your home printer) and then the Cricut cuts the (outer) label shape.
The Best Labeling Technique For…
The Print-Then-Cut option is best for complex, small, or multi-colored labels…or if you’re in a hurry. This is because your home printer will print out the entire design at once, which is usually quicker and easier than placing layers of additional vinyl colors together or using your Cricut Pens to draw fancy details.
Additionally, these labels are easy to make more of because you can simply swap the text in Cricut Design Space and print out a fresh set. And even though they are printed off a printer, they can also be waterproofed if necessary (How to Make (Long-Lasting) Waterproof Stickers with a Cricut with video).
However, the Print-Then-Cut design process can be slightly more complicated for beginners and you will be limited to papers that can feed through your printer.
What You Need
- Cricut Machine – ONLY the Cricut Maker and Cricut Explore series machines can be used for this labeling technique
- Fine-Point Blade – the one that comes with your machine
- StandardGrip Mat
- Printable Material
- Printable Vinyl
- Printable Iron-On
- Printable Sticker Paper (clear | white)
- Home Printer
How To Do It
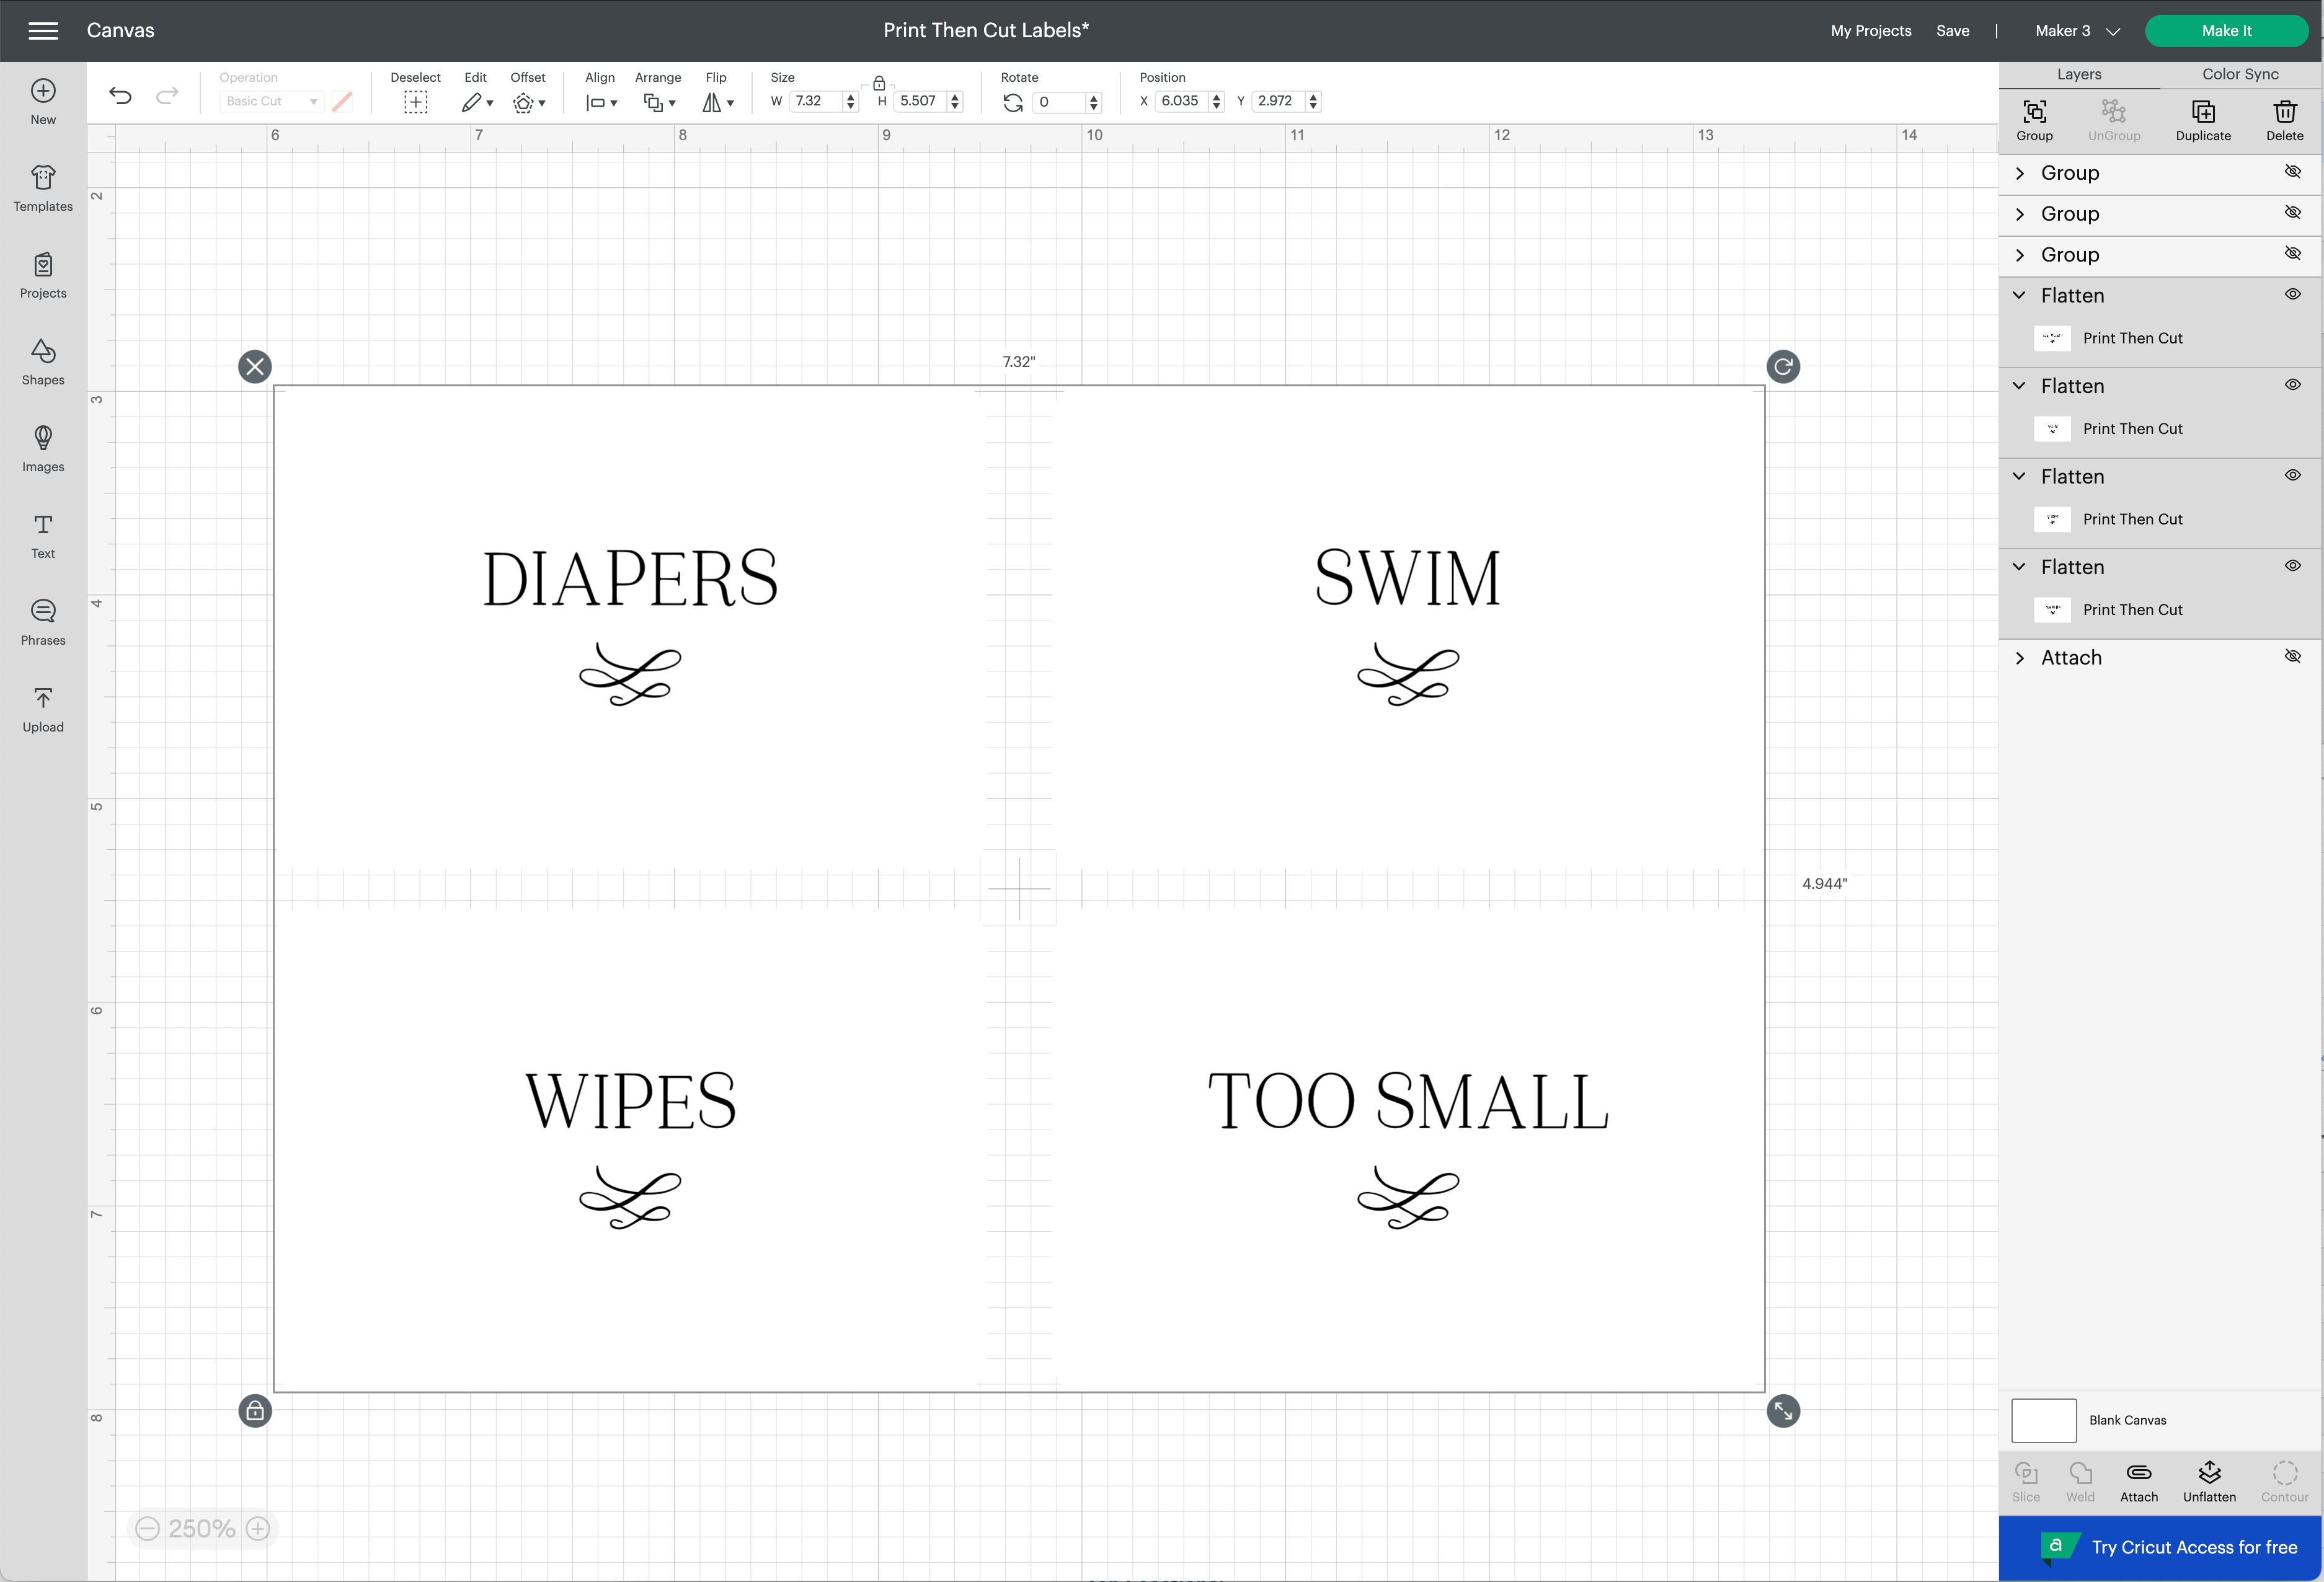
- Design labels in Cricut Design Space and use the Flatten tool to make them into printable images.
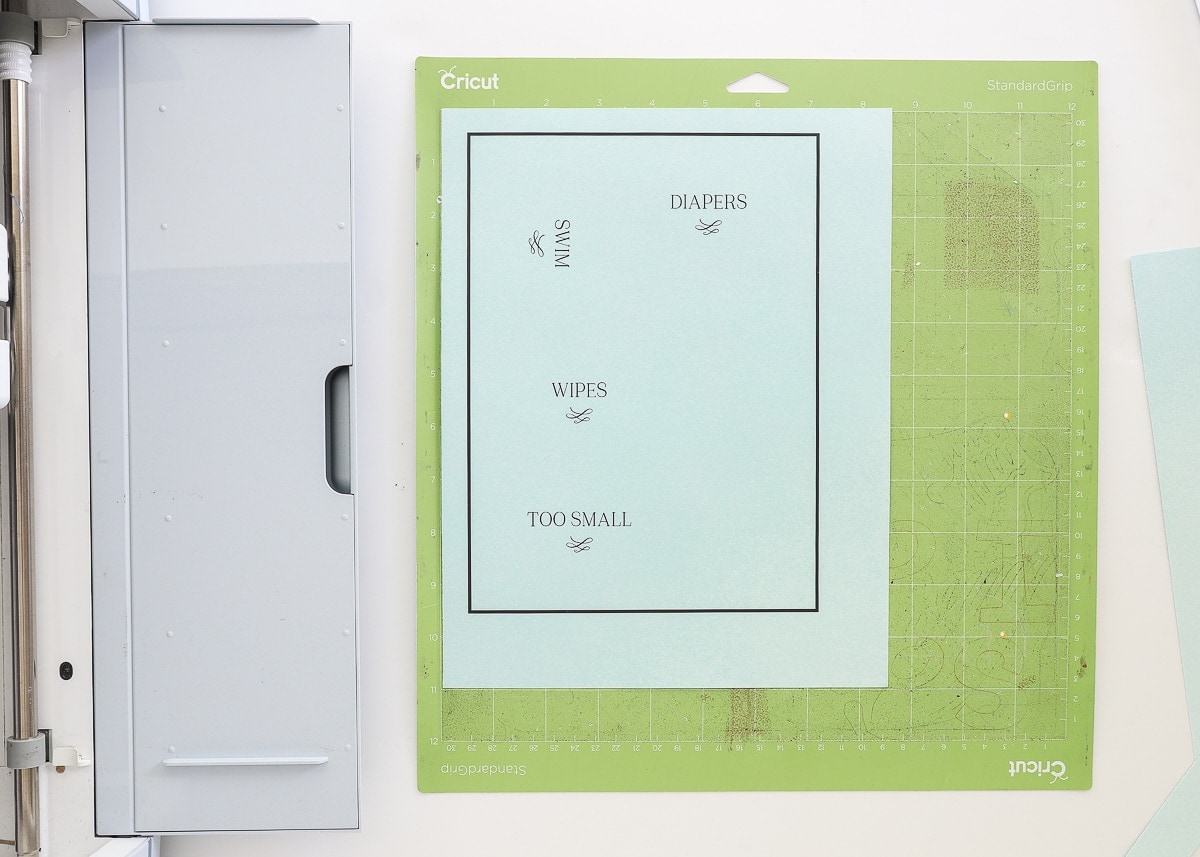
- Print labels using your home printer onto some sort of printable paper (e.g., sticker paper, cardstock, etc).
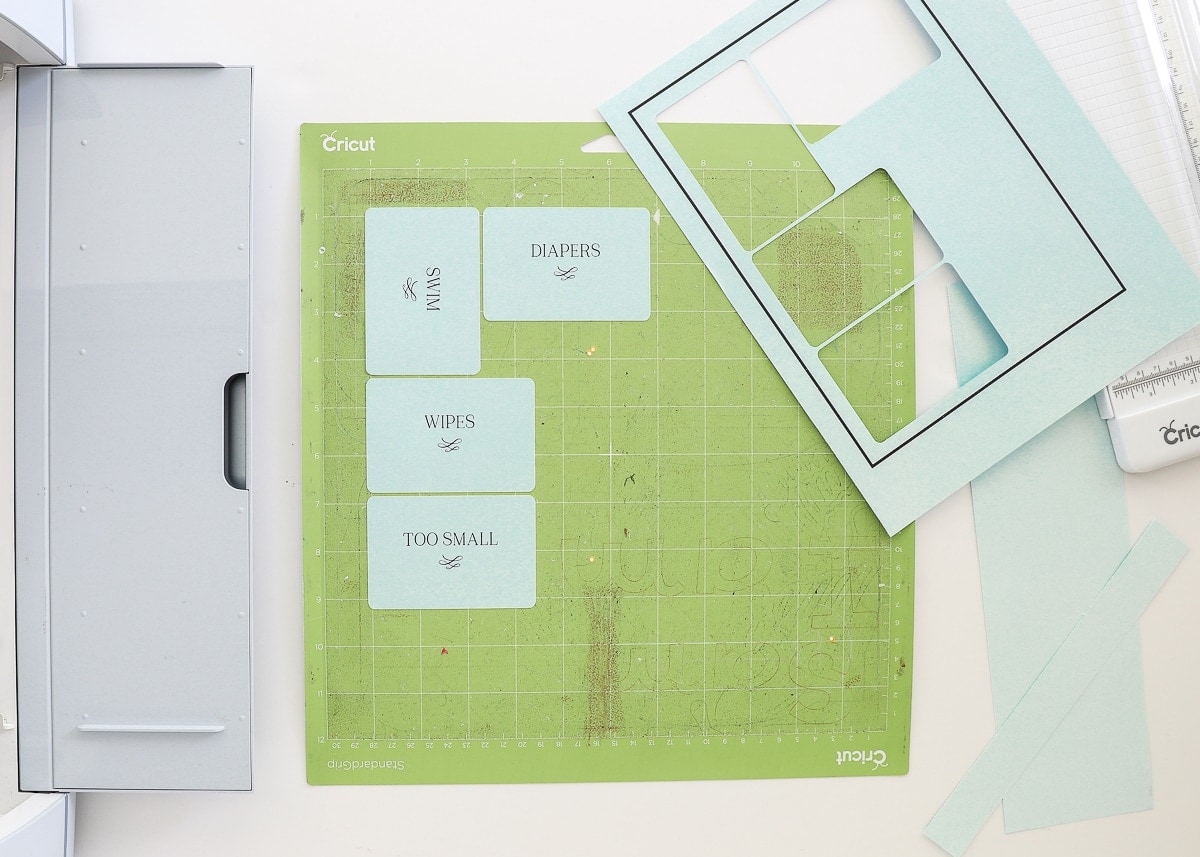
- Load the printed labels onto a Cricut cutting mat and feed into your Cricut machine for cutting.
- Stick printed labels directly onto containers or load into a label holder.
Ready to give this a try? See the full tutorial:
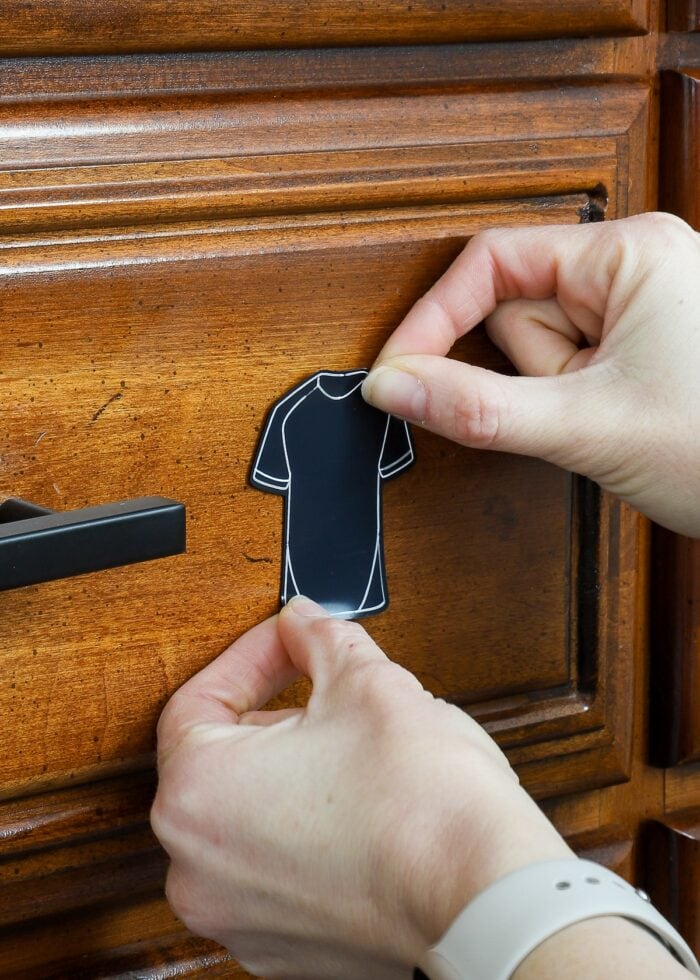
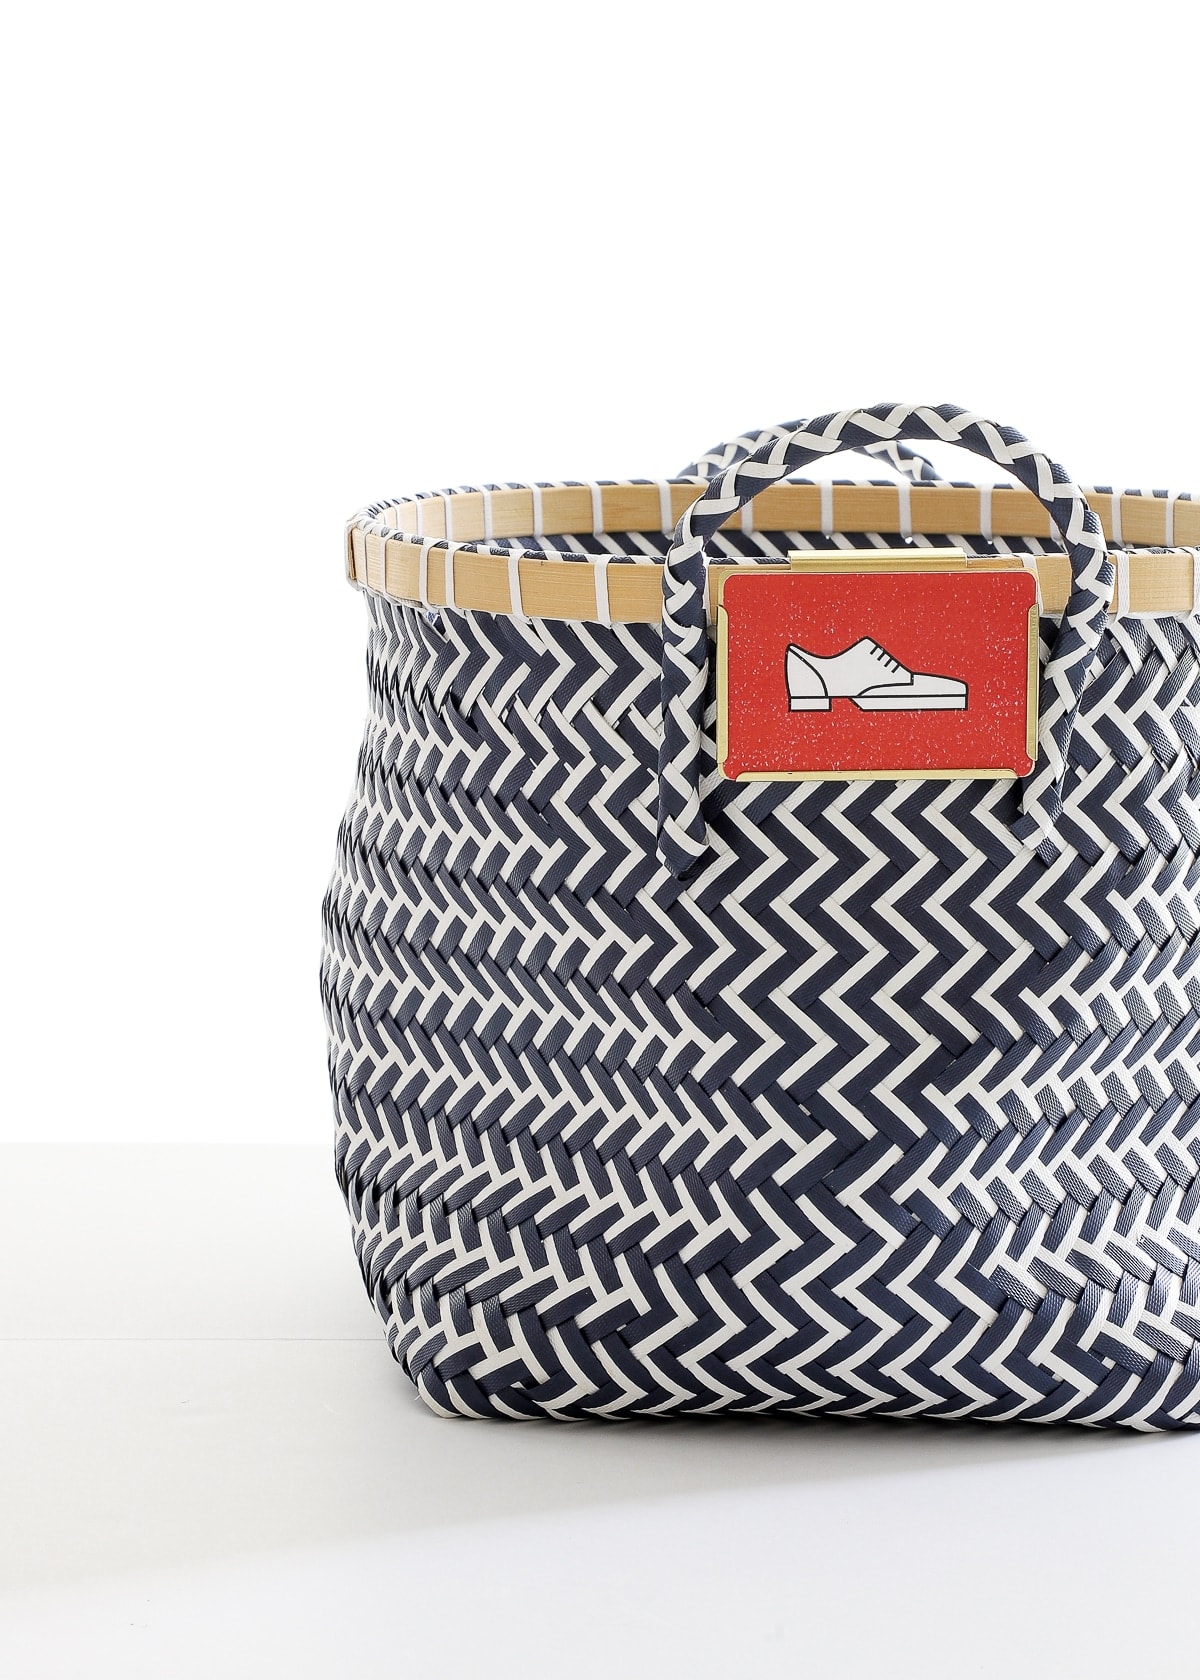
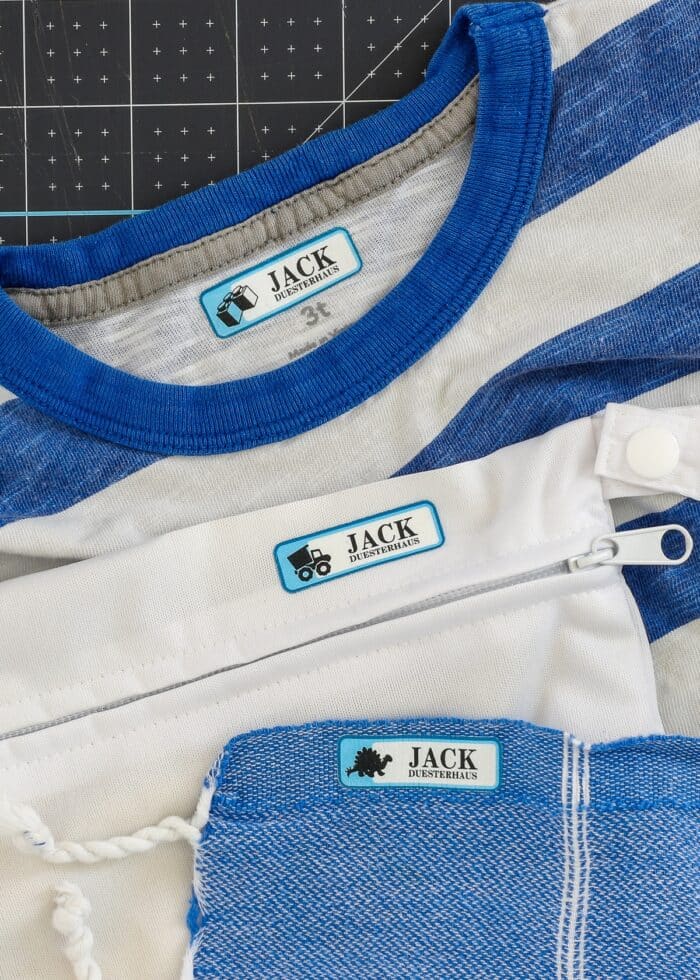
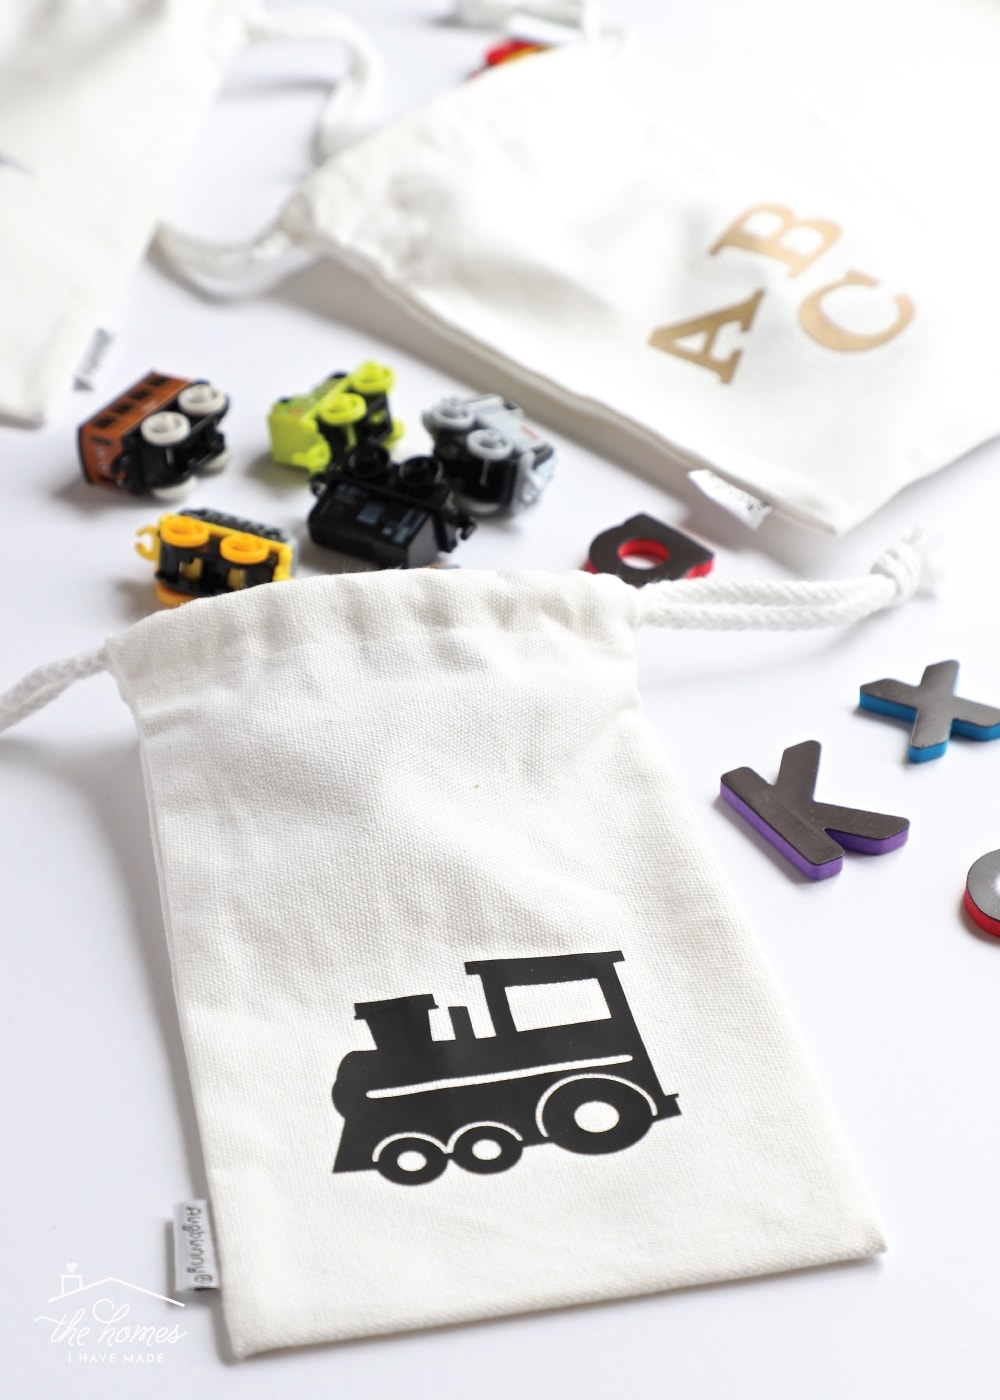
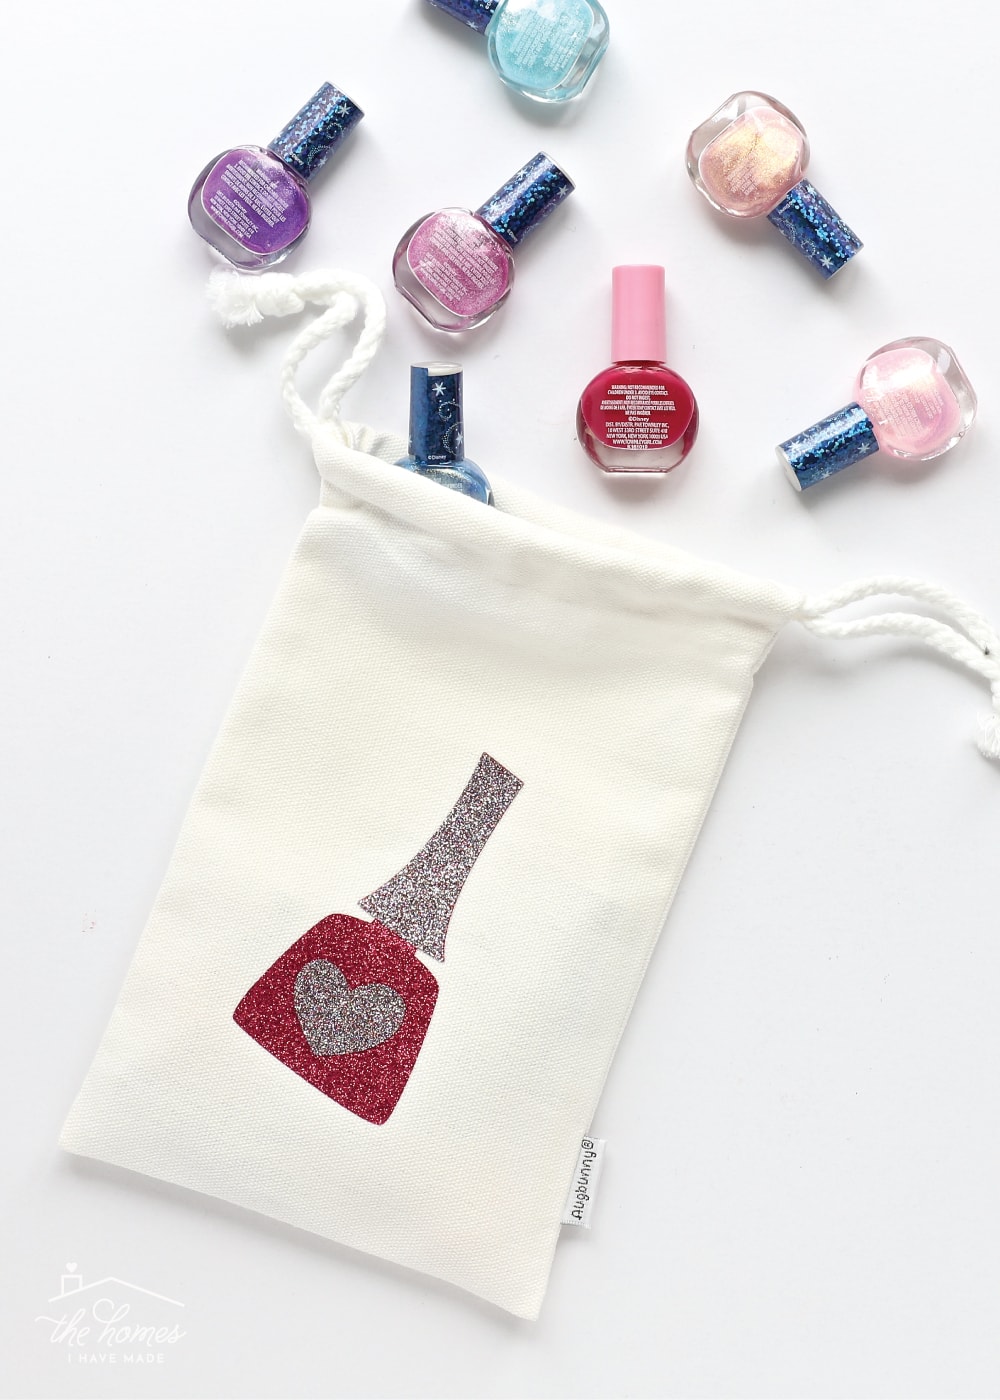
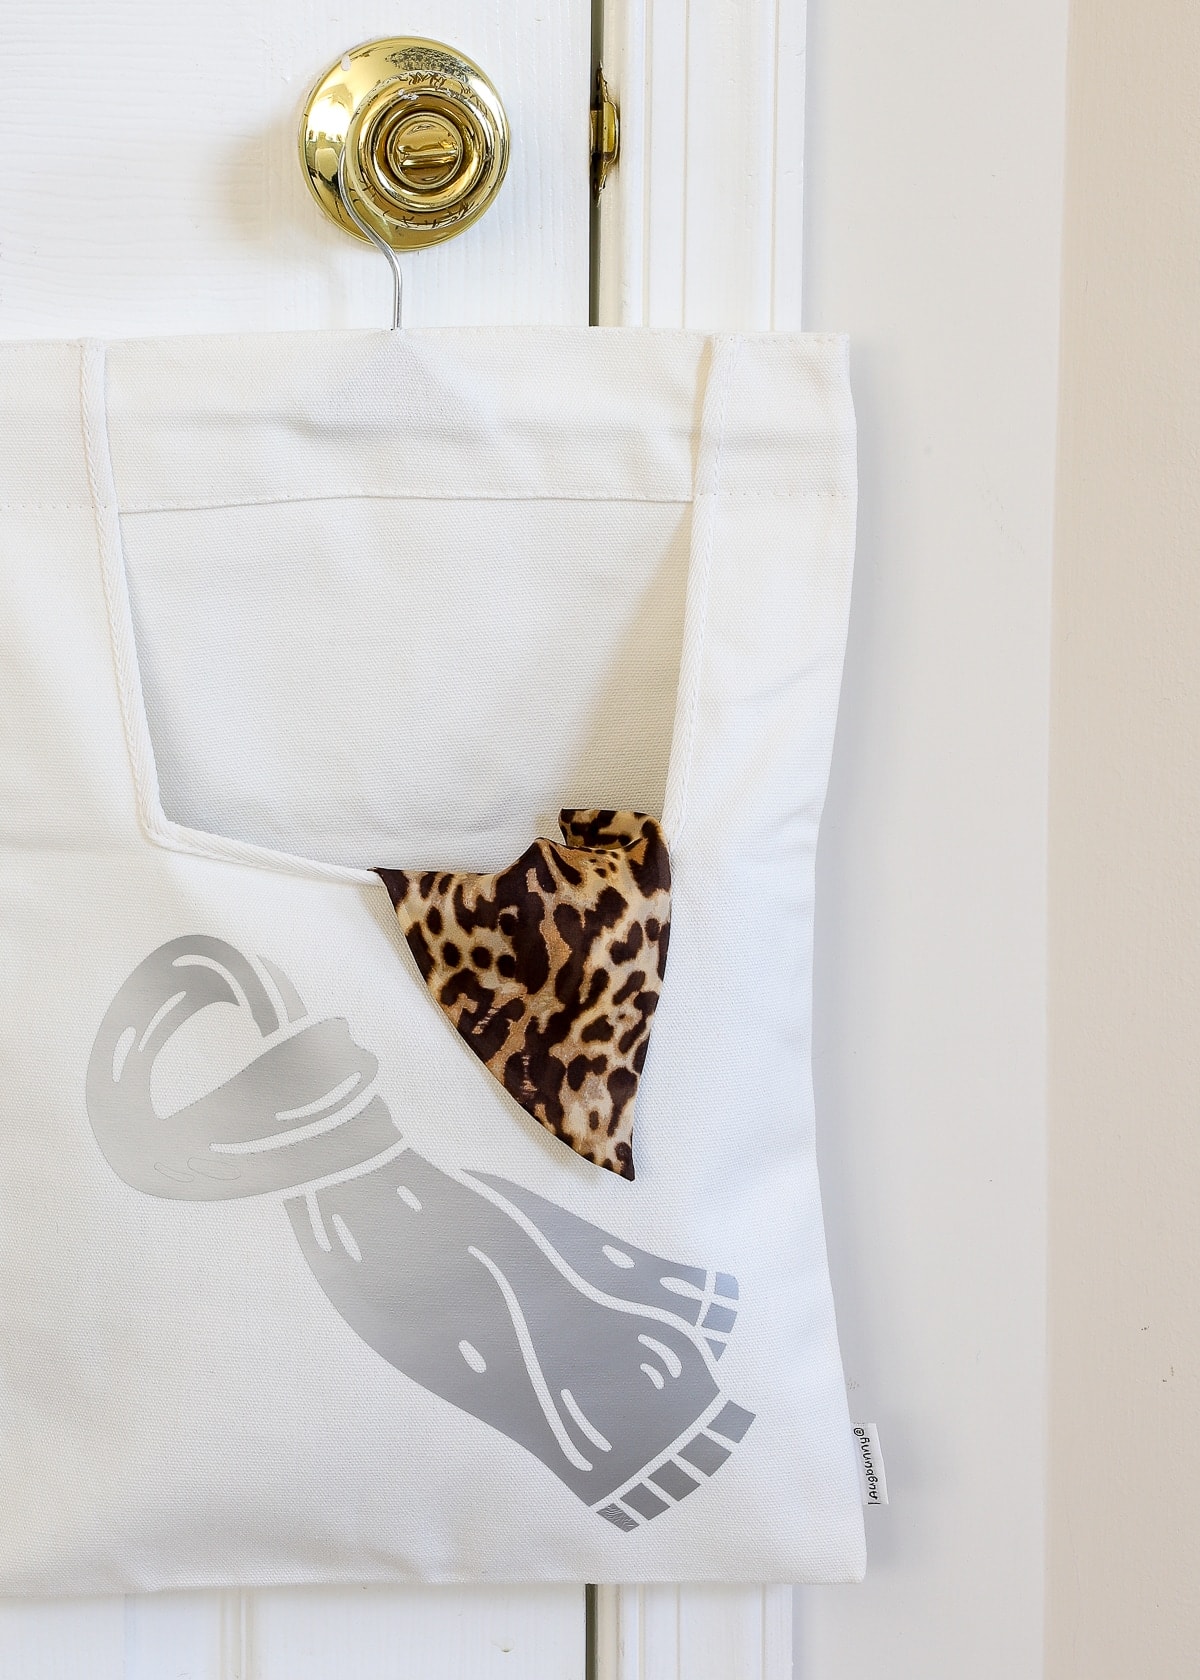
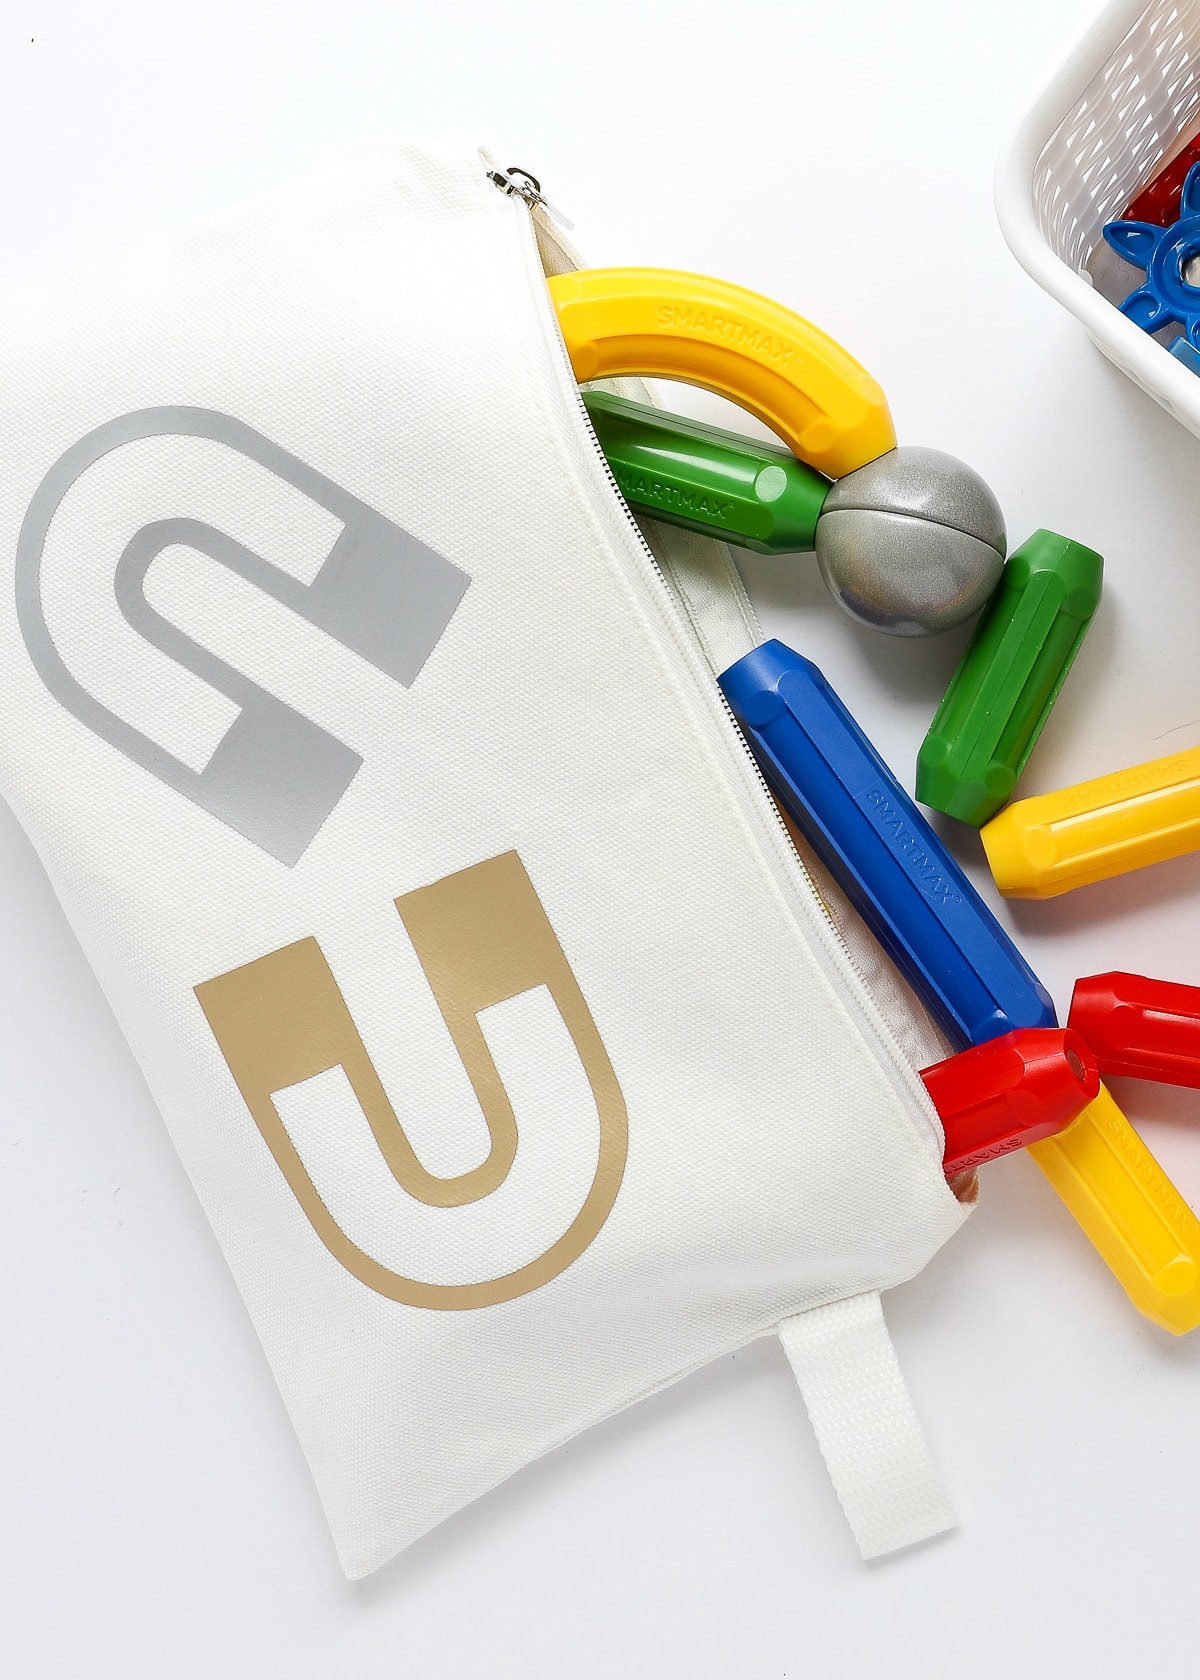
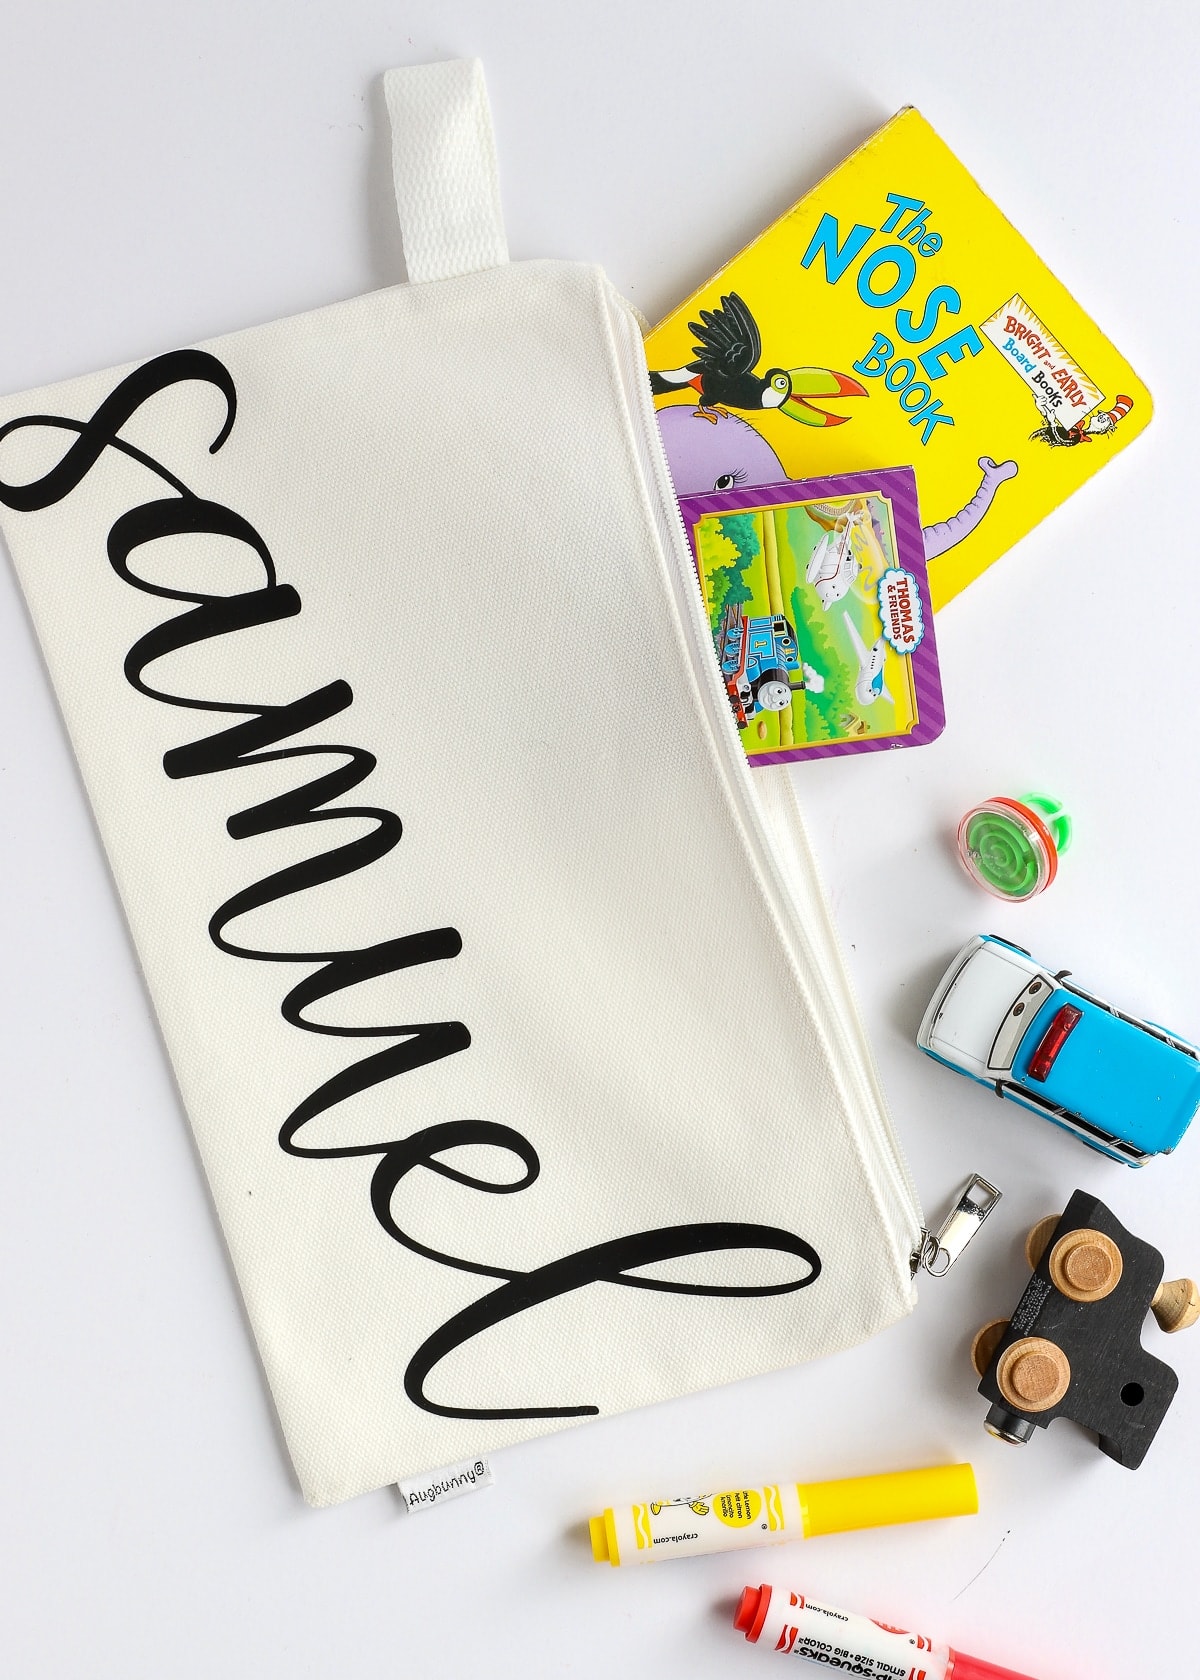
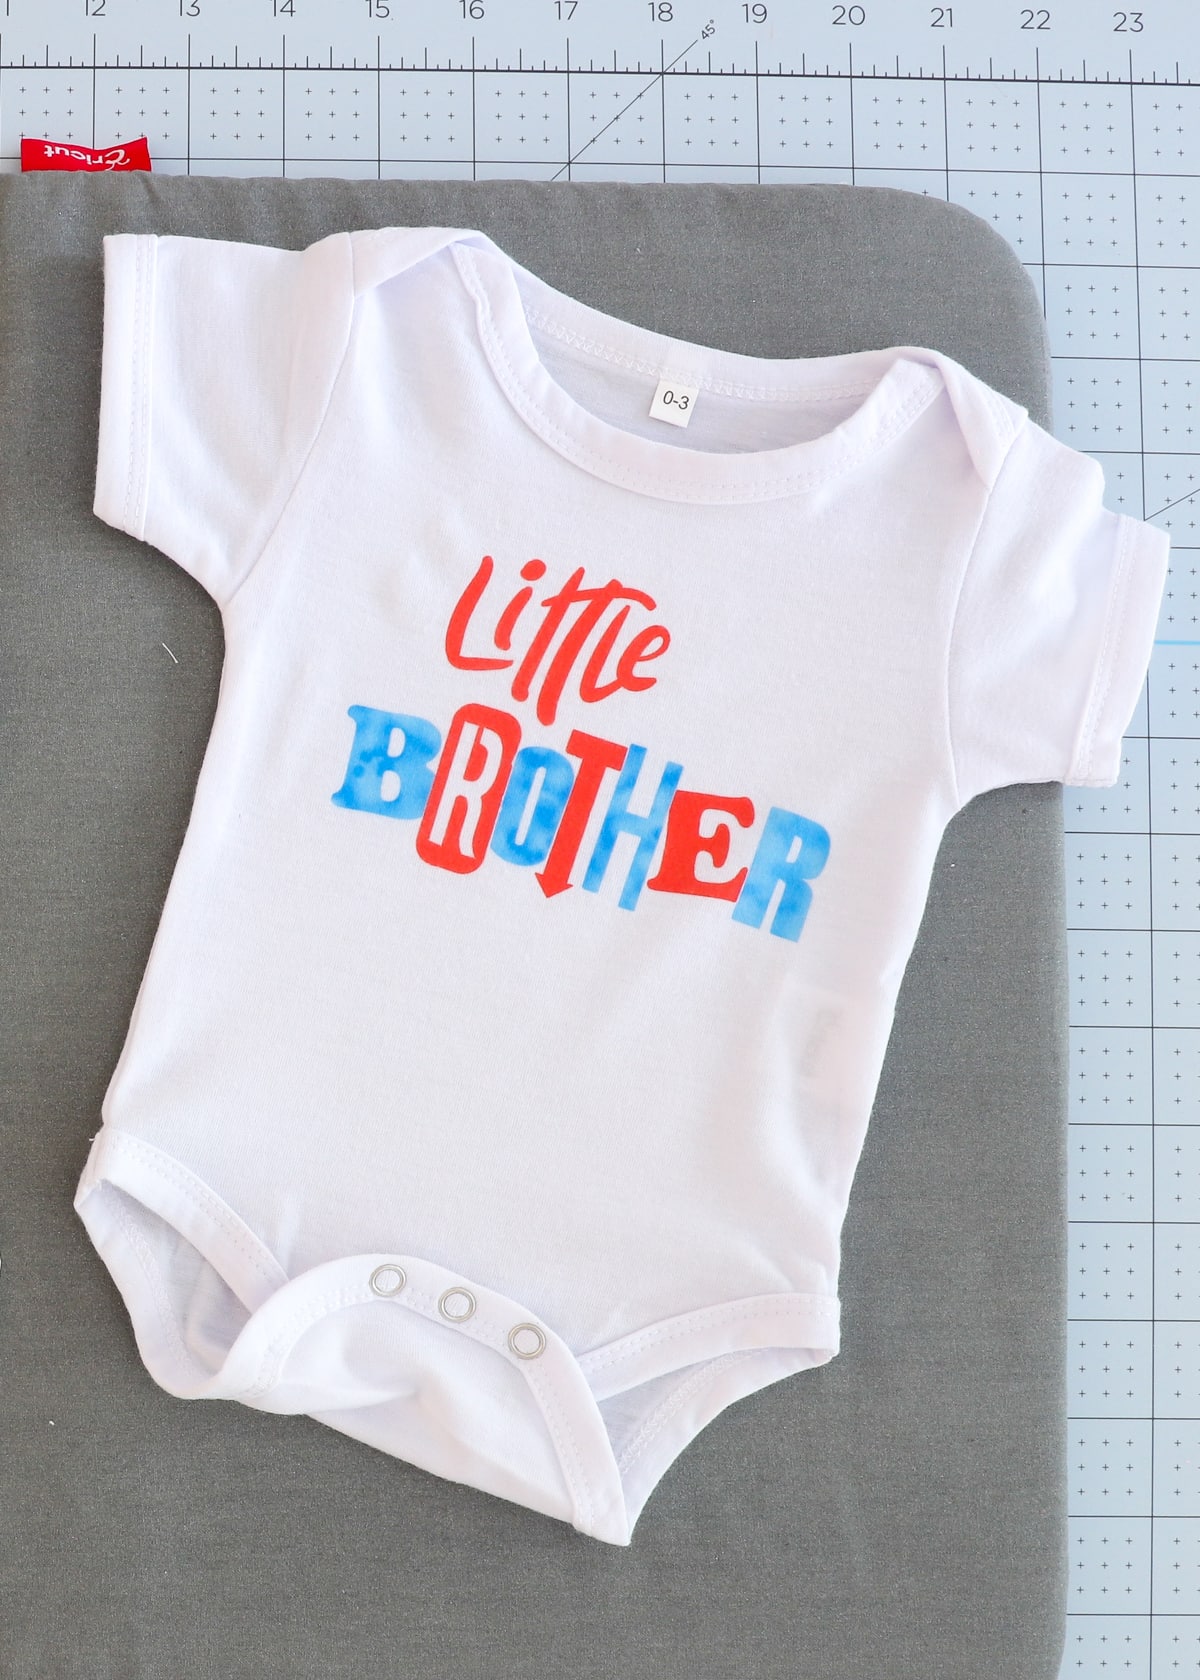
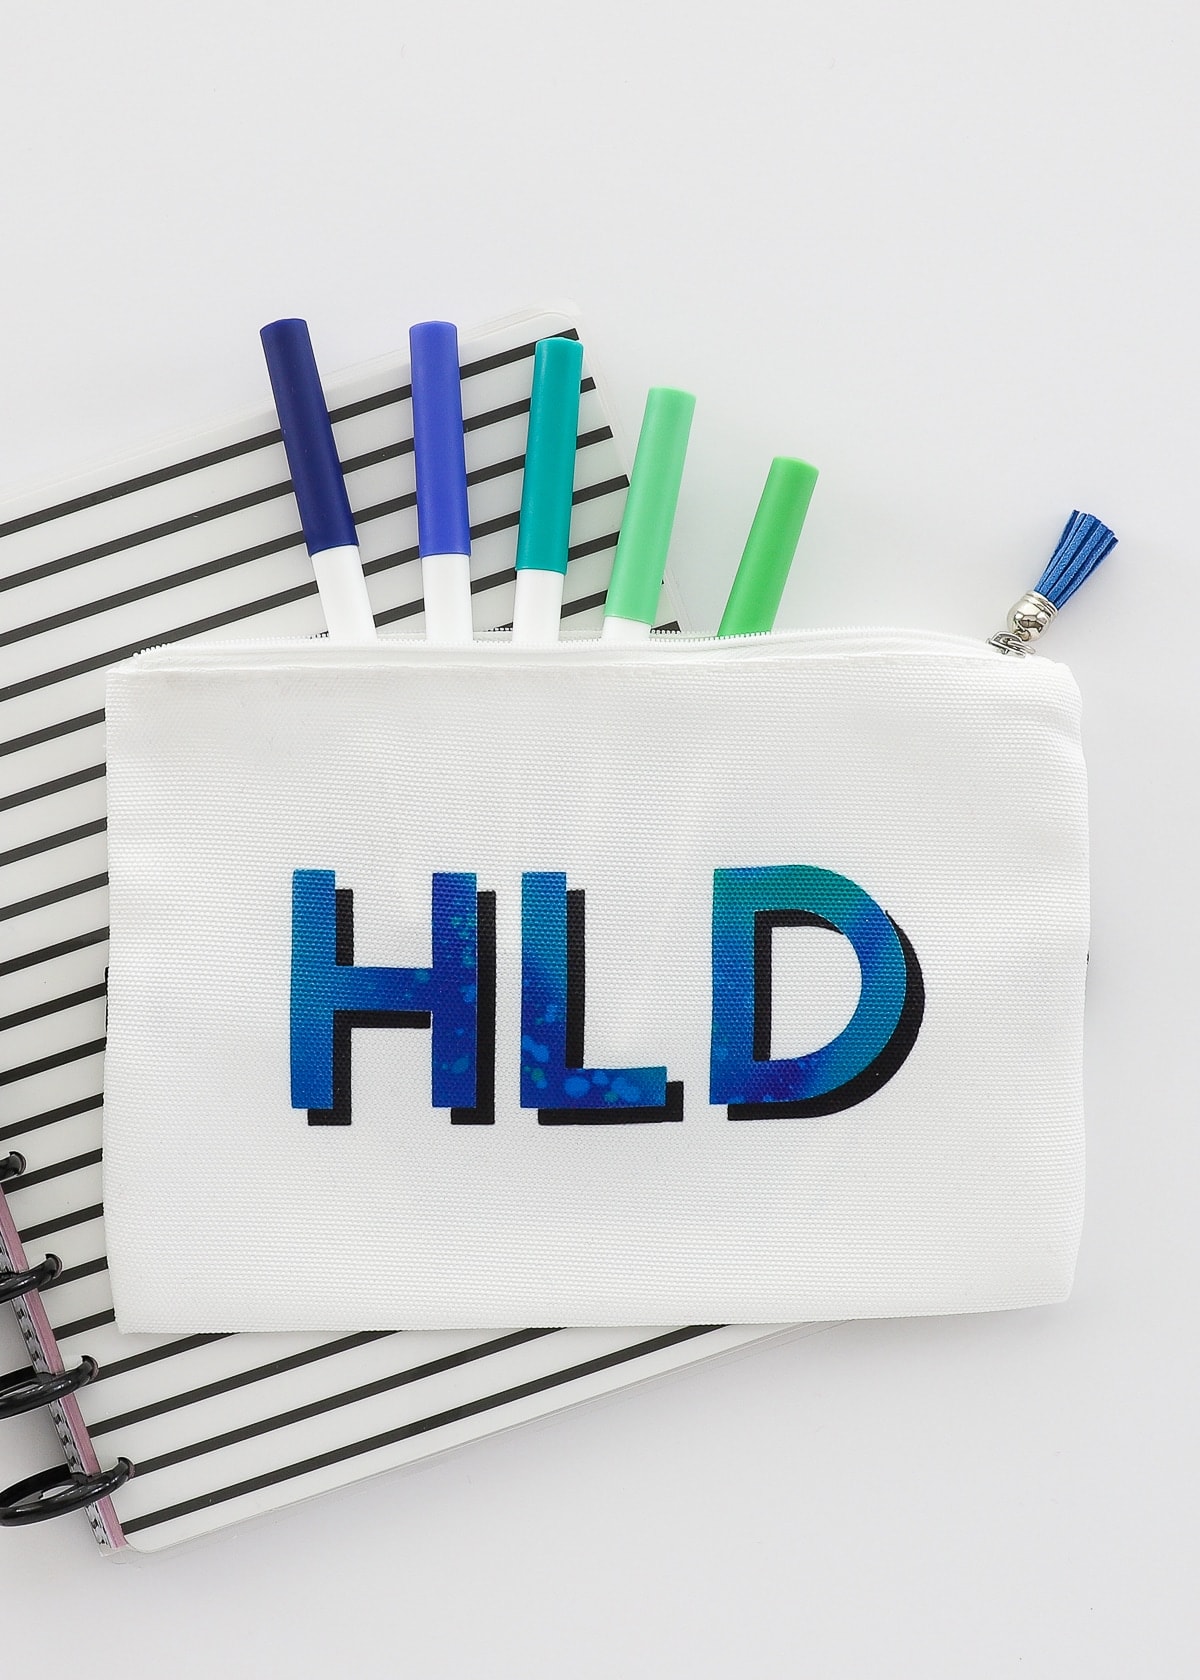
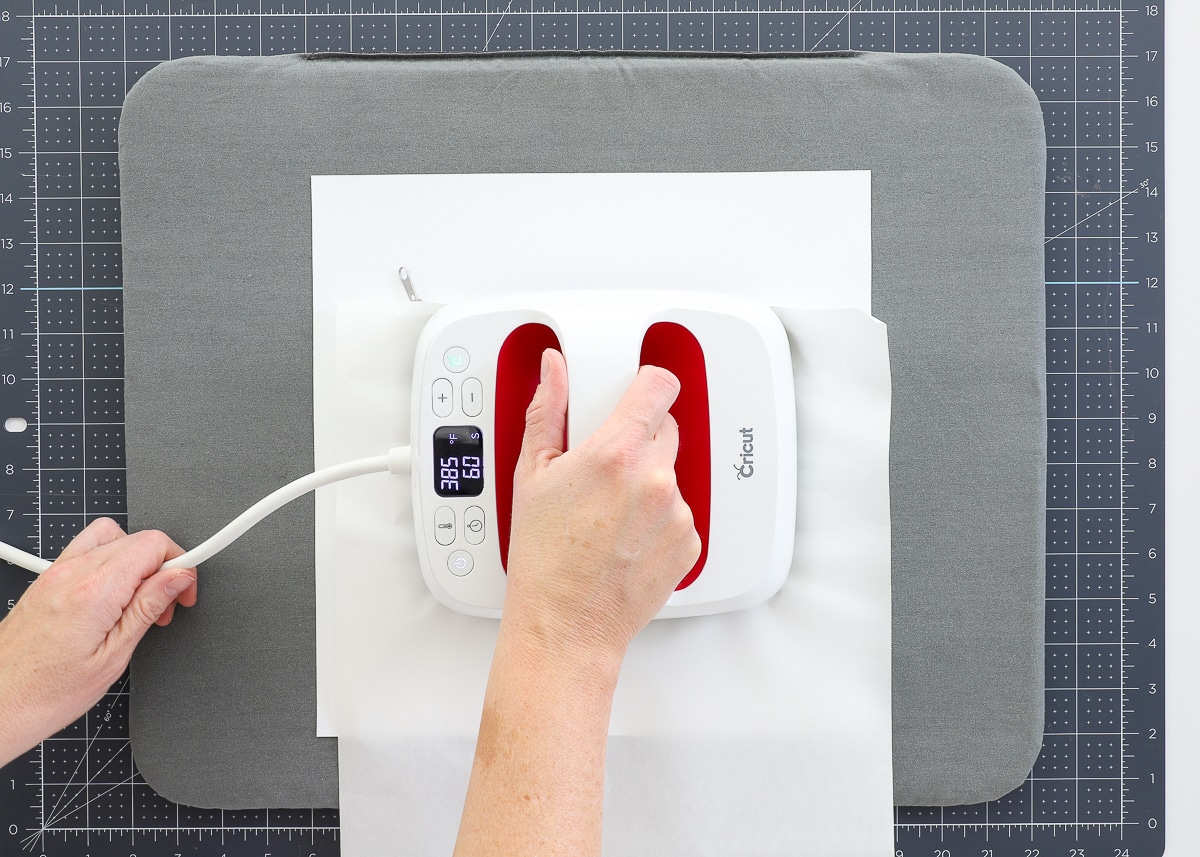
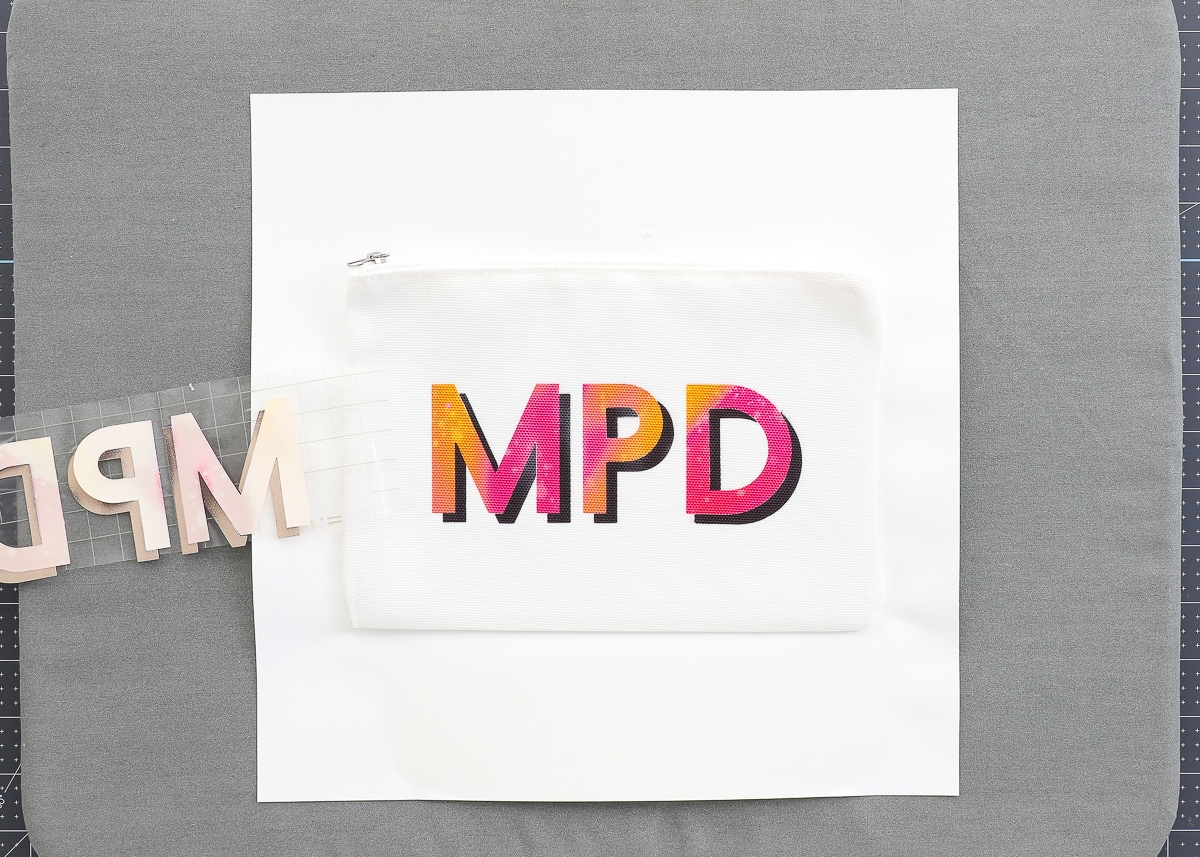
4. Labels Using Cricut Iron-On/HTV
This technique is very similar to making vinyl labels but is specific for fabric projects. Here, you cut words, shapes, or pictures out of iron-on vinyl (also called heat transfer vinyl or HTV) and fuse them onto fabric items via heat.
The Best Labeling Technique For…
Using iron-on vinyl is the best option for adding labels to any fabric items such as clothing, bags, pouches, or sometimes even canvas storage bins. The heating process fuses the vinyl to the fabric fibers, allowing them to cling perfectly and wash well.
However, like vinyl labels, this process can also be a bit tedious (e.g., cutting, weeding, heat transfer); and because iron-on vinyl is a permanent application, these labels cannot be changed.
What You Need
- Cricut Machine – any Cricut machine can be used for this labeling technique (Cricut Joy | Cricut Explore | Cricut Maker)
- Fine-Point Blade – the one that comes with your machine
- StandardGrip Mat
- Weeding Tools
- Iron-On/HTV
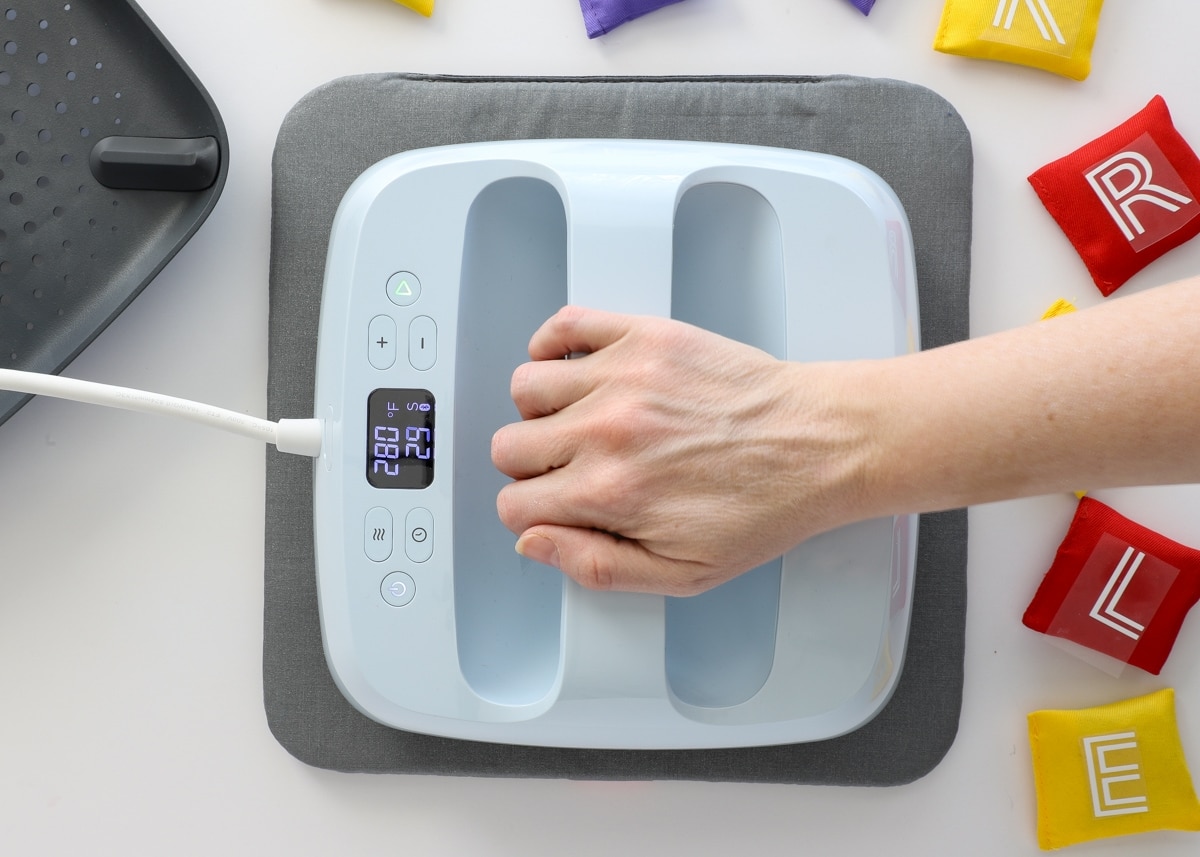
- Cricut EasyPress or Iron
- Heat-Safe Surface such as an EasyPress Mat
How To Do It
- Design label words, shapes, or pictures in Cricut Design Space.
- Cut out label designs from iron-on vinyl/HTV using your Cricut machine (with the “Mirror” setting turned on).
- Weed excess iron-on vinyl from around and within the label designs.
- Transfer the label to your fabric item using a Cricut EasyPress or iron.
Ready to give this a try? See the full tutorial:
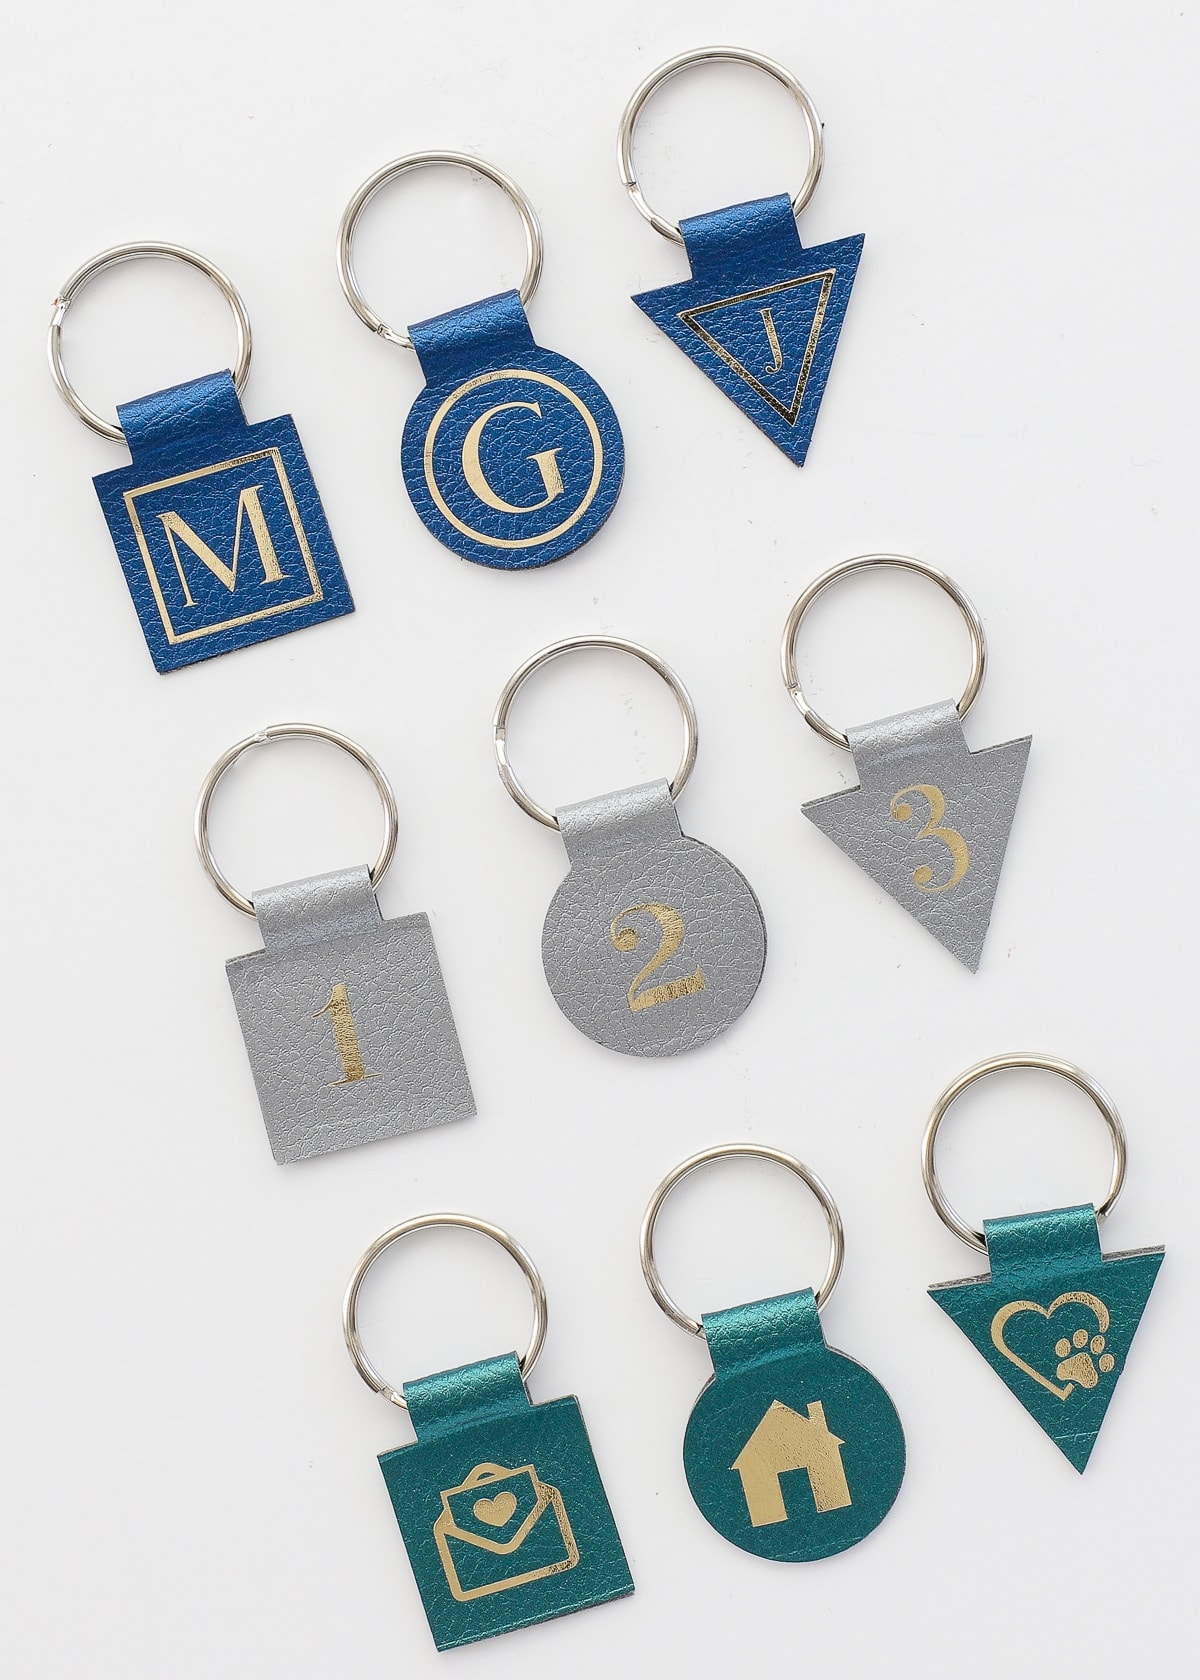
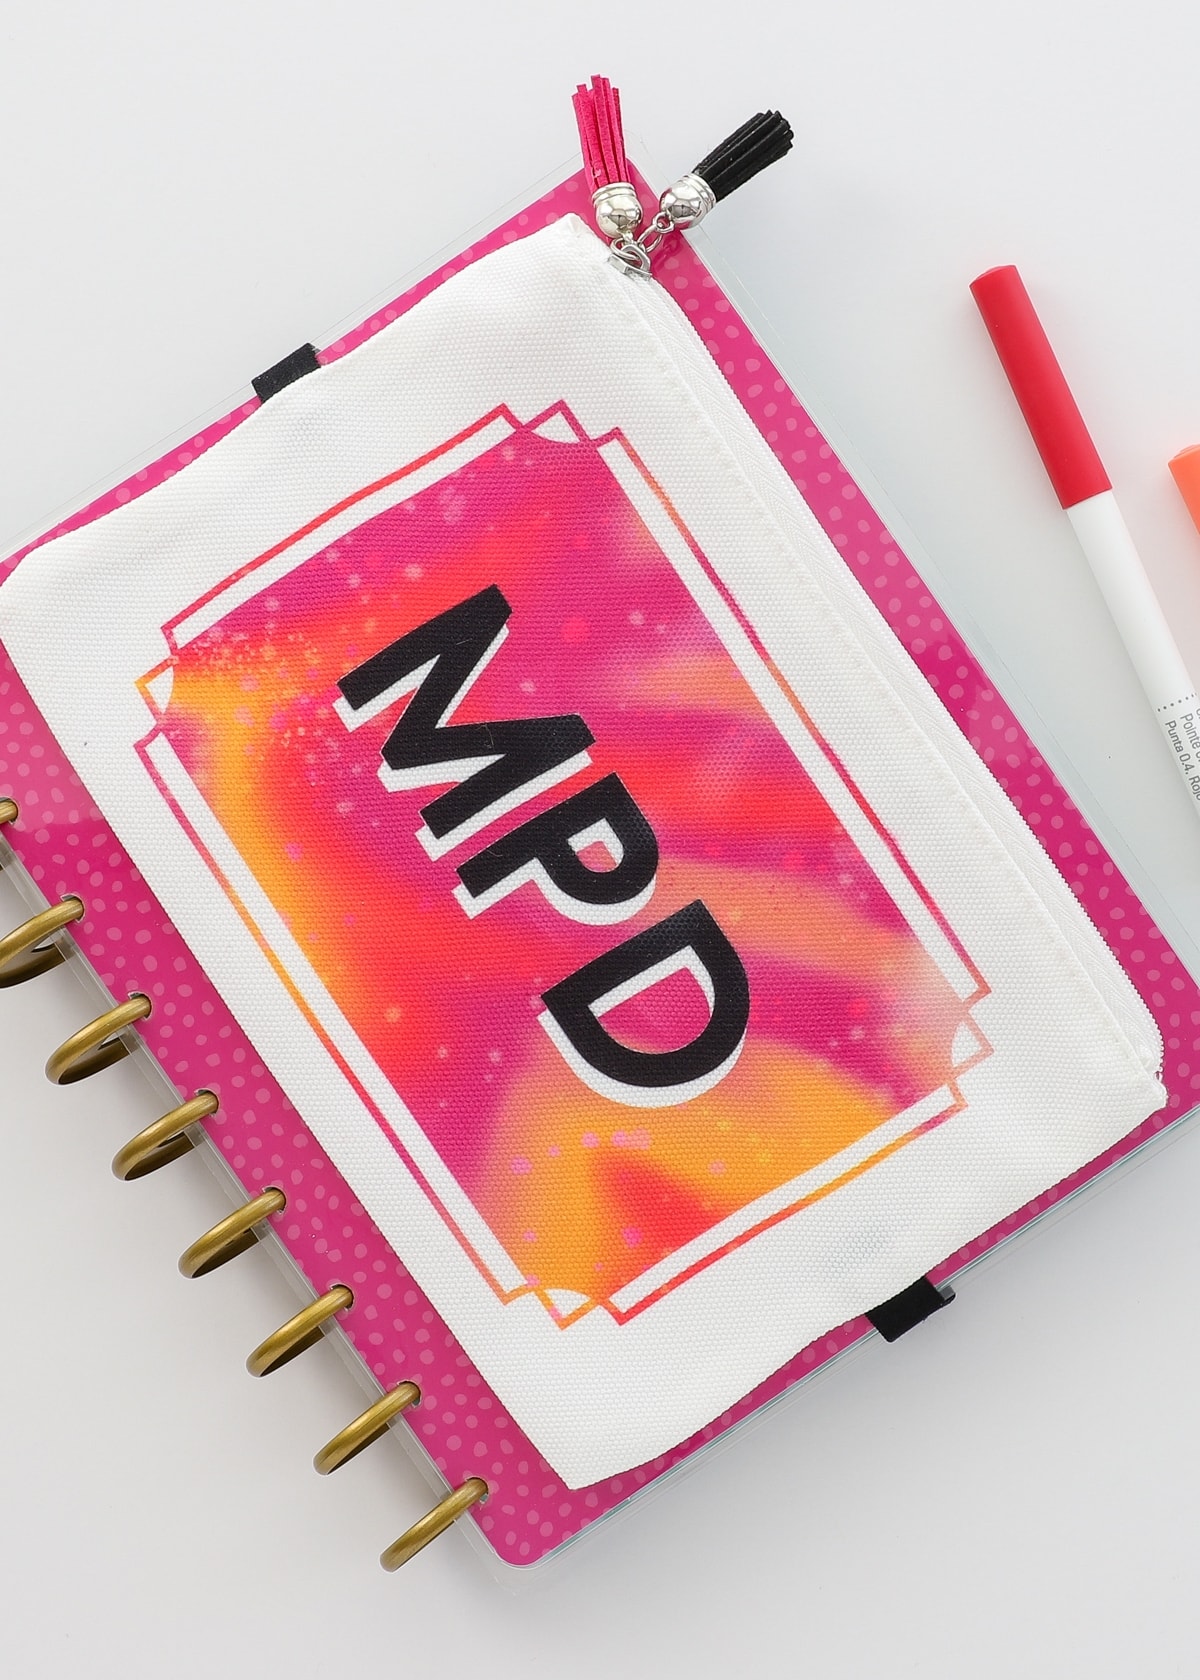
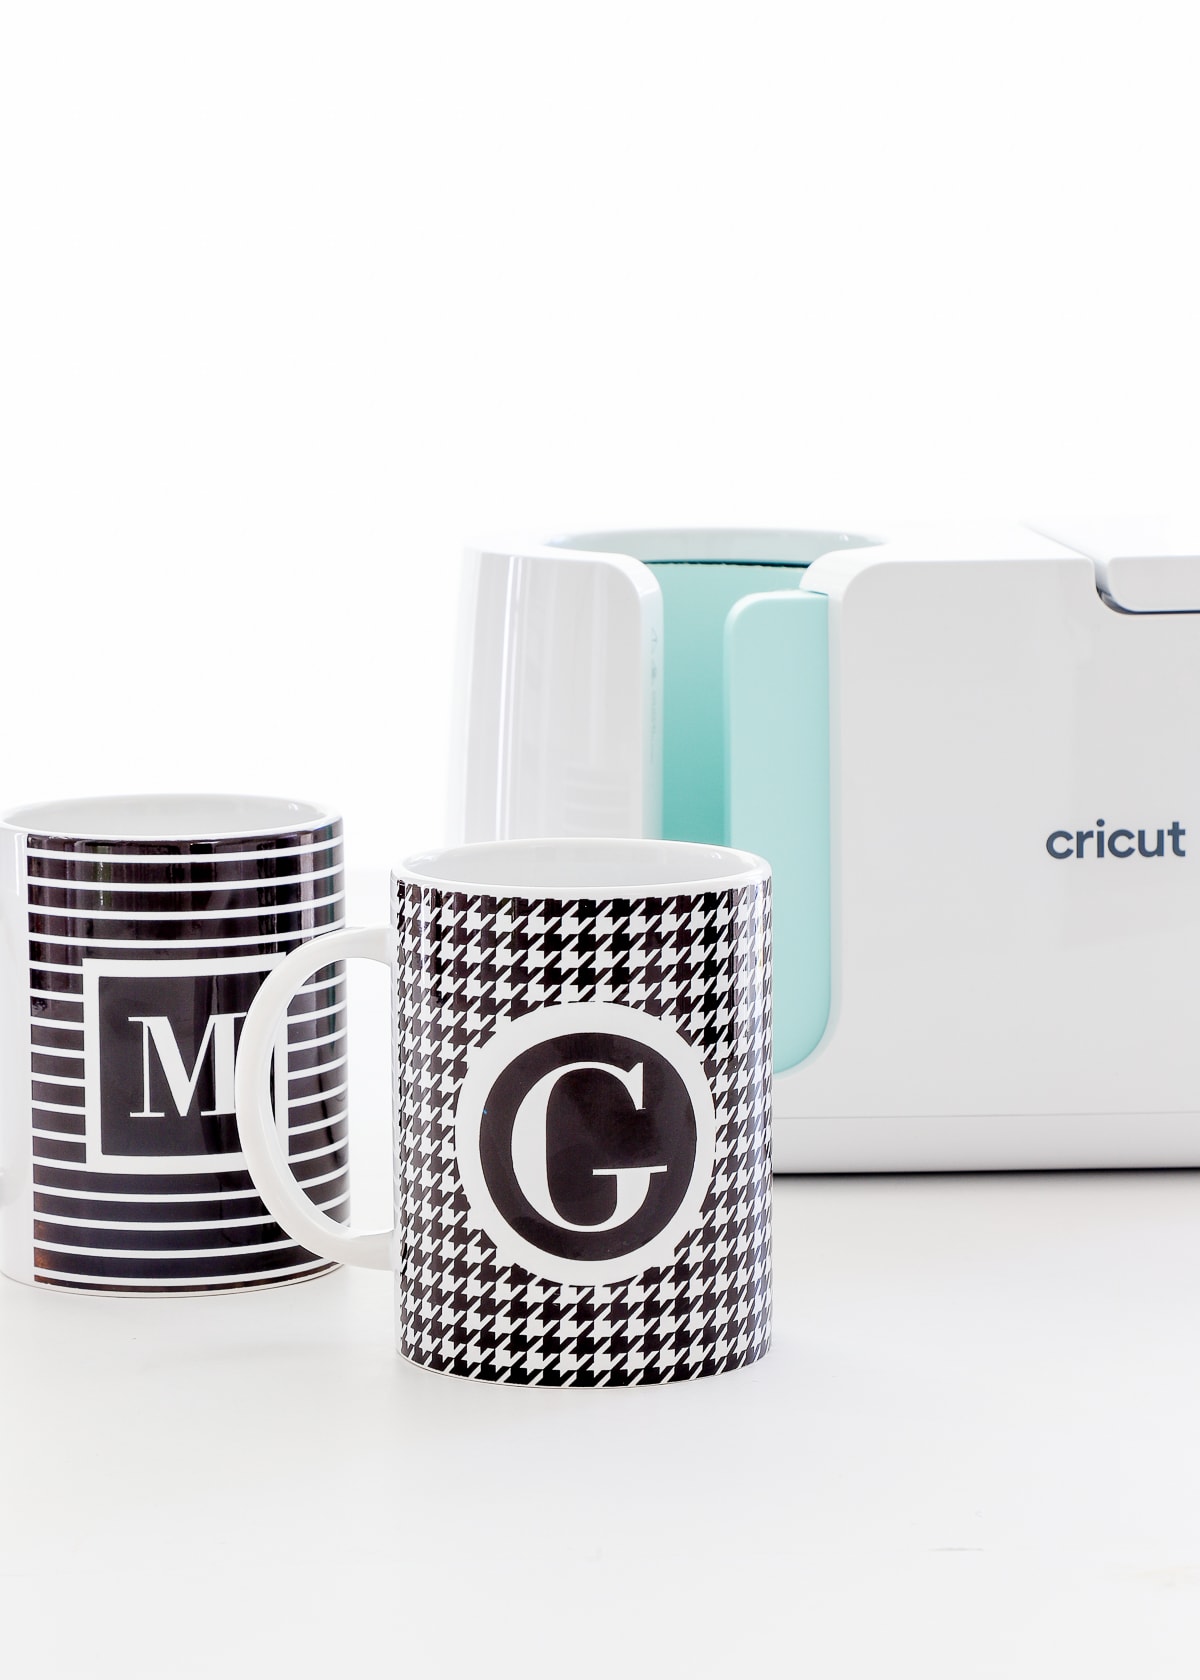
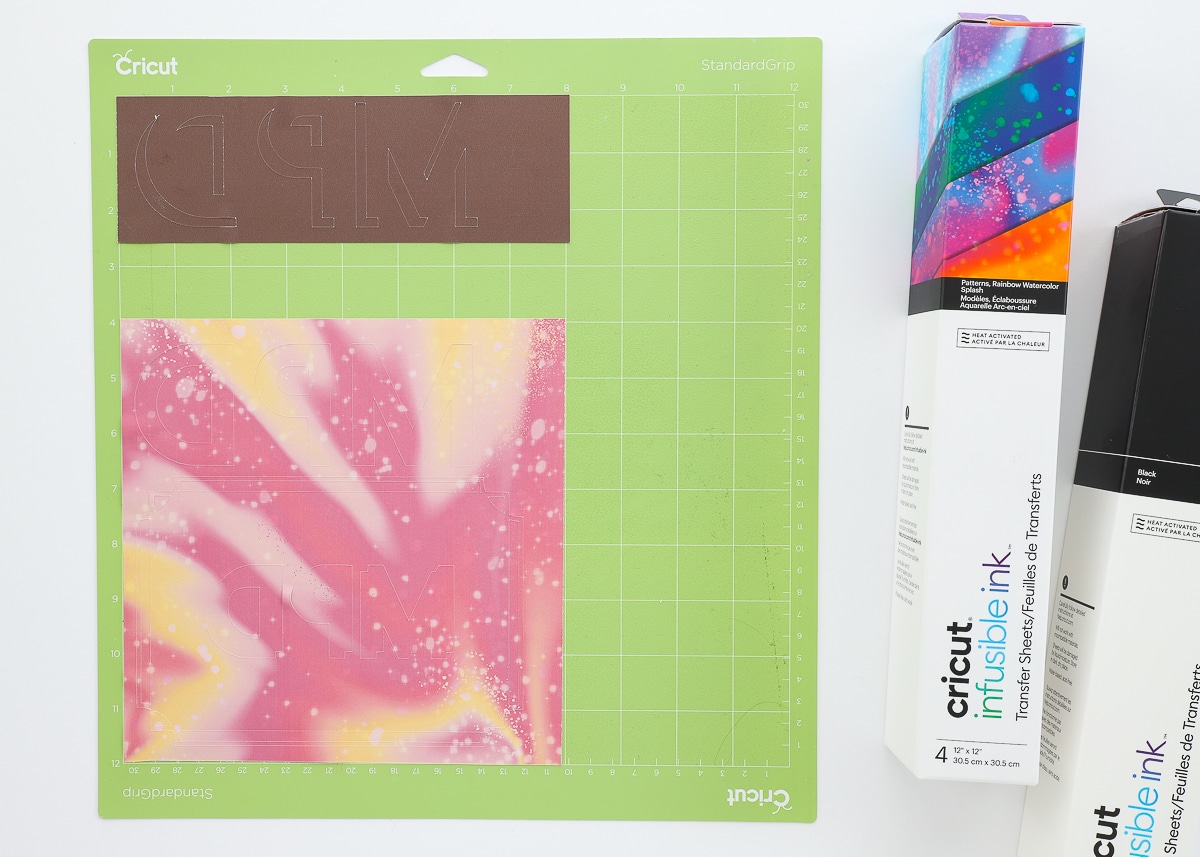
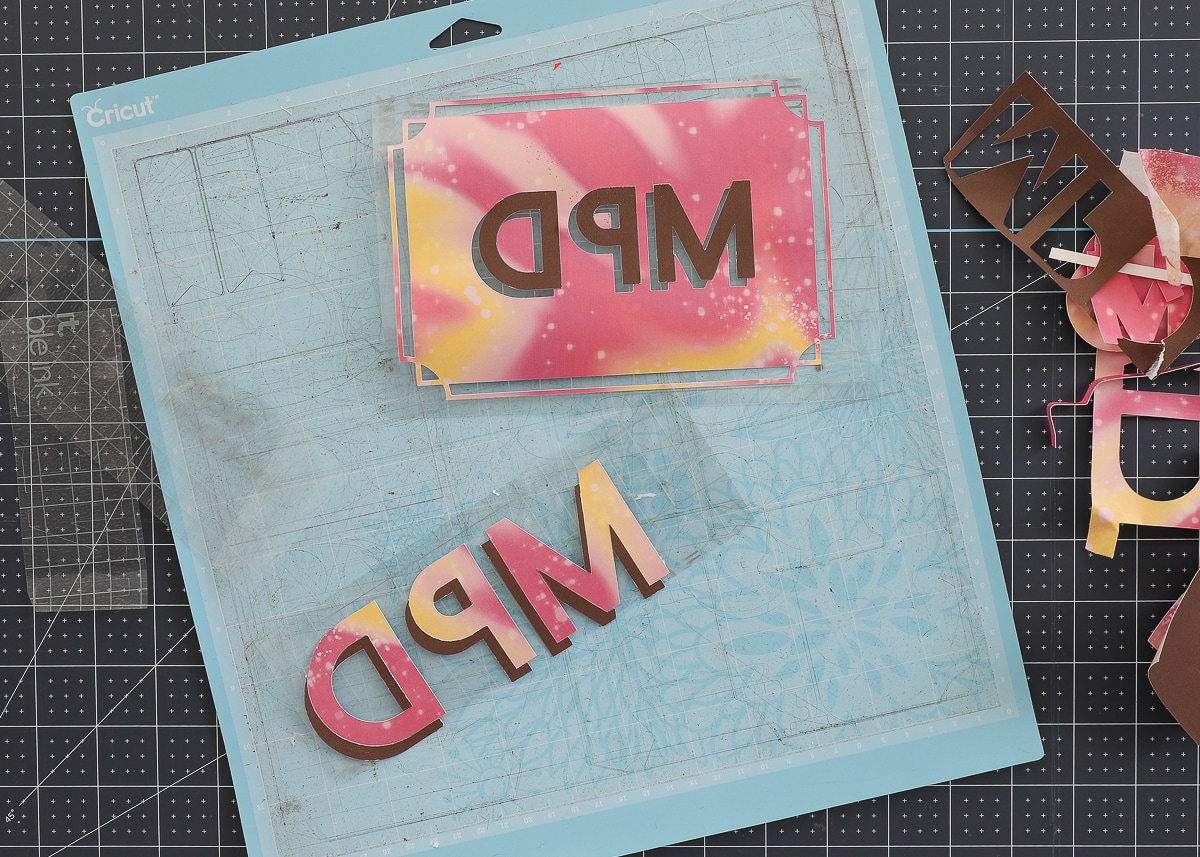
5. Labels Using Cricut Infusible Ink
I don’t think many would consider Infusible Ink a “common” labeling medium; but it can in fact be used to add labels to a variety of sublimation-compatible surfaces such as mugs, zipper pouches, keychains, and more!
The Best Labeling Technique For…
This labeling technique should be used in two primary situations:
- You are using a sublimation product (e.g., mugs, pouches, bags)
- You want a completely permanent, long-lasting, flake-proof, peel-proof label that can be thoroughly washed (either in the dishwasher or washing machine).
Using Infusible Ink is a somewhat tedious and complicated process, so it’s not the right technique for quick household labeling projects. But it really is the best way to make completely wash proof, dishwasher safe, and long-lasting labels on certain household items…so it’s worth keeping in mind!

What You Need
- Cricut Machine – any Cricut machine can be used for this labeling technique (Cricut Joy | Cricut Explore | Cricut Maker)
- Fine-Point Blade – the one that comes with your machine
- StandardGrip Mat
- Infusible Ink
- Cricut EasyPress
- Heat-Safe Surface such as an EasyPress Mat
- Compatible Blanks
How To Do It
- Design label words, shapes, or pictures in Cricut Design Space.
- Cut and/or draw label designs from Infusible Ink Transfer Sheets/Pens using your Cricut machine.
- Weed excess material from around and within the label designs.
- Transfer the design onto your sublimation blank using a Cricut EasyPress.
Ready to give this a try? See the full tutorial:
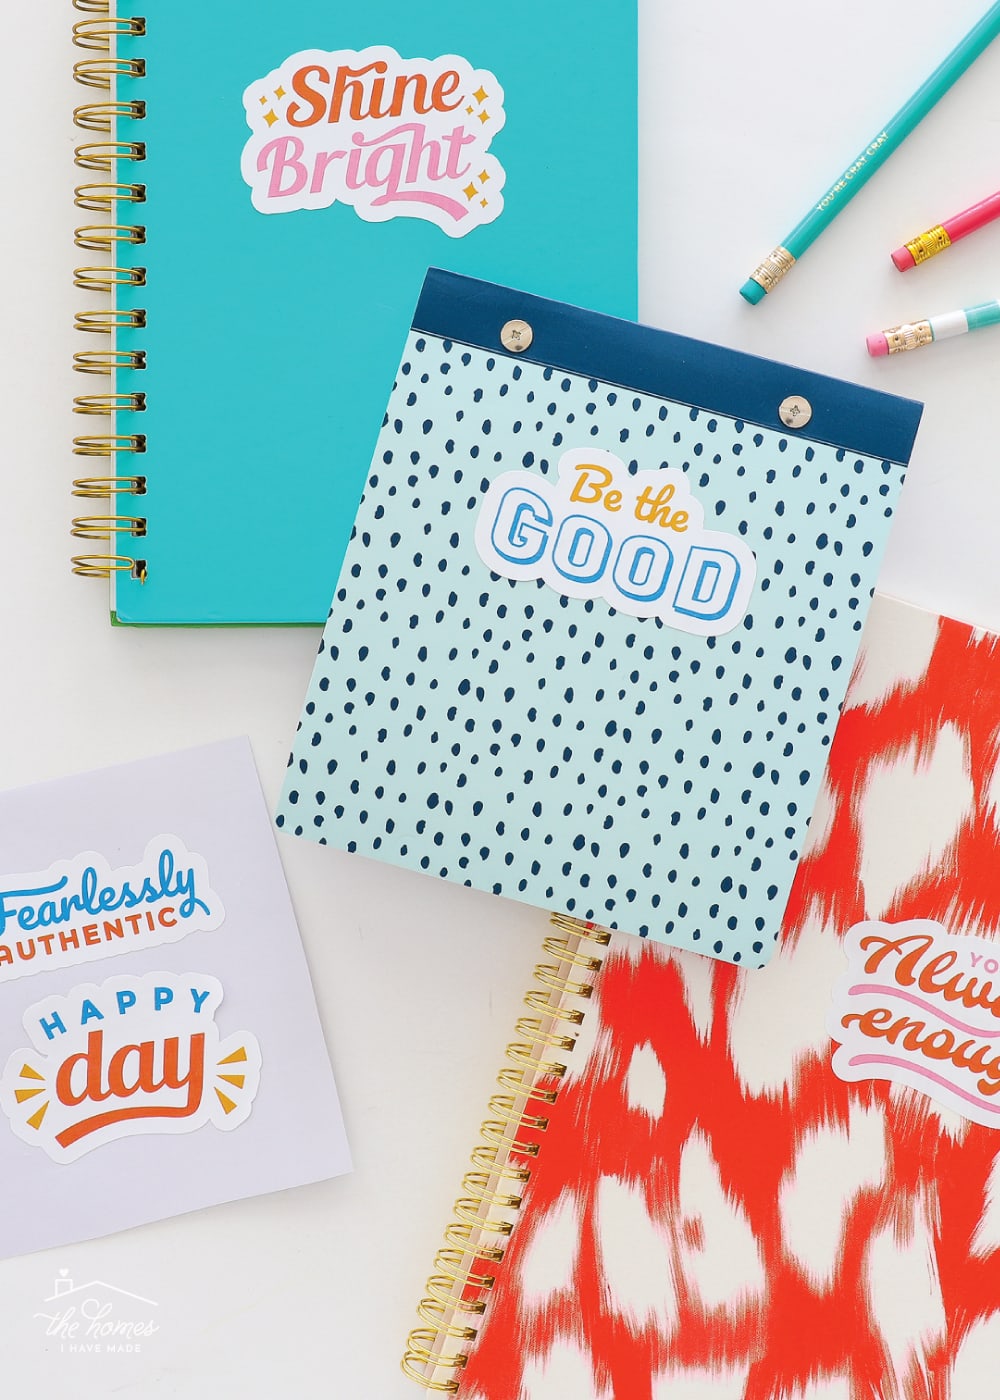
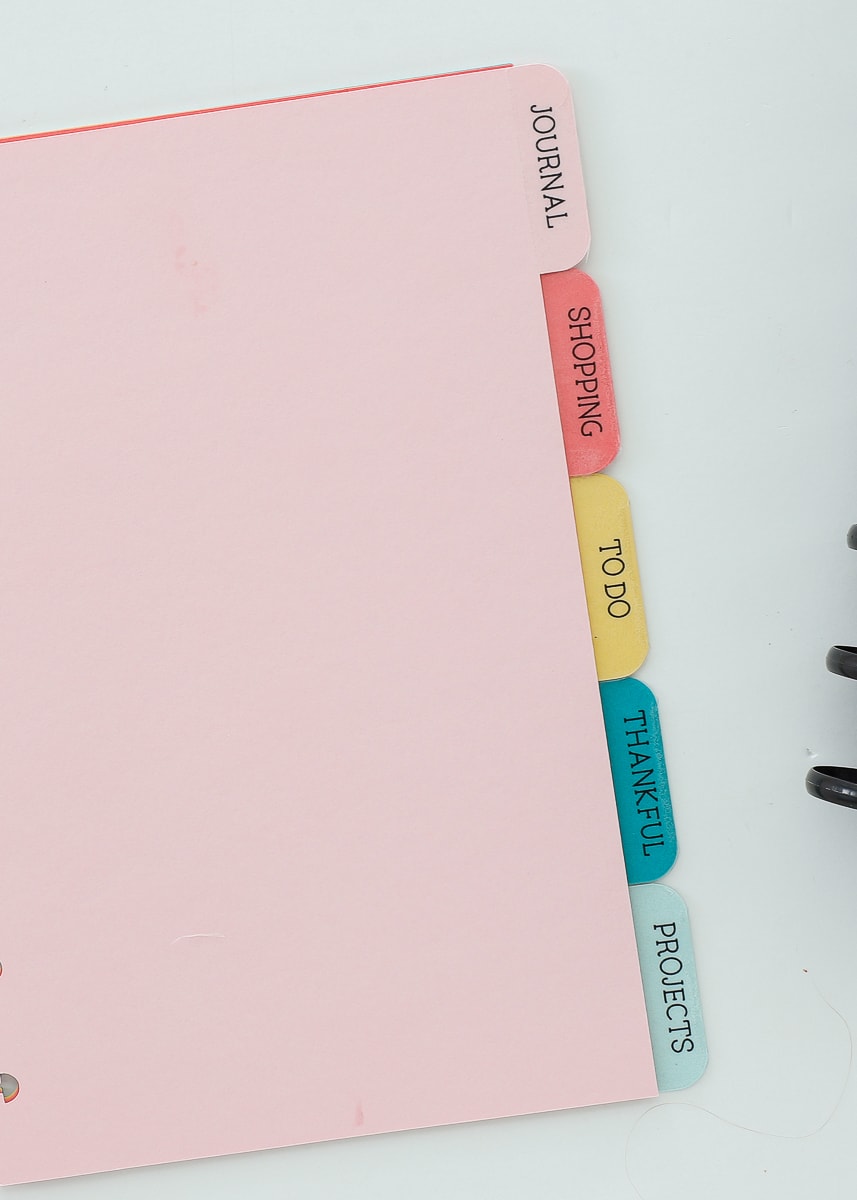
Other Creative Cricut Label Projects
I hope this post fully illustrates why I love using my Cricut label maker for my organizational labeling projects:
Want to save this post?
- Because I can label practically ANYTHING,
- And I can make those labels look EXACTLY as I want them!
Feeling inspired? Here are even more great Cricut labeling projects to consider:
- What Is the Best Cricut Machine for Making Labels?
- All About Cricut’s Writable Vinyl | A Complete Guide
- How to Write on Tags & Labels With Cricut Pens
- How to Make DIY Pantry Labels with a Cricut | 3 Methods to Try!
- DIY Luggage Tags with a Cricut
- Picture Toy Bin Labels with Cricut Vinyl
- Dresser Drawer Labels with a Cricut
- How to Make Return Address Labels with ANY Cricut Machine!
- How to Make Your Own Iron On Clothing Labels
- How to Use the Cricut Joy App to Make Labels…FAST!
So…if you’re ready to start using your Cricut machine to make gorgeous, custom labels for every surface in your home, pick the right method for your specific project (e.g., vinyl, Print Then Cut, etc), check out the detailed instructions for that technique (linked throughout this post), and get labeling aaaaaall the things!
Megan

18 Comments on “The 5 Different Ways You Can Make Labels with a Cricut Machine”
I love all your organization ideas! I signed up for your blog updates and thought I also thought I signed up for receiving your printables but I can’t find an email from you with a password. I think part of it is I changed email addresses and maybe deleted the email that had the password on my old address? Can’t remember for sure! I am hoping there is a way to sign up for that again.
Thanks, Kathy
Hi Megan
We saw some weeks ago your lovely craft closet with these wonderful labels and today we know how you made them. Well I don’t have such a machine and even if I know I should label many things I haven’t done it yet. So I think even if my handwriting is awful, I will begin by the simplest way but I love to see what you managed to realize. Have a nice week-end. Michèle
Hi Michèle!
I do try so hard to only show posts that almost everyone can accomplish without needing special equipment, but every now and then, I like to show something fun and new! I’m glad you are inspired instead of feeling left out of this project!
Megan
I want one of those machines. No, I think I need one. I love all the things you create out of that machine.
I have a question. I went to get into the organizational toolbox, and couldn’t find the password. Did I miss it in an email?
Thanks for sharing some easy ways to do simple things to keep organized.
Where did you get your 12 x 12 flat plastic boxes?? We are stationed in Germany and I can’t seem to find the right sizes on Amazon.
I really enjoy your military and organized moving posts 🙂
Hi Jenny!
Thanks so much for writing! I bought all my boxes at Michaels (I think), but these are pretty similar from what I can tell on the picture: http://amzn.to/1UEKcxi
So glad to have you following along!
Megan
Such a cool little machine and I love those labels, especially on the big bins (from ikea). My fav and everything matches and go so well 🙂 Great job.
Lauren | Lovely Decor
xx
Hey Lauren!!!
I have to apologize for my delay in responding to your comments. I just found a ton of comments in my Trash (for some strange reason!), so I hadn’t seen them until just yesterday!
Thanks, as always, for taking the time to visit me and leave thoughtful comments. They always brighten my day!
Happy Sunday!
Megan
I am also signed up to your site for organizational ideas but I want the free printables but do not have the password required nor do I have a email indicating wha it is. I have tried everything I can think of to access the printables but have bee unsuccessful. What is the password?
Would you mind sharing the fonts you used on your bins in the Cricut Design Space? More specifically, the ones on the washi tape part?
I love how you labeled the Drona bins! And the floral adhesive wallpaper is awesome – do you happen to remember where you got it?
Hi Cat!
Isn’t that paper great?!?! You can find it here: http://www.spoonflower.com/fabric/4665865-janis-ikat-navy-by-crystal_walen
Hope that helps!
Megan
I love this post. I am wondering where you got the wonderful shelf units. Were they expensive? I am so excited about reviewing all of your posts!
I don’t see where this was an actual tutorial of how you used the cricut to make them. You used it to make them but didn’t break down exactly how. You told us what you used but didn’t go step by step with the Cricut machine. You used Washi tape, vinyl etc but no step by step. That’s what I look for in a tutorial. Maybe I’m missing something. I’m gonna check out some of your others to see if they’re helpful.
Well, this was so well done and explained I had to subscribe. I’m a brand new Cricut Maker fan and I’ll probably use it most for labels, at least until I have a few more projects under my belt. Your instructions are so easy to understand. Also for the first time I have a small dedicated space for my sewing. Like you, I wanted something pretty that would go on different textures. I have a specific fabric dedicated to my sewing area, so this is perfect, I can use the fabric to tie everything together. I love the WRITE feature as my handwriting leaves a lot to be desired. I love anything that makes apartment living easier, so thanks!
I understand that you wrote this years ago, but I also have to agree that information on how you accomplished these things in design space would be helpful. Your storage is beautiful, but a true tutorial on how “to make labels with a cricut explore” would be helpful. Thanks!
Im new to this but i make up alot of labels for roller bottles for my young living oils. I was wondering if you have ever done that and what was you did. My cricut air 2 wont be here for a couple weeks but im very excited!
Hi!
I haven’t personally made those types of labels, but it is certainly possible to do! There are lots of different products you can use like waterproof sticker paper or even the Cricut Joy Smart Label (you can load it onto a mat for your Cricut Explore).
I suggest you check out this post….even though this tutorial is for the Cricut Joy machine, the process of designing/cutting/writing your labels is a great place to start and you can easily adapt it to your Explore (you’re going to love the Air 2 btw!)
Good luck!Megan