Introducing the Cricut Heat App | What It Is & Why You’ll Love It!
Earlier this week, Cricut launched something I am super excited about: the new Cricut Heat App. I have been a long-time super fan of the Cricut Heat Guide (a time and temperature guide that helped you determine the best settings for your iron-on and Infusible Ink projects). But now, this helpful guide has been turned into an interactive app that not only automatically sets compatible Cricut heat press machines, but also holds your hand through the entire heating process, ensuring you end up with perfect results…every time! Today, I want to give you a full tour of the new Cricut Heat app, and show how it’s truly a game changer for all your “hot” projects!
New Cricut Heat Blog Series!
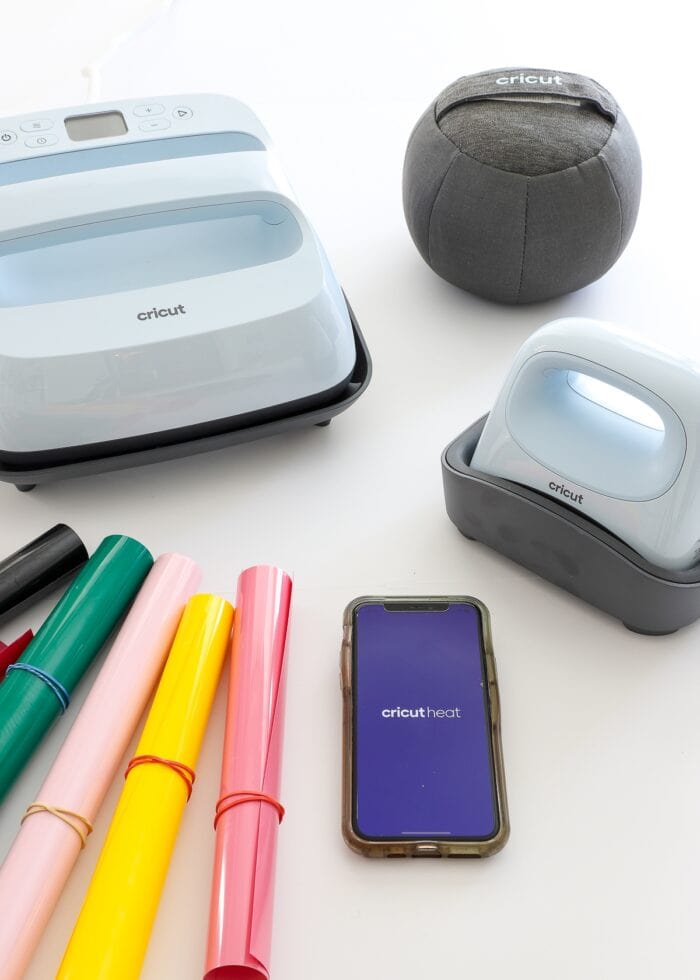
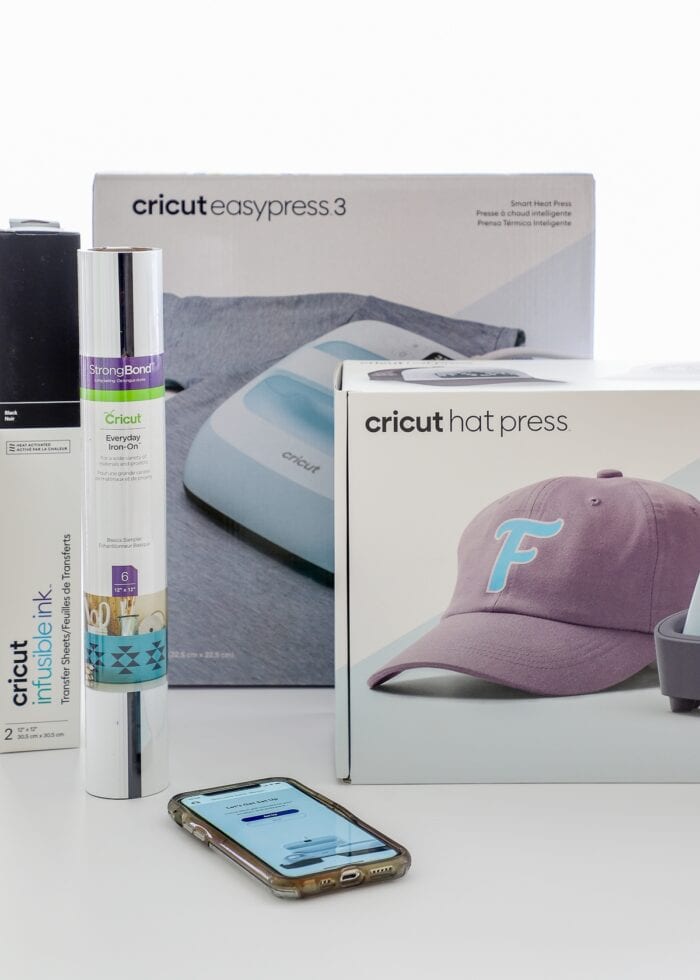
The Cricut Heat app is just a small part of Cricut’s big Spring launch of three new heat press machines: the Cricut EasyPress 3, the Cricut Hat Press, and the Cricut Autopress; and I’m excited to share it all with you! Here is what’s coming up later this month!
- Introducing the Cricut Heat App – You Are Here!
- How to Use the New Cricut Hat Press with the Cricut Heat App
- How to Use the New Cricut EasyPress 3 with the Cricut Heat App
What Is Cricut Heat?
For many years, those of us who have been making heat-related projects have heavily relied on the oh-so-helpful Cricut Heat Press Guide…an online tool that allows you to select any base (e.g., coaster, t-shirts, tote bag) or type of material (e.g., cotton, nylon, polyester, wool, etc) along with any heat-reactive material (iron-on/htv, Cricut Infusible Ink, etc); and it would tell you precisely what time and heat settings you needed for great results. I personally have the quick reference guide bookmarked on my browser, and have pulled it up more times than I can count!
Cricut has essentially taken this wonderful tool and transformed it into an even handier, interactive app. Just like the website, you now select the heat press you will be using, the base, and the transfer material, and the app determines the precise time and temperature settings you should use. Further, the app also provides super helpful interactive guides and mockups, so you know exactly what to layer and when so that your projects turn out perfect.
The Cricut Heat app essentially takes all the brain work out of creating heat-related crafts, so you can press…without stress…and no longer fear melting, peeling, and imperfect transfers!

Connectivity with the New Cricut Heat Presses!
Beyond moving the Cricut Heat Guide to a handy app, Cricut went one step further and created the ultimate heating “dream team” to make your iron-on and Infusible Ink projects quicker and easier than ever before. Both the brand new Cricut EasyPress 3 and the Cricut Hat Press are “smart” presses, which means they have bluetooth compatibility with the Cricut Heat app.
With just a press of a button, you can send your specified EasyPress settings directly to the Cricut EasyPress 3 or Cricut Hat Press. And then the app will guide you…literally step-by-step, through pre-pressing, heating, flip pressing, and peeling. This means no fidgeting with buttons, no missing steps…and no more imperfect projects!
Where to Download the Cricut Heat App
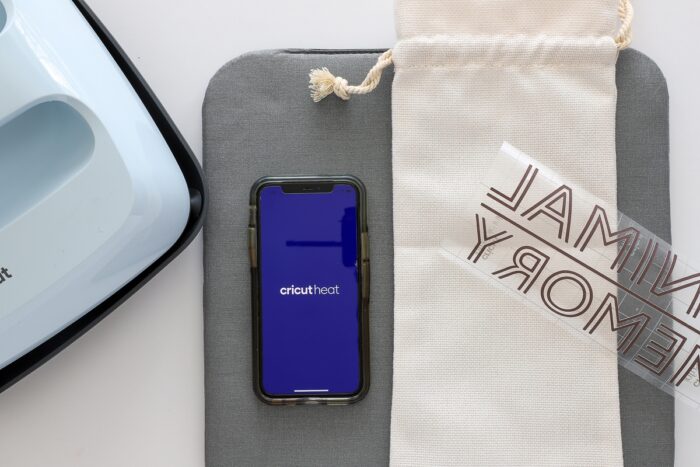
The Cricut Heat app is free and available for both iOS and Android devices. Visit your specific app store (Apple Store, Google Play Store) to download the app directly to your smart device.
Using Cricut Heat with EasyPress 3
I have been making aaaaall the heat-related projects in recent weeks, really putting the Cricut Heat app through its paces. I am absolutely smitten with its seamless functionality with the new Cricut heat presses, and feel more confident than ever making iron-on and Infusible Ink projects. Let me show you how it all works!
Select the Right Settings in Cricut Heat
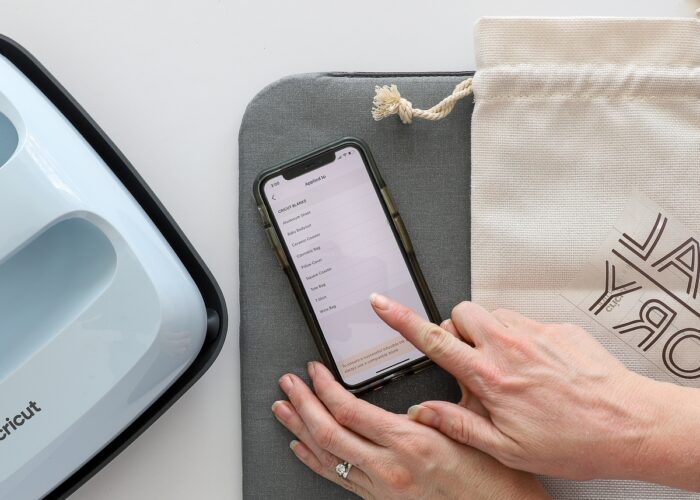
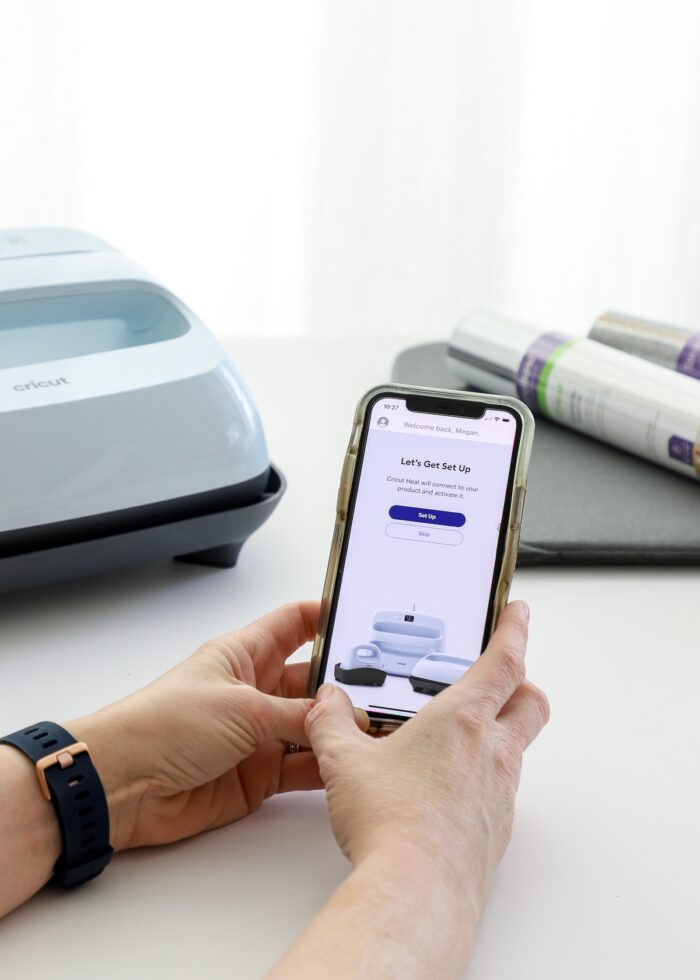
Once you have your project designed and cut out with your Cricut machine, open the Cricut Heat app and select which Cricut heat press you will use. For this project, I selected the new Cricut EasyPress 3.
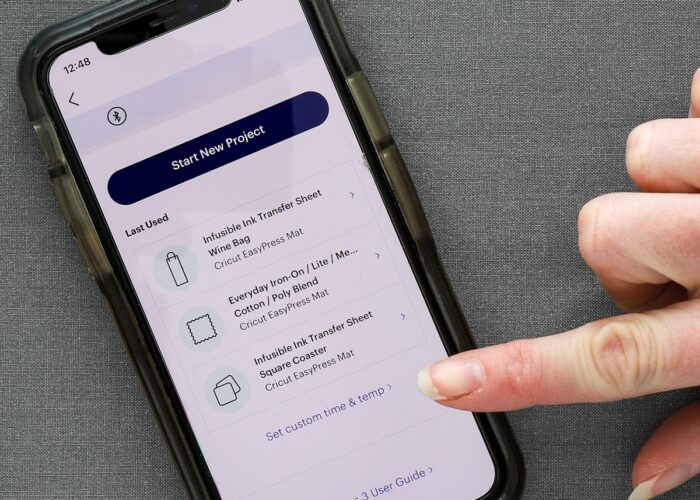
Once you “Start a New Project,” you will be prompted to first select your transfer material from the many options (in my case, I chose “Infusible Ink Transfer Sheet”).

Then, select the material you will apply it to (I chose “Wine Bag”).
The Cricut Heat app will then show you the exact settings needed for your selections. If you have an older EasyPress (EasyPress or EasyPress 2), you can manually punch these settings into your heat press. However, when using the new Cricut EasyPress 3, you can simply click the “Send Settings to EasyPress” button…
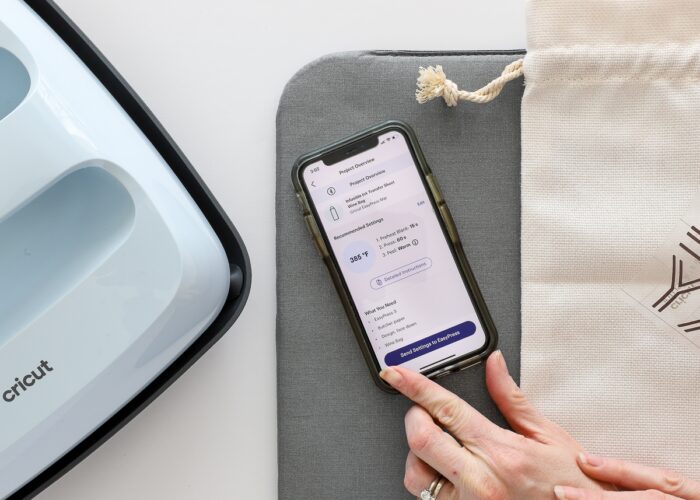
…and the machine will automatically start heating up! (Yes, you read that right! No buttons to push…the app+machine does everything for you!)
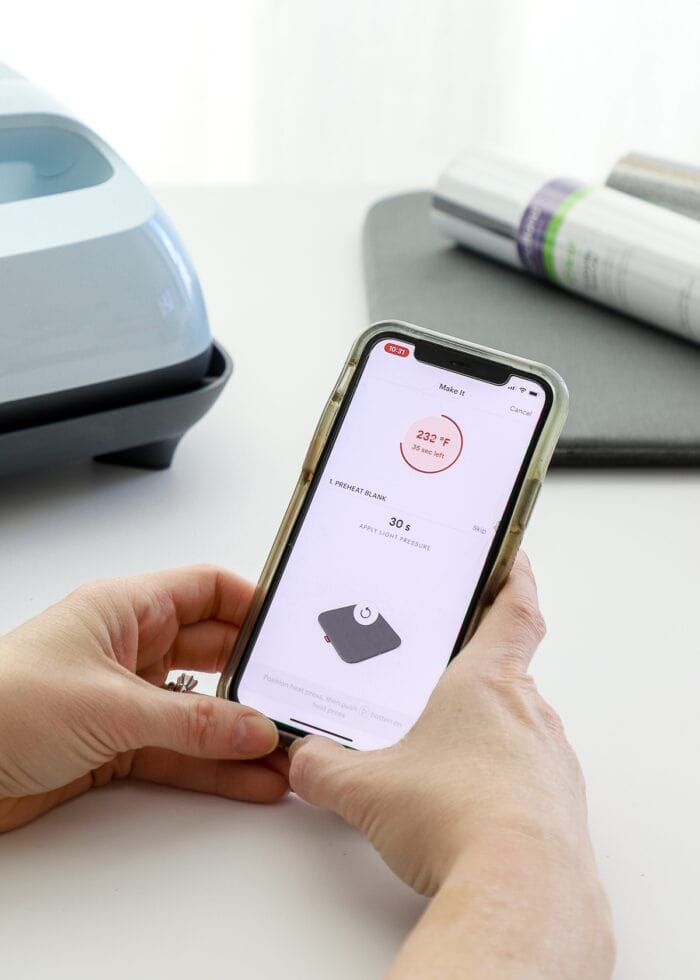
The app will show how the EasyPress pre-heating is progressing. Once it’s ready to go, the light indicator will turn green and will beep.
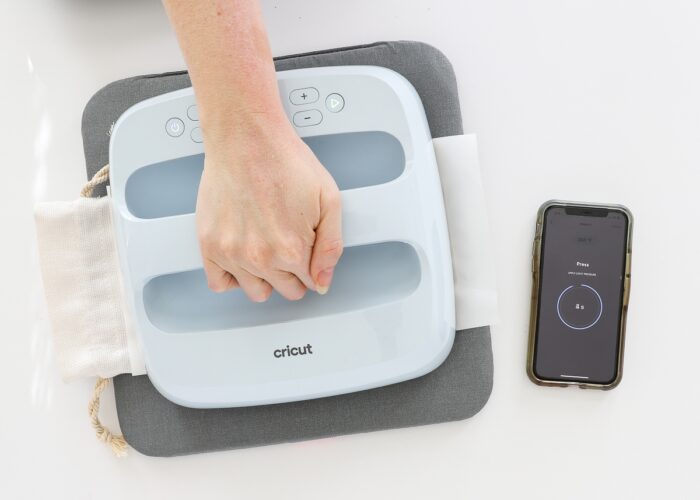
Press Your Project
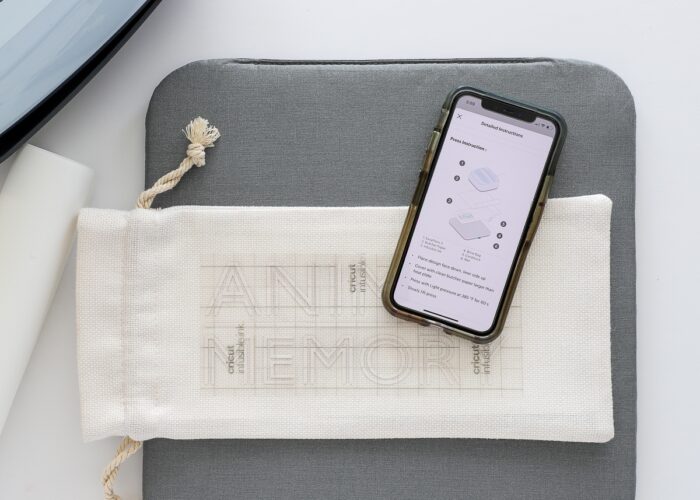
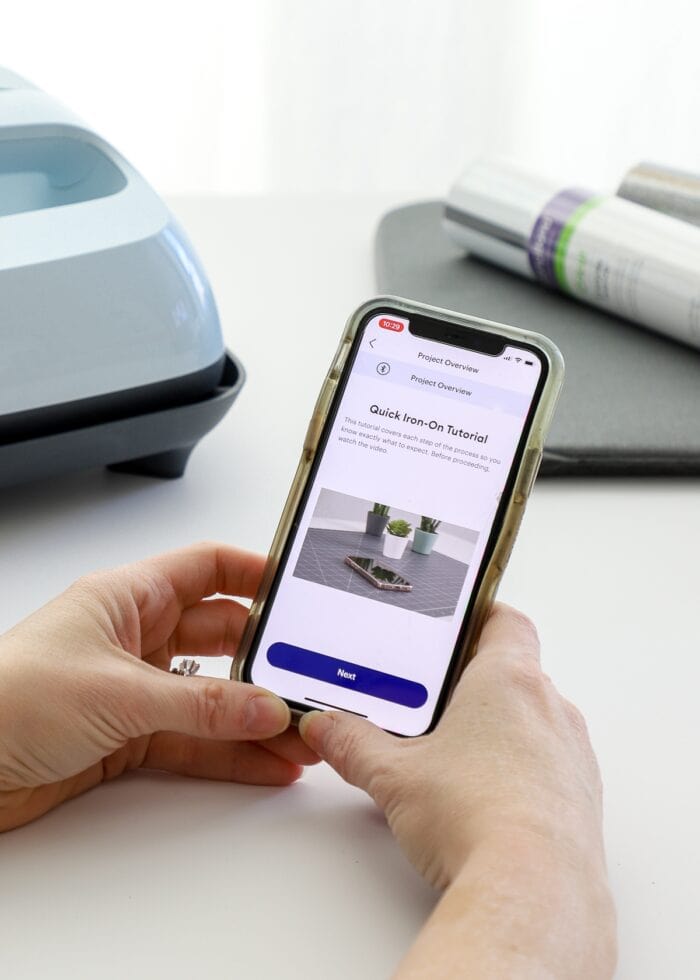
With the Cricut EasyPress 3 heated and ready to go, you may still feel at a loss of what to do next. But the Cricut Heat app has your back. Built into the app are videos, diagrams, and step-by-step instructions to ensure you layer and press everything in the right order and for the right amount of time.
I personally find this exceptionally helpful when doing Infusible Ink projects, as I can NEVER remember how to layer everything together. But by following all the on-screen prompts, I am shown what to layer…
…when to press (and for how long thanks to the countdown matched to the app!)…
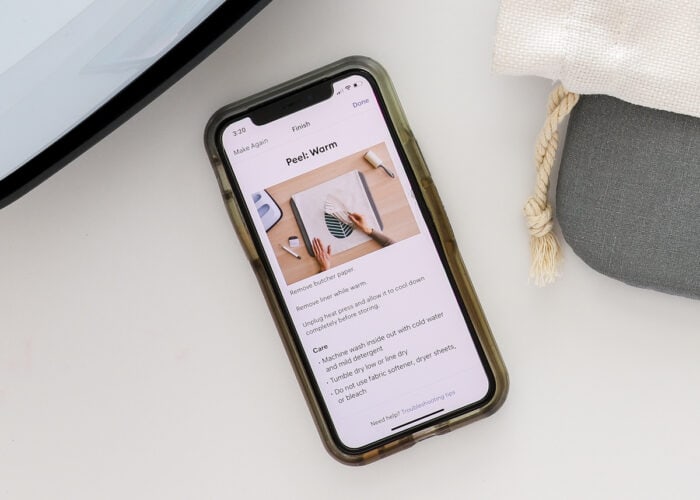
and how to peel (e.g., warm versus cold peel)…
…so that my project turns out perfect…the first time…every time!
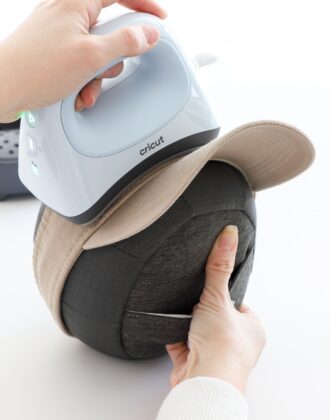
Using Cricut Heat with Cricut Hat Press
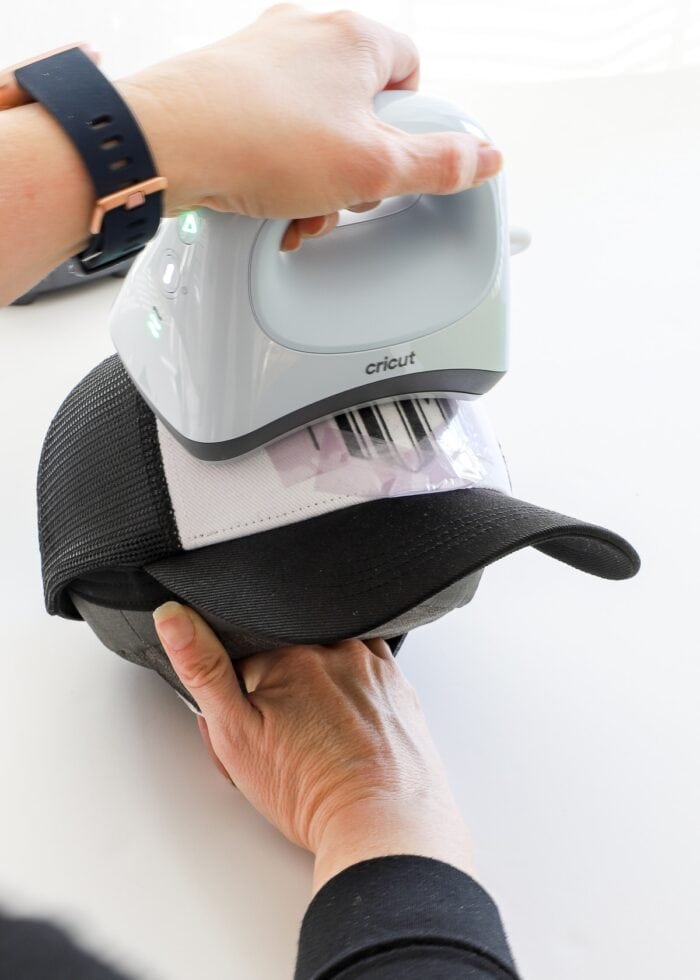
The other compatible heat press with the Cricut Heat app is the brand new Cricut Heat Press. Here is my full guide to using Cricut Hat Press, but today I want to show you how the same work flow exists in the Cricut Heat app for making custom hats!
After designing your project in Cricut Design Space and cutting out the materials, choose Cricut Hat Press from the main screen on the Cricut Heat app. This will load specific settings and materials unique to the hat press itself.
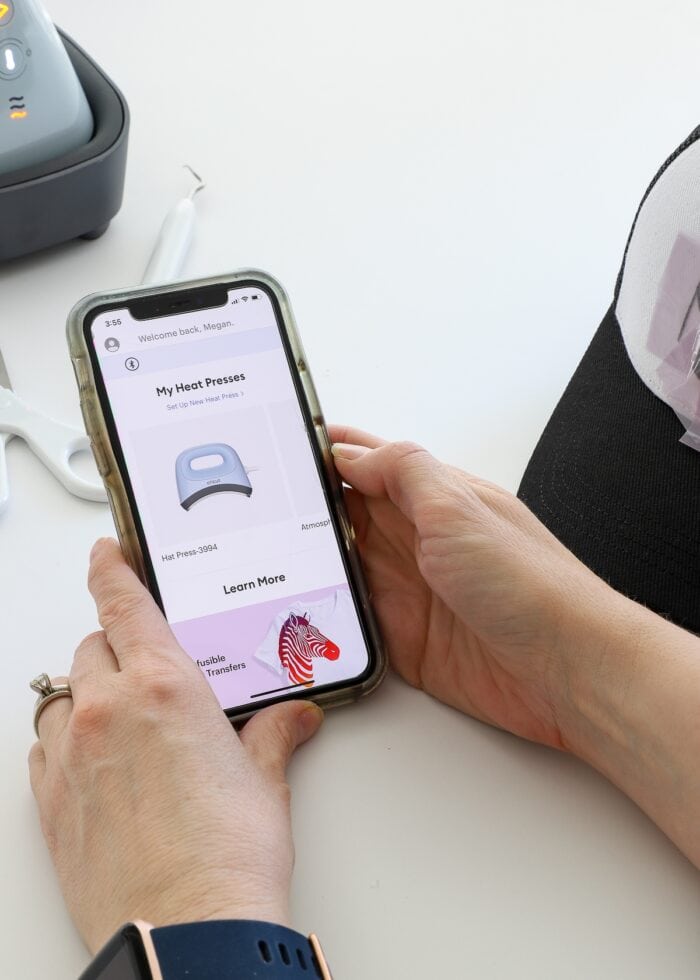
Just like before, select the transfer material (I chose Glitter Iron-On), and then choose the base hat material. For this project, I used one of Cricut’s new Trucker Hat blanks (which you can also see pre-loaded in the app!)

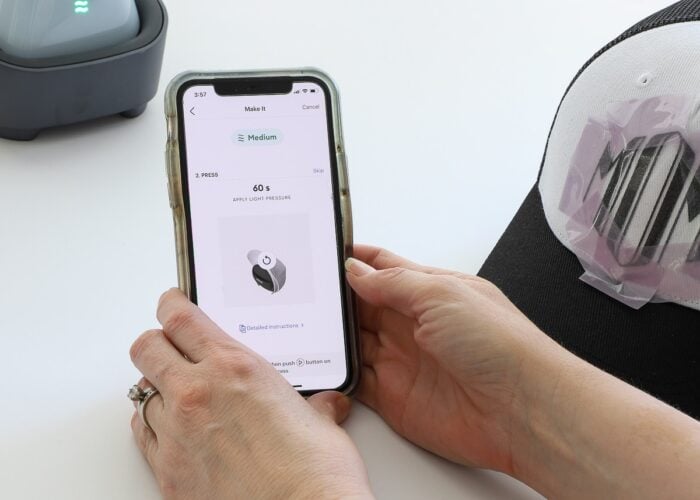
Once you click “Send Settings to Hat Press,” you are shown very specific instructions on how to prep your hat, the design, and the form for optimum pressing.
Want to save this post?
Simply by following the on-screen prompts, Cricut Heat helps you get perfect results, no matter what you’re making!
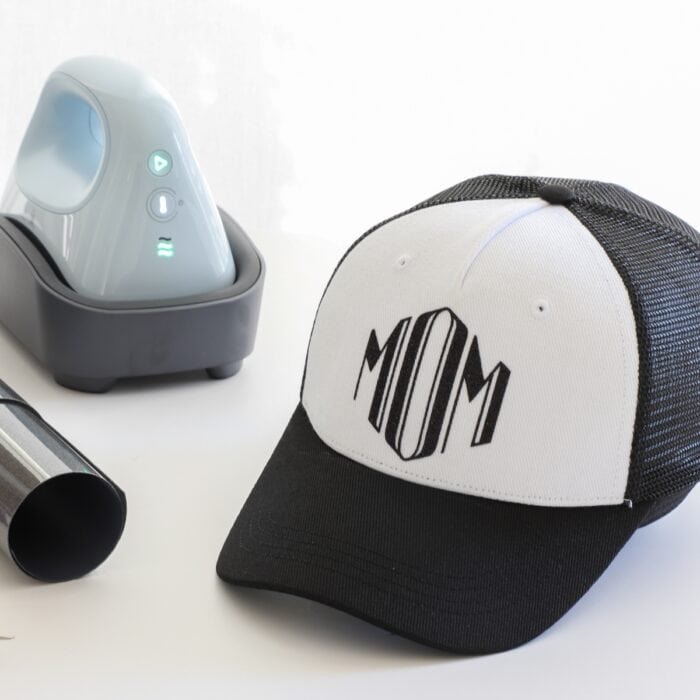
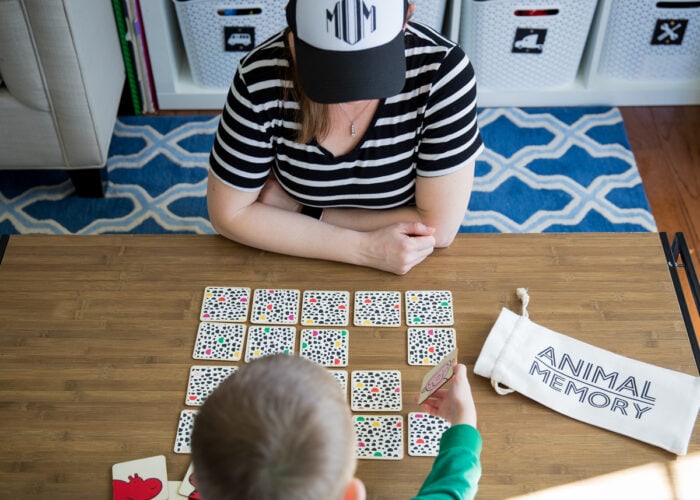
Step-by-step instructions for this Mom Hat are HERE!
How to Set Custom Settings in the Cricut Heat App
There are currently 25+ different bases and 19 different materials pre-loaded into the Cricut Heat app, so you will most likely be able to find the perfect settings for pretty much any project you’re working on. However, you may identify times when the recommended settings aren’t quite right for your project, so you will need to enter your own custom settings right into the app itself!
If you identify the predetermined settings need adjusting, you can manually set your own time and temperature in two different ways:
Option 1: Complete Custom Settings
- Open the app and select the heat press you will be using.
- Under the button “Start a New Project” scroll down to that where it says “Set Custom Time & Temp” at the very bottom of the screen.

- A new screen will open that allows you manually set temperature and time settings, as well as pre-heating and flip specifications.
Option 2: Adjust Recommended Settings
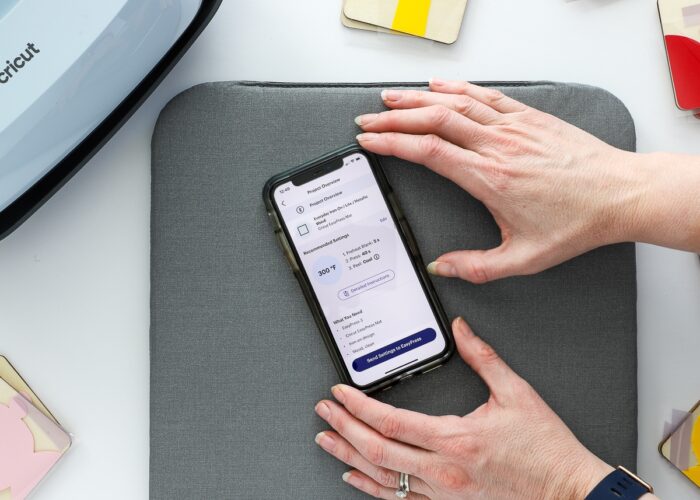
A quicker and easier option is to start with Cricut’s preloaded settings for a specific material and base. From there, you can adjust any settings specific to your project.
- Choose the transfer material and base for your project
- Once the recommended settings load, click “Edit” (right next to Recommended Settings) to adjust time and temperature settings as needed.
Once you make your unique selections, you can then send the settings to the Cricut heat press and follow the on-screen prompts exactly as shown above.
For most of your Cricut projects, you will not need to adjust the pre-loaded, recommended settings. However, there is one technique that adjusting settings within the app becomes very handy: layering.
How to Layer Materials Using the Cricut Heat App
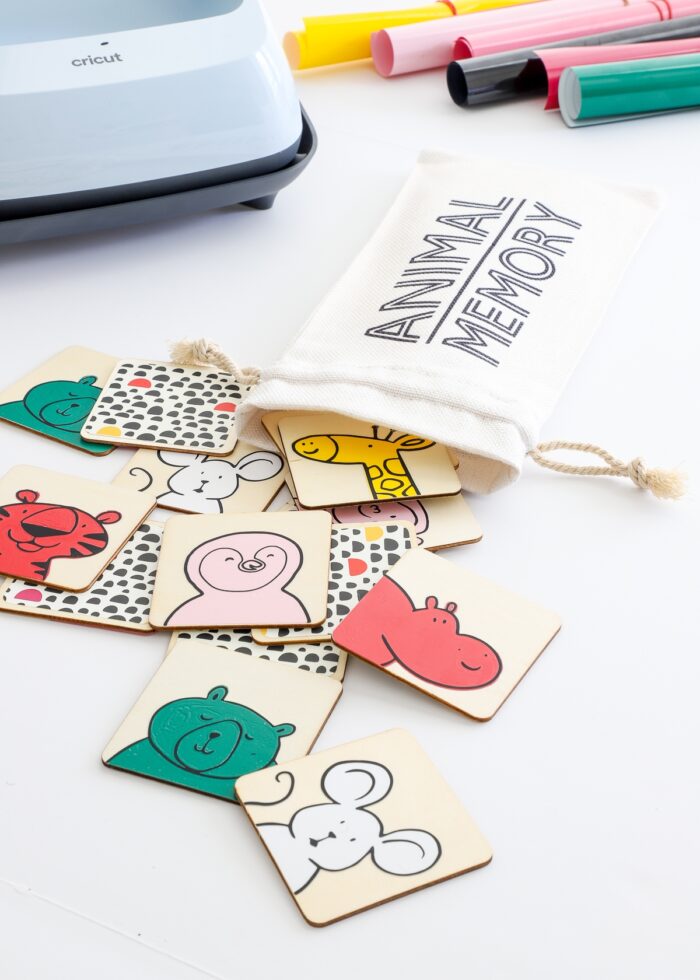
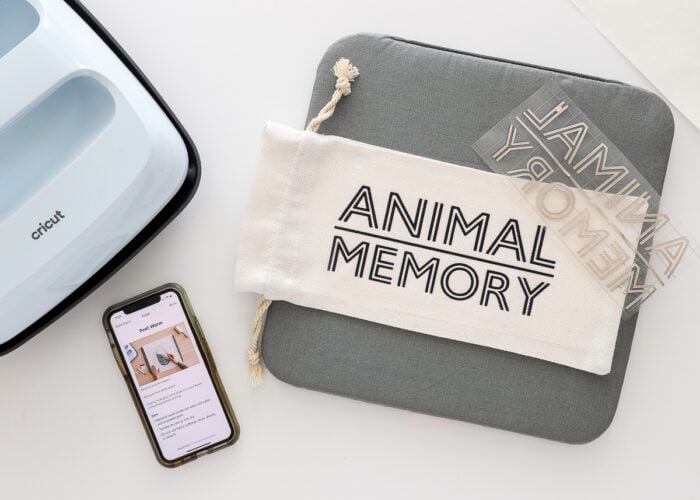
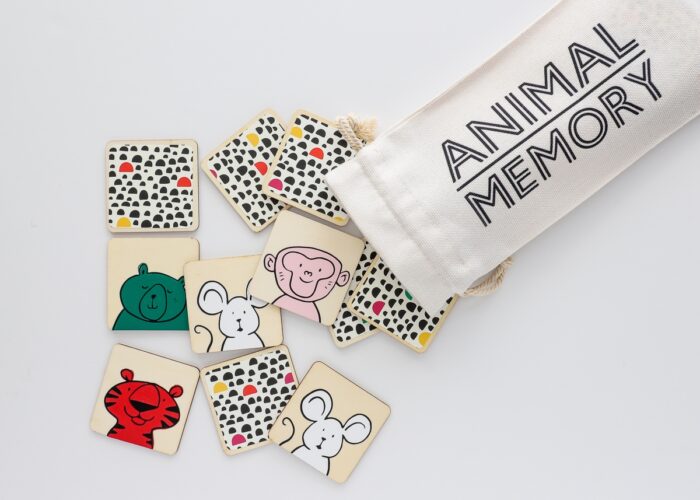
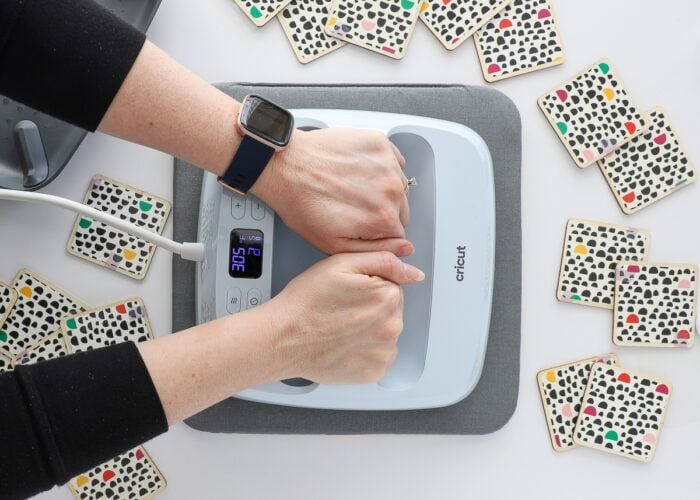
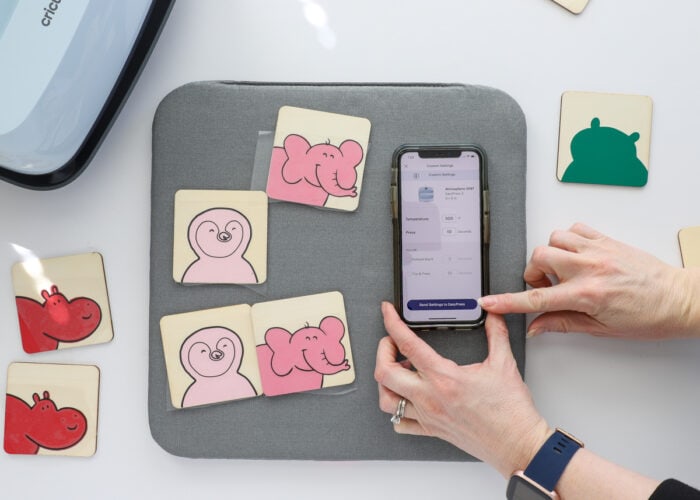
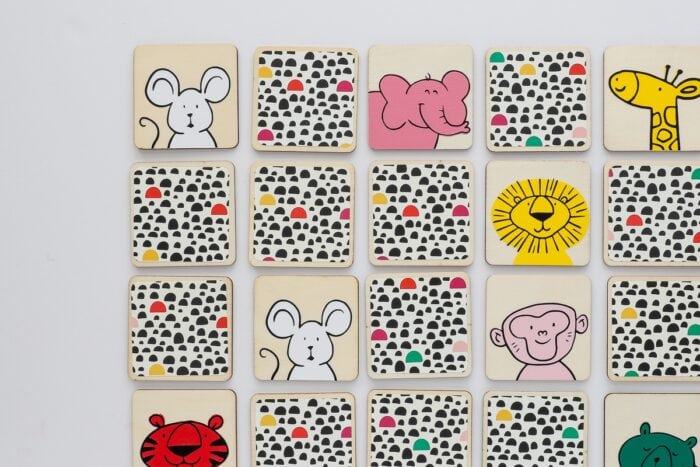
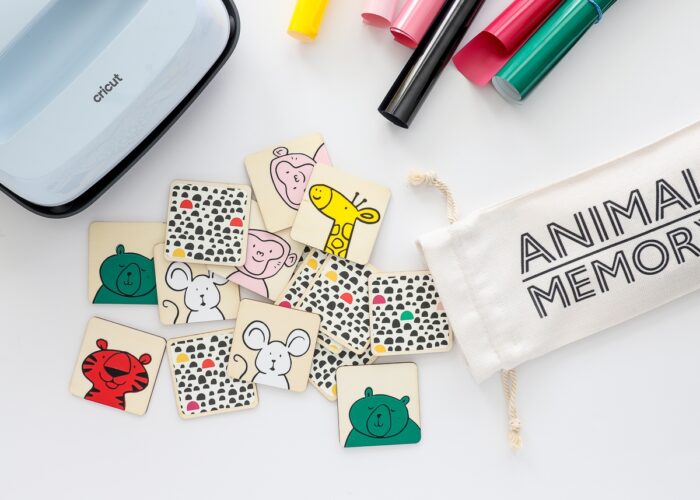
For my memory game, I wanted to layer colored and black Everyday Iron-On together to create the animal faces. Currently, there are no pre-built time settings in the Cricut Heat app for layering iron-on so these time settings need to be made manually.
Typically, layering iron on is done as follows, but you may need to experiment with your specific materials to find a time combination that works perfectly.
- Bottom Layer: 3-5 seconds of firm pressure, warm peel
- Top layer: 10-15 seconds of firm pressure, cool peel
So to get these settings into the Cricut Heat app, I recommend the following:
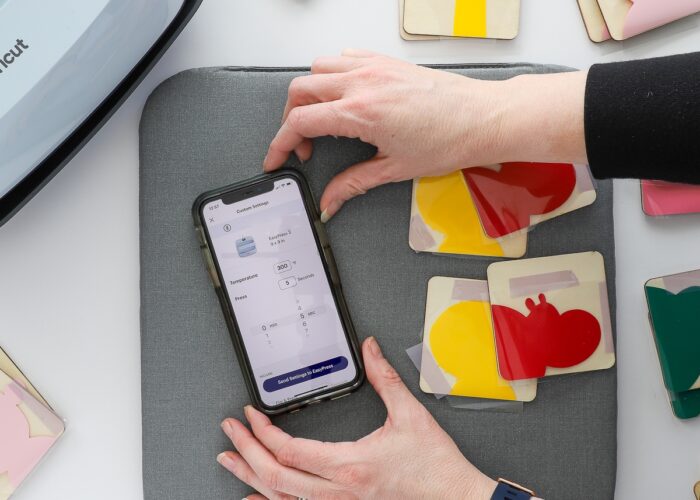
- Start with Cricut’s recommended settings for your transfer material and base (I chose Everyday Iron-on and Wood).
- When the Project Overview screen loads, click “Edit” to adjust the time settings for your layered project (as listed above).
By manually adjusting the time settings in the app itself, you will still be able to rely on all the screen prompts and countdown timers in order to perfectly layer your designs together with flawless results!
Other Handy Features in the Cricut Heat App
The more and more you play in the Cricut Heat app, the more handy features you will discover. Be sure to keep an eye out for these really useful functions:
Last Used Settings
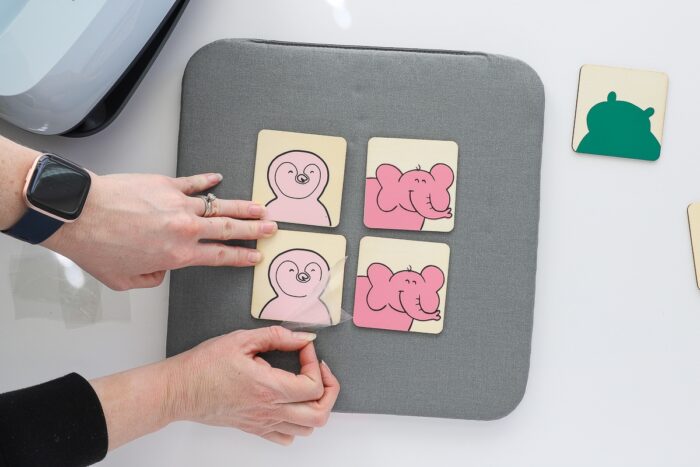
Under the “Start a New Project” button, you will see your “Last Used” settings for your previous 3 projects. If you are repeating a specific press over and over again (like my memory tiles I made 4 at a time), these quick-tap buttons make it easy to re-load your last settings instead of starting from scratch.
Video Tutorials & Mockups
Can’t remember how to layer your Infusible Ink coasters or when you need butcher paper or not? Don’t worry, I can’t either. And now we don’t need to worry about it! At any time, you can click the buttons for “Detailed Instructions” to see both a video and graphic diagram that shows you exactly how to layer your projects together for best results!
Pre-Heat, Flip, and Peel Reminders
Do you always remember to pre-heat? Can’t keep straight which materials need cool peels versus warm peels? Don’t worry here either! Cricut Heat will prompt you every step of the way from pre-heating through flipping and peeling!
FAQs About the Cricut Heat App
What Cricut Heat Presses Work with the Cricut Heat App?
Currently, ONLY the Cricut EasyPress 3 and the Cricut Hat Press work with the Cricut Heat App. The new Cricut Autopress does not work with the Cricut Heat app, nor does the Cricut Mug Press or Cricut EasyPress Mini.
Can I Use the Cricut Heat app with Older EasyPress Machines?
Yes and no. Anyone can download and use the Cricut Heat app to identify the best settings for your heat project. However, only the new Cricut EasyPress 3 and Cricut Hat Press have bluetooth connectivity with the app. You will have to manually adjust the settings on the Cricut EasyPress and EasyPress2.
Are the Settings Specific to Cricut-Only Machines and Materials?
Yes. Cricut uses their machines and materials to determine all the auto-populated settings in the Cricut Heat app.
However, if you want to use the app with other heat presses or non-Cricut materials, you will likely need to adjust the settings manually to ensure good results.
How Do You Layer with Cricut Heat?
Currently, there is no way to enter “layered” time settings in the Cricut Heat app. So at this time, it is recommended that you first select your base and transfer material as normal, then manually adjust the time settings as I demonstrate above.
Do You Have to Use the App to Run The New Cricut Heat Press Machines?
You will need the app to register both the Cricut EasyPress 3 and Cricut Hat Press. But once registered, you don’t have to use the app. You can use the buttons on the heat presses themselves to adjust the settings if you desire.
Can You Use Cricut Heat with an Iron?
No. The Cricut Heat app settings are specific to Cricut’s family of heat presses, and the settings will not be applicable to a household iron.
I have been playing with the Cricut Heat app a ton over the last few weeks, and I can say without a doubt: it’s a game changer! I’ve never felt confident with my heat-related projects…and all too often, I had melted, peeling, or smudged results. Which frankly, was so discouraging that I often avoided these kinds of projects.
I simply LOVE how the Cricut Heat app literally holds my hand from start-to-finish so I can be sure I have everything layered, pressed, and peeled just right. My projects aren’t just quick and easy with the Cricut Heat app…they are now turning out PERFECT, and I am more excited than ever to tackle more heat projects for me, my kids, and our home!
Megan