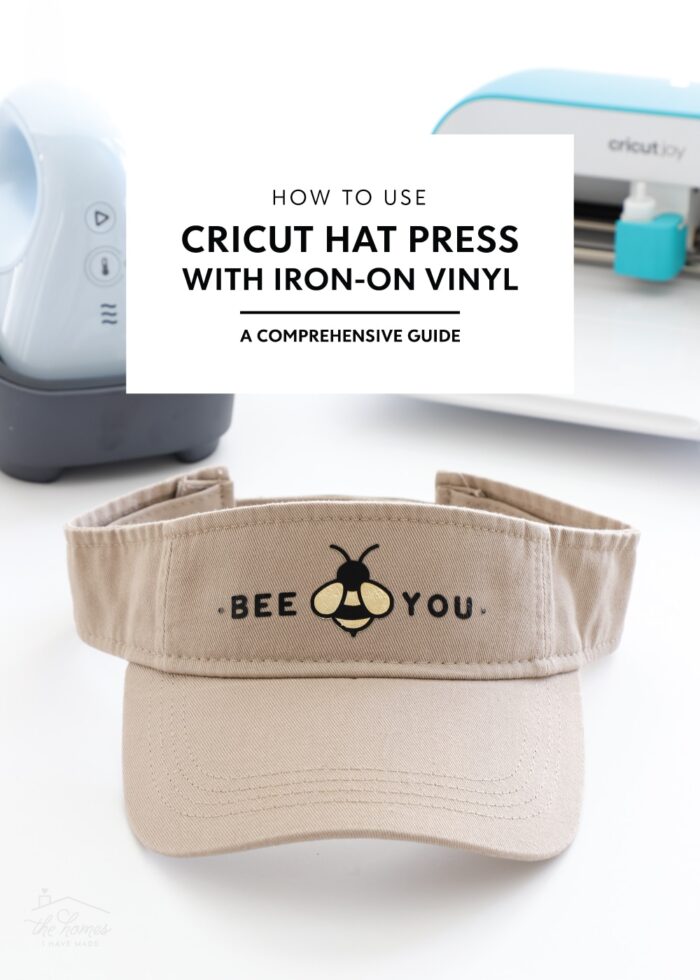
How to Use Cricut Hat Press with Iron-On Vinyl | A Step-By-Step Guide
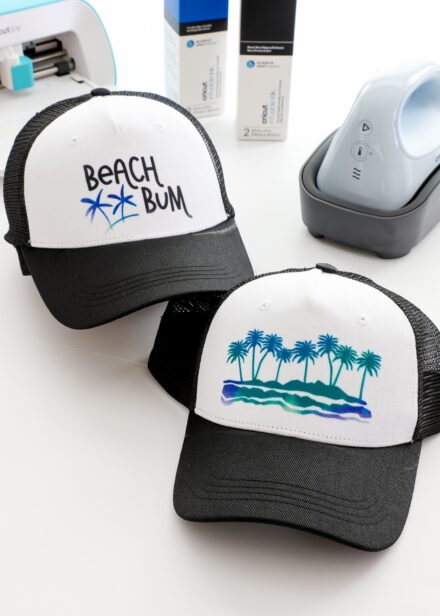
Earlier this year, Cricut released a brand new heat press especially designed for making custom hats: the Cricut Heat Press! Thanks to its curved surface and compatible hat form, adding your own Cricut-cut designs to hats is now easier than ever. The Cricut Hat Press gets hot enough to perform flawless transfers of both Iron-On Vinyl (HTV) and Infusible Ink (sublimation), but each material requires a few nuance techniques for perfect results. In this post, I’m going to cover everything you need to know to put Iron-On Vinyl designs onto hats (then check back in a few weeks for the full Infusible Ink guide). Let’s get started!
Making Hats with Cricut Hat Press | Blog Series
This is the second post in my Cricut Hat Press series. Be sure to visit each tutorial in order to learn everything you need to know about making custom hats with Cricut Hat Press!
- Introducing Cricut Hat Press | Unboxing, Review & FAQs
- How to Use Cricut Hat Press with Iron-On Vinyl | A Step-By-Step Guide – You Are Here!
- How to Use Using Cricut Hat Press with Infusible Ink Transfer Sheets
- Creating All-Over Hat Designs with Cricut Hat Press
Supplies Needed
When making custom hats with Cricut Hat Press and Iron-On Vinyl, here is what you need:
- Cricut Hat Press “Kit”
- Cricut Hat Press
- Hat Pressing Form
- Strong Heat Resistant Tape
- A Hat Blank – any hat of your choosing
- Iron-On Vinyl – in the colors/sheen of your choice
- Mobile Device to access the Cricut Heat app, which can be downloaded for both iPhone and Android devices from the appropriate app store
- Cricut Machine & Tools
- Any Cricut machine can be used to create designs for hats (Cricut Explore series | Cricut Maker series | Cricut Joy)
- StandardGrip Cutting Mat
- Weeding Tool
How to Apply Iron-On to a Hat with Cricut Hat Press
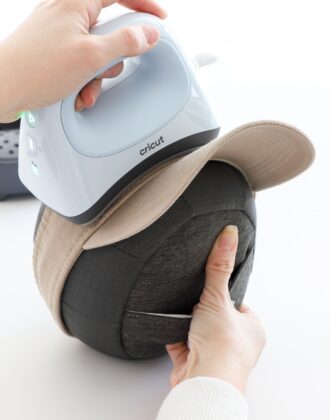
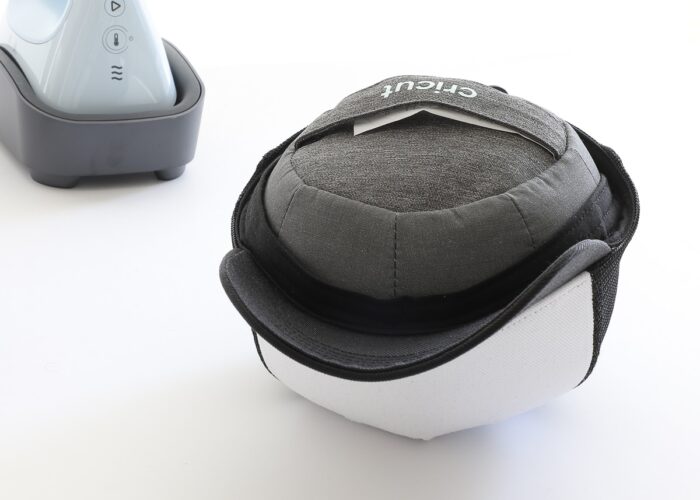
Step 1: Place the Hat on the Hat Pressing Form
Start by placing your hat on the Cricut Hat Pressing Form as snugly as possible.
- Undo the clasp in the back of the hat and/or loosen the hat as much as possible.
- Lift the sweat strip away from the inside of the hat.
- Use the handle on the Cricut Hat Pressing Form to push it into the hat, keeping the sweat strip on the outside of the form.
- Work the hat around the form, positioning and tightening it until it is firm and smooth on the pressing form.
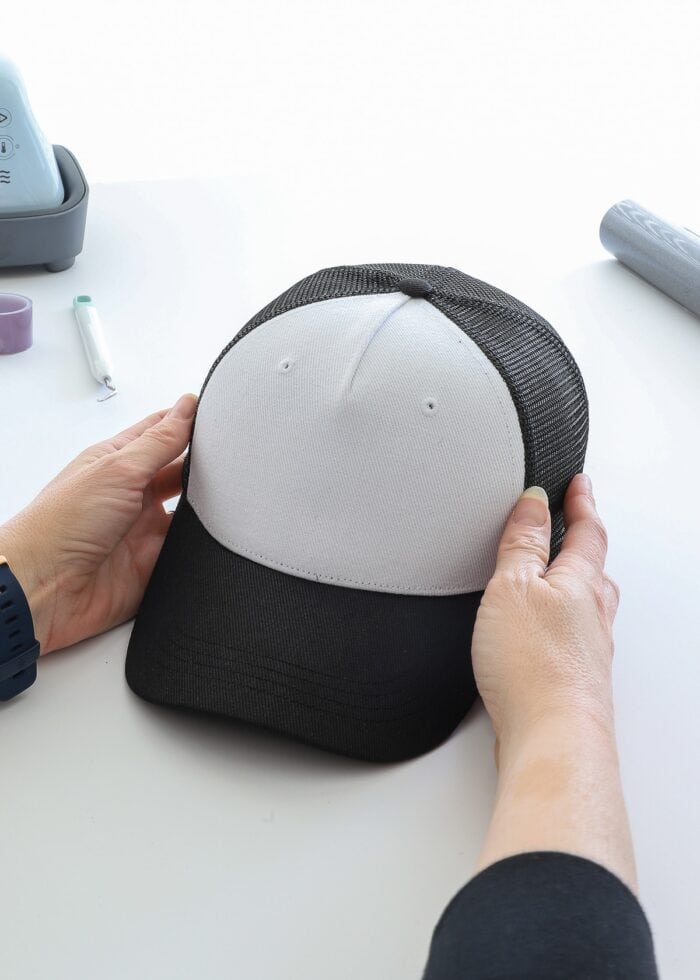
Step 2: Determine Design Size & Placement
With your hat on the form, it is much easier to determine the size and placement of your custom design. When working with Iron-on Vinyl, designs can technically go anywhere on the hat (including across seams, on the back, and down the bill); but for optimum application, Cricut recommends a single design element be no larger than 2.25″ high x 4.25″ wide (5.7 cm high x 10.79 cm wide).
Step 3: Create Hat Design in Cricut Design Space
Once you know what you want to put on the hat and where, head into Cricut Design Space to bring your design to life. Again, although you can cut several different designs and apply them individually, no single element should be larger than 2.25 x 4.25″ in order for it to be optimally heated via the Cricut Hat Press’s curved plate.
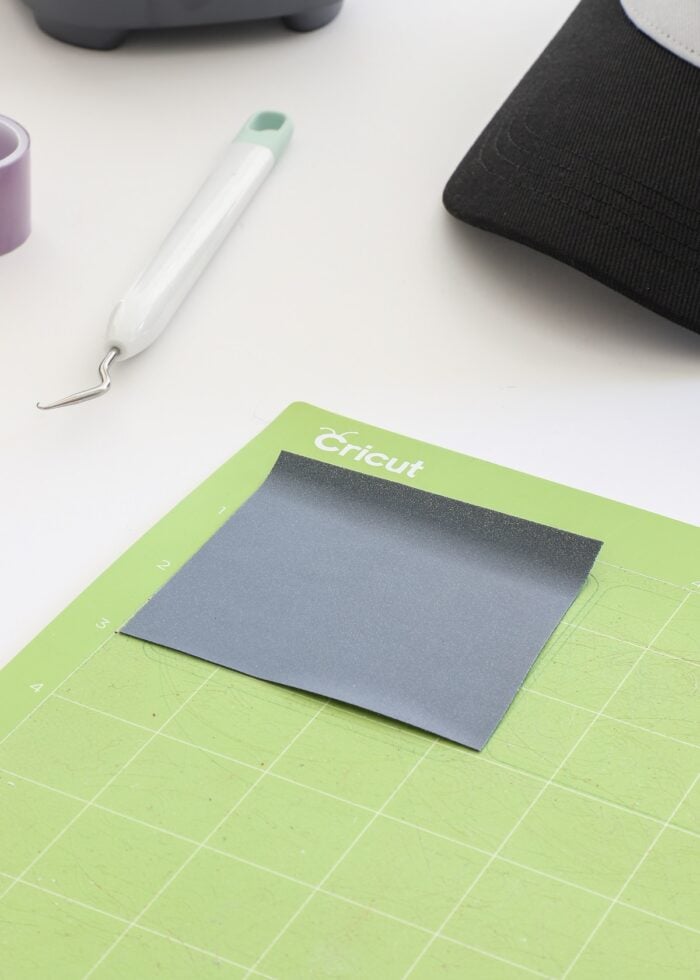
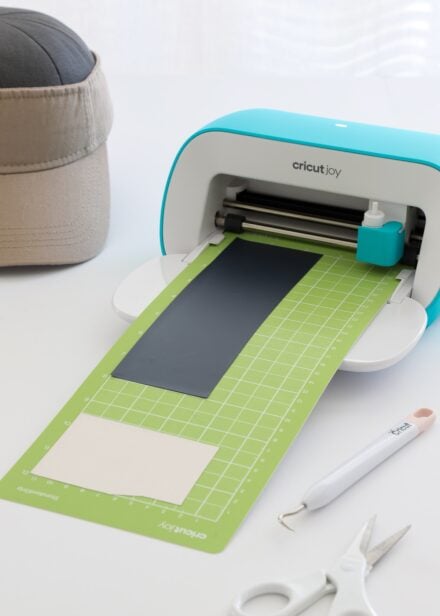
Step 4: Cut Out the Hat Design with a Cricut Machine
With your design sized and ready to go, cut it out of Iron-On Vinyl with your Cricut machine:
- Ensure the design is set to “Mirror” on the Cut Preview Screen.
- Choose your specific “Iron-on Vinyl” from the Custom Materials Menu.
- Place the Iron-on Vinyl shiny side down onto your StandardGrip Cutting Mat.
If you need more help cutting Iron-On Vinyl, refer to my full guide: Iron-On Vinyl & Your Cricut.
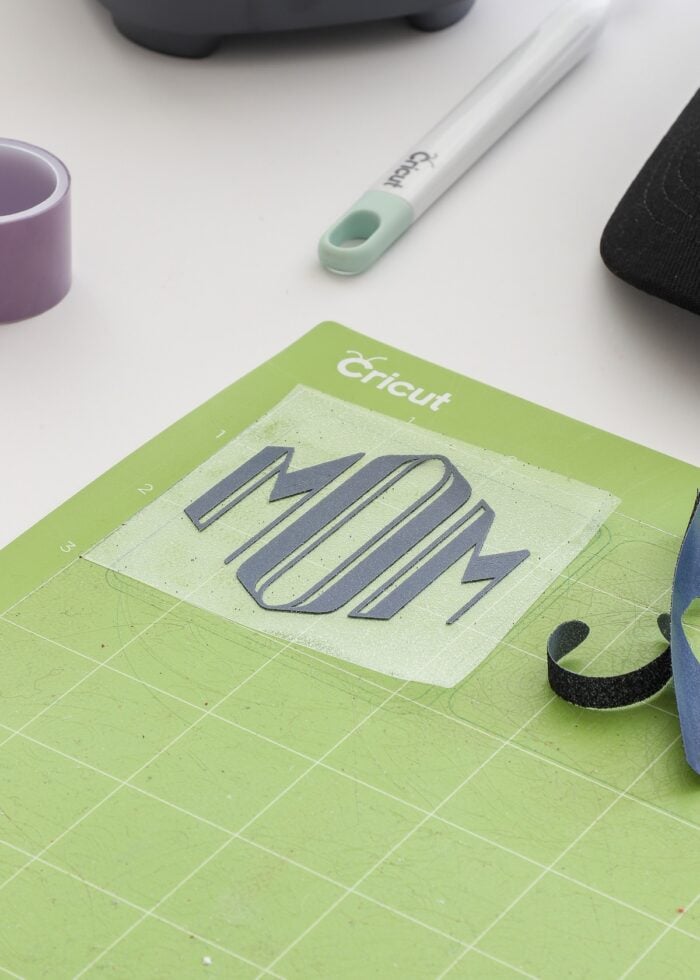
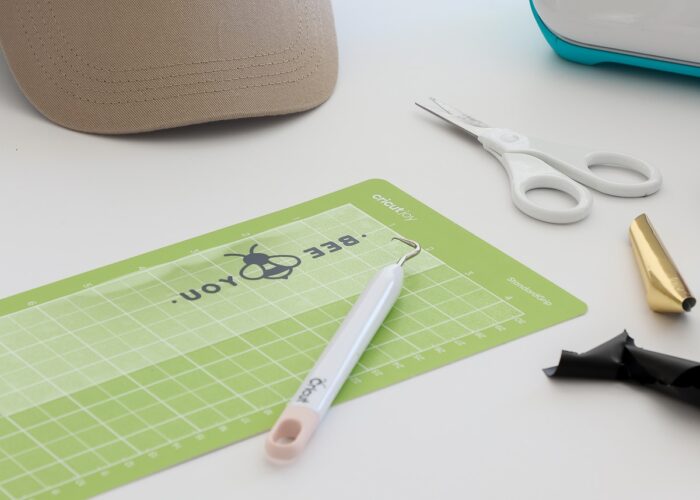
Step 5: Weed Design
Once your design is fully cut out, use a weeding tool to remove all the excess material to reveal your design.
TIP! Double check that your design was mirrored (backwards) before proceeding!
Step 6: Secure Design to the Hat
Next, place your design on the hat with the iron-on in contact with the hat’s surface and the shiny carrier sheet facing outward.
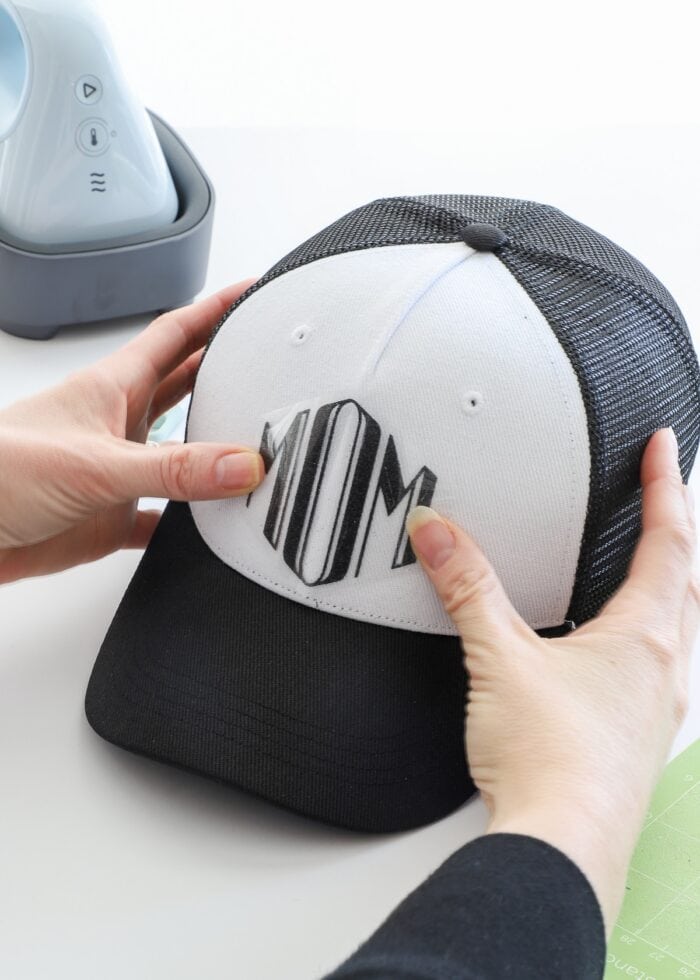
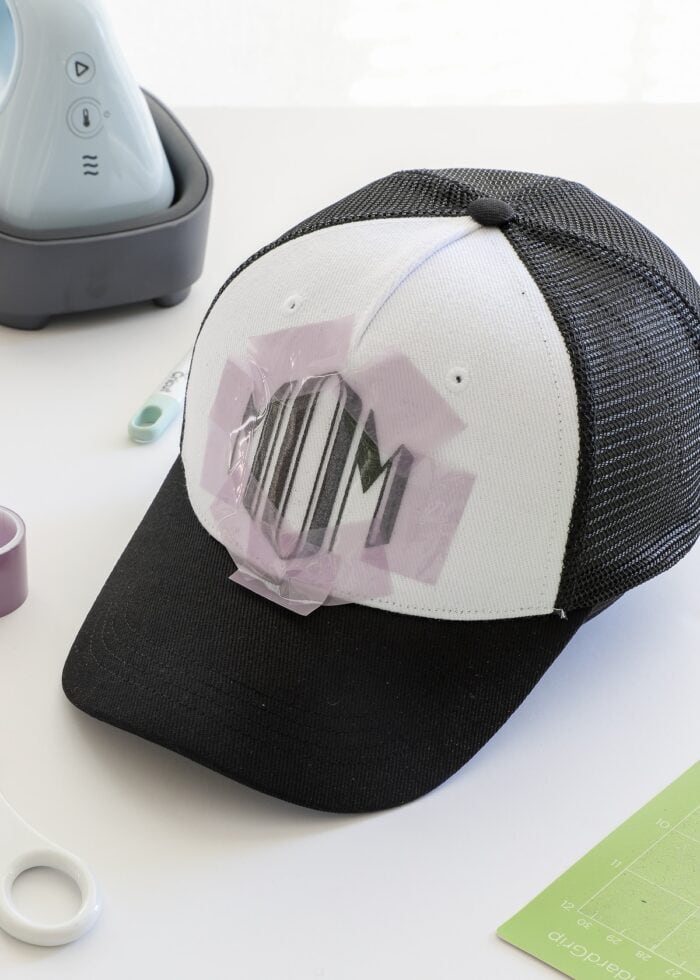
As you will soon see, using the Cricut Hat Press effectively requires moving the press back-and-forth over the design (which is different from most pressing techniques), so it’s imperative that you thoroughly tape it in place with Cricut’s new Strong Heat Resistant Tape. A single roll is included in the Cricut Hat Press box and you can purchase additional rolls here.
TIP! Don’t hesitate to go “tape crazy” here. You want to be sure your design doesn’t budge during the heating process.
Step 7: Determine Cricut Hat Press Settings
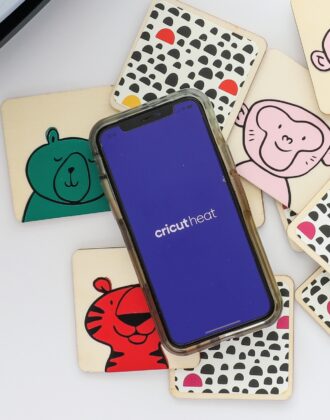
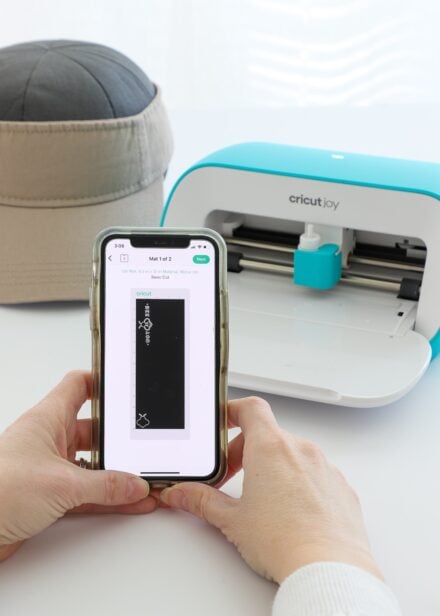
With your hat and design ready to go, it’s time to (finally!) heat up the Cricut Hat Press. Although not required, it is best/easiest to do this with the help of the Cricut Heat App. If you need more help getting started with the app, see my full guide: The Cricut Heat App | What It Is & Why You’ll Love It.
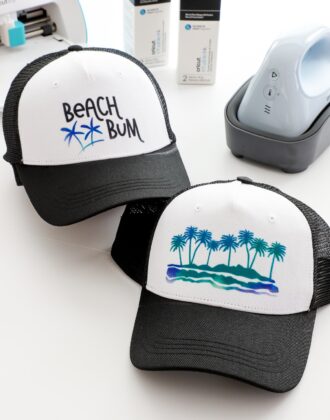
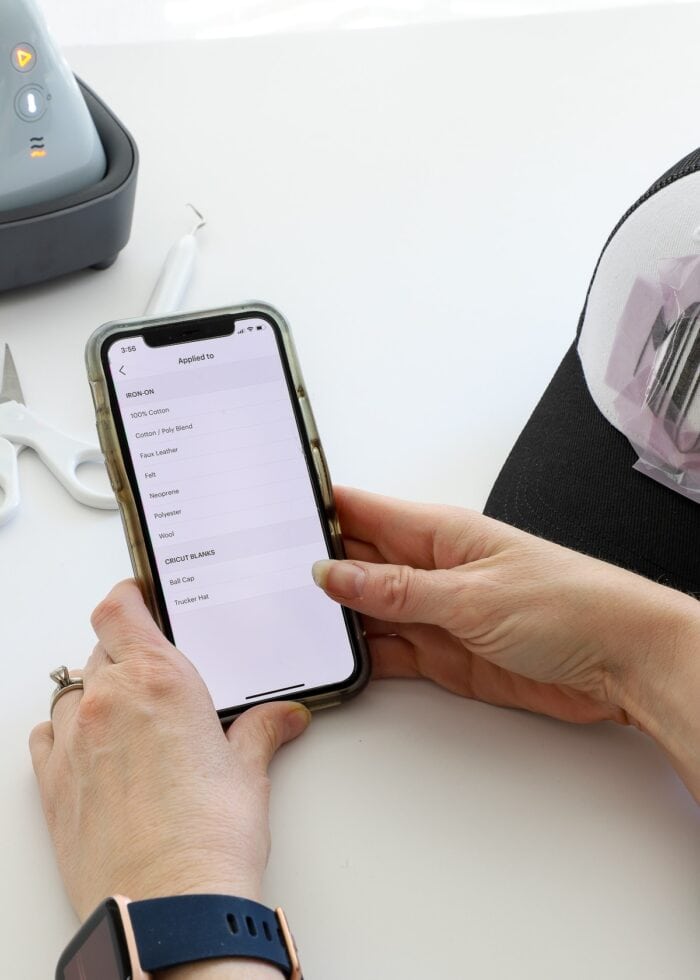
After selecting the Cricut Hat Press from the main screen, first choose your transfer material (I chose Glitter Iron-On)…
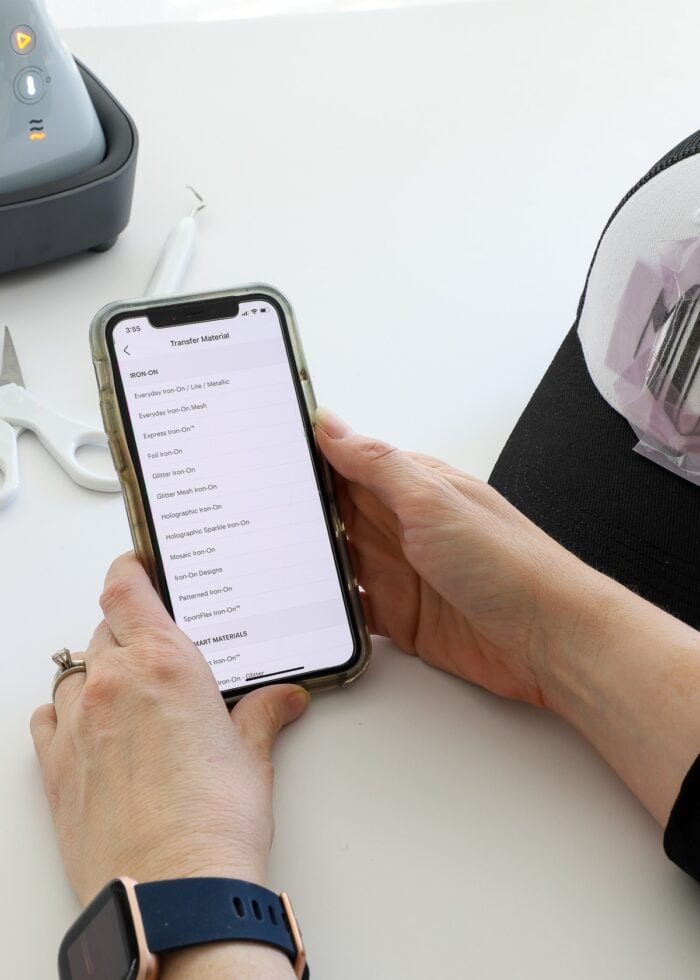
…then choose your hat base material (I chose Cricut Trucker Hat).
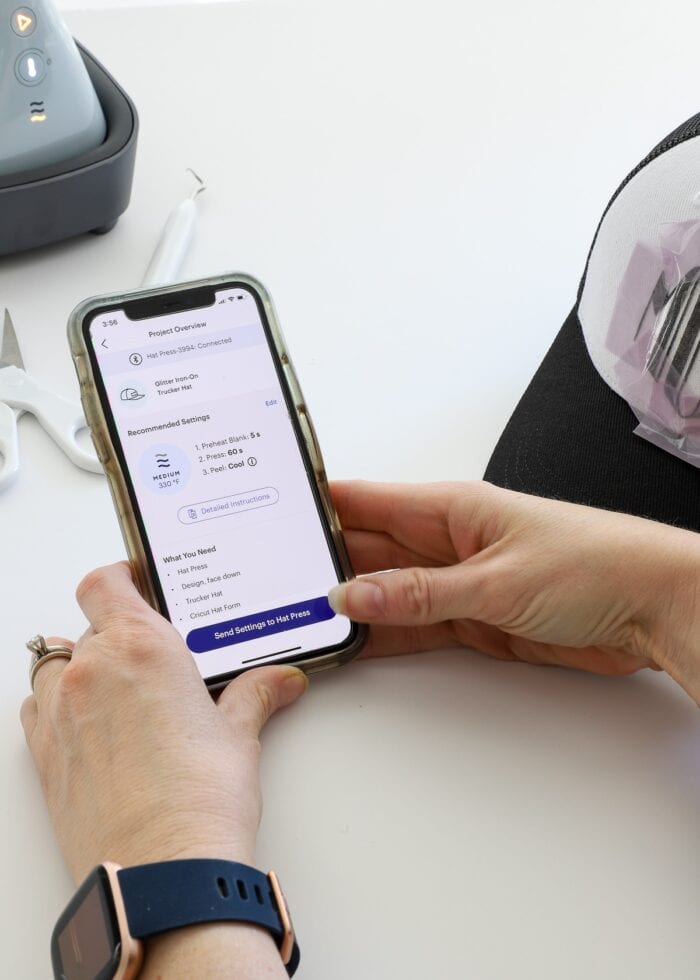
Once you make your selections, the Cricut Heat app will load the exact right temperature settings for your specific project. With a tap of a button (“Send Settings to Hat Press”), the Cricut Hat Press will start heating up accordingly!
Step 8: Press Hat with Cricut Hat Press
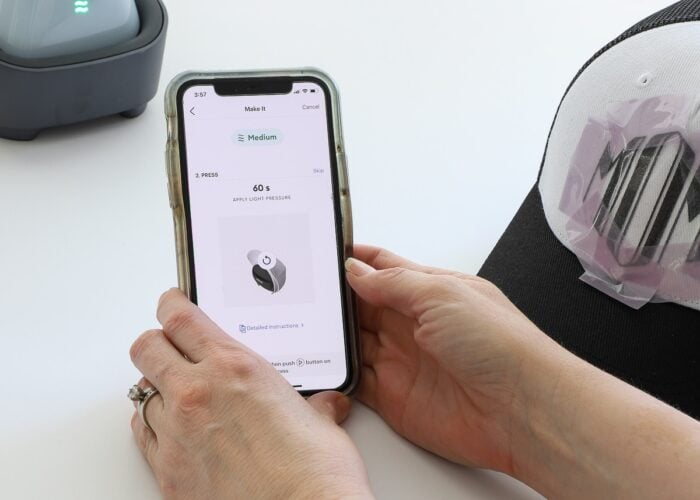
Once the app and the Cricut Hat Press both beep and turn green, you are ready to heat your project!
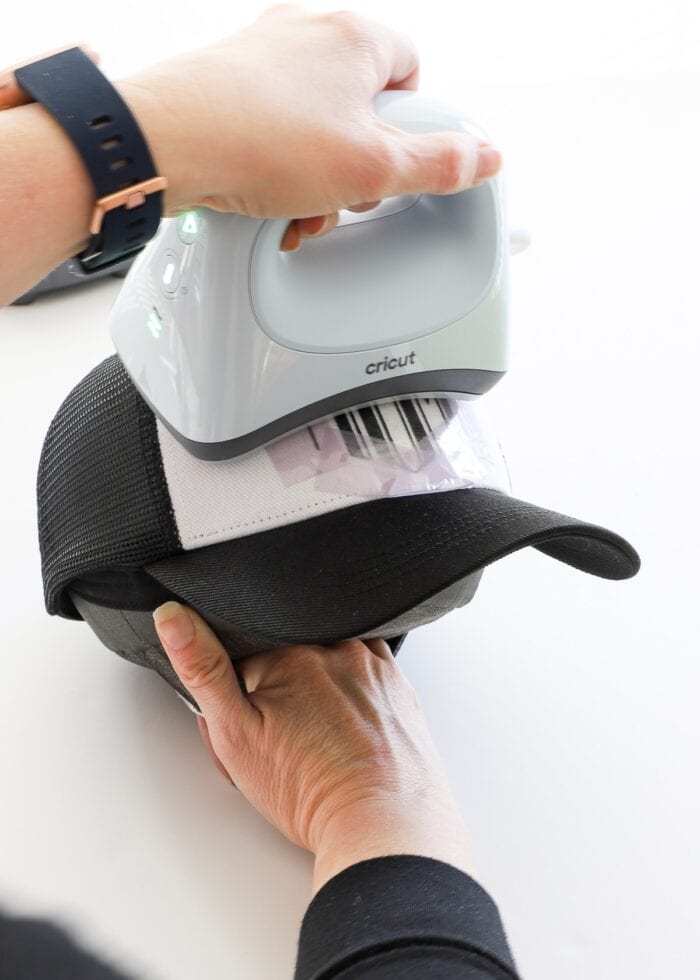
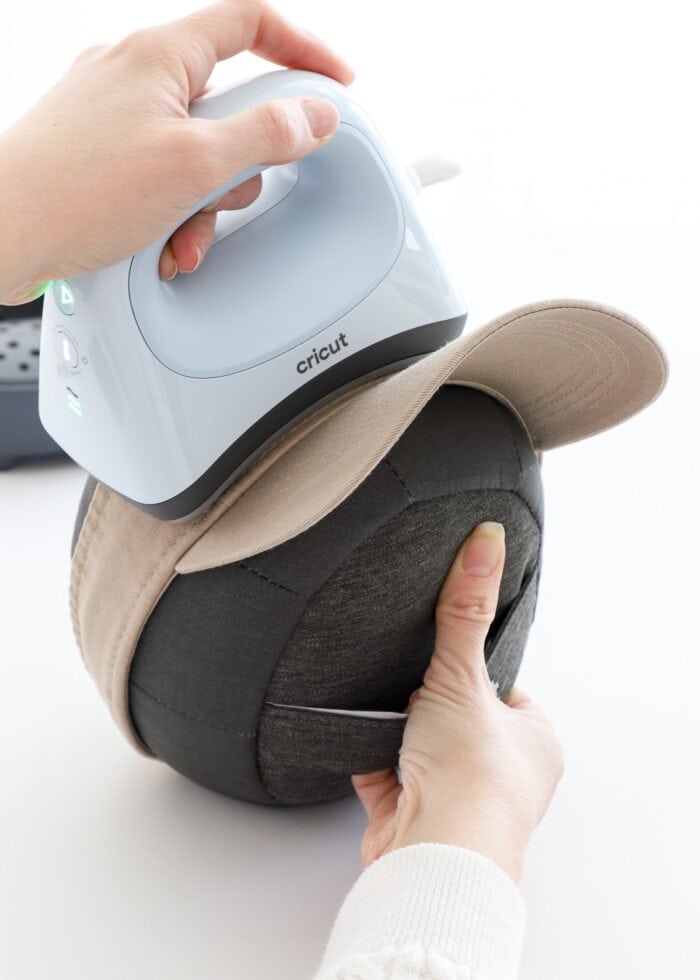
For the most comfortable heating, I recommend using your non-dominant hand to hold the hat and/or form vertically on your work surface, and your dominant hand to hold the Cricut Hat Press across the top of the hat.
When heating your project, you will want to use constant motion with medium pressure across the entirety of your design. In addition to moving side to side, also be sure you move the hat press up toward the top of the hat and down toward where the front of the hat meets the bill.
NOTE: There is no need to place butcher paper or other protective barriers between the Cricut Hat Press and the clear carrier sheet of your iron-on design. The glossy clear sheet can withstand the press’s heat and sufficiently protect the iron-on vinyl underneath.
Once the Cricut Hat Press timer beeps, you can place it back on its safety base and refer to the app for peeling instructions.
Step 9: Remove Tape & Carrier Sheet from Hat
Removing the tape and clear carrier sheet is the most exciting step of heat press projects, but when and how you do it will affect your results as much as the heating step.
Want to save this post?
Once you finish heating your design, refer to the Cricut Heat app to determine if you should peel while warm (still warm to the touch) or cool (completely cool to the touch). In both scenarios, pull slowly and carefully to remove the carrier sheet from the design.

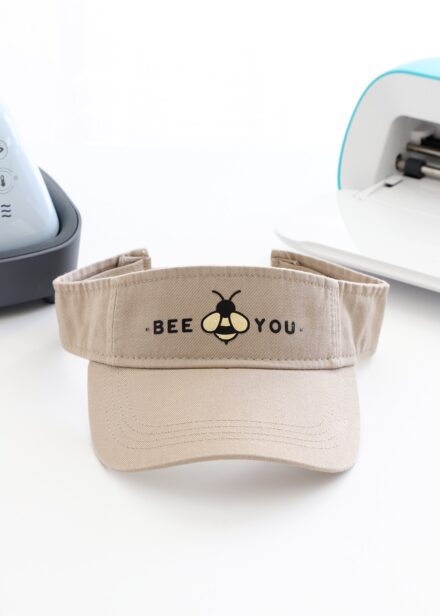
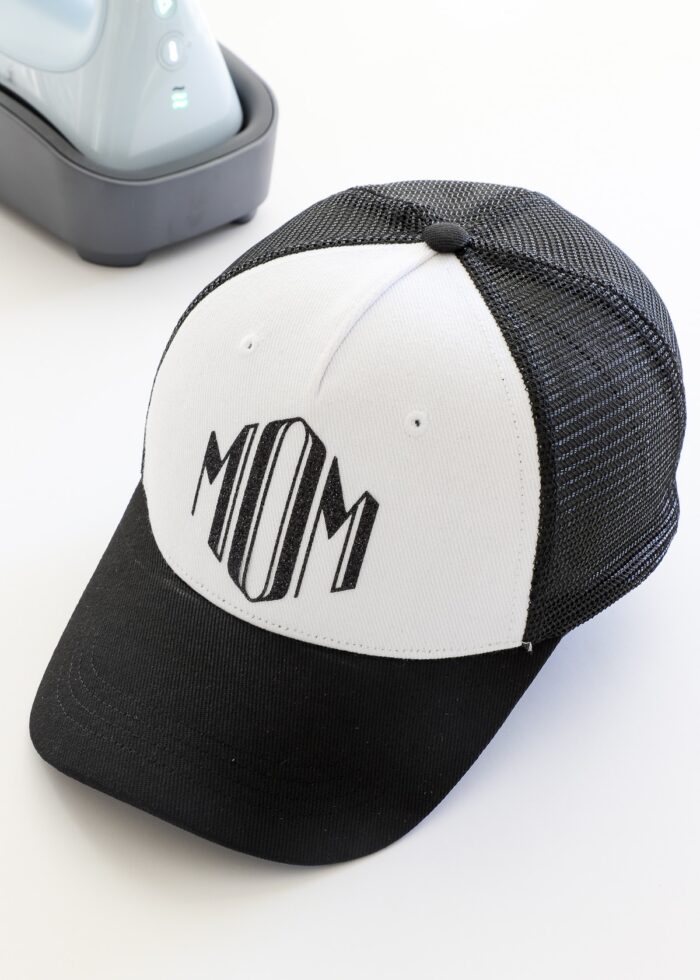
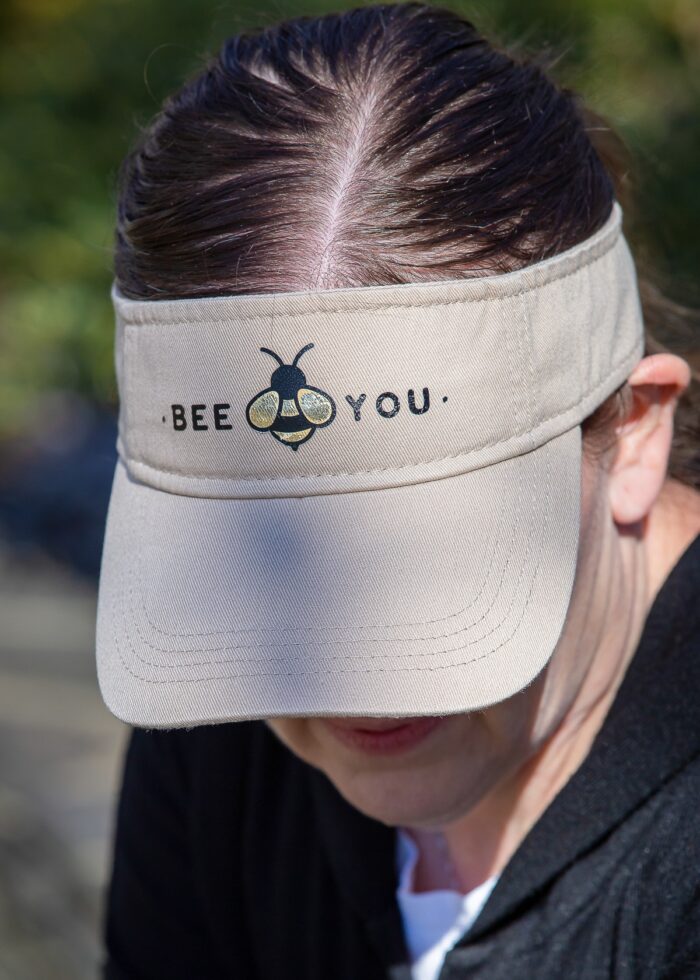
And just like that…your custom hat creation with Iron-On Vinyl is done!
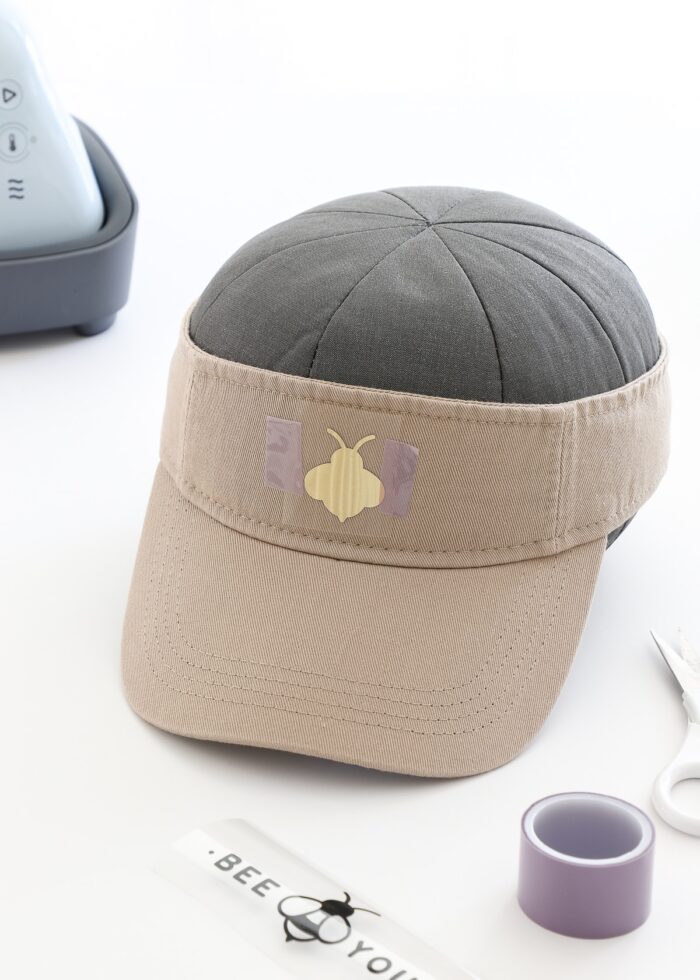
How to Layer Iron-On Vinyl with Cricut Hat Press
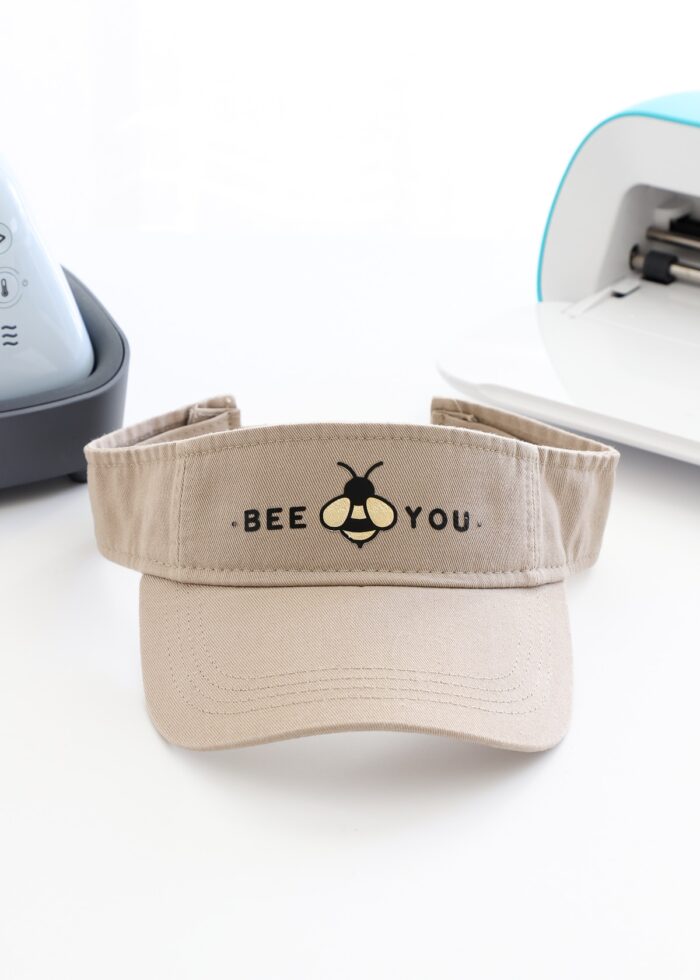
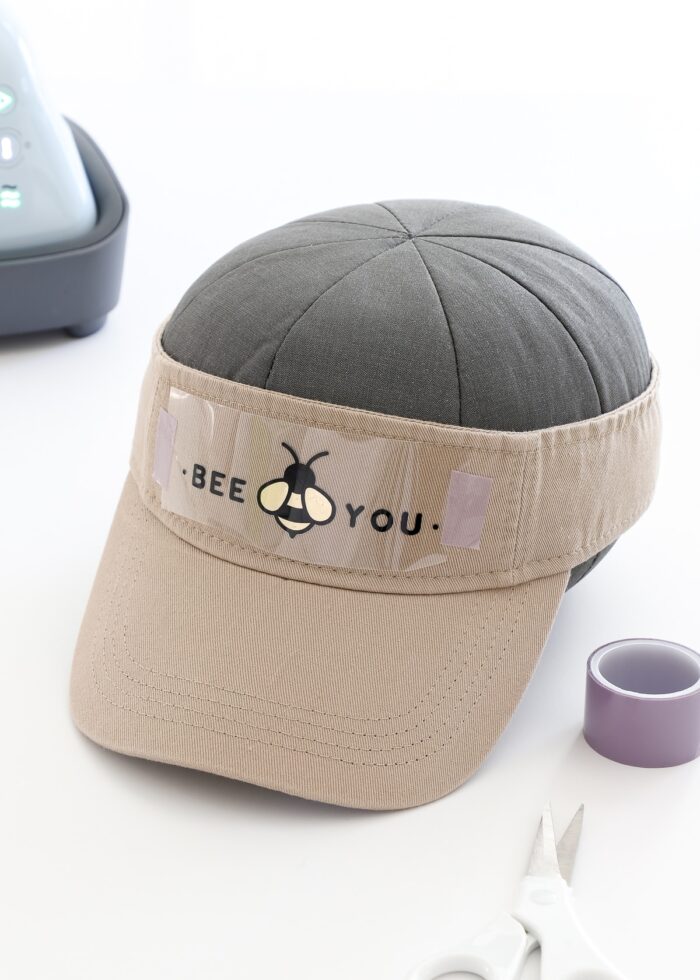
If you’d like to create a multi-layer design with Iron-On Vinyl and the Cricut Hat Press, the process is nearly the same with a few heat modifications. Let me show you how this adorable “Bee You” hat came together!
Step 1: Design & Prepare Hat Image
Just like the previous example, start your layered hat project as follows:
-

- Load your selected hat onto the Hat Pressing Form.
-
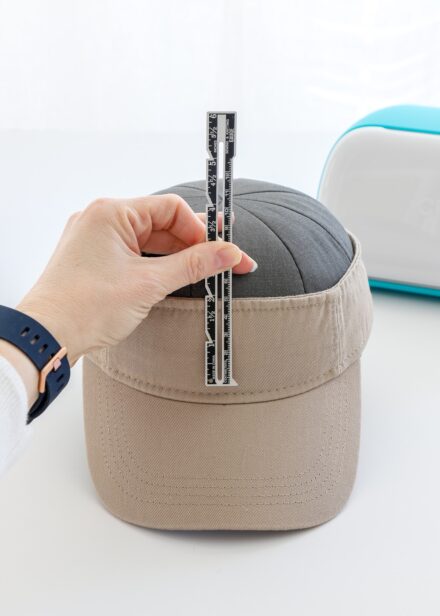
- Measure the height and width of the hat to determine the needed dimensions for your design.
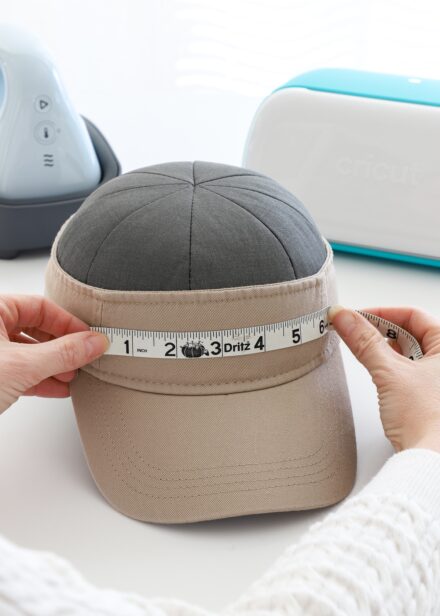
-
- Design the project in Cricut Design Space.
-
- Cut the layers out of Iron-On Vinyl using a Cricut machine.
Weed out any unnecessary elements of the layers using a weeding tool.
Step 2: Place Bottom Layer
Start by placing the bottom-most layer of your design on the hat (again, the Iron-On Vinyl should be touching the hat with the glossy carrier sheet facing you). Use plenty of Strong Heat Resistant Tape to hold the design in place.
Step 3: Adjust the Cricut Heat App
There is currently no way to pre-load “layered” settings in the Cricut Heat App, so you will need to make some adjustments manually:
- Start with the Cricut Heat App’s recommended settings for your transfer material and base (I chose Foil Iron-on and 100% Cotton).
- When the Project Overview screen loads, click “Edit” to adjust the time settings for your layered project.
- For the bottom layer, adjust the time to 3-5 seconds (3 seconds for more sensitive vinyls; 5 for sturdier materials).
- Click save and send the adjusted settings to your Cricut Hat Press.
Step 4: Press Bottom Layer with Cricut Hat Press
Apply firm pressure with the Cricut Heat Press using constant motion across the bottom layer of your design until the press beeps.
Step 5: Warm Peel the Carrier Sheet
When doing layered designs, you will press for a short duration and peel while the vinyl is still warm. As such, carefully peel off the clear glossy carrier sheet as soon as you can safely touch it.

Your bottom layer will not technically be fully adhered to your hat, but it will receive additional heat as you add more layers.
Step 6: Place Top (Next) Layer
If you have additional layers to place, continue to do so using the 3-5 second heavy press with warm peel. Always take care to line up your layers before heating, and carefully peel the clear carrier sheet away each time.
When you place your final top layer, ensure all other aspects of your design are fully covered with the clear carrier sheet and firmly tape everything in place.
Step 7: Adjust Cricut Heat App Settings (Again)
Re-visit the Cricut Heat App to re-adjust the settings one more time as follows:
- Start with the Cricut Heat App’s recommended settings for your transfer material and base (this time I picked Everyday Iron-on and 100% Cotton).
- When the Project Overview screen loads, click “Edit” to adjust the time settings for your layered project.
- For the top-most layer, adjust the time to 10-15 seconds (10 seconds for more sensitive vinyls; 15 for sturdier materials).
- Click save and send the adjusted settings to your Cricut Hat Press.
Step 8: Heat Top Layer with Cricut Hat Press
Use the same pressing technique outlined throughout this post to heat your final layer: constant motion across the entire design until the Cricut Hat Press beeps.
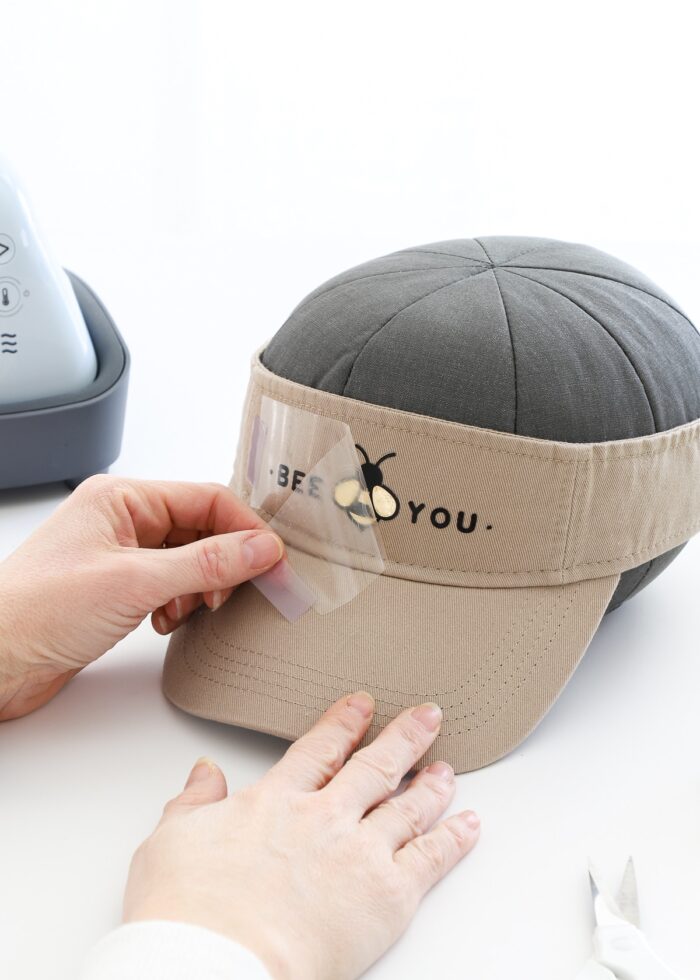
Step 9: Cool Peel the Carrier Sheet
This time, once all your layers are on the hat, wait until the design is fully cool before you peel away the clear carrier sheet.

Although it may seem like a lot of steps, the Cricut Heat App will walk you through everything….and literally in just a few minutes, you can have a custom hat (with any design!) ready to go!
FAQs | Iron-On Vinyl and the Cricut Hat Press
Why Do I Have to Move the Cricut Hat Press?
Because of the rounded nature of hats, it can be challenging to get uniform pressure across your entire design if you keep the press still (the way we do with shirts or bags). By moving the Cricut Hat Press over the design with constant pressure, you will better heat the entirety of the design, which will ultimately result in better fusing.
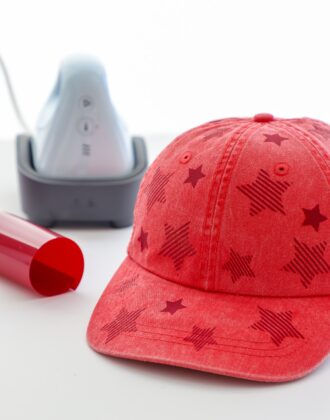
Can I Place Iron-On Vinyl Over Stitching & Seams?
Yep! Iron-On Vinyl lays down beautifully over seams and stitching. In order to keep your design firmly in place over these uneven surfaces, use plenty of the Strong Heat Resistant Tape.
What If I Want to Make a Bigger/Longer Design?
Because of the size of Cricut Hat Press’s curved heat plate (and the hat form itself), you can really only uniformly heat designs that measure 2.25″ high x 4.25″ wide. If you’d like to make larger designs, it is recommended to separate out the design for multiple applications.
What Kind of Hats Can I Use with Cricut Hat Press?
Anything that can fit onto the Cricut Hat Pressing Form, including ball caps, visors, bucket hats, etc.
What Kind of Iron-On Vinyls Can I Use with Cricut Hat Press?
Any heat-transfer materials! Although the Cricut Heat App will provide precise setting for only Cricut-brand iron-on materials (e.g., foil iron-on, glitter iron-on, etc), you can apply any brand, color, and sheen of iron-on vinyl/heat transfer vinyl (HTV) you prefer.

There’s lots more hat projects coming down the pike, so keep an eye out for new tutorials on how to apply Infusible Ink products to hats, as well as how to do all over hat designs. Until then, don’t hesitate to let me know what questions you have about applying Iron-on Vinyl designs to hats with a Cricut Hat Press!
Megan