Creating an All-Over Hat Design with Cricut Hat Press
When Cricut launched the Cricut Hat Press, it became easier than ever to make your very own custom hat designs! And while I’ve already shown you lots of different ways to put designs on the front of a hat, today I want to show you how to create an all-over hat design with iron-on vinyl. This application isn’t complicated, but there are some tricks you need to know in order to get great results. Let me break it all down for you!
Making Hats with Cricut Hat Press | Blog Series
This is the fourth post in my Cricut Hat Press series. Be sure to visit each tutorial in order to learn everything you need to know about making custom hats with Cricut Hat Press!
- Introducing Cricut Hat Press | Unboxing, Review & FAQs
- How to Use Cricut Hat Press with Iron-On Vinyl (HTV) | A Step-By-Step Guide
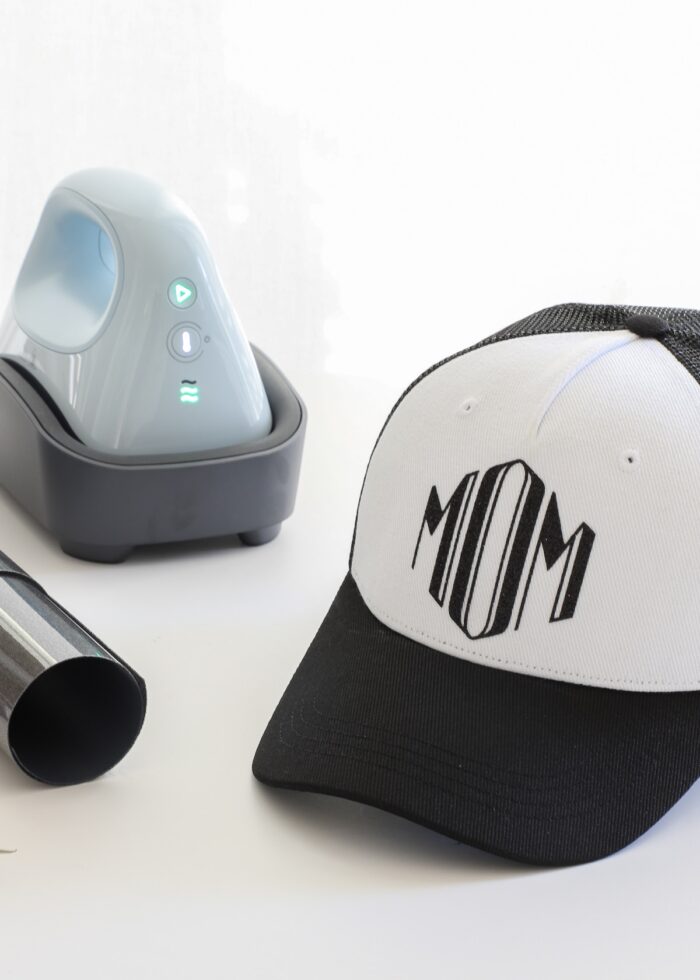
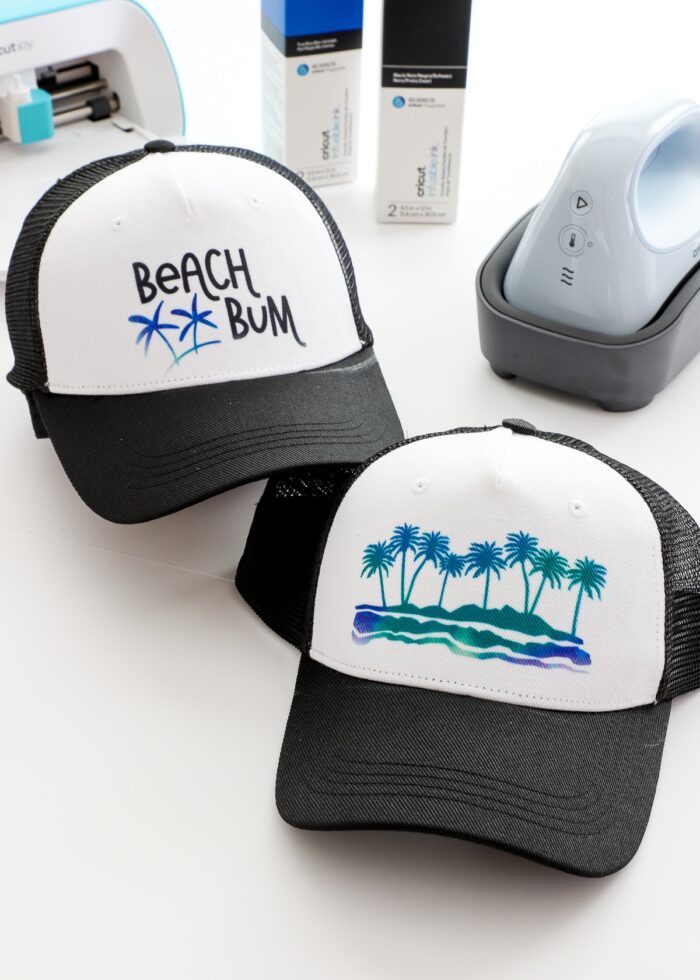
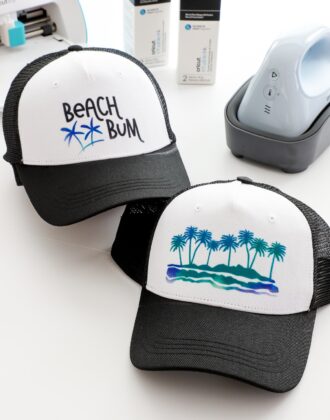
- Making Trucker Hats with Cricut Hat Press and Infusible Ink Transfer Sheets
- Creating All-Over Hat Designs with Cricut Hat Press – You are here!

Today’s project, an all-over hat design, takes a bit more work than the single design application. But the result is a charming pattern that can be easily customized with different designs, fabric colors, and heat transfer materials. Further, you can use this same concept on bucket hats, sun hats, visors, and other accessories for a look that is totally you!
Supplies Needed
When making your own all-over hat design, here is what you will need:
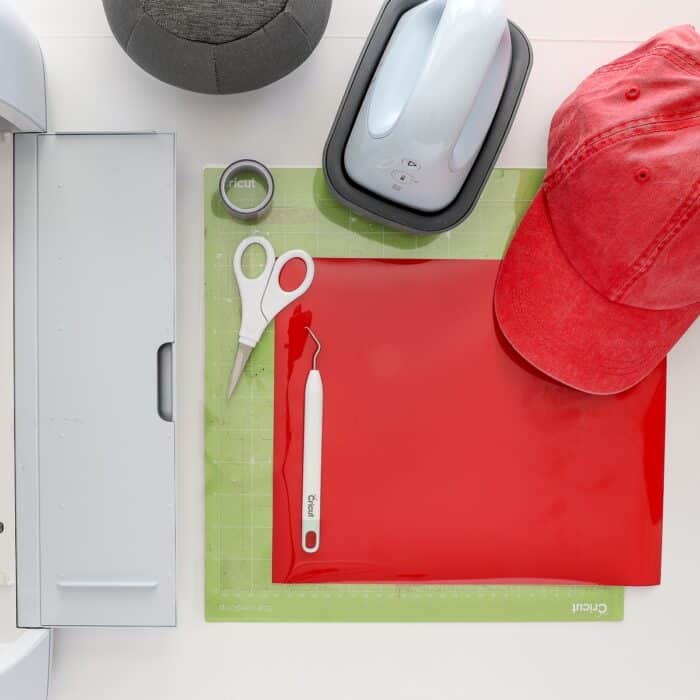
- Cricut Hat Press “Kit”
- Cricut Hat Press
- Cricut Hat Pressing Form
- Strong Heat Resistant Tape
- NOTE: a Cricut EasyPress Mini can also be used for this application
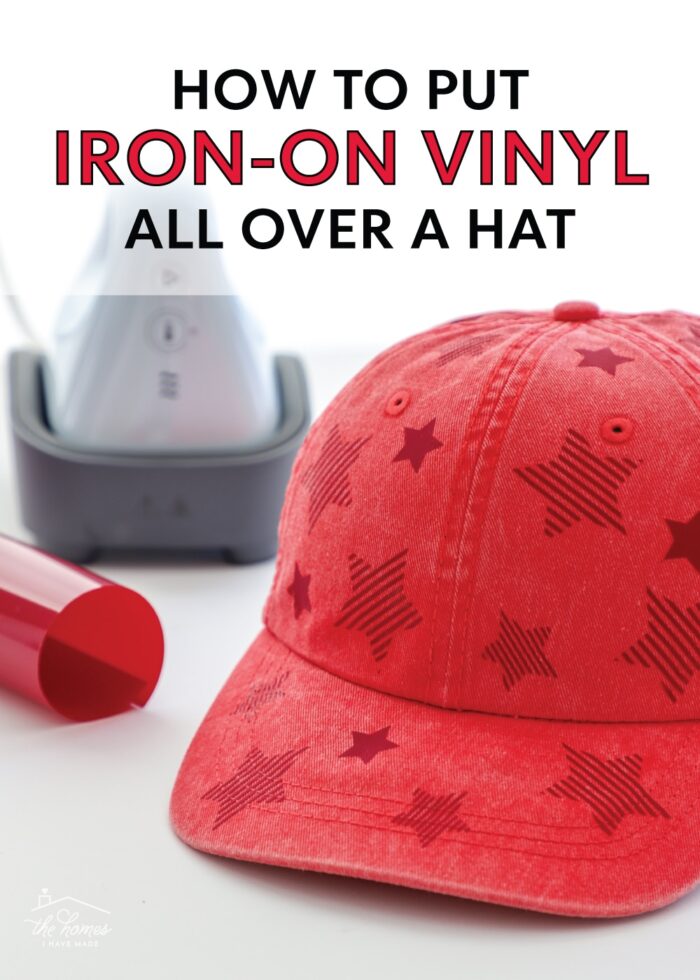
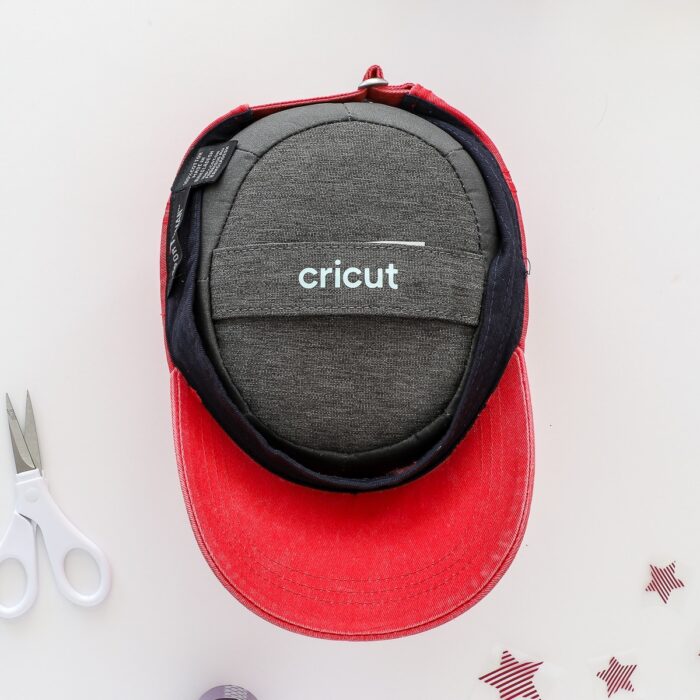
- Hat Blank – any hat or ball cap can work for this project, even one with seams; I used this faded red cap
- NOTE: Since this project uses heat transfer materials (instead of Infusible Ink) you do not need a sublimation-friendly hat
- Iron-On Vinyl/HTV – in any color you like
- Butcher Paper or Parchment Paper – 1 sheet
- Smartphone or Tablet to access the Cricut Heat app in order to determine the proper heat settings and communicate via bluetooth to the Cricut Hat Press; can be downloaded for both iPhone and Android devices from the appropriate app store (learn more about the Cricut Heat App)
- Cricut Machine & Tools
- Any Cricut machine can be used to create designs for hats (Cricut Explore series | Cricut Maker series | Cricut Joy)
- StandardGrip Cutting Mat if not using Smart Iron-On
- Weeding Tool
- Scissors
How to Make an All-Over Hat Design with the Cricut Hat Press
Step 1: Pick a “Decal” Design for Your Hat
Creating an “all over” design is nothing more than placing lots (and lots and lots) of the same iron-on “decal” all over a hat.
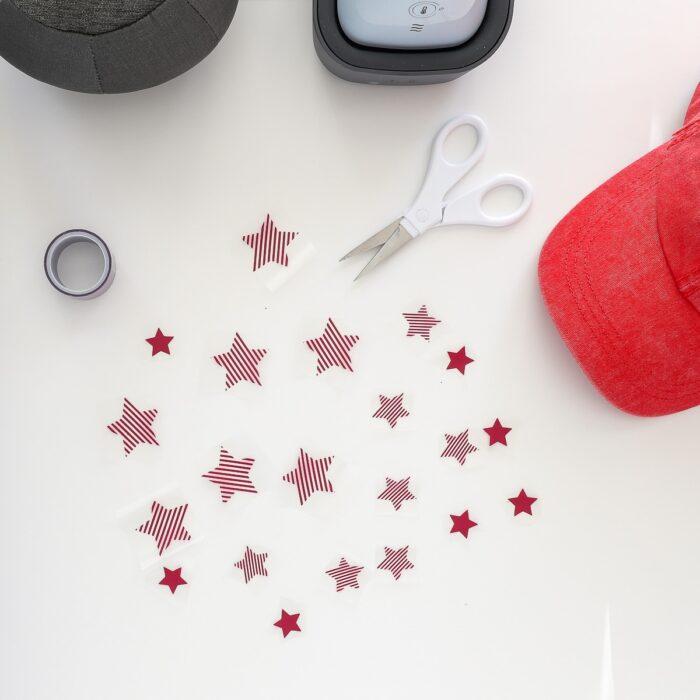
So start by creating a “New Project” in Cricut Design Space and picking a single “decal” design for your hat. You can use flowers, circles, stars, or any other cute icons, words, etc that you like.
While you can use multi-color designs, I caution you against it. The application process just for a single color can get tedious, so adding multiple colors will become quite time-consuming.
Once you select your decal shape, use a ruler on your hat to determine the best size. You can make your decals all the same size, or you can vary the sizes for a more organic look.
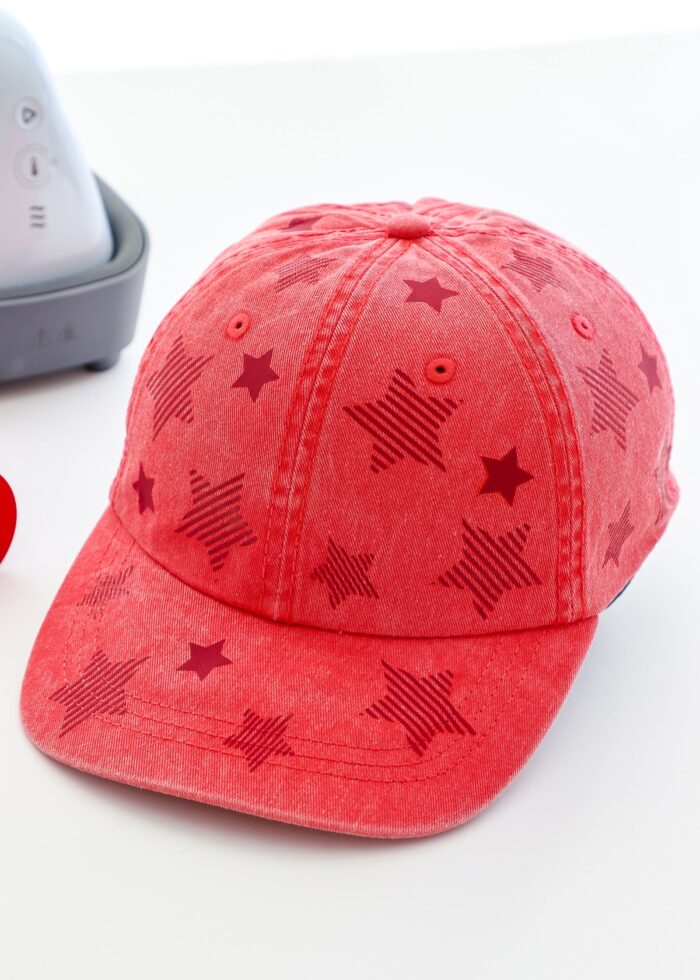
For my red star hat, I used solid and striped stars in three different sizes.
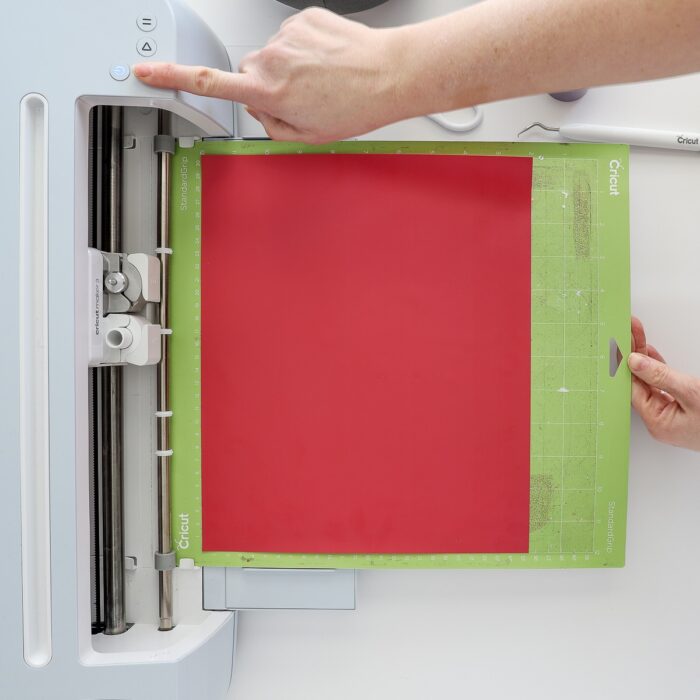
Step 2: Cut Out Hat Decals
Once you’ve landed on a decal design you love, next cut it out of iron-on vinyl/HTV in the color of your choice. If you need help cutting iron-on vinyl, see my comprehensive guide here: Iron-On Vinyl & Your Cricut | A Complete Guide
TIP! Not sure how many decals to cut? You can estimate by placing scraps of tape all over your hat in the arrangement you think you want. Then you can always cut more as needed once you actually start taping them in place.
Step 3: Prepare Hat Decals
Next, use a weeding tool to remove all the excess vinyl from around the decals. Once weeded, all the decals should still be adhered to a single clear plastic carrier sheet.
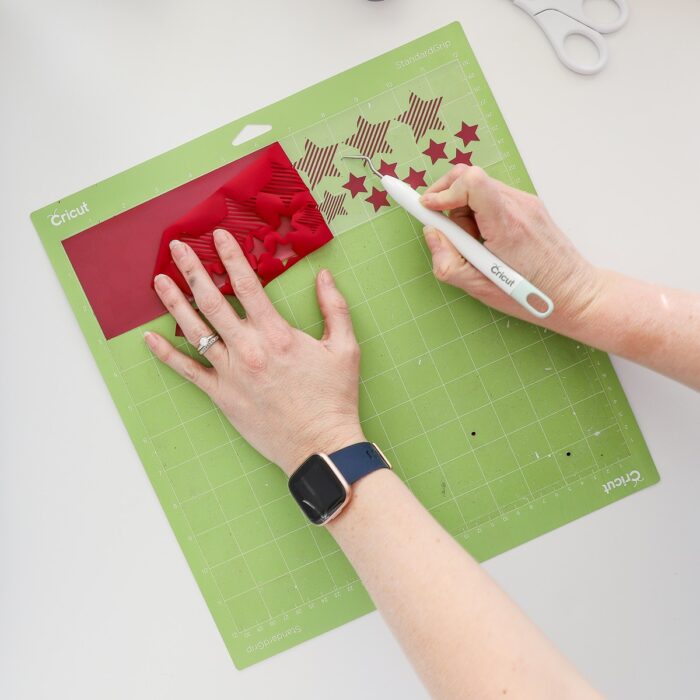
So that you can easily apply the decals all over your hat, cut all the decals apart from each other using a scissors. When done, you should have lots (and lots) of individual decals still adhered to their own clear plastic carrier sheet.
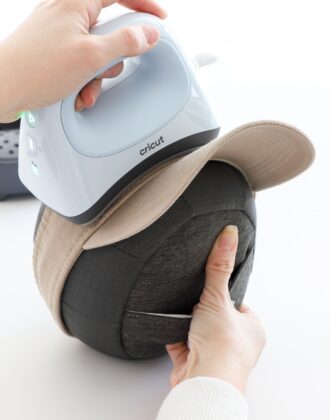
Step 5: Prepare Hat
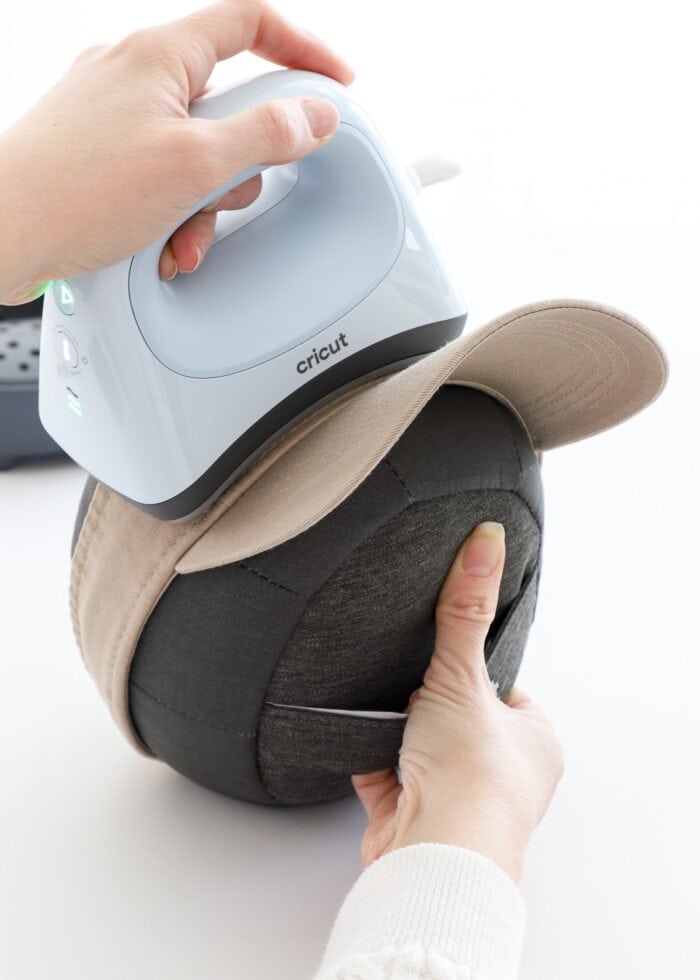
Before applying the decals to the hat, place the included Cricut Hat Pressing Form into the hat, and adjust the strap (on the hat) so it sits perfectly smooth over the entire form and creates an ideal pressing surface. Be sure all tags, loose threads, and other debris are removed with a lint roller before proceeding.
Want to save this post?
If you need help with the hat form, see more here: All About Cricut Hat Press | Unboxing, Review & FAQs
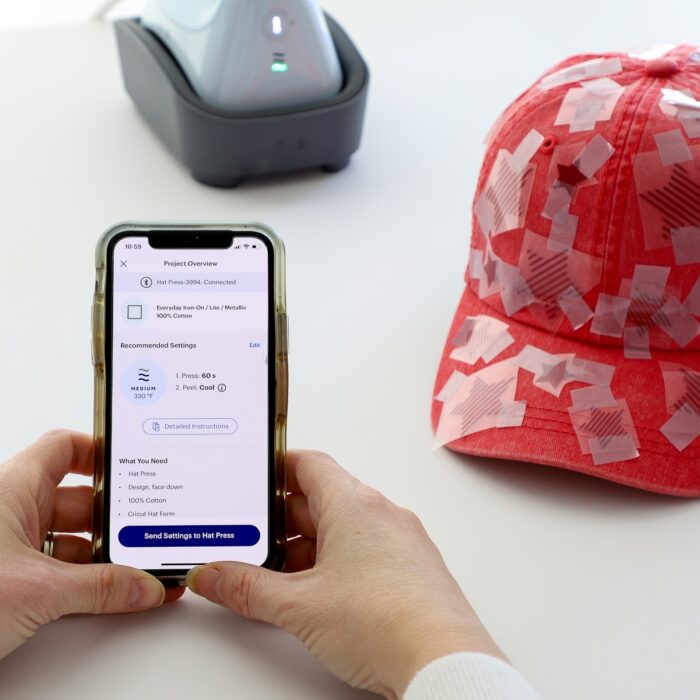
Step 6: Secure Decals to Hat with Tape
Next, place the decals all over the hat, including down the front, around to the back, and across the bill of the hat. I wish I could say that the clear carrier liner is sticky enough to hold the decals in place, but it is not. So once you identify their right location, you must use Strong Heat Resistant Tape, and LOTS of it, to hold each decal in place.
Trust me here when I say: you can’t use too much tape to hold each decal in place.
I recommend avoiding seams and creases whenever possible. And as you place, constantly rotate the hat around to ensure you have an even spread of decals.

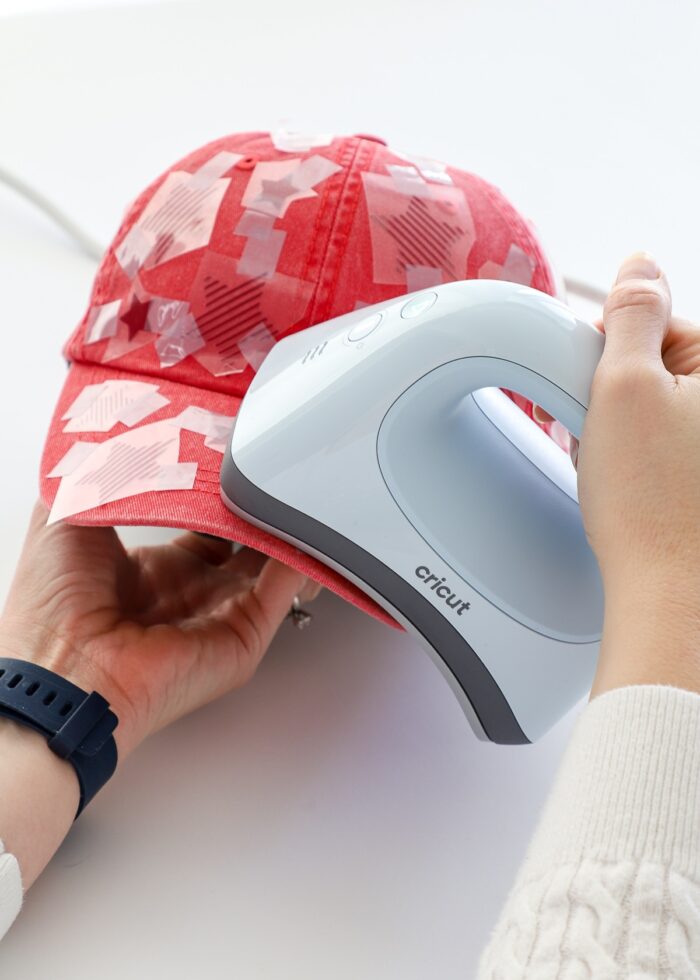
Step 7: Adhere Decals to Hat with Cricut Hat Press
With your hat ready for pressing, it’s time to setup the Cricut Hat Press. Use the Cricut Heat App on your mobile device to identify the proper temperature settings for your specific hat base material and the iron-on/HTV you selected.
Once the Cricut Hat Press is ready, firmly and slowly move its curved heat plate over the entire hat in a smooth, steady motion.
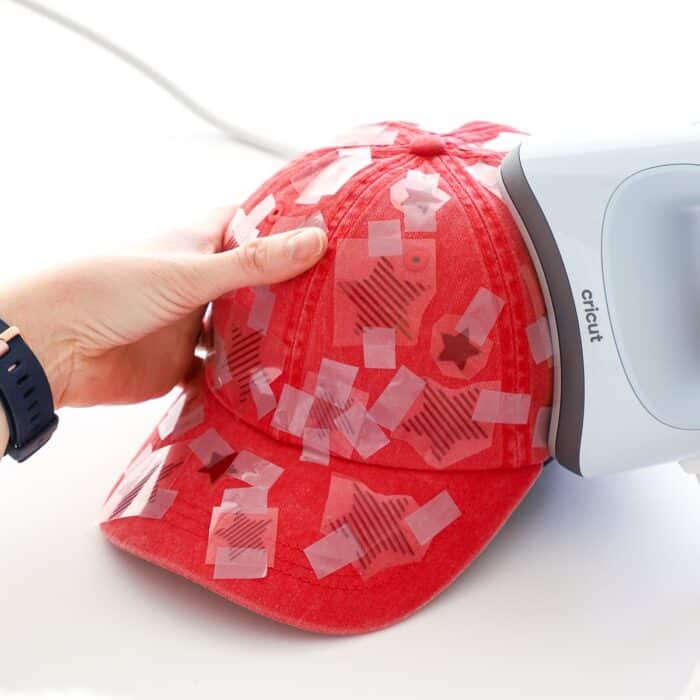
Remember when working with the Cricut Hat Press, you don’t ever want to hold it “still.” Use constant motion in all directions and with medium pressure, over and over and over, in order to fully adhere the decals to the hat.
It’s important to note that because of the constant motion required by the press, adhering the decals will take much longer than a usual (flat) iron-on application. For this specific application, you can ignore the precise time recommendation made by the app/press. Just keep going over and over each decal until they are fully adhered.
Important!
If you find the ceramic heat plate on the Cricut Hat Press continuously “tripping” over all the plastic edges of each decal (preventing you from getting a nice, smooth, firm press) or your decals just won’t adhere, I highly recommend covering the hat in a single sheet of butcher paper as you press.
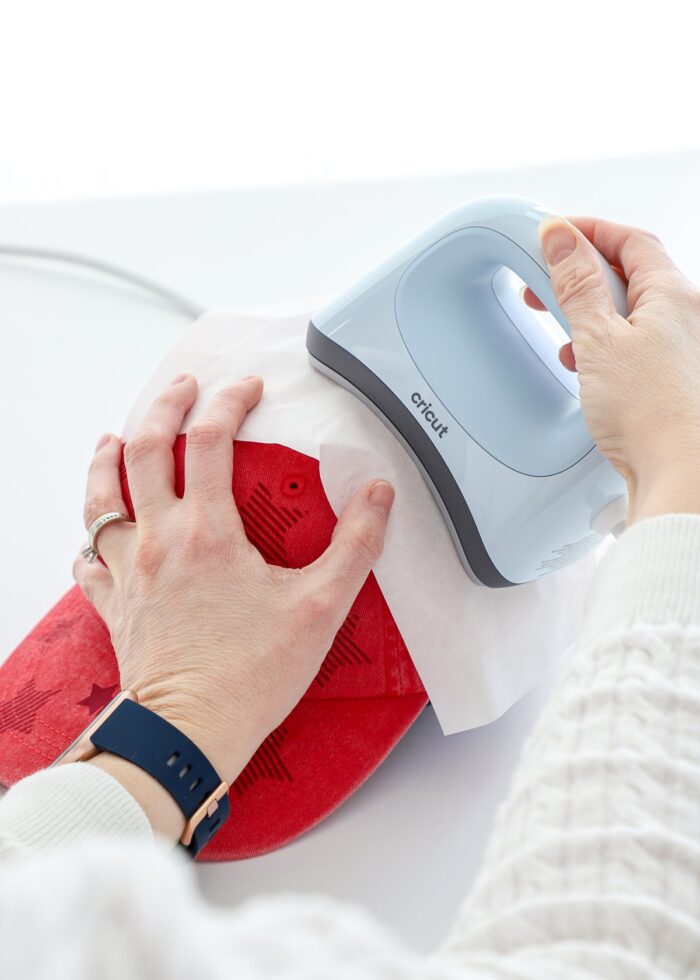
Adding this extra layer will extend your heat time even more, but I found I was able to apply better, smoother, and more-even pressure once I added the paper (and I wish I had used the paper from the very beginning.)
Step 8: Remove the Clear Carrier Sheets
When the iron-on decals are fully adhered to your hat, place the press back into the safety base.
Once the decals are completely cool to the touch, you can remove each plastic carrier sheet covering the decals. If at any time, you find that a decal isn’t adhered fully, re-cover the hat with butcher paper (to protect the already-exposed HTV decals), and re-heat as needed.
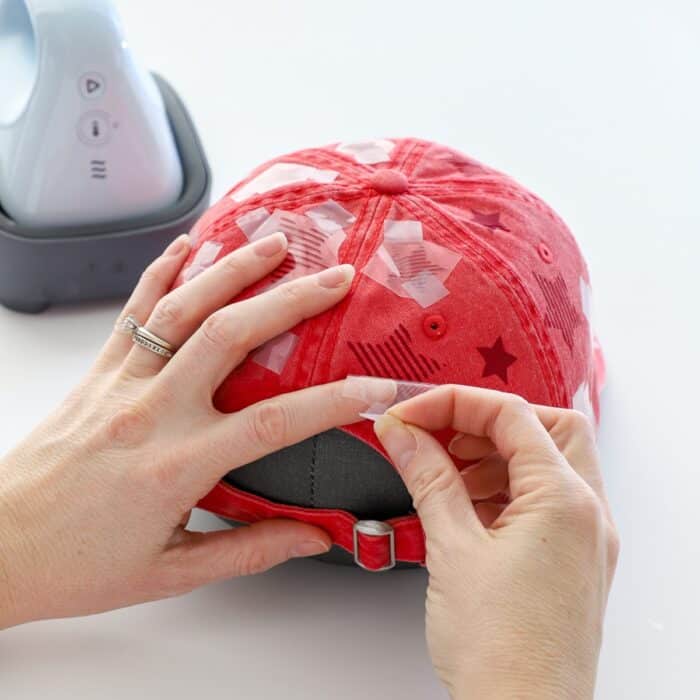
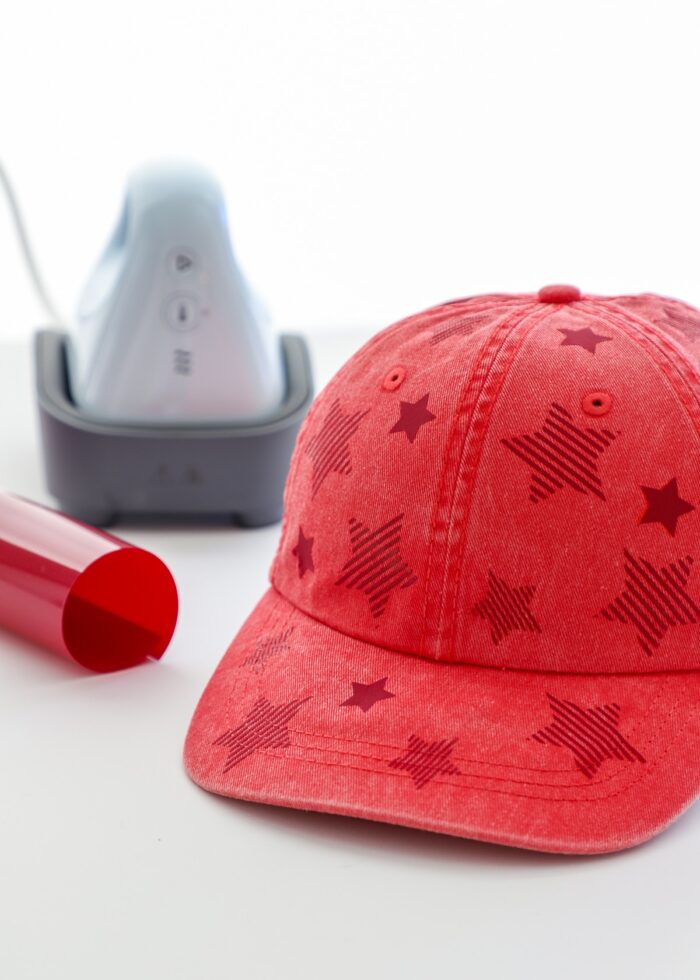
Once all the carrier sheets are removed, your adorable, custom, and totally unique hat is ready to wear!
More Great Cricut Heat Projects!
Read to do more fun Cricut projects and crafts with heat-transfer applications? Here are some other great tutorials to try next!
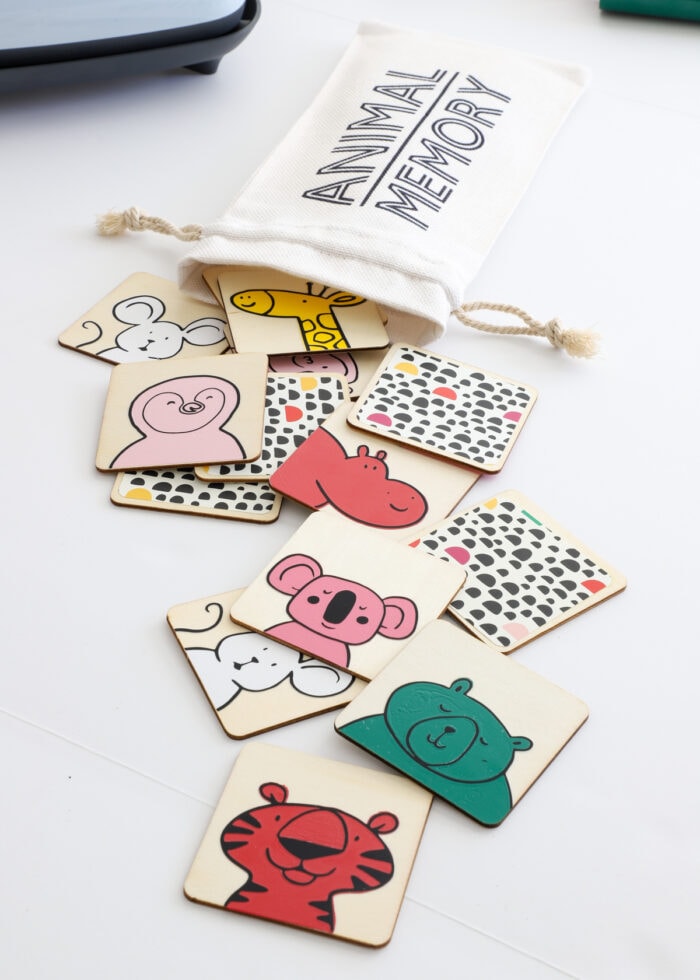
- DIY Memory Game with Cricut Iron-On
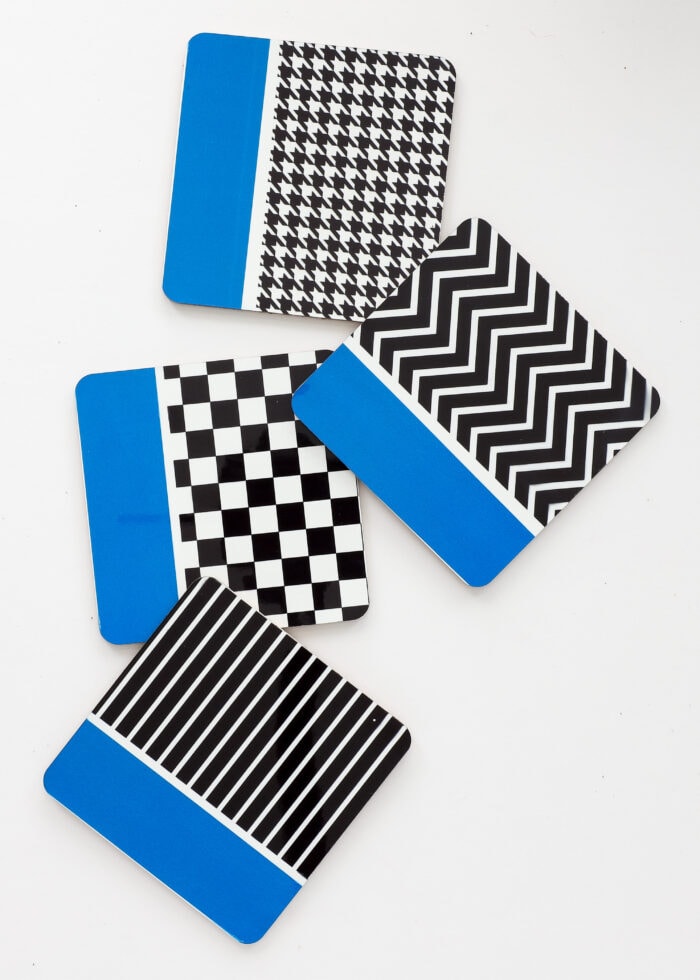
- Coasters with Infusible Ink Transfer Sheets: A Great Beginner Project
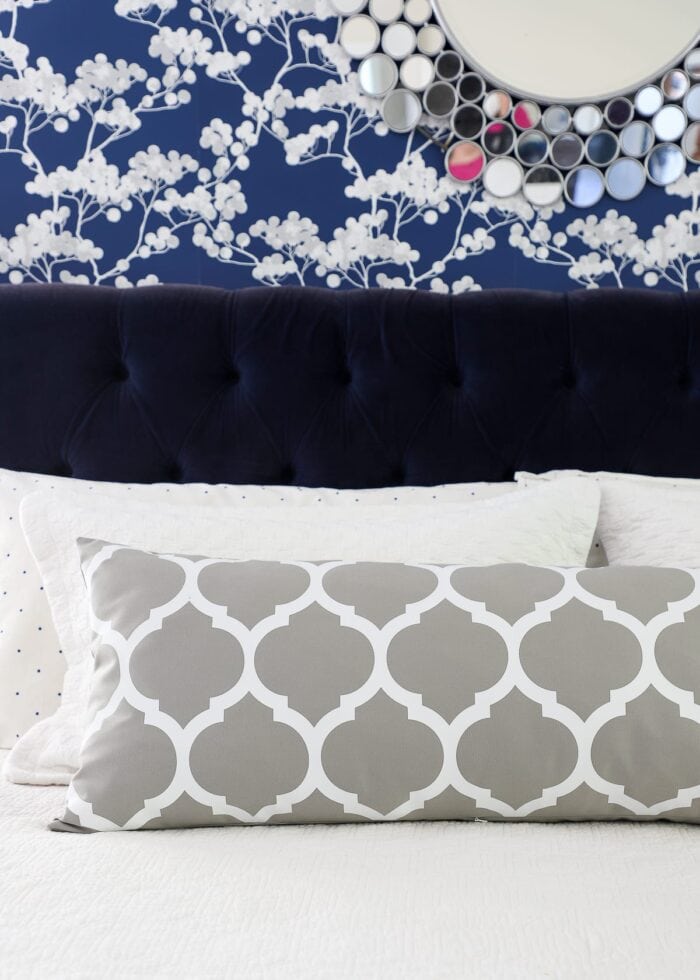
- How to Use Cricut Smart Iron-On to Make a Custom Pillow
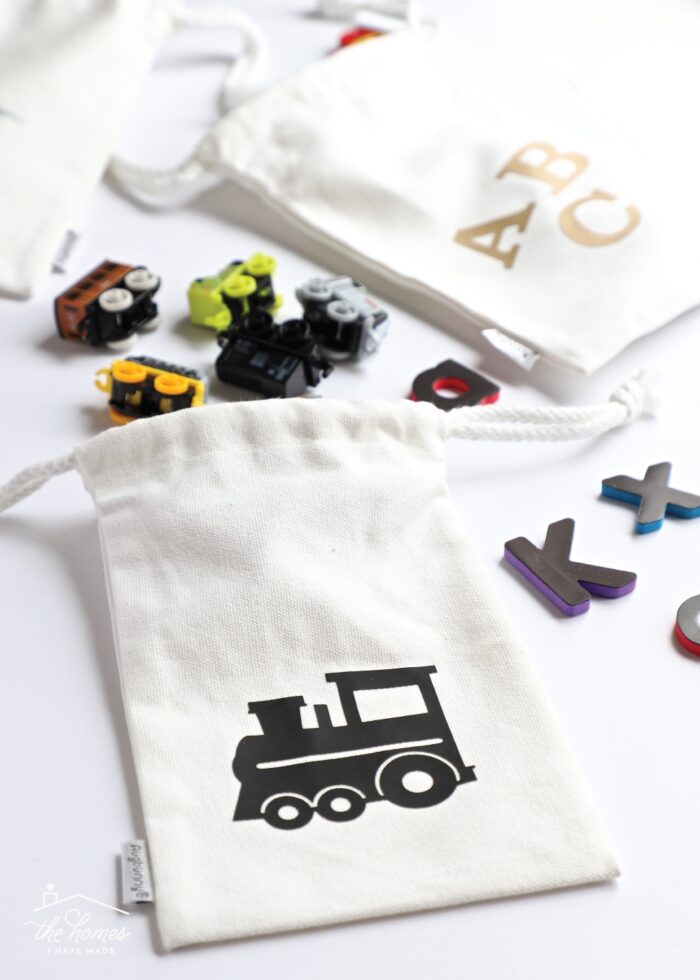
- Easy Iron-On Labels with a Cricut
- DIY Split Monogram Mugs with Cricut Mug Press | Video
- Adorable Iron-On Christmas Ornaments

This red star all-over hat design might be my favorite one I’ve made with my Cricut Hat Press so far, and I can’t wait to wear it for the Fourth of July!
Now that warmer and sunnier weather is here, it’s a great time to pull our your hat press and make a fun new hat for the season! What cute decals would you put on it?
Megan
One Comment on “Creating an All-Over Hat Design with Cricut Hat Press”
That hat is so cute! Way to go. I wish I hat time and patience to make my own. How lazy am I?
It’s super cute and totally something I would wear!